yours will be finished by then
I wish!!!
I'm going backwards at the moment :)
But hey its not a sprint, its a marathon ( or snickers) so they say?
![]()
Posted 21 January 2014 - 09:22 PM
yours will be finished by then
I wish!!!
I'm going backwards at the moment :)
But hey its not a sprint, its a marathon ( or snickers) so they say?
![]()
Posted 22 January 2014 - 04:51 PM
have a break have a kitykat, your not going backwards mate your doing well on this! can i have a go in it when its done? ![]()
Posted 22 January 2014 - 09:09 PM
lol cheers tom, you would be welcome anytime ! Cant wait for the day she's on the road, i've never driven or been driven in a mini yet, so my first drive will be in one i've built. Now thats a scary thought ![]()
Posted 22 January 2014 - 09:27 PM
oj lol i dont think you will want anyone touching it when thats finished lol its going to be a stunner. when i rebuilt my mayfair and drove it for my first time my mouth was killing after all the smiling i did.
Posted 22 January 2014 - 09:49 PM
Thats what im after, the Smile factor :)
Posted 09 March 2014 - 07:20 PM
Ok, I mentioned I ended up cutting out the rear screen lower sectionI had worked on in a previous post. Basically, it had managed to distort so the boot lid fit really wasn't good. I tried 2 different boot lids, and they both show the same error. Bah!
Lesson learned here I guess, but as a learner, these things will happen. So, I needed a plan to correct this. My parcel shelf is also cream crackered, so I couldn't use that to aid the repair, so it seemed the only option was donor parts from another shell. I managed to get hold of a parcel shelf and upper boot area which was cut out of a shell being scrapped. It wasn't a mk1, so would be slightly different, but nothing hopefully that wont be fixable :)
Thank you harrysmini!
With these panels, I should be able to correct the problem at the rear, and also provide bit to repair my parcel shelf too .Bonus!
So, the first step was to remove the lower rear window area from the shell. As this is the only piece that was keeping the rear quarters effectively in place, I decided it was going to be necessary to do a little bit of bracing before I cut the section out. A quick scavenge in the shed provided some suitable bracing, that was also great as the 1 meter lengths also click together to make longer sections. ( I just hope that the kids never decide to use their trampoline again...........)
Now it was braced, I could start removing the window section.
and the bit cut out made a perfect temporary boot lid stand ! :)
Now I needed to split the donor sections, but try and keep the shape as much as possible. So some careful spot weld drilling was required
I took the repair piece back to metal, to inspect for any hidden rust, and it was in pretty good nick. Result! I cut it to the correct size, checking bootlid fit, parcel shelf fitment and window aperture size to hopefully get it right this time!
Once i was happy with it, it got sliced .
A couple of tacks to hold it in place, so I could recheck the alignment.
The upper boot lid gap is looking a lot better now, its not perfect but a good starting point.
I then pulse welded the joins, and then removed the corner areas ready for the next repair sections from the donor panel.
I had to do these corners again, to get the profiles to match up between the new repair piece and original rear window profile, as I had altered it slightly when doing the original repair.
once these pieces were let in, i ground all the welds flush on the front, and left the rear as it was except on the area where the parcel shelf joins the window.
overall, pretty happy although I should have done it like this the first time round, but hey!
Posted 09 March 2014 - 07:26 PM
nice workmanship
freaker
Posted 09 March 2014 - 07:43 PM
nice workmanship
freaker
Thanks! appreciated
Posted 09 March 2014 - 08:04 PM
ok, so now i'm happier with the boot aperture, I decided to turn my attention to my boot lid it self. I hadn't given it a close inspection until now, but a bit of digging showed it was rotten too. bah! Now as funds are tight, I am going to have a go at repairing this, as I managed to pick up a later mk5 lid for a tenner, to use as a donor
so i started with this
At a quick glance it doesn't look to bad, but its a mini, so I dug further, and ended up like this
hmmmmmmm
some rust is surface only, but the hole lower edge is badly pitted and even through on both the skin and frame.
So, it useless now like this so I have nothing to lose hehe
I decided the best approach was to repair small sections at a time. So i sliced a small area out, made a new repair piece contoured to the same shape as the removed piece and tacked it back in. I did this along the entire bottom lenght of the boot skin.
finally all tacked in. It gonna need a fair amount of beating, but i'm still kinda optimistic I might be able to save it!!
A lot of slow pulse welding , then grinding, then beating later, I ended up with this. I really don't want to say how long I spent on this, especially when I'm not convinced It will be used . but hey ho!
Forgive the scraggly lower edge, I left them oversize with the plane of reducing them to fit the aperture when i come to fitting it properly to the boot lid frame.
Cleaned ready for a spray
Next up is the inner frame......... eeek!
Posted 09 March 2014 - 09:09 PM
Posted 09 March 2014 - 09:23 PM
Great work on the boot lid and window surround, it was a shame the first repair bowed as it was looking really good! Keep it up :)
Lawrence
Posted 09 March 2014 - 09:38 PM
Posted 09 March 2014 - 10:00 PM
That's true, I would have attempted that repair the same way tho, I was tight up for panels during my resto too. Where abouts in Norwich are you just being curious? As I'm located in Norwich, Norfolk :) L
Im in shock! someone is fairly local to me!
I'm in Yarmouth Lawrence :) a quick whip along the acle straight ![]()
Posted 25 May 2014 - 08:51 PM
It's been a while since my last update, as time has been hard to find lately for the mini, due to starting a course which takes up evenings and also we got a new puppy:) So our hands have been full!
Gotta show him off, hes our new best friend and my two little boys adore him
when we first met him, and he picked us :) he was the only one to come up to us and settle on our laps!
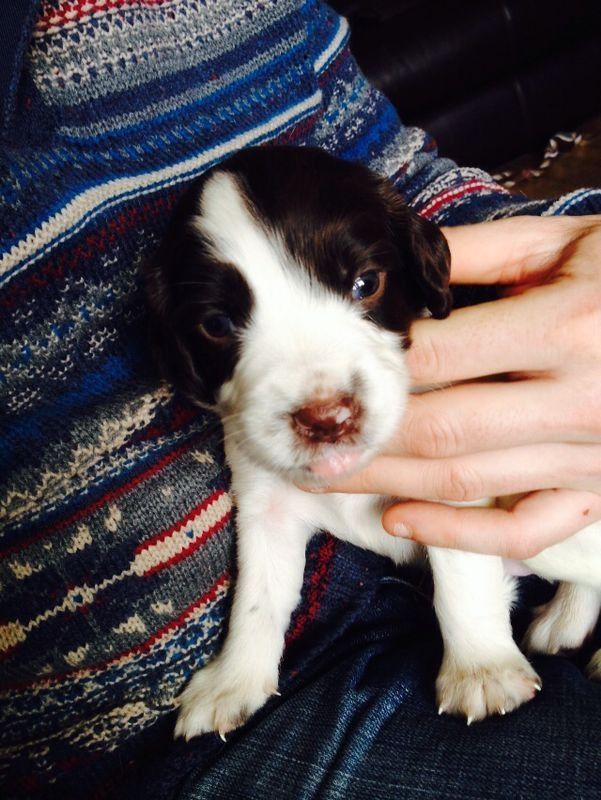
when we first bought him home
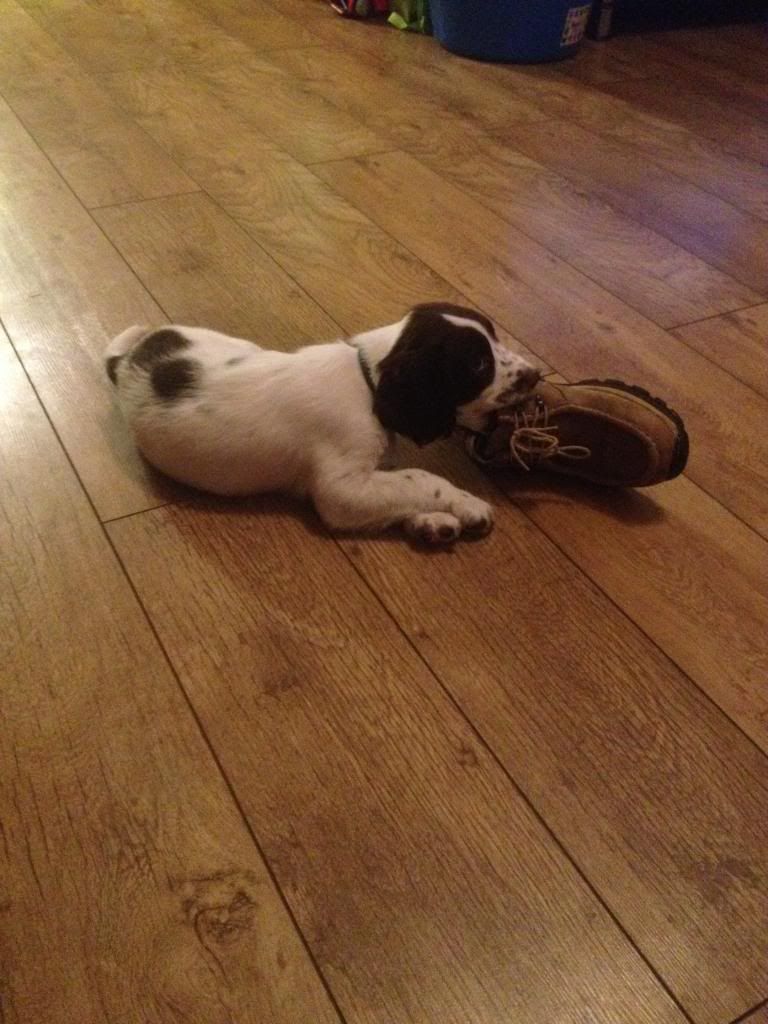
one of the few moments he isnt jumping around
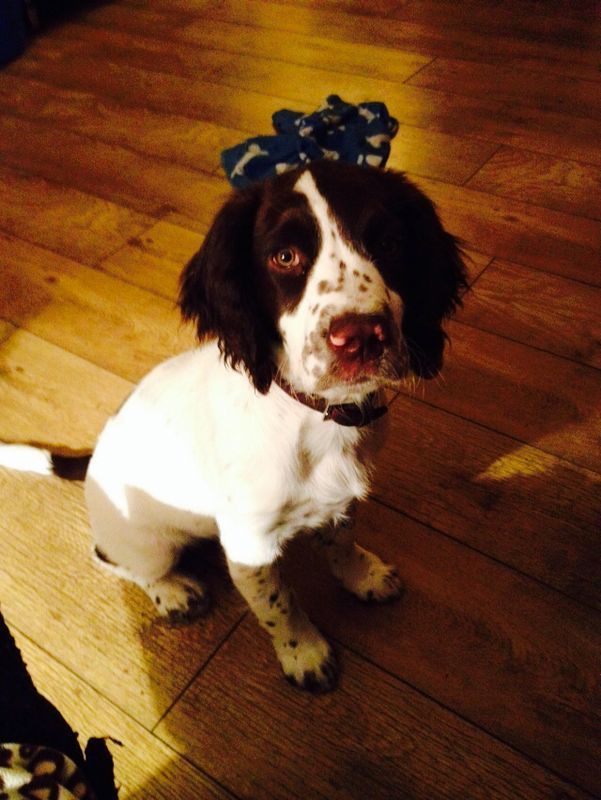
and this is him now, he seems to have a fond love of muddy puddles........
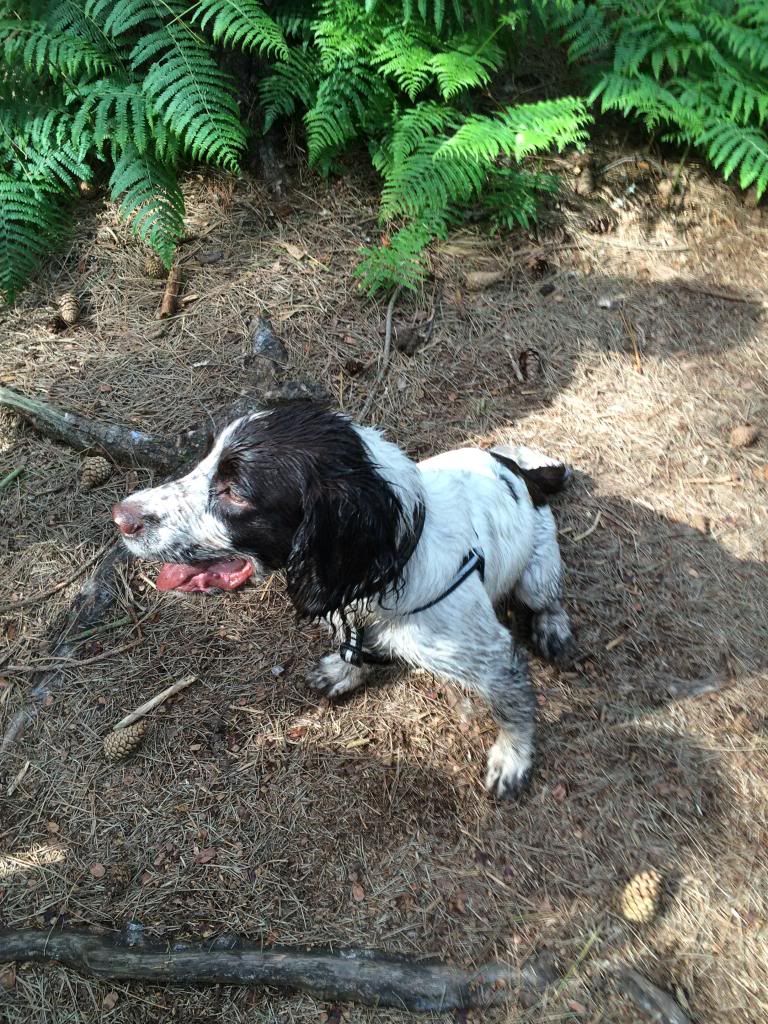
suppose i better get back on topic :)
I decided to try some more repair work on the bootlid, as the inner frame was in a bad way on the lower areas, and these i thought were to tricky to recreate, so i decided to get a latter mk lidand use that to supply bits :)
I picked up a cheap lid for a tenner of the bay,which was allegedly rust free,and then attacked it with a grinder, as i only wanted the inner frame and the outer skin flange.
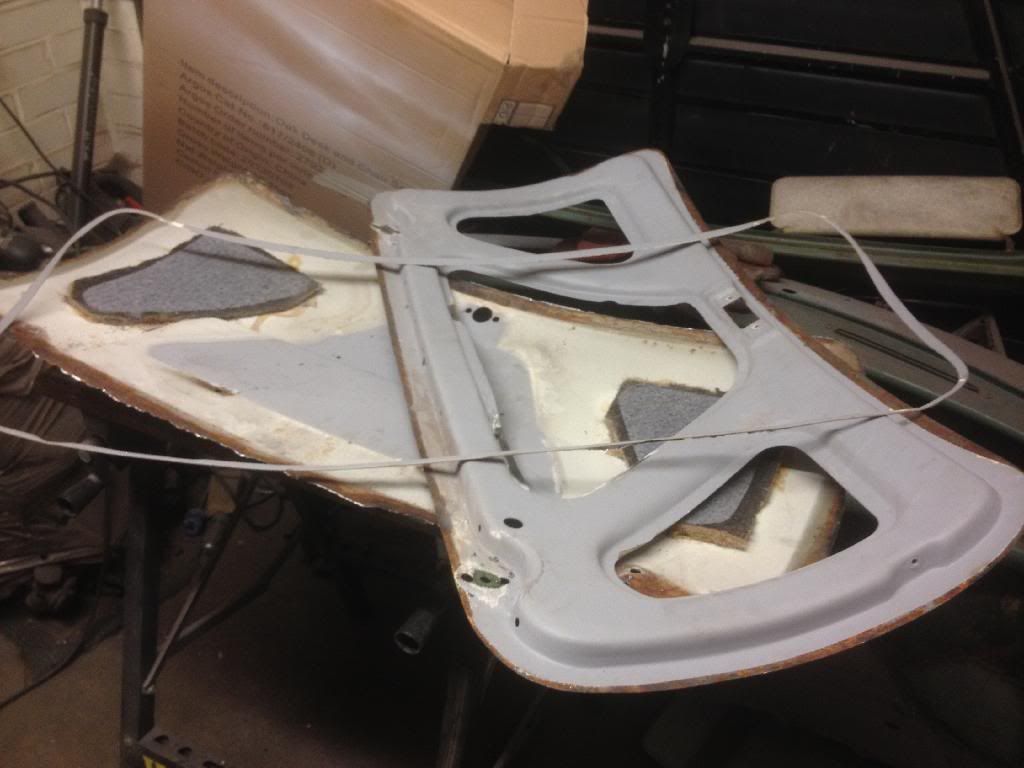
I decided to attack the repair in 3 sections, to aid with keeping the thing the same shape. fingers crossed :)
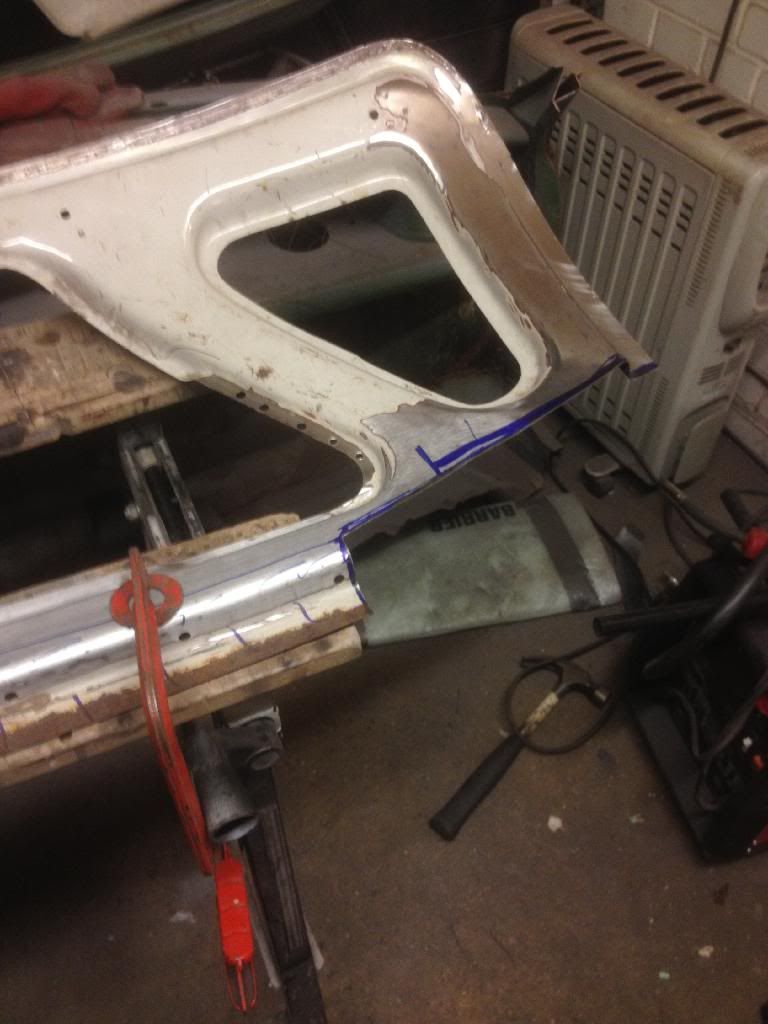
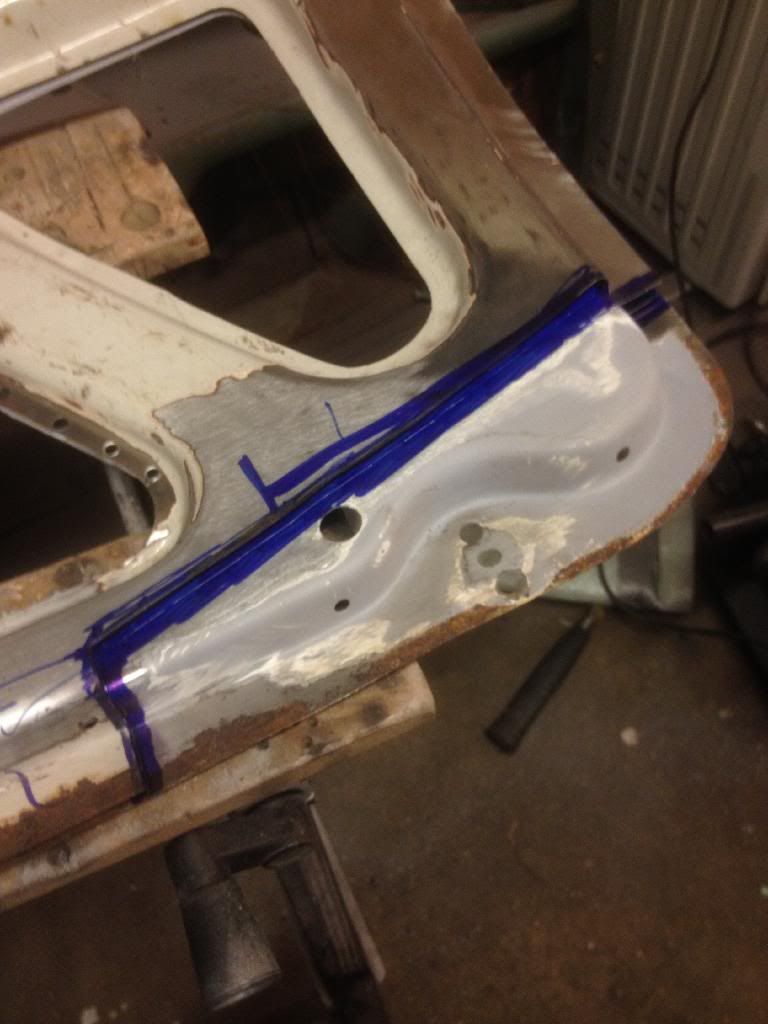
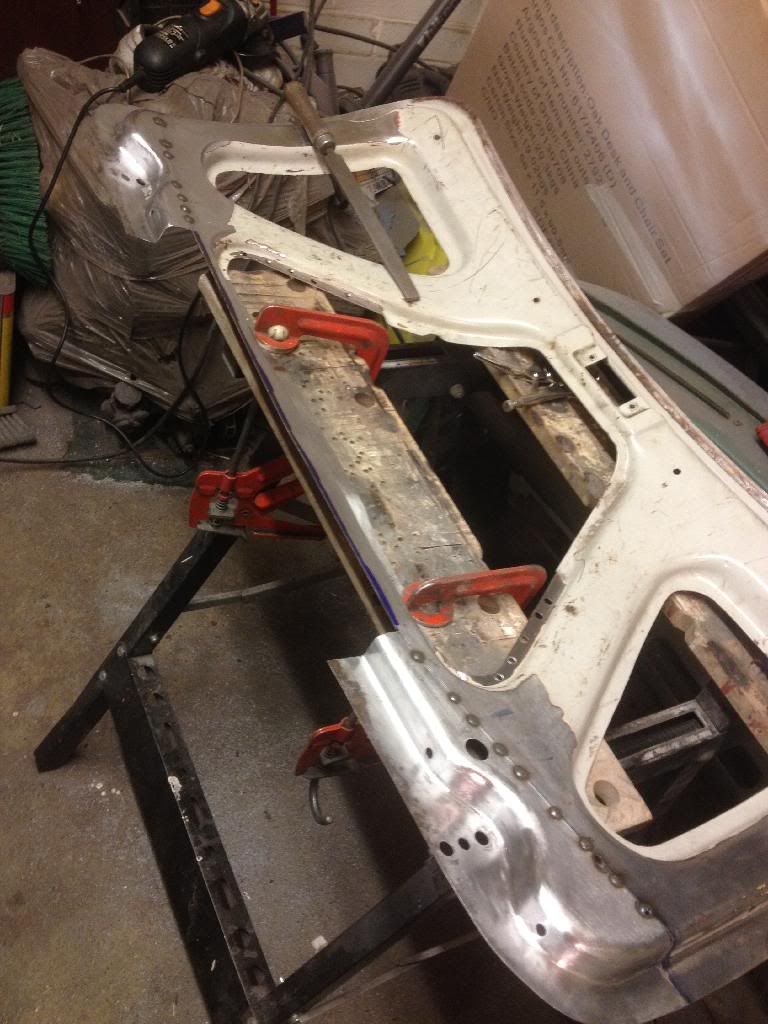
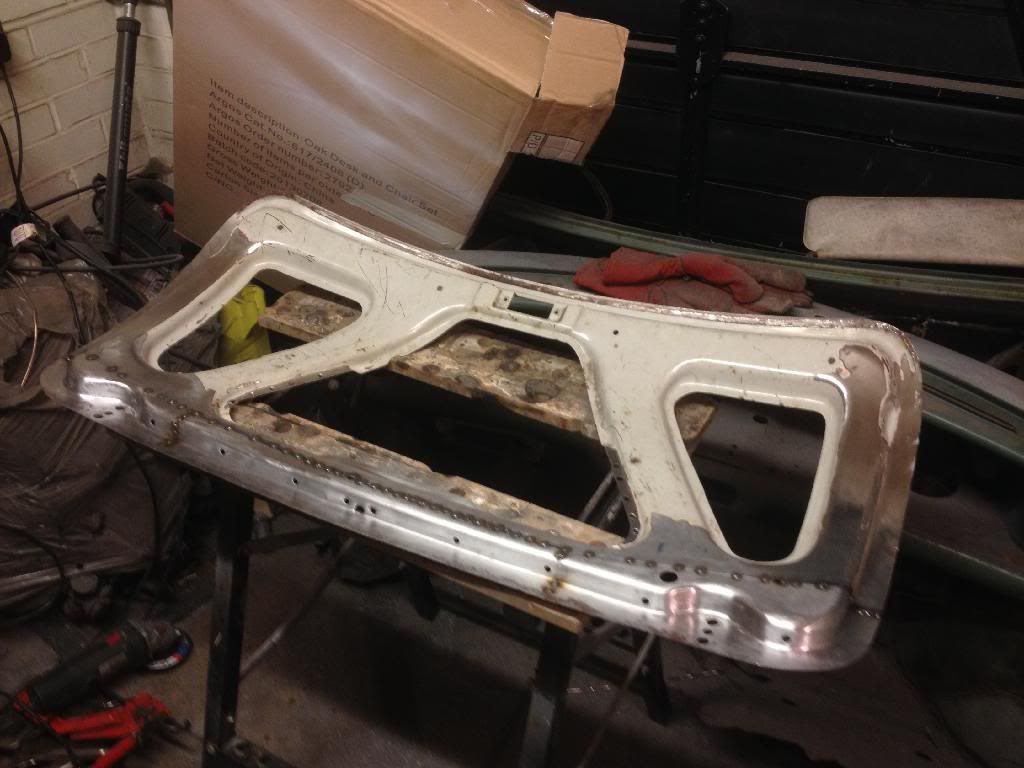
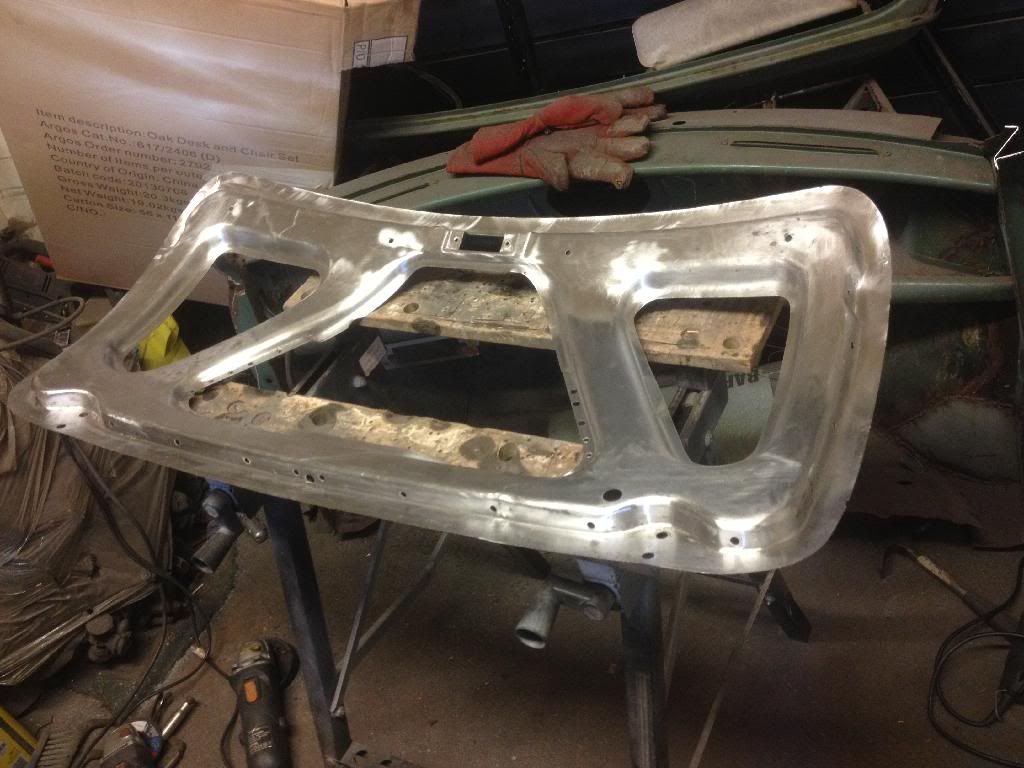
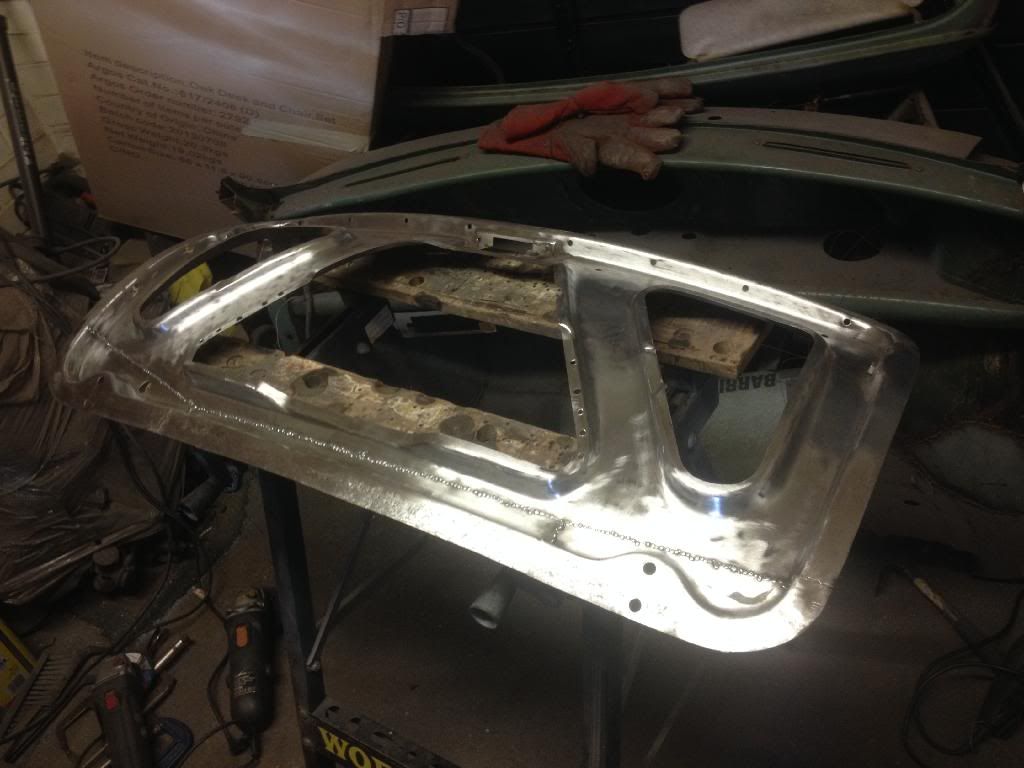
I then protected the inner side of the frame with acid etch, then primer then topcoat.
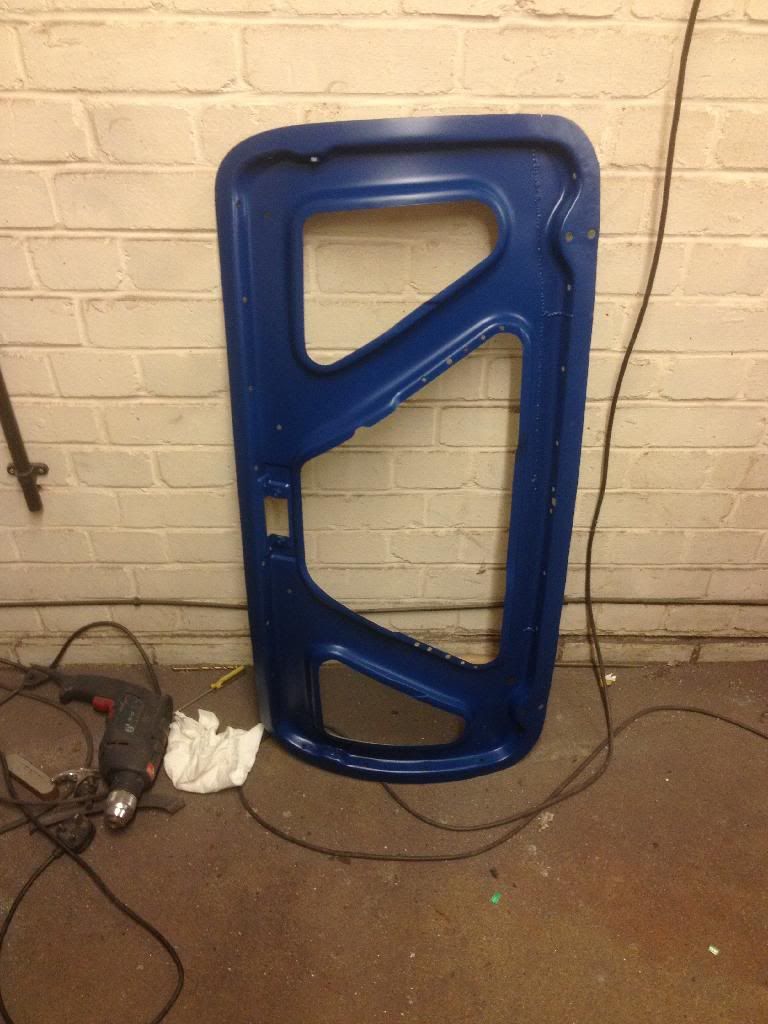
and then i plugged it top the outer skin, which i had gave the same treatment to on the inner face but used a different colour top coat :)
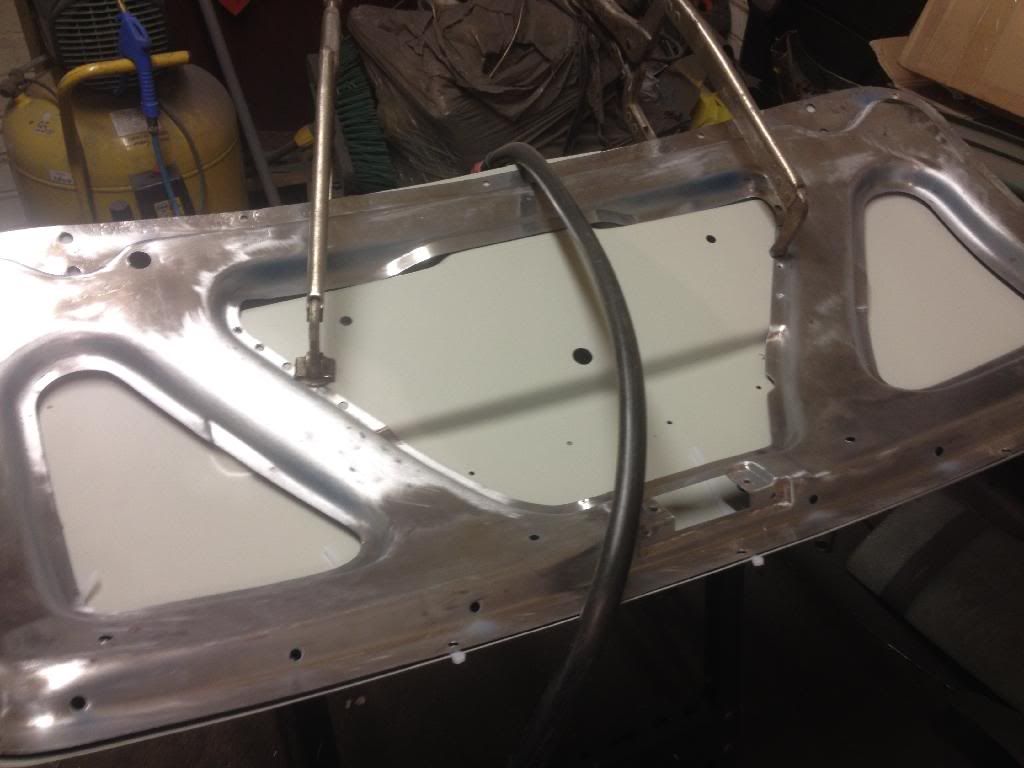
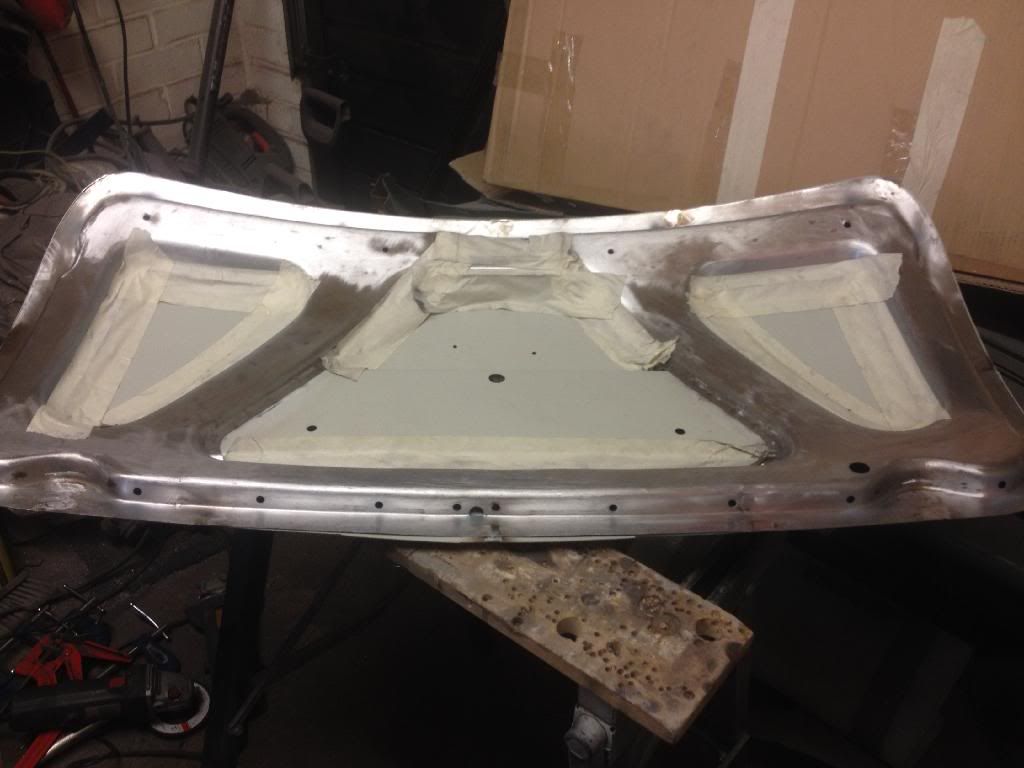
am pretty happy with the results, but ive still got to get the skin flange back on, but i will leave that for another time.
Posted 25 May 2014 - 09:05 PM
looking very nice mate and your puppy is so cute! cheeers tom
0 members, 1 guests, 0 anonymous users