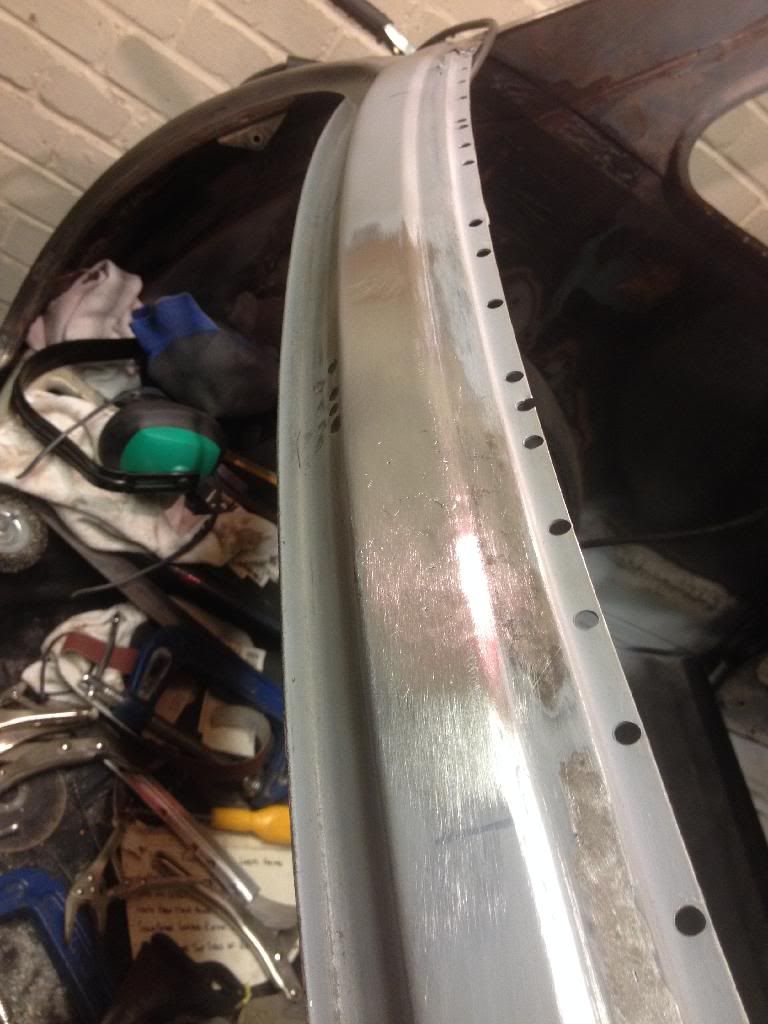
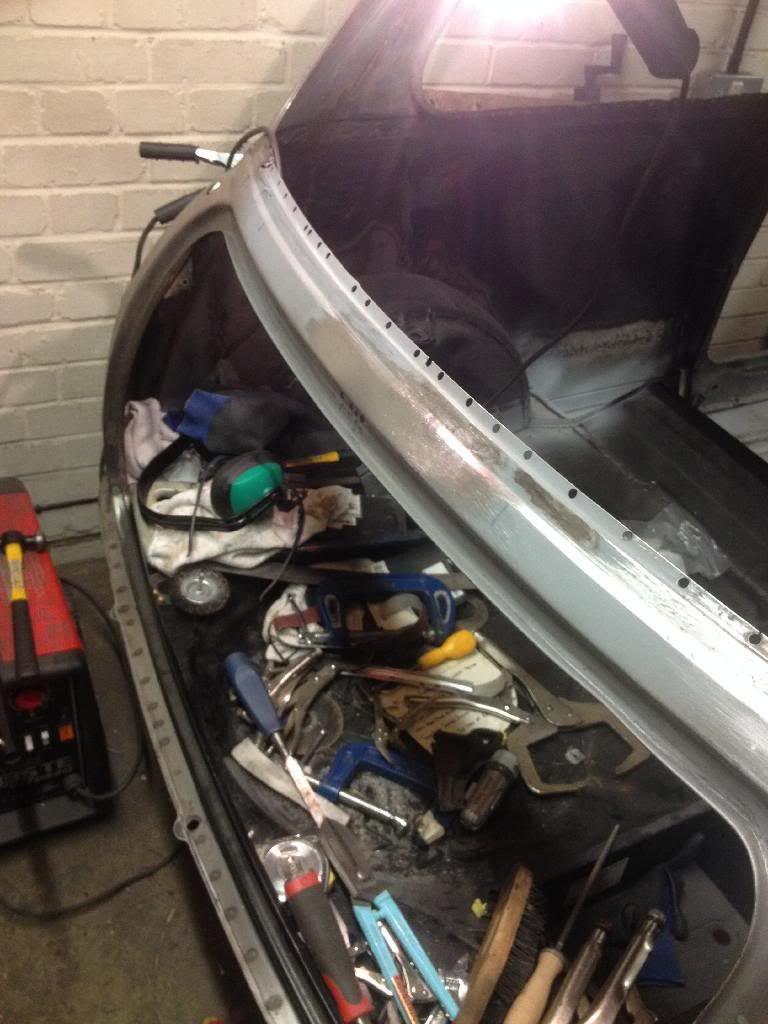
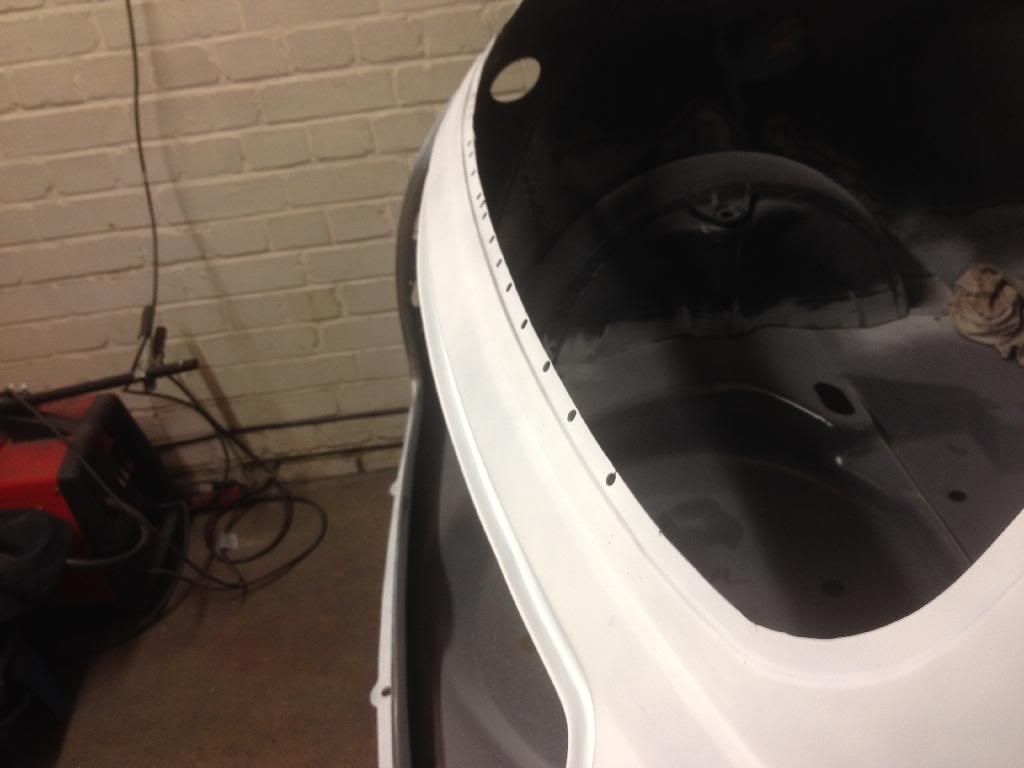
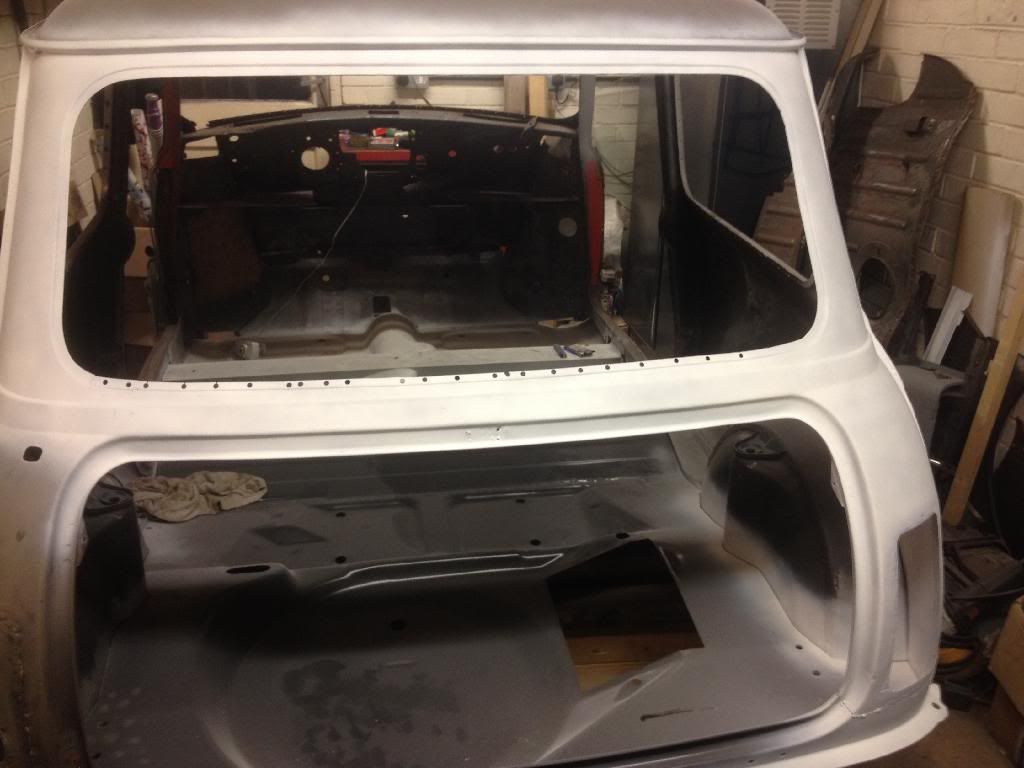
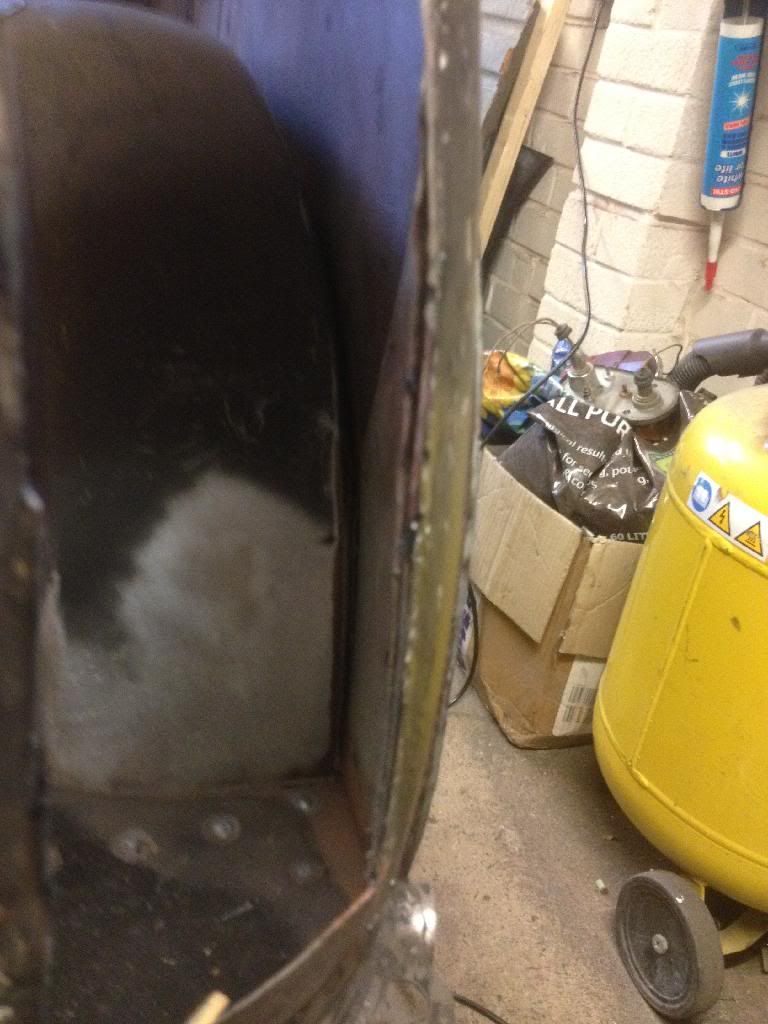
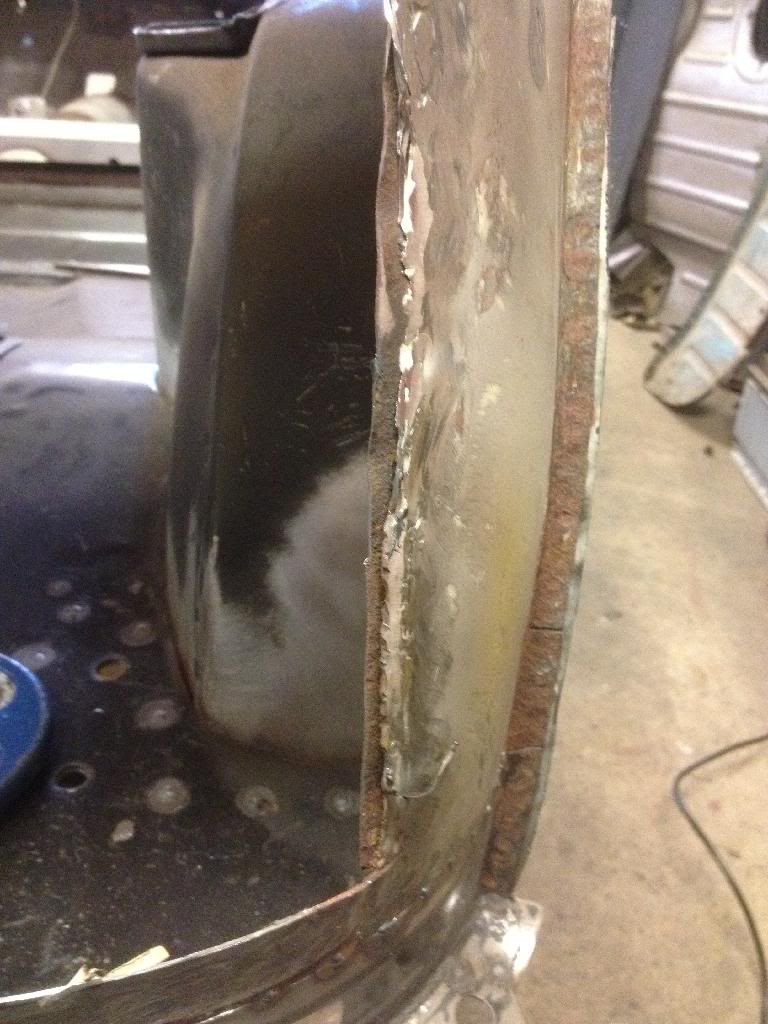
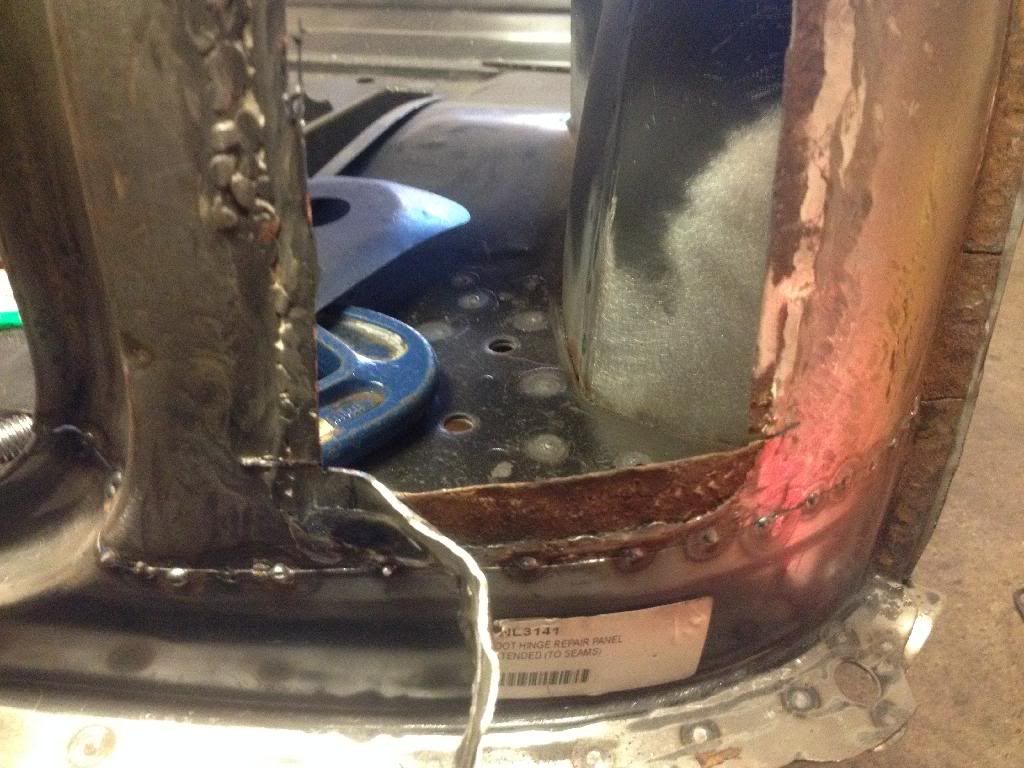
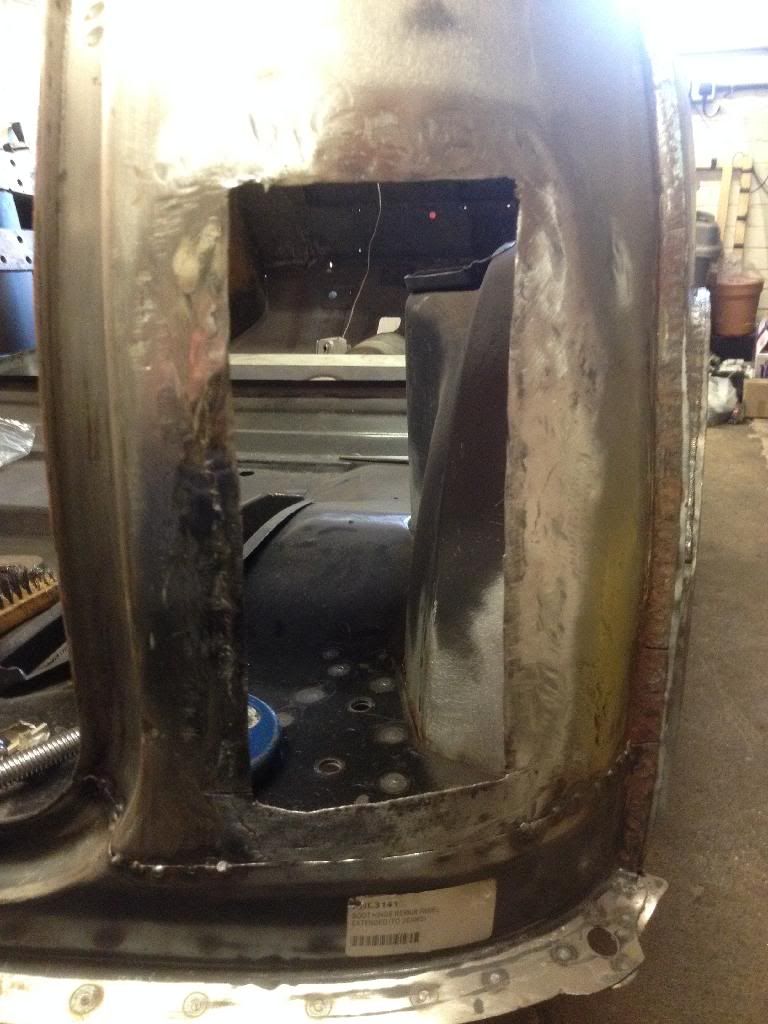
well done mate looking very good! looks like we both have the same issues with the rear bulkhead rear panel and parcel shelf? all rotted away in the same places? your not to far of now tho buddy and like you said (it feels weird with out the rear bulkhead) join my world it feels weird with out any floor! lmao ![]() cheers tom
cheers tom
My Mk1 Resto , My First Ever Project......... Wish Me Luck!
#106

Posted 31 December 2013 - 08:25 AM
#107

Posted 31 December 2013 - 12:07 PM
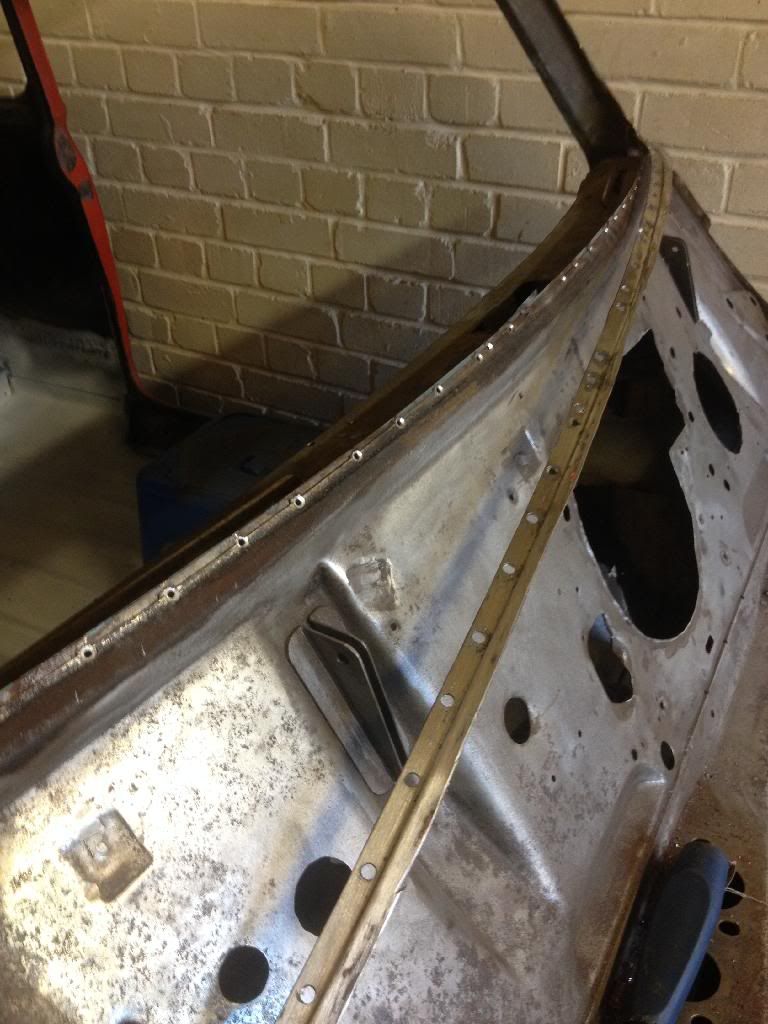
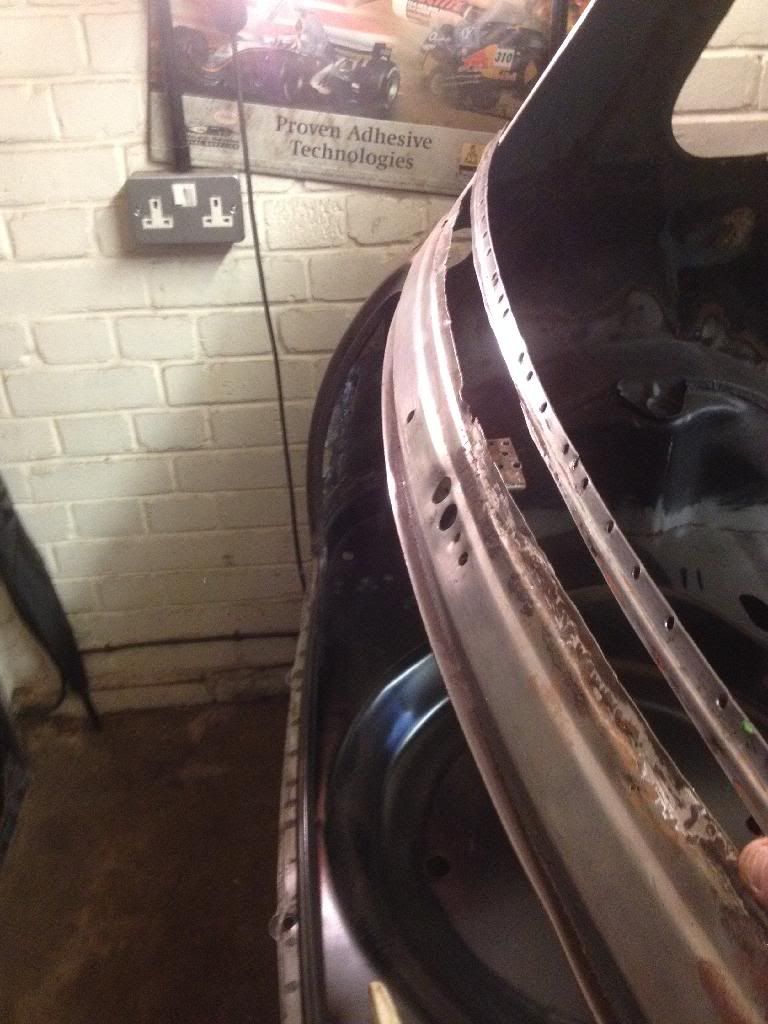
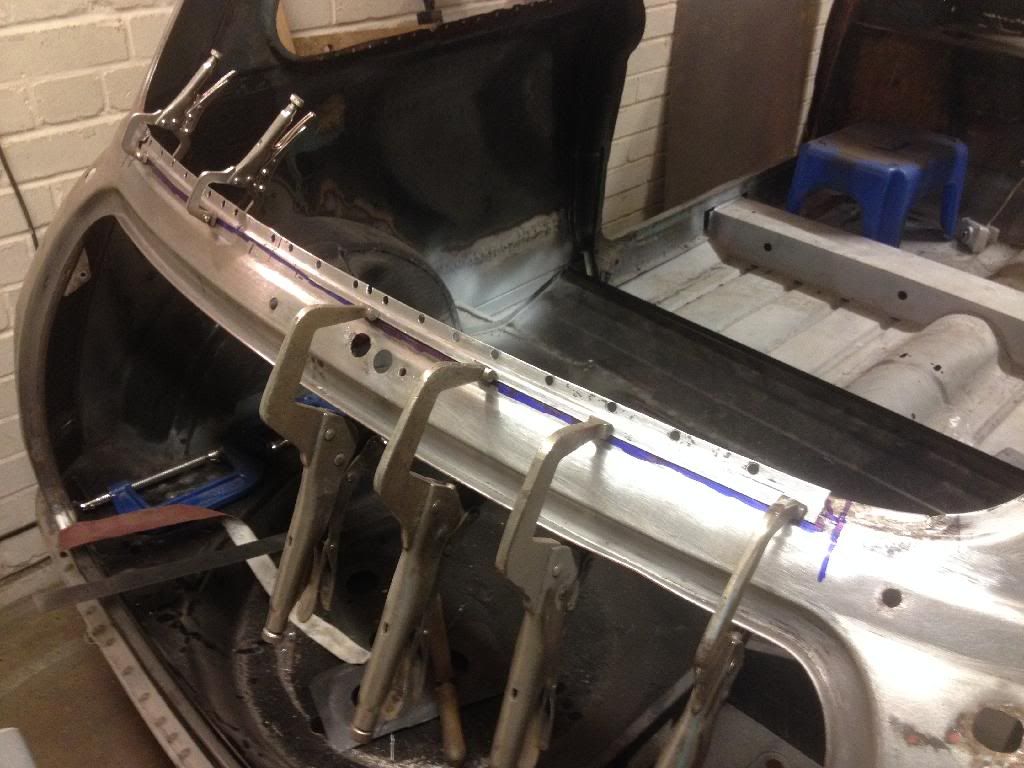
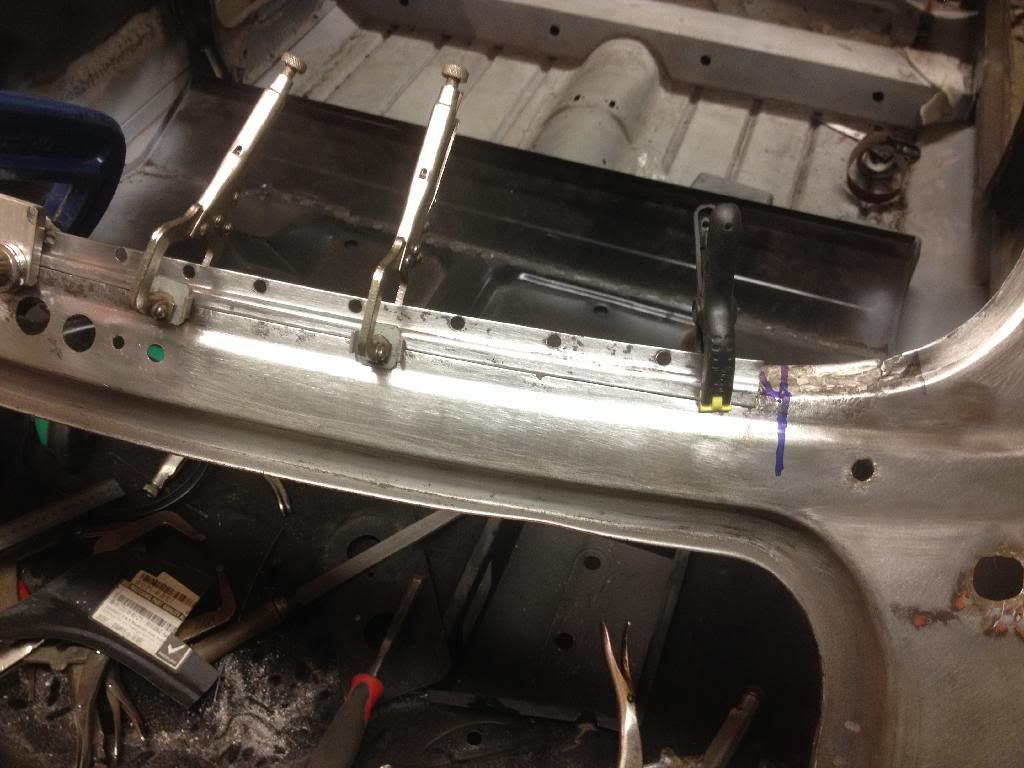
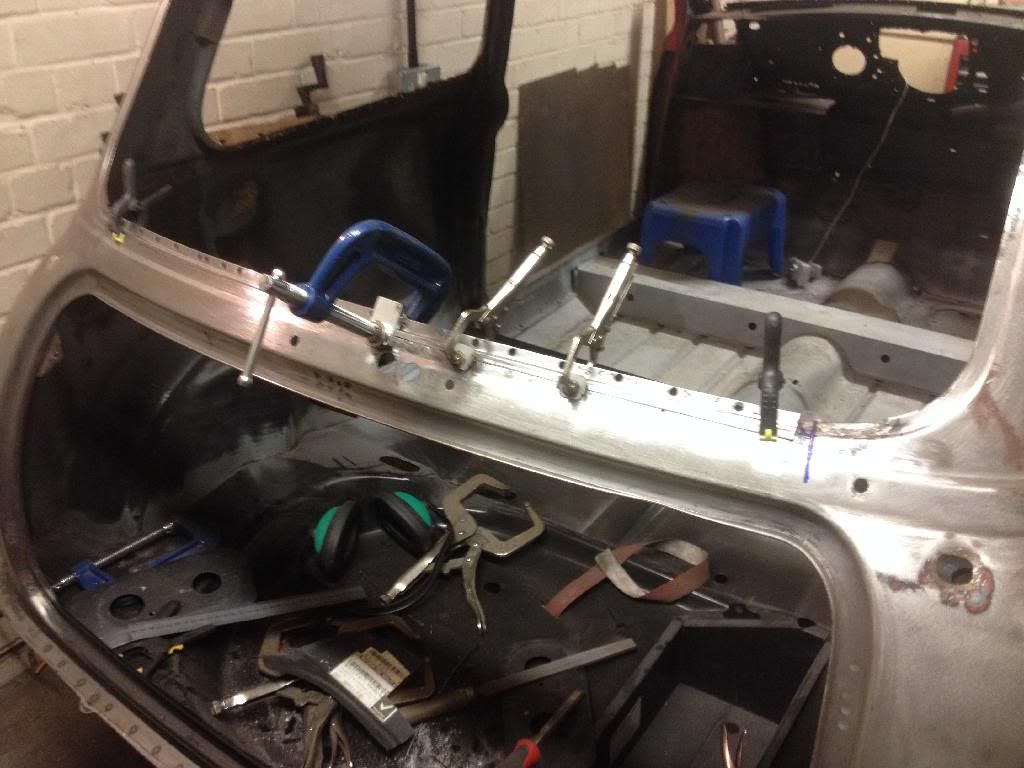
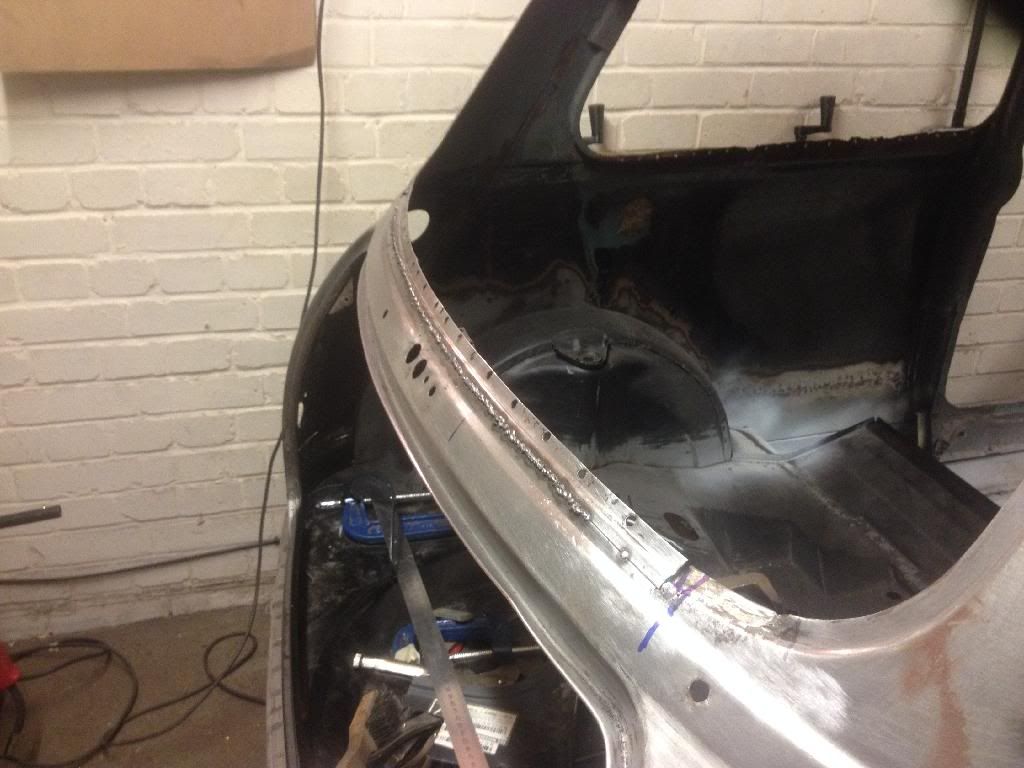
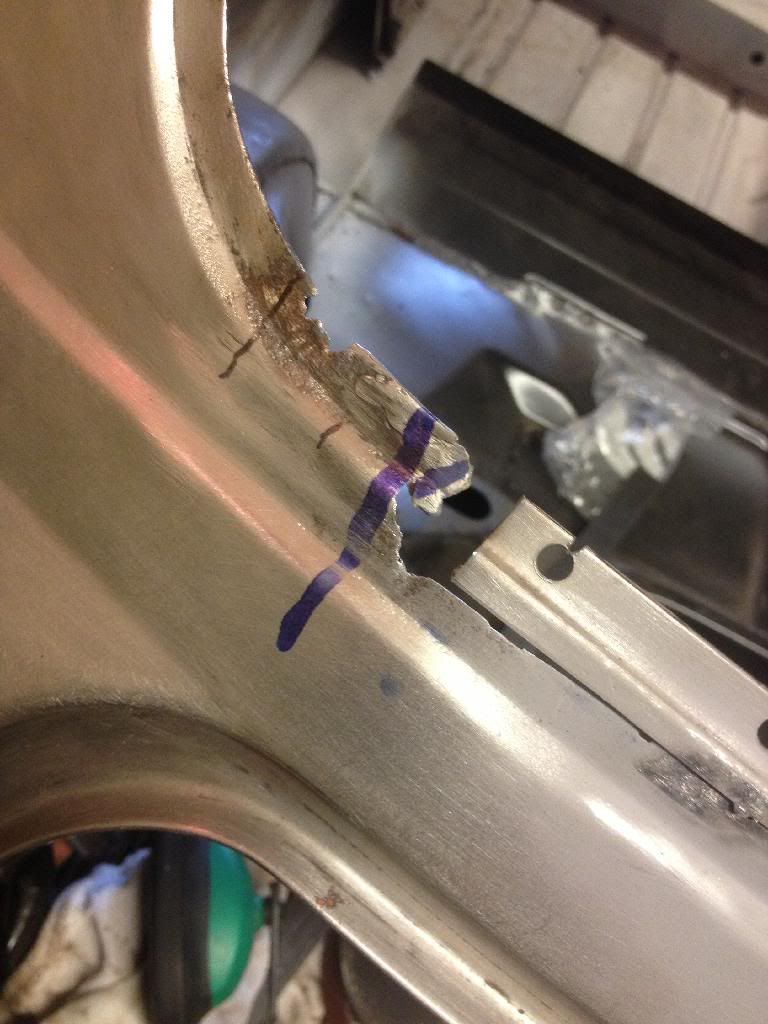
I've parked my rear bulkhead and parcel shelf now, as I'm waiting for a couple of bits that I've sourced to aid the repairs. So I started on the boot lid the other day, , as I thought it wasn't to bad and would be a nice easy job. Lol. Forgot it was a mini I guess ! It's crackered as well and needs major repair to the inner frame at the bottom and also the skin needs the lower 2" replacing aswell at the bottom.
Hey Ho , all part of the fun I guess !
On a plus side, I did meet a very nice guy yesterday through eBay , as I bought a few mk1 bits he had listed. He was local, where is rare for me here, so I collected. He used to be a professional restorer, and his work he showed me, he is very good ! He's currently working on a 59' for his boy to Learn to drive in when he's old enough, same as me. He told me he has quite a few mk1 parts in storage from years ago that he has to sort. And he's kindly offered me first refusal on them. Awesome! And he even has the elusive rear light areas he has cut from a mk1 years ago, and told me they are mine as soon as he digs them out!!! What a result!!!
Good day yesterday , like days like that !
You got your rear panel ordered yet tom ?
#108

Posted 31 December 2013 - 02:33 PM
#109

Posted 31 December 2013 - 03:45 PM
Thanks mate. I am starting to think our cars are long lost twins tom !!!
I've parked my rear bulkhead and parcel shelf now, as I'm waiting for a couple of bits that I've sourced to aid the repairs. So I started on the boot lid the other day, , as I thought it wasn't to bad and would be a nice easy job. Lol. Forgot it was a mini I guess ! It's crackered as well and needs major repair to the inner frame at the bottom and also the skin needs the lower 2" replacing aswell at the bottom.
Hey Ho , all part of the fun I guess !
On a plus side, I did meet a very nice guy yesterday through eBay , as I bought a few mk1 bits he had listed. He was local, where is rare for me here, so I collected. He used to be a professional restorer, and his work he showed me, he is very good ! He's currently working on a 59' for his boy to Learn to drive in when he's old enough, same as me. He told me he has quite a few mk1 parts in storage from years ago that he has to sort. And he's kindly offered me first refusal on them. Awesome! And he even has the elusive rear light areas he has cut from a mk1 years ago, and told me they are mine as soon as he digs them out!!! What a result!!!
Good day yesterday , like days like that !
You got your rear panel ordered yet tom ?
whats hes number mate ![]() if i go there and buy them ile sell to you for a good price?? haha nah only joking nice one let me no tho whats left that you dont want i might need the other parts... and i havent ordered it as yet this christmas beer runs are taking a hit on my bank balance so need to get x mas and new year out the way and i can get my head back in gear on the mini. cheers tom
if i go there and buy them ile sell to you for a good price?? haha nah only joking nice one let me no tho whats left that you dont want i might need the other parts... and i havent ordered it as yet this christmas beer runs are taking a hit on my bank balance so need to get x mas and new year out the way and i can get my head back in gear on the mini. cheers tom
#110

Posted 31 December 2013 - 07:26 PM
whats hes number mate
Thanks mate. I am starting to think our cars are long lost twins tom !!!
I've parked my rear bulkhead and parcel shelf now, as I'm waiting for a couple of bits that I've sourced to aid the repairs. So I started on the boot lid the other day, , as I thought it wasn't to bad and would be a nice easy job. Lol. Forgot it was a mini I guess ! It's crackered as well and needs major repair to the inner frame at the bottom and also the skin needs the lower 2" replacing aswell at the bottom.
Hey Ho , all part of the fun I guess !
On a plus side, I did meet a very nice guy yesterday through eBay , as I bought a few mk1 bits he had listed. He was local, where is rare for me here, so I collected. He used to be a professional restorer, and his work he showed me, he is very good ! He's currently working on a 59' for his boy to Learn to drive in when he's old enough, same as me. He told me he has quite a few mk1 parts in storage from years ago that he has to sort. And he's kindly offered me first refusal on them. Awesome! And he even has the elusive rear light areas he has cut from a mk1 years ago, and told me they are mine as soon as he digs them out!!! What a result!!!
Good day yesterday , like days like that !
You got your rear panel ordered yet tom ?if i go there and buy them ile sell to you for a good price?? haha nah only joking nice one let me no tho whats left that you dont want i might need the other parts... and i havent ordered it as yet this christmas beer runs are taking a hit on my bank balance so need to get x mas and new year out the way and i can get my head back in gear on the mini. cheers tom
Don't worry mate, you've got 1st dibs on anything I don't need
Christmas = skint Always the case
But heh Ho new year tomorrow !!!
#111

Posted 31 December 2013 - 07:29 PM
Proper job being done here ! Can't wait for updates! :)
Cheers fella!!
I have promised myself I won't rush it and do each job to the best of my ability, generally after a lot of thinking and research !
Comments like yours spur me onward!
Thanks
#112

Posted 05 January 2014 - 08:25 PM
Well I've read the thread from start to finish.
You are far too hard on yourself. Seems like you have some professional panel beating/fabrication and welding skills.
I struggle to believe this is the first mini you have done?
Its a great thread and some truly inspiring work. wish my plug welds all came out as good as yours ![]()
#113

Posted 05 January 2014 - 09:26 PM
Well I've read the thread from start to finish.
You are far too hard on yourself. Seems like you have some professional panel beating/fabrication and welding skills.
I struggle to believe this is the first mini you have done?
Its a great thread and some truly inspiring work. wish my plug welds all came out as good as yours
Gosh I've gone red now !!! Thank you
Yes this is my first restoration , I fancied a project and she fitted it perfectly.
I have been told I doubt myself to much, but it's more of a confidence thing I guess, but it is growing as I slowly progress !!
This forum helps me a great deal though , through information and support , don't think I would be were I am now without it.
Thanks again, and hopefully I should have some updates soon !
#114

Posted 21 January 2014 - 12:21 AM
update time.
been managing to grab a few hours here and there, so i've made a bit of progress. Not a lot, but some :)
I have carried on working on the rear of the car, as i am unable to fund front end parts yet, and the repairs i had to do to the rear didn't involve any major cost.
Firstly i wanted to look at if it was possible to repair my lower rear screen area. As ive mentioned, it aint pretty, but i cant justify the amount a complete new panel would cost. The repair is free, so if it doesn't work, I will reconsider my options.
plan was to remove the lower front windscreen part, as this was in good condition in the areas that i needed to transplant. Now, the profile on the rear is actually different to the front, but only slightly. its all to do with the angle of the first horizontal lip. The difference is only small, and i think you would have to be pretty keen to pick up on it, so probably most people on here will do!
donor part being taken off the front. I took it quite gently, and i didnt want to force or chisel it apart the shape was crucial.
I could now offer up the piece to see what i had to contend with
perhaps this wasn't such a good idea :) hey ho. lets carry on
First fit of the piece to see where the best position was .
I had a few rusty areas to navigate round temporarily, as intend to repair these later. Before i starting chopping, i made myself a nice drawing of the window aperture and various points to relate to such as crease lines etc. i needed to be constantly checking these on the repair. Once i was happy, i marked out and removed the first area for the main repair.
Once it was clamped in place, I then checked all the window aperture measurements were still ok, which they were, so i tacked her in.
as the steel was varying in thickness, i had a couple of welds blew through, but its all a learning curve! Then, I took a few long time to weld up the join. I did it over the course of a few days............i was dreading distortion :) I left the last few inches of the repair piece just tacked, as i need to manipulate them a bit to get the radius into the corner right.
First corner
chop chop
Next repair section cut from the front one, I was quite happy with match to the original panel all things considered
then tacked in.
next I trimmed out the last bit of mess to fit a little repair piece
Hmm i seemed to have no photo of this repair piece tacked in. Well i always forget one, thats just me lol!
so, over to the other corner.
worst area cut out
next donor piece fitted
more clamps the better
I seem to have got carried away at this point, as i have no more pictures of this tacked in.
once I ground the welds and cleaned it up, i was quite happy with the result.
Next i needed to fill in the rather large amount of holes add to the rear panel for various reasons.
first one ready to tack
then welded in
i also did the one above this hole to the left , but forgot a picture for that aswell!
centre section of holes
first clean up
rest of holes plugged and ground back. I also had to do a little bit of fettling on this area as it had had a previous knock and stoved the middle section in a bit. Eventually it ended up like this
I double checked all my measurements again, and it all seemed good.
Gave it all a nice coat of primer, pretty happy with results.
Shame I end up cutting it all out again, but hey, its a learning curve :)
#115

Posted 21 January 2014 - 05:18 PM
very nice mate on those repairs the patience and time these little things take to. looking good cheers tom
#116

Posted 21 January 2014 - 05:22 PM
How's things your end mate?
#117

Posted 21 January 2014 - 05:56 PM
Tell me about it. It would be so much quicker to fit complete new panels, but my budget won't stretch to that. So I will plod along like this, at least it's keeping me busy!
How's things your end mate?
true mate looks good and plus you have kept that money in your pocket! i havent touched it mate need to really but need the money for new house and moving etc. maybe couple of months get back on to it. cheers tom
#118

Posted 21 January 2014 - 08:13 PM
Priorities have to be made for sure mate, and moving definitely comes first :) And on the plus side, the weather may be starting to warm up a little bit when you get back in the man cave!
#119

Posted 21 January 2014 - 08:19 PM
yours will be finished by then ![]()
#120

Posted 21 January 2014 - 09:20 PM
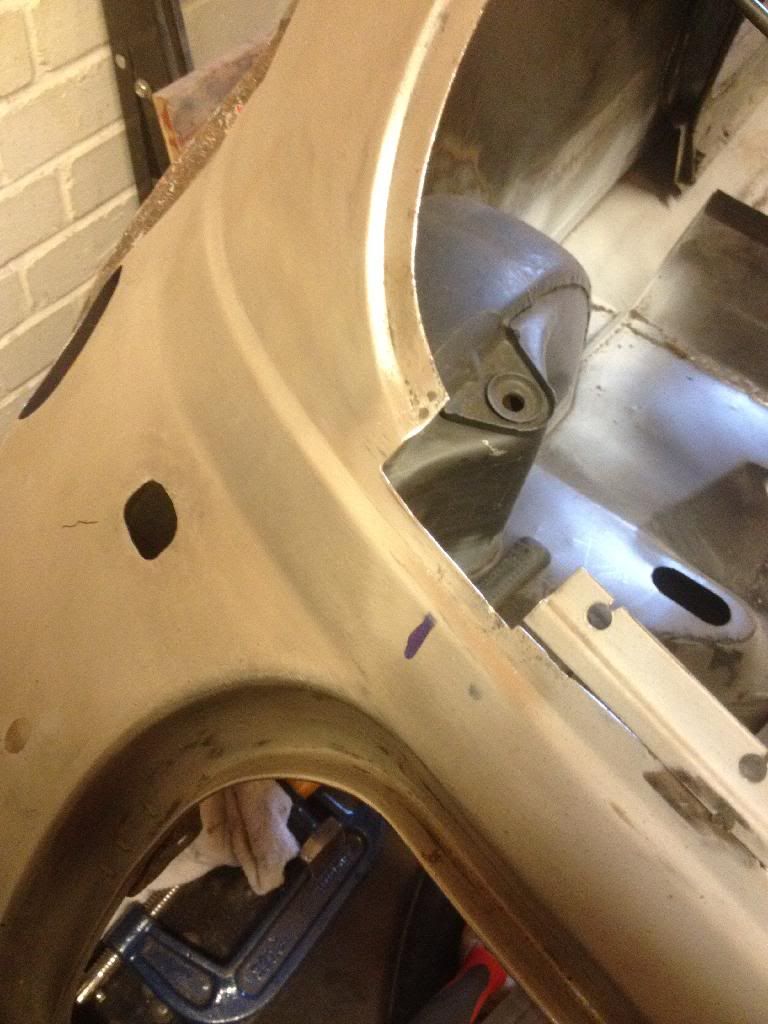
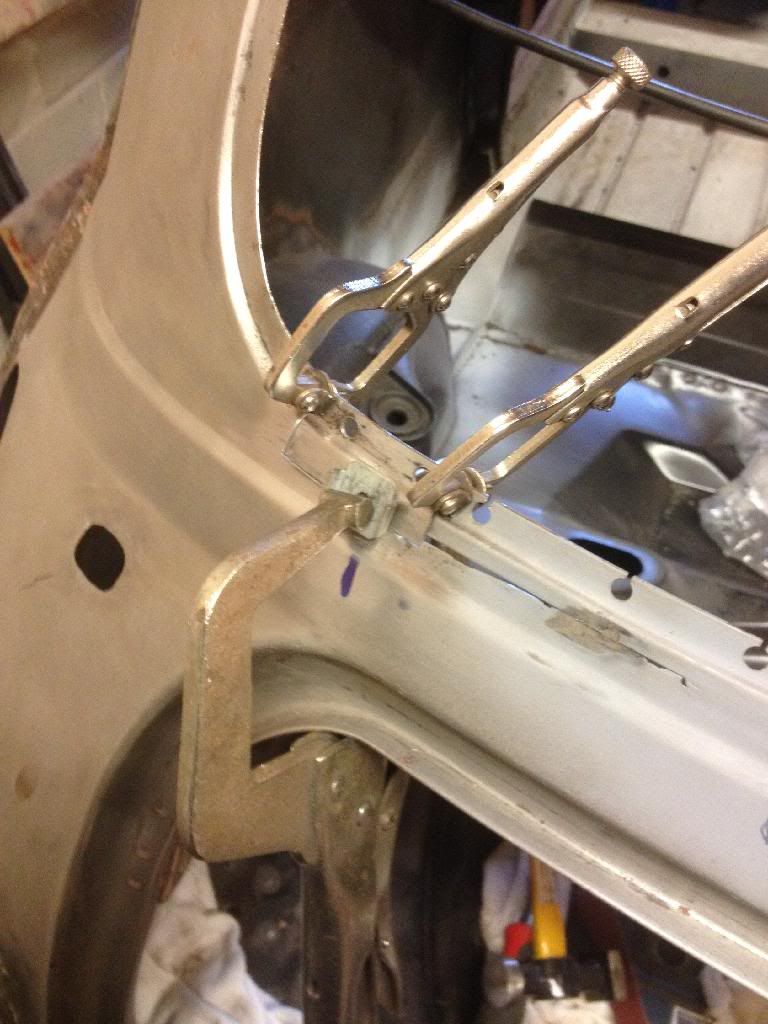
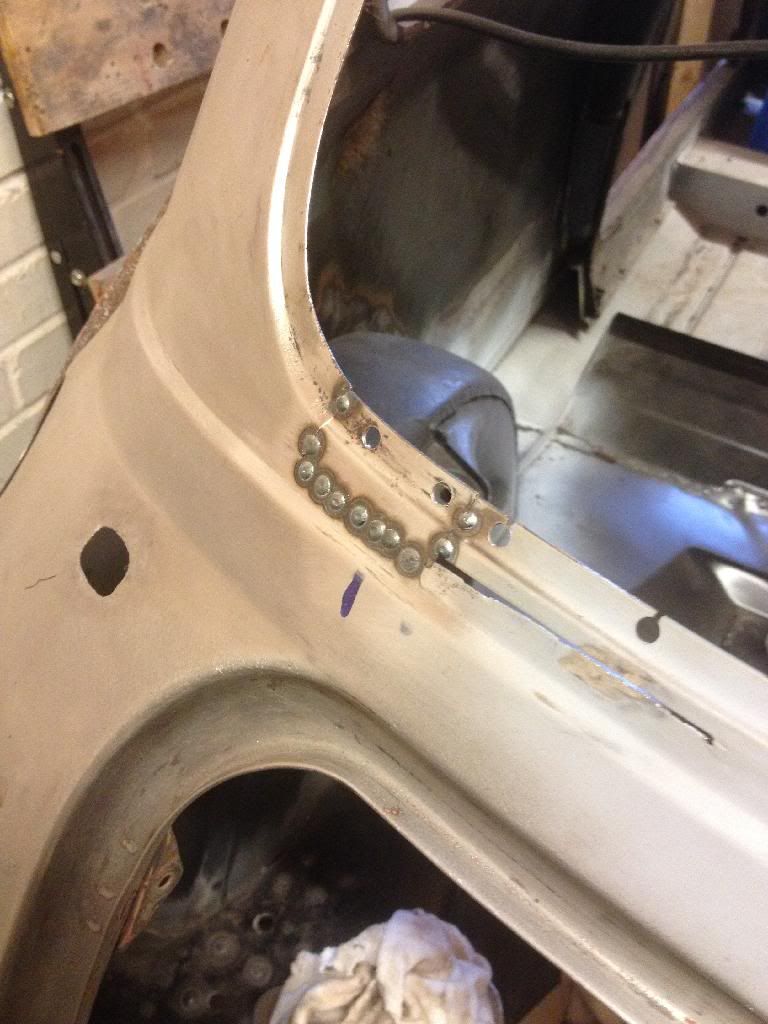
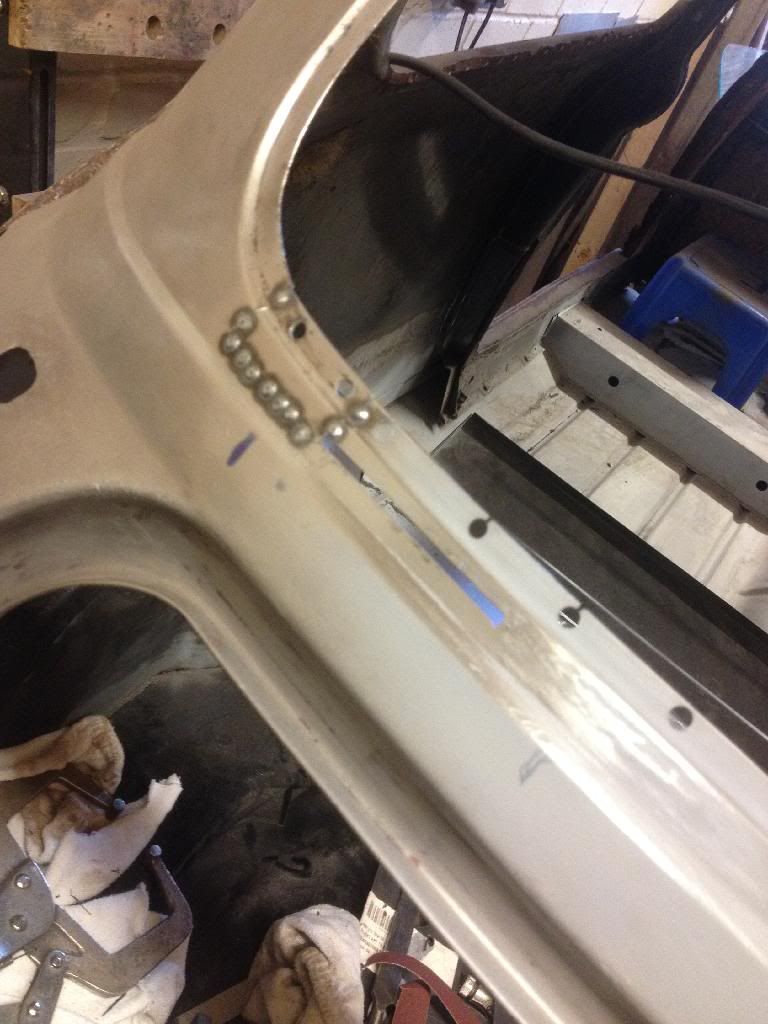
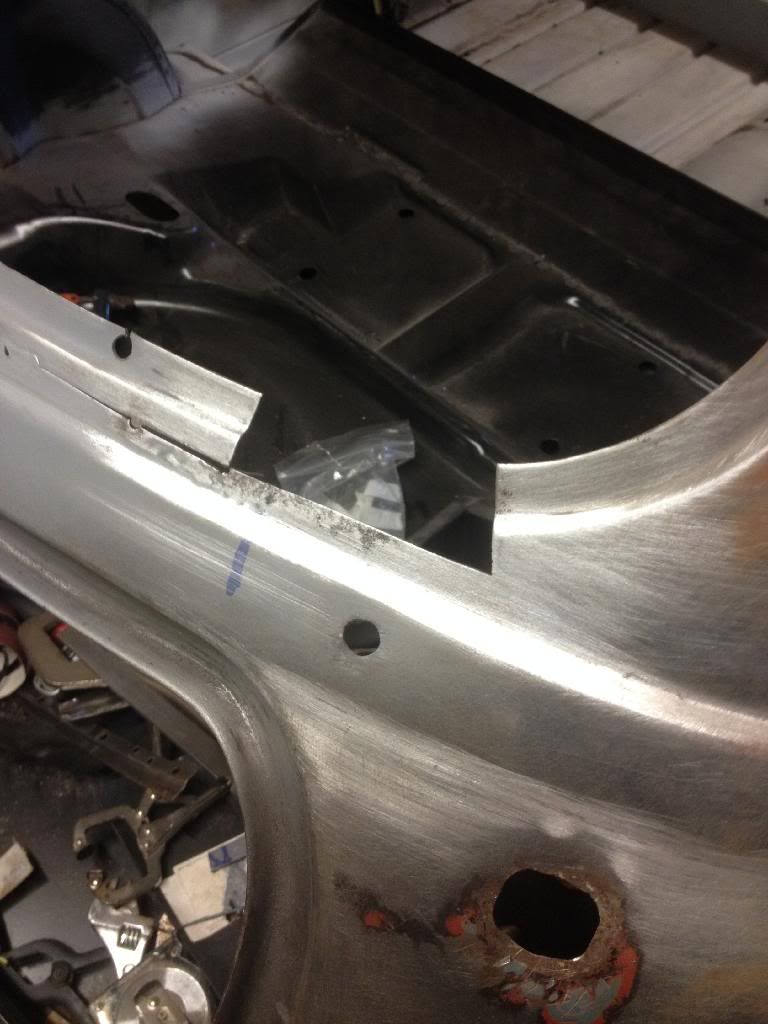
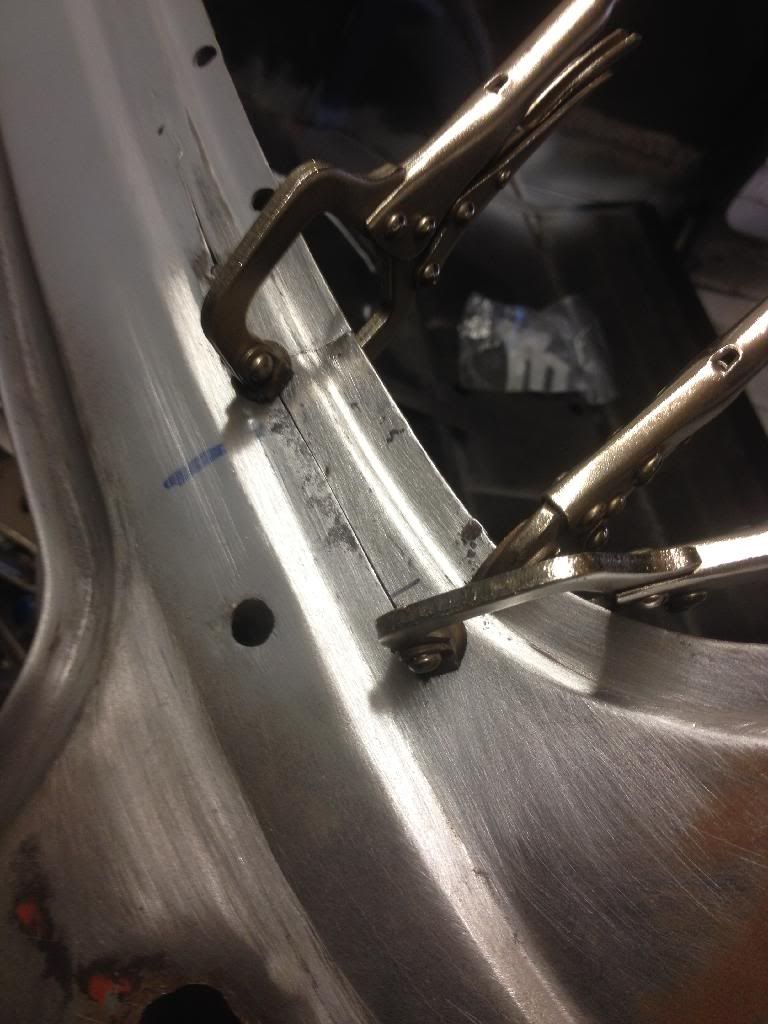
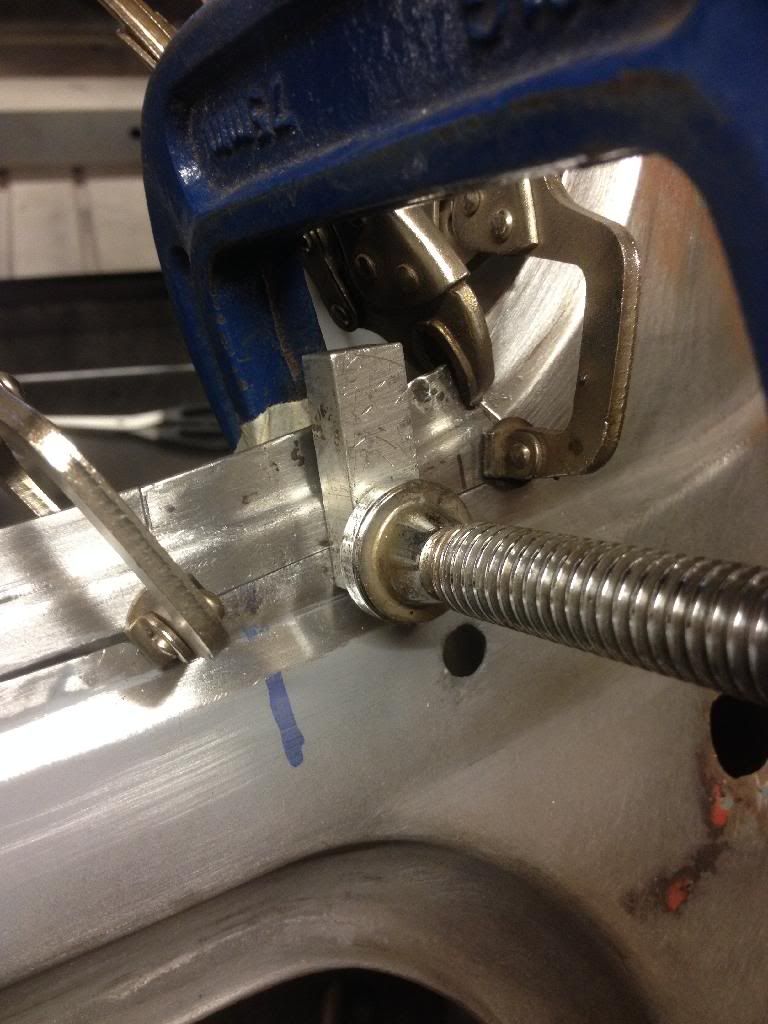
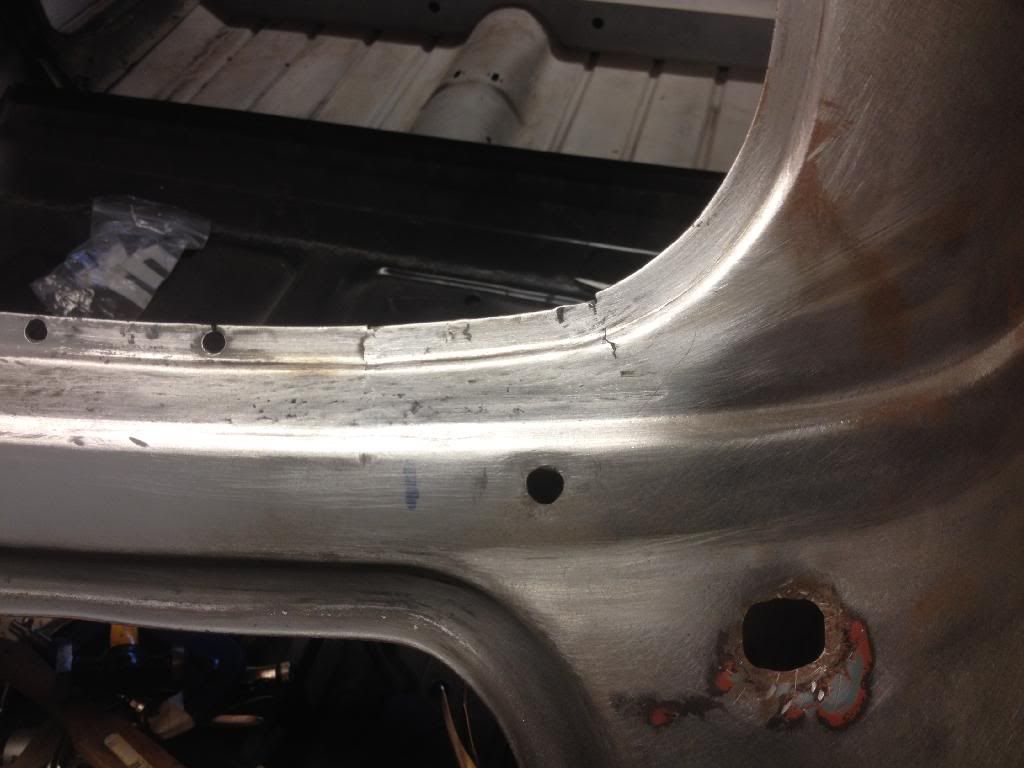
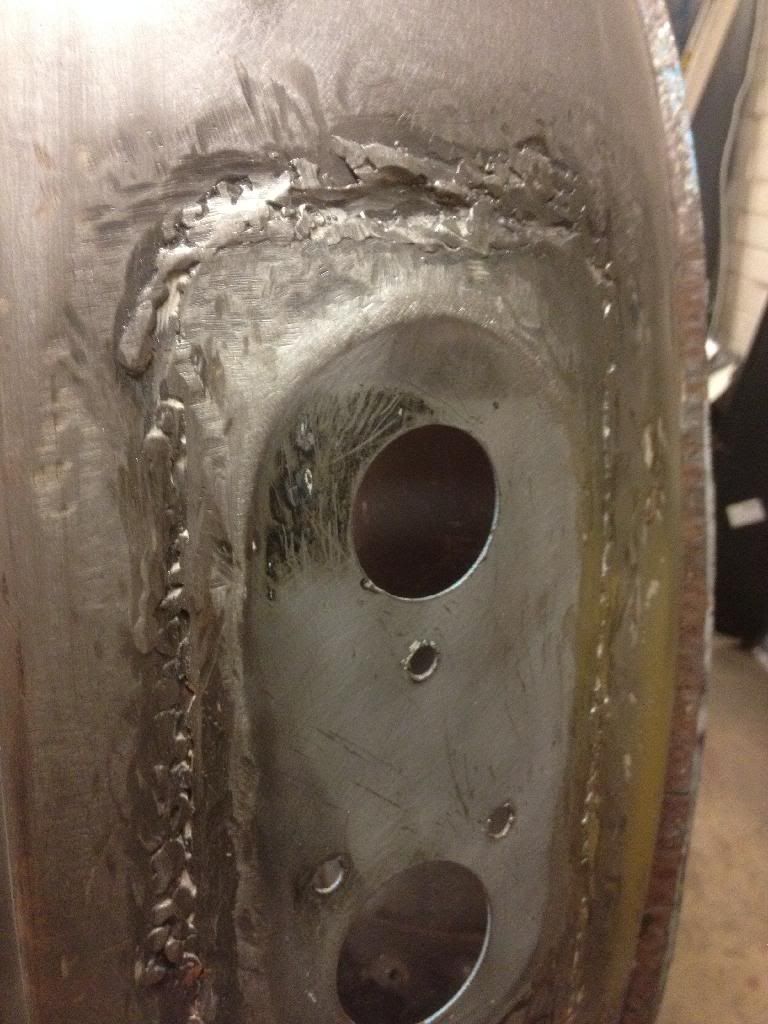
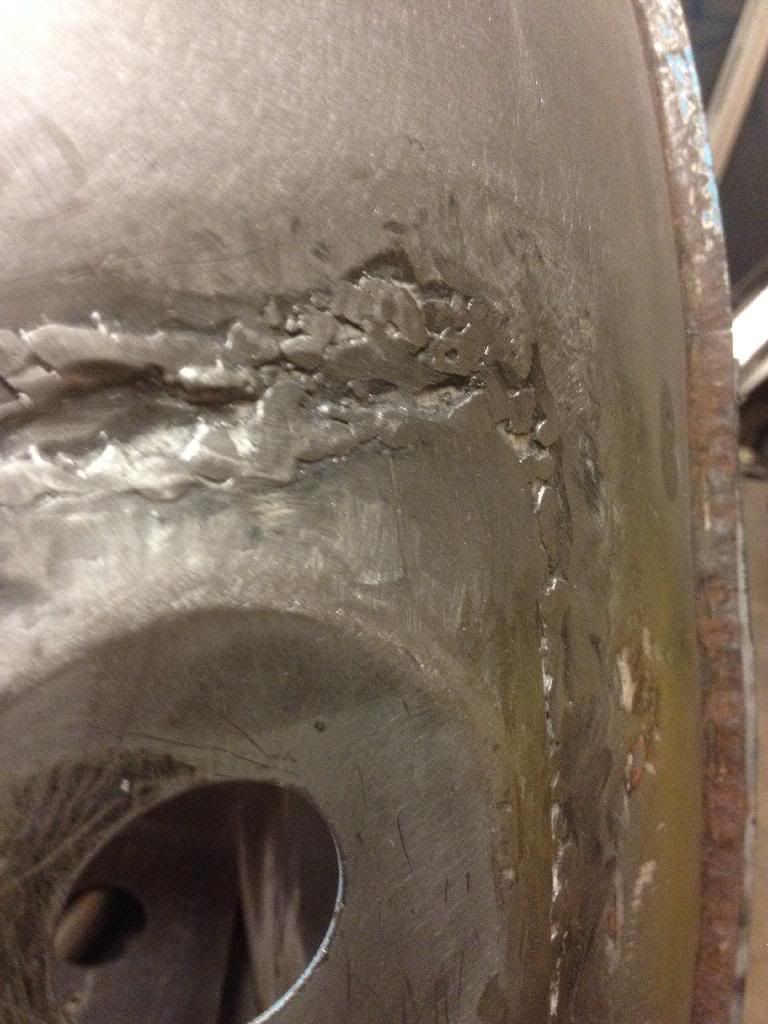
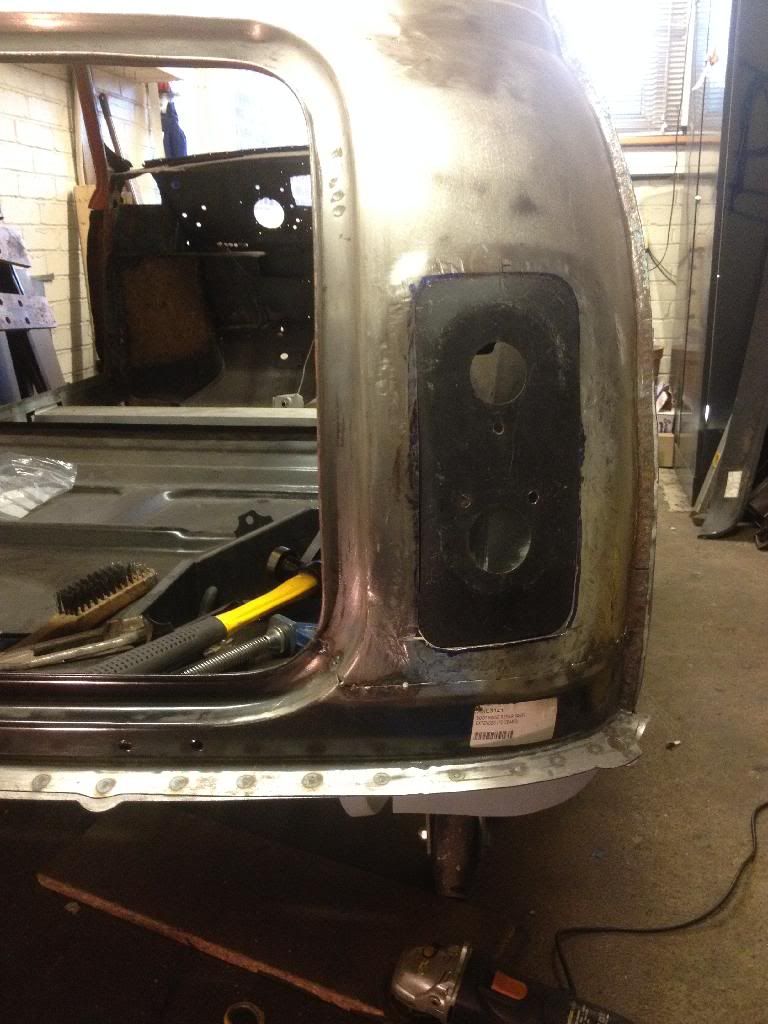
next i wanted to look at the rear light areas, as they also needed a lot of work. They have been cut out for mk2 lights, then the last owned attempted to fit some mk1 adapter plates to try and fix it.
a few attempts to hit the join? I don't think his name was Stevie Wonder, but it should have been !
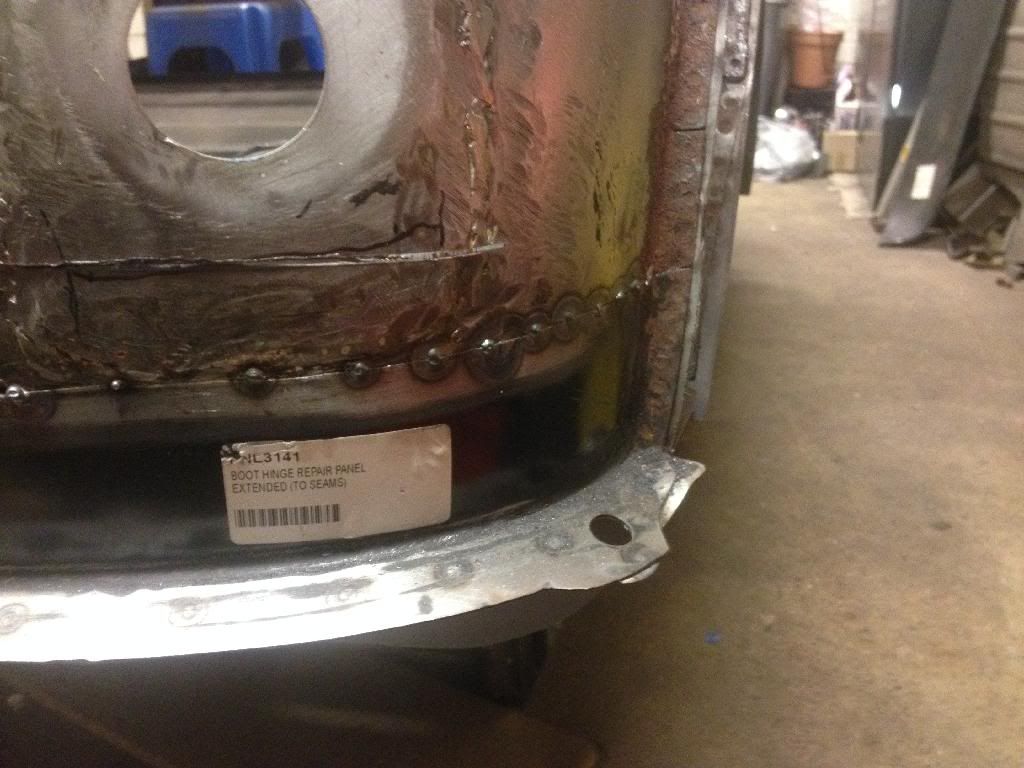
I had previously put a slit across the lower section of the light area, when I was fitting the lower boot repair panel, as it was distorting the shape of the lower area. The repair panel is still only tacked in as wanted to tackle this area as well before welding it up fully. Also, please forgive the tacks on here, they were done at the start of the resto with a scratch tig set I made from an ac inverter stick set. It worked to a fashion, but I did not have the ability to control the power easily while welding, so striking an arc was tricky , as the power was so low. You could only do it by contacting the tungsten tip onto the work piece , which would contaminate the tip straight away. This would lead to an erratic arc and messy welds. I could go on, but I wont :) My mig welder though, I love. I really love it infact. I even gave it a manhug once as it is sooo brilliant. Sorry no pictures of that one......
anyway, back on topic
I decided to remove as much of the plate as possible, so I cut out from inside the boot, following what was left of the original panel behind the repair plate.
As you can see, not a lot left hehe. You can see the nice sandwich metal sandwich here, if you squint ![]()
out with the grinder then
like opening a tin of beans :)
once I ground down the welds, i was left with this. Whoever cut this panel area for the lights obviously used their teeth, whilst blindfolded.
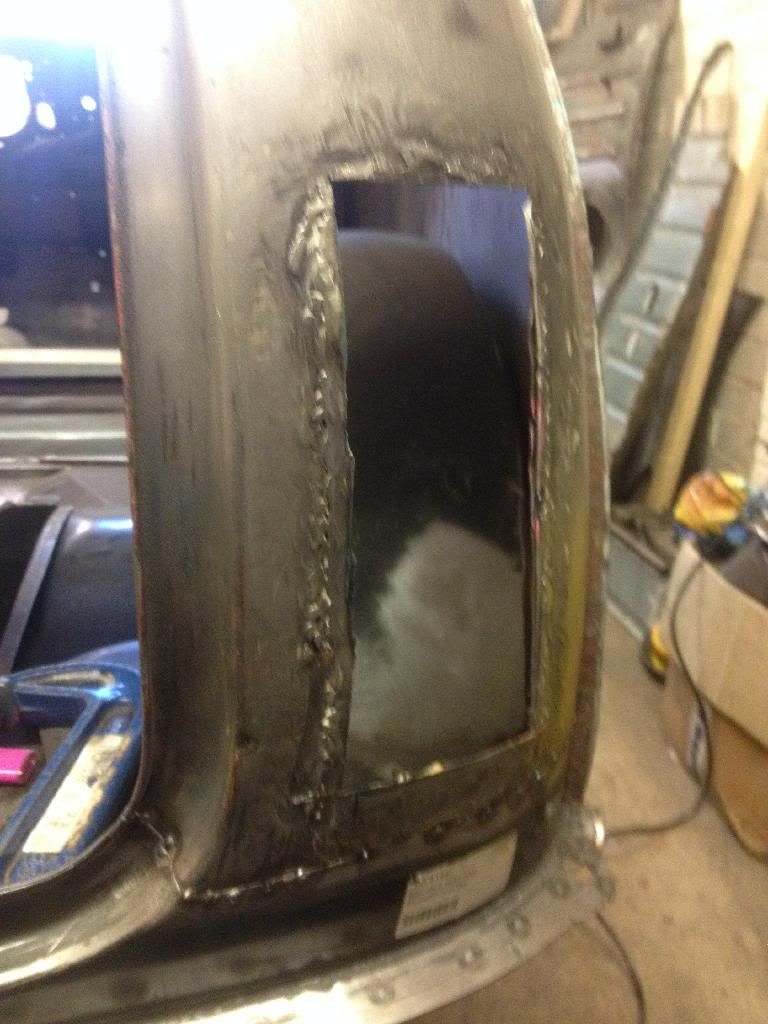
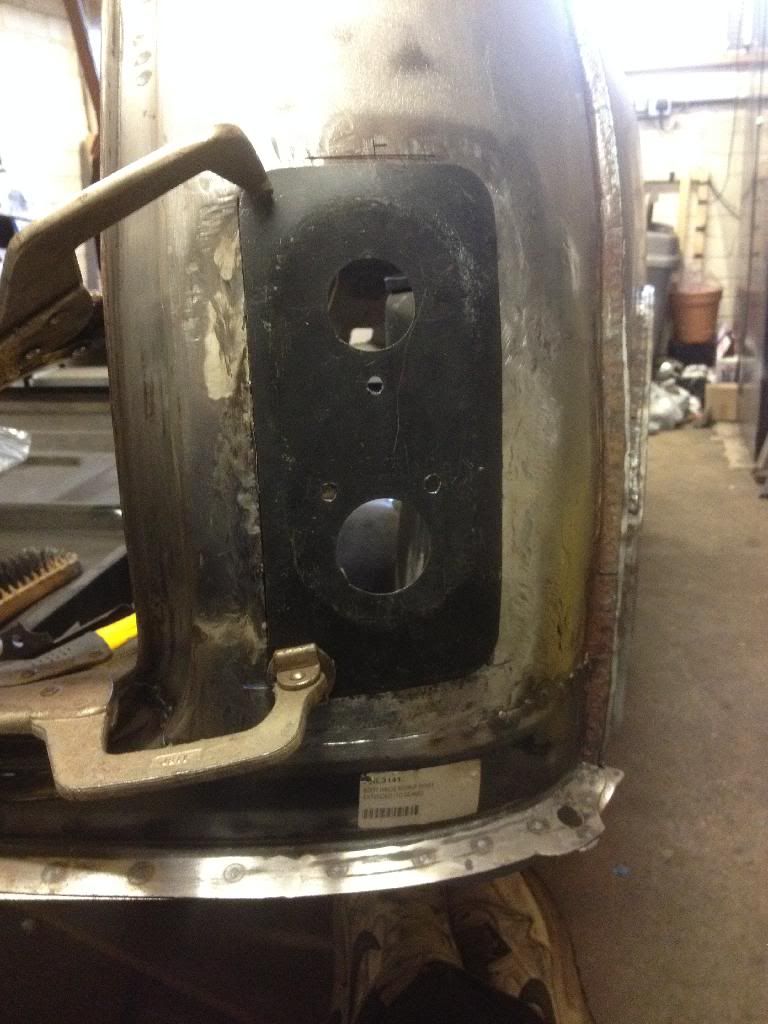
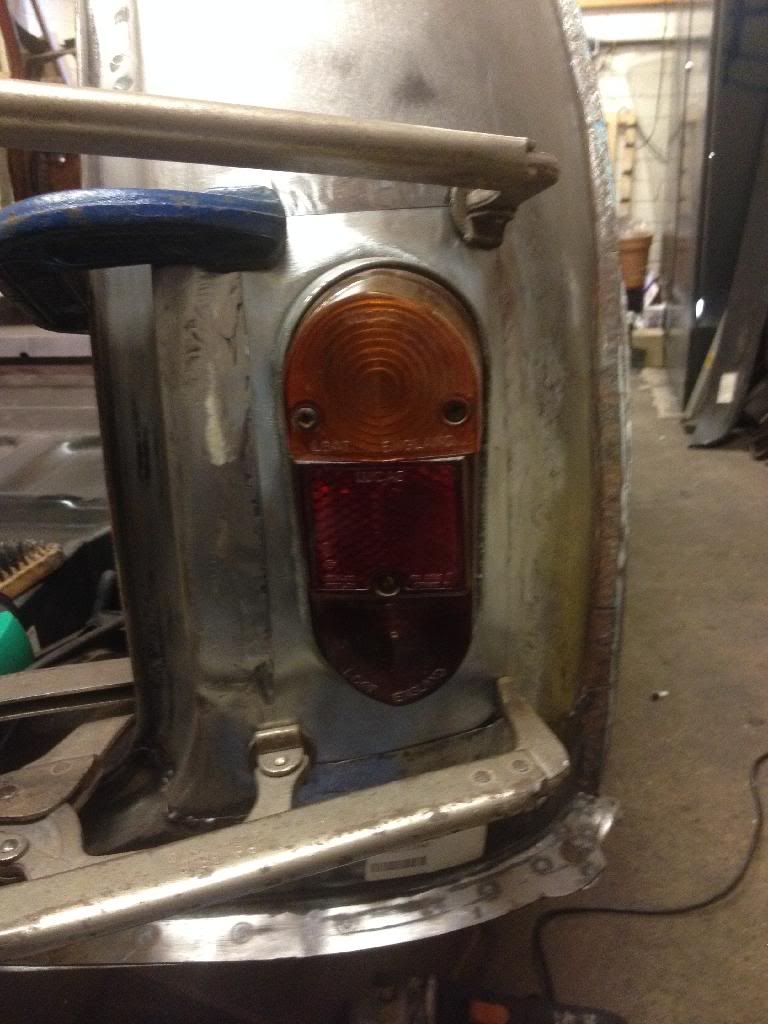
Now the weld mess was cleaned up enough, I fettled the area a little bit to try to get it back as much as possible to its natural shape, as it was no where near really. the worst area was between the bootlid edge towards the lights. I have some new adapter plates, so i offered one up to see what the fit was like. Also, if you look at the seam between the rear quarter and rear panel, you will notice another repair that I have on the list to do.
It was better than I thought it was going to be, to be honest. It also covered the hole already cut in the panel, apart from a very small section on the lower edge, but nothing to tricky to contend with.
I did spent quite a while on positioning these plates, as Tom 2012 kindly took lots of measurements for me from his mk1 to help me get the plates in the correct position in regards to hole position etc. really appreciated, thanks Tom! I've spent a lot of time studying pictures of mk1 rear light areas, as I have always had concerns about getting this area right. It will be a highly visible area, and I want to get it as oem as i can. With this in mind, I am still not convinced I will be using these adapter plates, but it is going to cost me anything to see what i can get the fit like. My main concern with them is the profile of the light mounting area. From pictures of genuine mk1 rears I have looked at, the lower area of the flat light mounting area blends pretty seamlessly into the profile of the rear panel. The adapter plates don't, they have a raised area which runs all the way round the flat light mounting area, and its quite pronounced. I just really want to get to get this area right, but I am looking to source some original rear light sections cut from a mk1 shell. Its a long shot yes, and i've been looking about, but i think they are the proverbial hen's teeth. BUT, I may have found some. I haven't got them yet, but I have been promised them, if he can find them in his hoard of parts. He's a really nice guy and know he will come through, or should I say hoping he will!
So im carrying on regardless ![]()
![]()
![]()
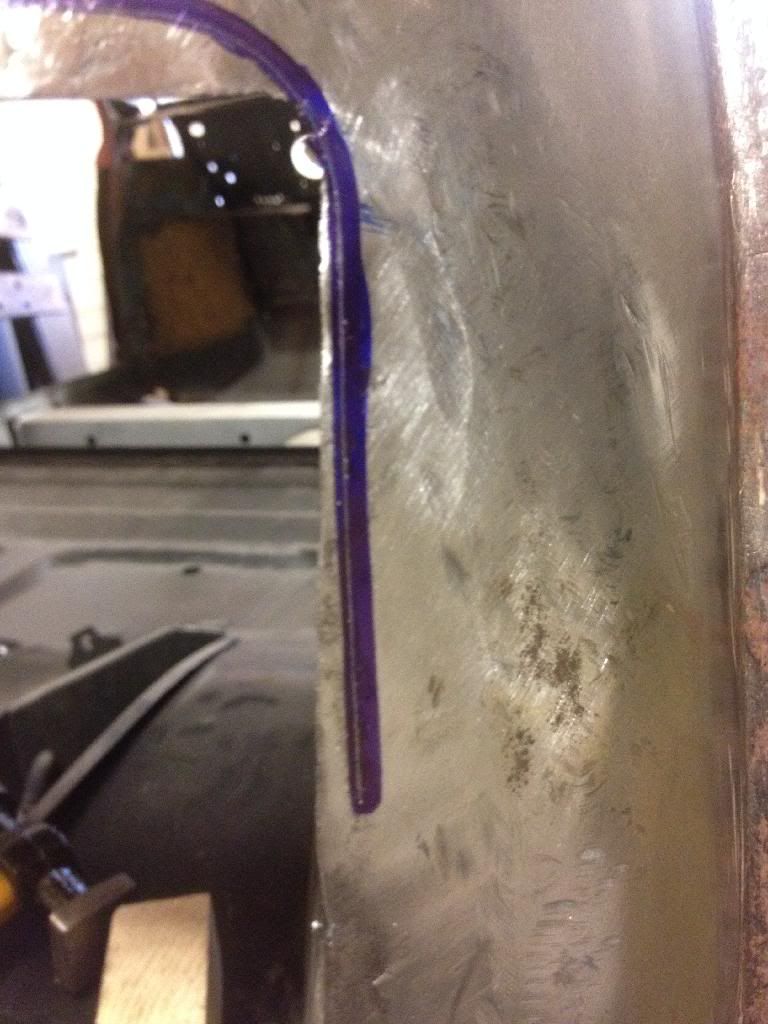
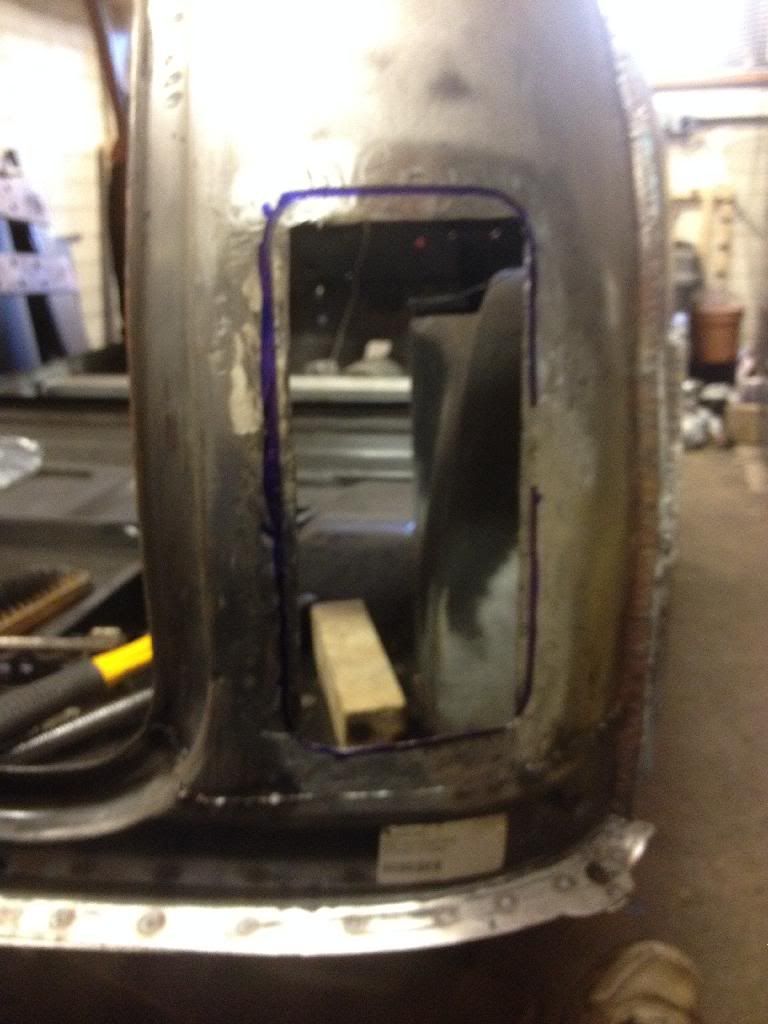
I marked out the area I need to remove
excuse the missing bit where the clamp was and the totally out of focus photo! ![]()
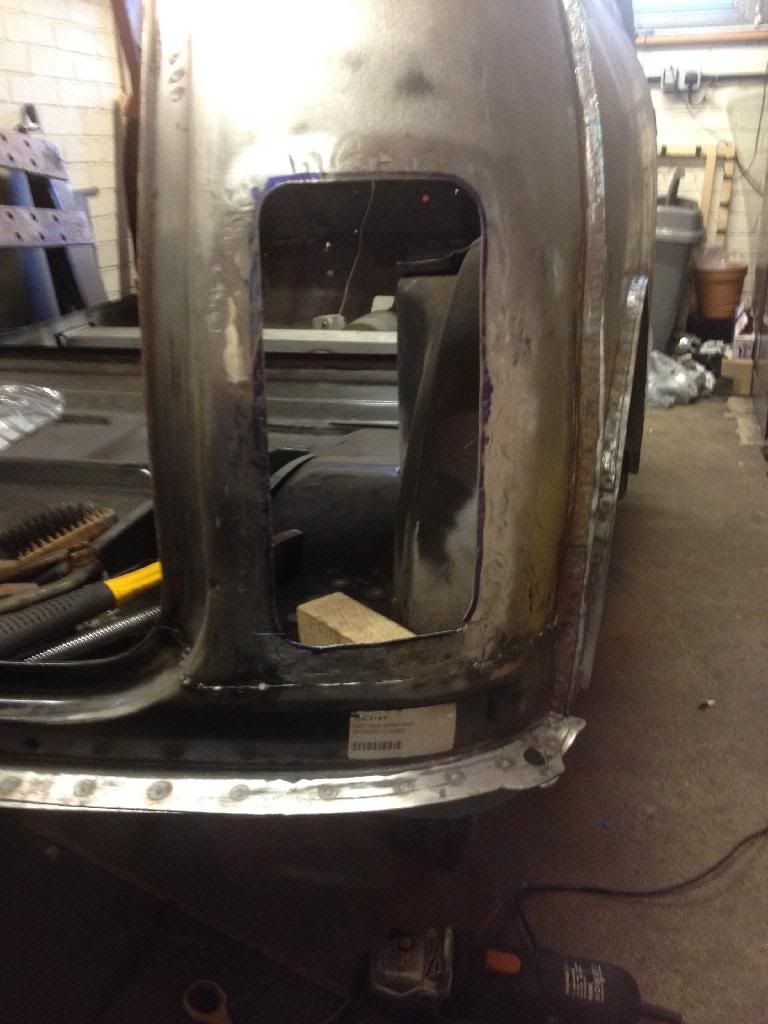
all chopped and edges de-burred
I wanted the plate to be a good fit, as i knew a fair bit of fettling was required to get the curves to match, and didn't want to end up with to big a gap around the plate for welding. I can always take more of, but not easily put it back on again!
Yes i spent a while with a file in case your wondering, to get a good fit, but hey at least I didn't need clamps to hold it in place ![]()
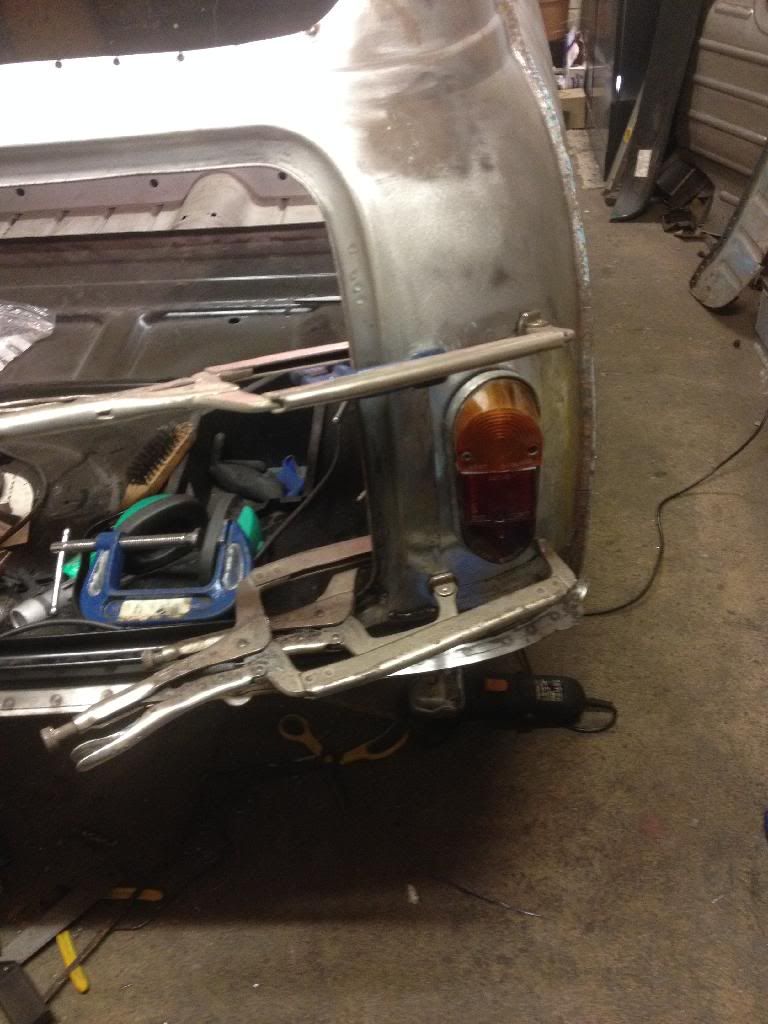
i cleaned the cruddy coating of the adapter plate, had a small amount of hammer time on the plate and rear panel, and tried clamping it in place.
It didn't line up to bad, not great but ok. But it isn't right. And I know if I fit these plates, I will regret it. I know I will. So, i called it a day here on these. At this point in time, I still had no sniffs of rear mk1 panel cutouts, but i was going to hold out. ![]()
1 user(s) are reading this topic
0 members, 1 guests, 0 anonymous users


