Jump to content


Photo
- - - - -

My Mk1 Resto , My First Ever Project......... Wish Me Luck!


  • Please log in to reply
188 replies to this topic

#91 Minilegs

Minilegs

    Mini Mad

  • Members
  • PipPipPipPip
  • 242 posts
  • Location: Norfolk

Posted 26 November 2013 - 11:45 PM

some great work being done there ,  i'm just about to start my mk1 seeing this has inspired me!


Thanks!

So glad it's got your motivation up! It's hard work, but I'm hoping it's going to be worth it in the end. Sometimes I do get a bit lazy, but a browse through some of the inspiring build threads on here and comments like yours soon perk ya up again for more torment !!

If it wasn't for this forum, I wouldn't be where I'mt now I reckon!!

#92 Minilegs

Minilegs

    Mini Mad

  • Members
  • PipPipPipPip
  • 242 posts
  • Location: Norfolk

Posted 08 December 2013 - 09:25 PM

Next up, rear valance closer plates and reinforcing plates for the rear subframe mounting.

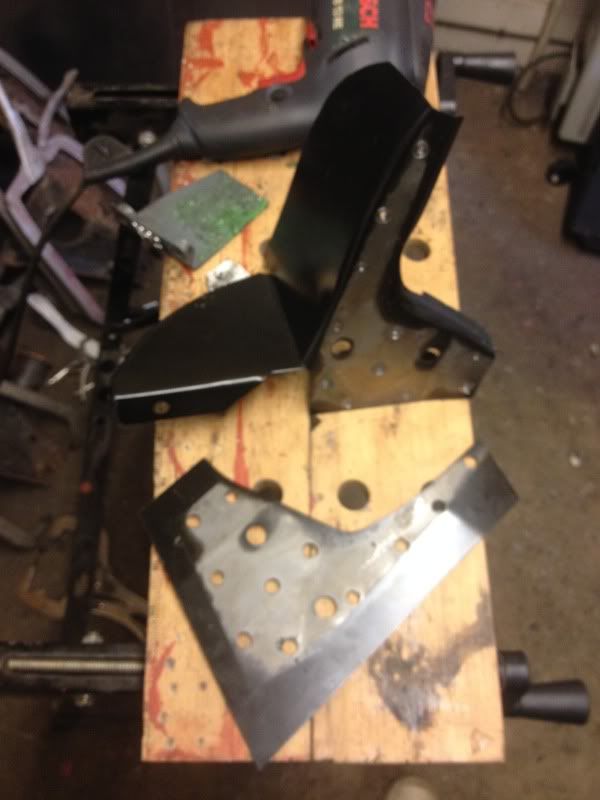
I used heritage ones, as I had nothing to start with, and they came with the reinforcing plate, already spot welded together.

However , after a trial fit, they just didn't seem to fit right, and I wasn't happy with them. So I decided to split the parts, and mount them one at a time.

Spilt
null_zpsa5a486a4.jpg

As you can see, not a lot between them , so glad I did split them really.

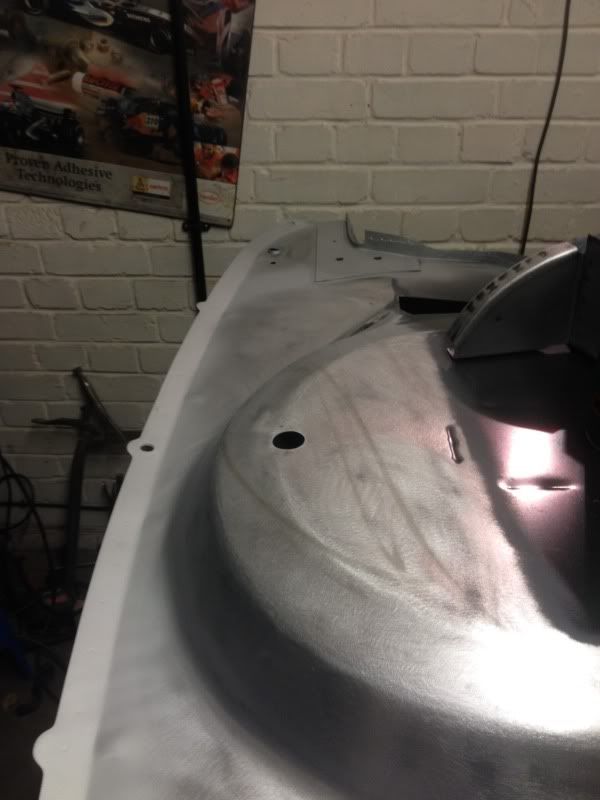
I prepped up ready to fit the plates, and used weld thru primer on the mating faces.
null_zpsb28a414a.jpg

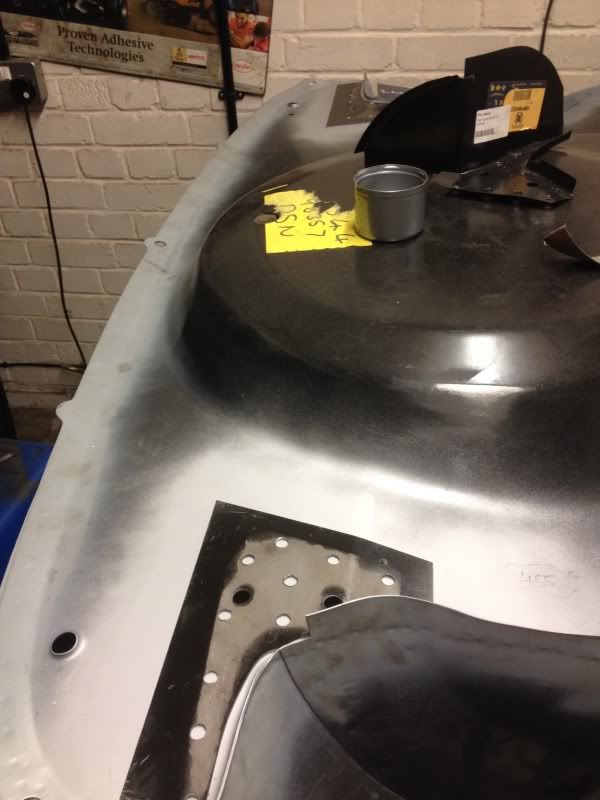
I used the subframe holes as datum on the boot floor to position the plates, and both plates sat nice and tru in relation to each other, and also ran parallel to the the wheel arch edges.
null_zpsda6d3ccc.jpg

Happy with both of them,gotta lug welded them, then flushed them back

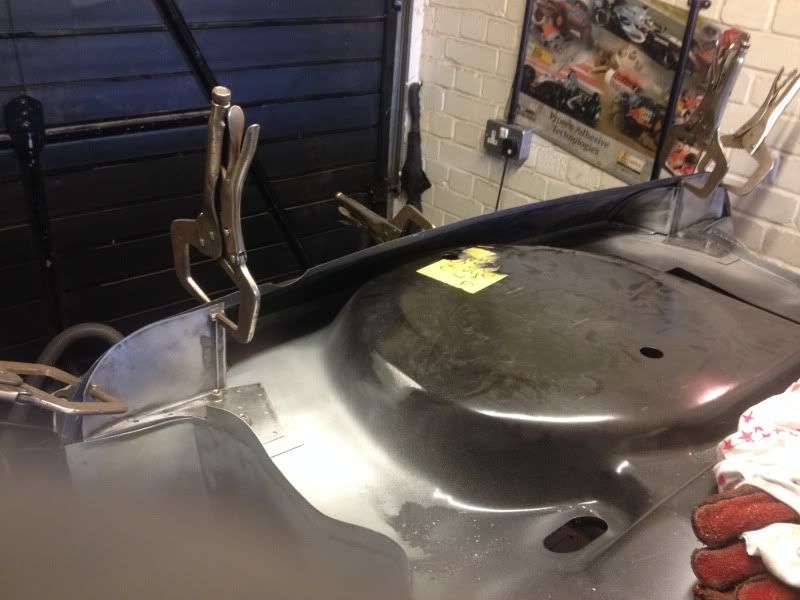
Using the mounting holes as datum again, I started on the closer plate piece. This proved a lot tricky than I thought it was going to be. The main problem I had was my pattern rear lower valance. It came with the car, and As I'm on a budget, I got to use it. It will be ok with a bit of work, but it needs to be fettled to suit the closer plates, but as mine aren't fitted yet, that's tricky. And I need the valance on to help position the closer plates . Hmmmmmm . So the only way was attack it until it looks right!

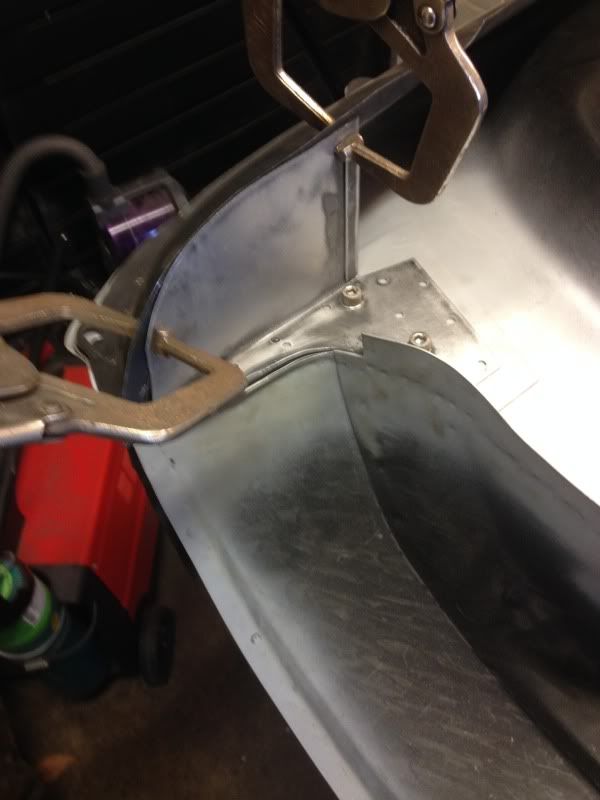
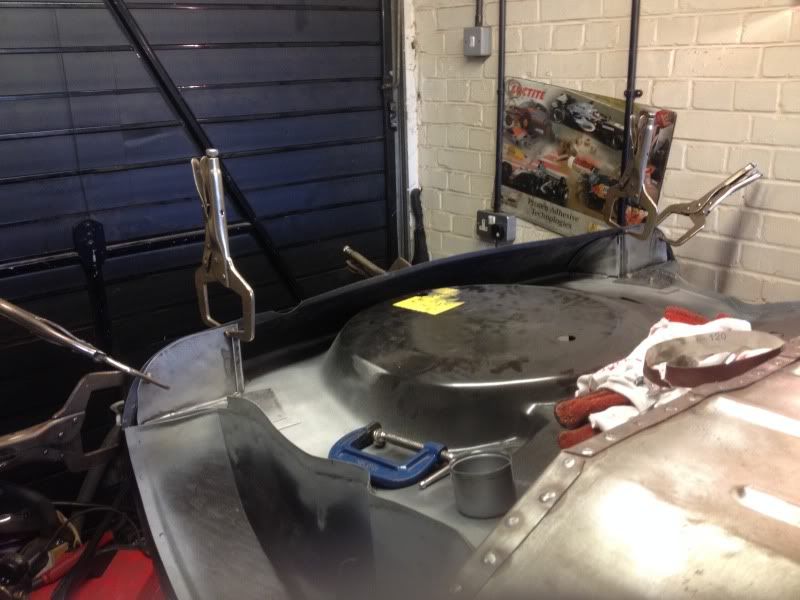
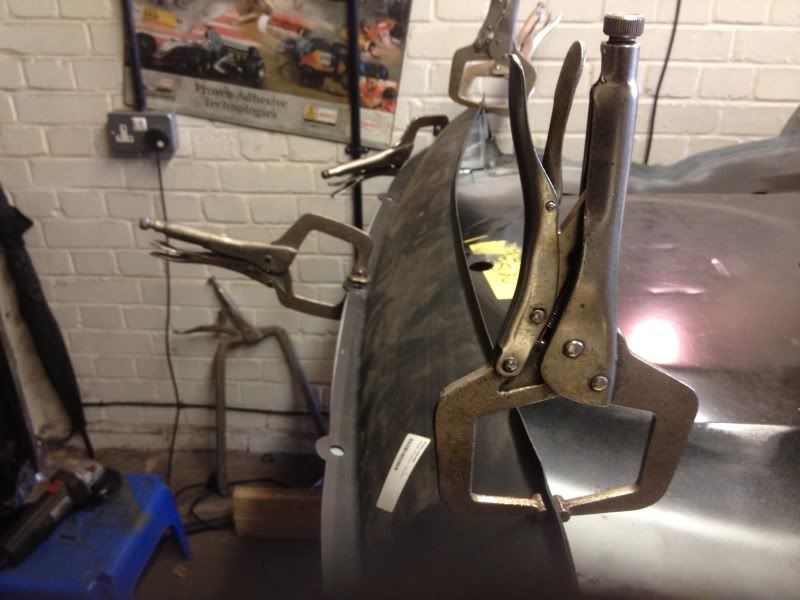
Lots of clamps needed for this one!
null_zpsd9dd5cde.jpg

null_zps02a0f3d6.jpg

null_zps437c563b.jpg

null_zps23b601b4.jpg

After a lot of jiggling and bangin, I got a fit I was 97% happy with, and as I wasn't planning on fitting the rear valence yet, I decided that was enough , and to fit the closer plates.
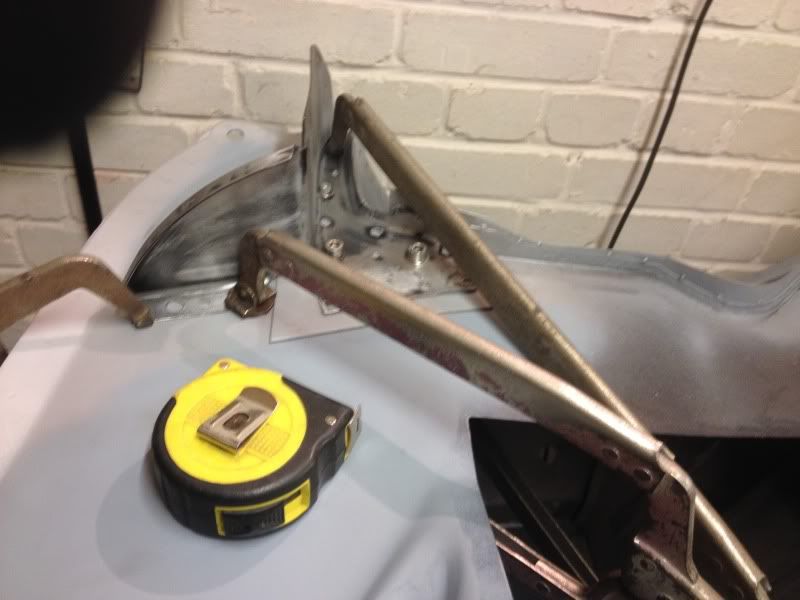
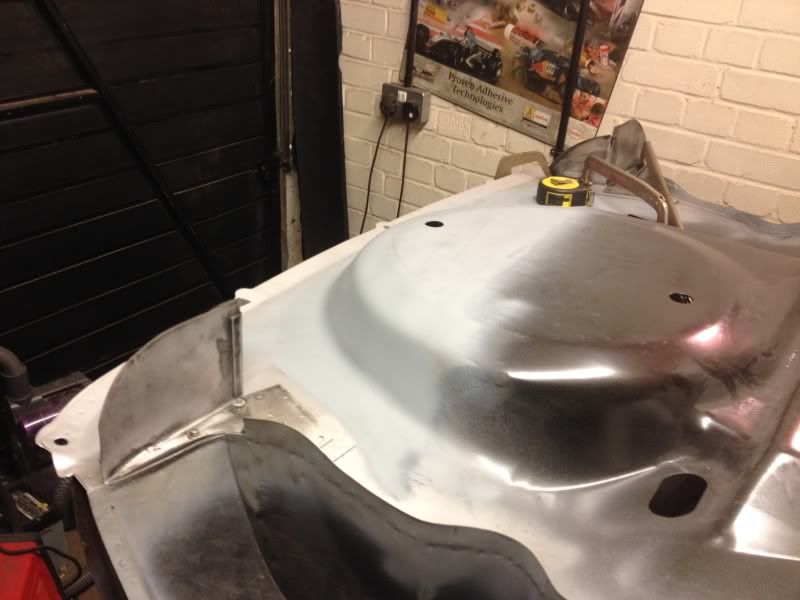
null_zps3ed78ac0.jpg

null_zps9ef0bf43.jpg

I decided to weld them on with the lower valance clamped in position too, as its all going to help keep things in the right place when welding.
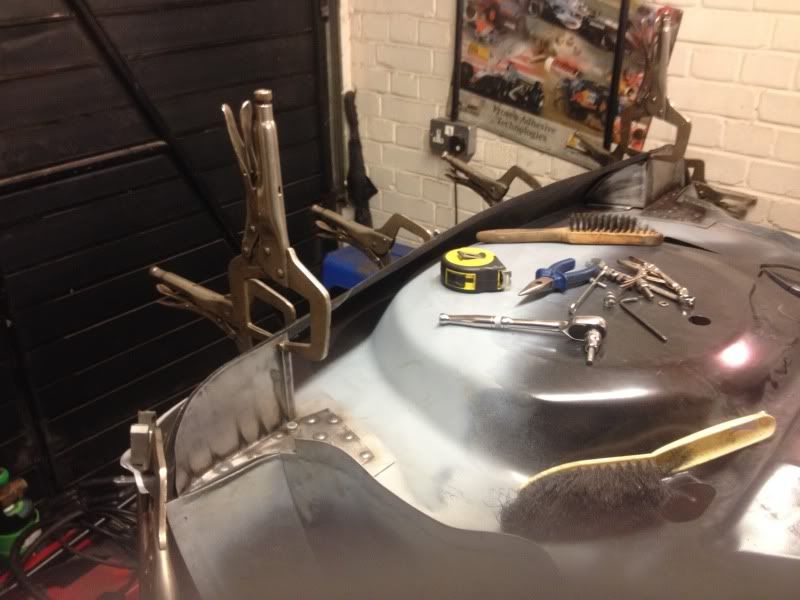
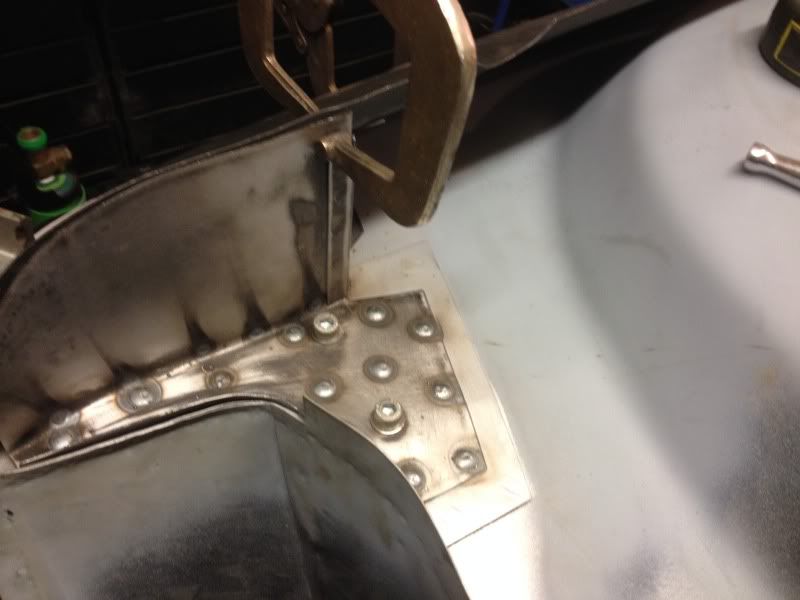
null_zps01faa312.jpg

null_zps9d6b10df.jpg

After these were fitted , I closed up the lip on the rear wheel arch face and closer plate, and seam welded them together. In my true style though , I forgot to get pictures of this, as the next step was to turn the car the right way up, as Ive been looking forward to that moment for ages!

Thanks

#93 Minilegs

Minilegs

    Mini Mad

  • Members
  • PipPipPipPip
  • 242 posts
  • Location: Norfolk

Posted 08 December 2013 - 09:35 PM

Right, the cars been upside down for far to long now, so I'm happy I'm now at this stage!

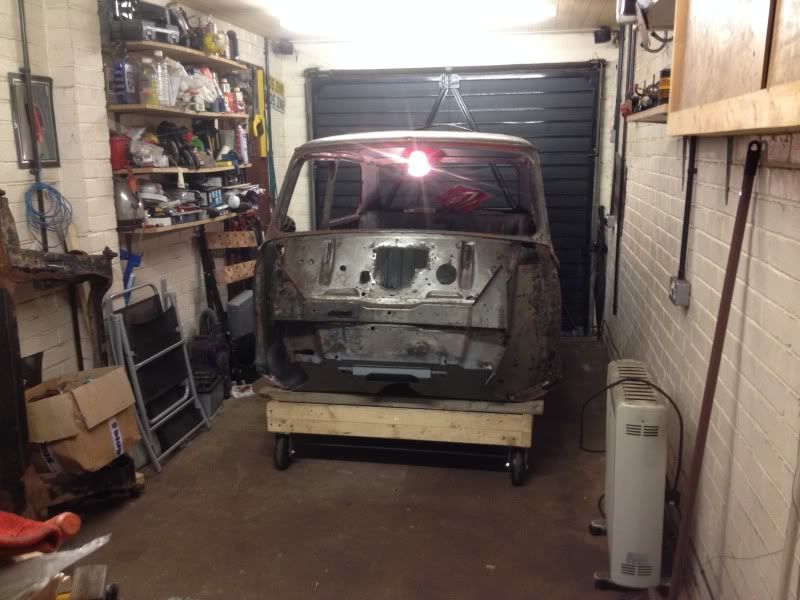
She has been sitting in a cradle I made to fit the roofline when she was upside down, so I decided to use this again with a little bit of modification, for her to sit on.

I have access to plenty of pallets , so getting wood wasn't a problem, and I had a set of wheels donated to me, which would make her easier to move about . They are all fixed wheels, but that's not a prob, as I had a big bit of wood to help steer it about!

Turning it over was a bit precarious , as my garage is not the biggest, and nor was my helper, my misses, but we did it with out to much drama! Not photos of the progress I'm afraid , but some of end result !


I've finally got a rolling chassis! ( well kinda, but it's close enough for me :-) :-) )

null_zps32f8c5ea.jpg

Mile stone reached. Next one is in paint I guess.

Thanks
#94 Jase

Jase

    One Carb Or Two?

  • Traders
  • PipPipPipPipPipPipPip
  • 1,165 posts
  • Location: Wales

Posted 08 December 2013 - 09:53 PM

excellent work


#95 Minilegs

Minilegs

    Mini Mad

  • Members
  • PipPipPipPip
  • 242 posts
  • Location: Norfolk

Posted 08 December 2013 - 09:58 PM

Thanks jase.
Slowly chipping away at it now !!!

#96 ToM 2012

ToM 2012

    Up Into Fourth

  • Members
  • PipPipPipPipPipPipPipPipPip
  • 4,066 posts
  • Location: halesowen

Posted 08 December 2013 - 10:45 PM

well done mate looks fab! you might as well look for your next project as this will be finished in a couple of months for how fast you work.  =]


#97 Minilegs

Minilegs

    Mini Mad

  • Members
  • PipPipPipPip
  • 242 posts
  • Location: Norfolk

Posted 09 December 2013 - 12:35 AM

well done mate looks fab! you might as well look for your next project as this will be finished in a couple of months for how fast you work.  =]


Ooh Tom how I wish that was true :-). However, I am keeping my eyes open incase something local pops up!

#98 Minilegs

Minilegs

    Mini Mad

  • Members
  • PipPipPipPip
  • 242 posts
  • Location: Norfolk

Posted 09 December 2013 - 10:09 PM

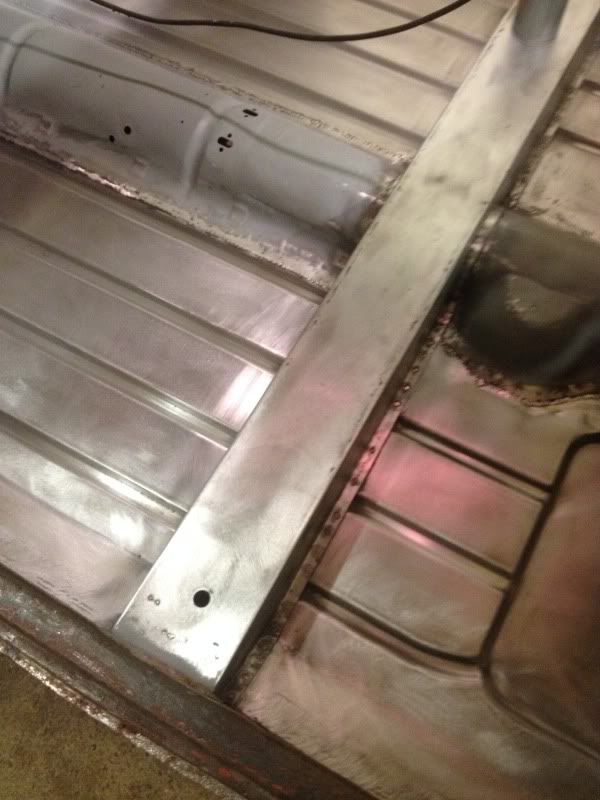
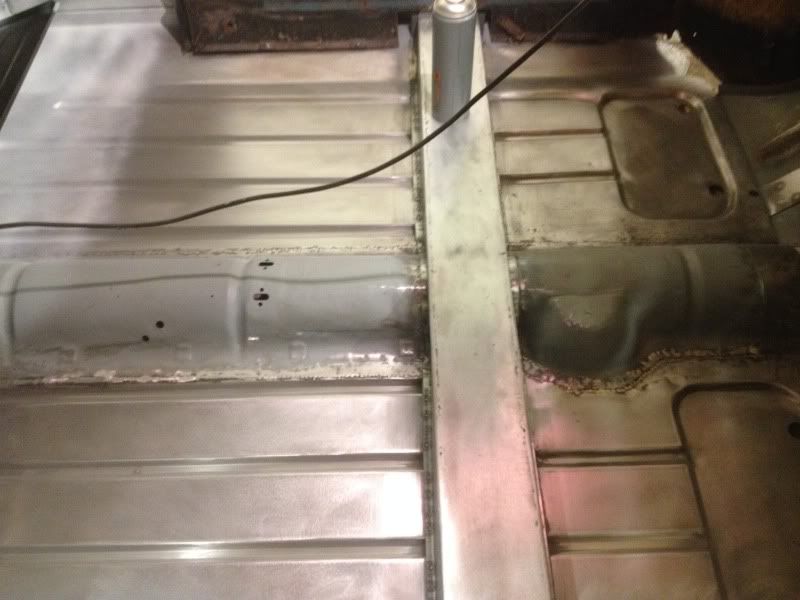
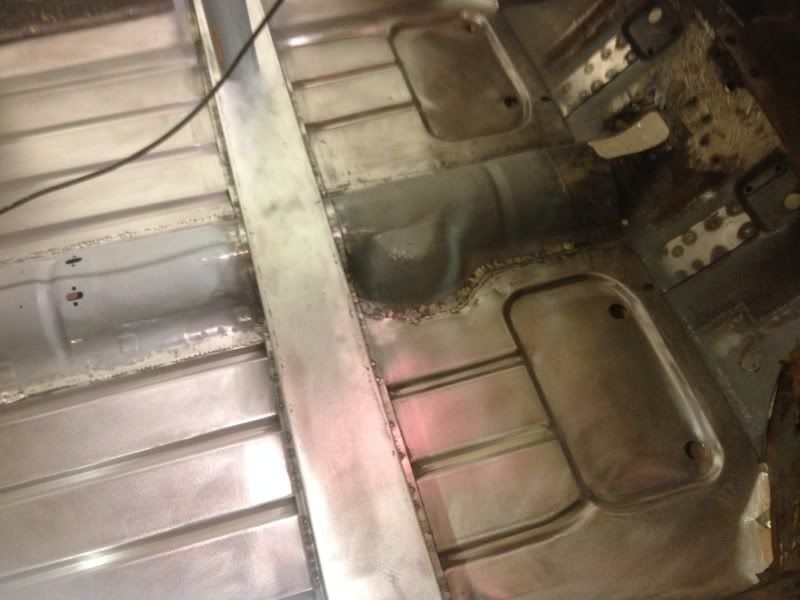
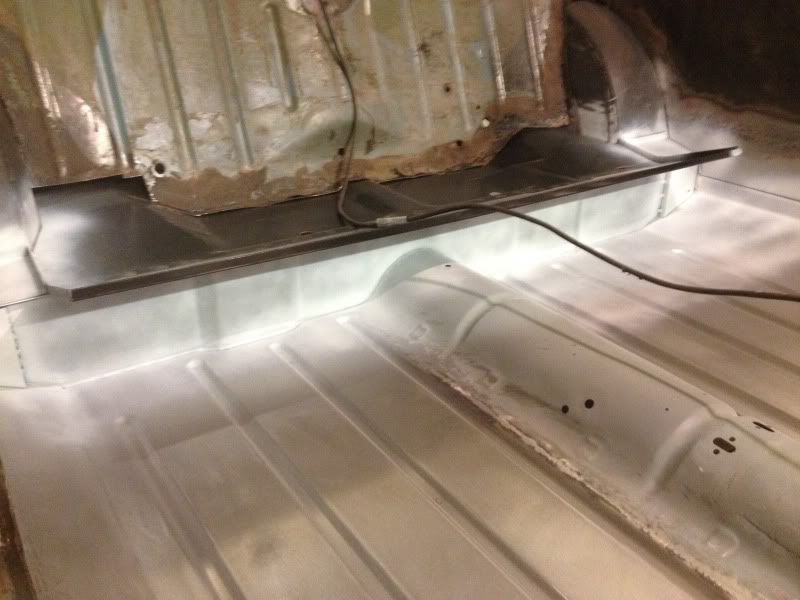
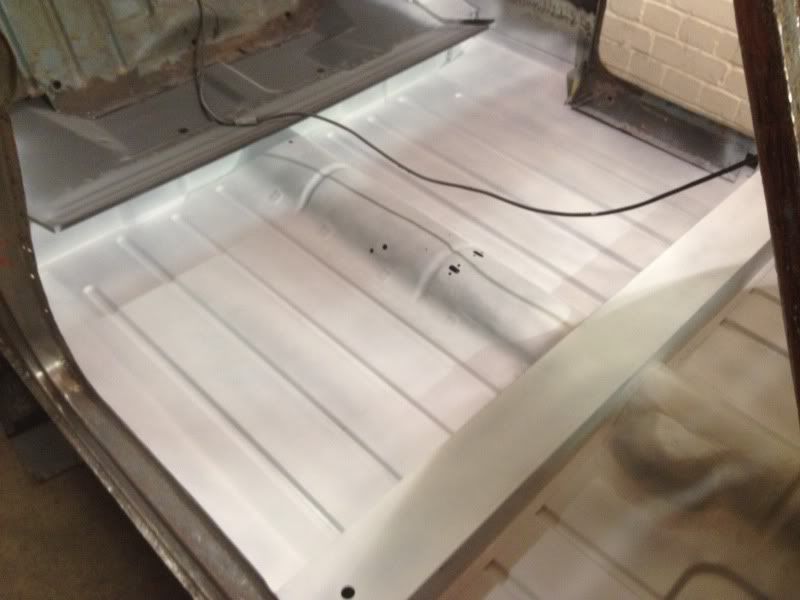
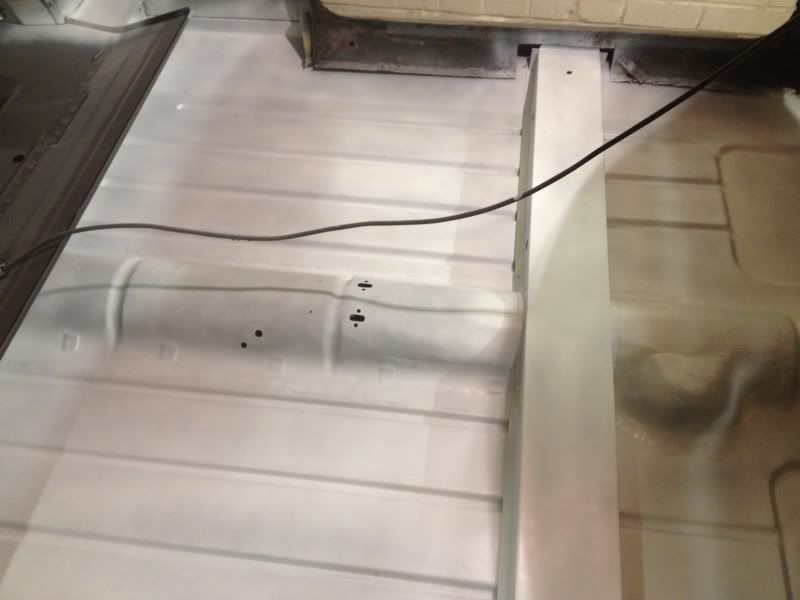
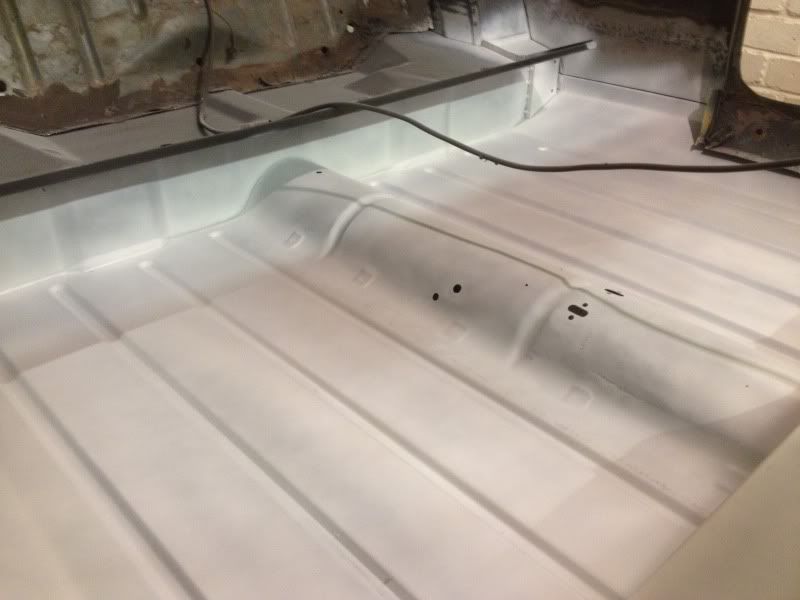
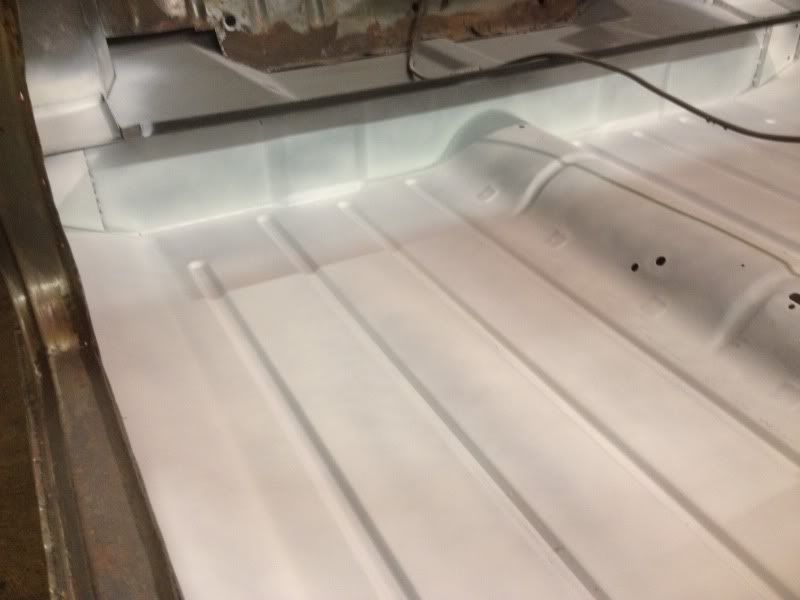
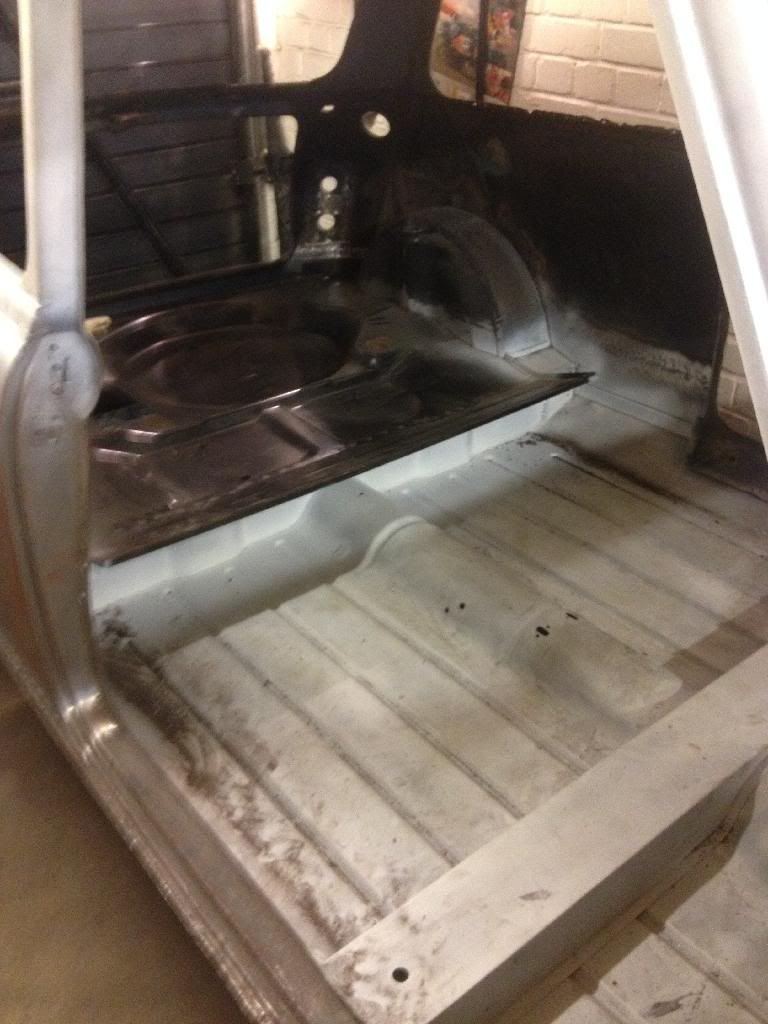
Now she is finally the right way up, I could tackle the other side of the floor pans easily. The welds needed grinding down and a lot of surface rust had appeared on the new floorpans, as they were bare metal when I got them . It's funny really, as all the original panels I had taken back have remained fine, yet the floor pans rusted. Proves to me that the steel was better in earlier years than available now, as I have heard numerous times before from various people. Perhaps it's better not to think about what they added at the foundry , to make it more rust resistant :-)

On the floor pan welds, I left them slightly proud for better strength, the same as the other side, and flushed off the plug welds on the crossmember.

I had previously etched the centre tunnel, so I dressed the pans and crossmember where i could ready for a coat of protection ( and before anyone says it, no I didn't put them in a fancy dress outfit :P !). There are bits I can't do till I replace the inner sills, so I will do them later.

null_zpsdfb9138f.jpg

null_zpsc391fffa.jpg

null_zpsc31f0024.jpg

null_zps4f8d5e16.jpg

null_zps1f9692f4.jpg

null_zps742fa973.jpg

null_zpsb6fb9833.jpg

null_zps08e39cfa.jpg


It's funny really, but when I turned the car over and saw the car the right way round , it felt like I hadn't really achieved much as it still was rusty I guess . It's amazing really how painting one section of the car has made it feel like real progress, and now I feel like I'm getting somewhere, and perhaps I may be able to finish the project. I have doubted myself a lot before tackling certain jobs, but I have managed to do them when it came to it . I had two main worries, floors going in, and believe it or not, my rear window/ parcel shelf repairs.
Well the floor pans are in, they ain't perfect, but I'm more than happy I guess for my first time! Rear window I'm coming for you!!! :-)

Thanks
#99 ToM 2012

ToM 2012

    Up Into Fourth

  • Members
  • PipPipPipPipPipPipPipPipPip
  • 4,066 posts
  • Location: halesowen

Posted 09 December 2013 - 10:39 PM

absolutely fabulous!! tap on the shoulder there mate. what a difference a bit of paint makes it look? cant wait for the next update! cheers tom 


#100 Minilegs

Minilegs

    Mini Mad

  • Members
  • PipPipPipPip
  • 242 posts
  • Location: Norfolk

Posted 09 December 2013 - 10:40 PM

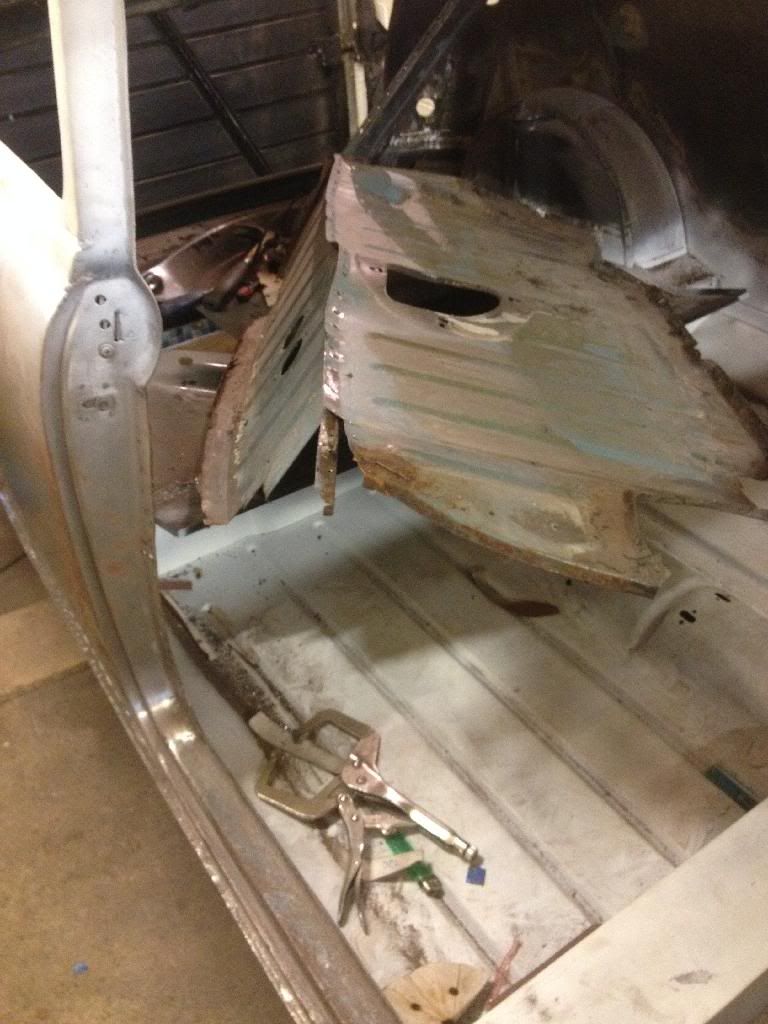
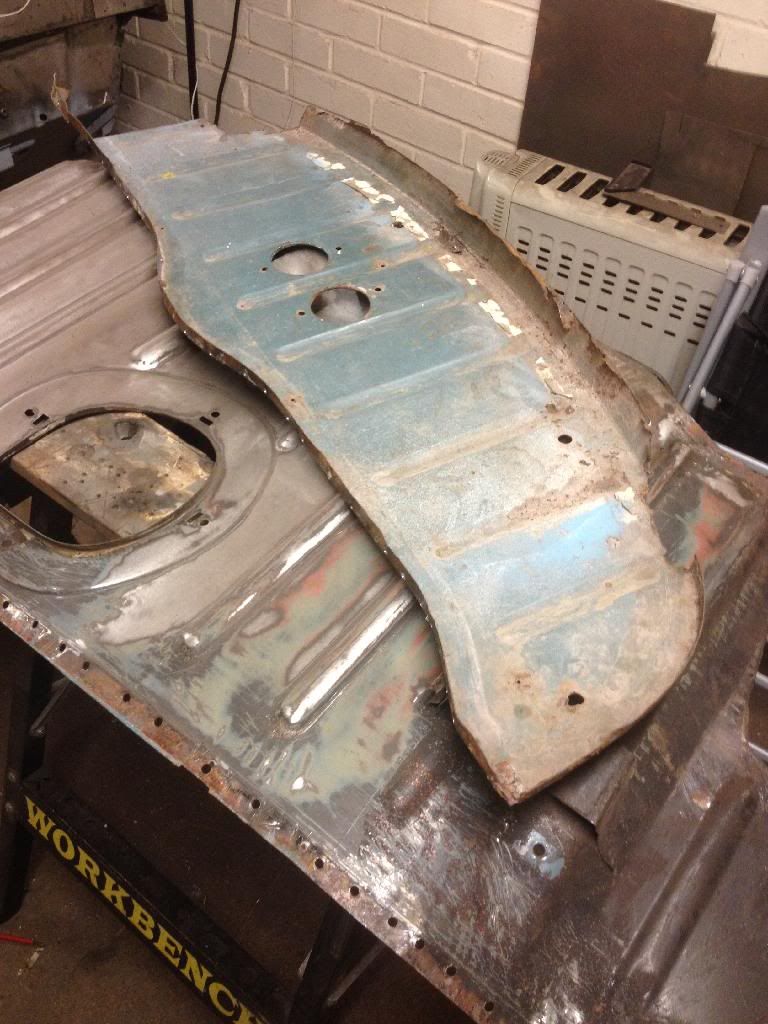
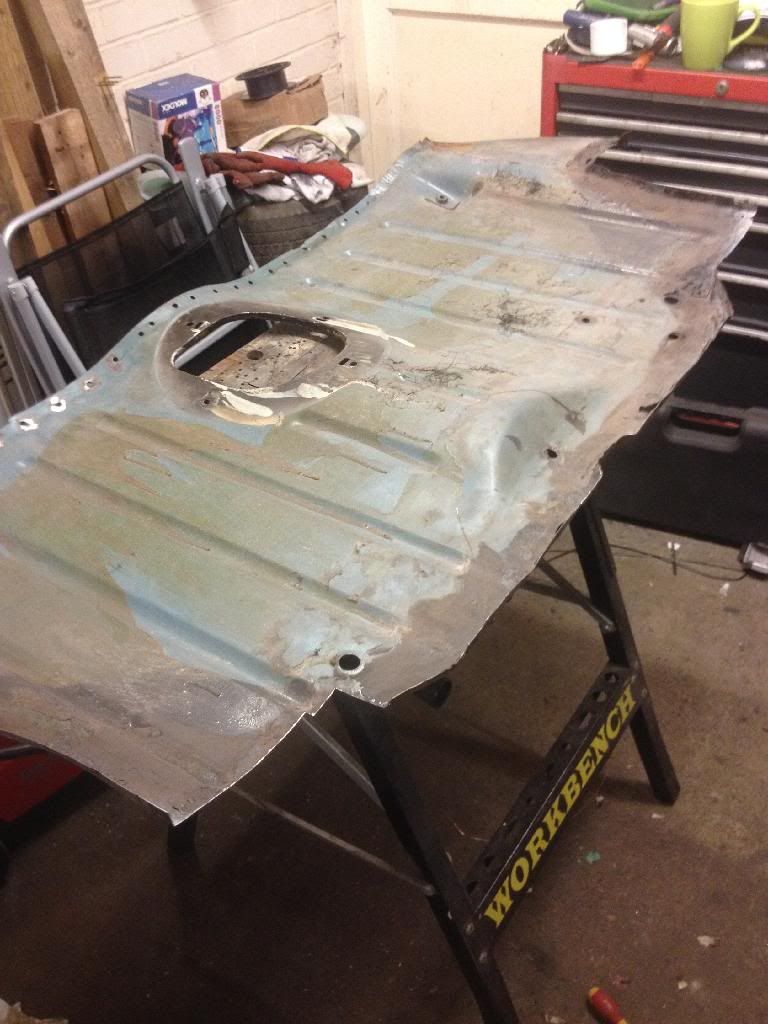
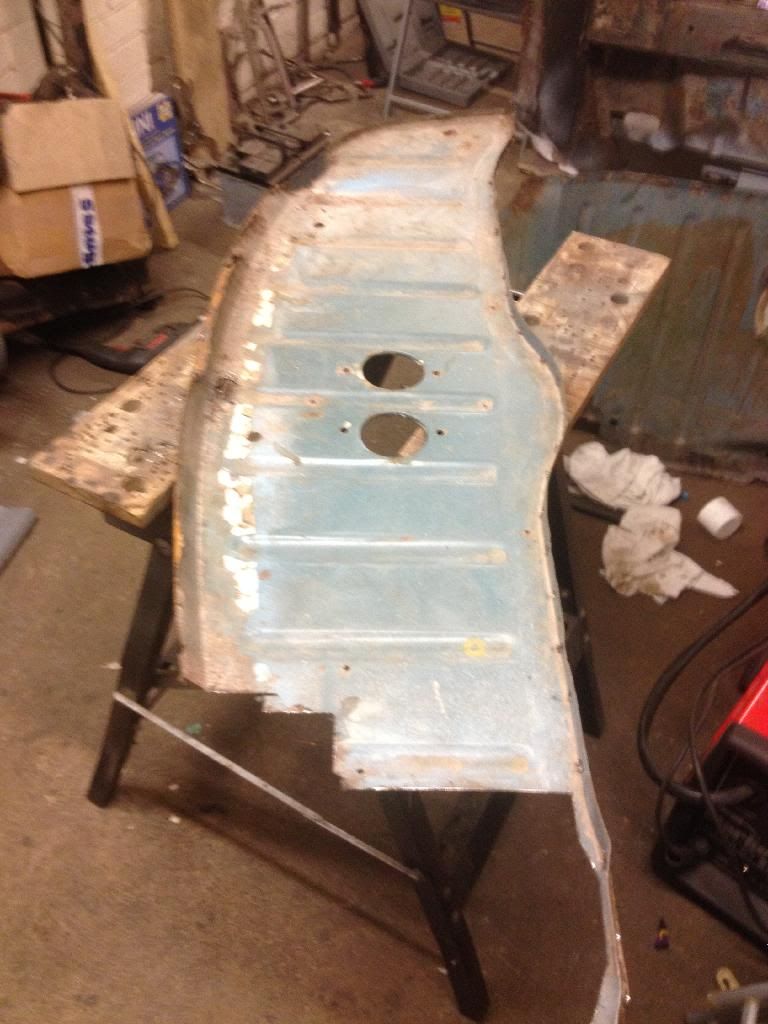
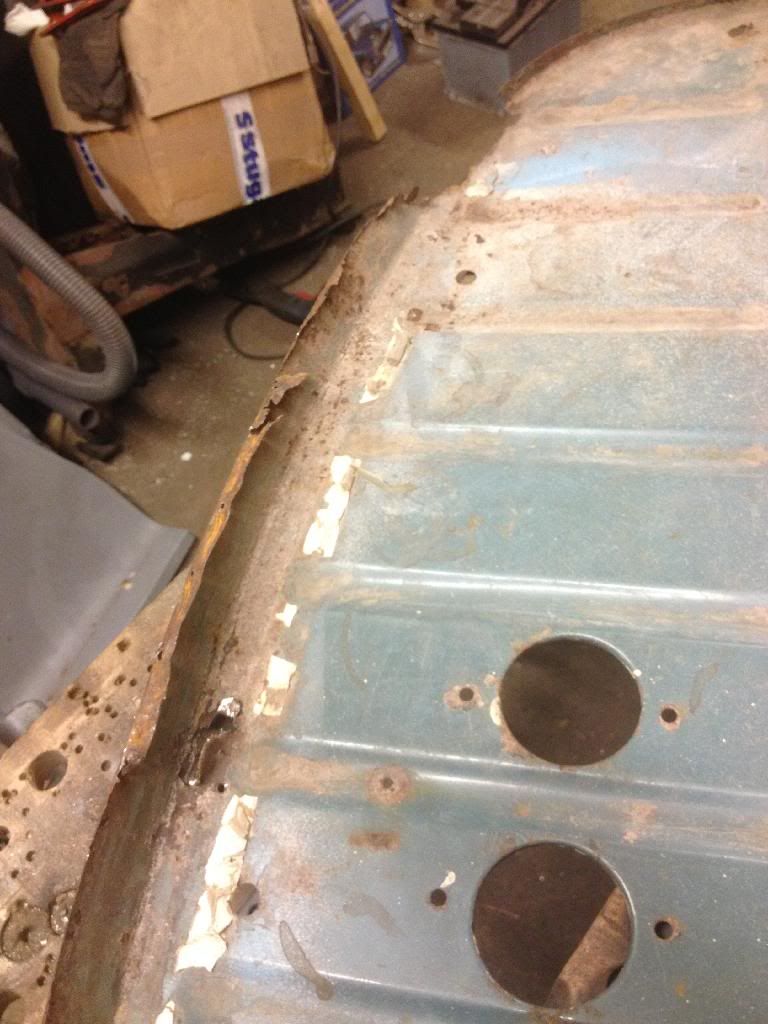
To get to my rear window properly, I needed to remove the parcel shelf, and rear bulkhead. Both of these need quite a bit of work as well , so they had to come out anyway.

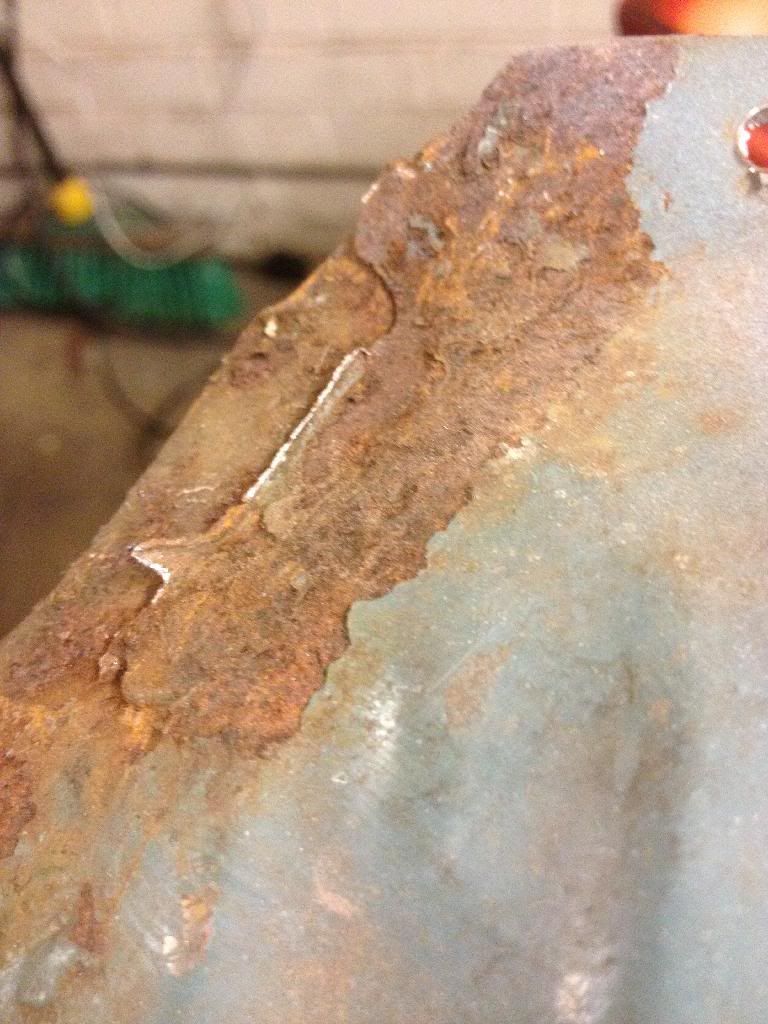
It was all pretty straight forward, except for the area where the lower rear quarter light internal panel met the rear bulkhead. It was quite rusted and in the end it was fatigued off.

I tried to split the Parcel shelf and rear bulkhead in position, but they were proving a pain, and as I need to reuse these panels, I didn't want to distort the curves on the panels where they join to much, as I could see being a pig to get back into shape as they are rather curvy on the top edge.

So they came out together:-)

51B1BB45-1F7D-4D0F-904A-8355EAE4D98C.jpg

Once they were out of the car, they were an awful lot easier to split!

0004E3F6-3FE7-4278-8608-1F7EB01F1741.jpg

7D6294B8-206B-4D59-A9C0-B3DB03D65742.jpg

CEBAB24B-F0F0-4218-9544-D35C3284C085.jpg

Might need some C.A.D work on this area.

6F8242CA-4BCA-4C38-A485-0FE65BE1C0A9.jpg

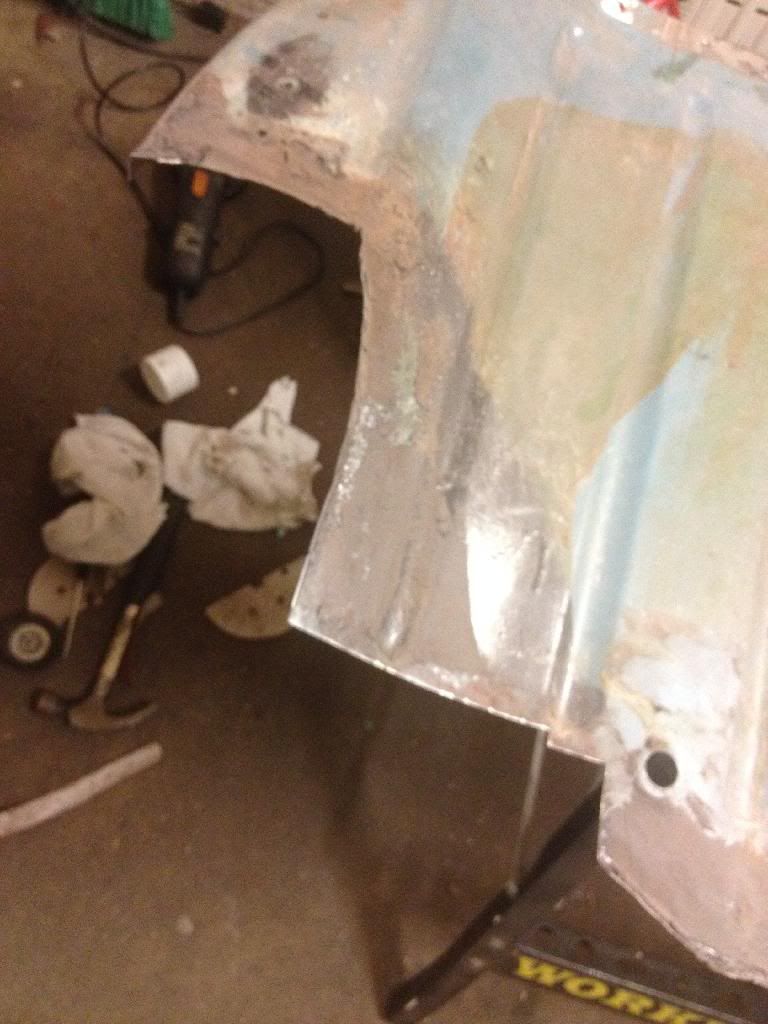
And this is where I had to fatigue the lower window panel to detach it from the bulkhead

23AE7EEC-5947-4C3E-821C-6857C06FB4DC.jpg

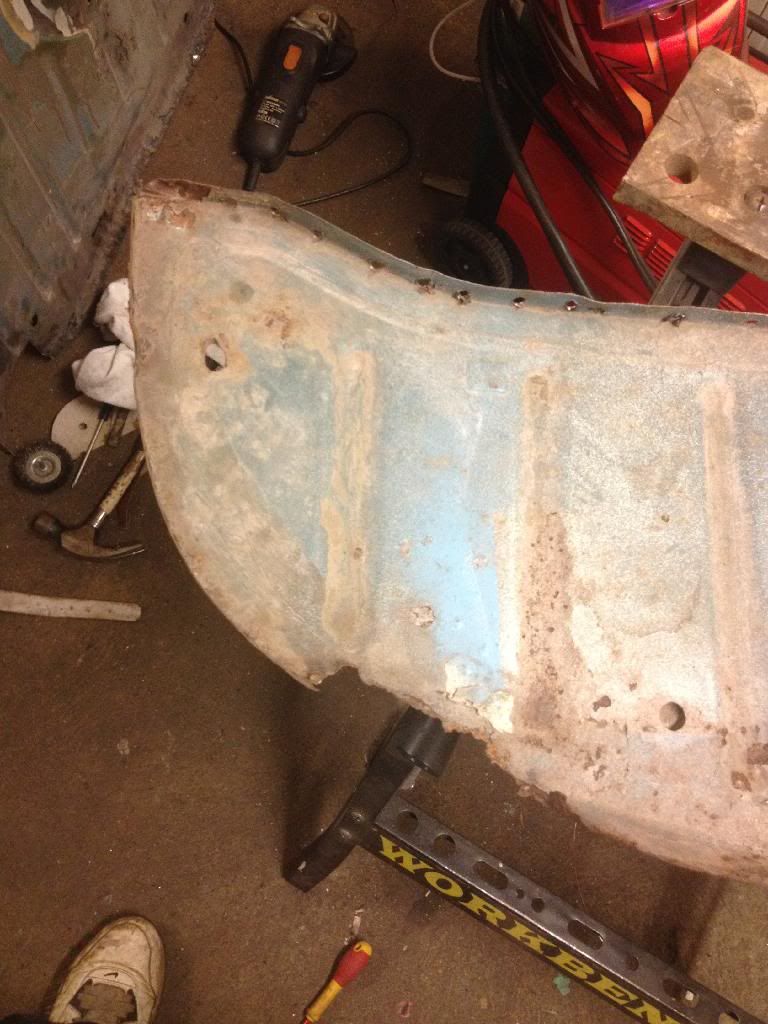
And my parcel shelf...................what can I say

AED09D24-FAB4-43B9-A658-E4FCEDDF0624.jpg

ABD9BBB1-02FB-4DB1-88C4-EF692D5FF770.jpg

I plan on using these, and repairing them, but not yet , I need to get at my rear window and cast that little doubt away, and If I can do that, then these should be easier in comparisome I guess.

Car seemed really weird without the rear bulkhead in!

415F69C4-5921-4B49-AB0B-BC9281BABA03.jpg

FFC99595-8DAE-45B0-9798-818227827335.jpg

4C0FFA80-D49E-47AB-AAA4-892EDDF6BE72.jpg


Now I know the eagle eyed amount you will be looking at the rear window area thinking it doesn't look to bad?

Let me show you the finer details of what I am dreading !!

AB9877BD-3DDB-482F-AE64-865475F915B9.jpg

4dfbd80e91dd906ddfc0b32bbdeffc98.jpg

A32EC96D-A411-4608-80CB-239A49E69092.jpg

6C569F47-A39A-42D6-9F75-199D3822E7A1.jpg

It's a real mess. It's been previously repaired with steel plates, lots of weld and LOTS of heat . Add to the equation all the extra hole that's have been chewed in beneath it too, and it's gonna be a ball ache. I can't afford/ warrant a new panel here, so I'm going to have to repair this . BUT I do have a plan for it now:-)

Thanks
Edited by Minilegs, 09 December 2013 - 10:45 PM.


#101 Minilegs

Minilegs

    Mini Mad

  • Members
  • PipPipPipPip
  • 242 posts
  • Location: Norfolk

Posted 09 December 2013 - 10:42 PM

absolutely fabulous!! tap on the shoulder there mate. what a difference a bit of paint makes it look? cant wait for the next update! cheers tom


Thanks Tom. Painting the floor, even though it's just a primer coat, made me sooooo happy :-)
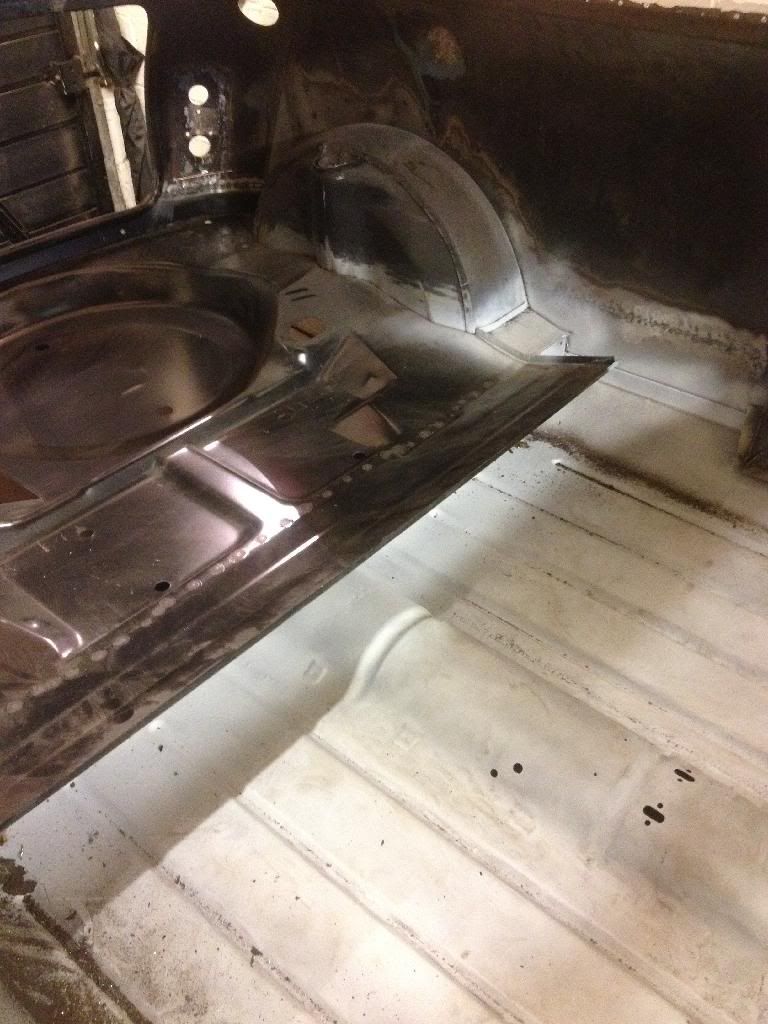
Next update ready for ya!!!

#102 ToM 2012

ToM 2012

    Up Into Fourth

  • Members
  • PipPipPipPipPipPipPipPipPip
  • 4,066 posts
  • Location: halesowen

Posted 09 December 2013 - 10:50 PM

blimey that was a quick update! looking good tho mate :proud:


#103 mk1leg

mk1leg

    Crazy About Mini's

  • Members
  • PipPipPipPipPipPipPipPipPipPip
  • 9,343 posts
  • Location: Jersey
  • Local Club: Mini Club Jersey, MCR

Posted 10 December 2013 - 05:51 PM

wow its come on a long way since I last looked... :highfive: ...but why hav'nt you got a orignal MK1 rear panel..... :ohno:.......instead of those weld in plates..... >_< ....BMHT do a new MK1 rear panel......... surley it wouls of made good sense to use it.........as it would of been a much better job.......... :ohno:


#104 Minilegs

Minilegs

    Mini Mad

  • Members
  • PipPipPipPip
  • 242 posts
  • Location: Norfolk

Posted 10 December 2013 - 06:00 PM

wow its come on a long way since I last looked... :highfive: ...but why hav'nt you got a orignal MK1 rear panel..... :ohno:.......instead of those weld in plates..... >_< ....BMHT do a new MK1 rear panel......... surley it wouls of made good sense to use it.........as it would of been a much better job.......... :ohno:


Cheers!

I would have liked to use a new back panel, but I'm limited now on funds for the project , and my time is free, so I've decided to have a go at repairing the back panel first. I already had a set of conversion plates , so I am going to have a go and see what I can do with them first. Plan b is to get hold of the light section from a scrapper somewhere , and if that fails, it will have to be a new panel I guess.

The rear window repairs are gonna be tricky to, but I'm pretty confident now I have a plan that it is possible fingers crossed.

However, if anyone wants to donate me a back panel, I would chop my rear out straight away heehe!!

Edited by Minilegs, 10 December 2013 - 06:09 PM.


#105 Minilegs

Minilegs

    Mini Mad

  • Members
  • PipPipPipPip
  • 242 posts
  • Location: Norfolk

Posted 30 December 2013 - 10:12 PM

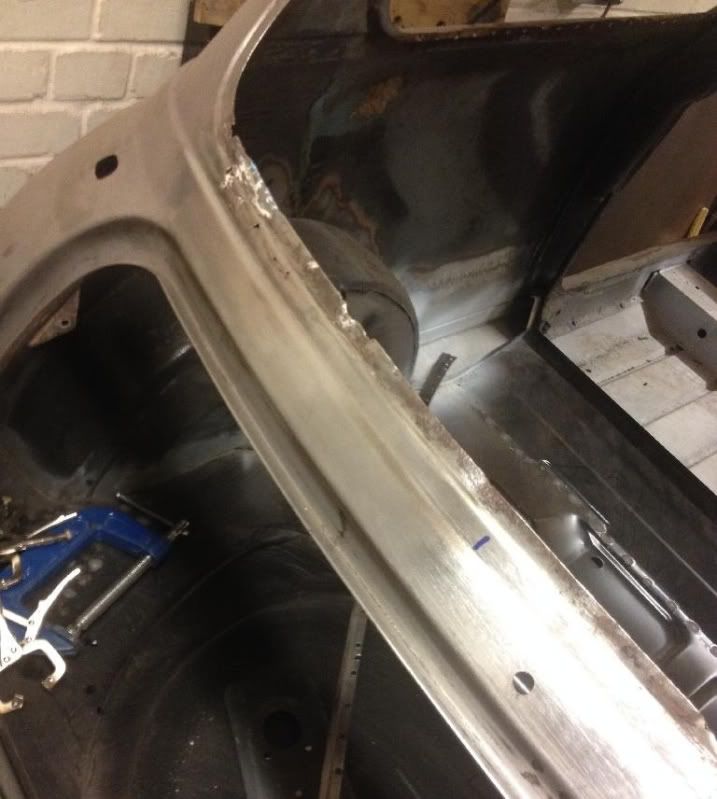
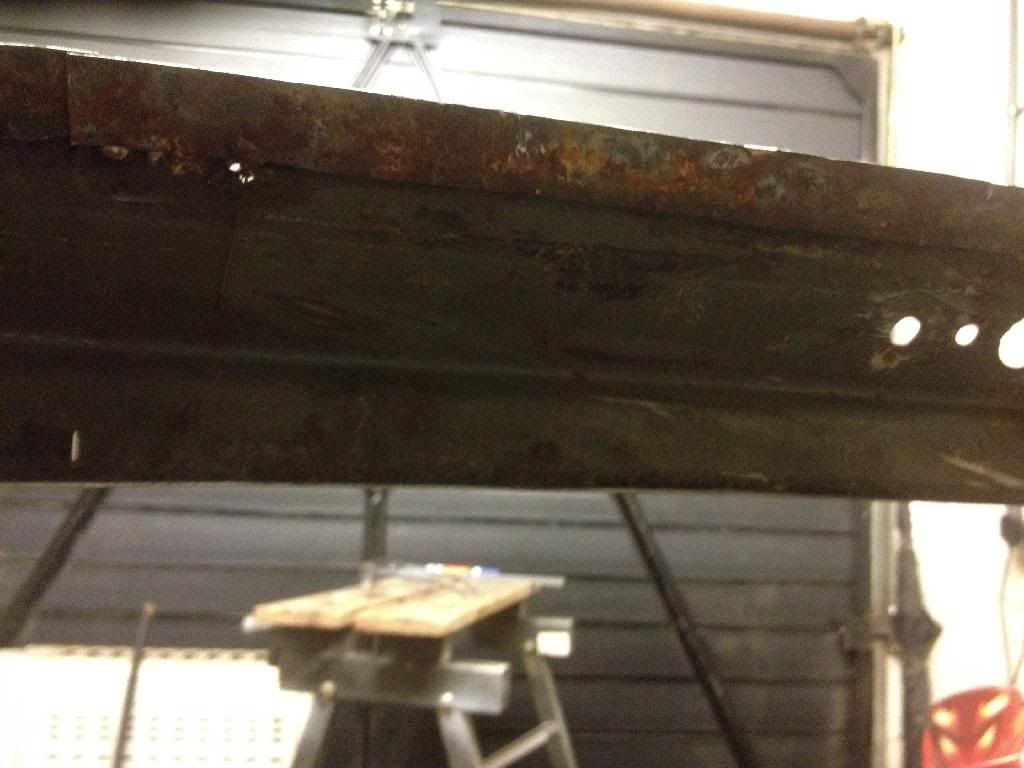
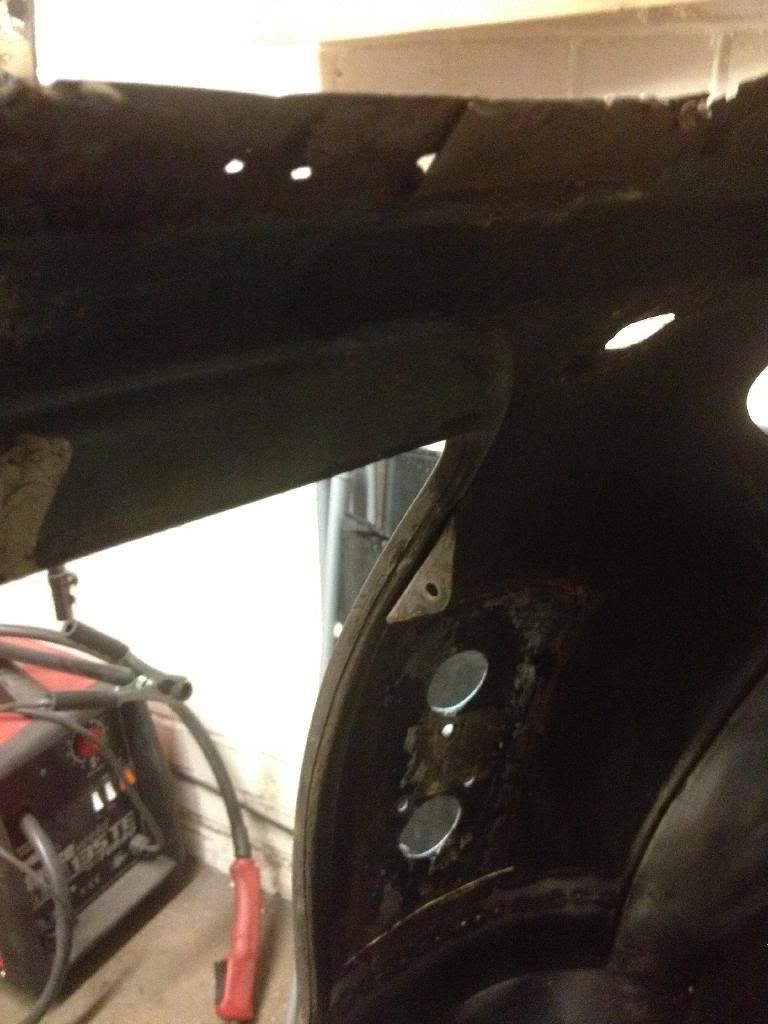
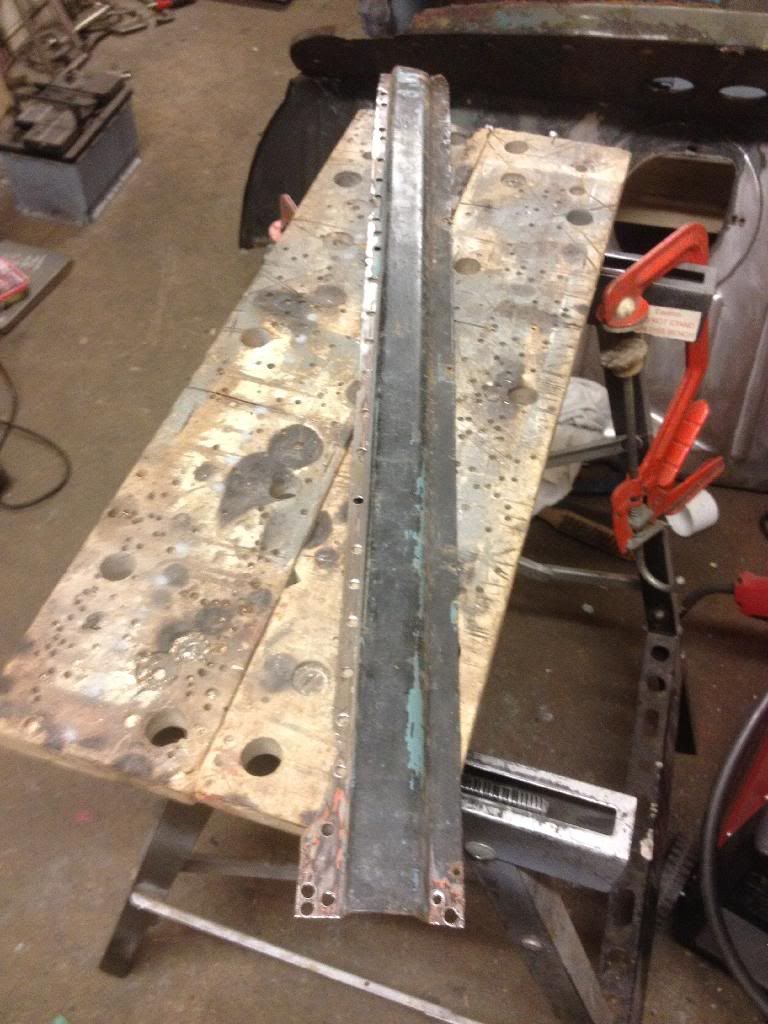
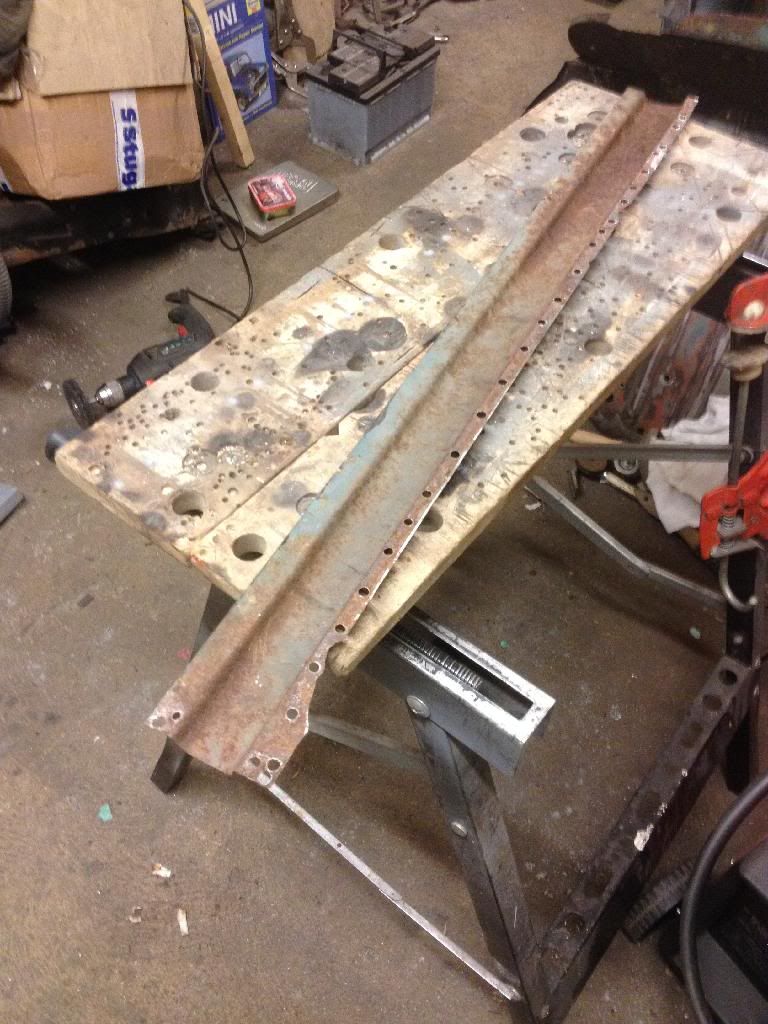
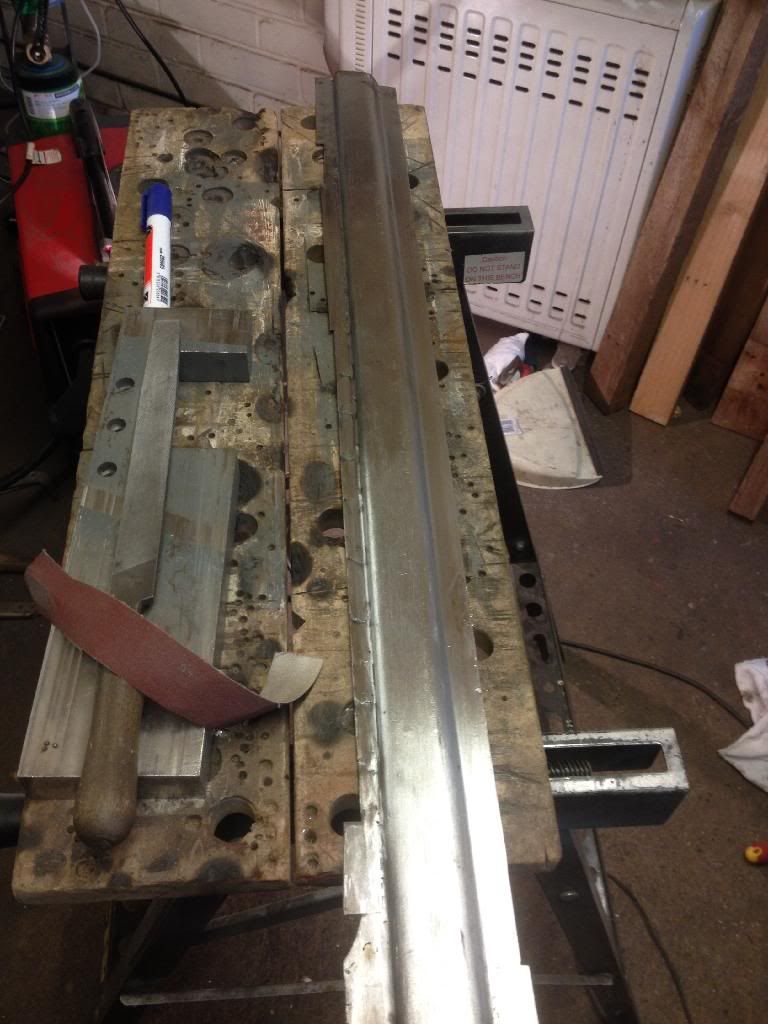
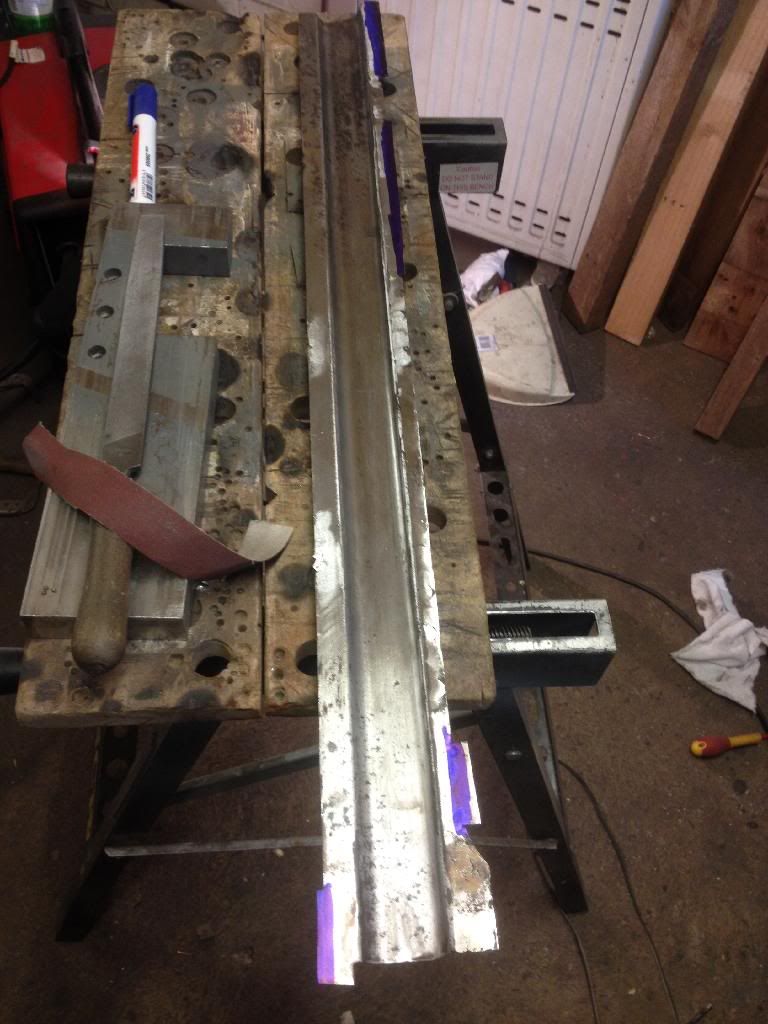
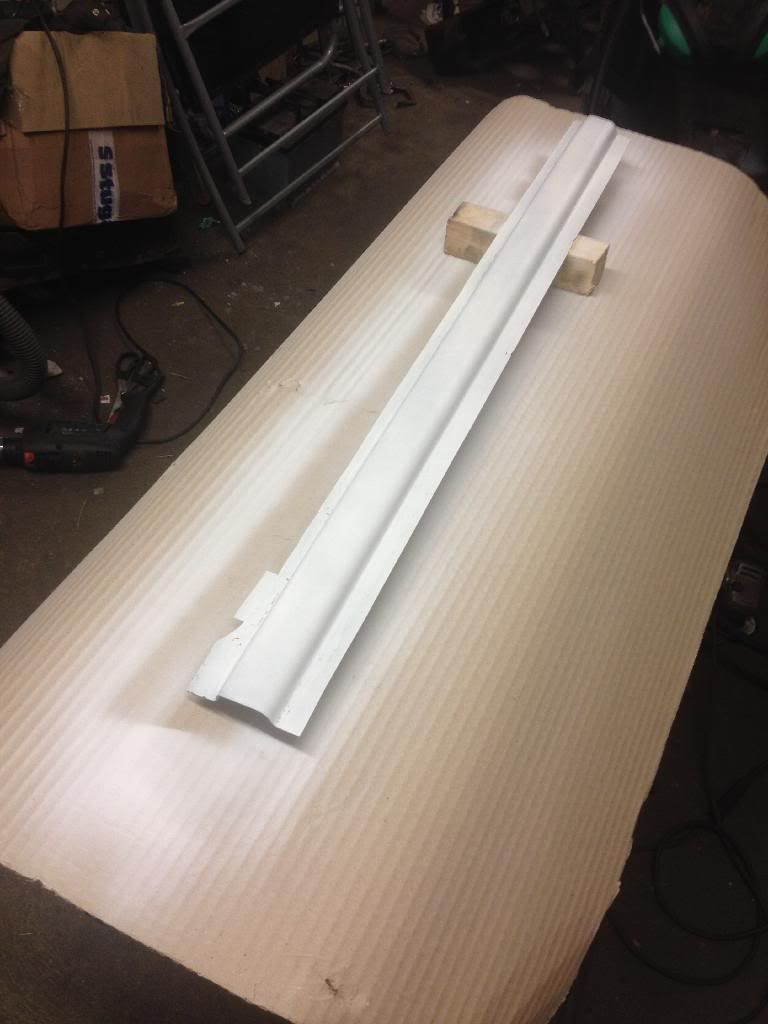
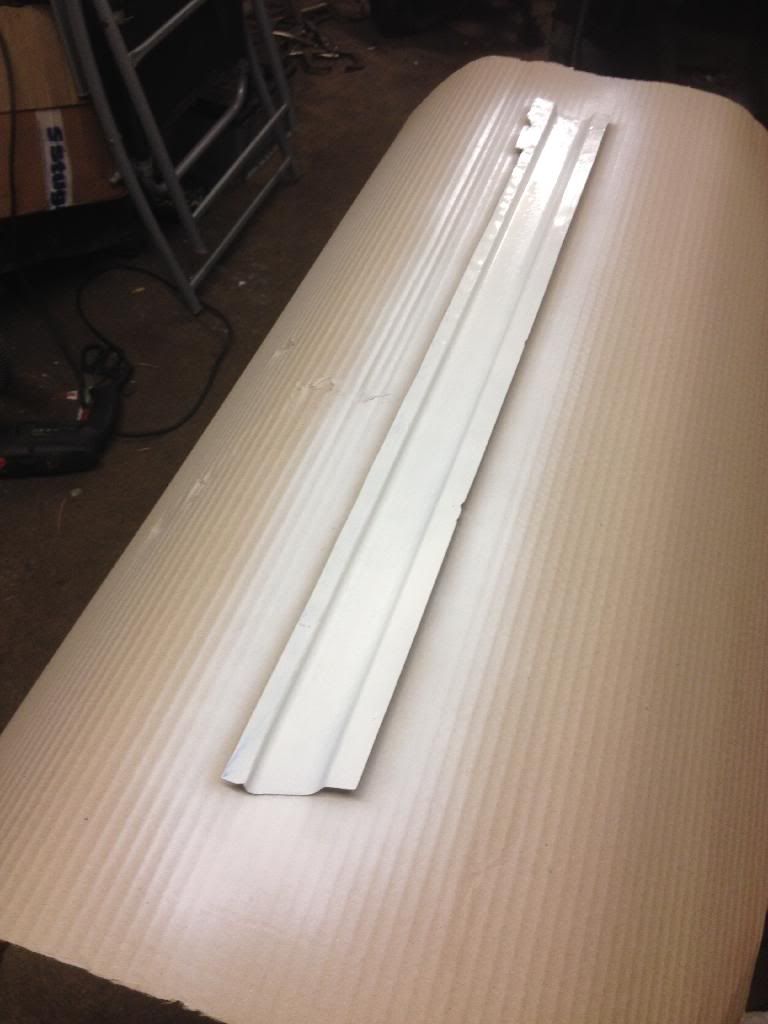
I have a few panels I want to repair which will be removed from the shell at a point,such as roof strenghener rails, inner a pillar b pillar etc. a lot of them are quite crusty in places , and will need repairs. Also as I have access to a spot welder , I would like to fill the holes where I have drilled the spot welds out to remove the piece, so I can spot weld it in back on .

So I decided to have a break from the shell welding and have a nice comfy bench job, so I started one of the inner pieces which goes below the rear quarter light and attaches to the rear bulkhead. Not sure of the technical name for it !

Started with this

3AF959D2-ACBC-4446-A648-D08D792C5F59.jpg
194378BE-2304-4BD7-910D-86F73B7FA083.jpg

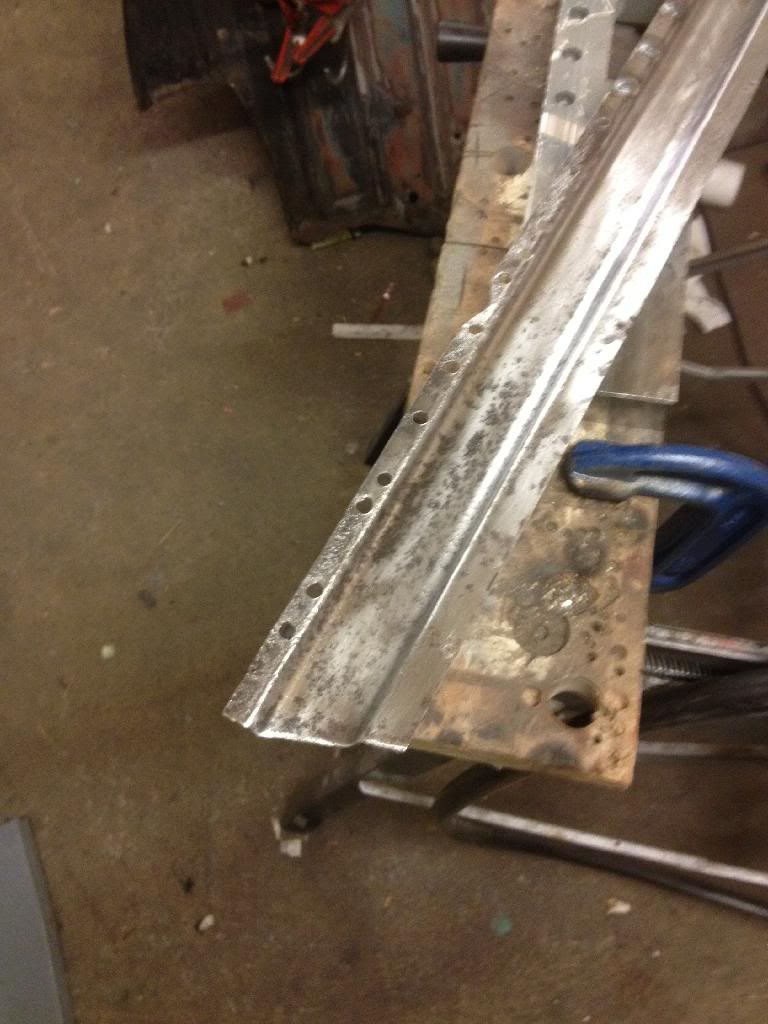
Gave it a clean up to see what metal was left.
321B64DD-529A-4A77-BA25-935C5CFF48B2.jpg
C299882A-BEBD-4151-A5C9-46579AB13130.jpg

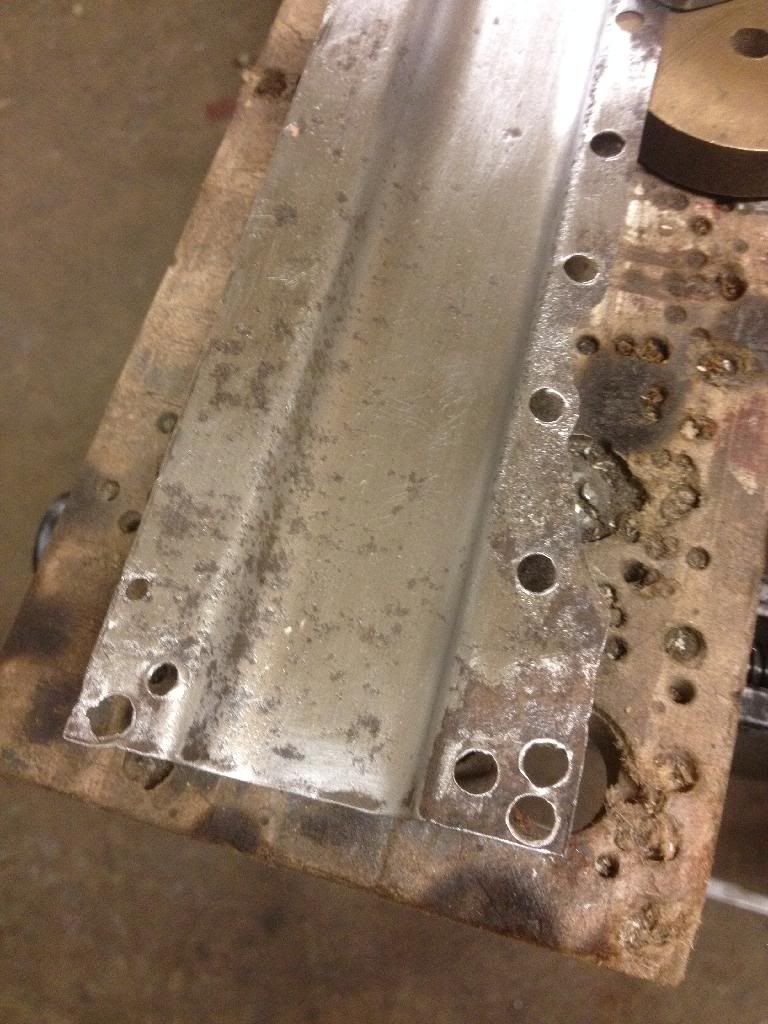
I decided to attempt the repair of the remaining good areas first, and plug the holes from spot drilling.
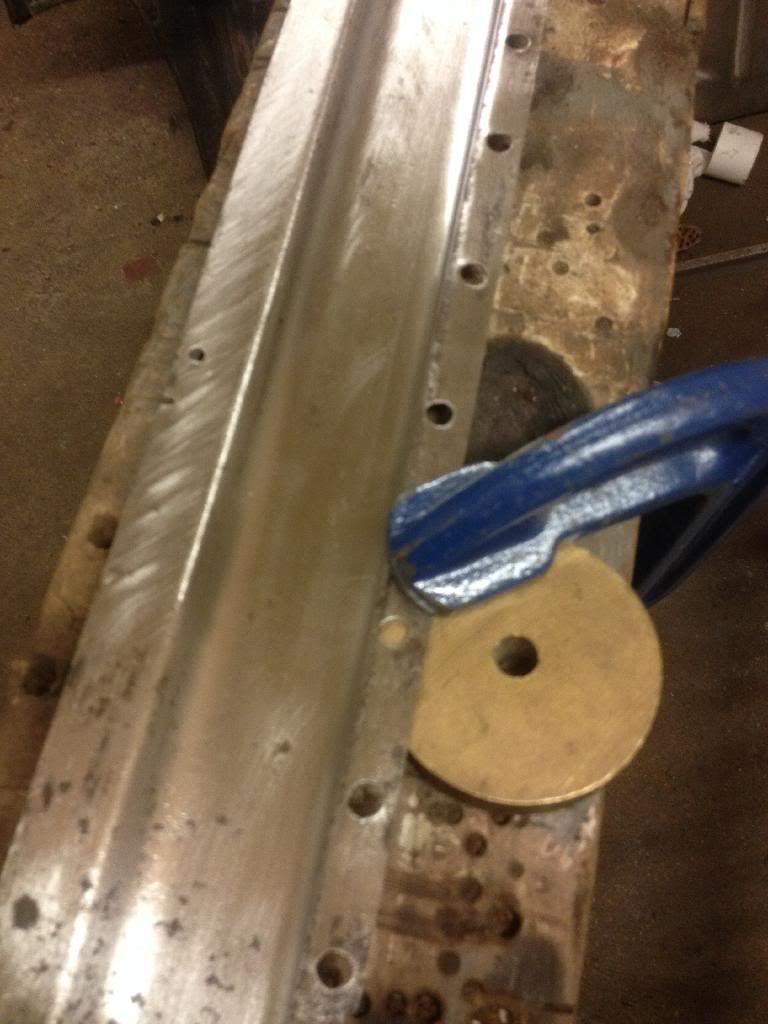
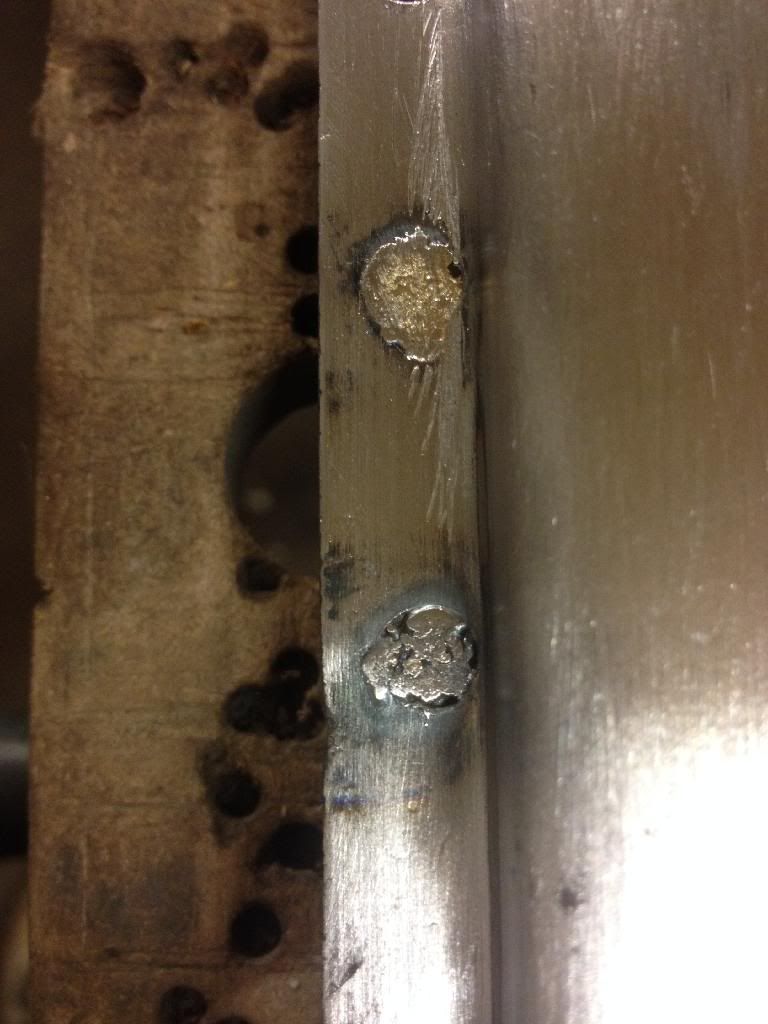
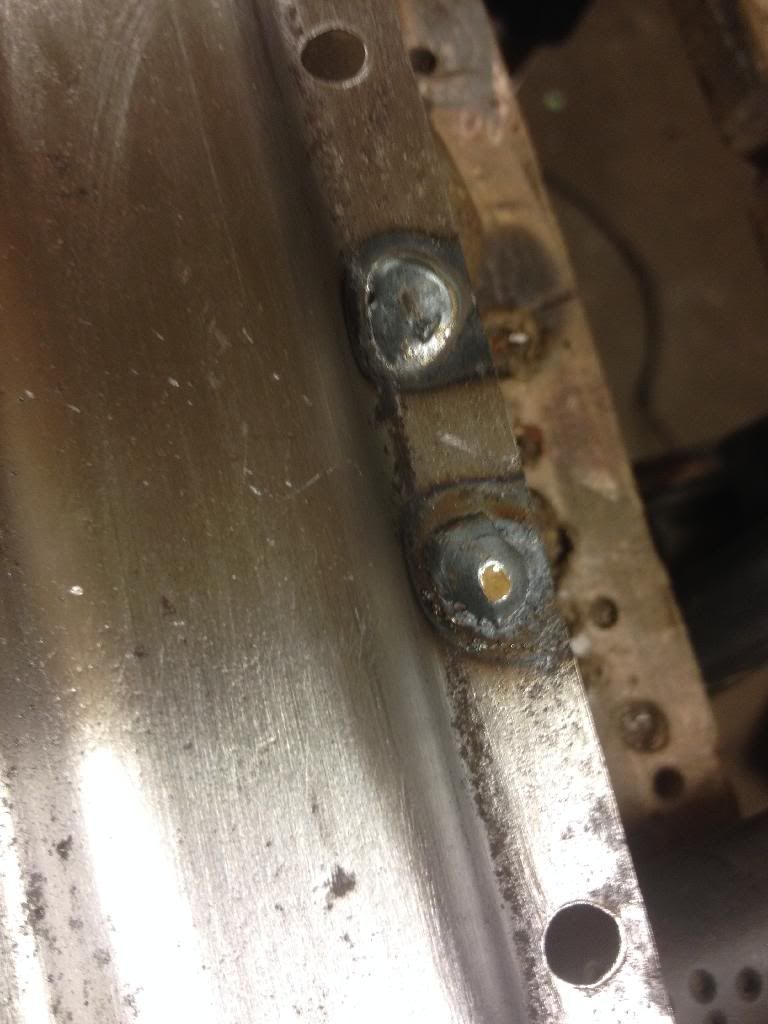
I read that brass was good to use as a backer for welding steel, so thought I would give it a bash .

10EC0329-669B-41BC-B239-C7C2191863E6-1.j

The first attempt filled the hole , but I wasnt happy with the penetration , such I upped the power a touch

The photo shows first and second attempt.

D2D63990-16CA-4633-B725-148CF34CF0B0-1.j
89214C67-845D-4DE2-8879-56C4F5429737-1.j

The higher power setting made the penetration much better, but it also meant that the brass backer would stick to the back of the weld plug, and with the lower power it didn't. A swift tap with a mallet soon released it, but is does now leave a slight brass skin over the weld. It ground back very easily to steel, so I deemed this wasn't a problem? Unless anybody else can comment ?

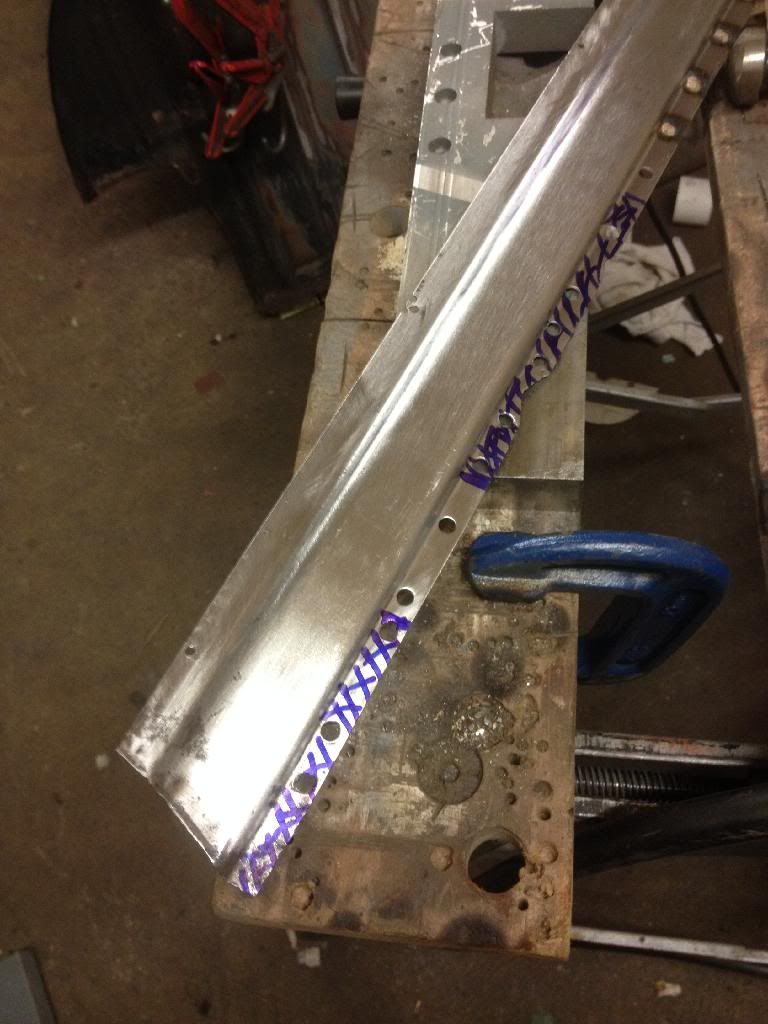
I marked it where I wanted to add new metal , and I tried to leave certain areas to match up to help adding the new steel

5BAADDE6-9F29-49C5-A072-E2B4753E69BD-1.j

D714A663-6FAC-4F38-BDD5-BC00A6E436B7.jpg

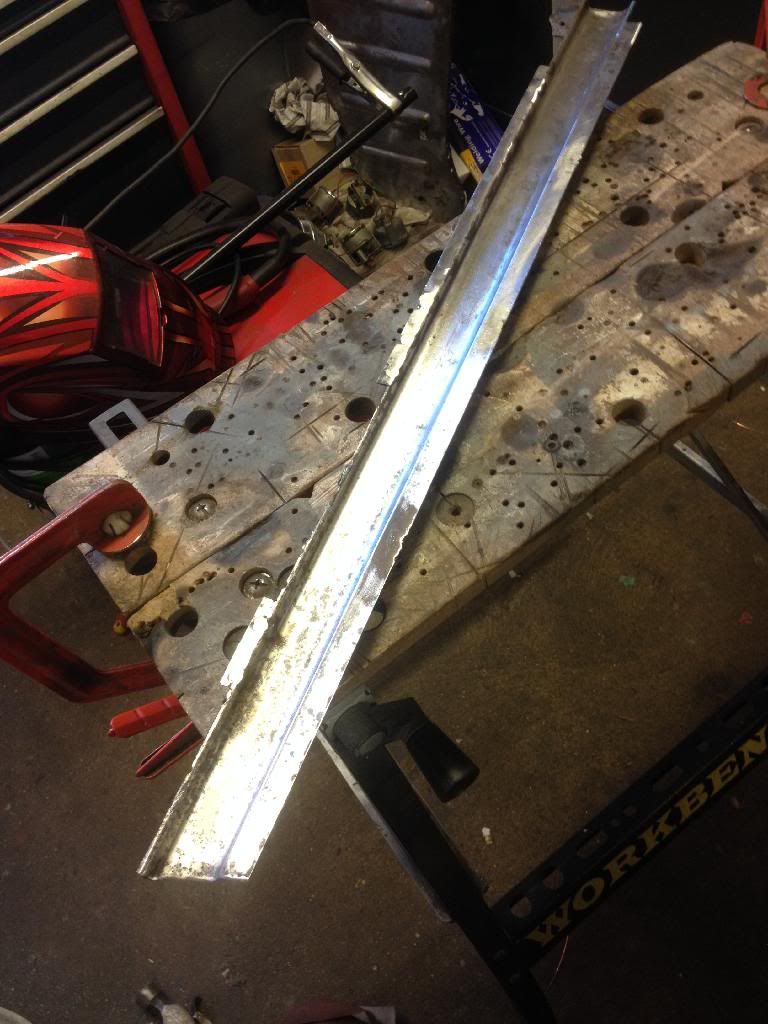
I welded in the repair sections, and left them them slightly over length so they stuck out a bit, which I intend to level of when I fit it to the rear quarter. A bit of wiggle just in case :-)

C982A4F1-F04E-4820-AAE3-12B1AB8BF370-1.j
8D21DA52-A23B-4E0F-B401-79371619BB30-1.j

I need to add a couple of flanges to the bulkhead end, but as they were so rusted, I couldn't copy them, so I will add them when I have the rear bulkhead ready to go back in, and I can match them up then

I dressed the welds and ground out the last small pitting, a dash of kurust then primed.

I have quite a few panels to repair like this, but I'm going to leave them until later, as I just wanted to know ificould do it or not.

E1A36D6A-5F11-40BC-998B-B7BAEA1F1A1D.jpg


CE17F95C-B9F3-49B3-B973-13D089CC3D0D.jpg

Thanks for reading and any advice comments welcome
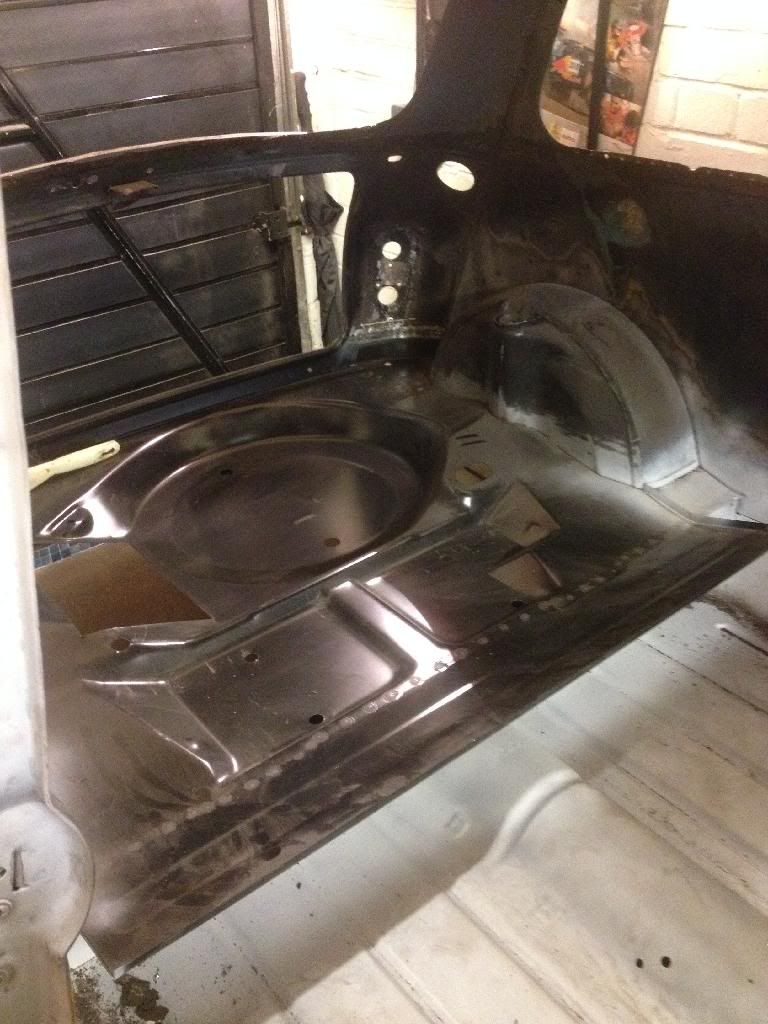
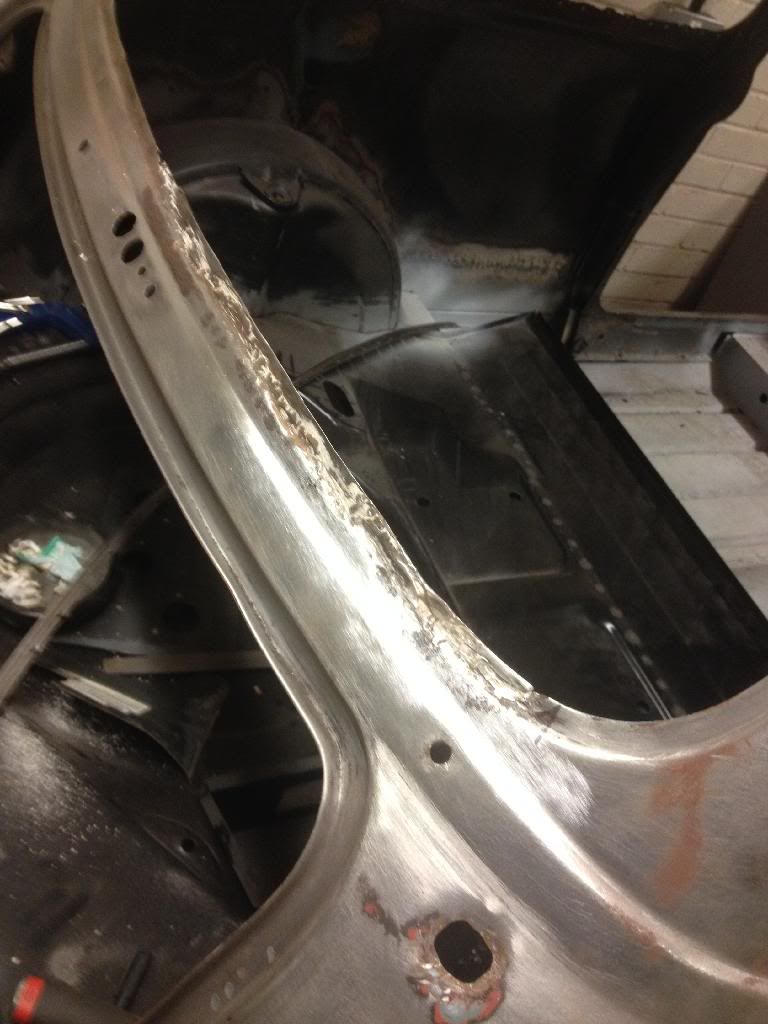


2 user(s) are reading this topic

0 members, 2 guests, 0 anonymous users