Jump to content


Photo
- - - - -

My Mk1 Resto , My First Ever Project......... Wish Me Luck!


  • Please log in to reply
188 replies to this topic

#76 Minilegs

Minilegs

    Mini Mad

  • Members
  • PipPipPipPip
  • 242 posts
  • Location: Norfolk

Posted 22 October 2013 - 04:27 PM

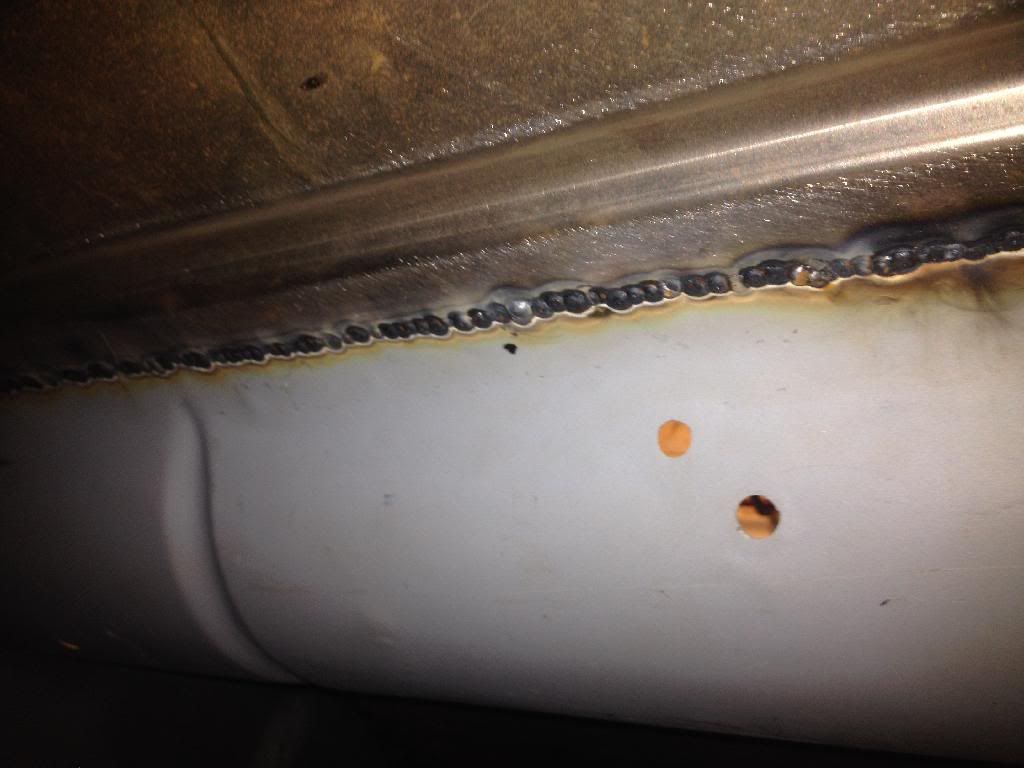
Welding looks "spot" on to me !!
 
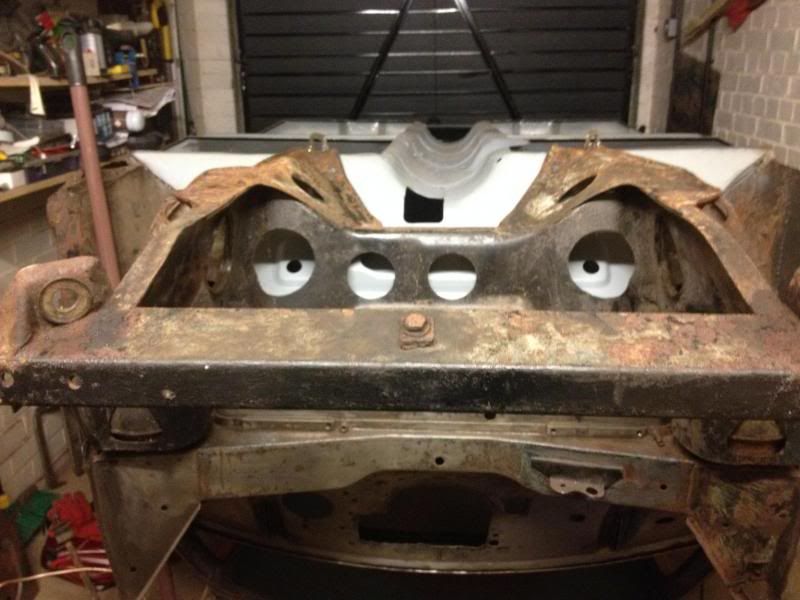
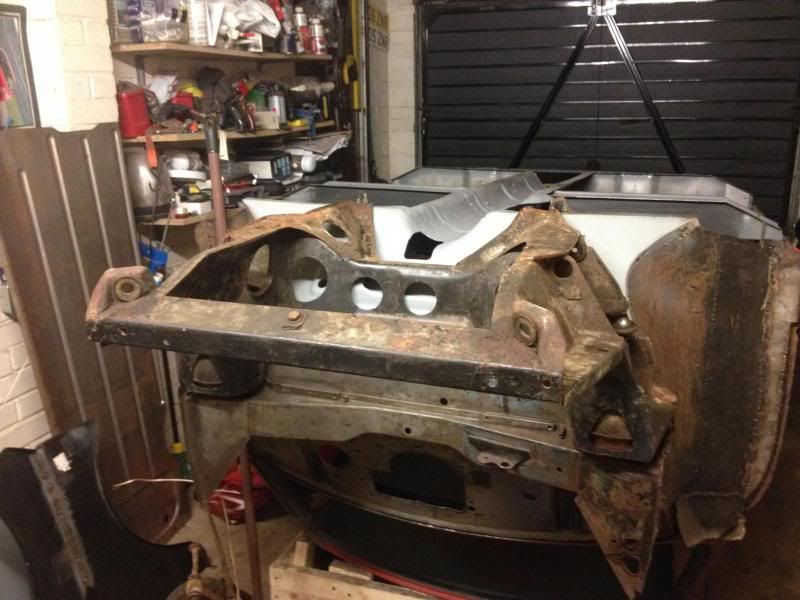
Back corner near the brake bias valve looks a bit suspect in the last picture, and the Cone mounts probably look worse than they really are.  Why have you got two engine mounts (well one and a half !!) fitted to the back of the rear subframe ??  Exhaust mounting ??
 
Phil.


Thanks phil for your reply. The brackets you mention, which I now now are engine mounts' were on there when I got it. The exhaust wasn't fitted to the car so I can't confirm if it was hanging from them, but I think you may be right!

I will have a bit of a session with the wire wheel to inspect the corner you mentioned, and I will get some pics up of it when I can ..

Thanks again


I think the remains of the cones, well the metal band is still attached to the sub frame, doesn't look to bad otherwise IMO but check into the corners as Phil has mentioned above


Thanks udo for helping me. I will have a closer look at that area and report! So, fingers crossed I may be able to scrub off the rear subframe from my shopping list. Woo hoo, my list is now down to only 8,675,543 parts!

Looks like it may be going to shot blast then if the corner cleans up ok !

#77 ToM 2012

ToM 2012

    Up Into Fourth

  • Members
  • PipPipPipPipPipPipPipPipPip
  • 4,066 posts
  • Location: halesowen

Posted 22 October 2013 - 06:02 PM

looking good mate well done keep going. ;D


#78 Minilegs

Minilegs

    Mini Mad

  • Members
  • PipPipPipPip
  • 242 posts
  • Location: Norfolk

Posted 22 October 2013 - 08:58 PM

looking good mate well done keep going. ;D


Thanks Tom. You've been quiet, busy jamming a mini in a van I guess hehe :-)

#79 ToM 2012

ToM 2012

    Up Into Fourth

  • Members
  • PipPipPipPipPipPipPipPipPip
  • 4,066 posts
  • Location: halesowen

Posted 22 October 2013 - 09:11 PM

yes mate got a chap with a pickup to get it so no need to try and squeeze it in a van now lol cheers tom 


#80 Minilegs

Minilegs

    Mini Mad

  • Members
  • PipPipPipPip
  • 242 posts
  • Location: Norfolk

Posted 22 October 2013 - 09:42 PM

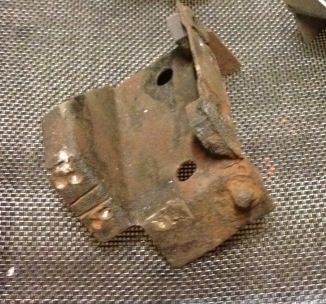
Next up was the heel board. Firstly though , I had to modify it around the subframe mounting points , as what was fitted didn't suit my floor pan style.

It had this fitted

a213c6122fbec1e20927446abad569f1.jpg

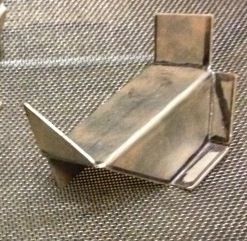
But thats no good as these were fitted ,

93db1f713f4c46d06af99869ebfa4d29.jpg

I've never liked hank bushes, it's a personal thing, and where I can, I won't use them :-). So I decided to replicate this bracket, but 1/2 inch shorter, to allow me to fit a nice 1/2" spreader plate for mounting the subframe too.
This would have been easy to do with the heel board on my bench, but I forgot and welded the heel board in , and had to do it it in situ.........didn't think enough, must have been a coffee shortage day.

Replacement ( still roughed out, will tidy them up on assembly

2f5b6dc499ed3fbc551ca3bd9e54a8e6.jpg

Spreader plate fitted to heel board (please excuse the completely poop photo which is also completely out of sync time wise hehe)

79217eed2204fc6fd4b0d35320b18163.jpg

It's 1/2" bms so should take the strain a bit better :-)

When I fitted the heel board, It was time to mount the subframe to get the fit correct. With it bolted up, I was able to then get my tape measure out again and check a few measurements again to make sure the subframe is sitting square and parallel to the toeboard. All was well in tape measure land, so I removed the subframe, and welded it to the seat base .

null_zps0749c612.jpg

null_zps6a849883.jpg

( as you can see my lovely ŵrong brackets fitted hehe)

Next up centre tunnel :-)

#81 Minilegs

Minilegs

    Mini Mad

  • Members
  • PipPipPipPip
  • 242 posts
  • Location: Norfolk

Posted 03 November 2013 - 10:48 PM

I had to do a lot of repairs to the centre tunnel, as I wanted to try and keep a bit of the original floor!

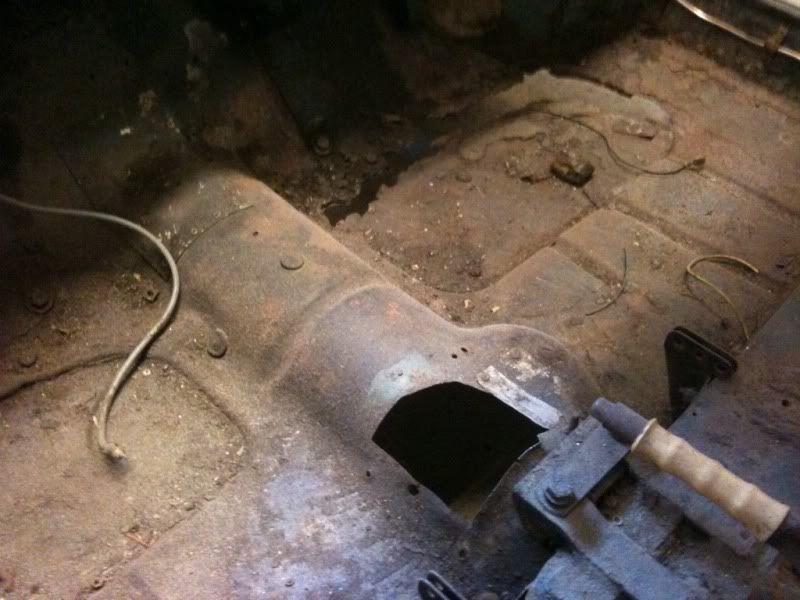
I originally tried to work on it in situ, but it needed a lot of work so I decided to cut it out of the car and work on it on the bench . The area where the hand brake bracket was unsalvagable, as it had some rough welding done to it with stick to reinforce the handbrake as far as I can work out. Also the floor start button area was very corroded, and a real nasty hole had been out in for a later gear change. I was unsure at the time on what gear change I would be using , so decided to return the centre tunnel back to standard, and if I needed to at a later date, I could cut a nice hole in for gear change.

Nasty cut out


b6bdf696.jpg


When I started this project, I wanted to make a stainless seat crossmember, and leave it it exposed with a polished finish. It was a nice idea, but in practical align, I don't think it would be great so decided against it . That is after I made it dohhhh! But, as I had it to hand, it was great to use to help check the centre tunnel was staying in shape when I was repairing it.

Toe board end of centre tunnel has been repaired, rear left to do.

IMG_1179.jpg

Airplane!!!

I dont Seem to have a photo of when it was complete, this seems to be the only one hmmmm. I also decided to double skin the area around the floor start and handbrake area, for strenghening reasons as the steel that was left was quite thin, and it seemed the best option. I fully seem welded the skins , with a good dosing of weld primer and etch between the plates also

Don't know if this was my best idea ever, but, it's definitely strong :-)

I haven't got any pictures of this either, but you will be able to see them in later posts when the floor pans goes in

Edited by Minilegs, 03 November 2013 - 10:51 PM.


#82 Minilegs

Minilegs

    Mini Mad

  • Members
  • PipPipPipPip
  • 242 posts
  • Location: Norfolk

Posted 03 November 2013 - 11:24 PM

Once I had the centre tunnel fitted, It was time for mr tape measure again to check every was still in the right place, and now there was a little bit of strengh to the toe board, it meant I could trial fit the front subframe.

IMG_1915.jpg

This picture seems to be an optical illusion, and the subframe looks a bit wonky, but it all measured up good, and I think it's a trick of the nasty camera hehe

IMG_1911.jpg

Lots of measurements later,and I was happy with the alignment of the heel board, toe board and subframe. So I finalised the centre tunnel , and started to think about getting the cross member in for the seats.

I ended up using a standard crossmember, which I had to modify to suit my floor plans and inner silly arrangement. It worked out that if I fitted the jacking point section to the main crossmember, it would give me what I needed to fit my sills.

IMG_1681.jpg

Next up , floor pans, it in danger of starting to look something like a car again!

It took a lot of time for me to fit the floor pans, due to the way they fit in relation to the toe and heel board, so I had to trim a bit, trial fit, remove , trim a bit more,etc. the floor pans are from m machine, and IMHO, are really good, they seem to have got them spot on. Obviously they needed A little bit of hammer time to flatten a few bumps, but overall a very good fitting panel..once I had the first pan trimmed to fit, I then I trimmed the second one the same way, but with the first one fitted, just incase it changed anything once clamped up, if that makes sense!

Once I had the two pans trimmed and temporarily in place, tape measure time again ! Everything had remained square on the floor pan assembly, and all butt weld joints were a good fit .

Sorry these are the only pics of this stage.

IMG_1922.jpg

IMG_1921.jpg

Now I had been kinda fearing fitting these for a while, as I knew the lengh of the weld required, as It was quite daunting to be honest. main reasons were clamping, distortion, access, and confidence in my welding.

But I couldn't put it off no more, I have to weld them in hehe

#83 ToM 2012

ToM 2012

    Up Into Fourth

  • Members
  • PipPipPipPipPipPipPipPipPip
  • 4,066 posts
  • Location: halesowen

Posted 04 November 2013 - 07:41 PM

fantastic work mate doing a proper gud en there  ;D thanks tom 


#84 Minilegs

Minilegs

    Mini Mad

  • Members
  • PipPipPipPip
  • 242 posts
  • Location: Norfolk

Posted 04 November 2013 - 09:35 PM

Cheers tom. It's slow progress, but hey, Rome wasn't built in a day! How's yours coming along Tom? Been a bit quiet 😀

#85 ToM 2012

ToM 2012

    Up Into Fourth

  • Members
  • PipPipPipPipPipPipPipPipPip
  • 4,066 posts
  • Location: halesowen

Posted 05 November 2013 - 08:27 PM

:lol:  i haven't had time to do anything on it mate we are building two houses atm on my dads land and we want to get the one finished before xmas so in the week do jobs then go and do abit on the houses after work and saturdays have to work on the houses and sundays im that nakerd i cant be arsed to drive to my garage and start welding and etc. i did get some more gas today while i was out ready for when i get time again. so depressing when work gets in the way :cry: lol cheers tom 


#86 Minilegs

Minilegs

    Mini Mad

  • Members
  • PipPipPipPip
  • 242 posts
  • Location: Norfolk

Posted 24 November 2013 - 08:47 PM

Two houses at once. That's mental!!

You certainly are a glutton for punishment lol

I know what you mean about work getting in the way. I would love to spend everyday working on the car, but I gotta pay the mortgage somehow heeh!

#87 Minilegs

Minilegs

    Mini Mad

  • Members
  • PipPipPipPip
  • 242 posts
  • Location: Norfolk

Posted 24 November 2013 - 09:32 PM

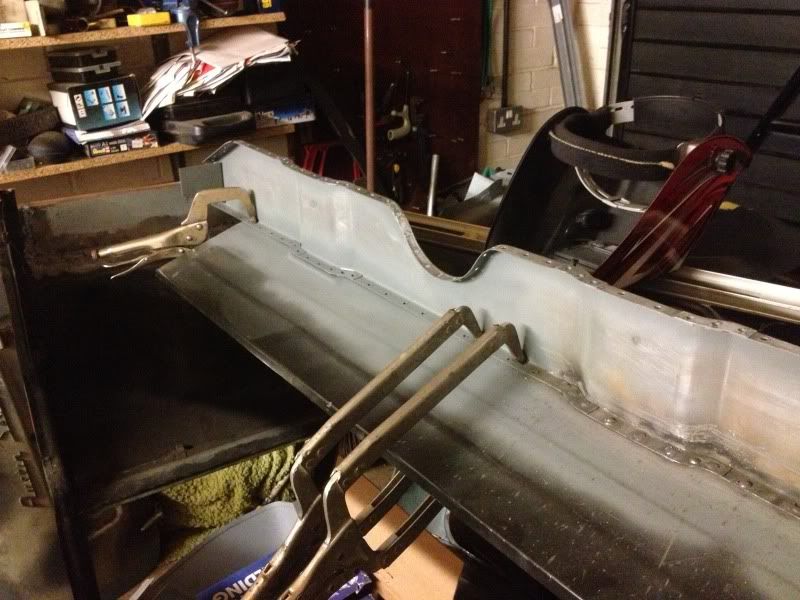
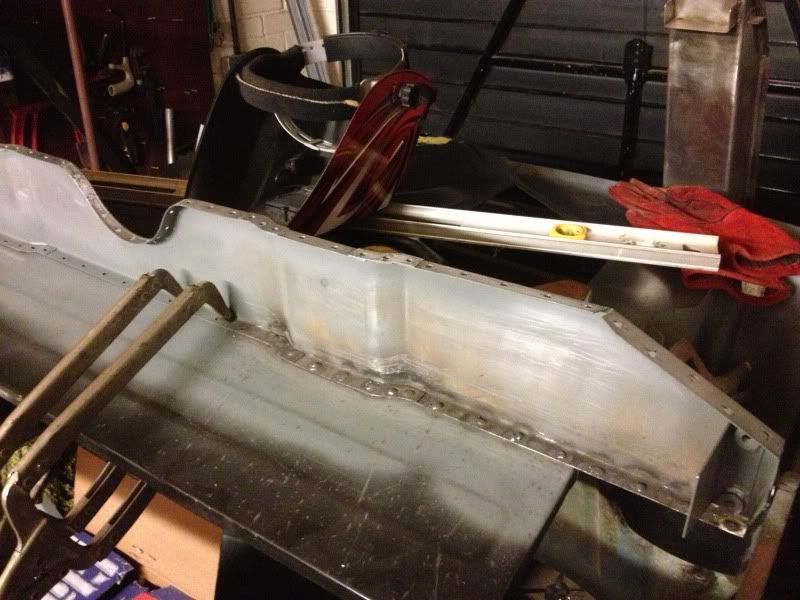
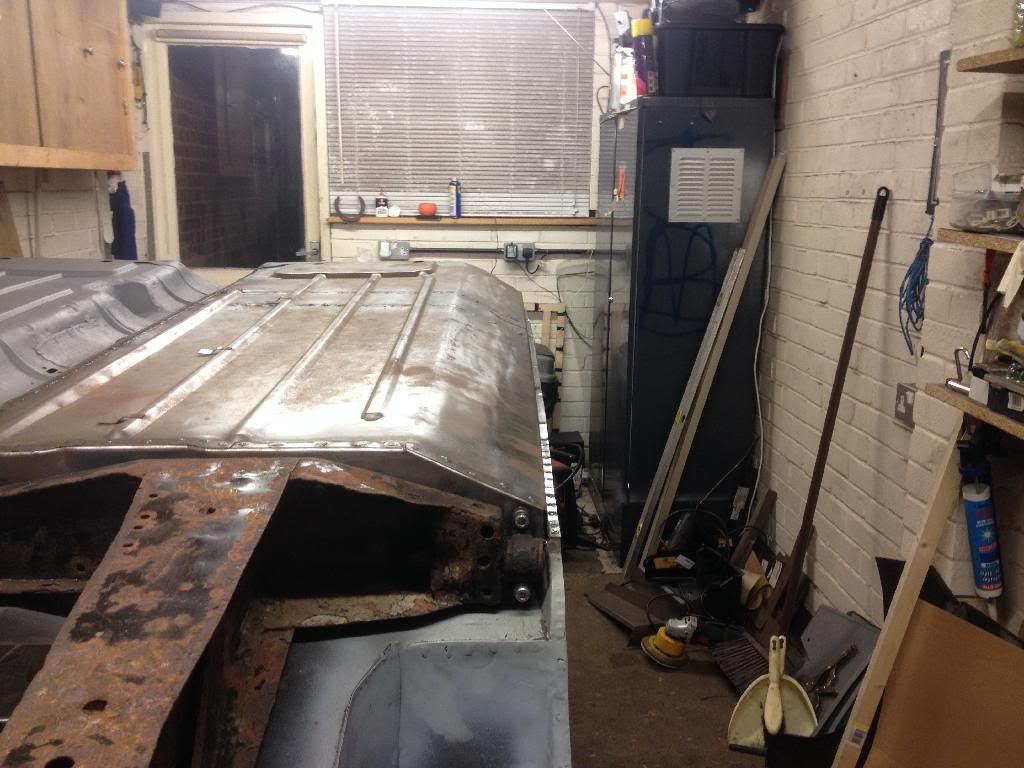
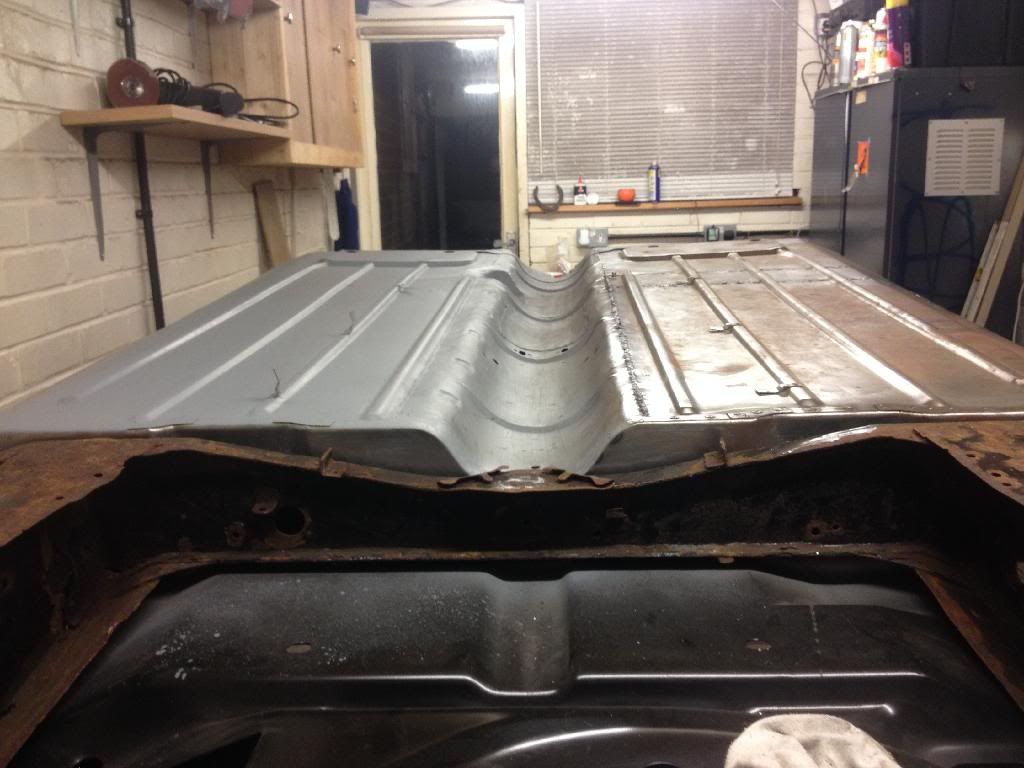
The First floor pan welding was going to be easier than the second, mainly down to access, so I decided to fit the harder one first. This was the drivers side with the floor start mount addition.

Access was easier on this one due to being able to stand close to the weld.

Always giggle when I see this pic !

IMG_1927.jpg

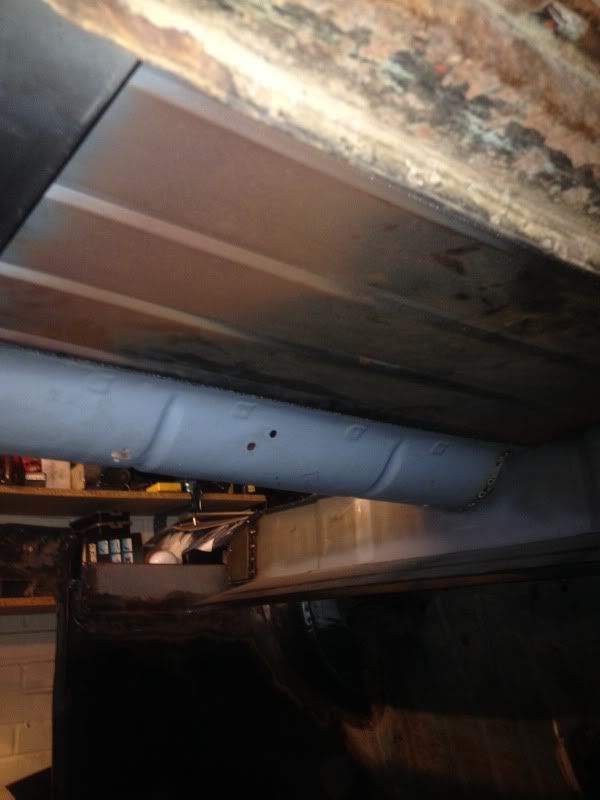
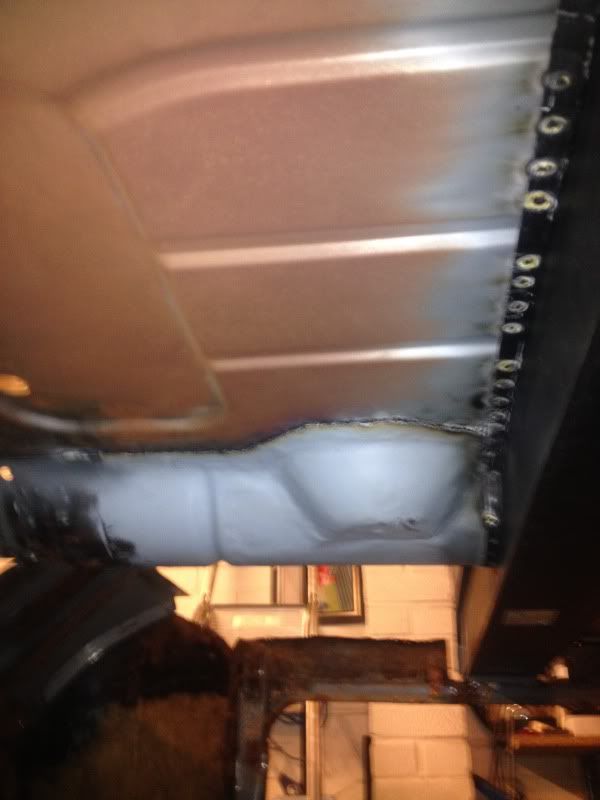
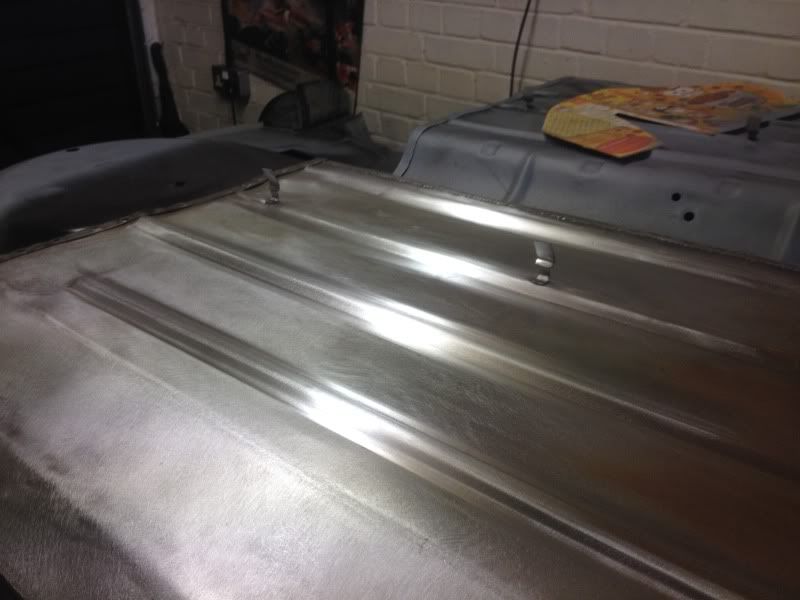
In my true style, I got carried away and completely forgot about taking pictures of during, so here's a few randoms of one pan in. :)

null_zpsf3881abe.jpg

null_zpsd4077f4d.jpg

null_zps2b12e66b.jpg

null_zpsfbe5d1a8.jpg

I left the welds slightly proud, for extra strengh on the underneath, as they won't be seen underneath all the stonechip hehe

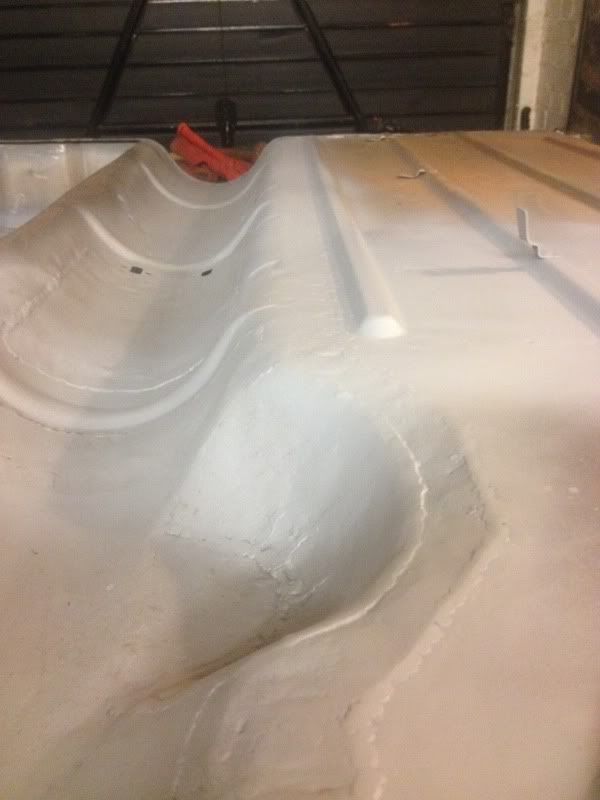
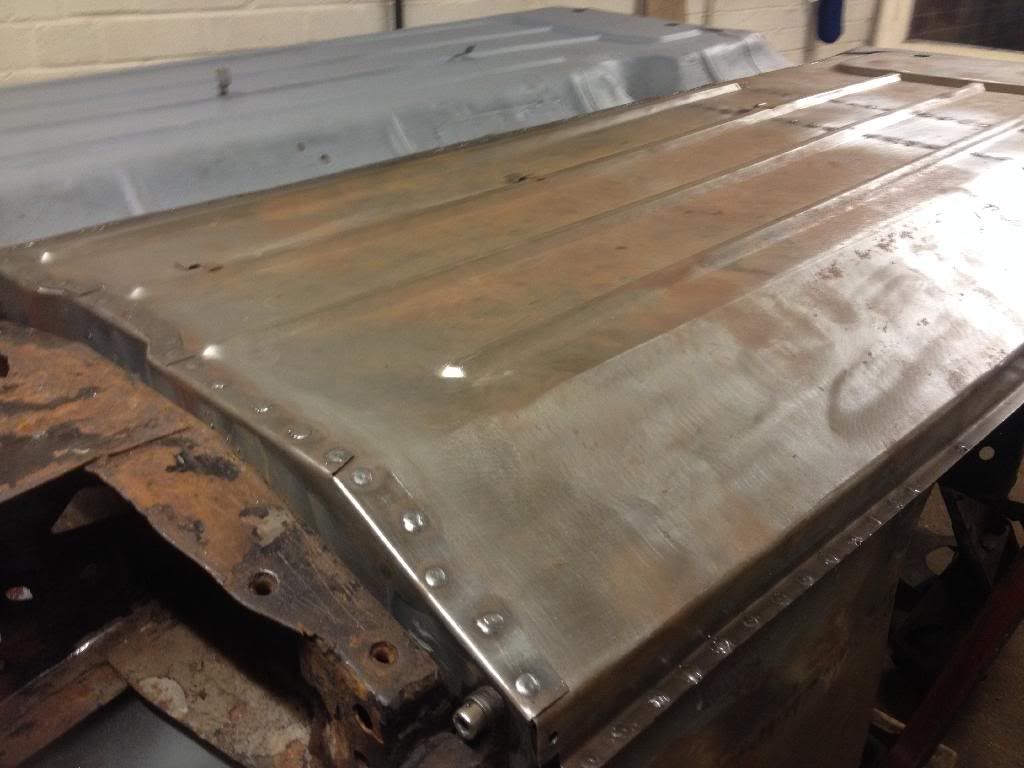
The passenger floorpans was much more of a struggle, and a stretch! But with a combination of inter grips, and special piece of wood :-) and a lot of fannying, it went in happily !

Again, lack of photos, I'm sorry! More randoms

FAE397C3-A78B-495C-88D0-D464C98F9174.jpg

A9EB13DA-E5B9-4AD3-A52A-5D4BF37CE8A1.jpg

28F13616-1520-4519-8672-6D18BF6E3699.jpg

null_zps6b0a3a2a.jpg

3A012018-961D-483E-AFE5-34AA1434CAE0.jpg

null_zps495b066c.jpg

null_zps8b93be32.jpg


Finally my car has a floor!!!!!!!!

Happy days , finally feel like progress is being made.

Not long now until she will be the right way round again!

#88 ToM 2012

ToM 2012

    Up Into Fourth

  • Members
  • PipPipPipPipPipPipPipPipPip
  • 4,066 posts
  • Location: halesowen

Posted 25 November 2013 - 05:47 PM

superb mate! your flying now it will be in paint on the next update? lol. as allways cracking work and nice to see a floor again? cheers tom 


#89 littlewimp

littlewimp

    Mini Mad

  • Noobies
  • PipPipPipPip
  • 104 posts
  • Location: forest of dean. gloucestershire

Posted 25 November 2013 - 07:39 PM

some great work being done there ,  i'm just about to start my mk1 seeing this has inspired me!


#90 Minilegs

Minilegs

    Mini Mad

  • Members
  • PipPipPipPip
  • 242 posts
  • Location: Norfolk

Posted 26 November 2013 - 11:39 PM

superb mate! your flying now it will be in paint on the next update? lol. as allways cracking work and nice to see a floor again? cheers tom 


Thanks tom . It's so nice to have something that is kinda resembling a car if ya squint now !


2 user(s) are reading this topic

0 members, 2 guests, 0 anonymous users