yep grind it of and start again best bit about it but we dont want to do it if we can help it. im sure you will do a cracking job as you have allready. and dont get welders flash as i did and was horrible ![]()
My Mk1 Resto , My First Ever Project......... Wish Me Luck!
#31

Posted 09 October 2013 - 09:06 PM
#32

Posted 09 October 2013 - 09:08 PM
#33

Posted 09 October 2013 - 09:09 PM
yep grind it of and start again best bit about it but we dont want to do it if we can help it. im sure you will do a cracking job as you have allready. and dont get welders flash as i did and was horrible
I got that once, looked like I'd been stabbed in the eye with a pencil lol. ! Not nice at all.
#34

Posted 09 October 2013 - 09:33 PM
no i never want it again i thought i had it the other night as i got caught by it as the wire hit the metal and i looked right at it so got home my eyes felt tired and bitty so i went to sleep about 8 closed all the curtains and i was just waiting to wake up at 2 in the morning with tight eyes but i was ok must of been all the dust and metal in the air in my eyes.
#35

Posted 09 October 2013 - 09:41 PM
It had new outer wings fitted by the previous owner,but I'm using the word 'fitted' very sarcastically there!
I do know one thing though, he had shares in a filler company!!
Before I started chop chopping
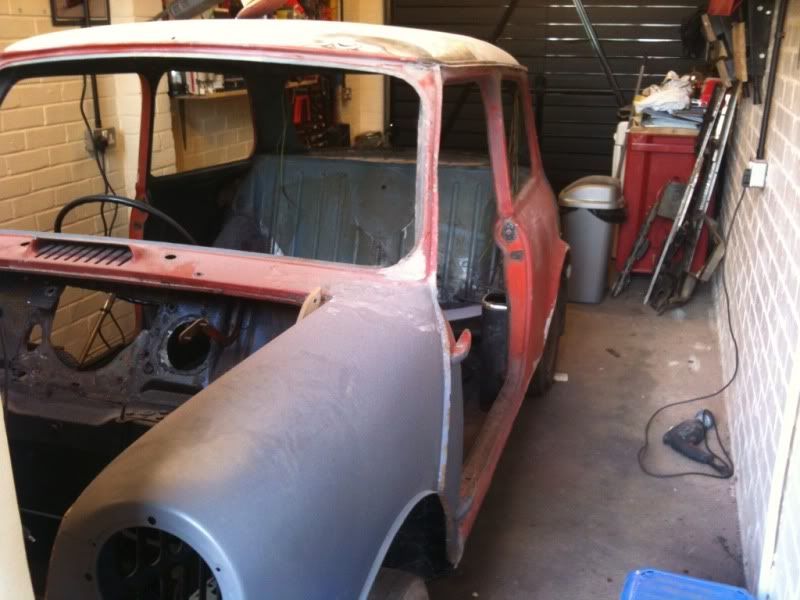
Look at the scuttle panel wing joint area. I suspect there may be a bit of filler then !
Offside outer wing removed. Notice anything about my a panel?

Took about ten seconds to get the wing off, as the welding was diabolical.
Near side wing removed, ahhhhh there's the filler!!!!!

The inner wings had been repaired with a new end fitted just past the crossmember. Again, the pretty much just pulled off down to bad welding again!!! Near side repair was better but still poop. So tugg tugg and it came off

I will be fitting new full heritage flinch panel/ inner wings so decided I might as well make some more room for myself.
Time for the front subframe and running gear to come out .

Once the sub frame was out and she was on axle stands , I chopped a few more bits of and gave the front bulk head a wire brushing to see the extent of what was needed work wise. As you can see, there are lots of extra holes in my bulkhead!!!


Toe board looks a bit dodgy, but I ain't condemning it yet


Flich panels have has some repairs obviously not by the previous guy, as these have been done with stick, to a good standard. They will still be going though lol!!


Only seem to have pics of the near side for some reason though! But the offside was in a worse state, with quite a few more plates.
#36

Posted 09 October 2013 - 10:55 PM
looks like a great project, best of luck with it!
#37

Posted 10 October 2013 - 08:57 PM
looks like a great project, best of luck with it!
Thanks sixty, lots of work to do but should be worth it in the end!
#38

Posted 10 October 2013 - 09:35 PM
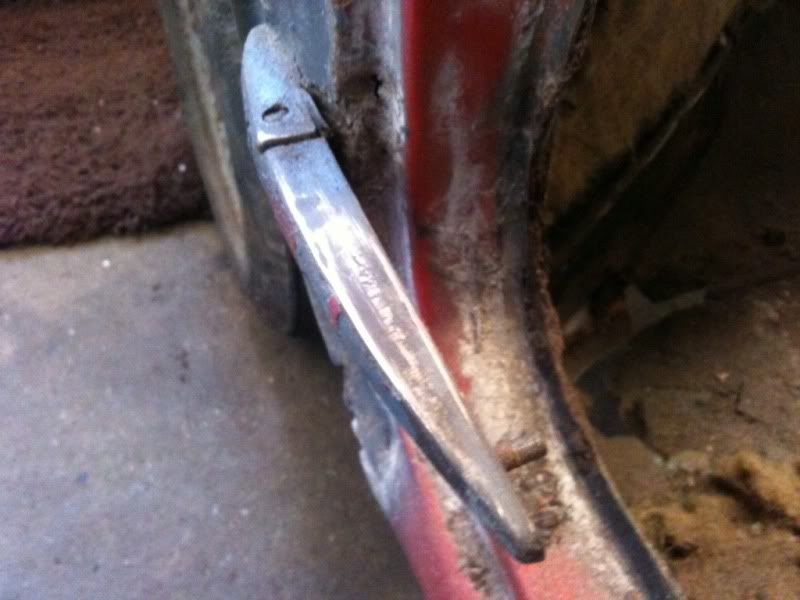
Next it was time to attach the sills . When I got the car, the seam was not visible between the floor pan/ lower door step. It was all smoothed off. If you look closely at the picture below, you will see what I mean

Chisel time again on the filler

As you can see, lots of filler again, and who ever had done this mod, even went to great trouble to bend the entire seam back on its self to tuck it out of the way. Grrrrrrr


Took me blinking ages to dig that lot out on both sides, but I had to, as there's no worse smell than cutting disc through filler. I hate it!
My next job was the floor areas . I knew they were rough, and the boot was well plated, so I need to be able to get to it all easily.
So, it needed to go on its roof so I could work on it easier . So I made a wooden cradle ,to support the car when she was turned over. I made it on the car when it was the correct way up, so I could make sure it fitted very well and had lots of points of contact all the way round the roof edge , to help it keep it's original shape when it goes on it is roof. Sounds complicated, but was piddle easy .


Now it was upside down, cutting out boot floor etc was gone be a lot easier. This car had so many plates in the boot, that it was well over 7mm thick in most places. think the record was 7 plates on top of each other in one area lol. As there was so many plates, and most of them butted up against flange faces, drilling out the spot welds was impossible, so I had to get the chop chop on the go again!
Think I remember going through about 10 cutting discs as the steel was so thick, but got there in the end,

Think I may have got carried away with chopping things out............

Even more in the swing of it........

I like a challenge hehe
#39

Posted 10 October 2013 - 09:39 PM
have you knicked my mini?
#40

Posted 10 October 2013 - 10:17 PM


What's peoples thoughts on foam filling the sills then? Obviously they were done in the factory like this, but changed fairly early into the mark. I going to keep the original style of floor pan fitment, so should I refill with foam or leave empty? Thoughts?
Think it's about time to start putting some new metal on I think, as I'm running out of car!
Welding wise, my original plan was to use a scratch tig set. Main reason being was I could source once FOC. I considered all the benefits such as being able to fill and fuse metal, and keep heat quite limited due to only low amp settings. I didn't however consider the bad points hehe. I perservered with the tig for a few repair butt welded panels, but it soon became apparent that it would not be possible to do everything I needed to with the tig. So I decided to invest in a mig welder, much easier and quicker, just it now costs me to run, unlike the tig.
Below are the repair panels I fitted with the tig.
Lower rear quarter repair panel.both sides were done the same.
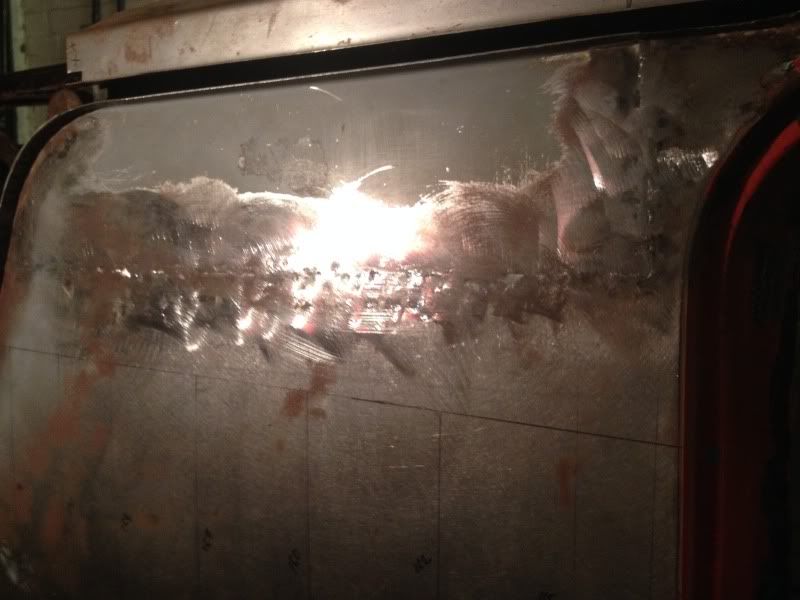
Lower rear quarter repair behind wheel arch
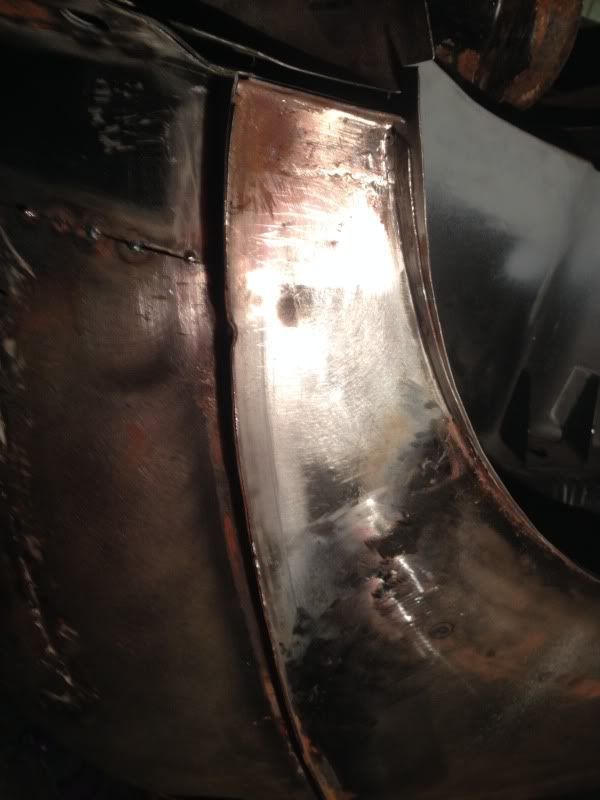
The repair pieces I bought for the above photo where too small and the corners were the flanges join were terrible with big gaps everywhere , so I reworked them before I fitted them to the panel. Pretty happy with the result of these repair panels. First time I have every worked on a car welding wise, been a big learning curve, admittedly , but my confidence is getting better now.
Like I say, I used tig for the above repairs, but the rest will be done with a combo of mig and spot welder, but the tig may make a special appearance for stainless at some point in the future I reckon.
Edited by Minilegs, 10 October 2013 - 10:18 PM.
#41

Posted 10 October 2013 - 10:20 PM
have you knicked my mini?
Lol ! Long lost twins I reckon, maybe be reunited one day possibly!
#42

Posted 11 October 2013 - 09:37 PM
hopefully mate a few years yet lol
#43

Posted 11 October 2013 - 10:05 PM
#44

Posted 12 October 2013 - 01:35 PM
Fantastic progress. With the meticulous approach you are taking I think you'll win in the end and it will be a great looking shell.
#45

Posted 12 October 2013 - 04:56 PM
hopefully mate a few years yet lol
Long way off Tom, but I'm sure all the hard work will pay off!!
Wow that's a lot of filler !
The amount of filler on the car was awesome. The roof had most of it on, as there was a BIG dent that had just been filled, don't know why as about 2/3rd of the dent pushed out with hands alone lol!
Fantastic progress. With the meticulous approach you are taking I think you'll win in the end and it will be a great looking shell.
Thanks mike!!! I hope it is too, but as this is my first plunge into car restoration, there is a lot of hoping hehe !
1 user(s) are reading this topic
0 members, 1 guests, 0 anonymous users


