My Mk1 Resto , My First Ever Project......... Wish Me Luck!
#181

Posted 08 August 2014 - 09:13 PM
Yes it's a definite ' Ohhhhh duck' when it happens, but like you said , a plan and lots of measurements and triple checks. I was stumped at first on how to adjust it then had that trusty 'eureka' moment with the ratchet strap. I have become even more anal lately on measuring stuff, I have even got out my trusty string to measure panels to find Centre lines etc on to make sure everything is going together true. Makes for slow progress , but hopefully worth it !
#182

Posted 08 August 2014 - 09:18 PM
It is well worth it.
There would be nothing worse than to spend all that money and hours and hours restoring a shell only to find when you are done that parts and glass don't fit and it just doesn't look right.
I wouldn't worry about slow progress unless you are on a strict time scale.
These things take as long as they take. The most important thing is that you do a little bit as often as you can to keep it moving otherwise these things can end up being abandoned due to loss of interest.
I haven't been able to get near mine for months now but i am chaffing at the bit to get back there and carry on!
Ben
#183

Posted 08 August 2014 - 10:11 PM
Thanks Ben, Its nice to know your on the right lines :)
Totally agree on the little and often approach.Its hard to juggle work , family and a restoration, but with this approach it is possible.
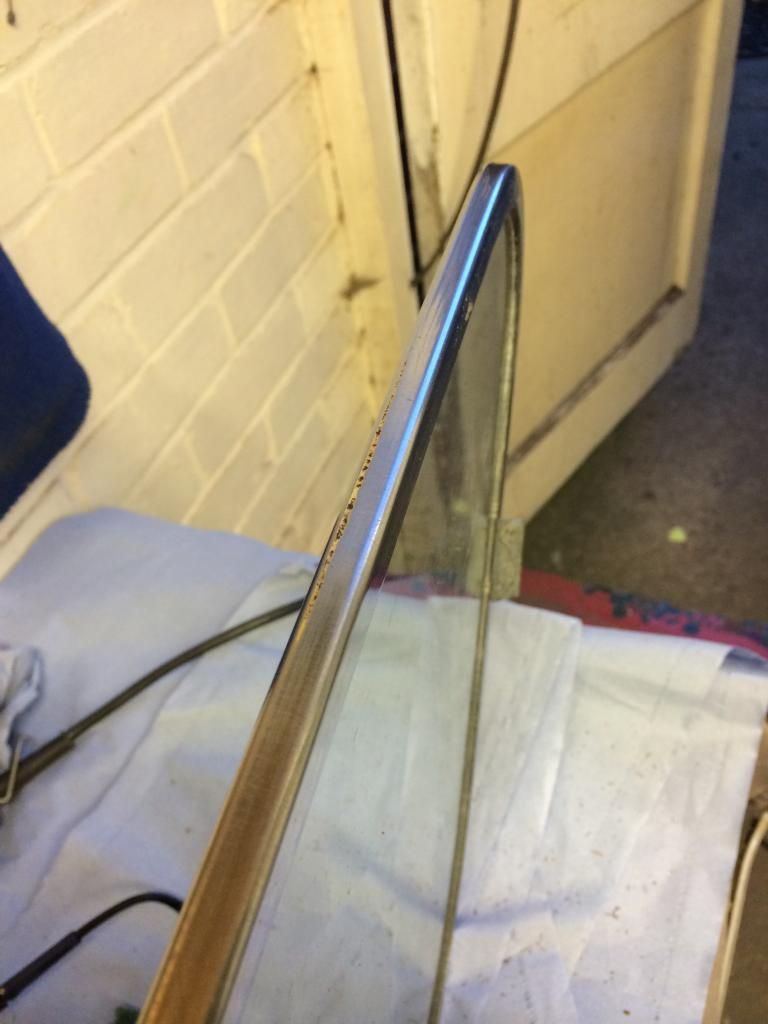
Its funny that you mention about fitting parts to check for fit, as I have been trying to do this as much as possible. I dug my rear quarter lights out to check the fit of the last repair I posted, because like you say, I wanted to check they looked right when fitted too. It was nice also, because I decided to have a go at seeing if I could get them to a usable state, as from memory when I first took them out, I had gave them an initial clean by hand and they didn't come up very well at all, they were full of rusty bits and nastiness everywhere. In my naive head, I had condemned them, and as this was over two years ago, and they have been on top of the bedroom wardrobe every since. I dug them out to check just the fit of them as that's all I thought they would be good for, but when I gave them an looky over, I though what the hell, lets try a bit of dremel polishing action on them, as I since have had some good result with the dremel buffing type route. And they came up fantastic. They are not perfect, but they are totally acceptable and have a great 'patina' effect :)
It was going be my next update spookily :)
#184

Posted 08 August 2014 - 10:40 PM
My quarter windows are quite crusty on the chrome. I was going to look into swapping teh chrome off of some better windows as i want to retain the glass as it has the original glass with the reg etched into it.
That will be a while off yet though!
Ben
#185

Posted 08 August 2014 - 10:55 PM
Mine where quite rusty to start Ben, but they came up ok . Same as you , I would like to keep these because I think they are the
originals, and I could probably confirm it if someone could put the dot back under one of the letters in toughen :)
this is what they were like to start with
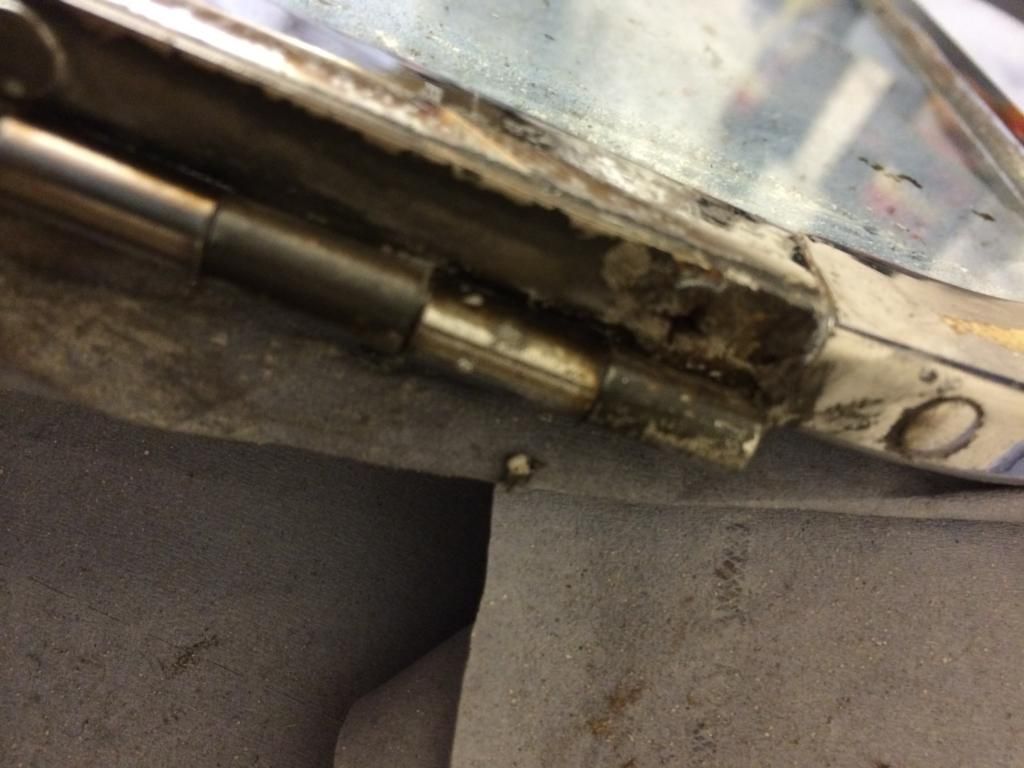
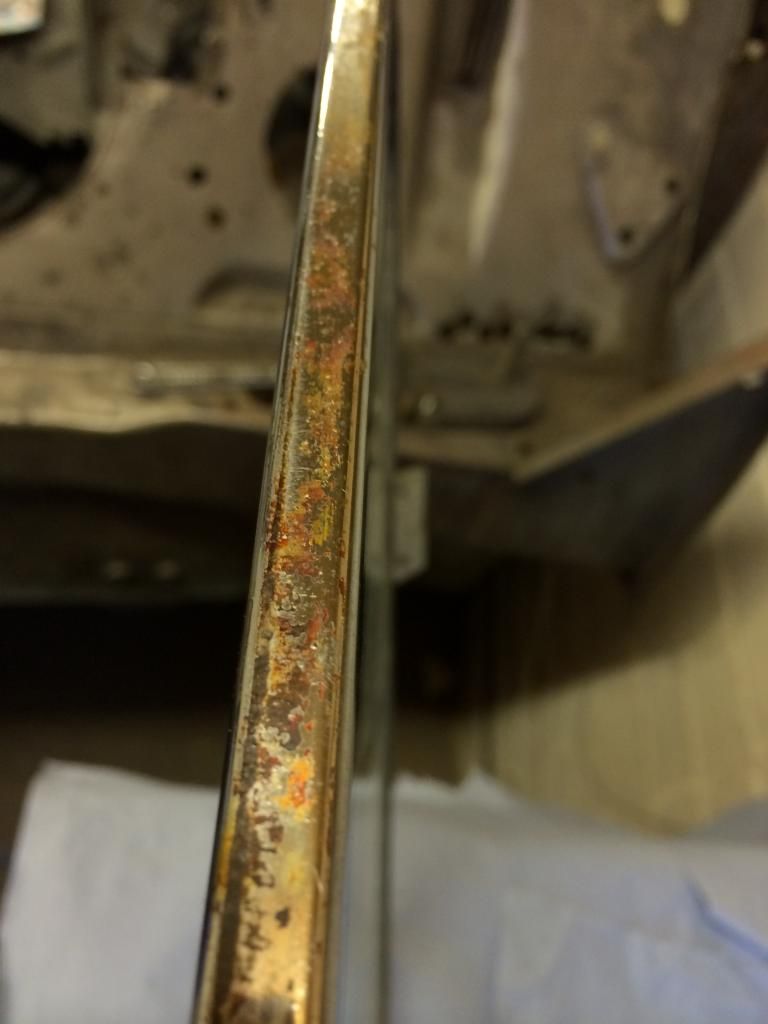
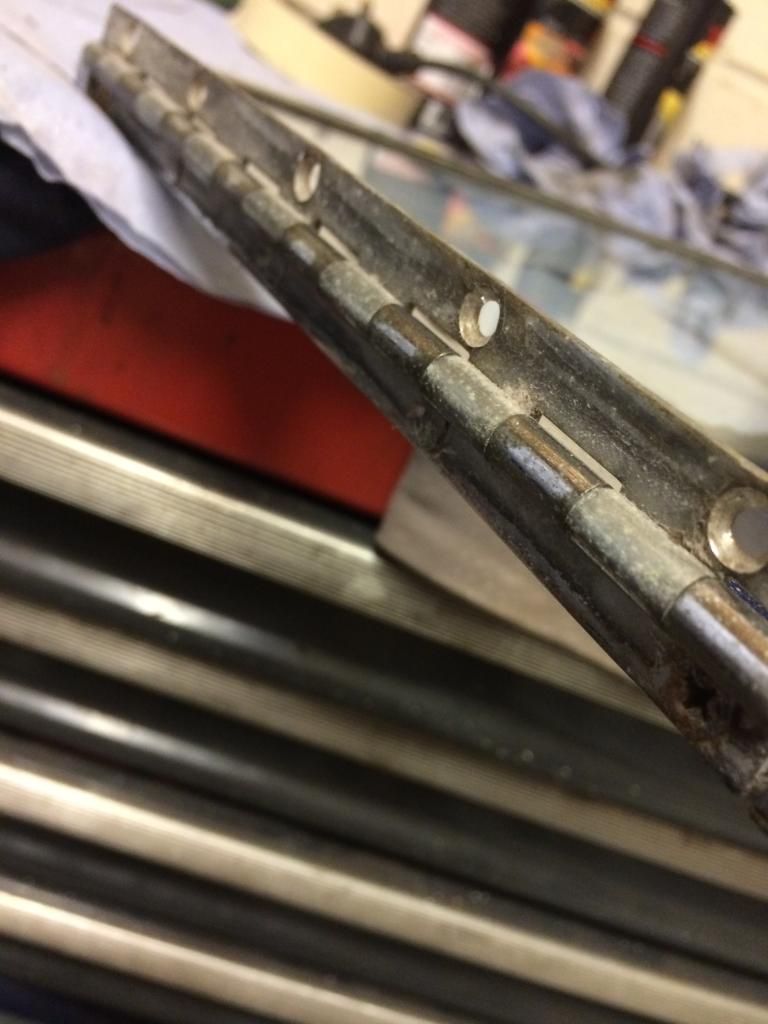
and after
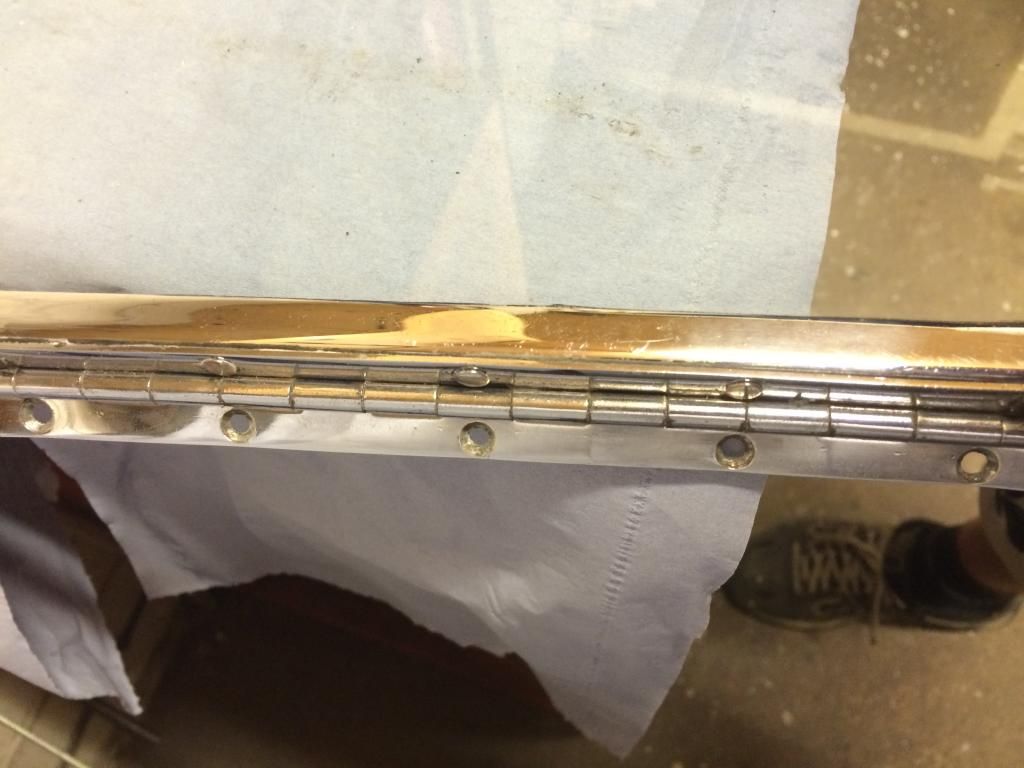
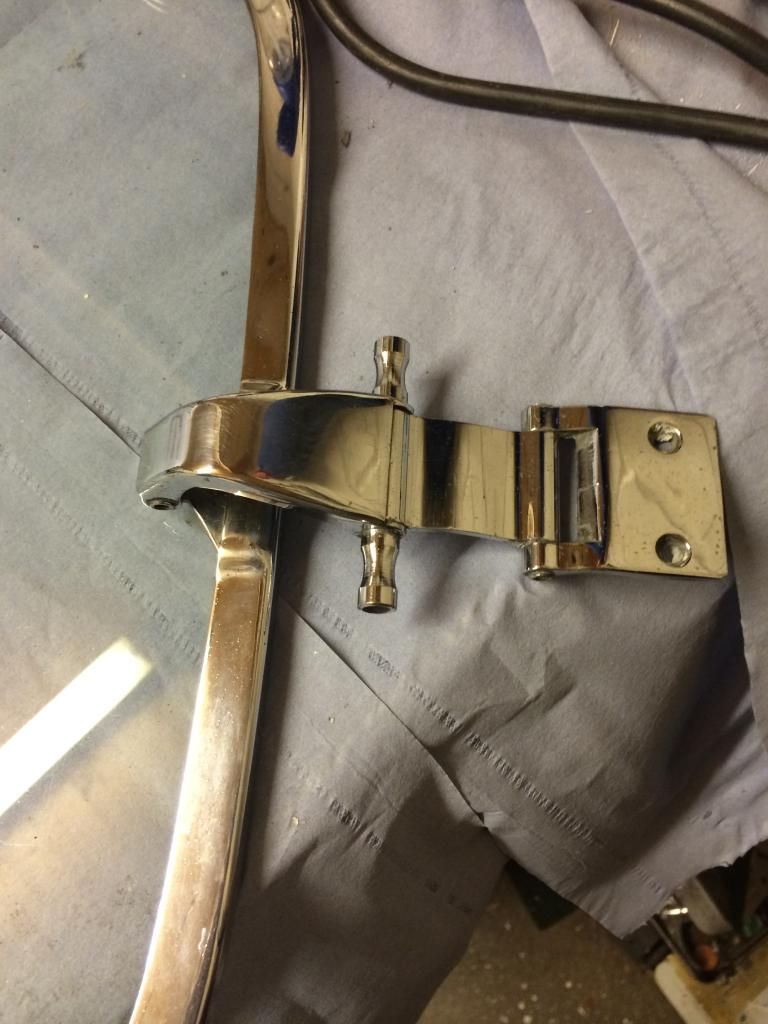
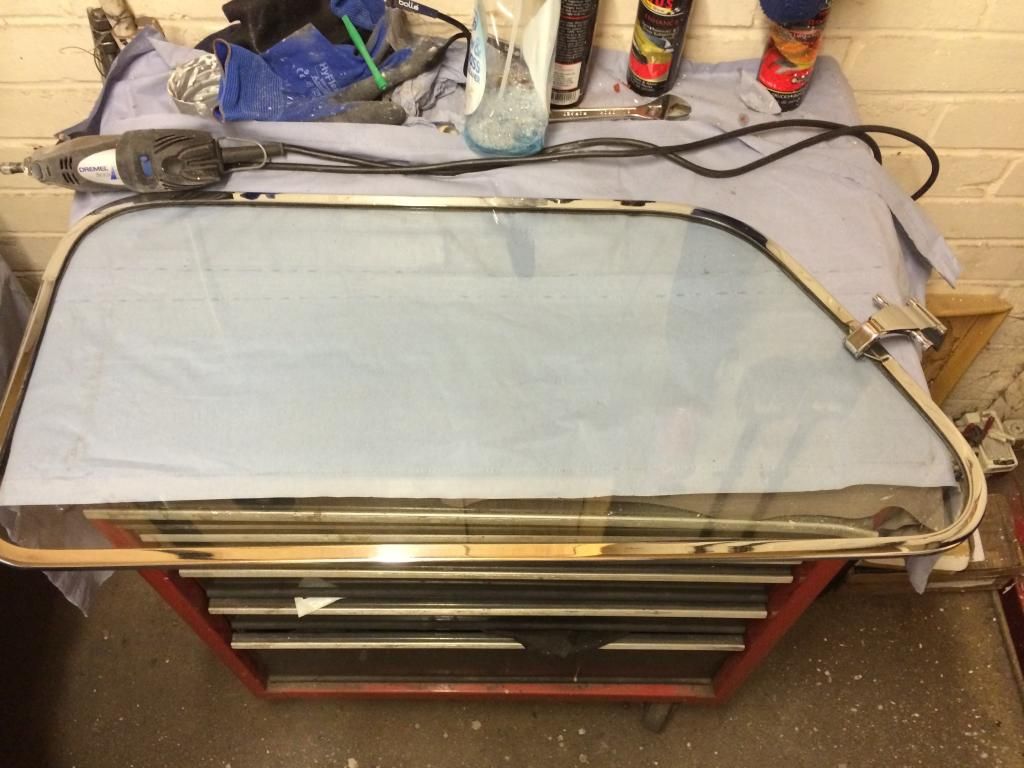
and these are the rusty faces in the first pics, half way through and nearly done. There were a couple of little marks I couldnt get out, and it was through to the brass is a small area, but apart from that they are good :)
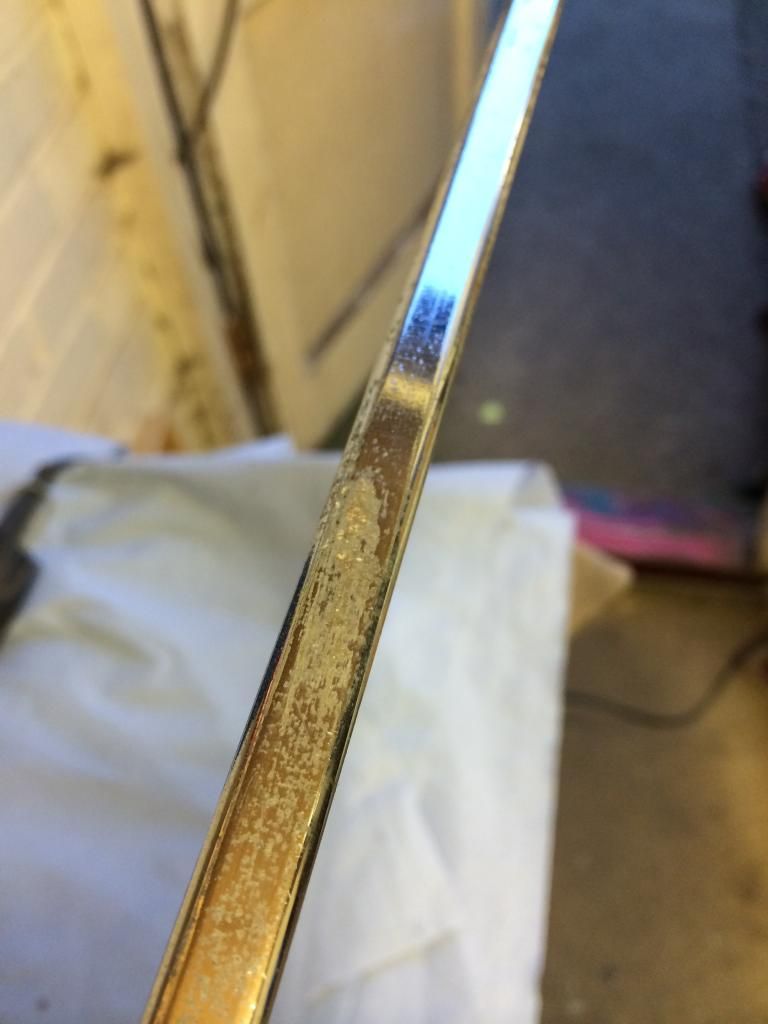
#186

Posted 08 August 2014 - 11:05 PM
They have come up beautifully!!
Well done!
What did you use to polish it with?
Ben
#187

Posted 08 August 2014 - 11:26 PM
I got a Dremel kit a few years back, and in it there were some buffing pads, and a little tub of red polish compound. The compound worked really well, until it run out ![]() So I improvised, and used some sonus polish that I got in a detailing kit with a DA a few years back. I used the harsh one, intended for removing paint defects, I read the instructions, and it didn't say you couldn't use it on chrome, and chrome wasn't in the list of areas to avoid contact with, so I gave it a go.
So I improvised, and used some sonus polish that I got in a detailing kit with a DA a few years back. I used the harsh one, intended for removing paint defects, I read the instructions, and it didn't say you couldn't use it on chrome, and chrome wasn't in the list of areas to avoid contact with, so I gave it a go.
Initially I scrapped the surface crud of with a small plastic spatula thing (its was one I got in a phone screen repair kit) , then used the dremel and it worked really well. It was messy, as the sonus was more of a liquid that a compound, but that was solved by letting the polish dry in an open container for a day. It didn't stop all the mess, just a bit of damage limitation. My garage door is now peppered with white splats :) And as I had a few of the pads , I used one for cleaning most of the crud off, then another one for the final polish. Took me a few evenings, but well happy with the results especially when I see the stupid money these things are going for and I know haven't got to buy some:) Still got the other side to do yet though !
#188

Posted 08 August 2014 - 11:28 PM
That's the problem as most components you refurbish, there is always more than one of. Just when you finish one, you have the other to look forward to.
#189

Posted 08 August 2014 - 11:37 PM
Everything in pairs, I personally blame Noah. :) The other one can wait though! technically, I shouldn't need it until the shells back from paint. So that's one massive window of opportunity!
1 user(s) are reading this topic
0 members, 1 guests, 0 anonymous users


