cant wait! ![]()
My Mk1 Resto , My First Ever Project......... Wish Me Luck!
#166

Posted 13 July 2014 - 11:54 AM
#167

Posted 31 July 2014 - 08:50 PM
I needed to do a few more jobs before I can could fit the new back panel as access was much easier.
First of, I tackled the battery box. Initial fit was awful, and about 25% of the flanges were close to being in the right place and the other 75% were to far out to fettle right. So I decided to whip them of completely and start from scratch by making my own flanges to suit the boot floor a little bit better.
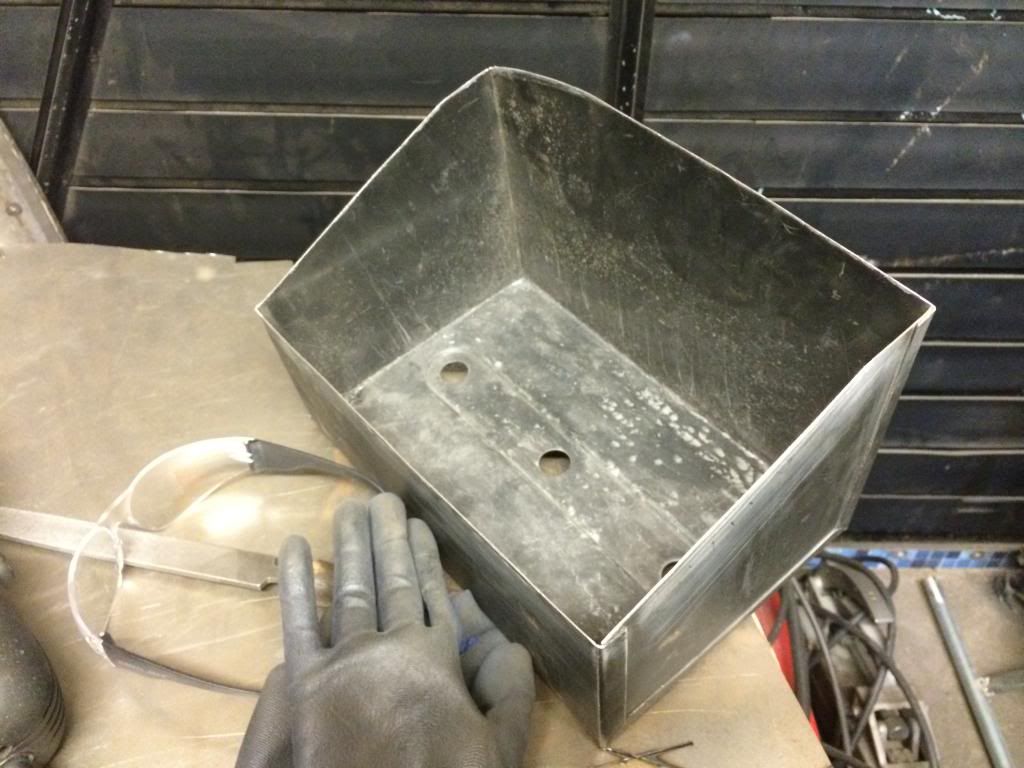
I then made some flanges to suit the boot floor, copying the original flange for the fixing area.
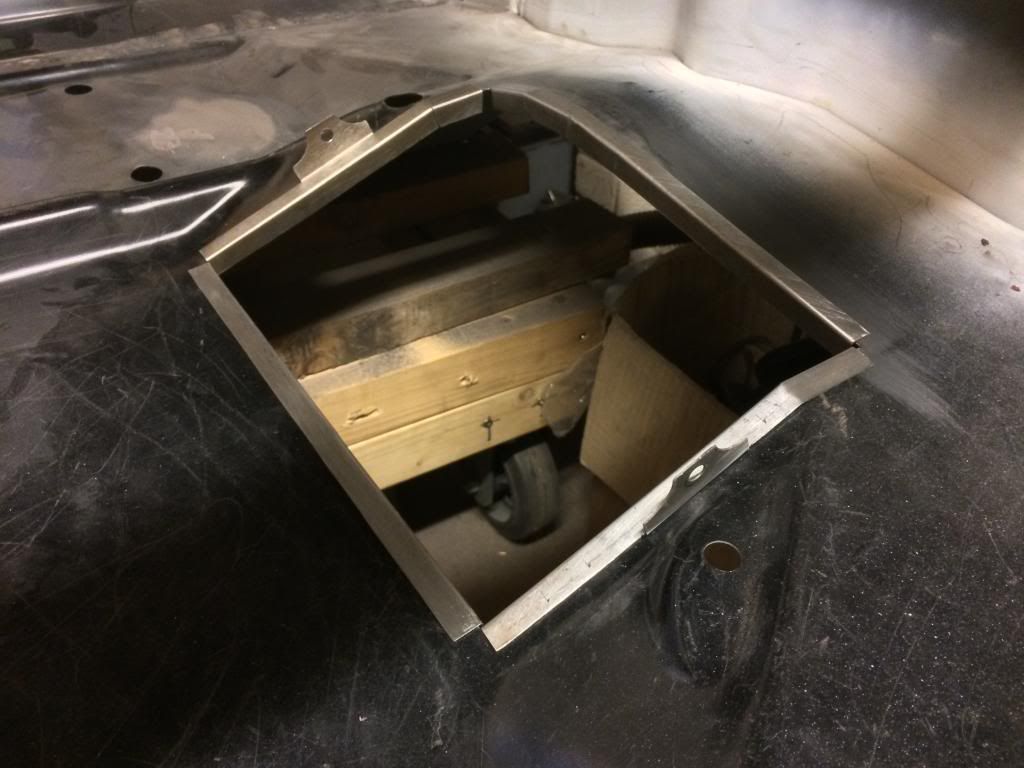
I then spot welded them the the original box, with a lot of seam sealer to be added later on.
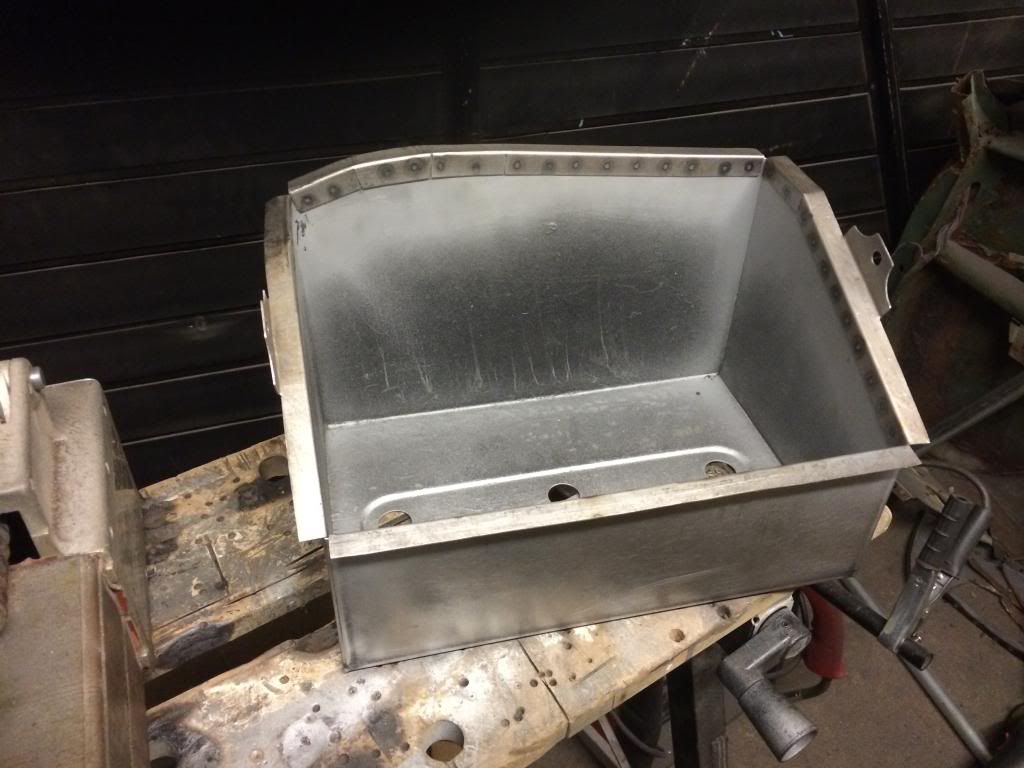
and then plopped it into place :)
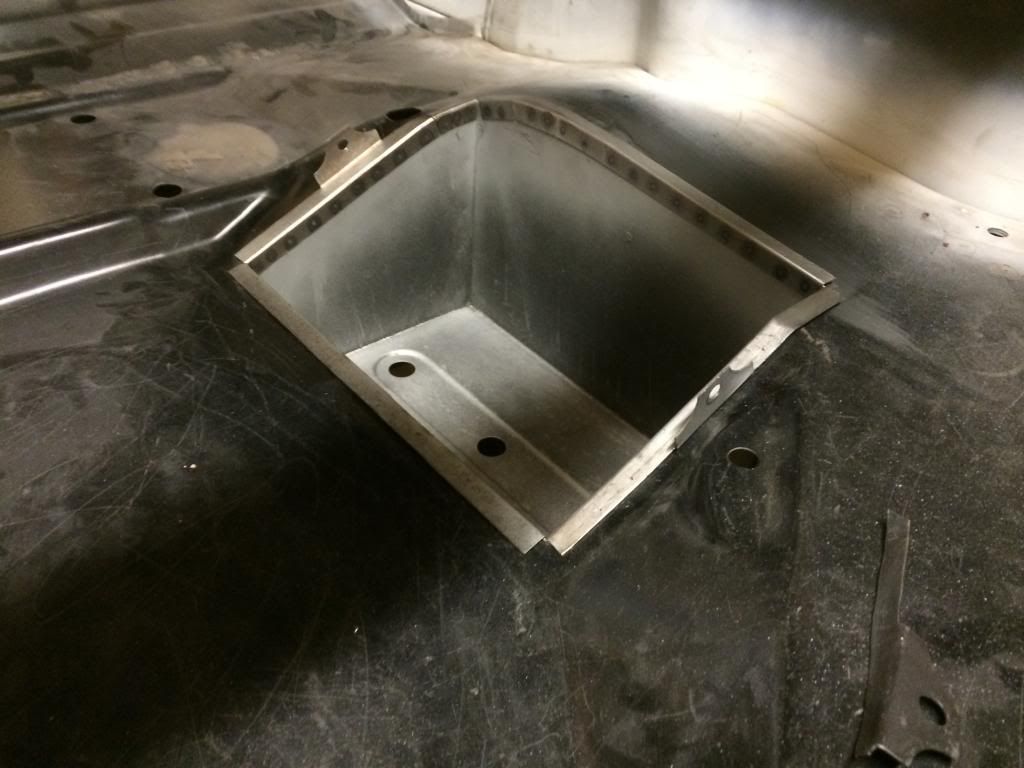
I was happy with the fit now, so I welded it in and gave it a dose of etch.
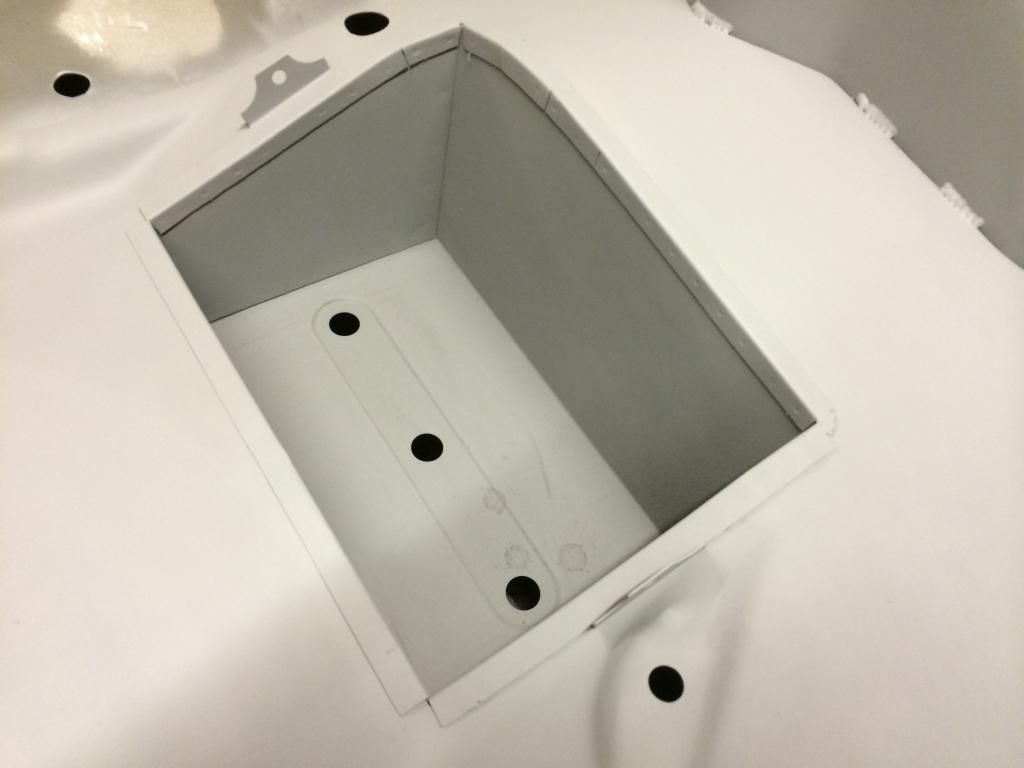
one more job out of the way:)
Edited by Minilegs, 31 July 2014 - 08:52 PM.
#168

Posted 05 August 2014 - 09:16 PM
got a few more jobs out of the way in preparation for the back panel fitting.
Firstly, I wanted to get the wheel arch to floor strengtheners in, along with the tank stand and spare wheel clamp fixing.
I gave all the hidden faces a paint, using etch primer, primer then top coat. Some will burn off when they are fitted but some should stay.
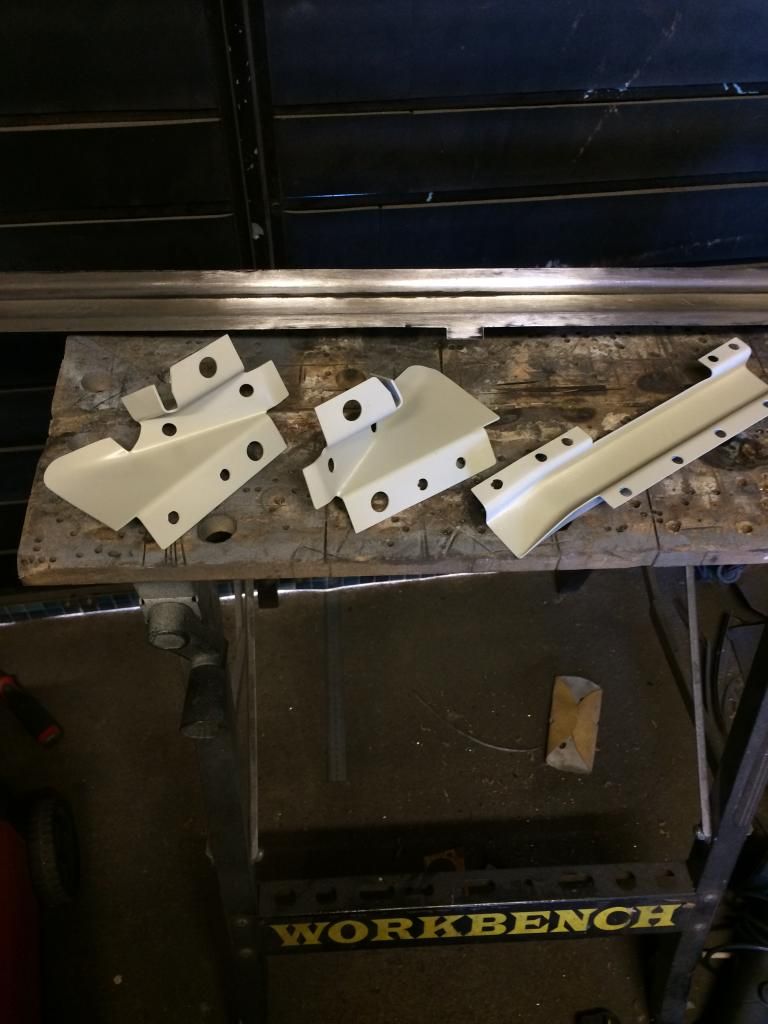
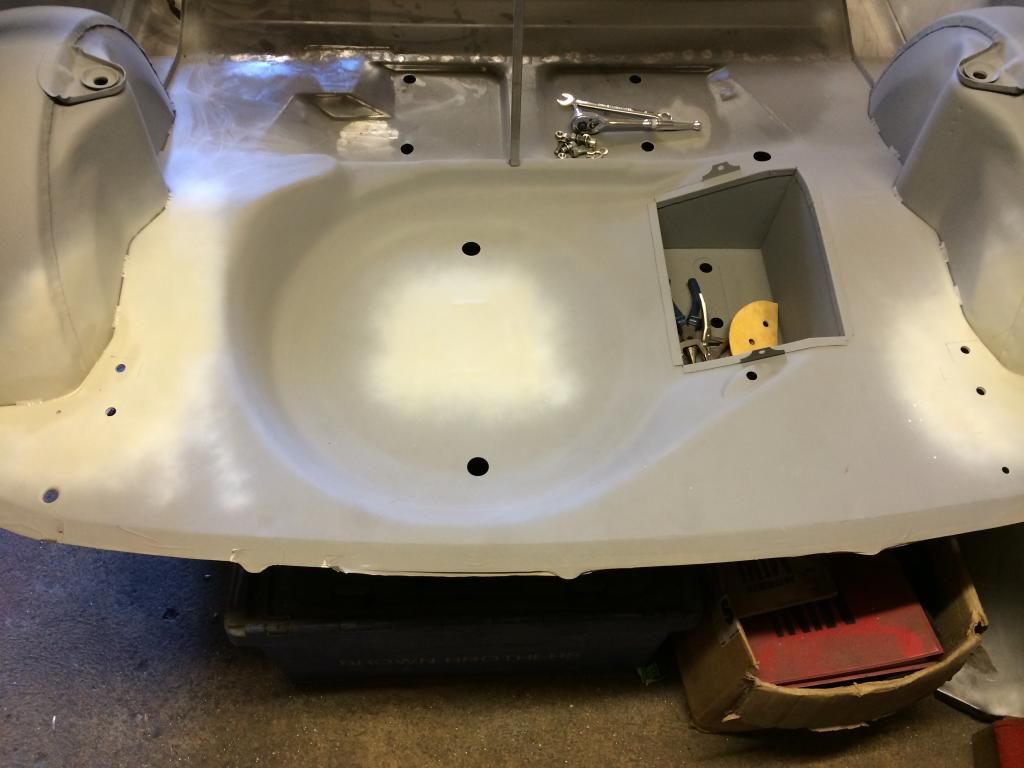
I plug welded the wheel clamp and tank stand to the bootfloor, and the wheel arch brackets got plugged and stitch welded in position.
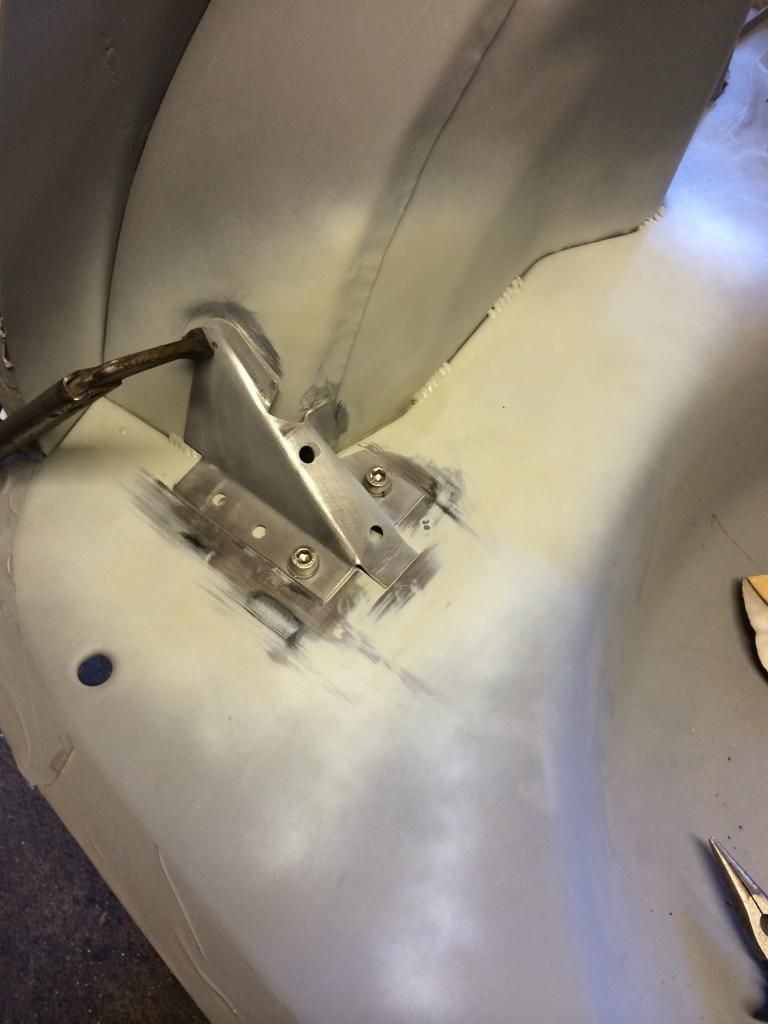
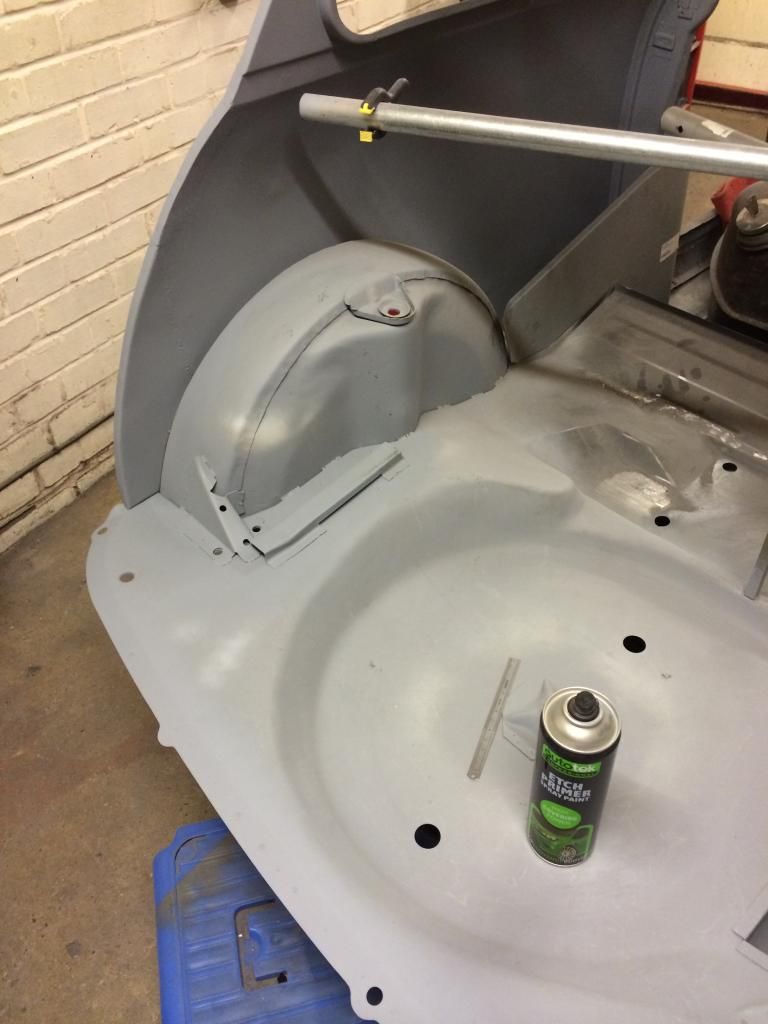
Could resist any more, i had to try the rear panel to see what the fit was going to be like.

and of course you just got to add a set of lights........:)
Overall the fit of the rear panel was ok. It has highlighted a few issues though with the rear quarters which I will need to remedy before I finally fit it for real. All my own doing it seems, after many hours staring at it to work out the problem.!
#169

Posted 05 August 2014 - 09:51 PM
The main issues I discovered when trial fitting the rear panel were with the rear quarters, which was totally my own doing. When I originally repaired the lower rear area of the quarters, i seem to have made them a little bit too long. How? Ive no idea to be honest, but it all pretty much falls into place if they were a little bit smaller.
As you can see, there's a gap. ekkk!
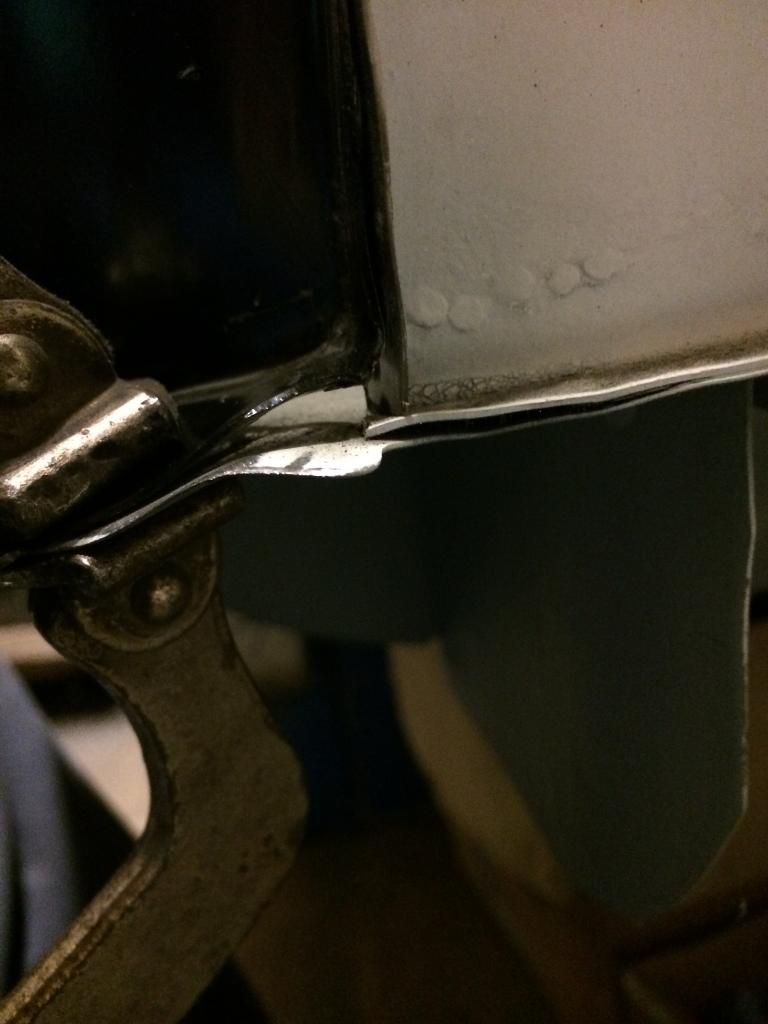
However, every cloud has a silver lining, and as This was one of my first repairs, I really wasn't happy with them, so chopping them out and starting again did not seem to bad of an option. The gap was even both sides, so my error was consistent, and I don't mind problems like that that don't lean towards twisting as an answer!
Before I tackled the rear quarters, I really needed to be putting some fresh metal in before I chop any more out! (not that there's much left anyway but hey !)
I decided it was time for a rear cant rail repair.
As you can see, a bit crusty !
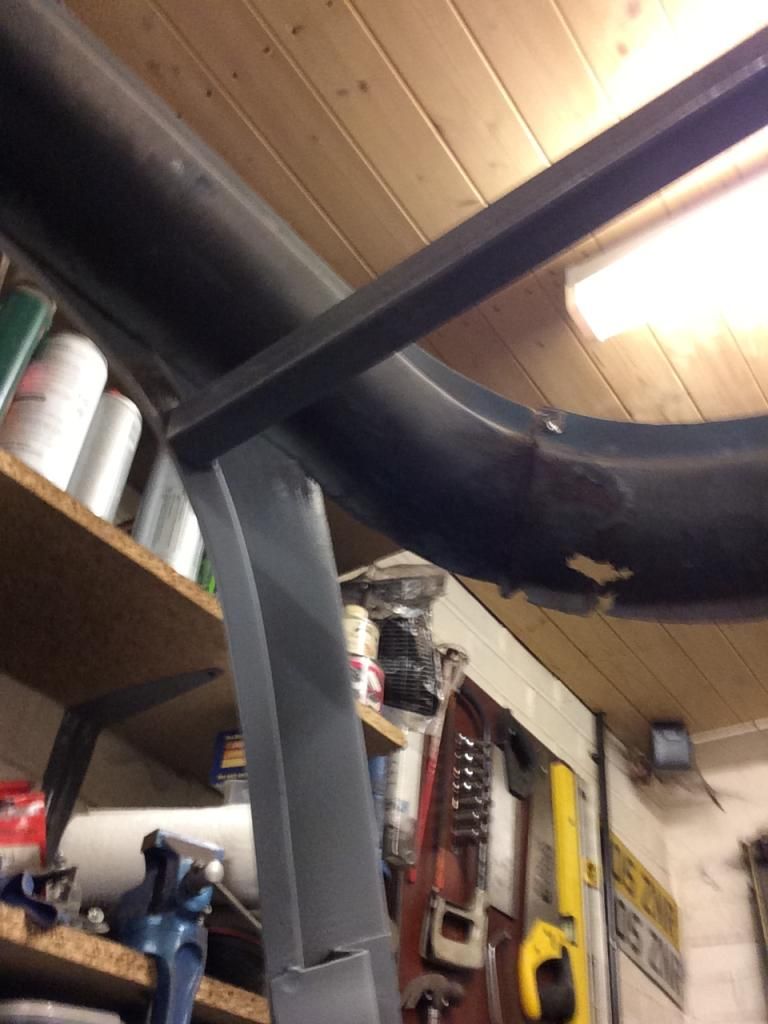

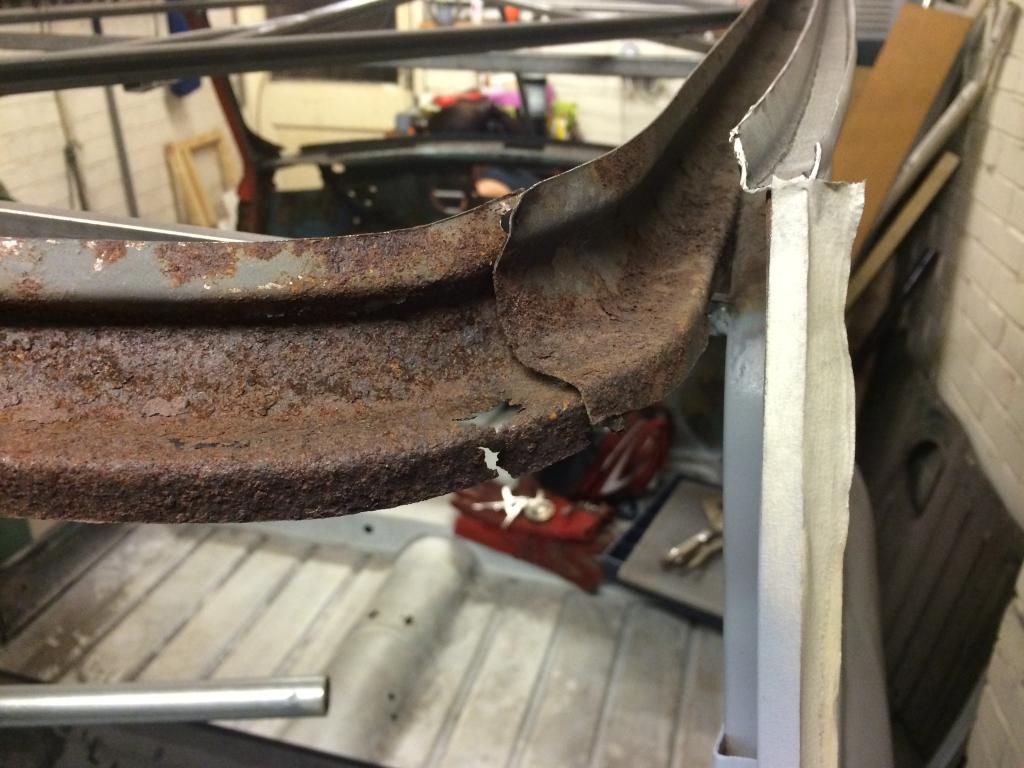
The rear cant rail was beyond saving surprisingly...... but the splendid people at somerfords had a nice new one.
Firstly, I cleaned of the nasty coating on the panel, as I was hoping to perform a miracle and complete a job in a day............
The side rear areas of the cant rails were surprisingly good once cleaned up,so they got a coat of zinc primer ready for the fitting of the rear rail.
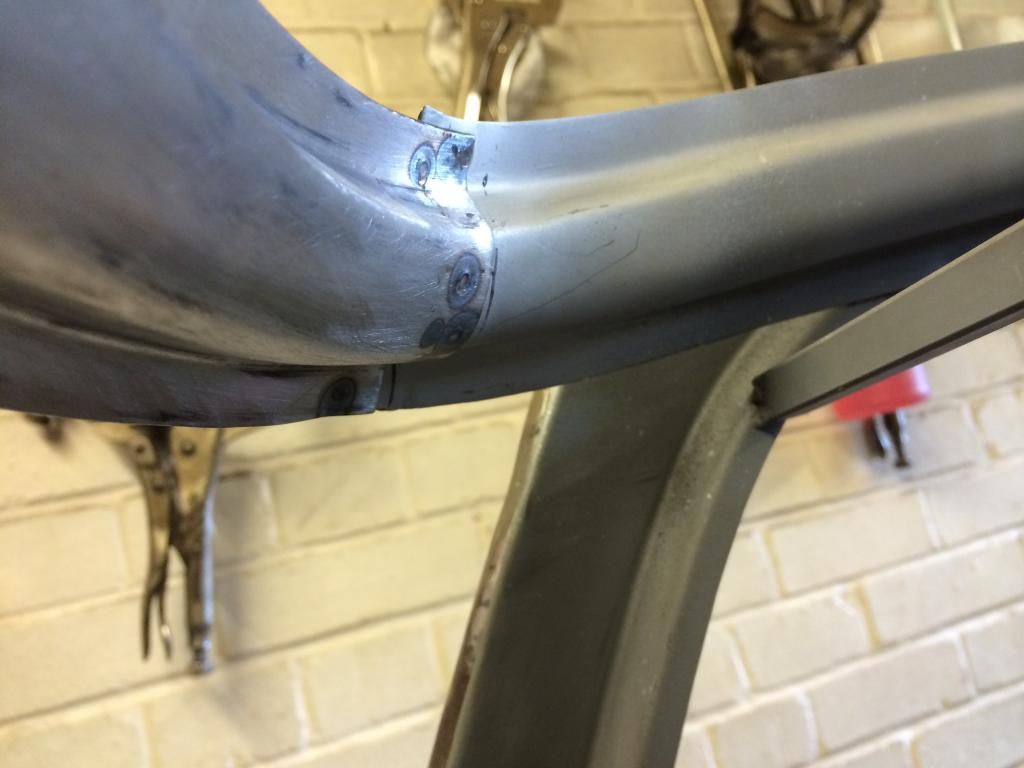
I was cautious that this panel could easily be put in wrong, but for once in my life, I had foresight and when Braced the roof area before i removed it, i made sure one of the struts sat underneath the rear cant rail, so it would set the height for me when I fitted the replacement. The curve of the rail is defined by the back panel hopefully, so I fitted that to aid the alignment.
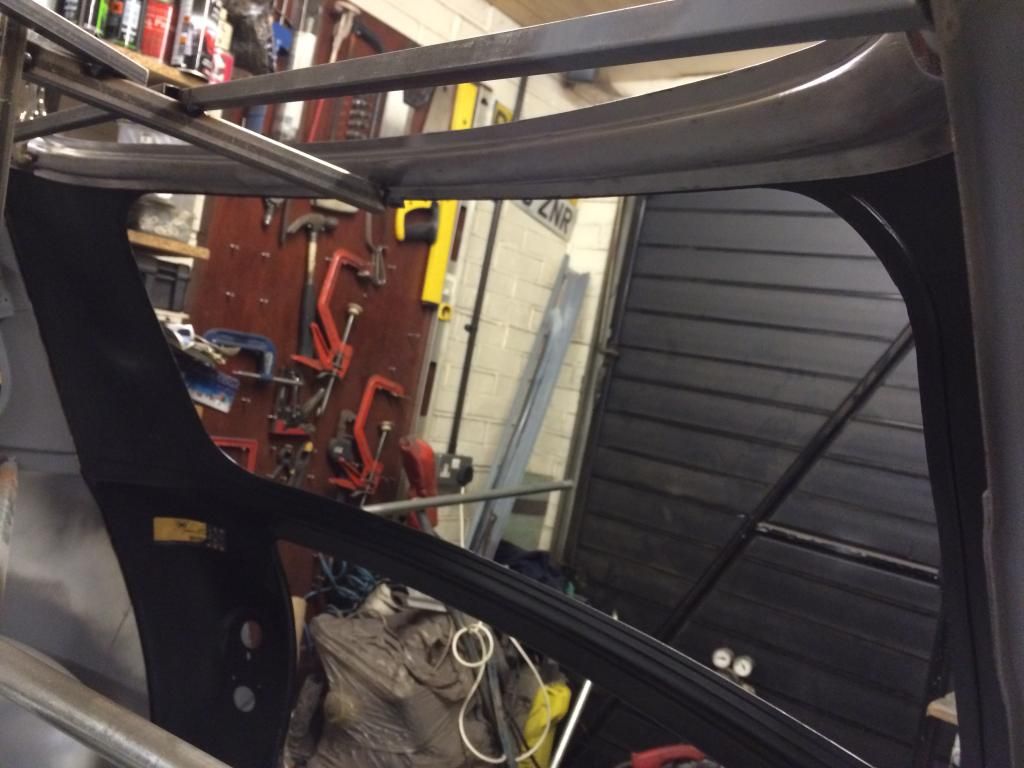
well it all seems to fit....

#170

Posted 06 August 2014 - 07:57 PM
Next up was the rear quarter repairs. I needed to lose about 4mm from the bottom of the rear quarters,to make up for my long ago boo boo.
So lesson learned, I made my repair sections and also fitted them whilst the back panel was still clamped on.
chopped out ready
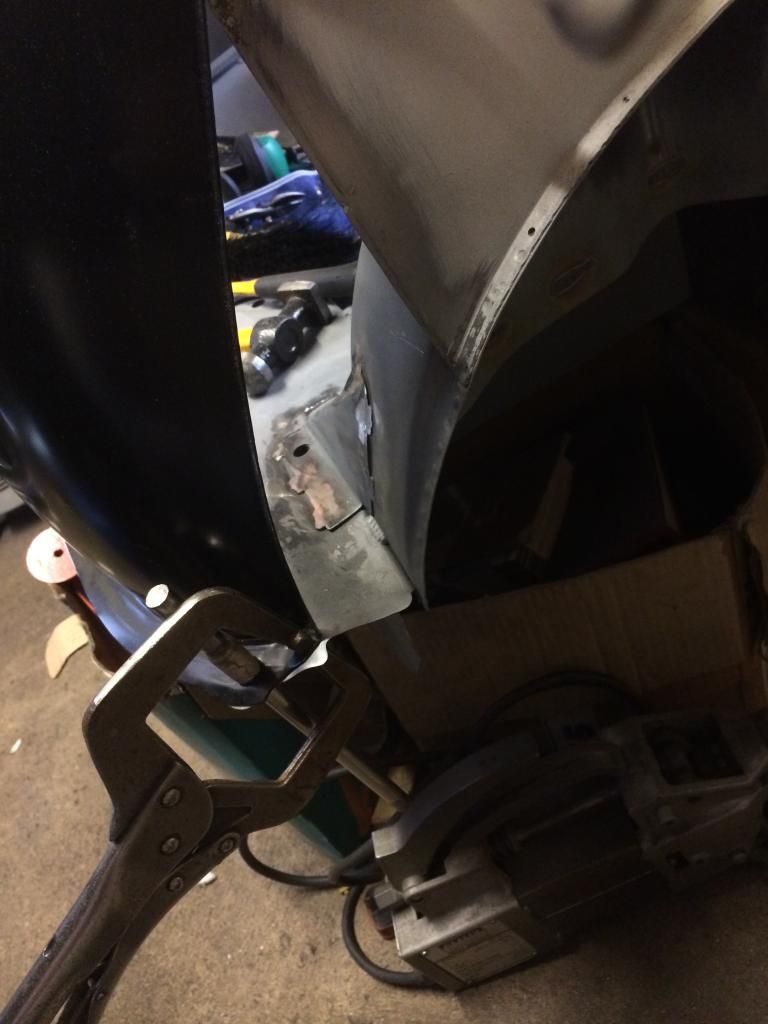
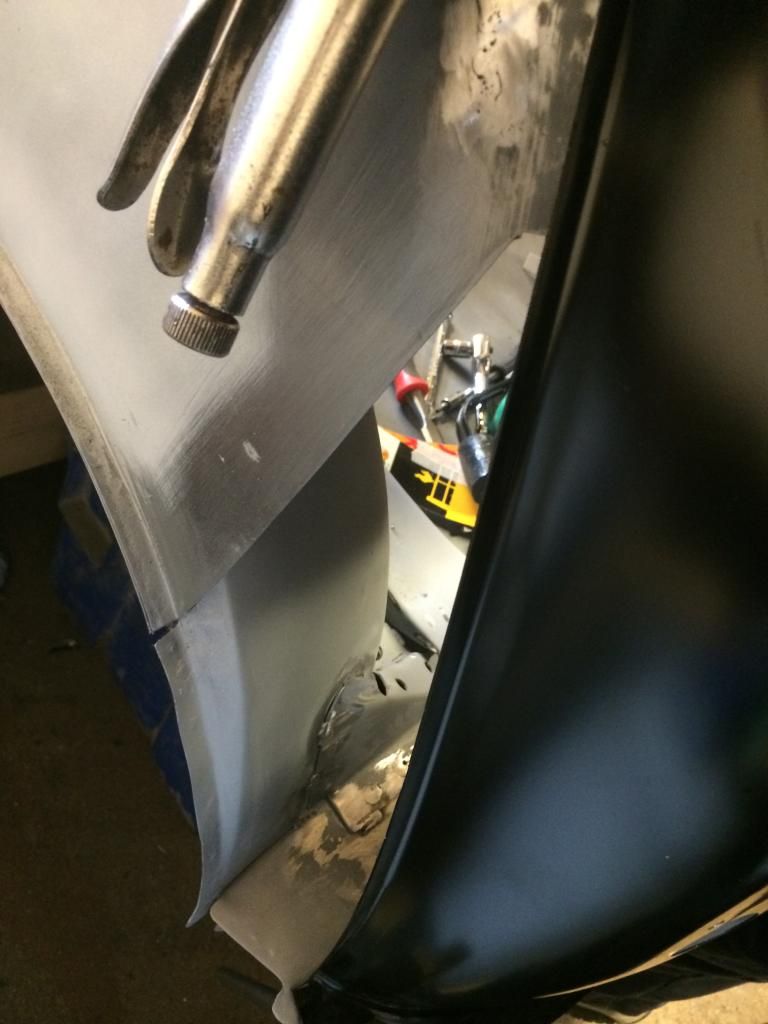
repair panels made
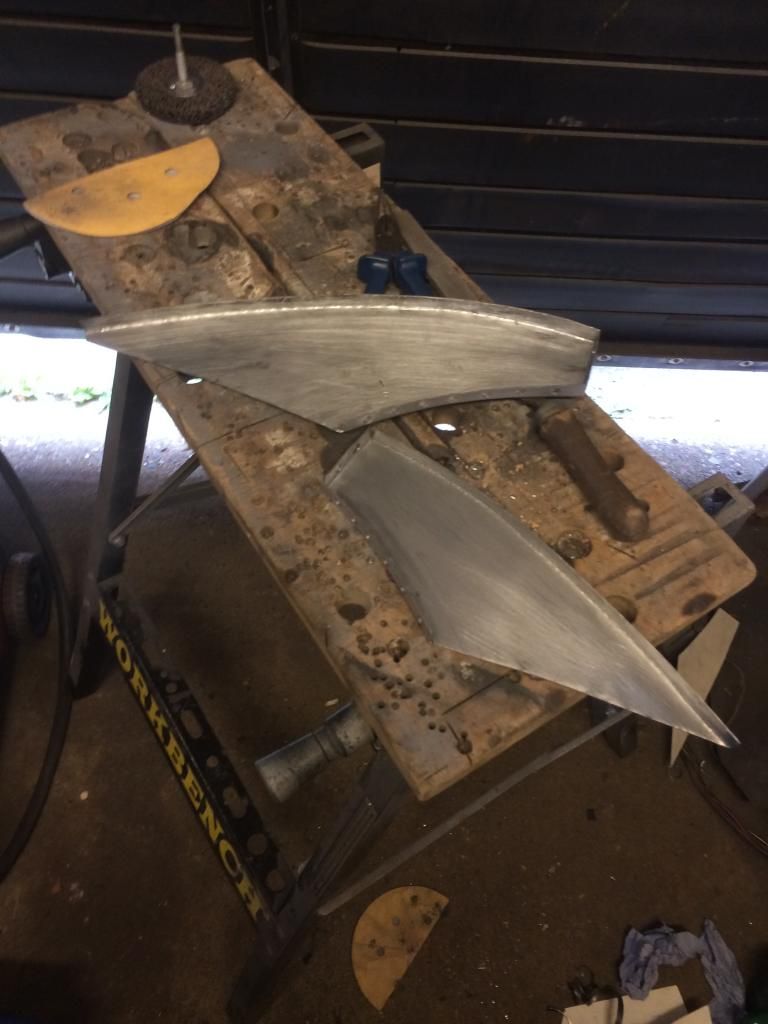
all seemed to line up
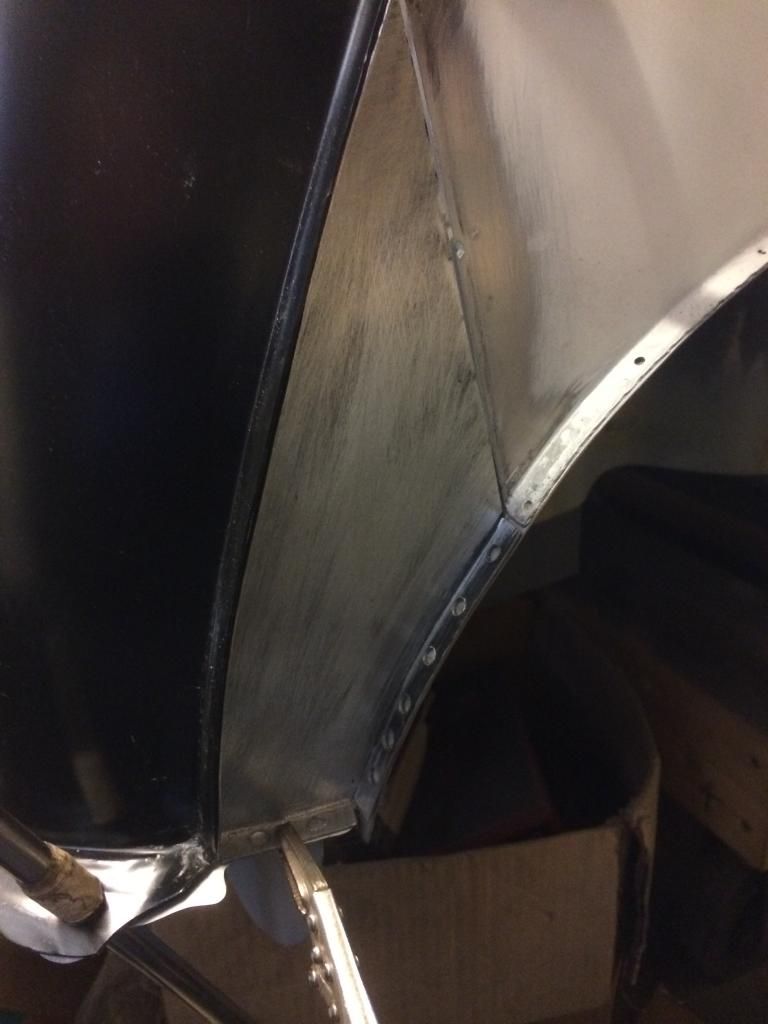
start welding them in to realise you also need to repair the rest of the flange on the quarters right up to the gutter. I had looked at these before, and i was happy with the condition of them, but now I think I have got even more fussy, so I decided they had to be repaired to.
the n/s seems to fit good along side the other repair I did a while back. I also trial fitted my petrol tank,and it all seemed to be correct, apart from the hole missing from my floor for the tank drain. I haven't put this in yet as im still unsure as to what tank I will be fitting. But it can be put in easily at any point, so its not a big deal at the moment.
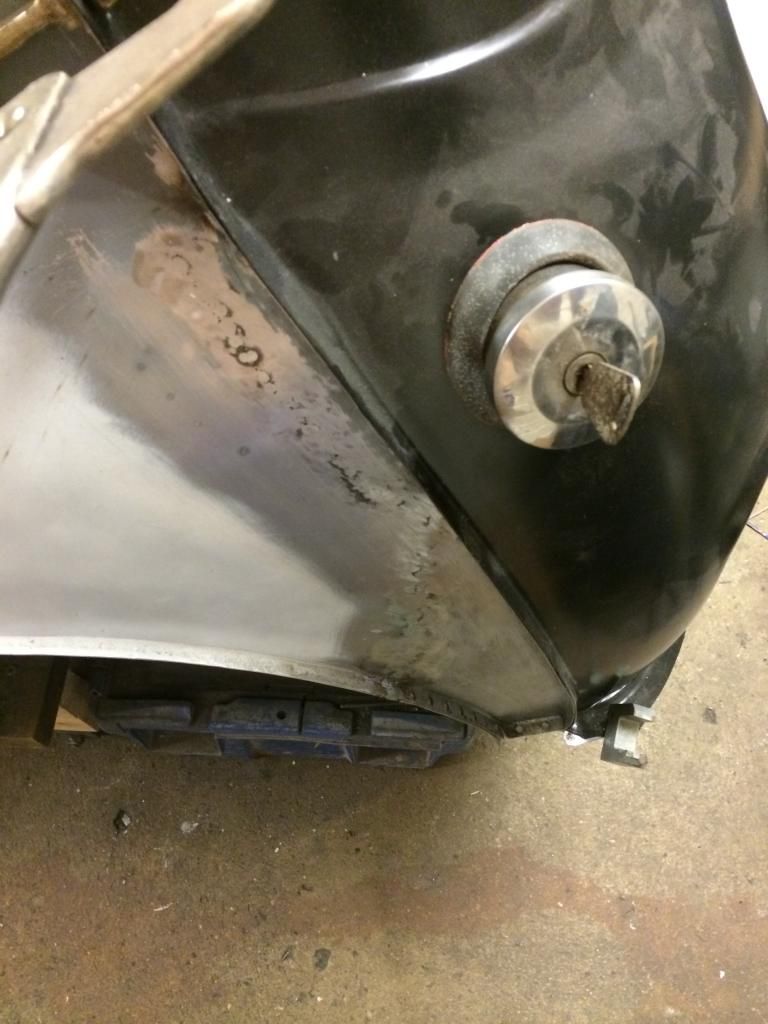
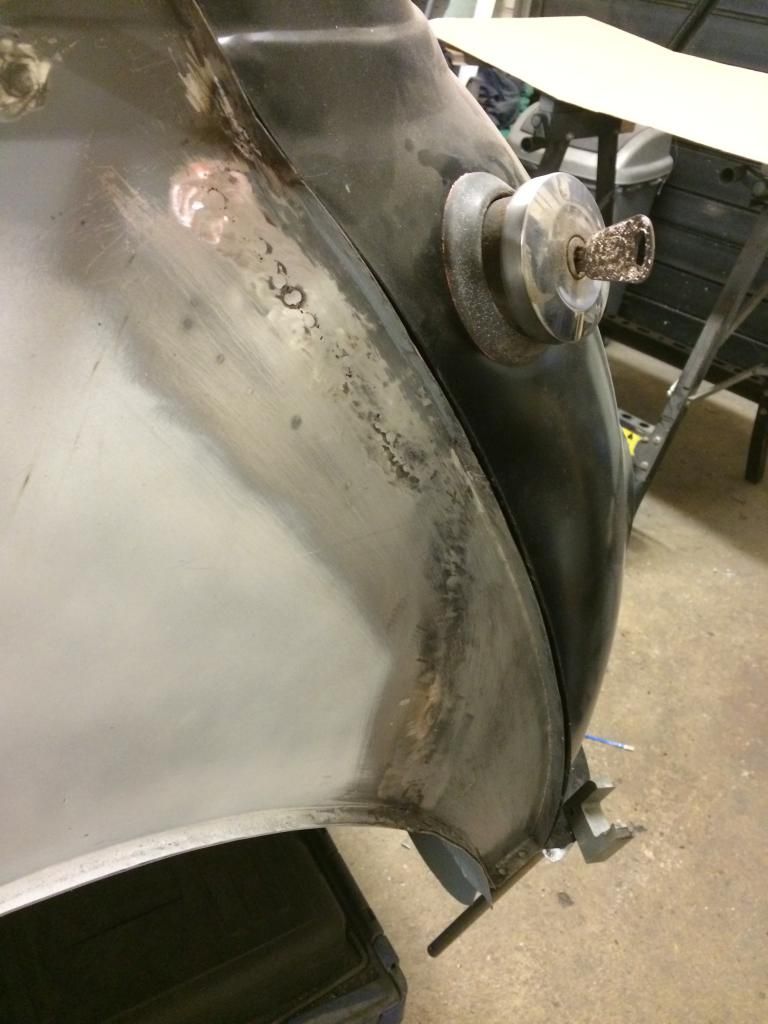
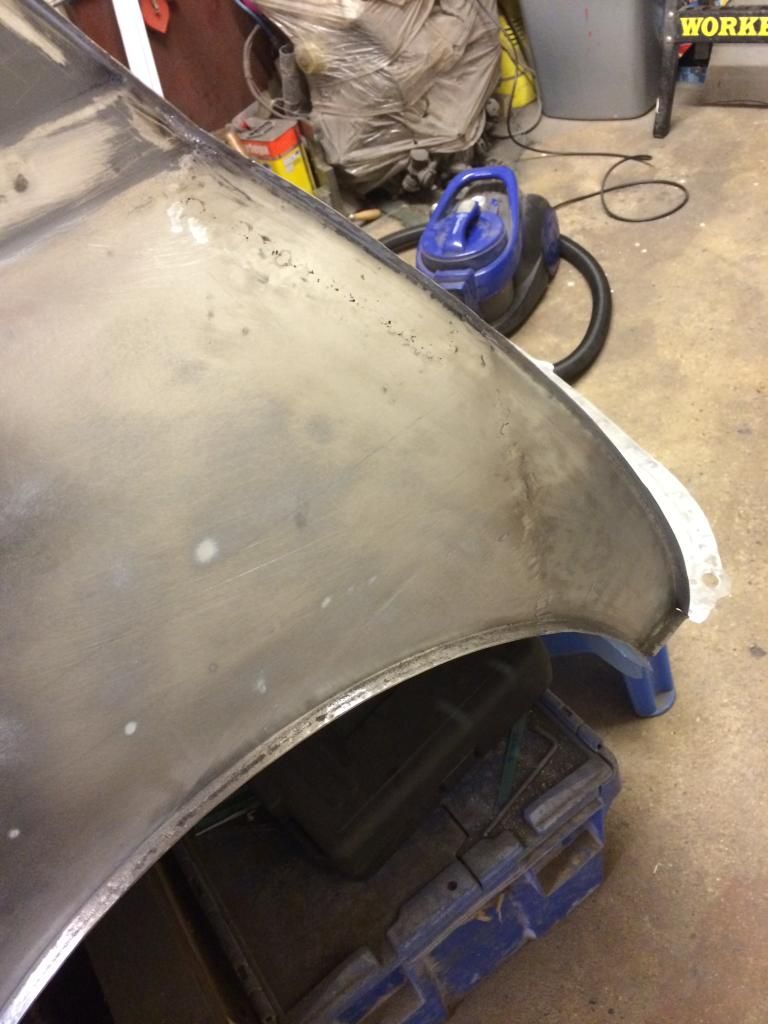
The upper seam on this rear quarter wasn't to bad, it just needed a repair to a 2" section underneath the gutter line. one thing at a time though lol
The o/s lower repairs were the same sort of thing really as the n/s. However, it became apparent that most of the upper flange area had pitted badly, so I decided it had to go as well. Again it can wait though ha!
I decided to tackle the n/s first, in regards to the upper flange repair.
only seem to have a finished picture of this one. Got carried away i guess
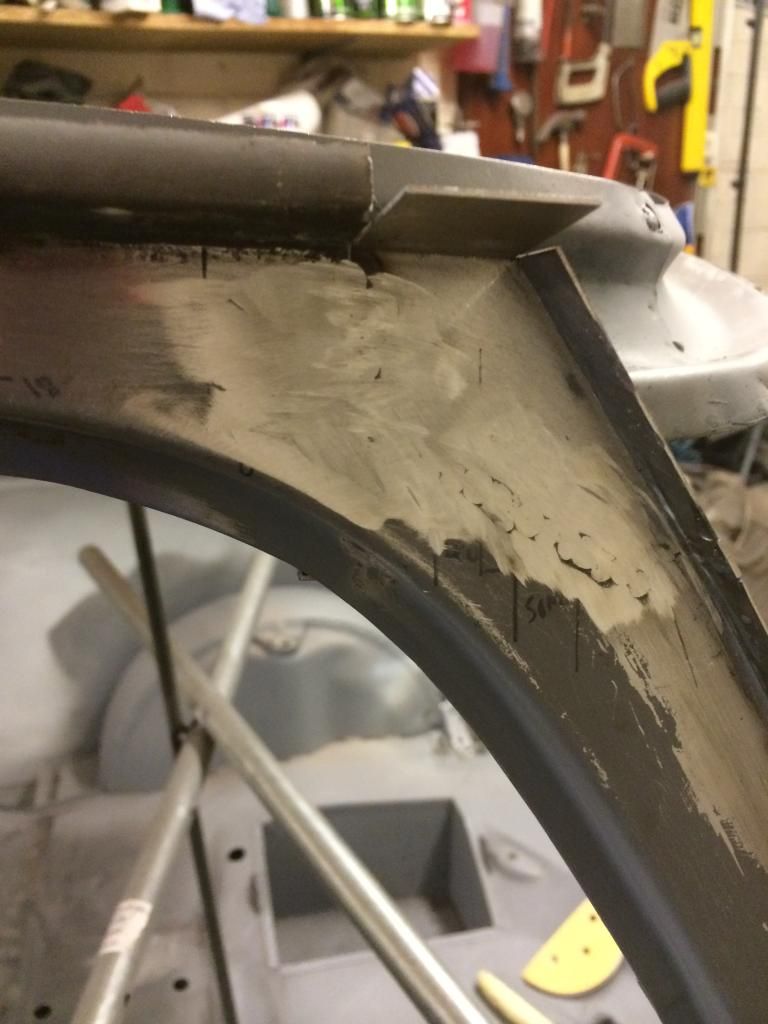
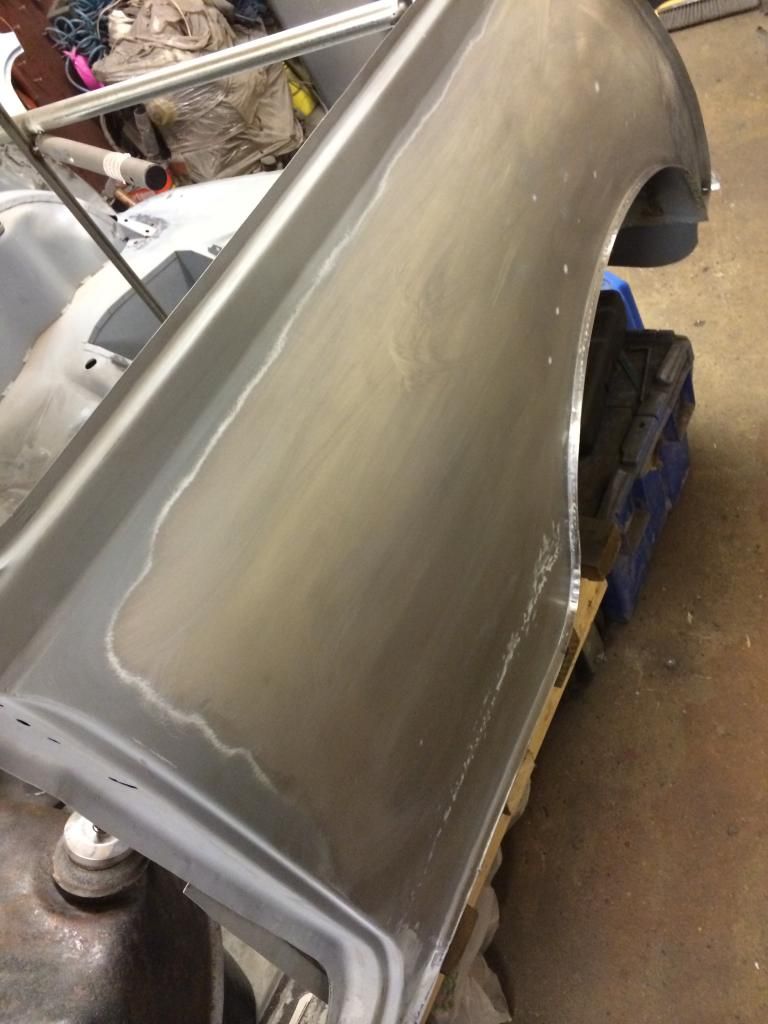
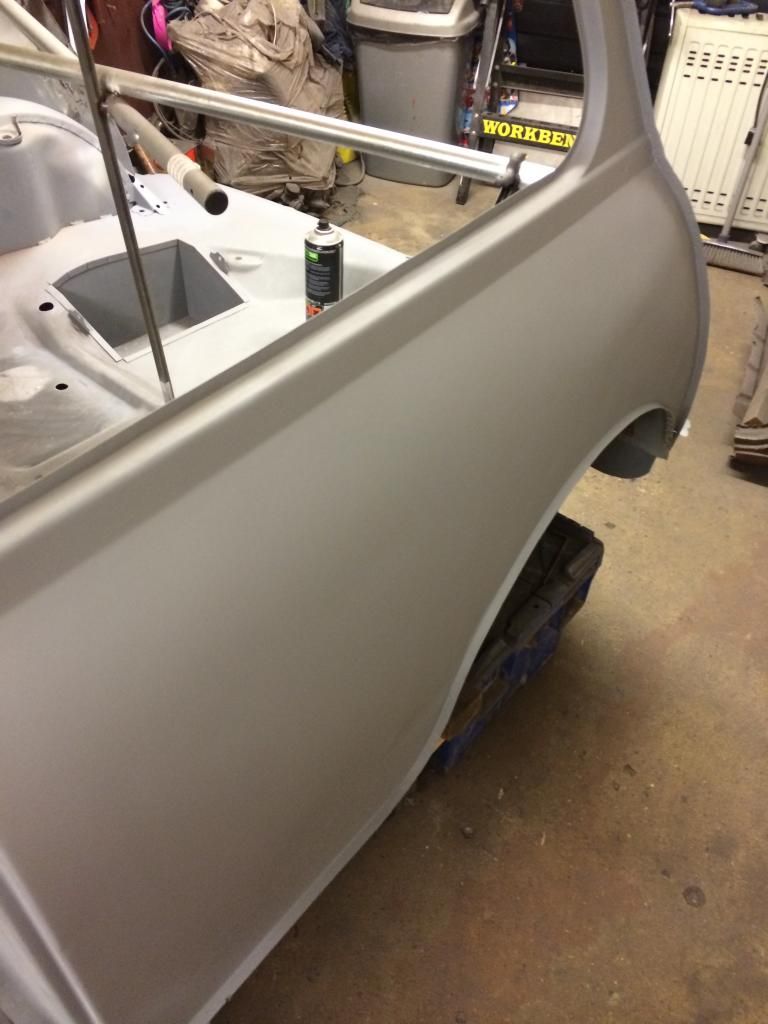
I will form the gutter section once the rear panel is fitted for real, plan is its going give me some wiggle room. Now finally, after the third visit, I think im happy with the flange :) So gave the whole rear quarter a final sand and a few coats of protection, and moved on to the o/s, which I don't think will be as easy, but hey challenges are good :)
Thanks for looking
#171

Posted 06 August 2014 - 09:16 PM
just read this start to finish. Great work, its lovely to read peoples thread when OKish just won't do and when its right its right. keep it up and i expect to see a very nice mini when its finished ![]()
Filbey
#172

Posted 06 August 2014 - 09:34 PM
I am lucky I guess, as I am not working to any time restraints. It will be done when it's done, and in the time between I aim to do the best I can. I just don't want to end up with an area on the car that 'I wish I'd spent longer on that' sorta feeling. Little things can really bug me, and I have to make sure it don't happen on this project
Thanks
Edited by Minilegs, 06 August 2014 - 09:35 PM.
#173

Posted 06 August 2014 - 10:18 PM
Superb inspirational work as always!
#174

Posted 06 August 2014 - 10:57 PM
I think if this was any other car, I would have walked by now.....but it isn't. It's a mini. It's a icon. It's British and one day it WILL be back on the road,proud again
Yes I may have inhaled a bit to much thinners tonight before anyone asks 😃
#175

Posted 07 August 2014 - 12:58 PM
Hi Minilegs,
You are doing a truly amazing job, it's so refreshing to see a Mk1 repaired properly rather than a bit of filler and a blow over to shift it on.
One thing I noticed was that you have a replacement boot floor/rear seat panel as shown above. Do you intend to remove the later MPi hump from the left hand seat base or would it be too much hassle?
I only ask as I am contemplating replacing mine as I am still not happy with the repair and was wondering how hard a job it would be?
Good luck with the rest of it, I will be watching for sure. ![]()
#176

Posted 07 August 2014 - 02:03 PM
I have just found this and read it all through.
Love the work you have done. It has given me the inspiration to re-do a repair on mine that i am just not happy with but couldn't see that it was worth re-doing. It's happening now so thanks!
Keep it up
Ben
#177

Posted 07 August 2014 - 10:37 PM
In regards to the fitting of the complete boot floor , it wasn't to bad. I would say though it would be a job though that is a lot easier if you can flip the car over, and plenty of clamps !
And thanks for the complements on my work, your to kind 😃
Thanks
#178

Posted 07 August 2014 - 10:42 PM
My work in painfully slow, but hopefully what I do is acceptable as I'm still relatively new to all this
And it's fantastic that I've inspired you to make your mini that little bit better 😃
#179

Posted 08 August 2014 - 07:59 PM
another little update. I moved over to the o/s rear quarter, and began the task of repairing the upper area of the flange, and also start to repair the gutter area on that side.
luckily, I stumbled upon this little piece of beauty of a member on here which made the task a lot easier.It had strated to suffer from rust in a few places, but the areas needed were fine.
During the clean-up
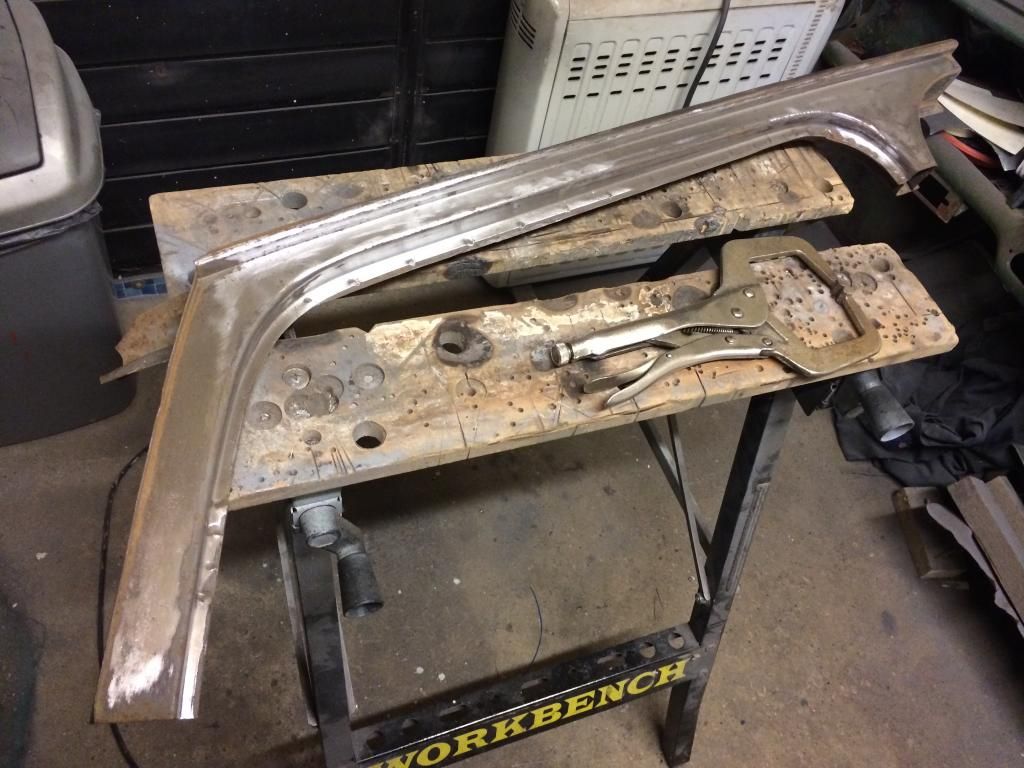
I was only really interested in the corner area and gutter /flange area so I removed what I needed for this repair, as I intend on using the rest of the remaining gutter on this section for repairs on the n/s ( if it works )
Some of this repair sits in an awkward place so I decided to give it a little painting before I welded it in. Usual thing , etch, prime and top coat
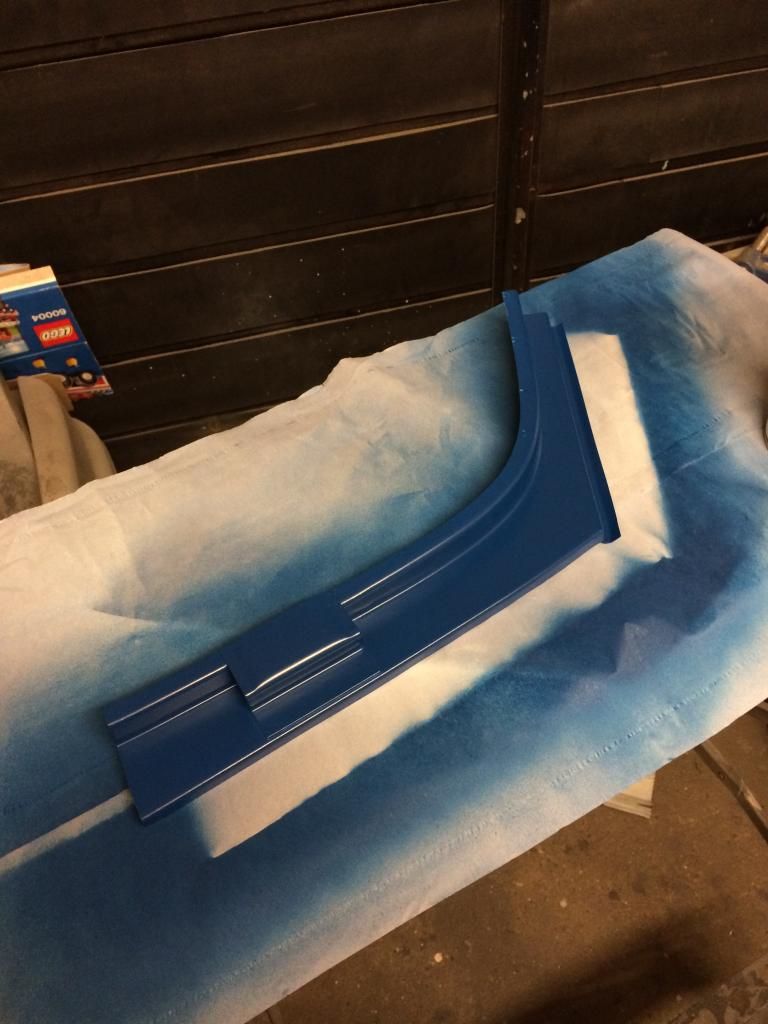
The next stage requires more area to be cut out of the shell , so I put the kettle on and had a good old think about if i needed to brace for this chop chop or not. Now, I think in this build, I may have used less bracing that maybe is normal, I don't know, but I have been trying to allow a bit of movement in certain areas if need be as this shell was never straight when i got it. So i've been trying to realign areas as I go along to a general common sense approach of alignment. ie checking corner measurements, parallels and making sure measurements are mirrored where possible.
So I had a good think about this next removal, and decided it wouldn't need any extra bracing, as the cant rail was staying and would give me a good idea on re fitting................EPIC FAIL..........when I did the first section cut, ping, up it went.............bugger.
So I was left with this.
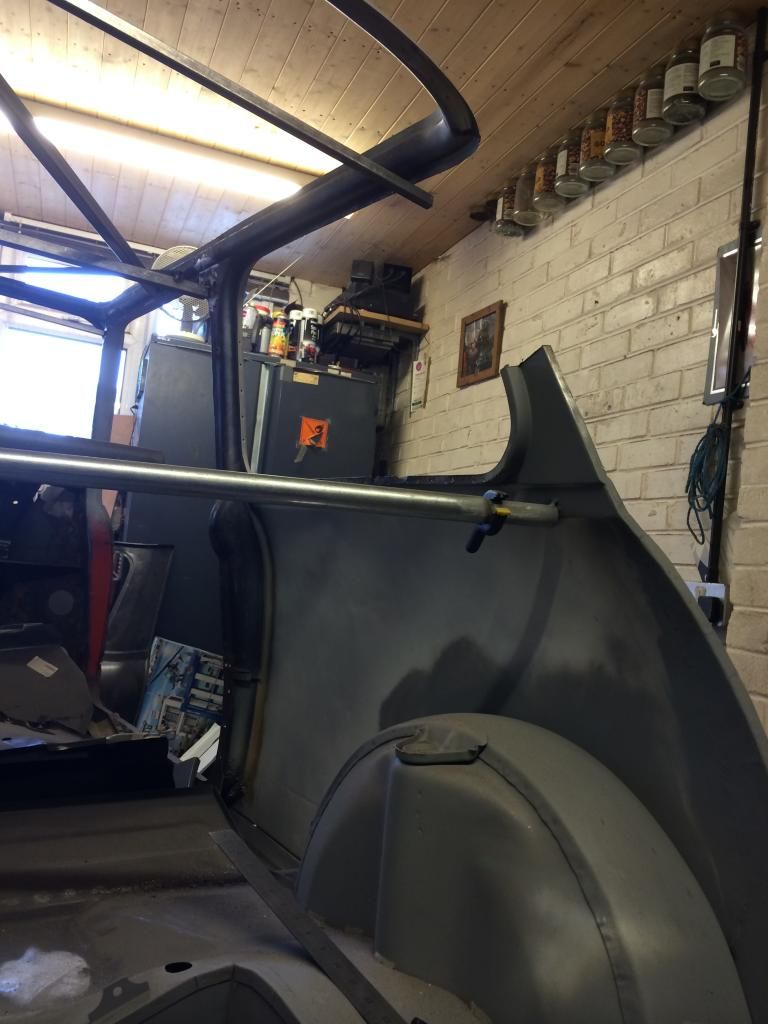
With the remaining top area above the rear quarter sitting now about 1/2" to high where it sprung.hmmmmmm
The flex available was minimal in the area i needed, it was nearly possible to move it by hand to the correct place but it was impossible to hold it there.
So I decided the only way I could do it was improvise. A rather large lego box (thanks kids) and a ridiculously bright ratchet strap would work :)
So I made a template of the n/s rear quarter light aperture, to aid the correct alignment of the o/s.
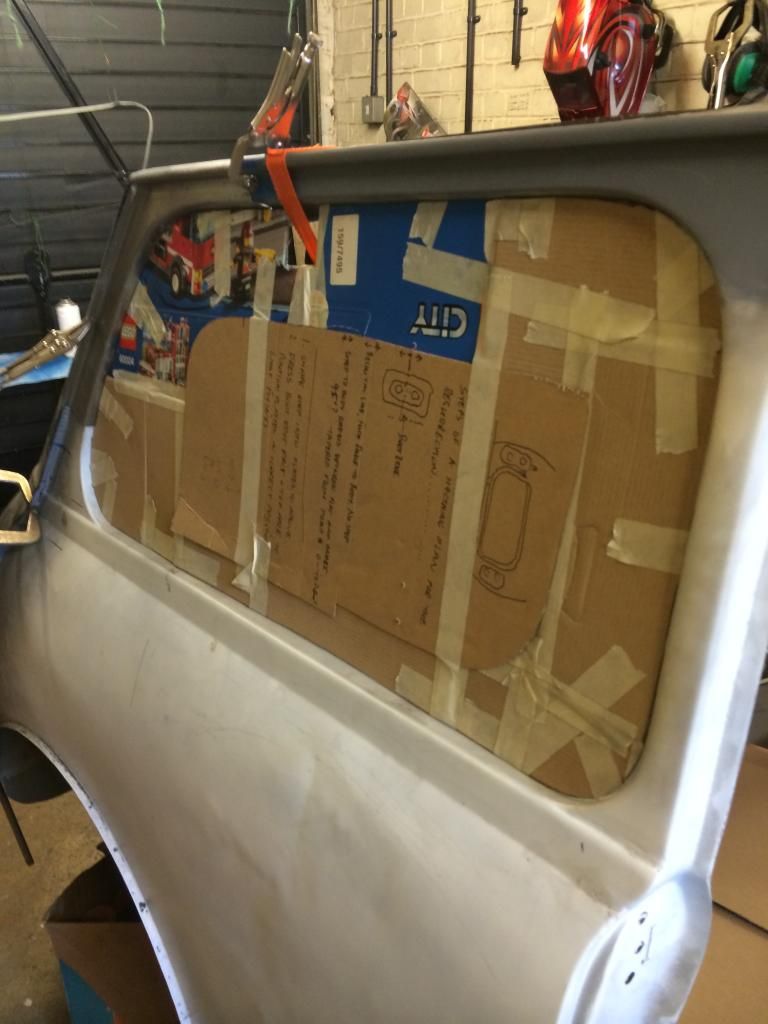
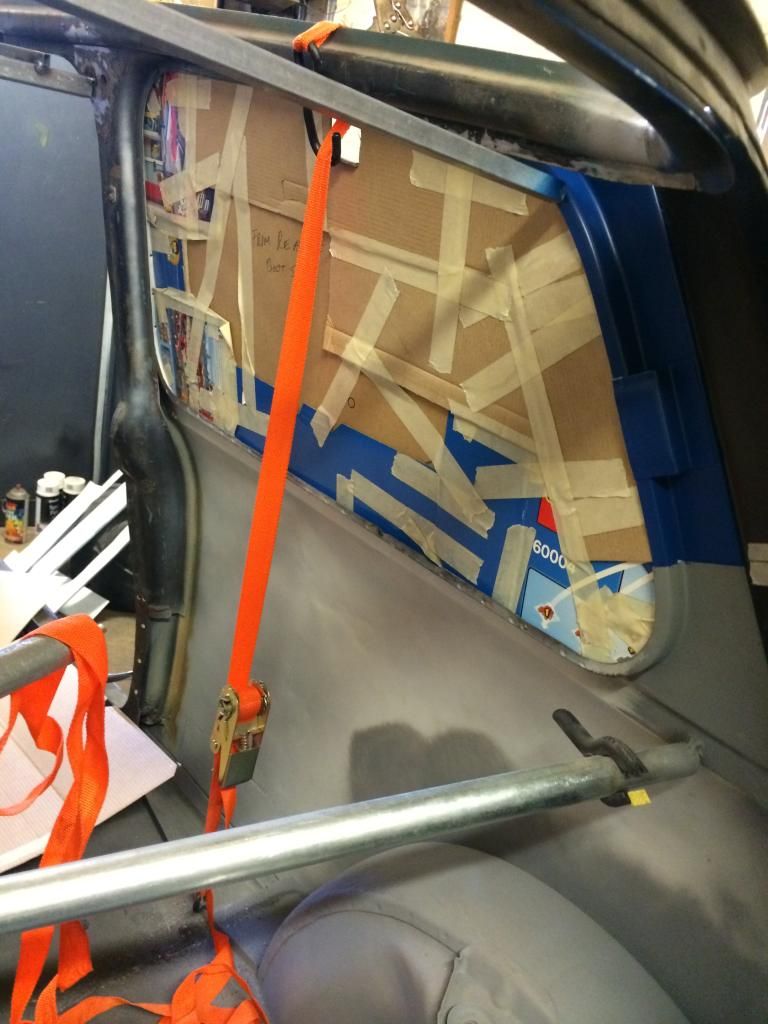
And it worked really well to be fair. The ratchet strap gave me the adjust to gradually bring the upper part down once it had been aligned with the template. It was a bit of a ball shaker, as i needed to but quite a bit of tension on to pull it into the correct position, but I didn't falter, I remained stubborn and hauled away as I knew it was in that position once so it will go back!!
Once it was in position, I could then accurately mark what needed trimming to fit. I took it all apart again, trimmed the necessary areas and then welded it all up. I really got into this repair, it was one of though just falls into line with hardly any tweaking ( a total rarity I may add for me :) ), and hence I forgot to take during photos of the welding up, only the finished item. I have left the upper join area on the gutter, until I can fabricate a press tool to form my gutters later on.
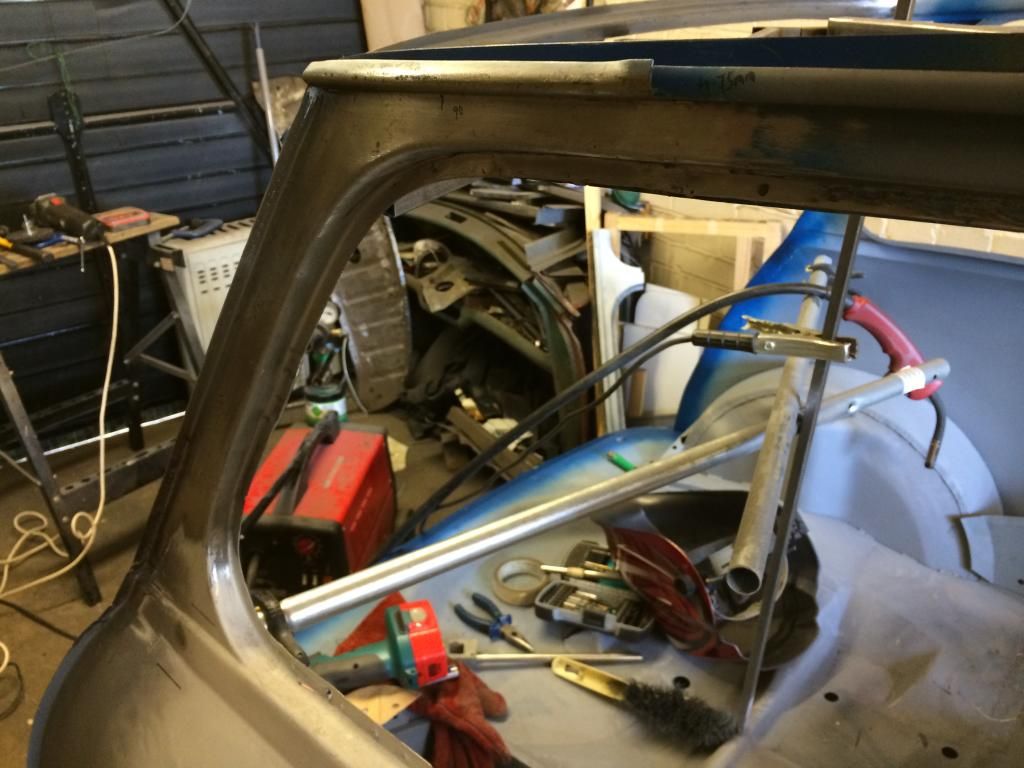
There was one more area that needed looking at on the flange, so this was tackled next. Simple one here, just chop out, template and recreate :)
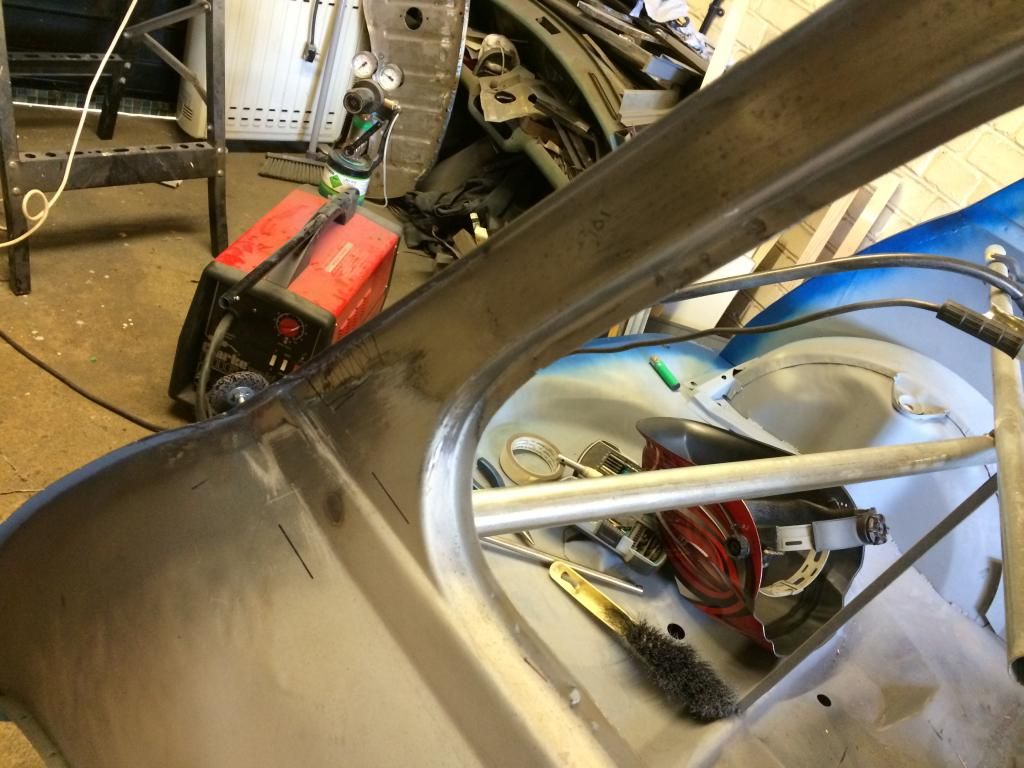
chopped out
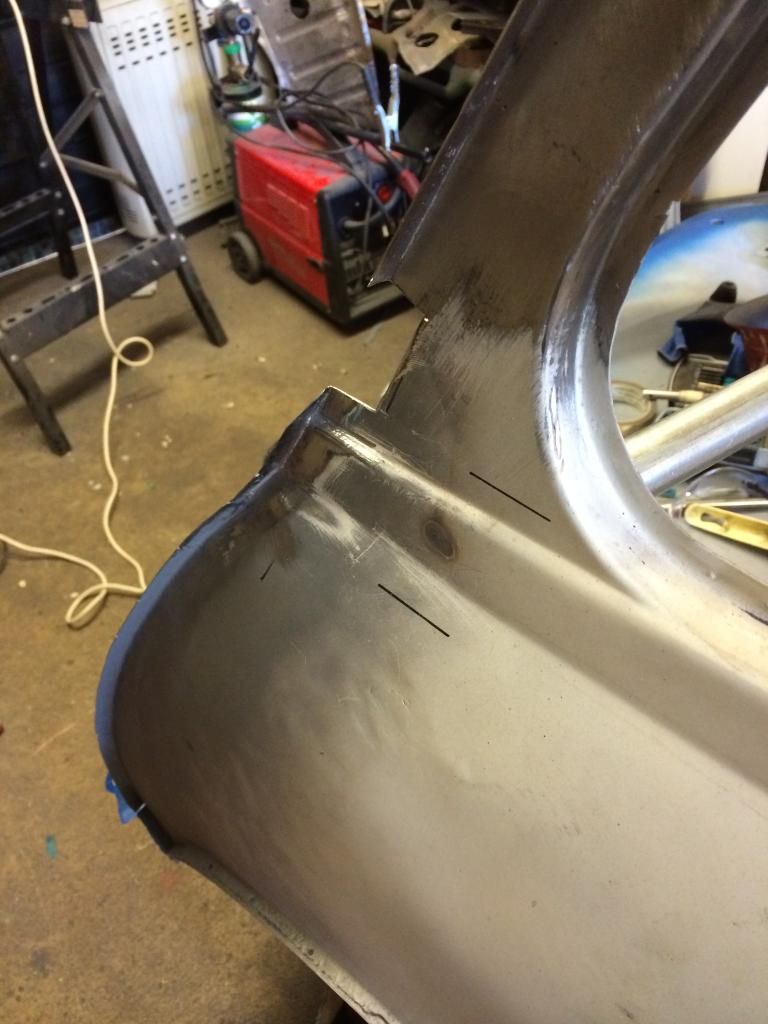
template'd
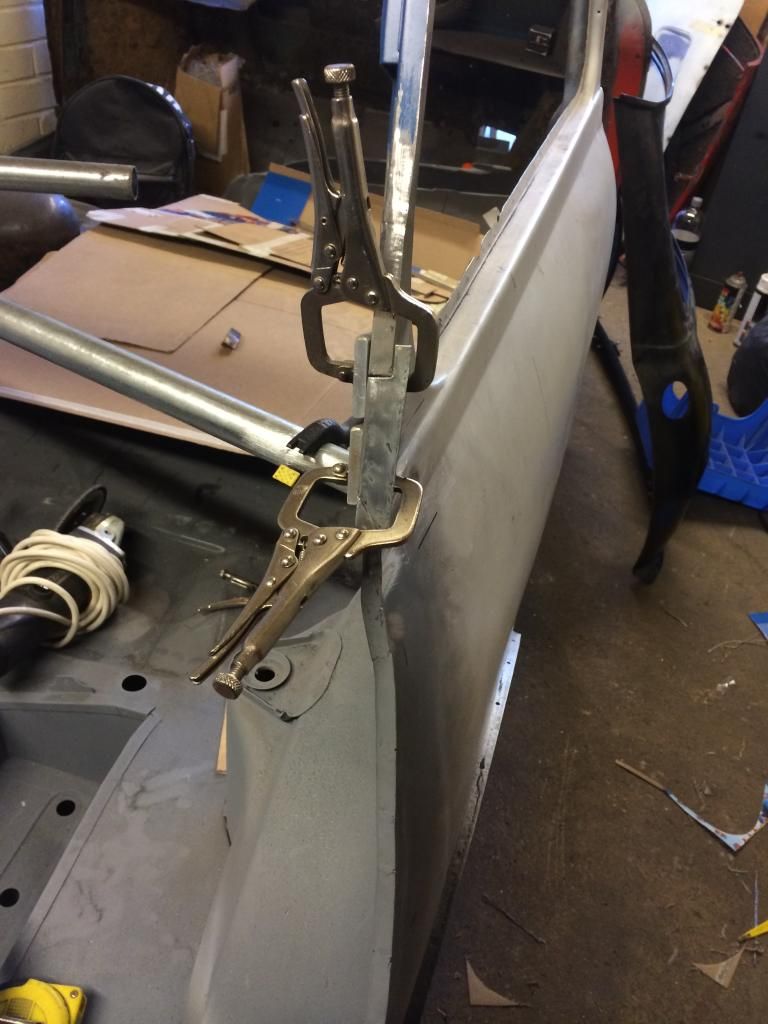
melted
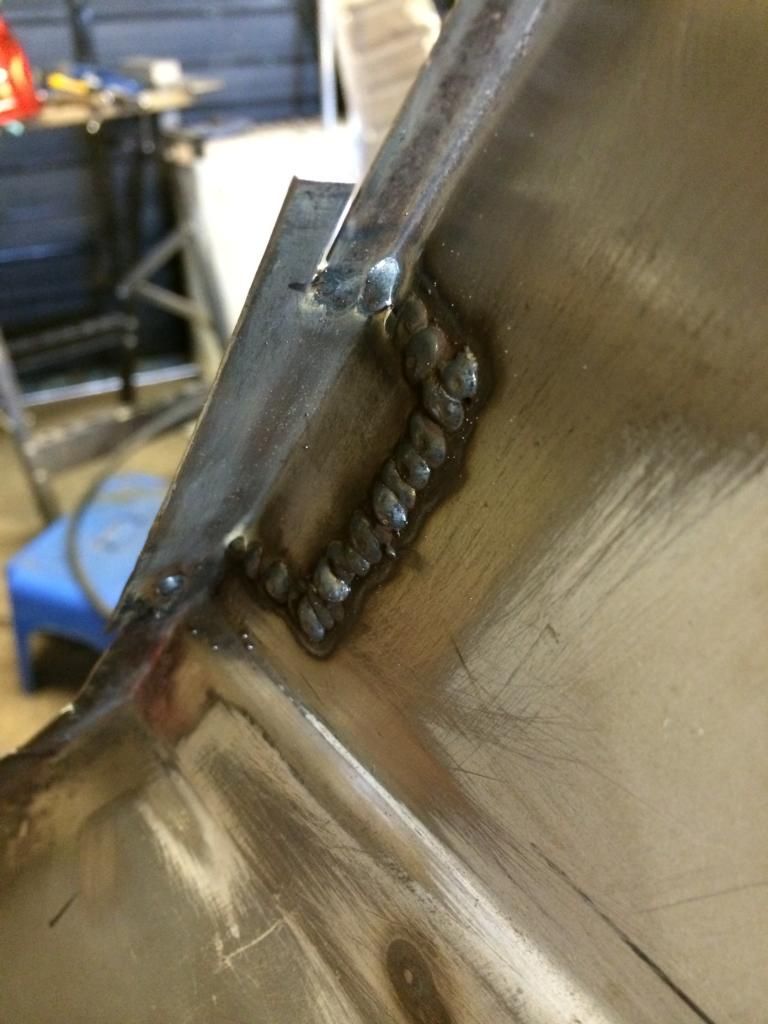
attacked with noisy things
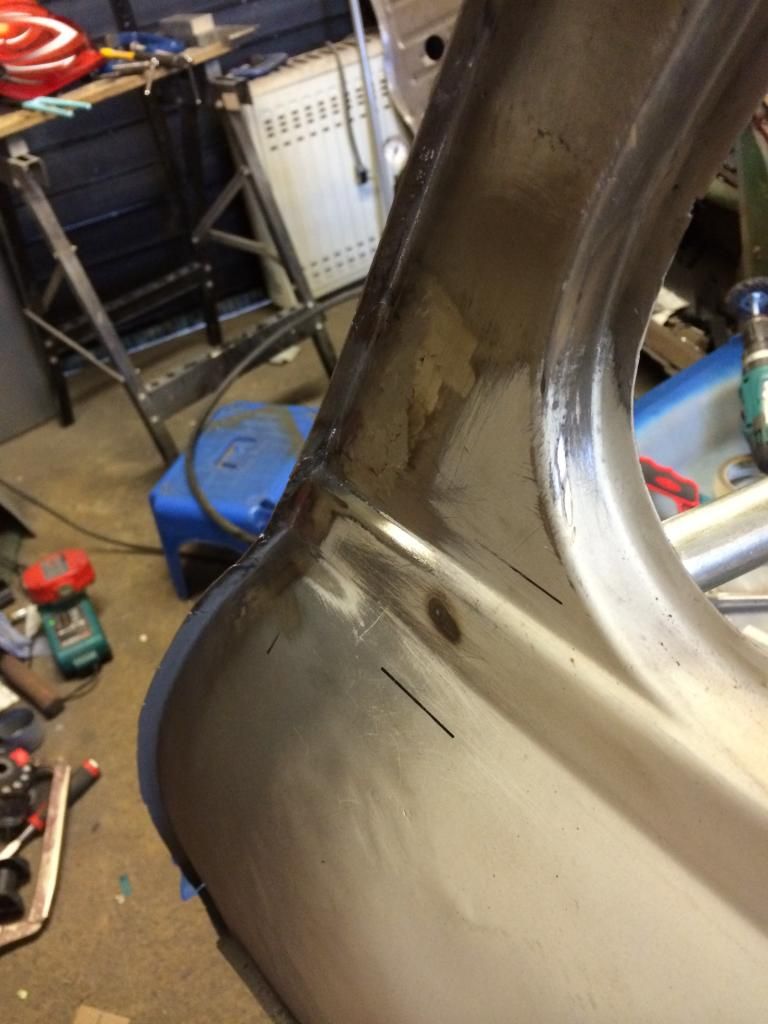
Ive left the internal welds on these repairs slightly proud on the inside, as they wont be seen.
Few random picks
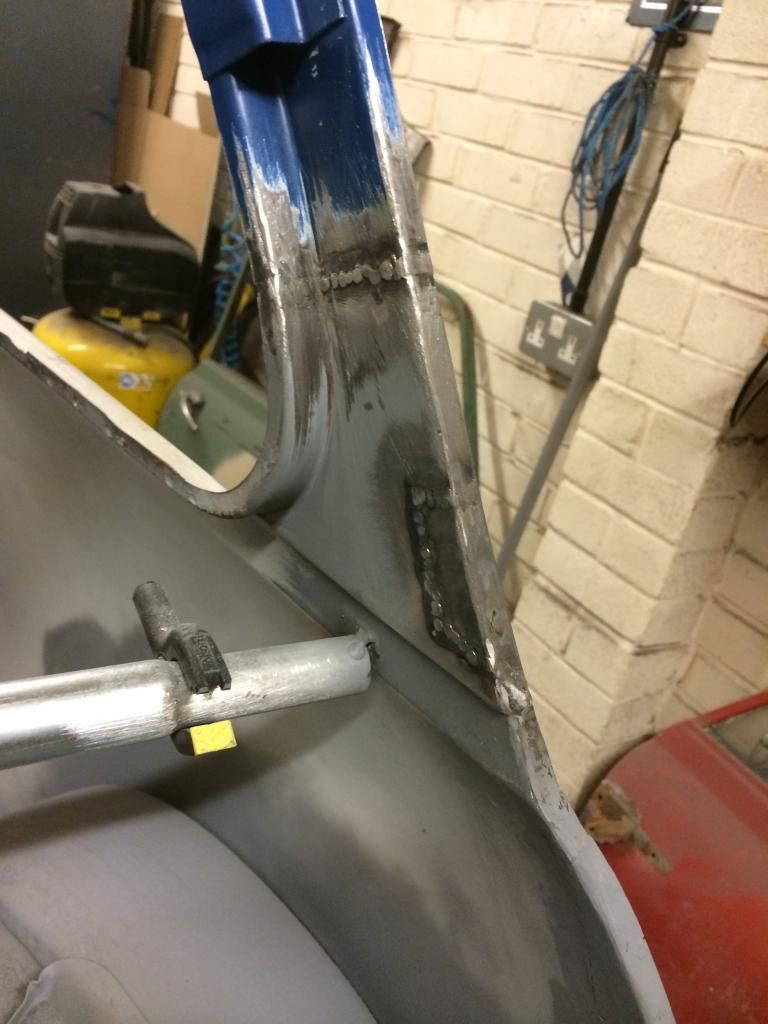
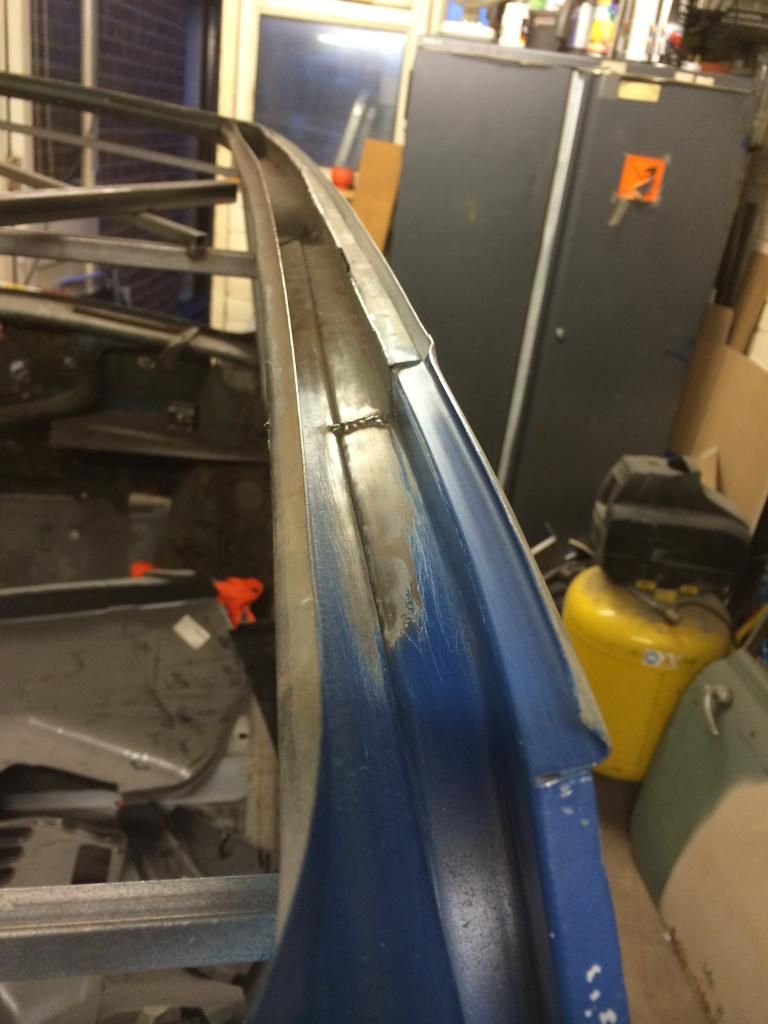
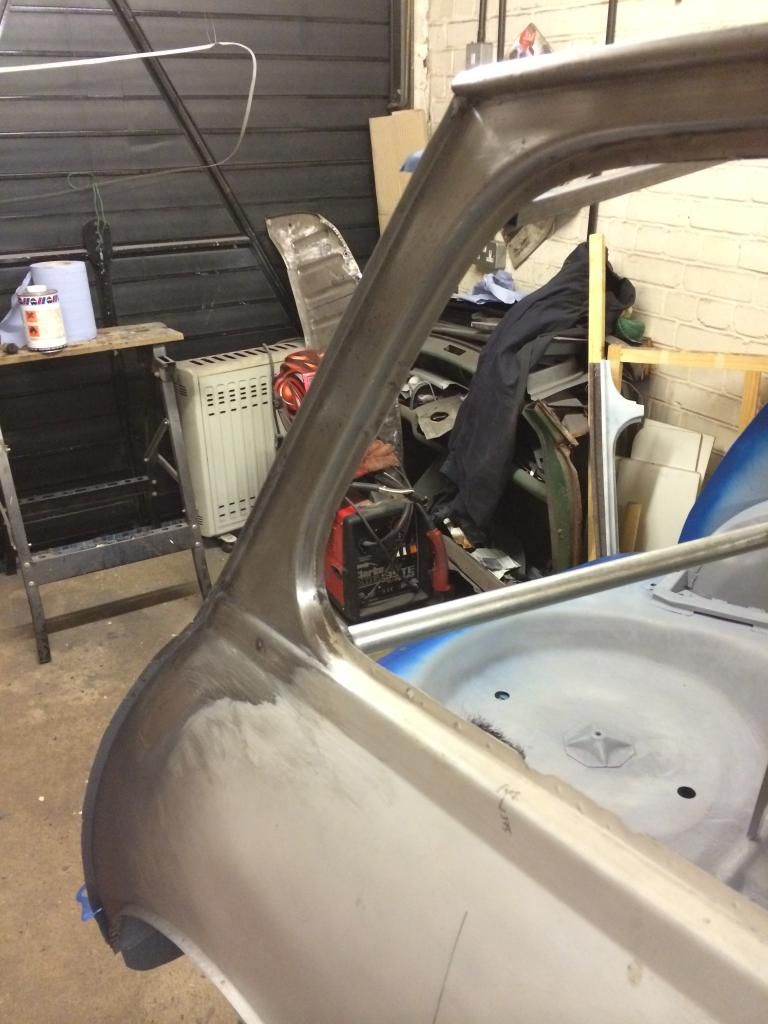
Time to give it all a lick of paint ready for getting this pesky backpanel on.
So any volunteers on drilling 192 holes in my back panel for me? :)!!
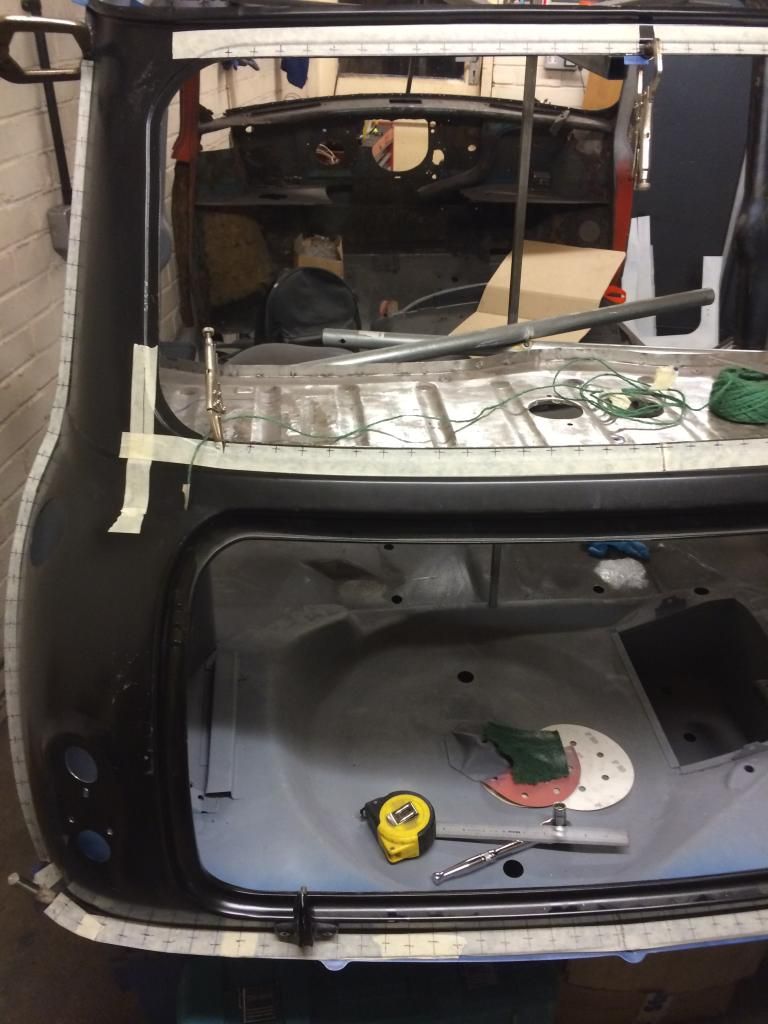
Thanks for looking :)
#180

Posted 08 August 2014 - 08:51 PM
I had that problem with springing when i replaced the front corner of my roof as i had removed the inner a post reinforcer(beside the windscreen)
when i cut the windscreen frame to get the old roof corner out, it just pinged up. oops.
I just ended up taking lots of measurements and pulling it back down, clamping and welding.
It is always frightening when it goes pop but once a solution is reached, its huge relief.
well done!
Ben
1 user(s) are reading this topic
0 members, 1 guests, 0 anonymous users


