My Mk1 Resto , My First Ever Project......... Wish Me Luck!
#151

Posted 08 June 2014 - 08:51 PM
But I have bigger fish to fry before that though, as I made a drastic move in regards to my sorry ass roof 😃
#152

Posted 25 June 2014 - 12:10 PM
#153

Posted 07 July 2014 - 08:14 PM
Looking good! Glad to see my panel has helped somewhat.
If you need any more panels, just ask, I still have the shell!
#154

Posted 07 July 2014 - 09:08 PM
Very good work, I'm just getting ready to begin my 67 mk 2 restoration so these threads are a good read
thanks, prepare yourself to endure a love/hate relationship with the car :)
Looking good! Glad to see my panel has helped somewhat.
If you need any more panels, just ask, I still have the shell!
Cheers Harry.
Thanks again for your help, it certainly got me out of a pickle. I'm really only now after some rear gutter areas and cant rail join sections from an , and handily enough one has popped up for sale on here, and i've asked the question if its possible to hack off the bits I need :)
#155

Posted 07 July 2014 - 10:15 PM
Thought I would do a little update, as its been a little while.
Progress has been slow, and I have got to admit, I threw the towel in when i discovered the next headache my shell was going to throw at me. ![]() BUT, I have since calmed down, thought long and hard and hatched a plan to fix the headache.!
BUT, I have since calmed down, thought long and hard and hatched a plan to fix the headache.!
I decided to move up to the area under the drip rail on the rear quarter panels, and removed the pretty much non existent drip rail . Well I can see why they didn't fit these to later models, as boy do they do some damage by holding in lots of water obviously, and causing mahooosive rust issues. A clean up revealed bad pitting along the entire top edge of the quarter panels, and the the underneath of the gutter is total toast.The gutter is also badly pitted all over on both sides, and so thin in some places its scary ![]() Basically fresh metal is needed along the whole top edge of the panel, about an inch down. And the curves and bends in that area was enough for me to admit defeat . And I walked!
Basically fresh metal is needed along the whole top edge of the panel, about an inch down. And the curves and bends in that area was enough for me to admit defeat . And I walked!
No pictures of it, as i was to grumpy. But the plan is now 90% in place to remedy it, so the man cave lights have been switched back on!
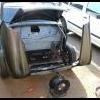
Take into consideration that the side gutters are shot, all 4 roof corners are rotted through as well as an area along the rear of the roof.corner gutters area pitted, the roof has a biscuit tin in the middle where it had been rolled and beaten back in several places with a claw hammer, and the rear cant rail being rotted through on the inside , the first thing to do was this.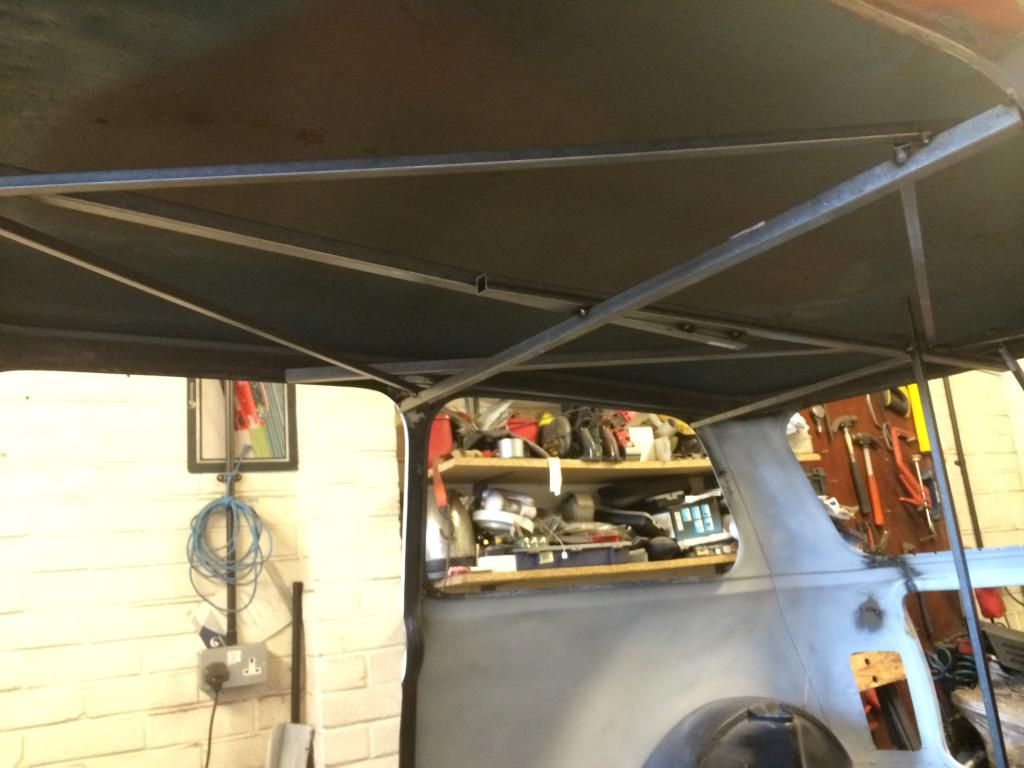
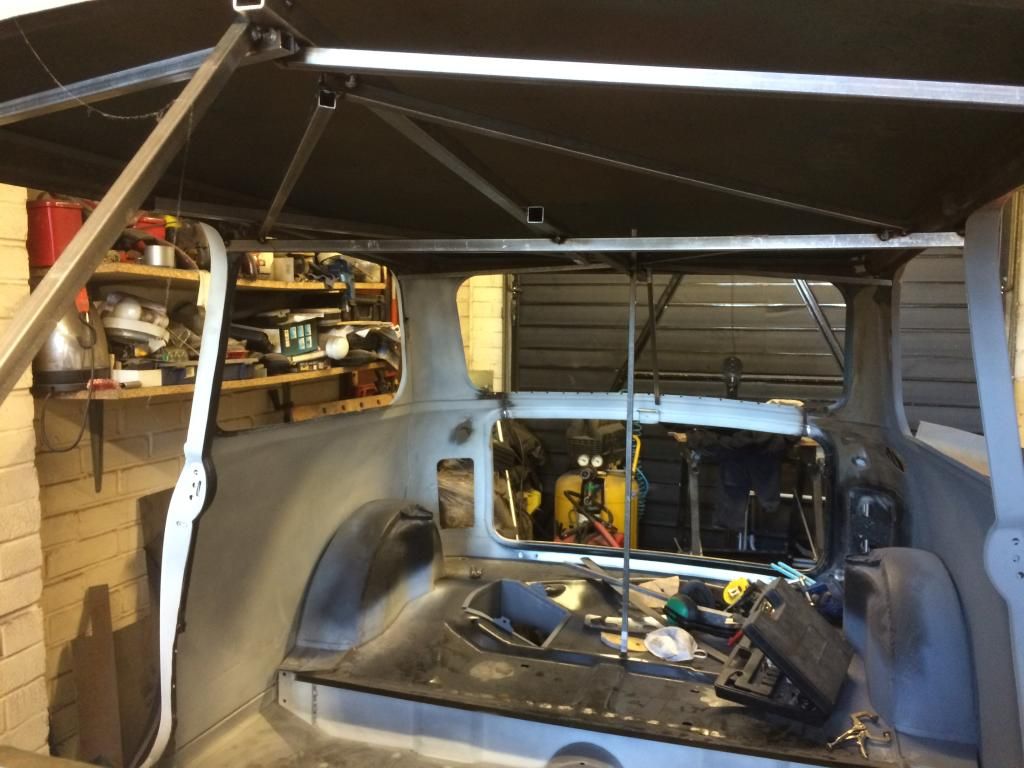
followed by this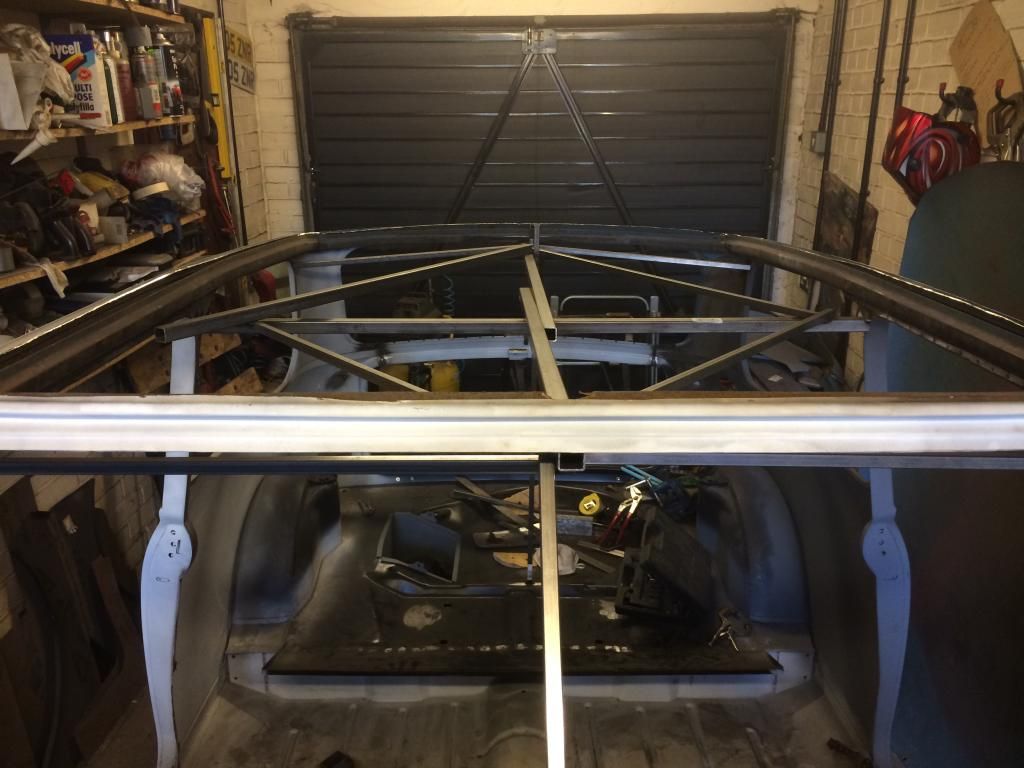
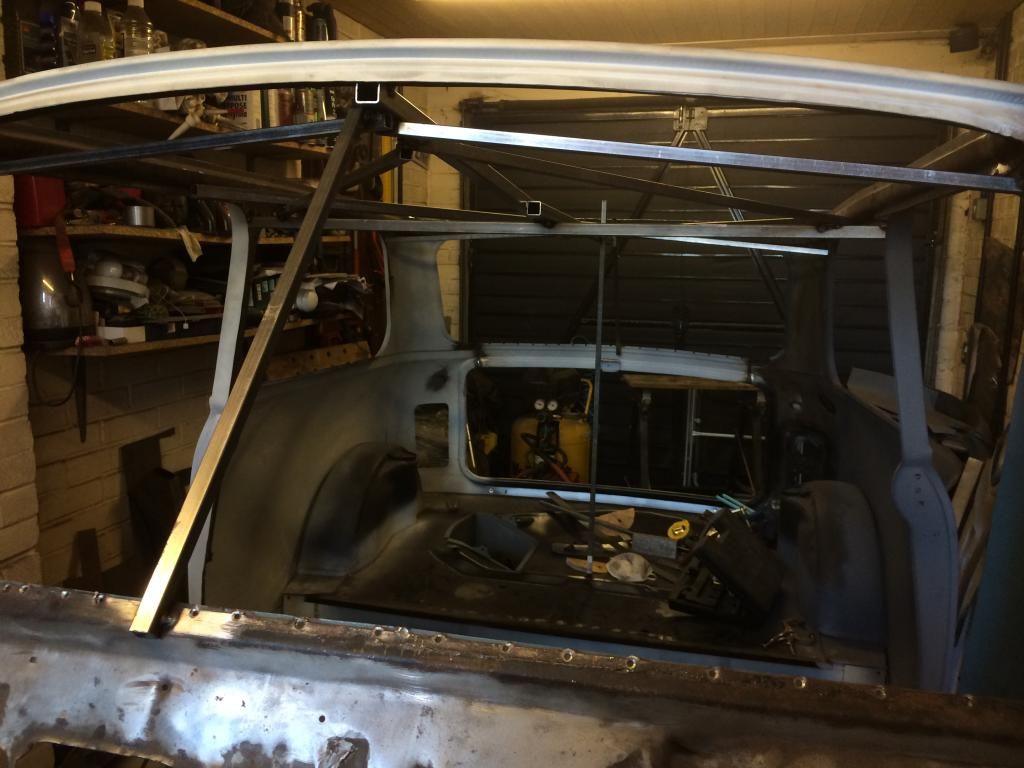
Drastic yes, but its the only way I will get a shell im happy with. Originally, i wanted to save as much of the original panels as possible, but I realise now that isn't an option with this shell. Next decision was based on the fact i cant find a suitable method of reinstating the pressing on the rear panel for the lights, and the upper area of the back panel was badly corroded. So third time lucky, I did this.
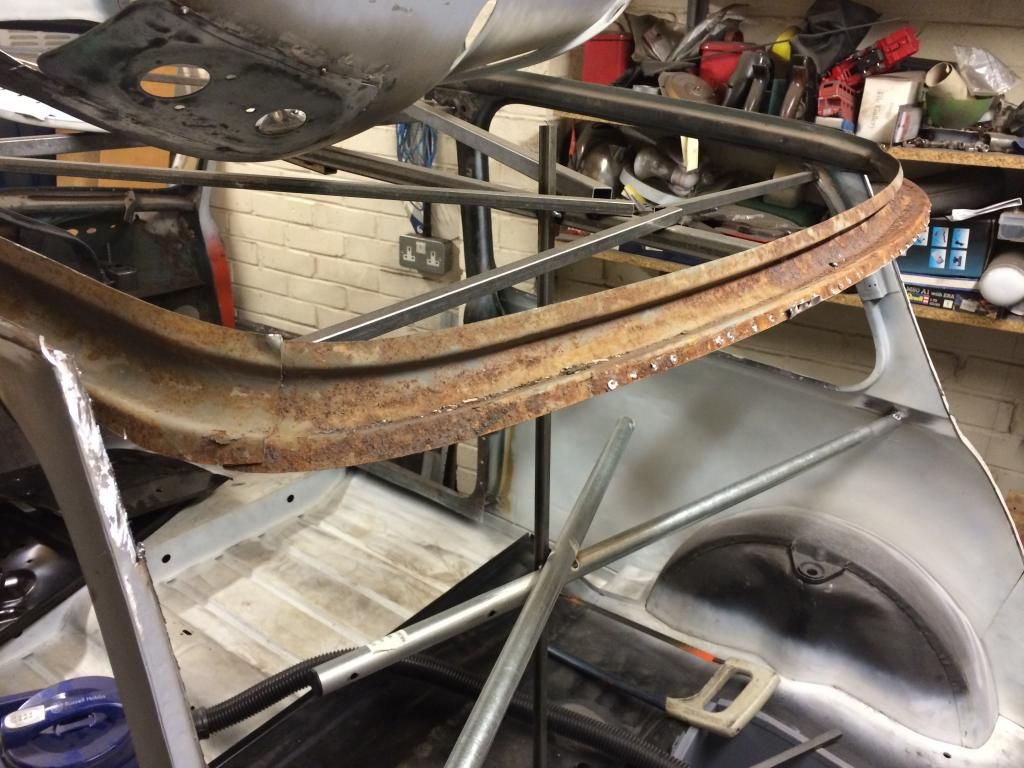
So ive now sold a kidney, auctioned off my naughtiest child and sold various other things, All to raise funds for panels. My new back panel should be here this week from m machine, along with a few pieces to finish of the boot. I have also manage to find a replacement new panel for the rear cant rail ( somerfords score!) which is now in my grubby handys :) And hopefully some donor early gutter corners have been sourced. So now im inspired again :)
Edited by Minilegs, 07 July 2014 - 10:18 PM.
#156

Posted 08 July 2014 - 11:59 AM
All credit to you Minilegs, that's not a five minute job you decided to do there. It is by far the best and most thorough way of repairing the rot though.
Good luck to you ![]() I will definitely be keeping an eye on this one.
I will definitely be keeping an eye on this one. ![]()
#157

Posted 08 July 2014 - 05:47 PM
All credit to you Minilegs, that's not a five minute job you decided to do there. It is by far the best and most thorough way of repairing the rot though.
Good luck to youI will definitely be keeping an eye on this one.
Thanks mate. I thought long and hard about what my options were. Like you say, this ain't going to be a five minute job, but I have no time constraints so I think this will be the best way to every little bit of hiding grot dealt with
This cars going to be a keeper, and hopefully keep it the family for many years to come, so I really want to do the best I can on it 😃
It's going to be a slog, but an enjoyable slog !
#158

Posted 09 July 2014 - 09:58 AM
#159

Posted 09 July 2014 - 12:09 PM
You've been getting great results with the DA. What abrasive are you using and how long does a panel take? I'm trying to decide how to strip the panels on mine that need re painting.
Yes I've found the da to be great for removing paint. I use p80 grade which makes short work of stripping flat areas , but for the tricky areas a da won't reach, I use a poly wheel in a drill. That makes it easy to bare back areas such as door steps etc. I have found that this combination is the best for me , and I'm quite fussy
#160

Posted 09 July 2014 - 09:03 PM
Thanks. I'll get some p80 and give that a go over the weekend. ![]()
#161

Posted 13 July 2014 - 12:28 AM
little more progress.
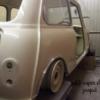
I have started to work on the nearside cant rails, as access is now easy as there is no roof :)
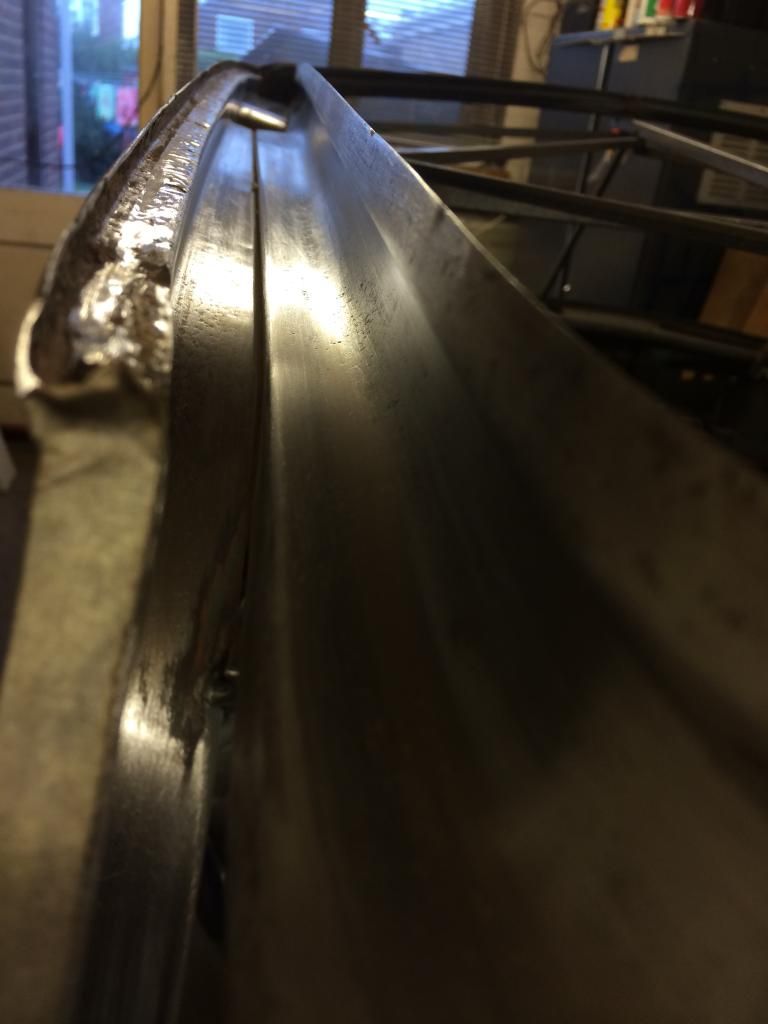
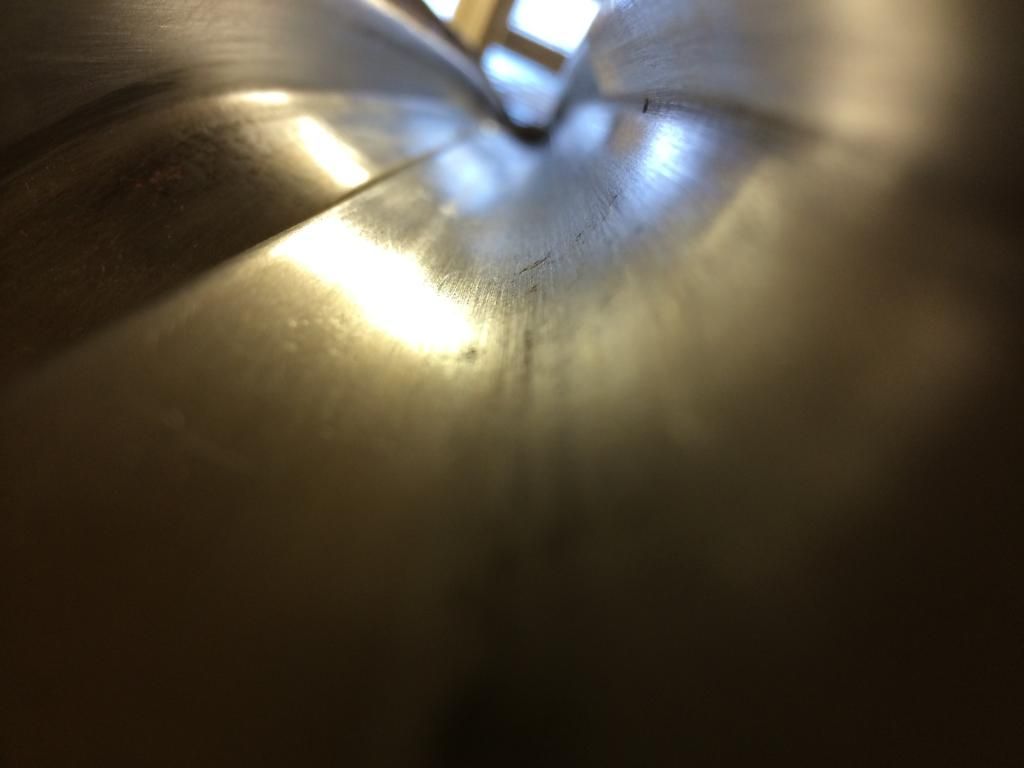
I found upon closer inspection that the flanges that join at the top of the door area had started to swell slightly from rust, so i decided to repair that area by removing a section of the nearside cant rail.
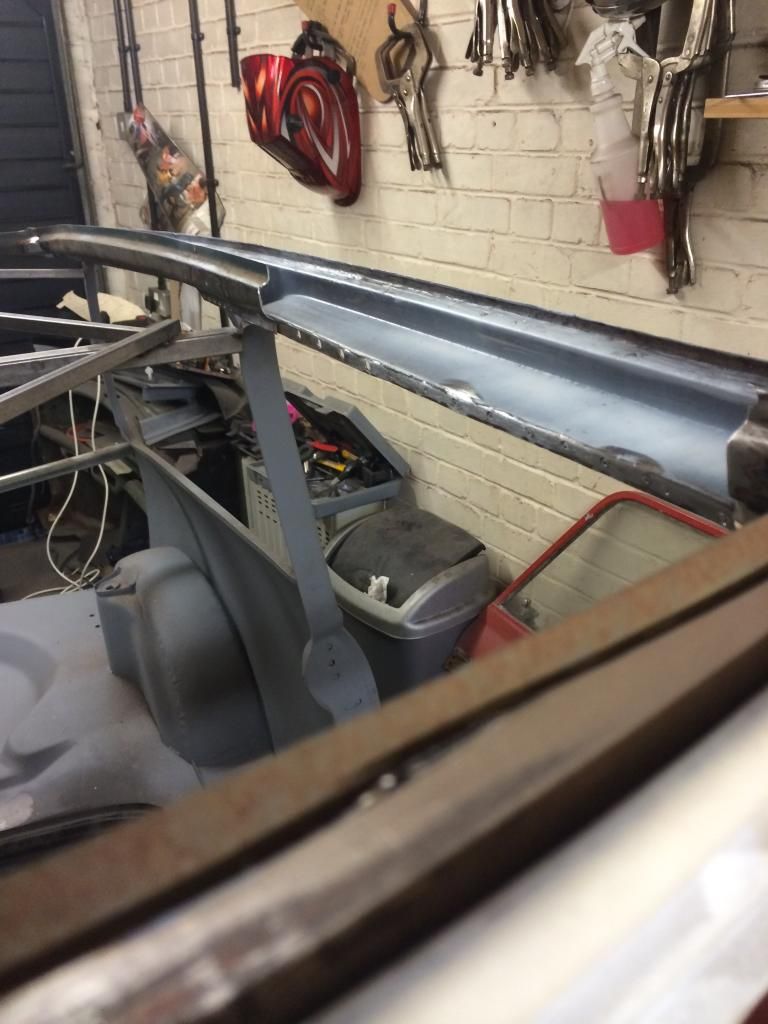
The rusting was only light, so it was easily removed with a poly wheel, so i zinc primed the flanges and then welded the piece back in.
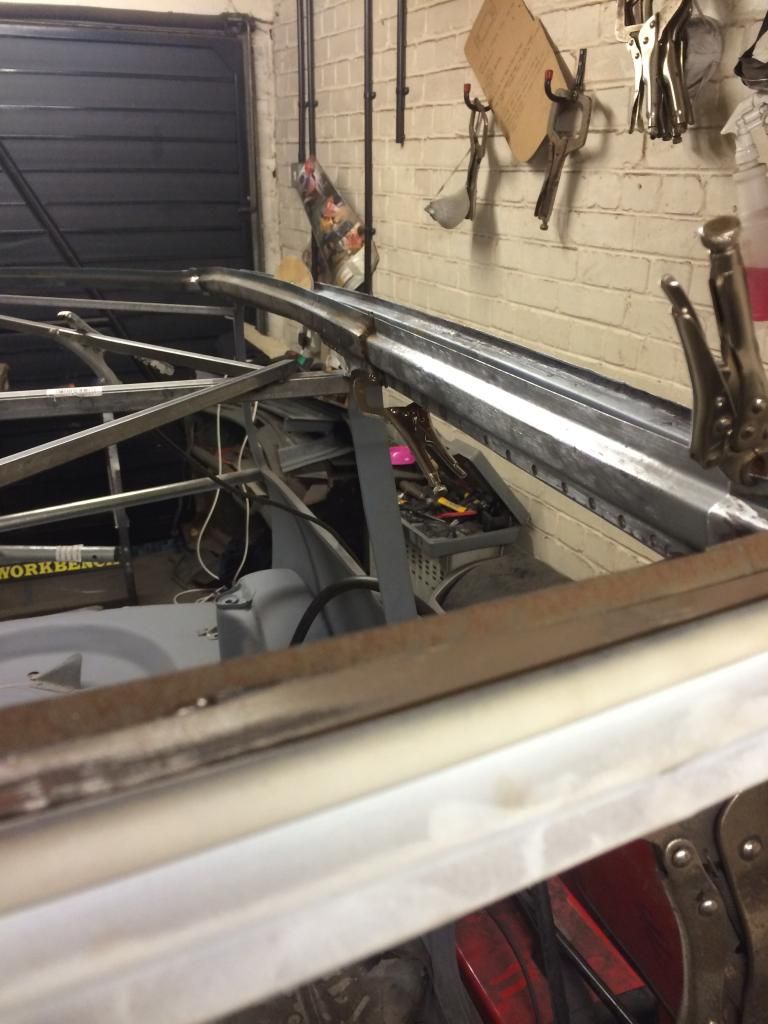
i took the rest of the nearside cant rail back to metal,and then etch primed the area.
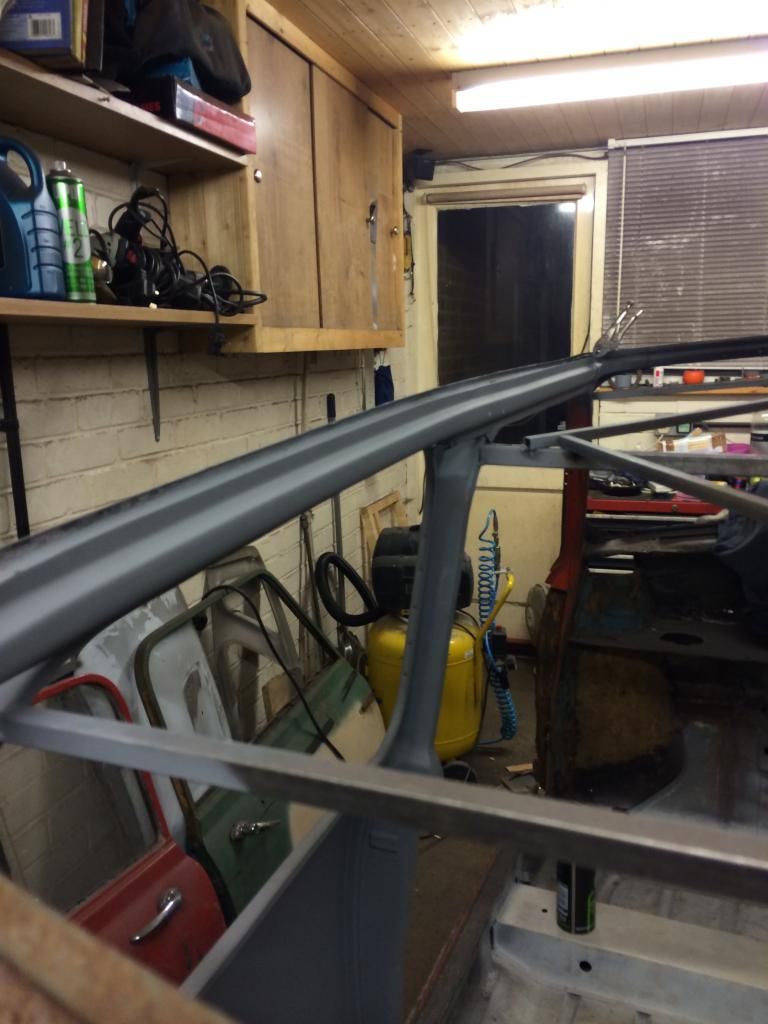
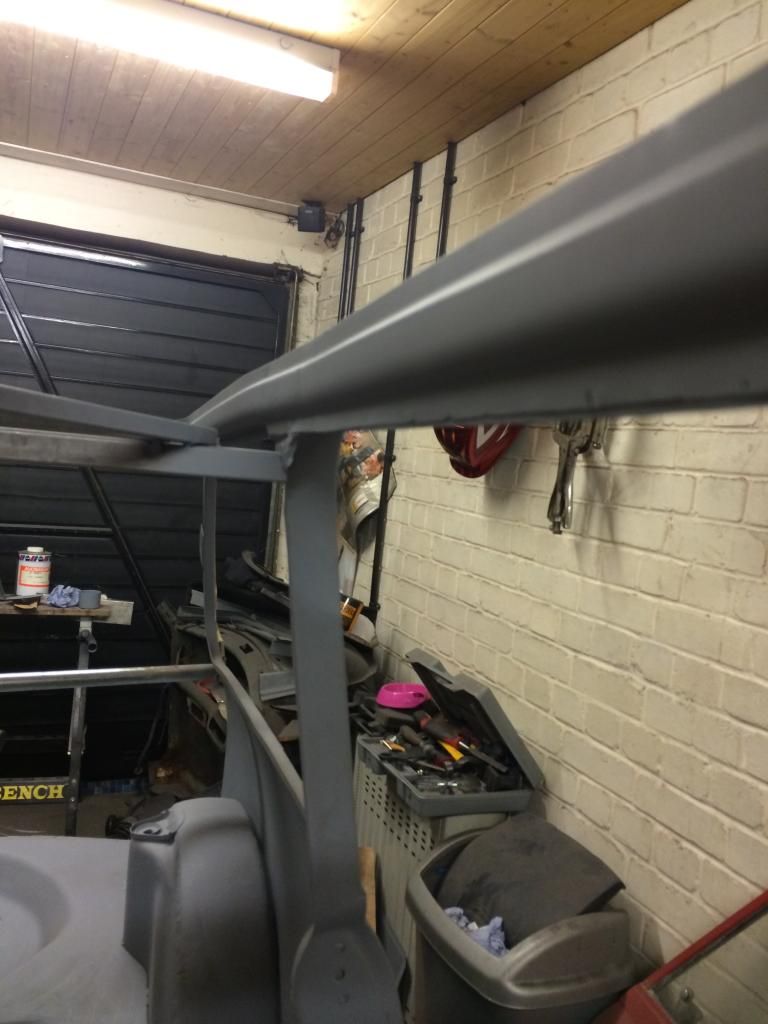
I still have the offside to do, but that can wait as this turned up from m machine.
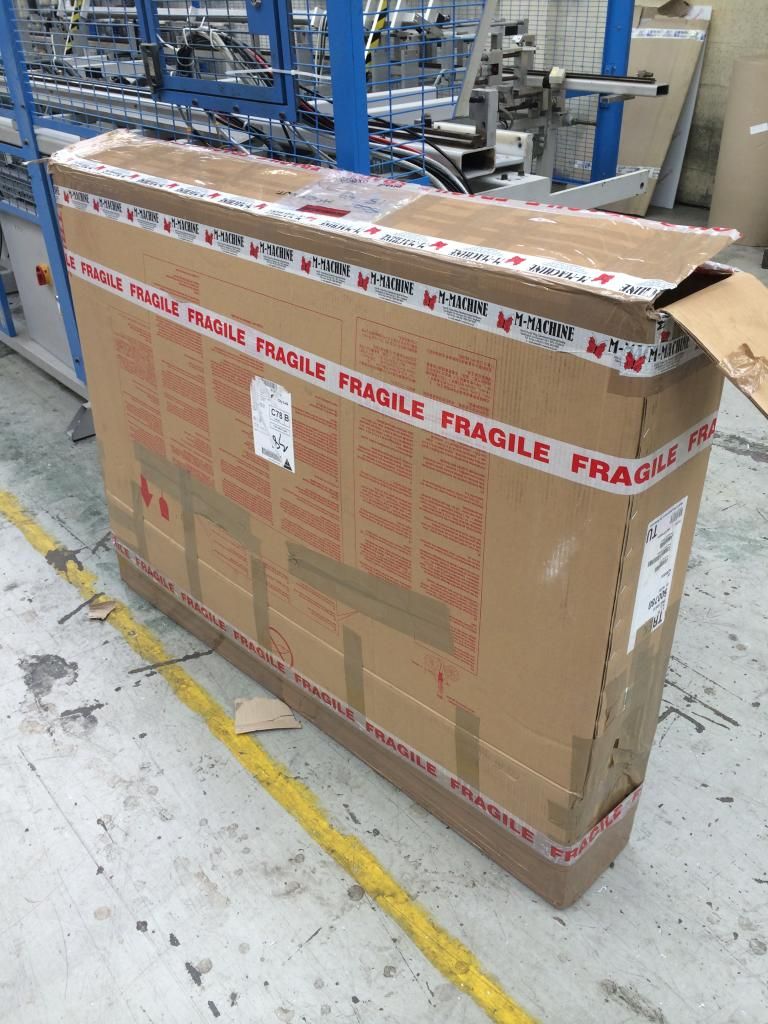
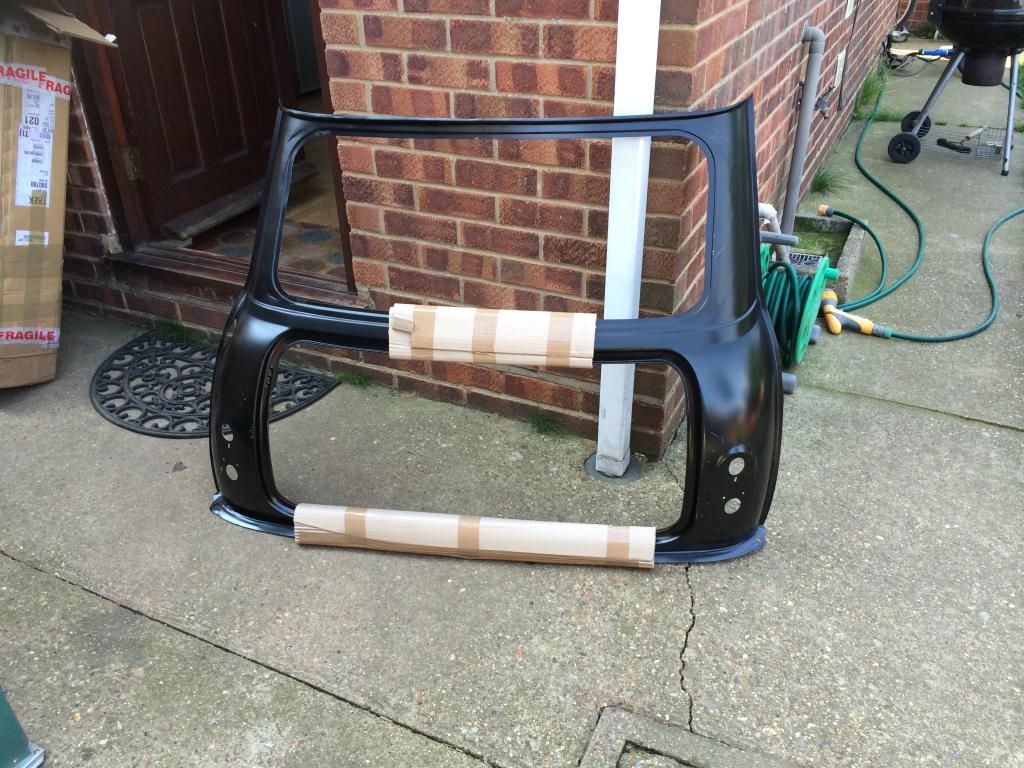
I need to finish putting a few brackets onto the boot area, such as wheel clamp and petrol strap, and its going to be a lot easier to do when there is no back panel on. So boot area next :)
#162

Posted 13 July 2014 - 09:28 AM
nice ![]() is that the proper early mk1 panel with the different size rear window? cheers tom
is that the proper early mk1 panel with the different size rear window? cheers tom
#163

Posted 13 July 2014 - 09:54 AM
nice
is that the proper early mk1 panel with the different size rear window? cheers tom
Yes, the lovely people at m machine have converted the window aperture for me
#164

Posted 13 July 2014 - 11:39 AM
sweet get it fitted in then me mon ![]()
Edited by ToM 2012, 13 July 2014 - 11:40 AM.
#165

Posted 13 July 2014 - 11:50 AM
1 user(s) are reading this topic
0 members, 1 guests, 0 anonymous users


