Jump to content


Photo
- - - - -

My Mk1 Resto , My First Ever Project......... Wish Me Luck!


  • Please log in to reply
188 replies to this topic

#136 rooney123

rooney123

    Mini Mad

  • Noobies
  • PipPipPipPip
  • 114 posts
  • Location: lancaster

Posted 25 May 2014 - 10:35 PM

keep up the good work minilegs very good for first project I'm learning from scratch and enjoying it don't have that much skill with many things but getting the hang of it................oh yeah love the pup..............andy :proud:  


#137 Minilegs

Minilegs

    Mini Mad

  • Members
  • PipPipPipPip
  • 242 posts
  • Location: Norfolk

Posted 25 May 2014 - 11:02 PM

looking very nice mate and your puppy is so cute! cheeers tom 


cheers Tom! he may look cute, but he can be a little bugger at times!

keep up the good work minilegs very good for first project I'm learning from scratch and enjoying it don't have that much skill with many things but getting the hang of it................oh yeah love the pup..............andy :proud:  

Thanks Andy, slow progress but it will get there in the end. I have come to the conclusion that with welding, you will never reach a point that you are happy, you will constantly want to improve which is a good thing. I am still very hit and miss, sometimes it comes out well, sometimes it goes proverbials up. But thats half the fun, and with experience i guess the good/bad ratio favours towards good.  One day i want to be able to weld like sonikk, but thats going to take a lot of practise :)


#138 ToM 2012

ToM 2012

    Up Into Fourth

  • Members
  • PipPipPipPipPipPipPipPipPip
  • 4,066 posts
  • Location: halesowen

Posted 26 May 2014 - 07:32 AM

your welding is very good mate nice and neat. im just lucky i have a grinder to make mine look a bit better lol


#139 Minilegs

Minilegs

    Mini Mad

  • Members
  • PipPipPipPip
  • 242 posts
  • Location: Norfolk

Posted 26 May 2014 - 09:34 AM

Thanks Tom, my welds are getting better, but still reliant on a grinder to tidy them up!
But as long as they are solid, who cares lol

#140 mini_mad_andy

mini_mad_andy

    Stage One Kit Fitted

  • Noobies
  • PipPipPip
  • 56 posts

Posted 26 May 2014 - 10:23 AM

I'm glad you've said that, I feel heavily reliant on the grinder after welding, but thought that as due to being an absolute amateur welder!

Your work is very inspiring. Keep it up!

Andy.

#141 alex-95

alex-95

    I am THE CLAMP MAKER

  • Members
  • PipPipPipPipPipPipPipPipPipPip
  • 6,019 posts
  • Location: l

Posted 26 May 2014 - 11:14 AM

great work on the bootlid, I bought the skins of a mk1 outside without the lip and a double skinned inside. I will be able to copy how you've done it now :D


#142 Minilegs

Minilegs

    Mini Mad

  • Members
  • PipPipPipPip
  • 242 posts
  • Location: Norfolk

Posted 26 May 2014 - 06:43 PM

I'm glad you've said that, I feel heavily reliant on the grinder after welding, but thought that as due to being an absolute amateur welder!

Your work is very inspiring. Keep it up!

Andy.


I think even the best welder in the world will still need a grinder when working on these biscuit tins :)


great work on the bootlid, I bought the skins of a mk1 outside without the lip and a double skinned inside. I will be able to copy how you've done it now :D


The tubby lady ain't singing yet, as i still have got to weld the flange back on, but fingers are crossed :)


#143 scrumpymini

scrumpymini

    Speeding Along Now

  • Members
  • PipPipPipPipPip
  • 380 posts
  • Location: West Sussex
  • Local Club: NSMOC

Posted 26 May 2014 - 07:02 PM

Love the work on the car and your dog even more, we have 11 month old Working Cocker Spaniel, she has more energy than the rest of us put together.


#144 Minilegs

Minilegs

    Mini Mad

  • Members
  • PipPipPipPip
  • 242 posts
  • Location: Norfolk

Posted 26 May 2014 - 07:39 PM

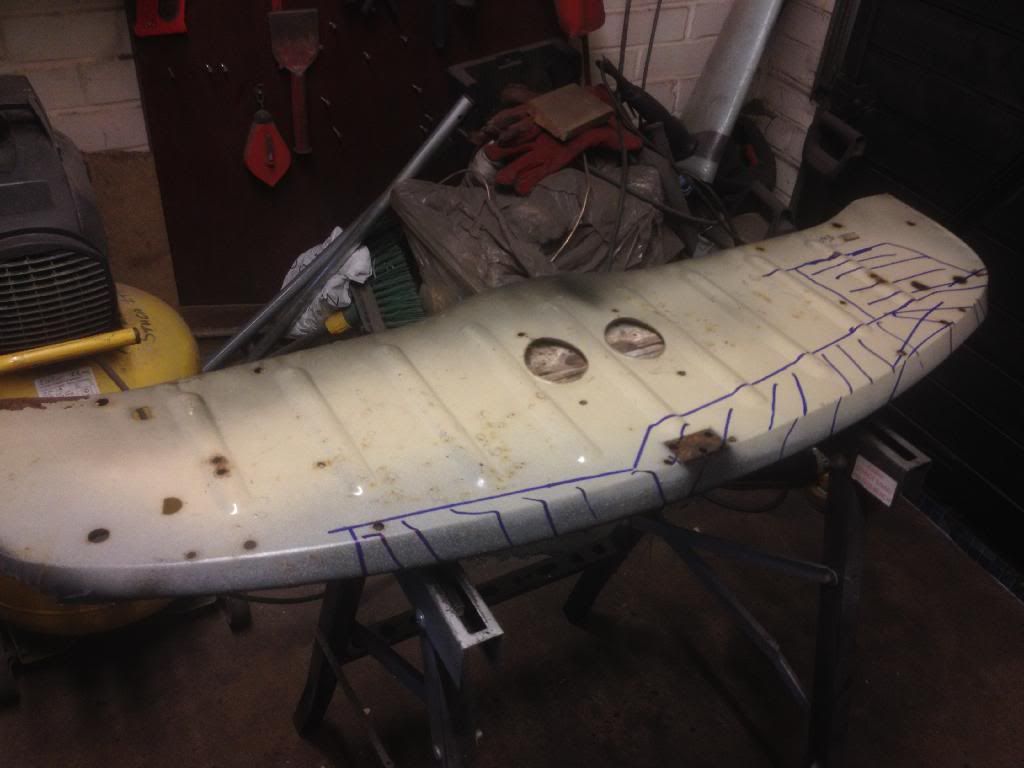
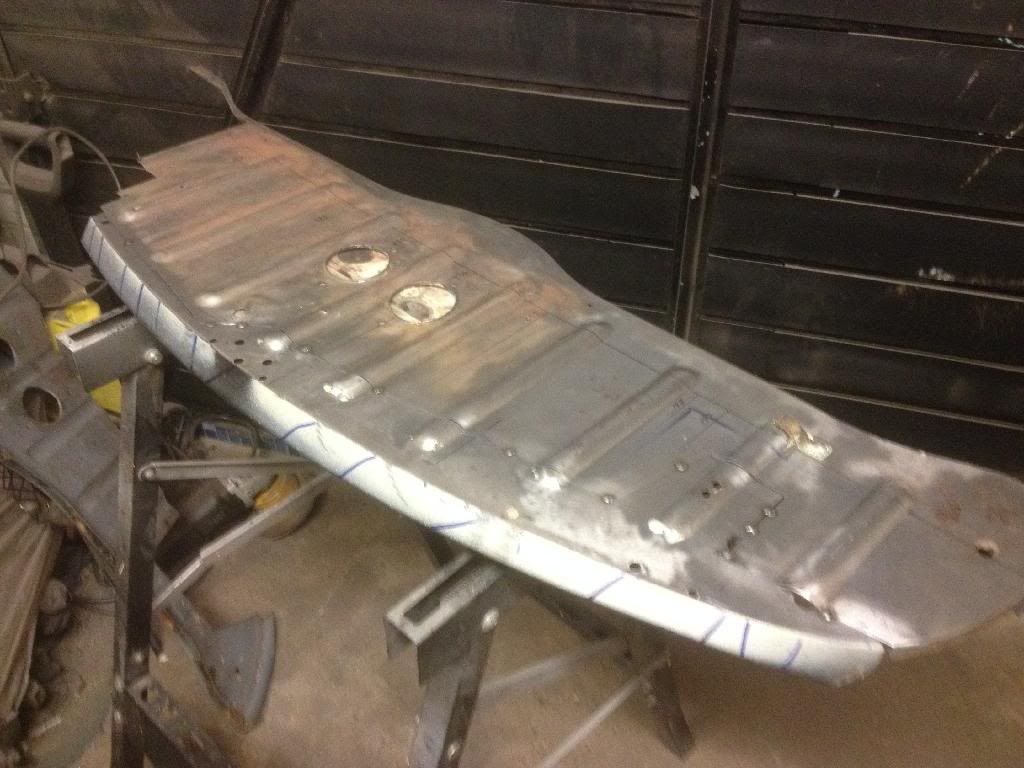
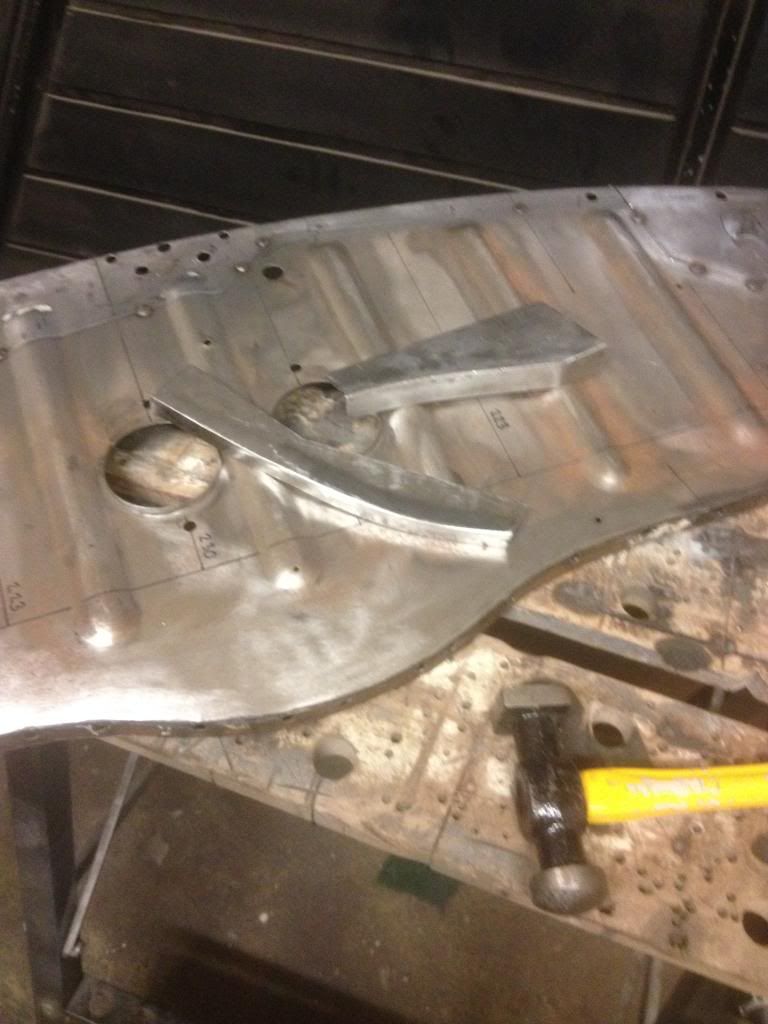
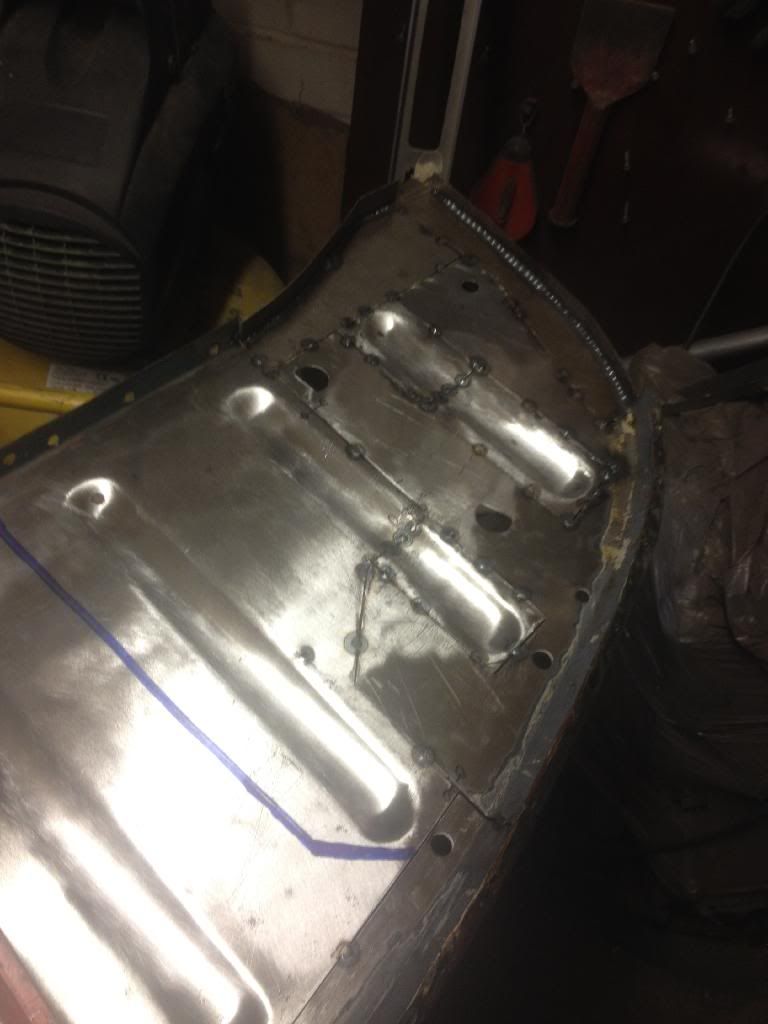
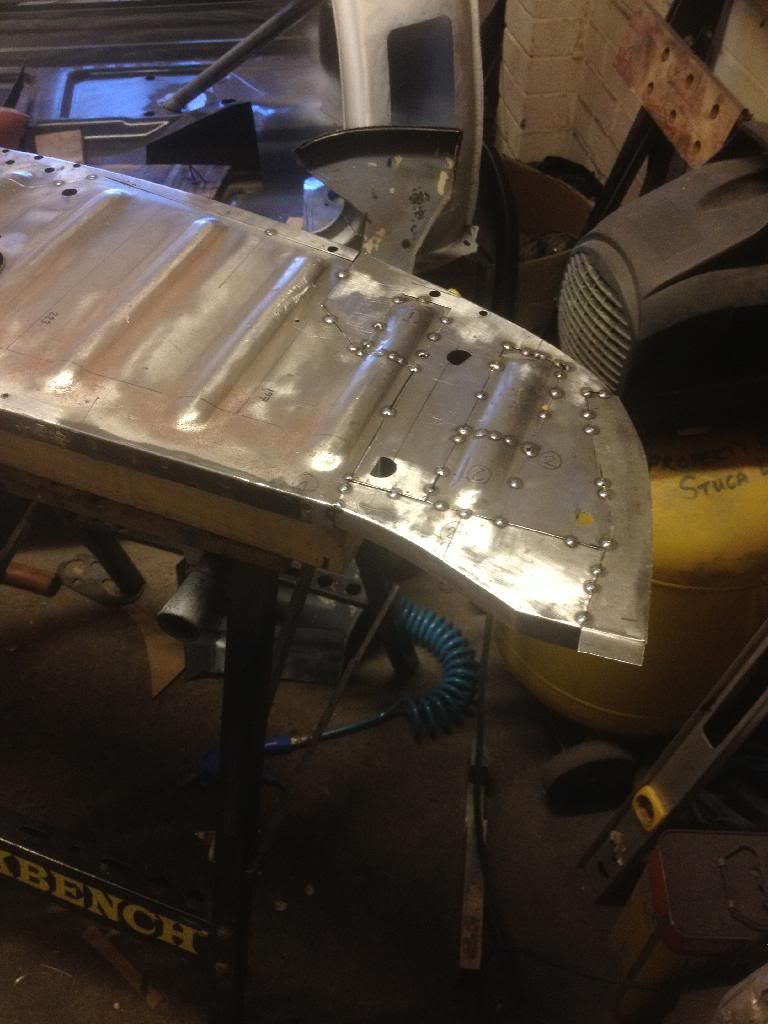
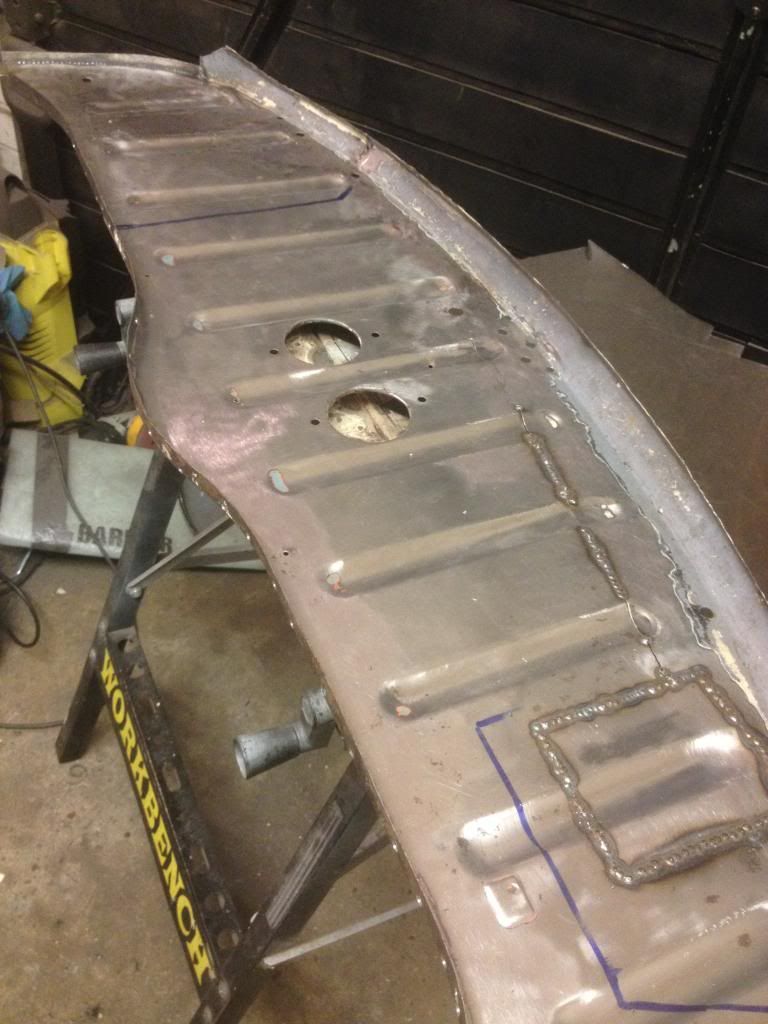
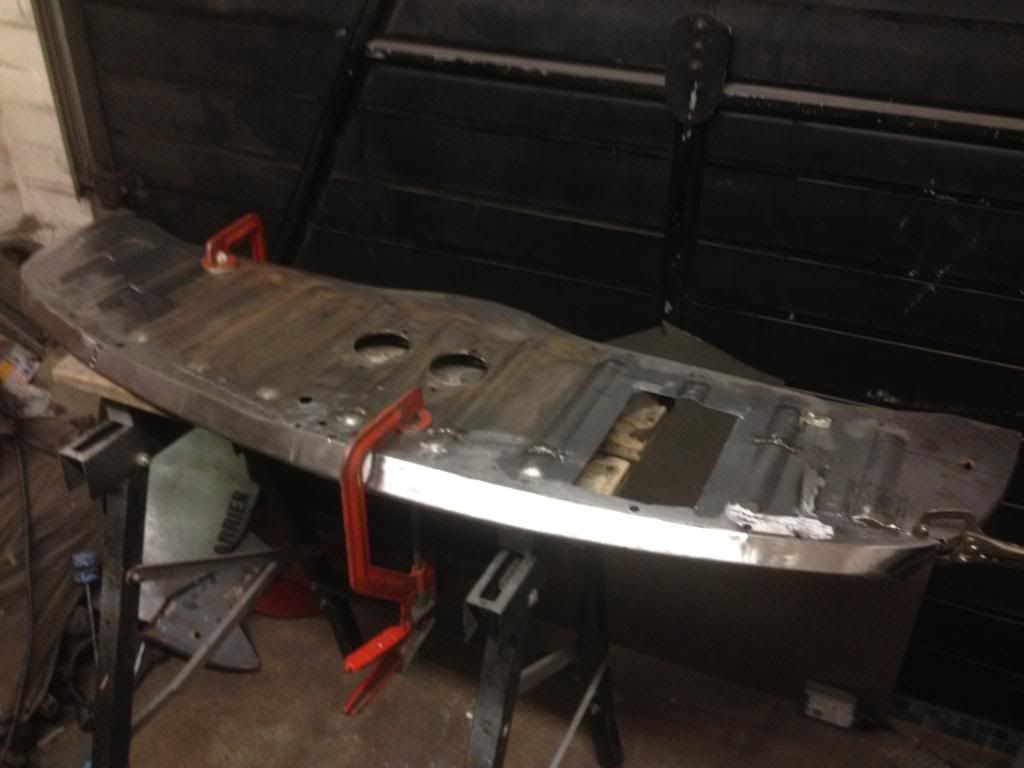
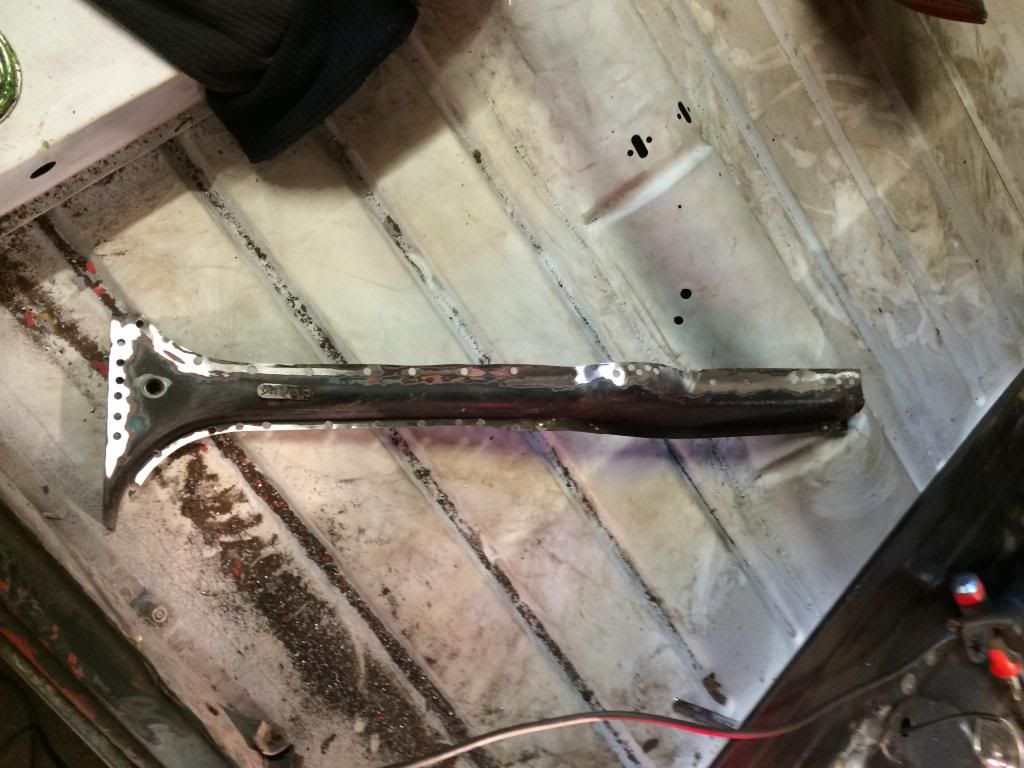
i decided to have a break from the boot lid, and started on my rear parcel shelf. It was in a bad way, from rust and also previous repairs done to it. 
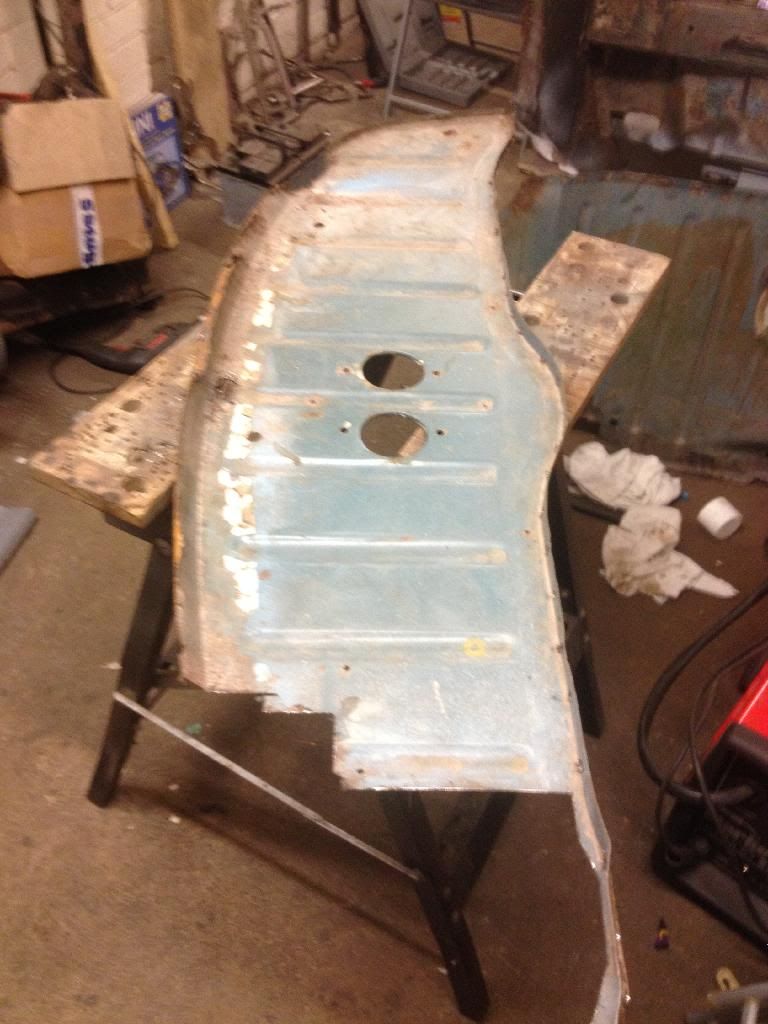
23AE7EEC-5947-4C3E-821C-6857C06FB4DC-1.j

Both ends are rotted out and the edge which attaches to the back panel was no-existent. Another donor panel required, which i got when i sourced the rear lower window section.

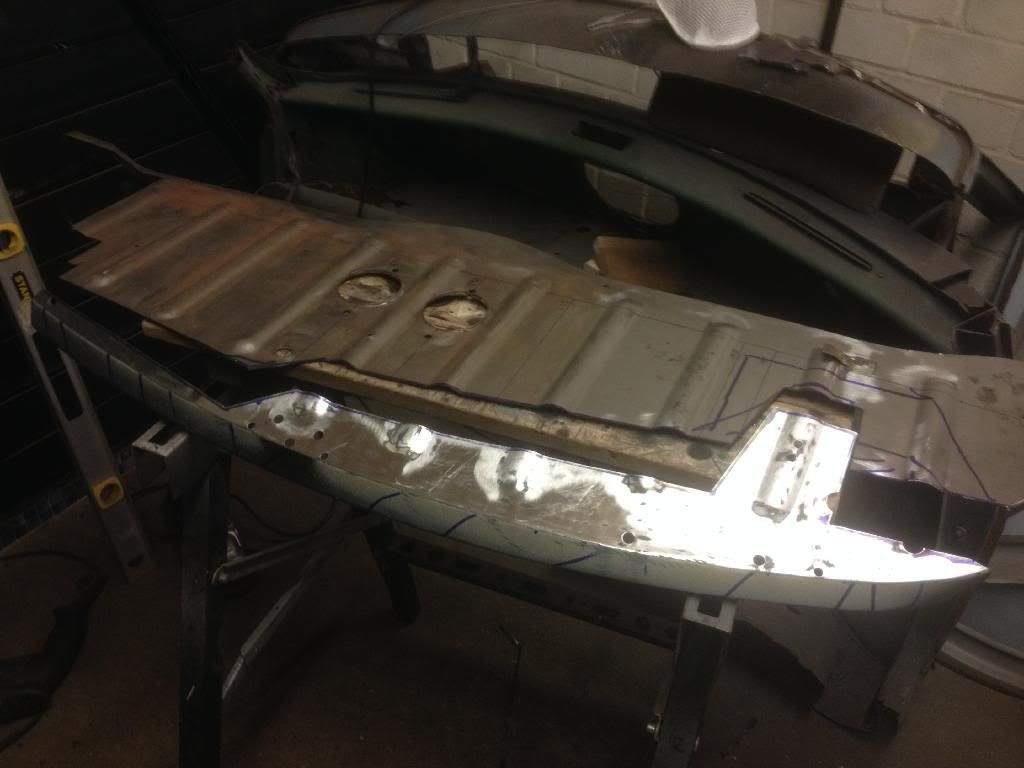
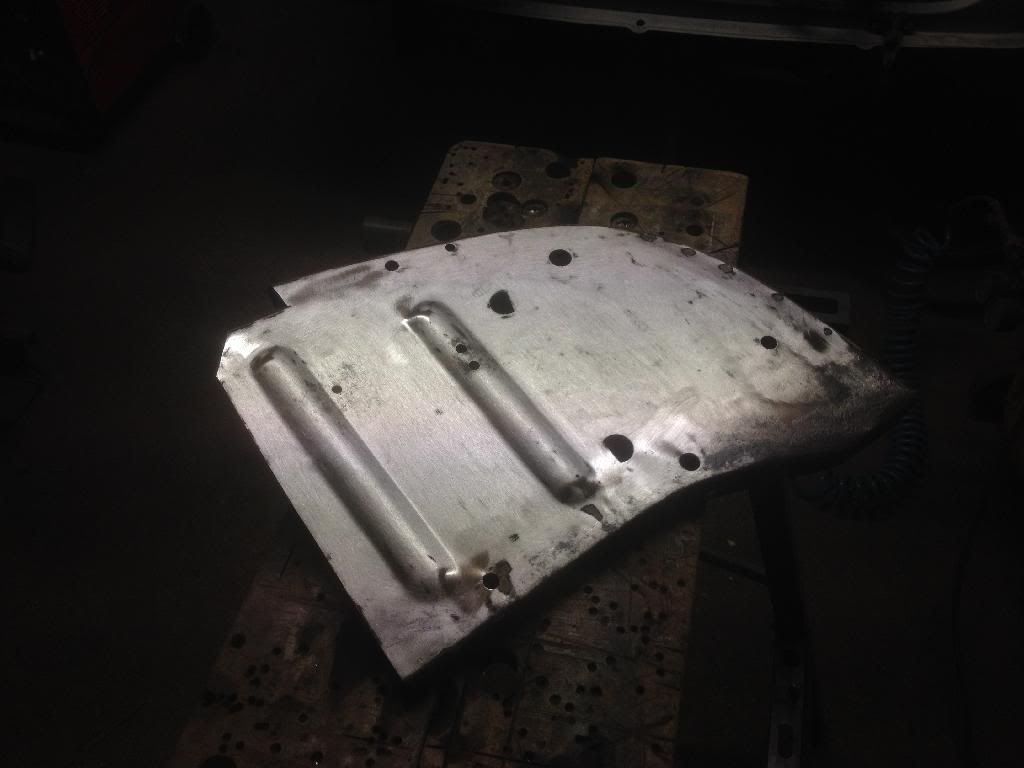
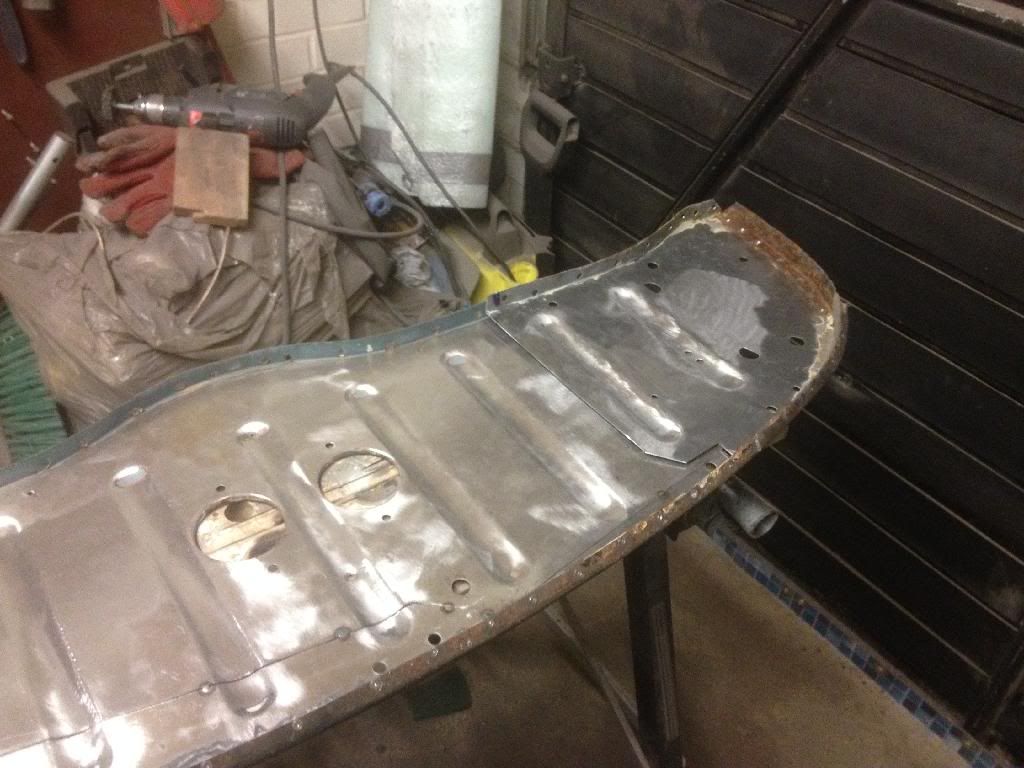
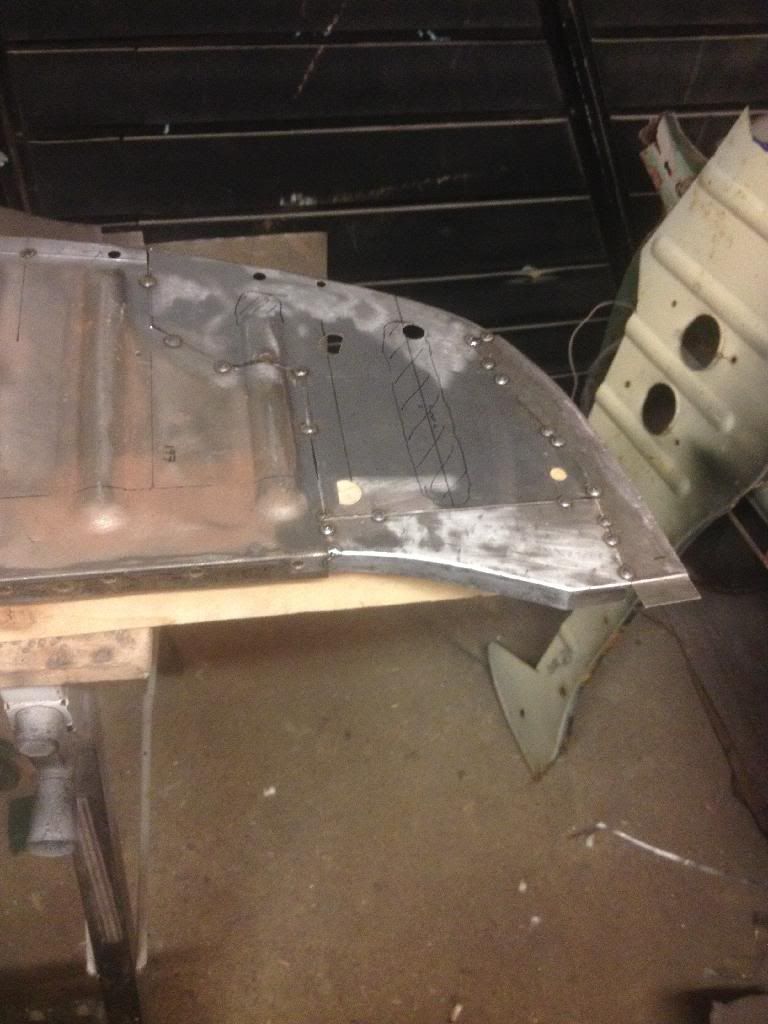
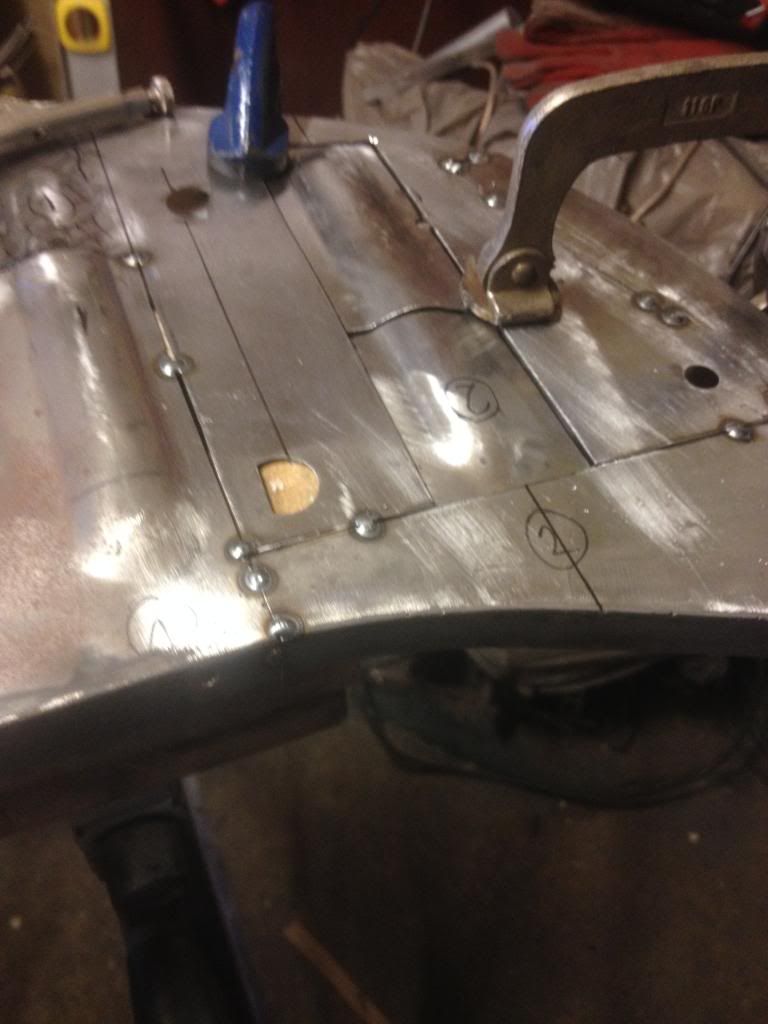
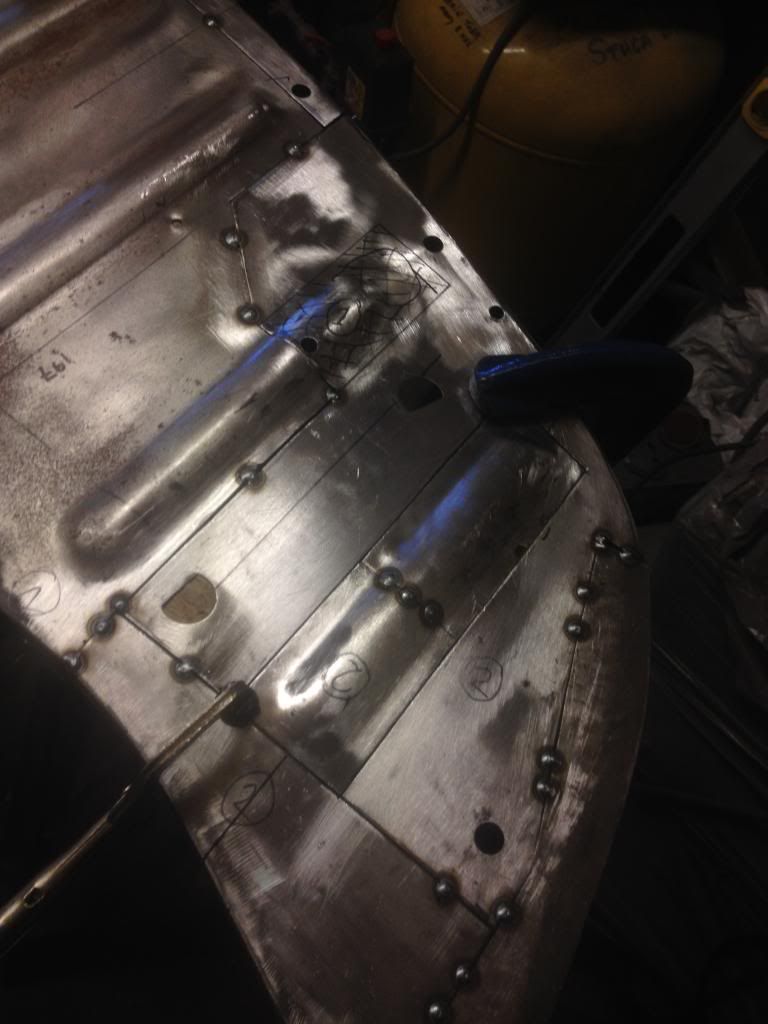
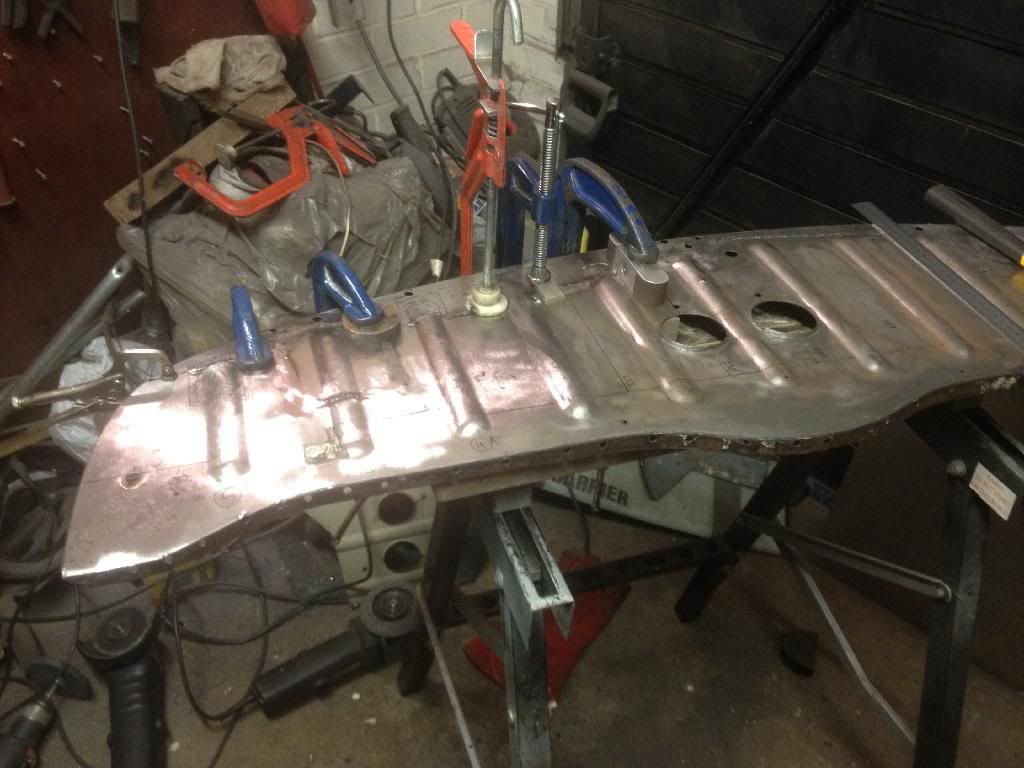
 The only problem was as it was a later rear shelf, it was a bit different to the the one i have. The main difference was the amount of flutes on the panel, with the mk1 having more. Also, the edge which attached to the back panel was different to accommodate the larger rear screen. So, i decided i would have have to chop things about quite a lot to keep my tray to mk1 spec.

I started by removing the front area, taking lots of measurements to reference points to help check the new section was in the correct place.
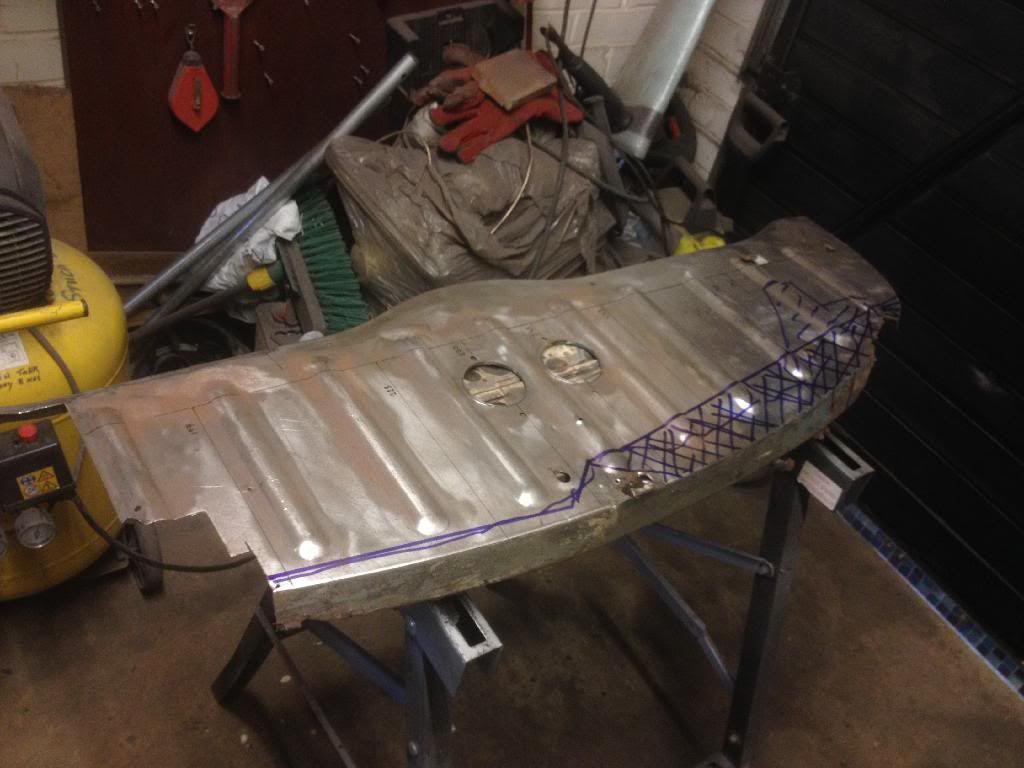
F09F0116-D99C-4FBB-9600-66411245721E.jpg

after i removed this, i wasn't really left with much......but hey ho 
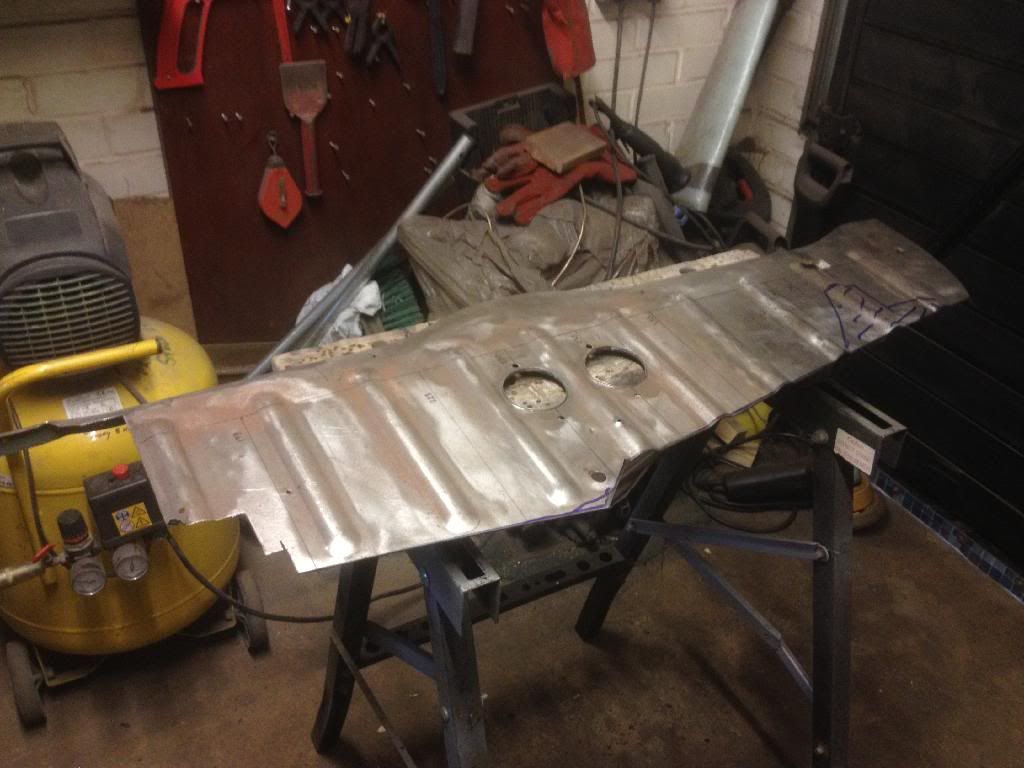
226E7C9D-86ED-4DBE-BDAC-5C664F44296B.jpg

A1E74CE0-29CF-4620-827F-567448E9A5E5.jpg

5B964FD8-F15D-4DA1-8199-448A0BB3F9AD.jpg

7ACC857B-A09A-4586-8FA6-B59487D7928A.jpg

C922ABA0-AC77-430D-BCC8-EBFEF5E06A6B.jpg


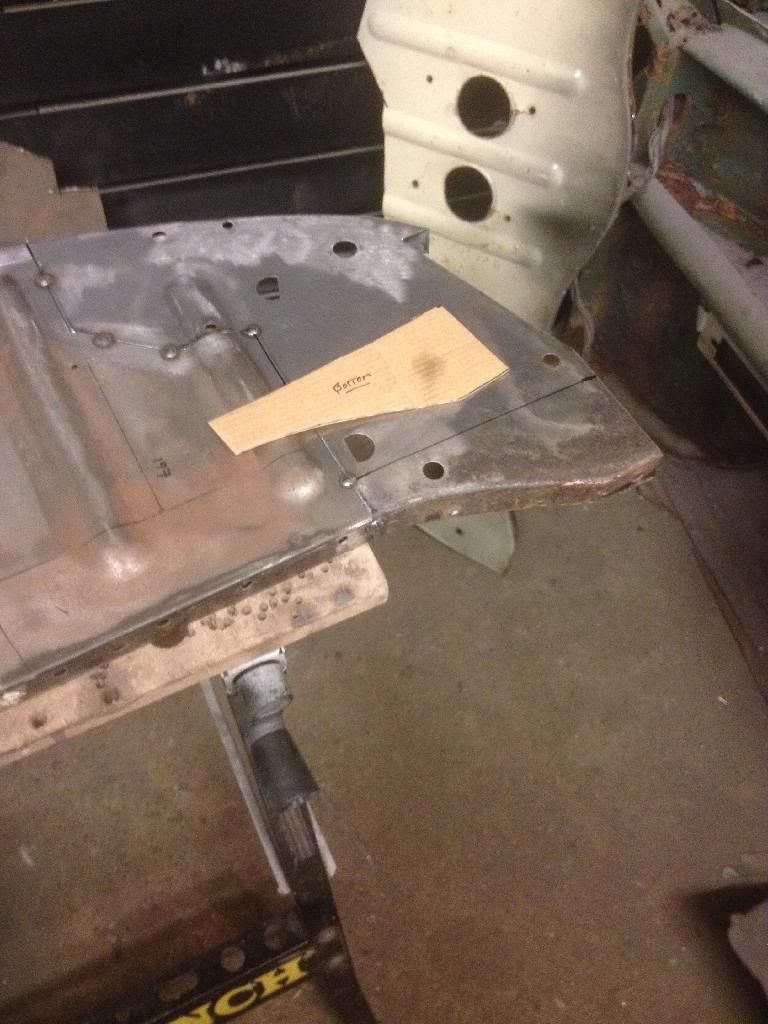
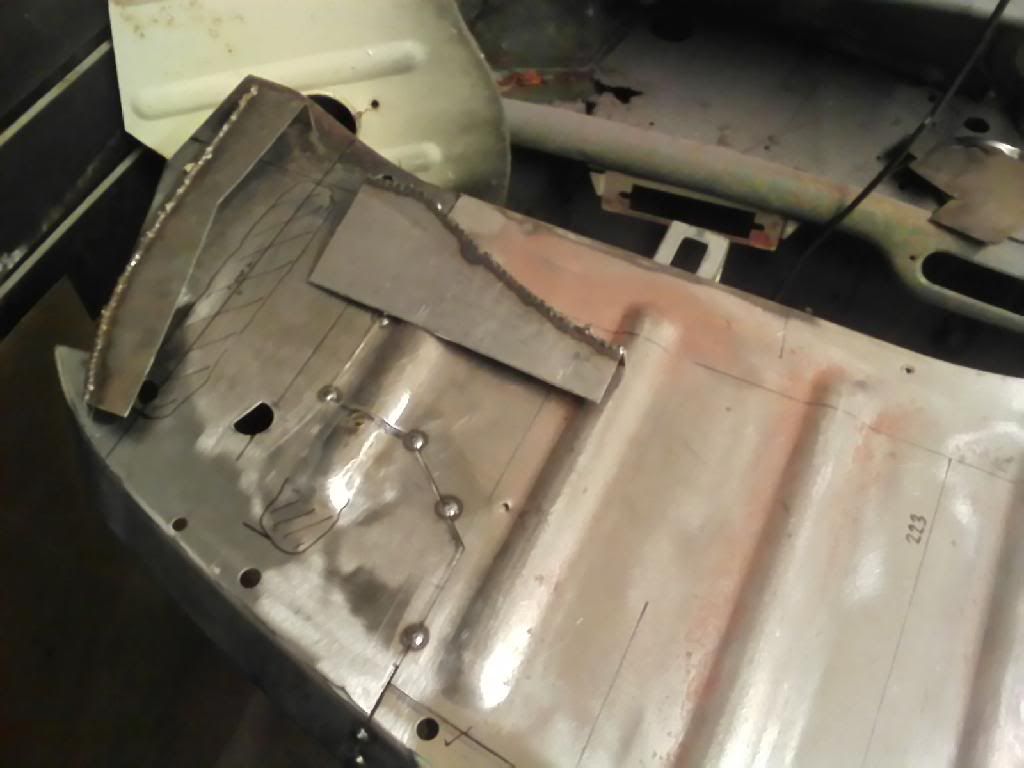
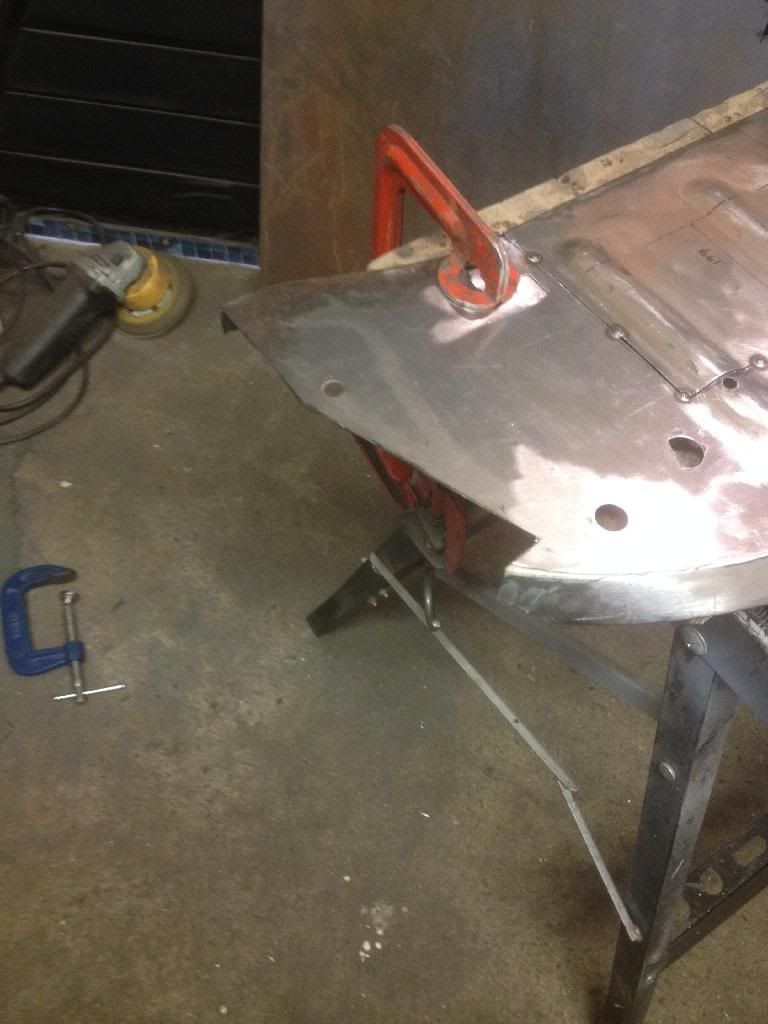
Next  I needed to get the shape back to the corners using the donor panel again. These were a bit rusty in places, so i decided to concentrate firstly on getting the out line of the tray correct, then get the little bits of rot out.
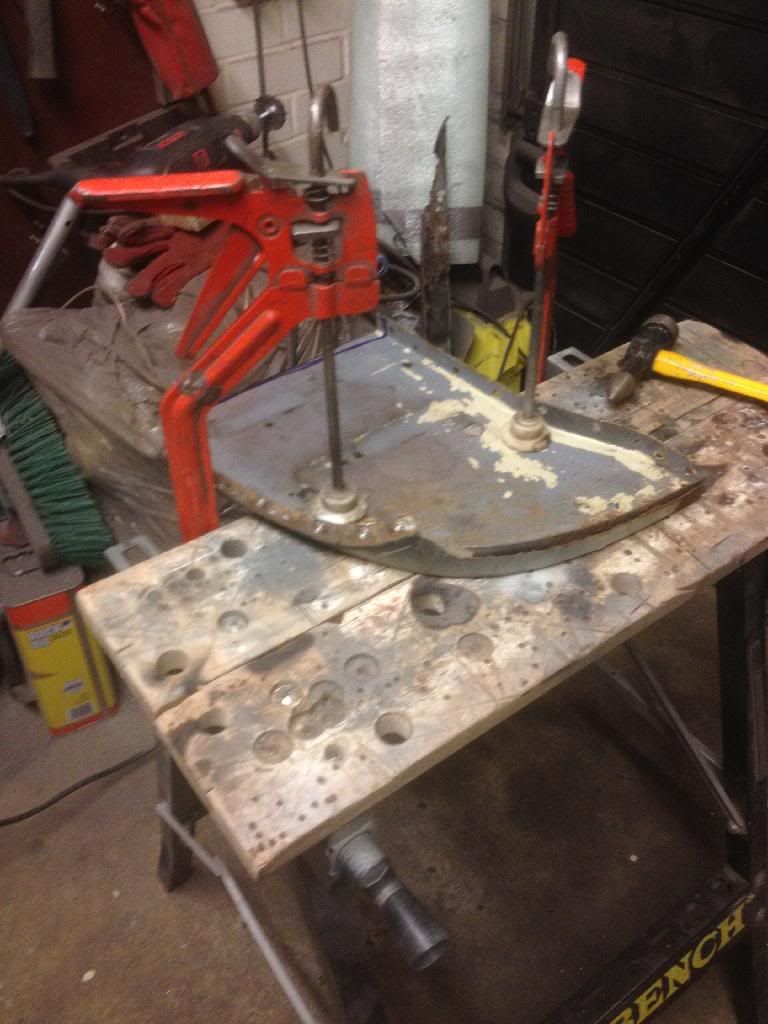
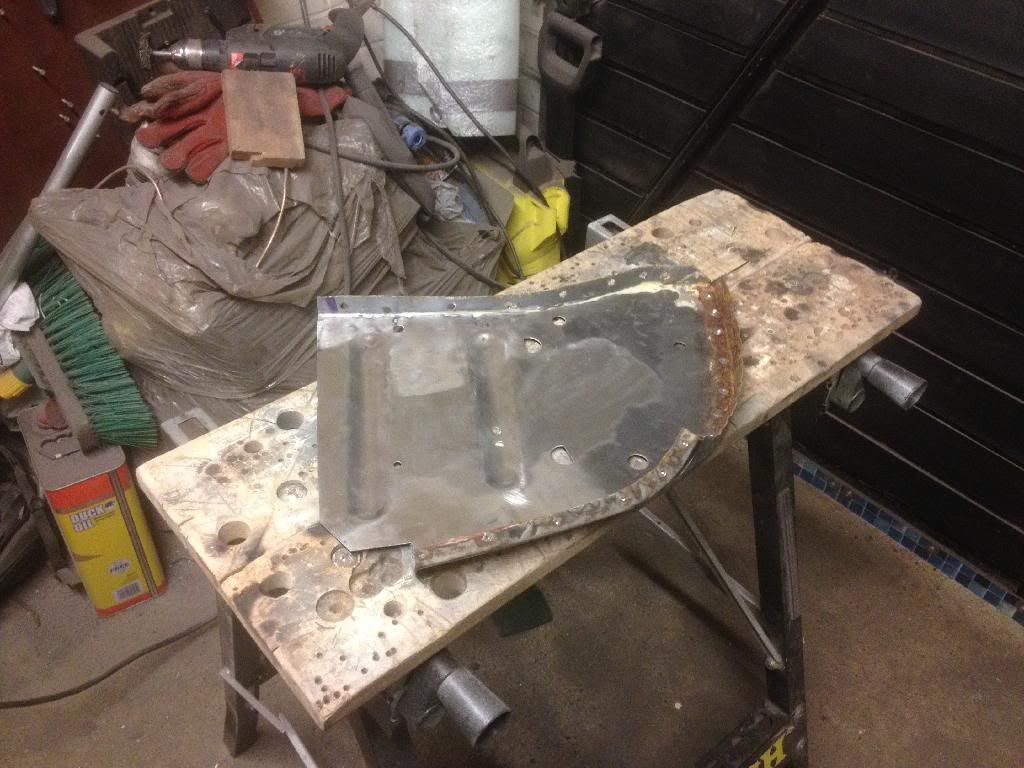
 E7145F62-FFD5-4ED2-8875-2354EA209475.jpg

E8332A20-C677-48C5-81F8-95F07D229473.jpg

40DD62BD-EABE-4CE4-80B4-81F4DA62D356.jpg

7CAD1857-74FC-4BB2-A5A6-4CEE2236A3F1.jpg


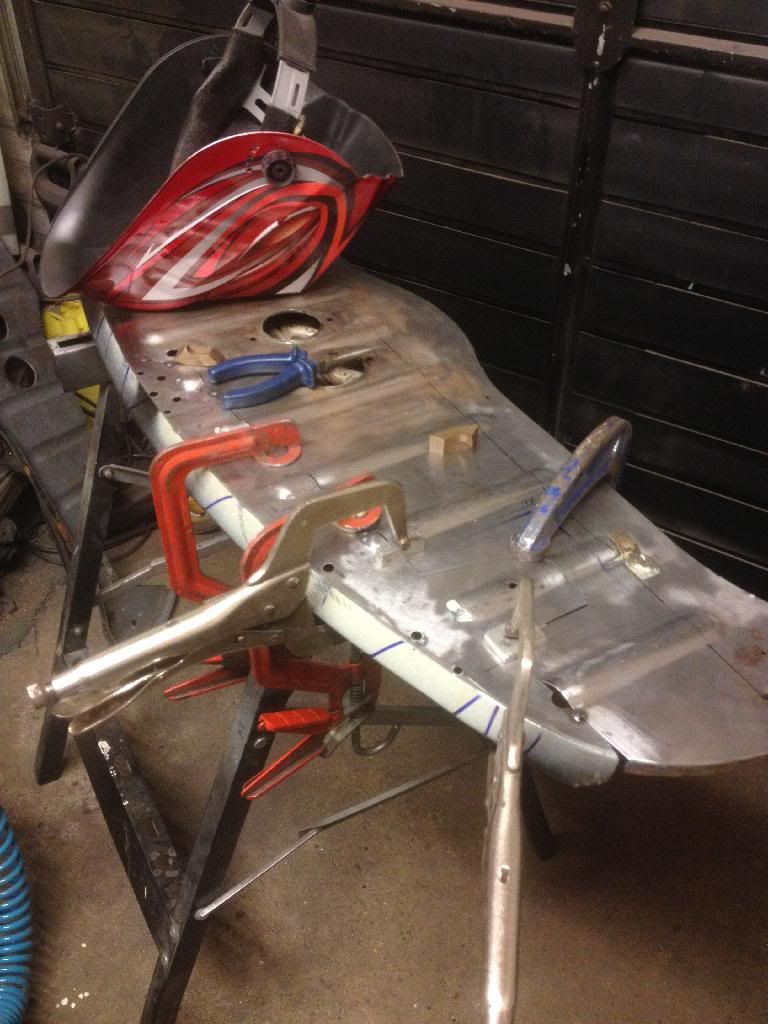
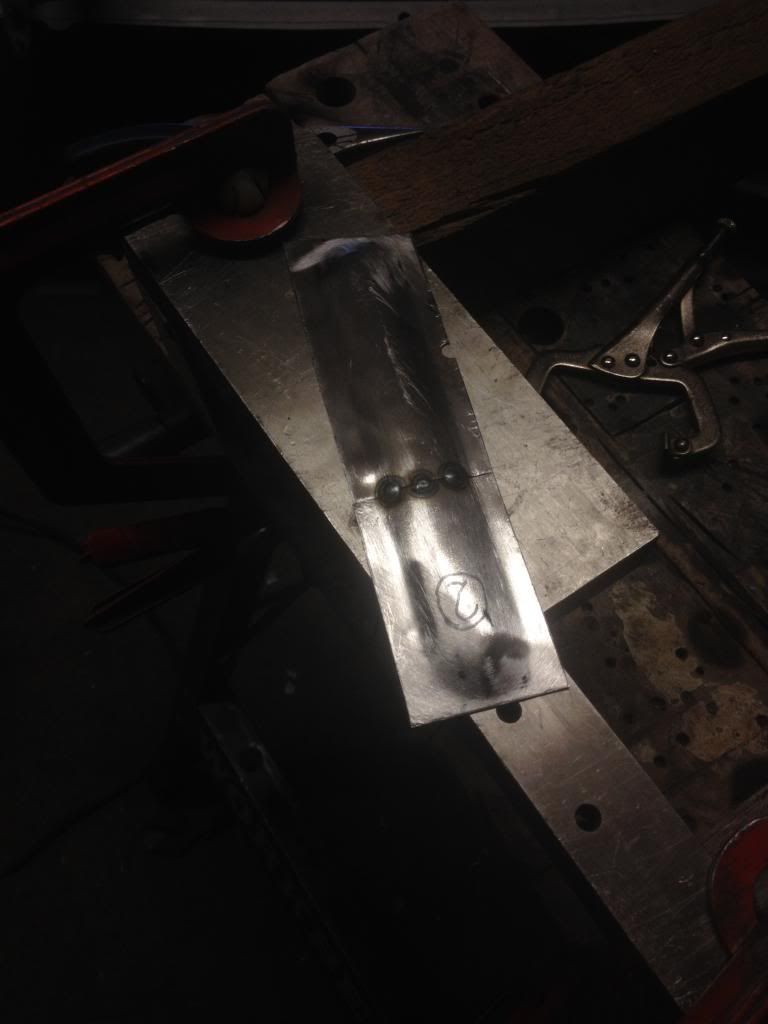
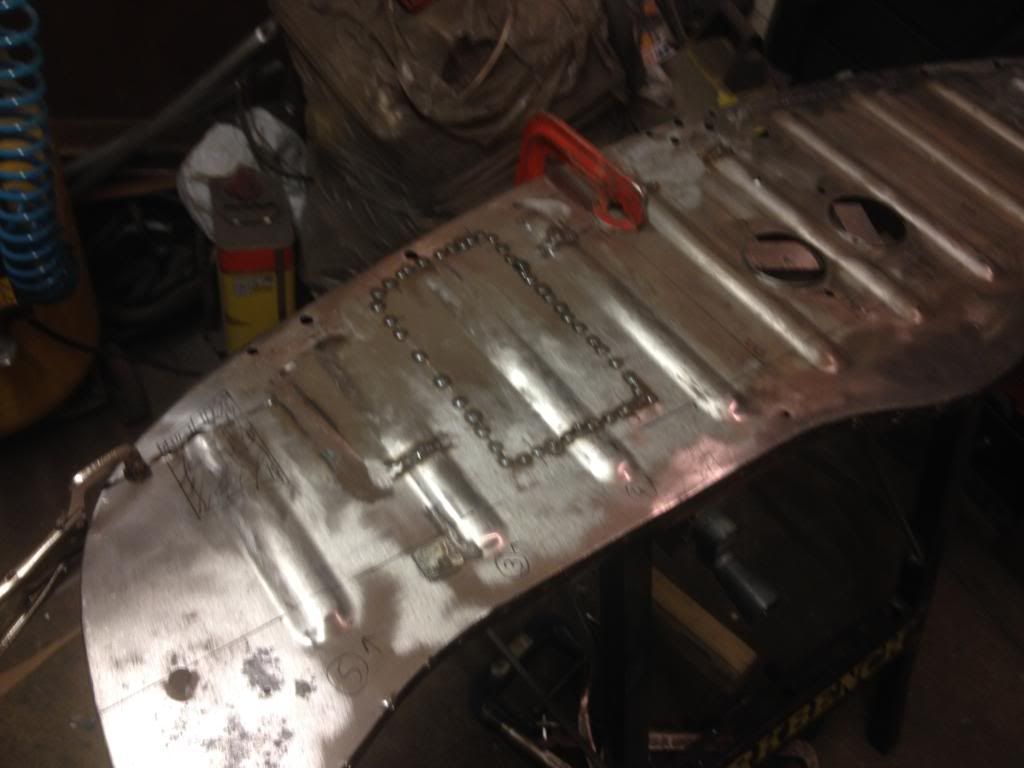
I then made some little repair pieces , to get rid of the rusted areas.
E053157F-2A6B-4154-A6DC-68002D892796.jpg

7AA3E2F7-F14D-471B-A247-877A742A6CD1_1.j

P_20140305_205015.jpg

P_20140305_211331.jpg

E225C57C-6C87-4E7A-97F7-A75E3AA28188_2.j

BA5AEDBE-74AD-458C-B8EA-9F5C854BCFA5_2.j

D6458C49-0336-49A3-98E0-D8C411B74F44.jpg

P_20140305_211825.jpg

798702EF-C596-48F4-A81B-AA8F668D9421_2.j

B7562963-074D-4EDD-A8B8-19860AAB9027_1.j

393BDB4F-D80D-43DD-BB72-A5D8DE57C384.jpg

00600ED8-D1C9-4CB2-AD9C-FAA45B286D6D.jpg

B9C947BD-6913-4BD1-BC26-4005734291BD_2.j

463FC298-32EC-4379-8EFB-B24D2EF0F9D1_1.j

798702EF-C596-48F4-A81B-AA8F668D9421_2.j

393BDB4F-D80D-43DD-BB72-A5D8DE57C384.jpg

00600ED8-D1C9-4CB2-AD9C-FAA45B286D6D.jpg

E790495C-0639-4D78-95E0-86957DEE1EC1_2.j

7ADB5F31-BD00-4C7F-990F-040A2F1F942B.jpg

8DD8AFCC-2485-4E32-8602-0AF1BFFCE44F_1.j


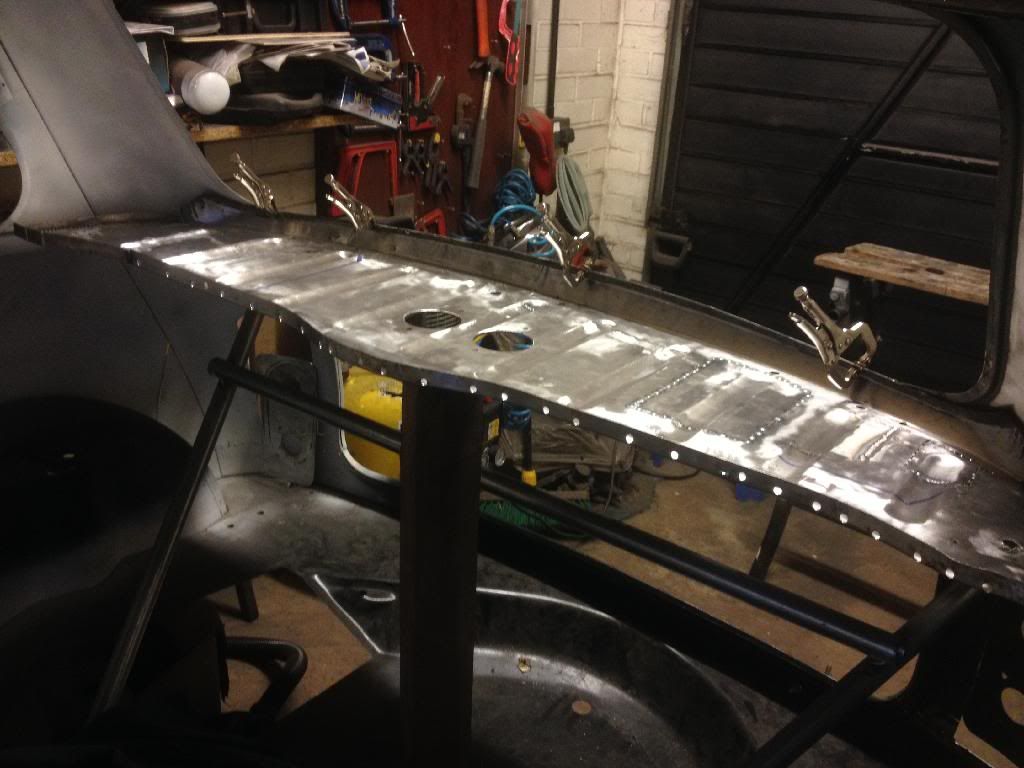
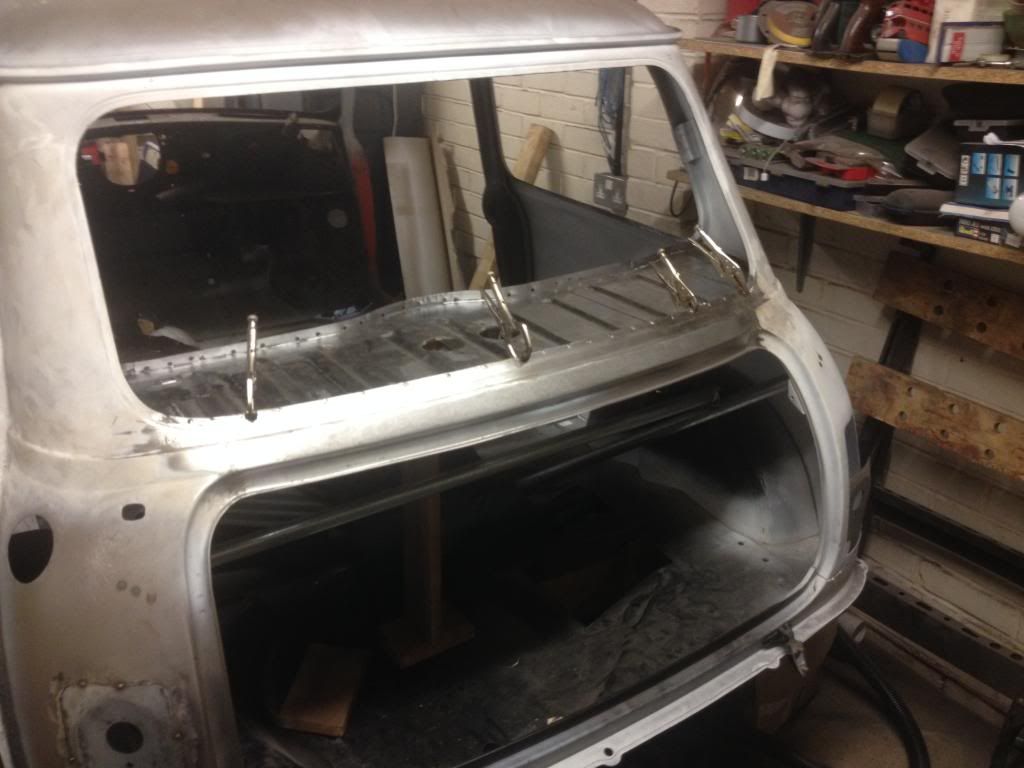
finally, a test fit, i still have a few holes to sort on the shelf, that need blanking, but i will do that another time:)
 

9422A9CD-C8A3-4A65-BB94-4CD68143E1FB.jpg

297E49C7-1055-4F71-AD25-DCD724D93005_1.j


#145 Minilegs

Minilegs

    Mini Mad

  • Members
  • PipPipPipPip
  • 242 posts
  • Location: Norfolk

Posted 26 May 2014 - 07:42 PM

Love the work on the car and your dog even more, we have 11 month old Working Cocker Spaniel, she has more energy than the rest of us put together.

yes they are lively. Harry our dog, hes a working springer, and energy is endless! but hes also a clever cookie and we love him to bits!

I hoping that one day, when i get the nasty grindy smelly work out of the way, he can come in the garage and keep me company, But until then, hes in the warm house lol!


#146 bpirie1000

bpirie1000

    Up Into Fourth

  • Area Managers
  • PipPipPipPipPipPipPipPipPip
  • 2,275 posts
  • Location: Aberdeenshire
  • Local Club: Amoc

Posted 28 May 2014 - 12:17 PM

Cracking work attention to detail is a great thing.. Well done..

#147 Minilegs

Minilegs

    Mini Mad

  • Members
  • PipPipPipPip
  • 242 posts
  • Location: Norfolk

Posted 01 June 2014 - 09:50 PM

Cracking work attention to detail is a great thing.. Well done..


Thanks mate, I agree, attention to detail is a marvelous thing, but it also time consuming as I have now found out !

2 months on a parcel shelf, some say I am mad (mainly people at work) but I carry on regardless :) 


#148 Minilegs

Minilegs

    Mini Mad

  • Members
  • PipPipPipPip
  • 242 posts
  • Location: Norfolk

Posted 03 June 2014 - 11:02 PM

.


Edited by Minilegs, 03 June 2014 - 11:03 PM.


#149 Minilegs

Minilegs

    Mini Mad

  • Members
  • PipPipPipPip
  • 242 posts
  • Location: Norfolk

Posted 08 June 2014 - 07:54 PM
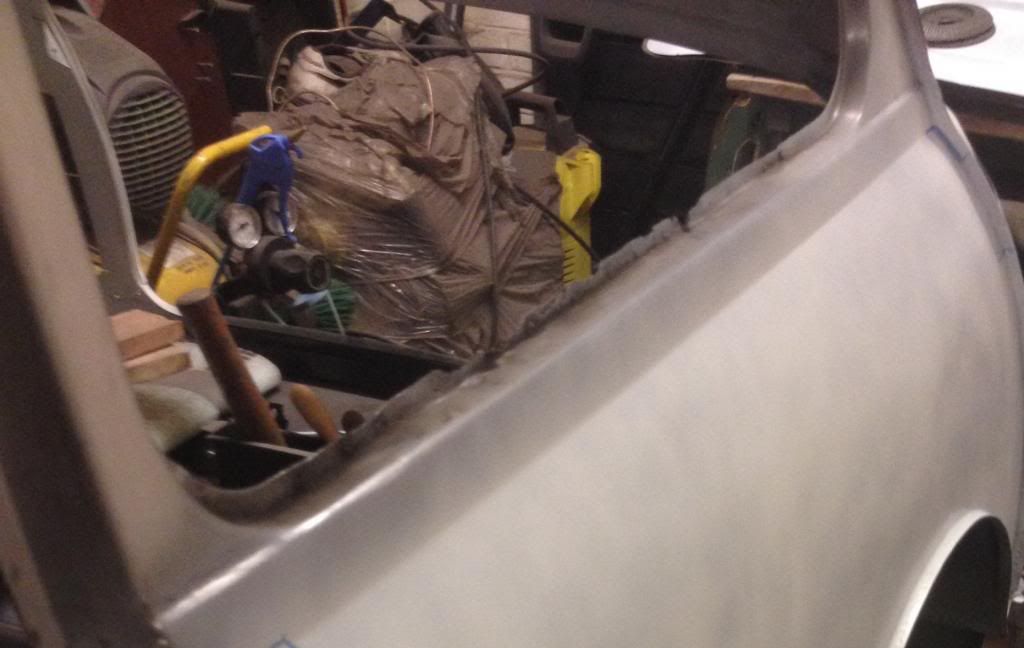
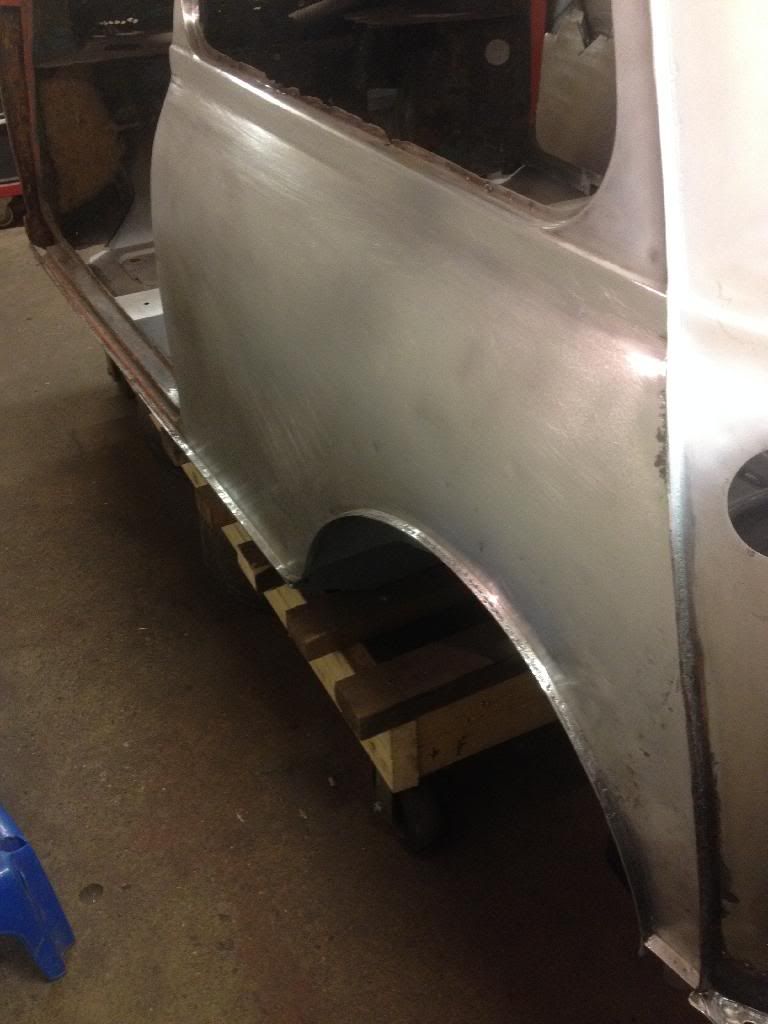
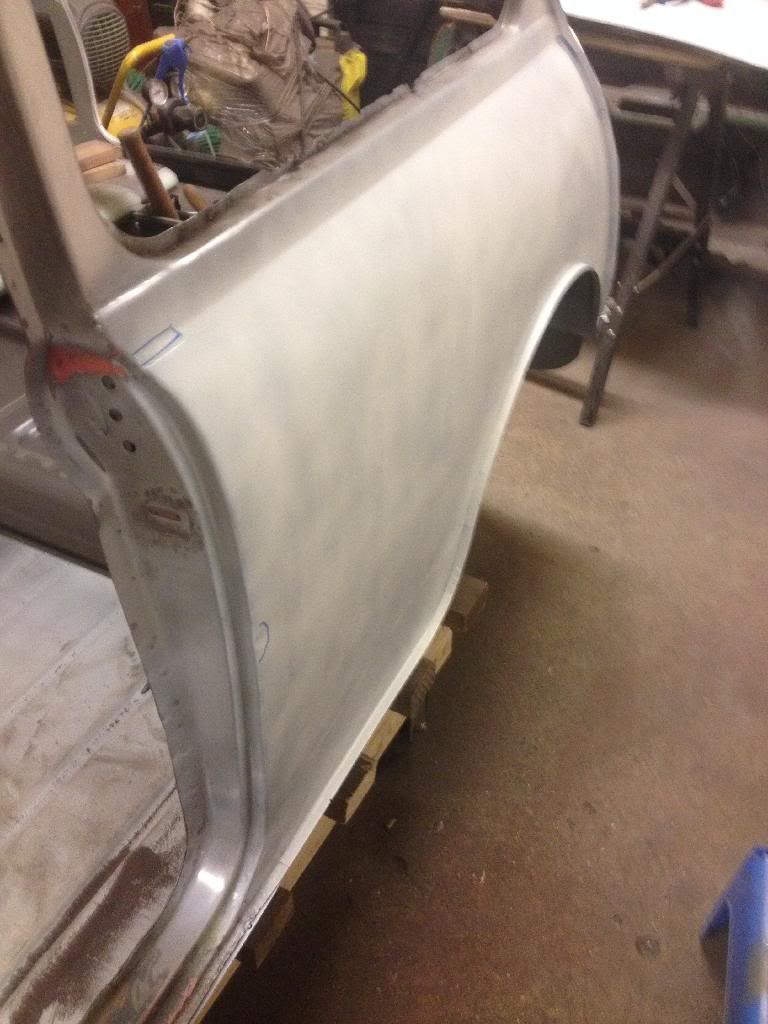
I needed a change from the rear end, so I decided to have a tickle on the n/s rear quarter panel, as it needed a couple of repairs.I have already done some repairs to this panel when I fitted the floor. I sanded it back to metal when i did this, and was really lazy and did not protect it afterwards. Luckily, my garage is very dry, so only a small amount of surface rust had appeared, which was scotched off easily. 
 
8f92b5ec-fcfa-453e-890a-103d5b14d02f.jpg


01DCDDA0-3504-4588-8E1C-60741EF38BBA.jpg


C3FD3261-EC20-48E9-AD95-5FC717C87427_1.j


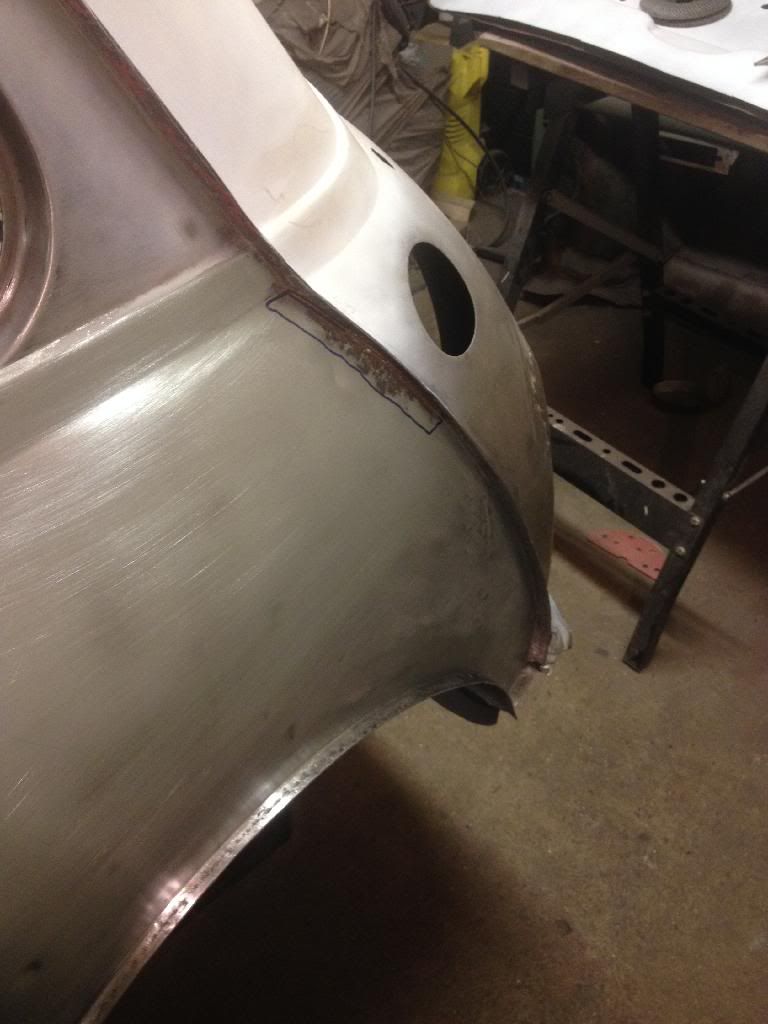
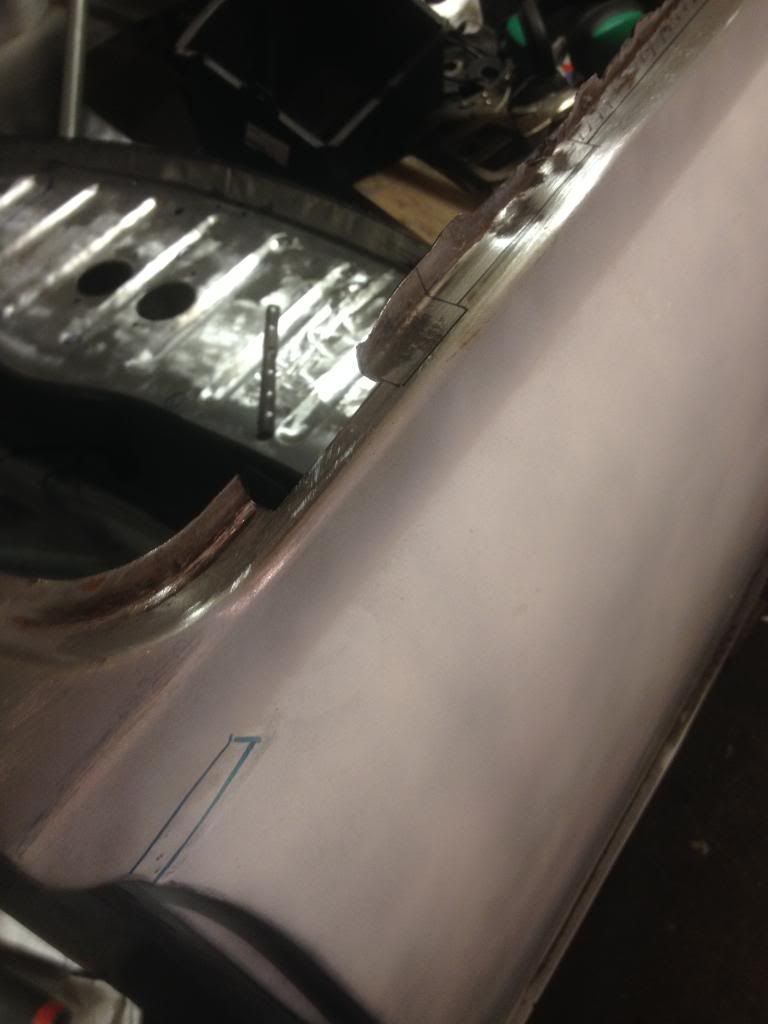
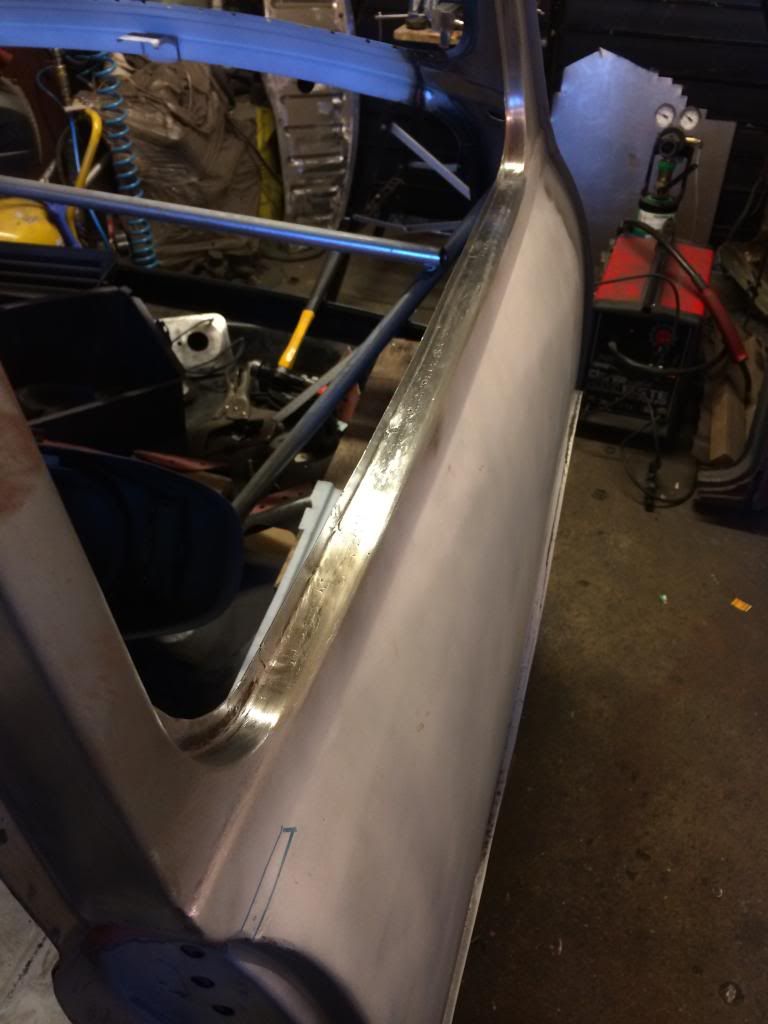
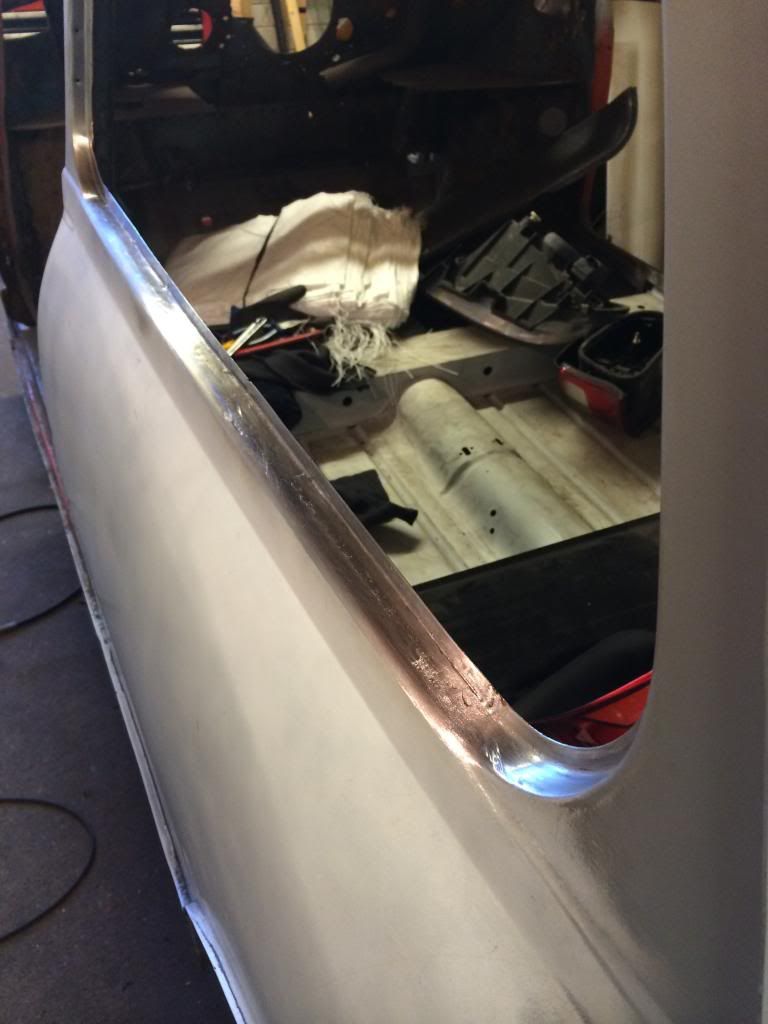
The previous repairs were the areas along the floor seam, around the wheel arch and the lower corner which attaches to the back panel. The outstanding repairs to this side was the area below the rear quarter light. a section on the seam where the back panel joins, and some minor dings and pitting to sort out in the door shut area.
Now, the problem i have is that most of my work is spread out over long periods, as i may only get an hour here and there to work on the mini. So once i had taken it back to metal, i needed to protect it, but i didn't want to waste acid etch on it, as i would be working on a few areas, and it would have been a waste, So i gave it a coat of white primer, the keep it shiny:) And to remind myself of the repairs needed, I marked them with permanent marker on the steel, so when the paint was applied it leaked through and showed clearly. ..........Yes, I am a little bit mad 
 
23DABD08-5628-44BF-A446-B61B466A7459.jpg


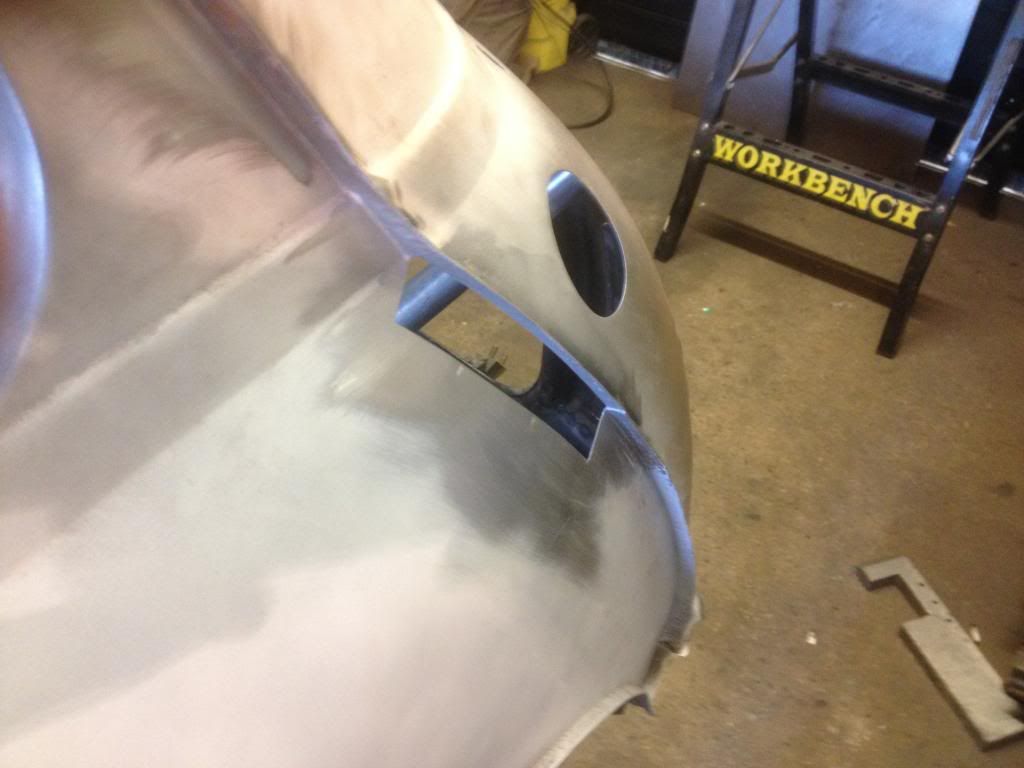
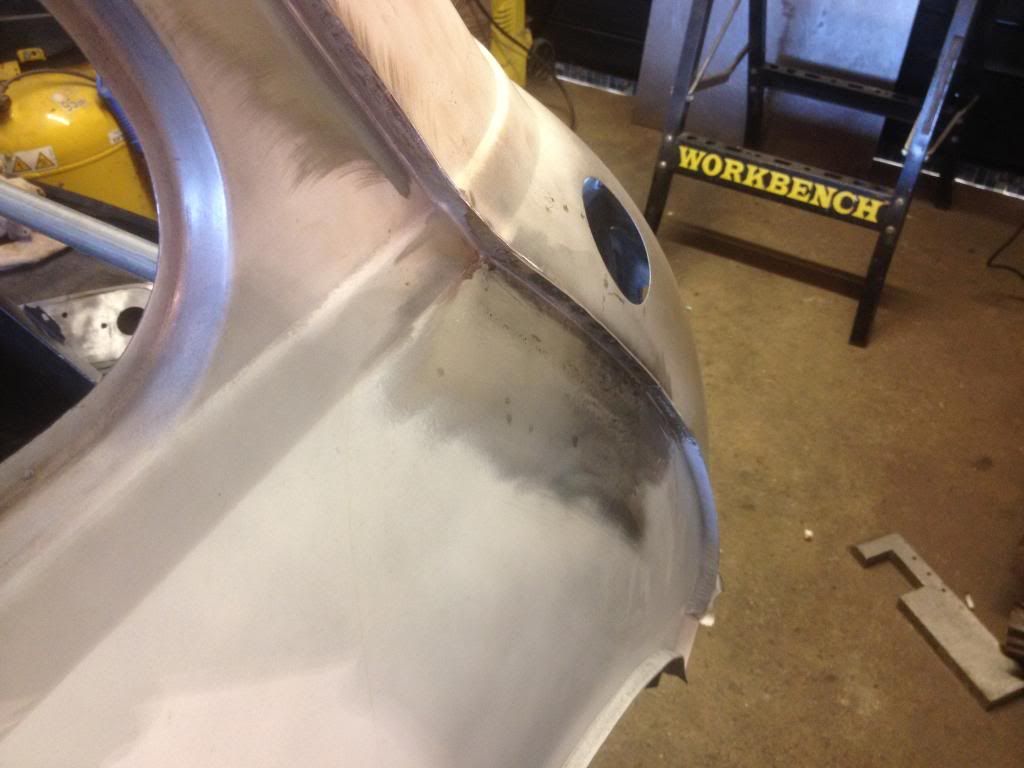
Firstly I tackled the rear seem area, as it had rusted and the pitting was deep and nasty. So I formed a piece of steel to the shape of the area i was cutting out, which was a bit fiddly due to the curves, but i persevered until i was happy with it. Then i chopped the offending area out.
5D2332BA-DB6E-43C4-A9F3-5FE3793F6428_1.j


Sorry, but i seemed to have no photo of the repair piece i made, but once it was welded it and slightly fettled, i was pretty happy with the result.
 
1AED4C31-A557-462D-9B61-B812B43A0C5F_1.j


I had a few small dings in the area just behind the door line, which needed attacking from the area behind the lower b pillar. And i also wanted to remove this piece as i wanted to inspect and protect the areas behind,So this happened...
 
D5860E14-B2BA-4FD5-AB5B-D9C2C775BED5.jpg


With that out of the way, I then repaired the couple of dents in that area, which again, I forgot to photo :(
 
Lower quarter light area was rather rough to say the least, but easily repairable,when done right. Sadly, i had another mad moment and chose the wrong way doh!
8f92b5ec-fcfa-453e-890a-103d5b14d02f.jpg


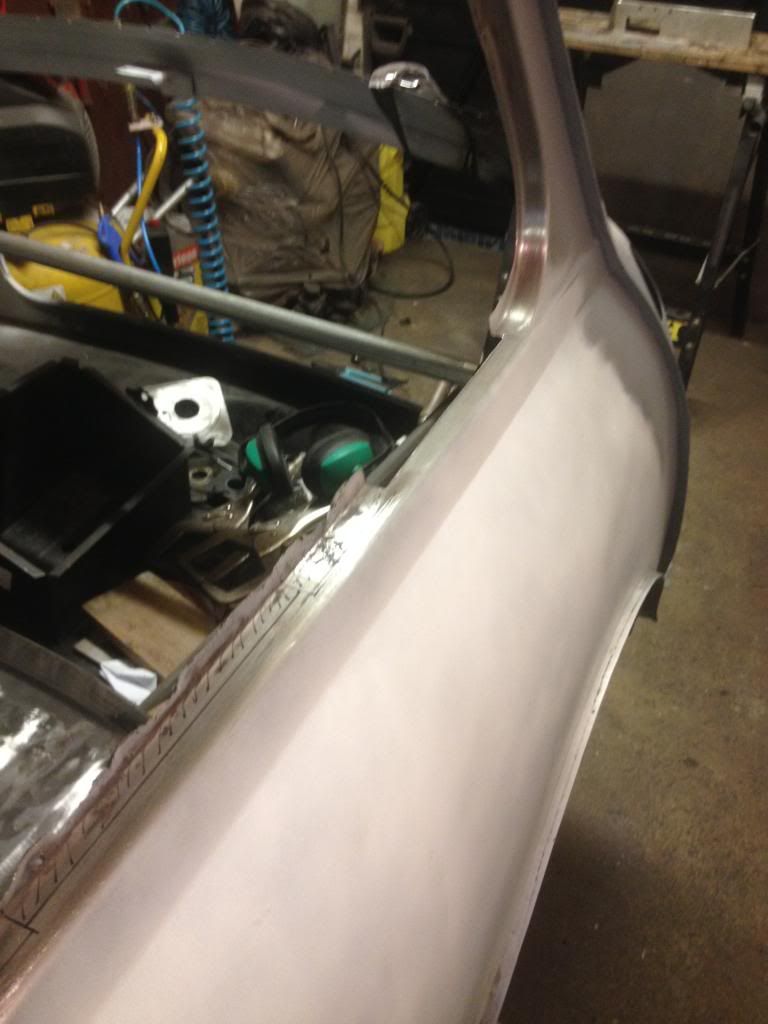
So I decided the best way to repair it was a small section at a time, that way i could keep as much original steel as possible, and keep the shape correct.
35F0AD00-AD06-4505-8D90-07425AE927C6.jpg


8B9EA065-4195-405E-93BB-59262E80E821_1.j


6D1D3A16-B61A-477C-8BA9-8E47A4FD04D8.jpg


You get the idea, so I did this until all the pitting an rust was gone, ground it back, then stepped back to admire my lovely repair, but instead I called myself a door opening implement, then turned the lights of and went indoors in a sulk. 
Basically, the back of the repair that the window seal sits on was wonkier that a giraffe's knees when playing twister. I obviously wasn't accurate enough in lining up my individual repair piece, and so hence it looked awful.
A few days later, I had calmed down, so went back in the cut it out and start again.I shouted at it while i cut the area out, and again repeatedly once i had thrown it to the floor and stamped on it several times. Now i had that out of my system, i carried on and tried again, using just one repair piece, like i should have done at the start. Bah! 
 
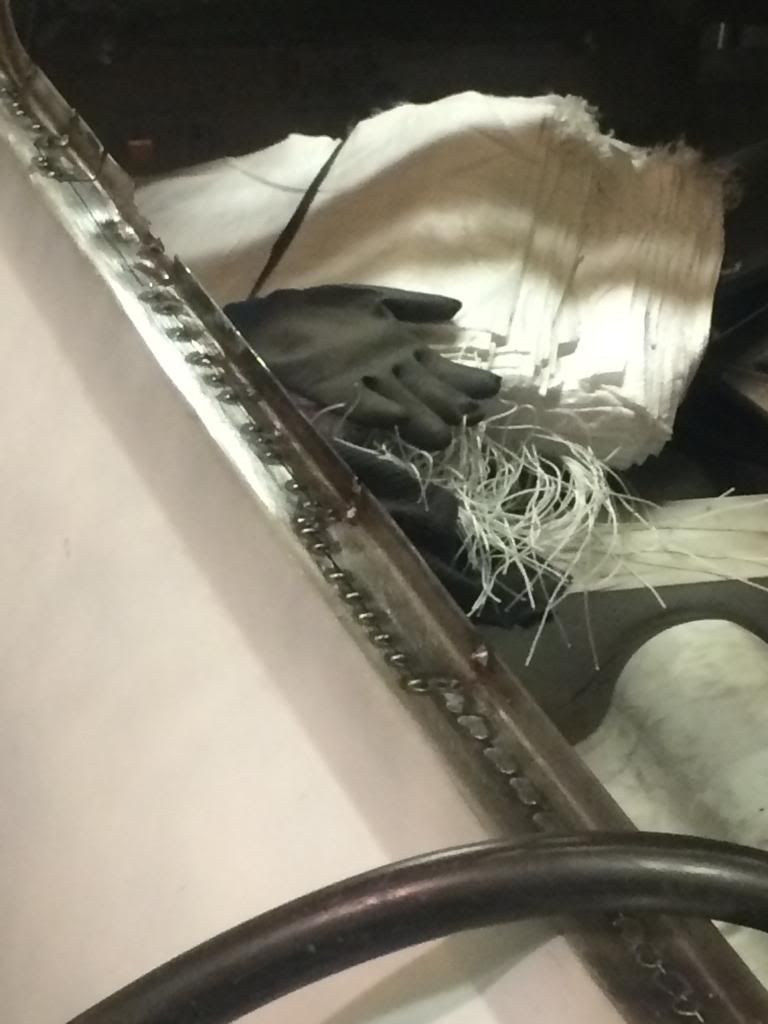
Finished one piece repair.
405C779C-5581-4AE6-8ADA-1B526E327DB8.jpg

CA8575FB-E258-45AF-BE60-3751B64769E3.jpg


mucho better.


#150 ToM 2012

ToM 2012

    Up Into Fourth

  • Members
  • PipPipPipPipPipPipPipPipPip
  • 4,066 posts
  • Location: halesowen

Posted 08 June 2014 - 08:27 PM

very nice work there mate same again the other side? cheers tom 


1 user(s) are reading this topic

0 members, 1 guests, 0 anonymous users