you can never practise enough with welding!
looking good though


Formally known as dominicdee


Posted 30 October 2013 - 12:13 PM
you can never practise enough with welding!
looking good though
Mini Mad
Posted 02 December 2013 - 04:24 AM
Mini Mad
Posted 25 February 2014 - 05:00 AM
Edited by roughneckin, 25 February 2014 - 05:02 AM.
Mini Mad
Posted 03 June 2014 - 01:42 PM
Finally able to get back to it, after dealing with a house move, which worked out really well as now I have an even bigger garage and it is heated for the winter months!!!! So very happy about that part. We also made our way to Japan for a quick 2 week vacation and found that the Japanese really do enjoy a mini as well. We saw 2 in the town of Nara and 3 rolling in a little town south of Tokyo called Kamakura on the ocean. I was able to get a photo of one in a parking lot.
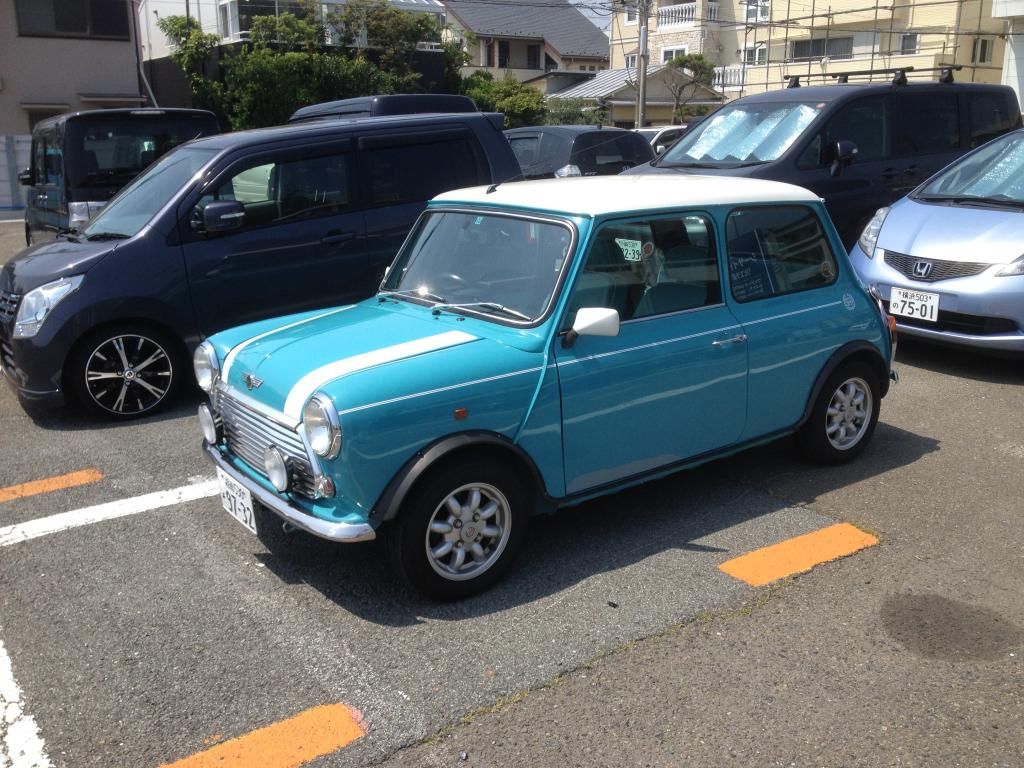
There was also a little mini shop in the town as well with a lot of parts to sell. Really a nice surprise on a trip that I was not expecting the see that.
Back to Canada...
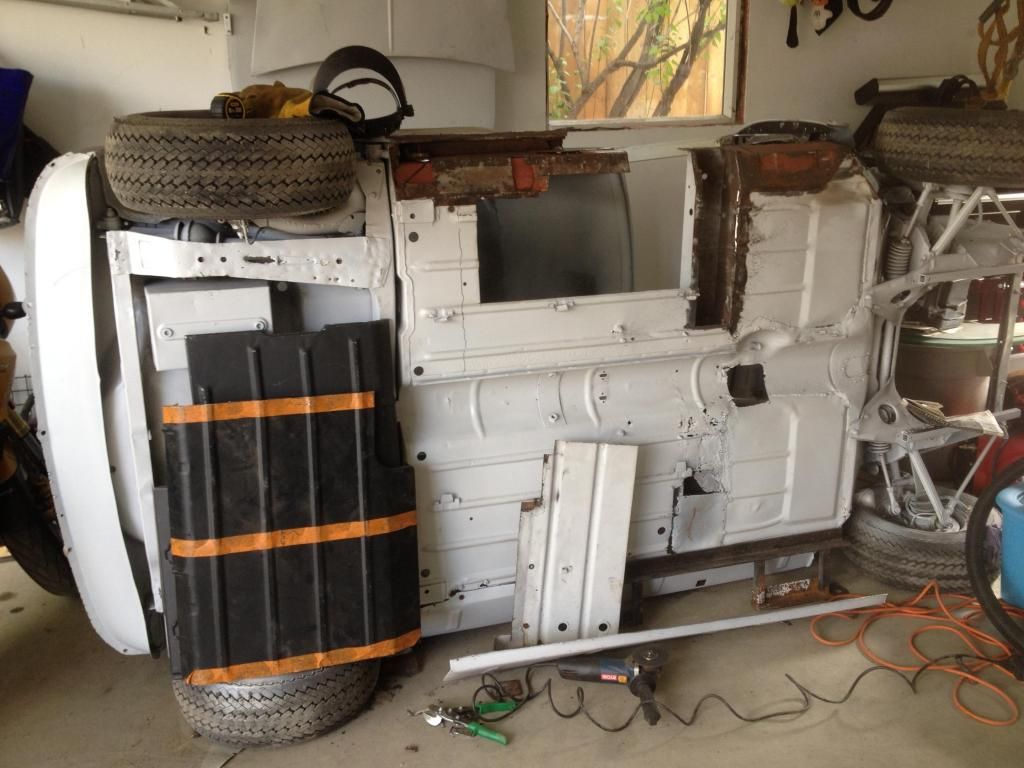
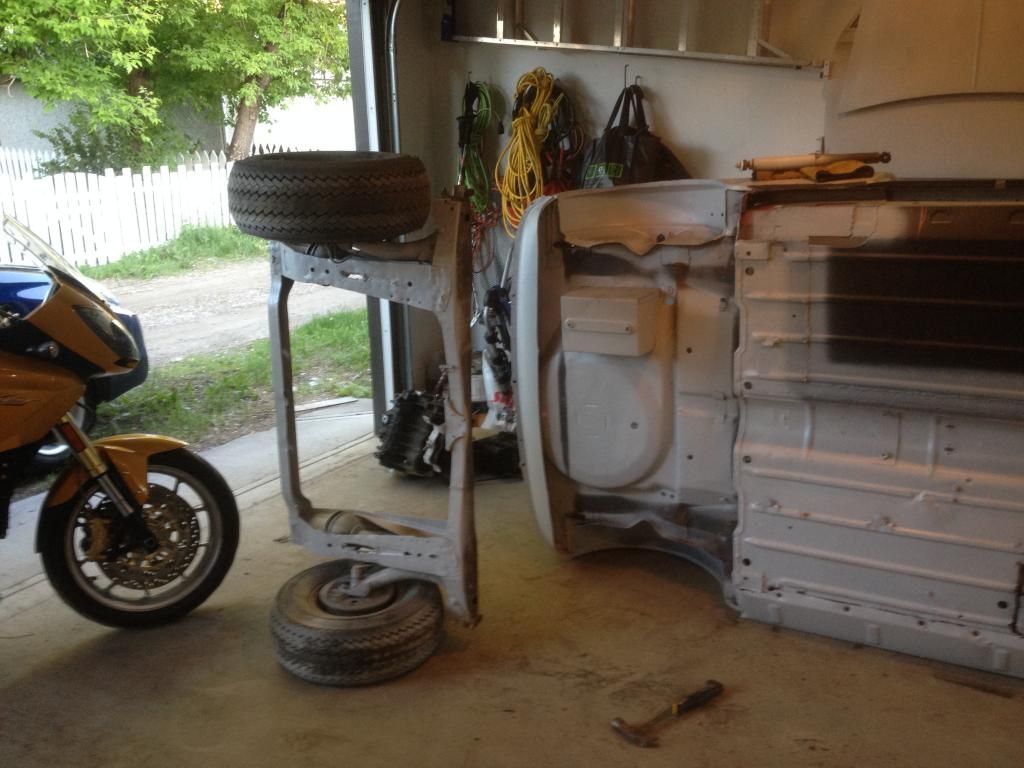
I finally organized the new place so that I could start working on the girl again last night. I threw down some tires and gave it a flip. Even with the sub frames attached it was quite easy I found.
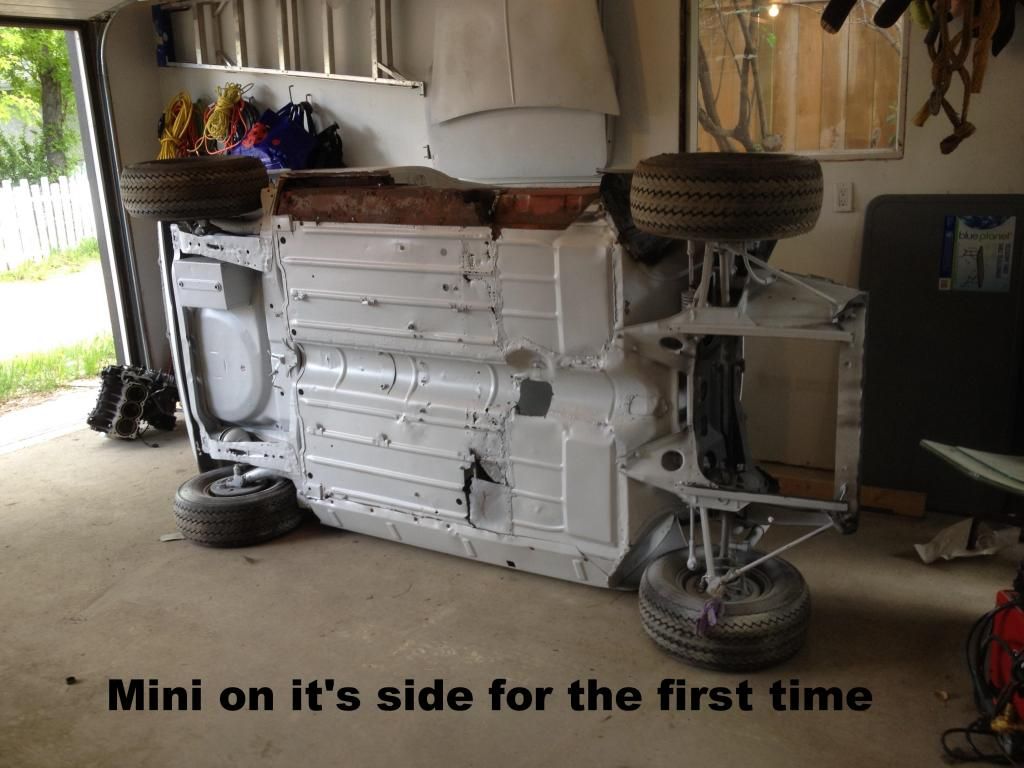
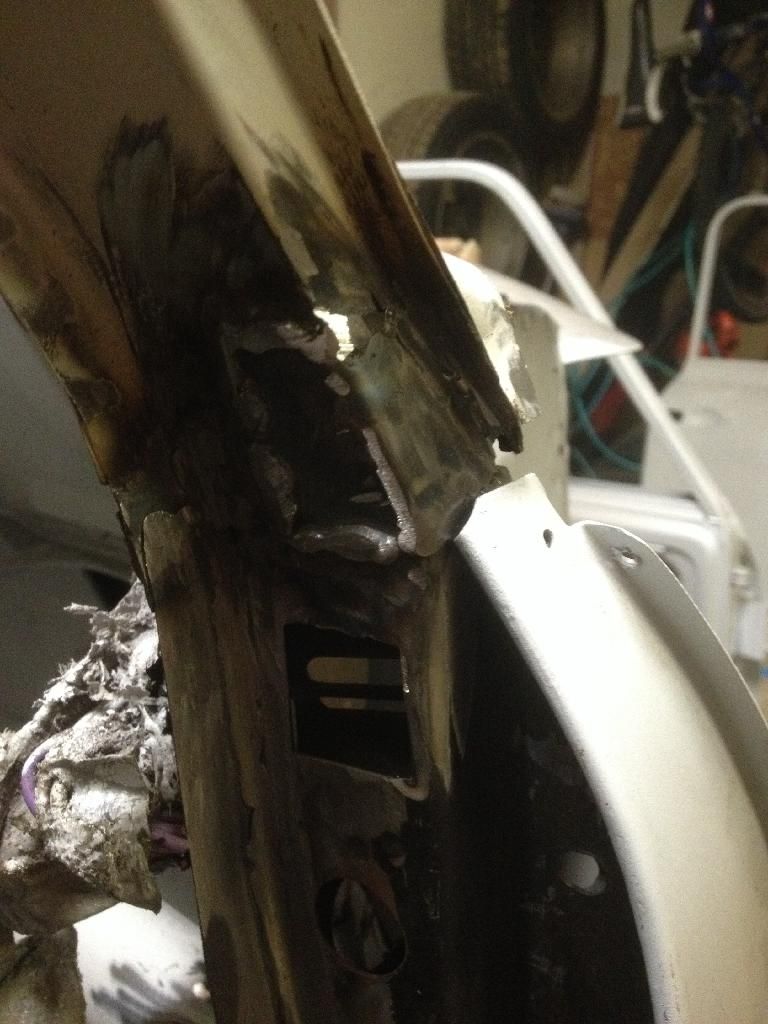
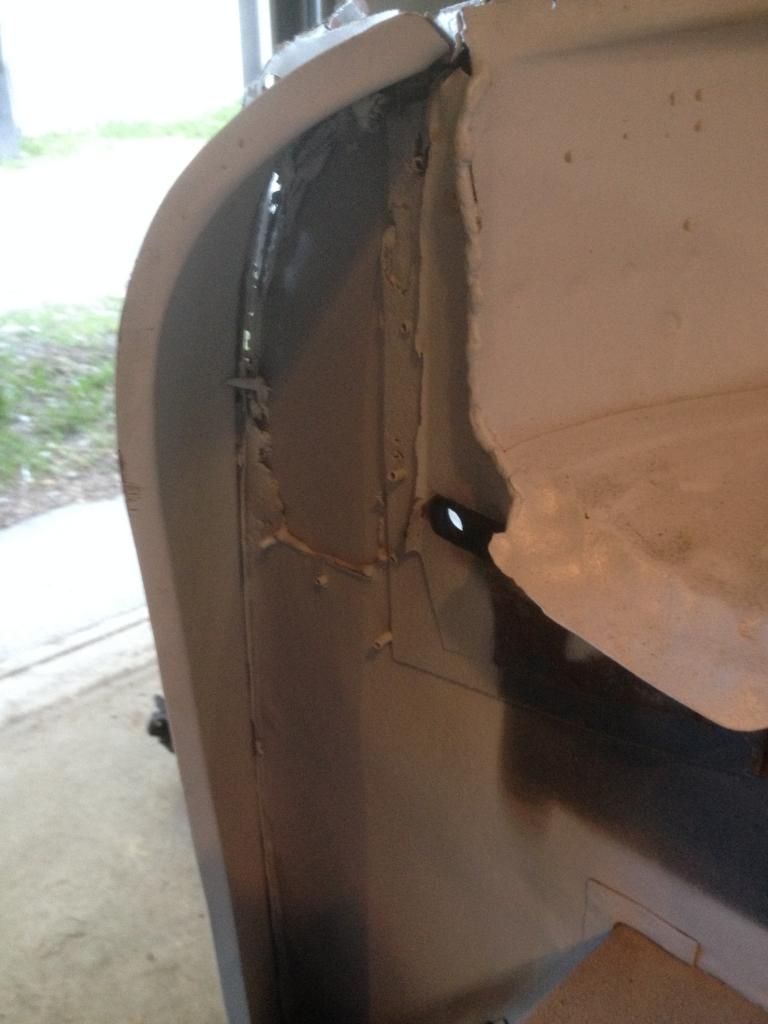
It was a grand moment, but it was soon lapsed by the overwhelming realization that I had underestimated the amount of rust on the vehicle's underside. That is OK though, it just allows for more practice with the MIG. The majority of the rust seems to have been centered around the channel which would make sense as it is a good container for fluids.
I started removing the top section of it...
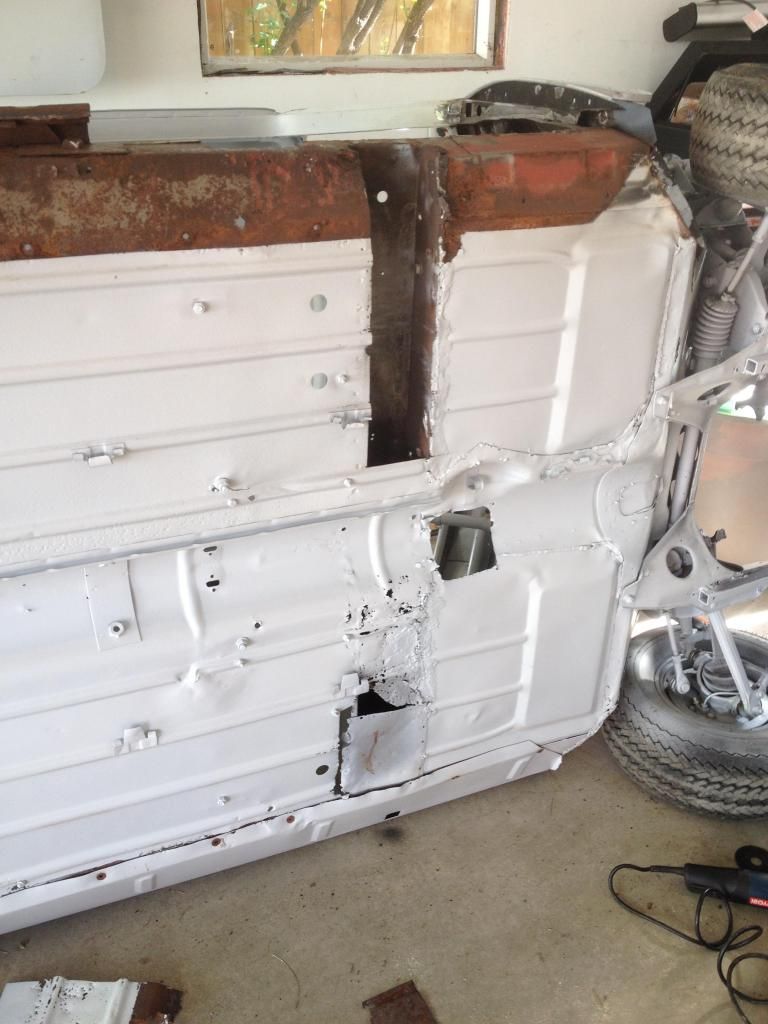
and I used as much of the cutting disc as the grinder would allow...
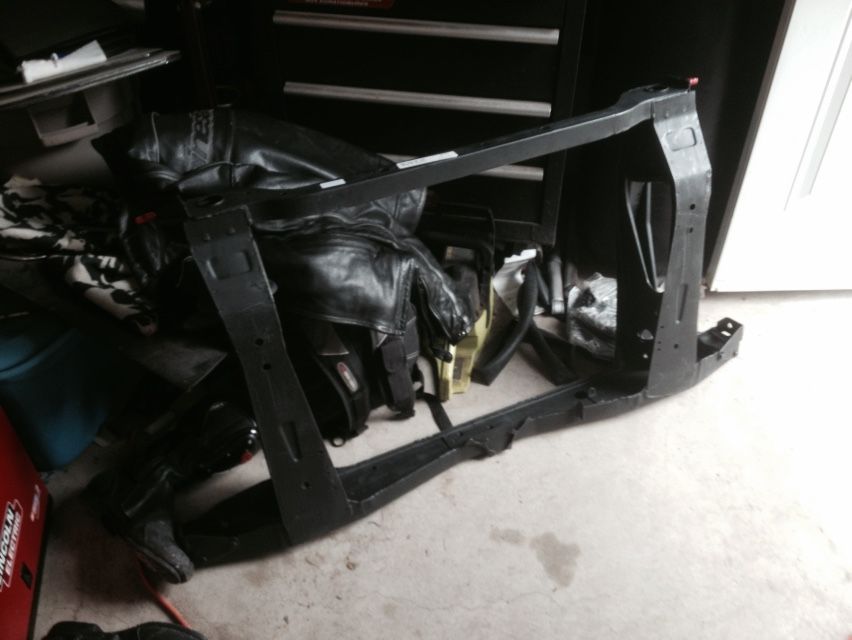
I took some pics of the rear sub frame rust as well. It is just the bottom plate so it should be easy to replace with a nice thicker chunk of real steel for some extra crumple factor!
A friend then stopped by and we started having a couple beers and the work petered off a bit. I finished up finding out that there is even more area to remove, but it works out well as I have the pieces from the previous owner that need to be replaced!! Hoping to get back to her tonight as the better half is out of town for the evening.
Mini Mad
Posted 09 June 2014 - 02:12 PM
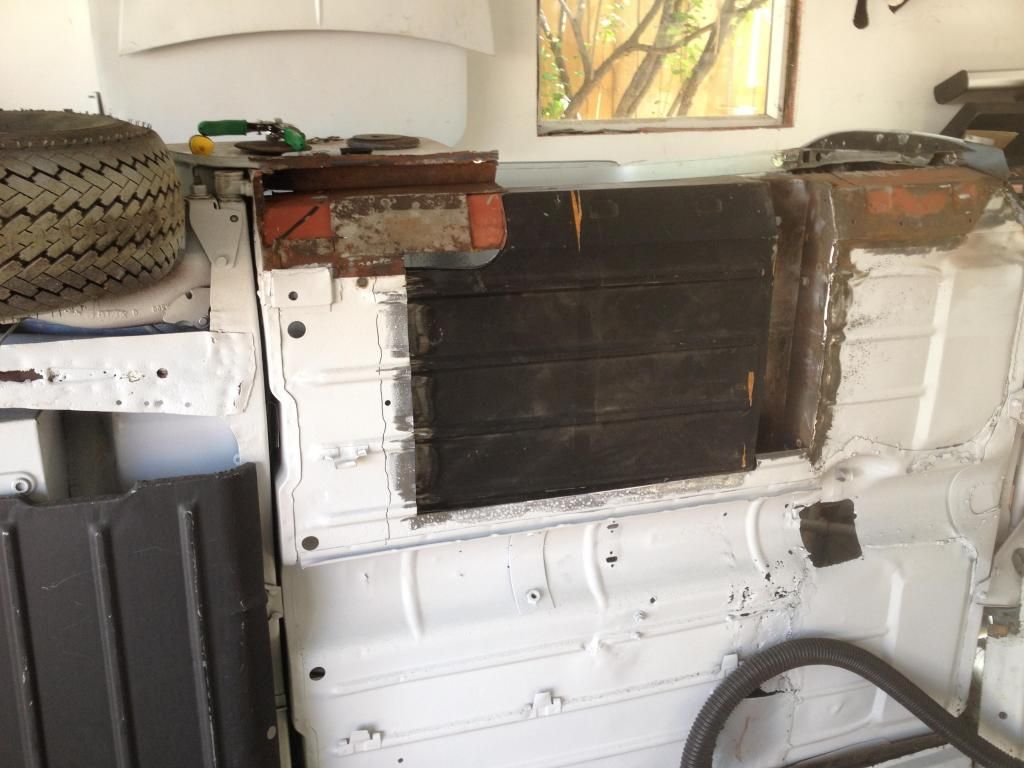
So another weekend and a bit more done on the mini...
Cut some cancer out of the floorboards this week which accounted for quite a bit really
Then I took a bit more, because the lines didn't match very well and had some cracks that I figured would be a good idea to get rid of and replace with new steel rather than try and fix them. For some reason one of the previous owners used nuts and bolts to close the holes in the floor. Not sure why, as I believe there is plugs for any of them too.
All set in there with the new sheet metal
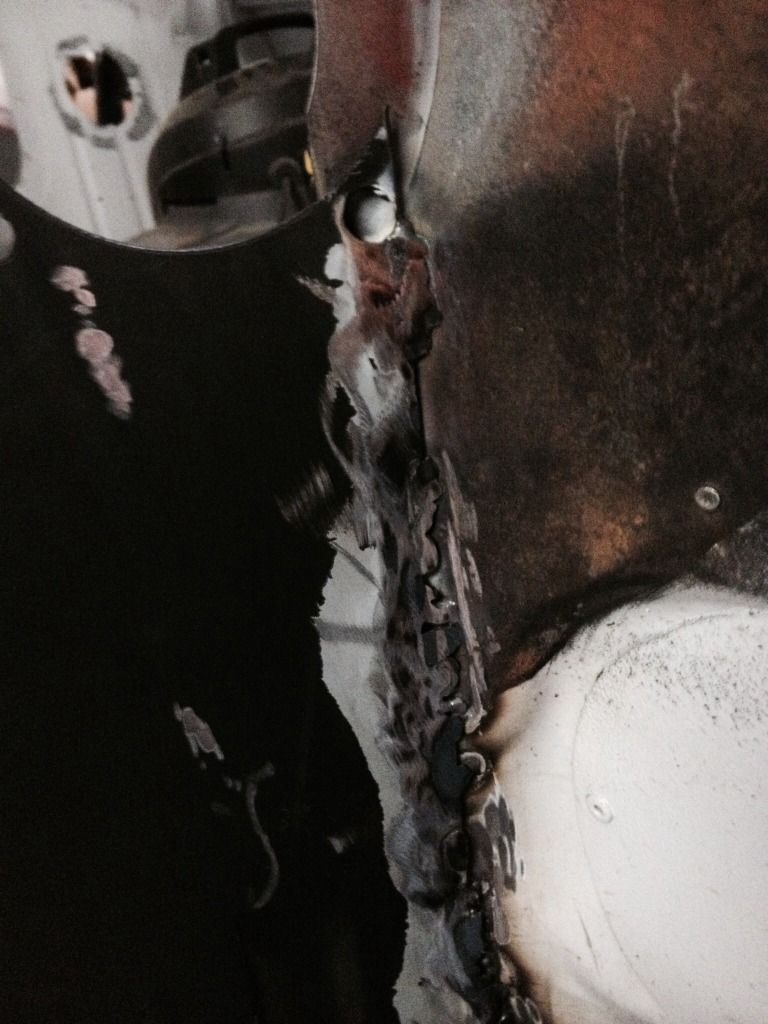
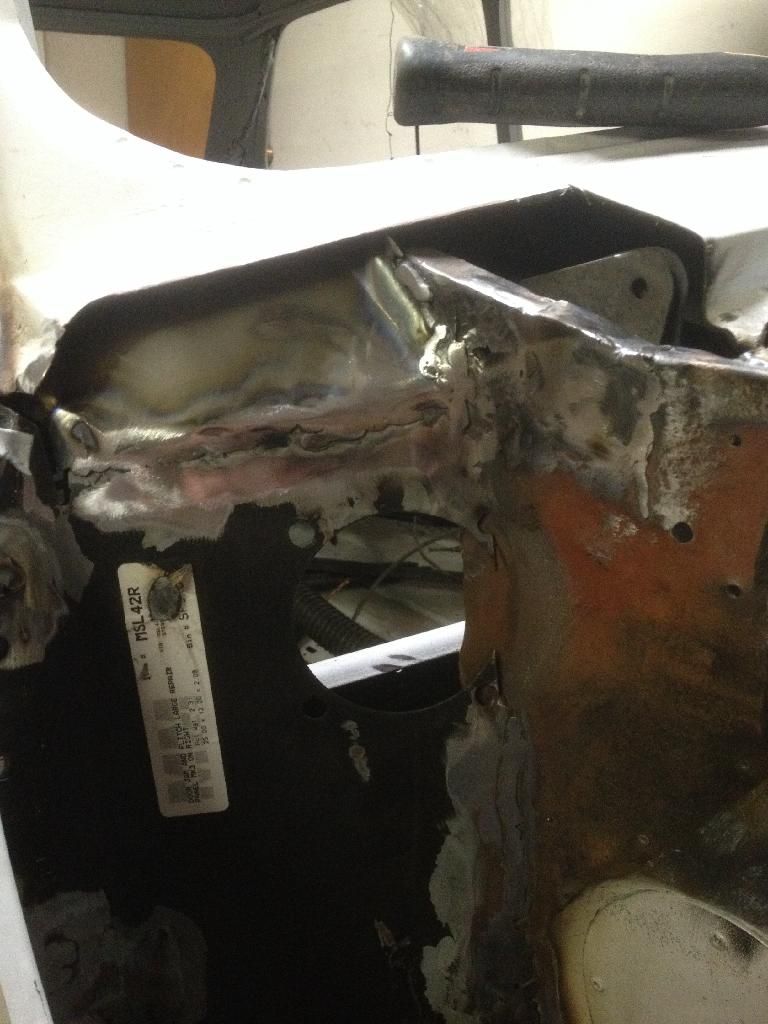
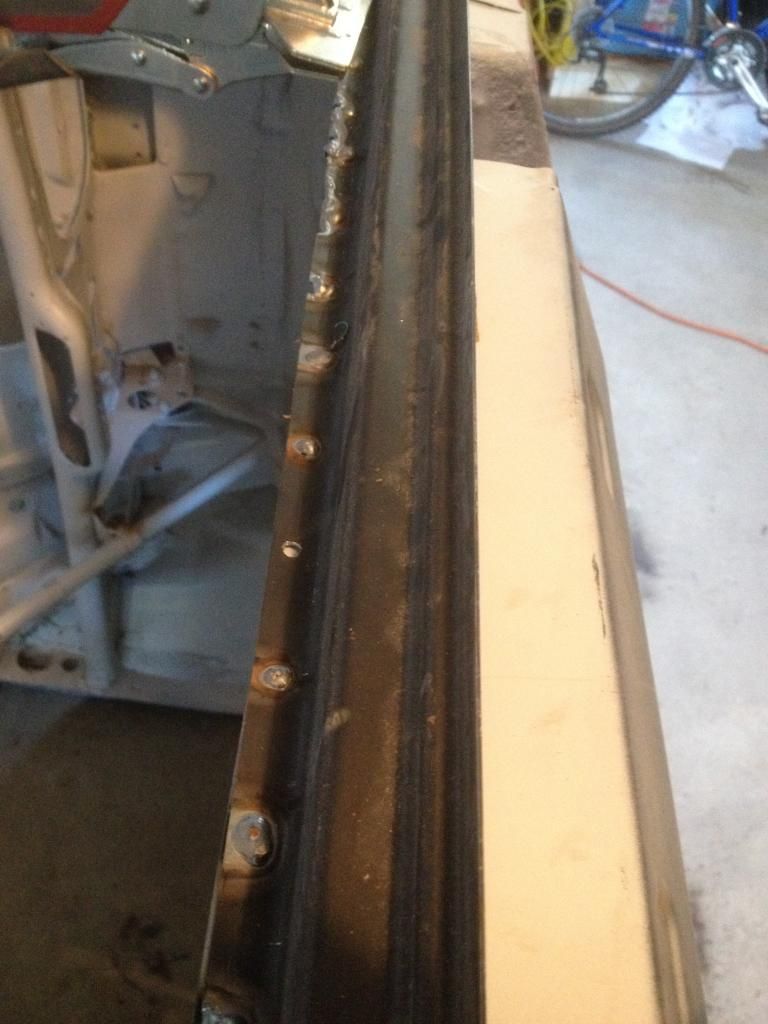
Then it was the welding time. Over the past few times I have been getting hesitant on the welding as I seem to be getting gradually worse! But this time seems to have worked out a bit better. Maybe it was the prep work I actually did instead of being all ramped up and just plowing away on it. I also overlapped all these welds too to get double up protection.
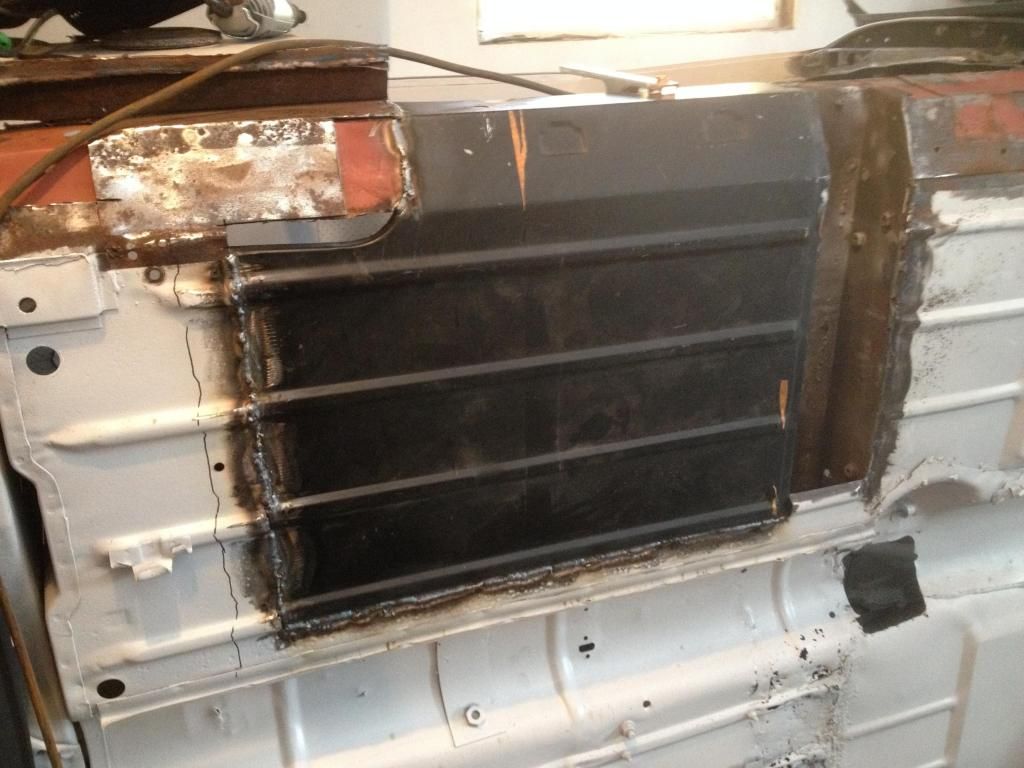
And some close up of the weld...
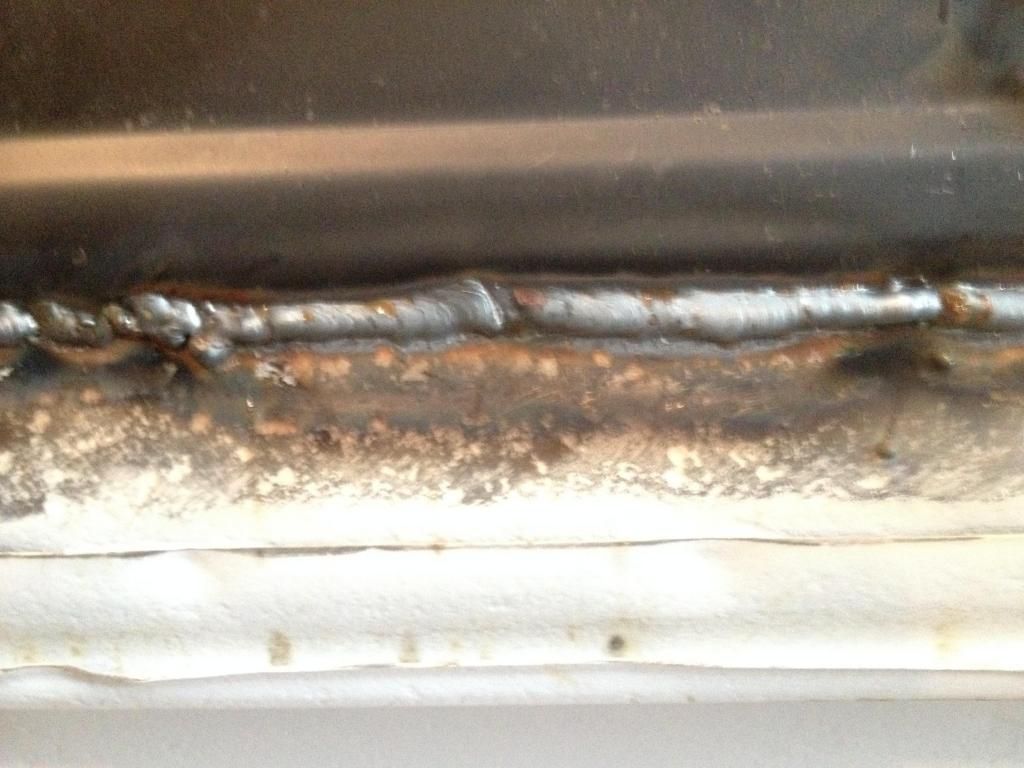
Getting better, but it will need a clean up to make it real nice and ready for the fiberglass bondo and primer. Now to start on the door sills!
Edited by roughneckin, 09 June 2014 - 02:13 PM.
Mini Mad
Posted 27 June 2014 - 07:45 PM
Well another nice day so did some more work to the mini
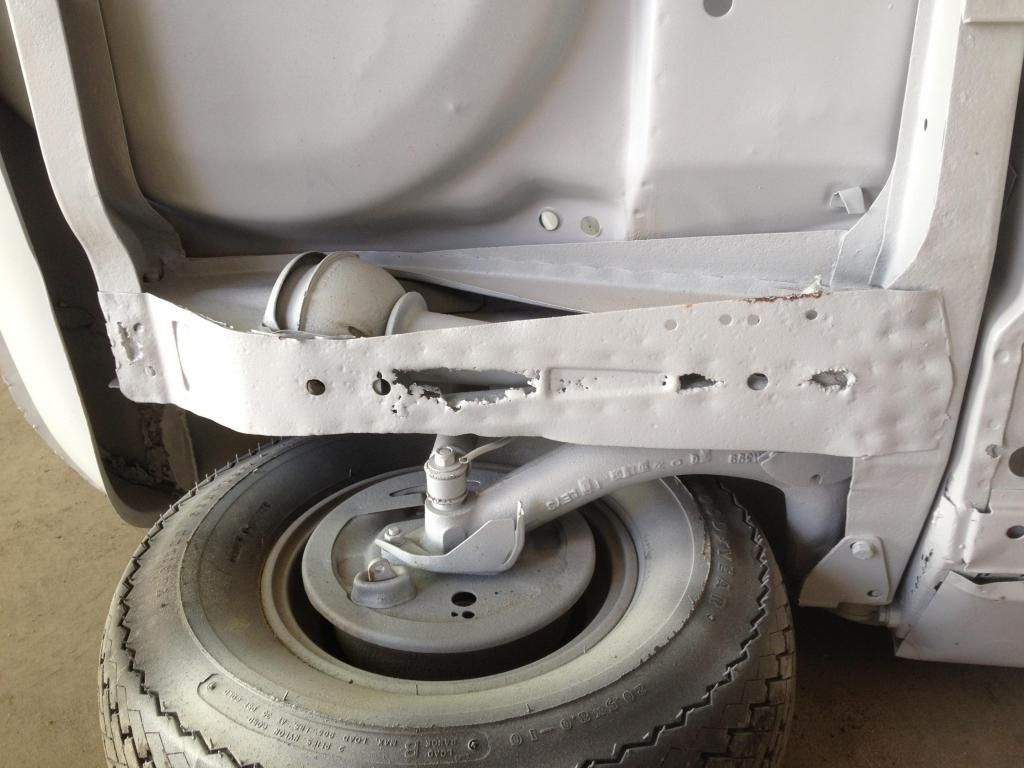
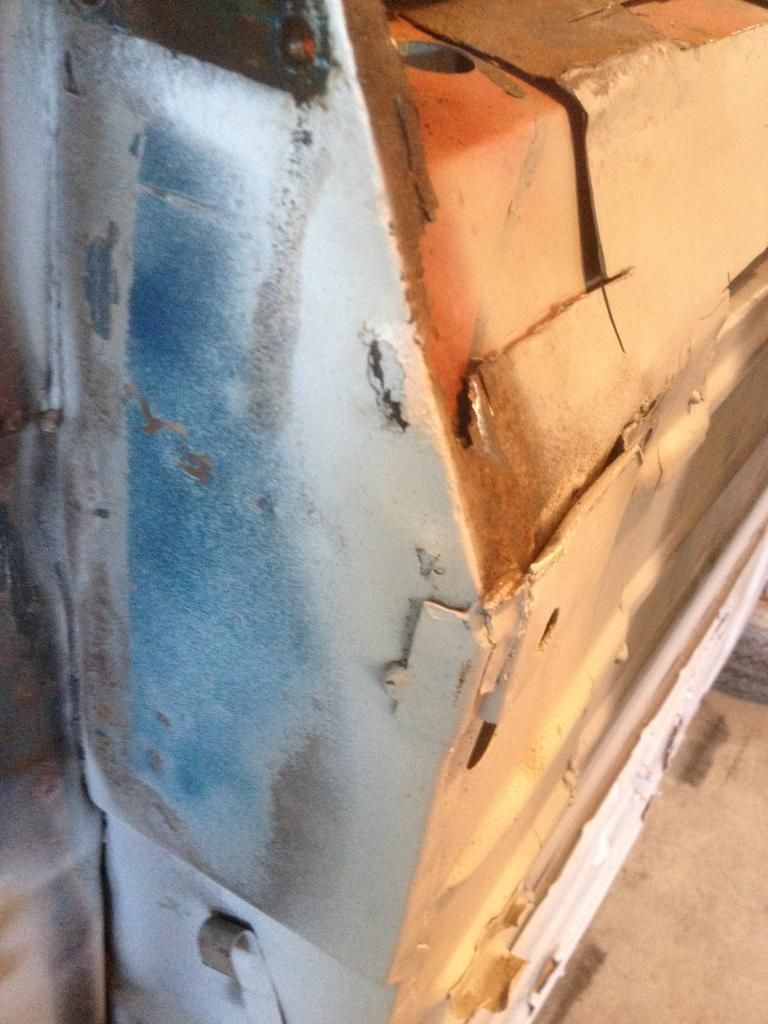
I took the rear subframe off today and found some more interesting areas that I could not see before...
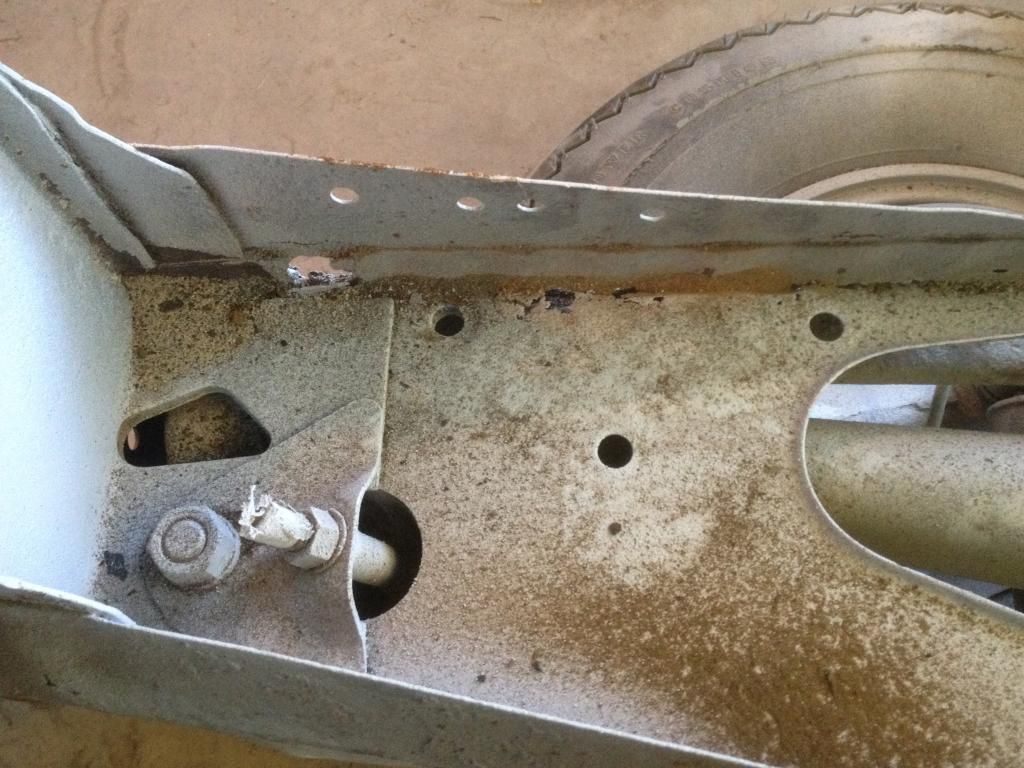
I may have to source a new subframe as this one is pretty much had it's last go around the countryside.
As well I got a chance to look at the subframe front mounting nuts. It's pretty bad and will need some replacement I believe.
And from the other side...
Luckily it is only the sides and the middle looks pretty solid still so I might be able to fudge something together out of a sheet of steel lying around.
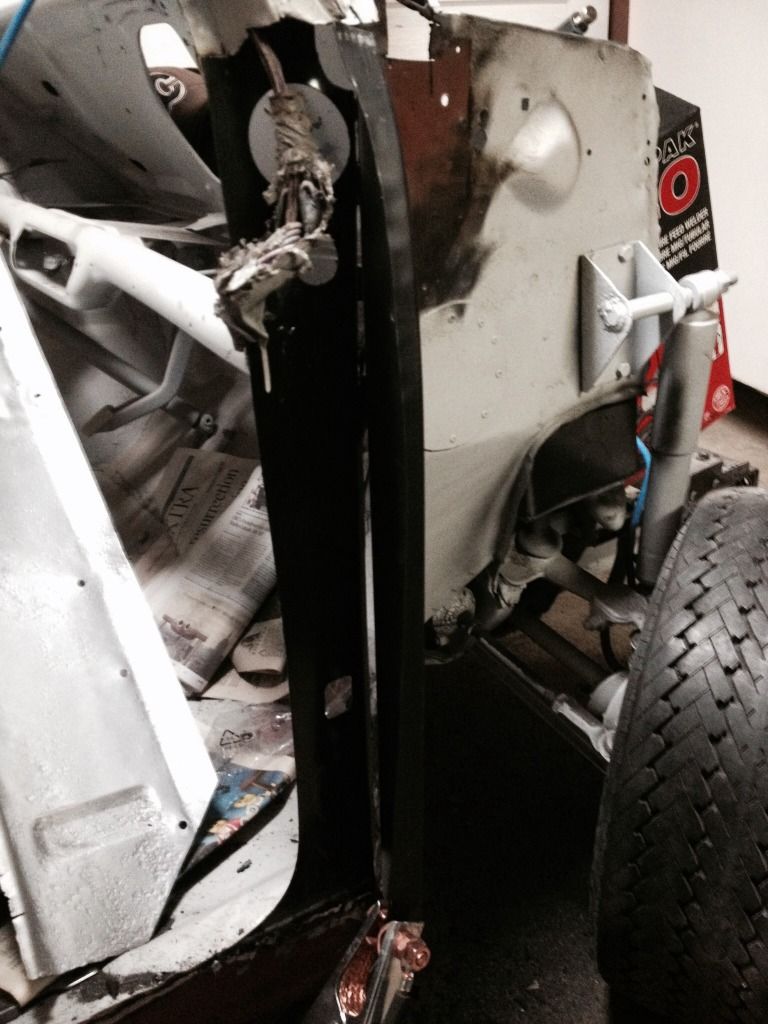
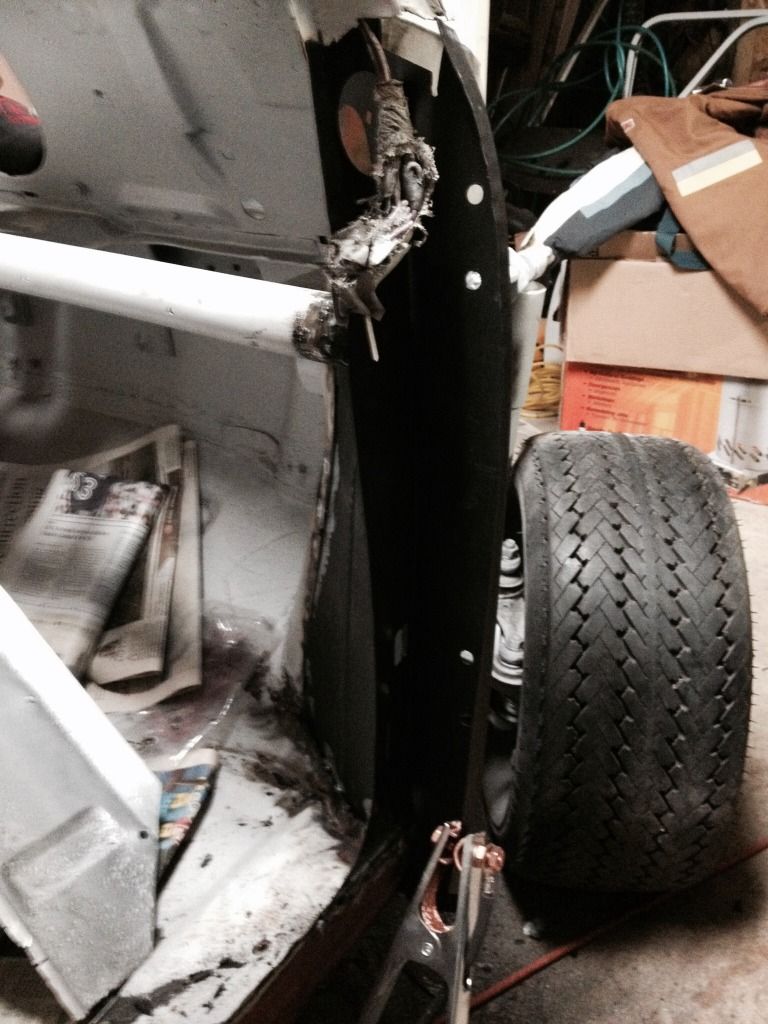
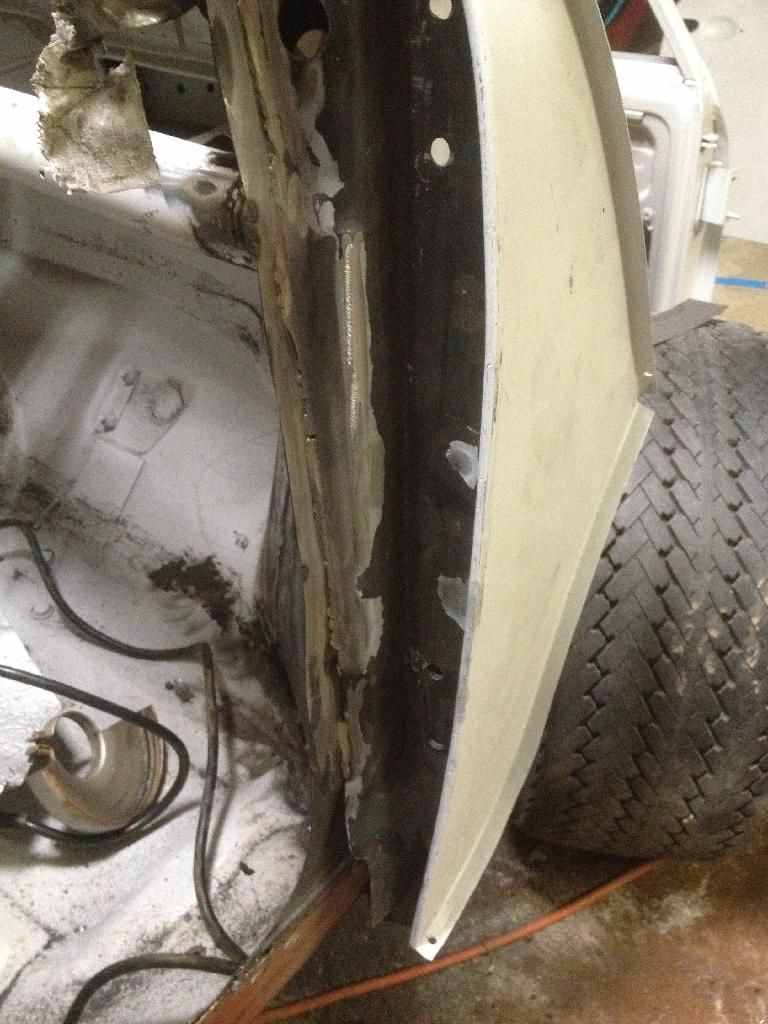
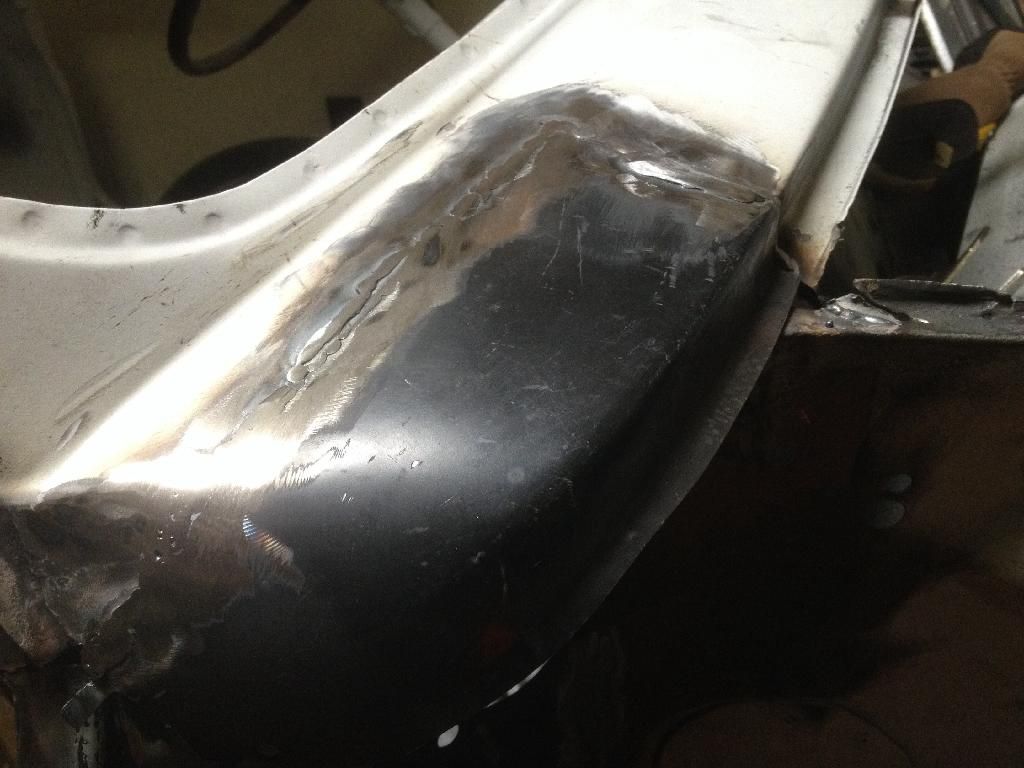
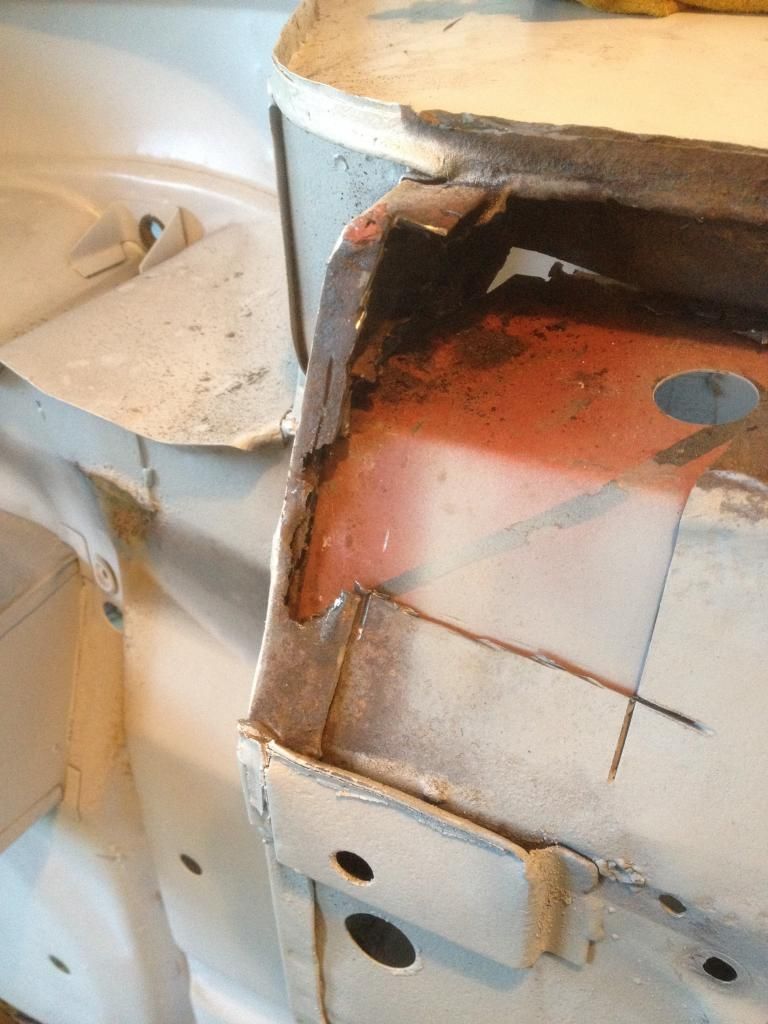
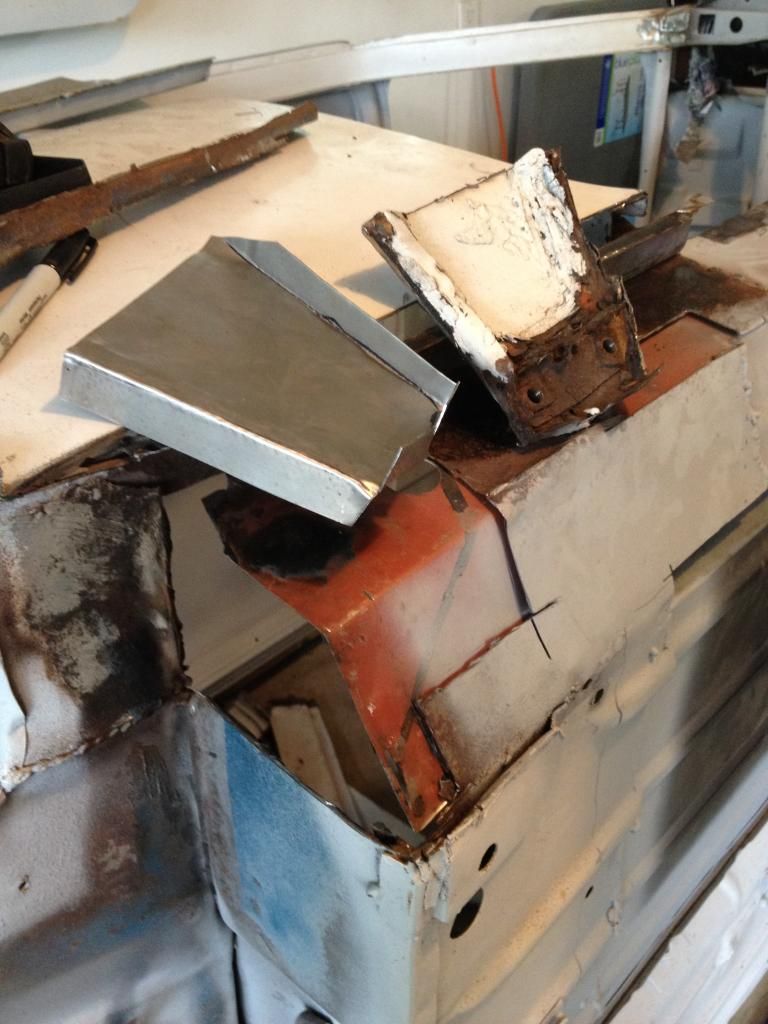
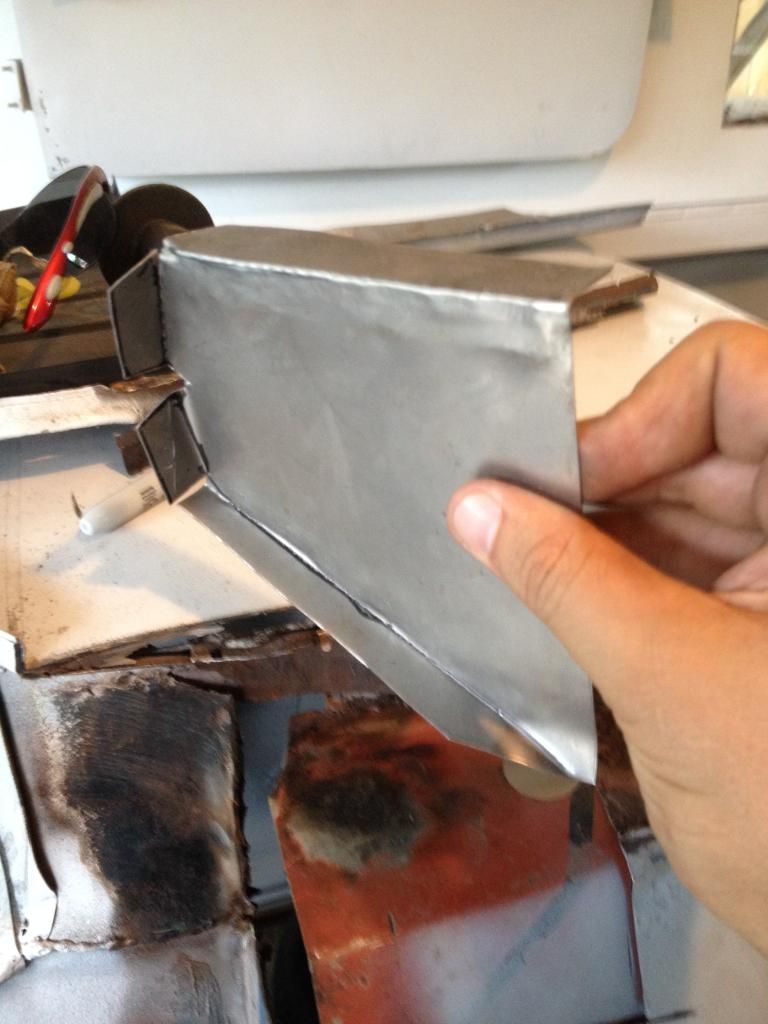
I also got to check out some of the handy dandy riveting that one of the previous owners performed on some rusty areas around the lower valance. This area will require a bunch of work and replacement parts. Quite the, as you folks say "bodge job" on this one.
I also decided to attempt my hand at the job of plug welding. It did not go well and I got angry and did some seam welding on the joint, which really was a bad idea. I wrecked it pretty bad. This door sill is terrible though and must be a magnum part as it is absolute crap. All in all a good learning experience but I may want to practice on something a bit cheaper. Anyone have any pointers with the plug welding?
I started on cleaning up a set of carbs too which has been nice as it gets me away from the welding and sheet metal bits. My patience was taking a toll on all of it.
Mill Road Garage

Posted 28 June 2014 - 04:26 PM
The key to a good plug weld like all welding is making sure that everything is bright shiny clean metal. Hold you nozzle in the centre of the drilled hole head on upright. Pull the trigger and as the hole fills with the weld pool, slowly swirl the nozzle round in a circle until the head of the weld overhangs the edges of the hole nicely.
Also make sure your flanges are pulled tight together before welding
Mini Mad
Posted 14 August 2014 - 04:27 AM
Edited by roughneckin, 14 August 2014 - 04:29 AM.
Mini Mad
Posted 25 August 2014 - 09:03 PM
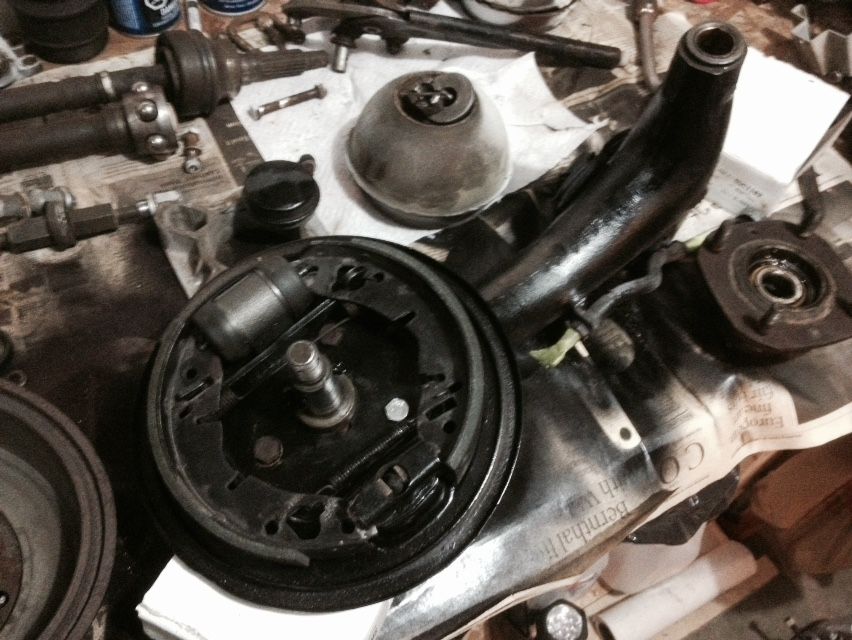
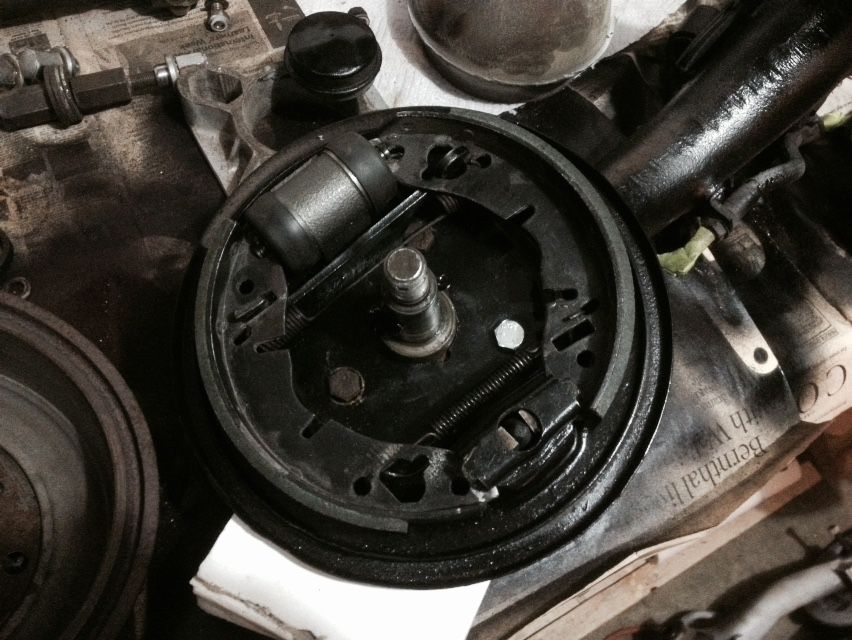
Got a bit more work done on the subframe now.
The brake cylinders need a workover as the boot is done

And an overview, pretty rusty for sure. Still got a lot of life on those pads though. Pretty happy about that.

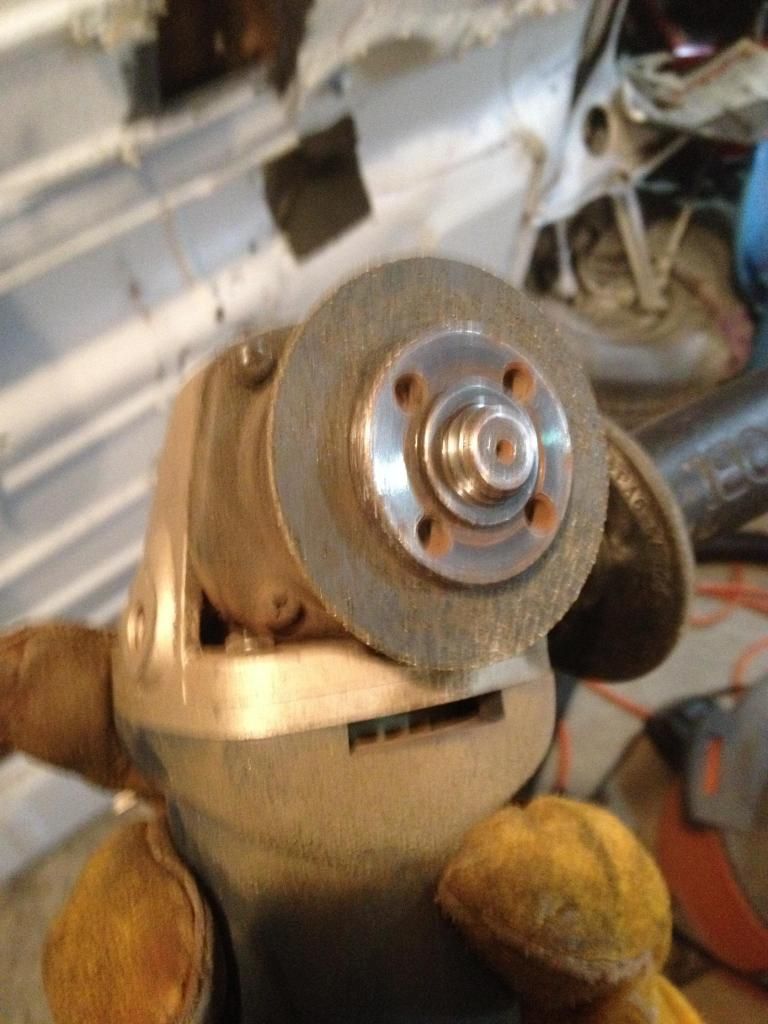
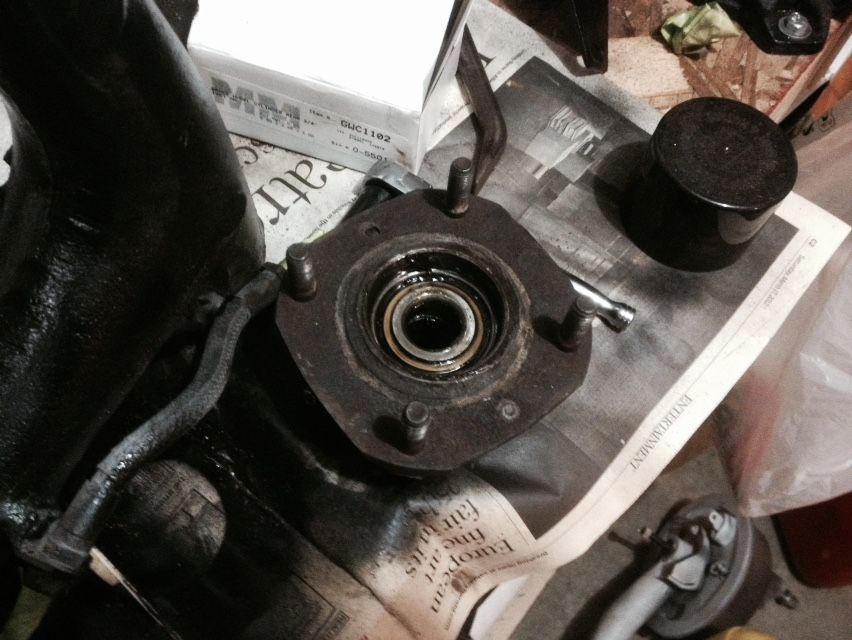
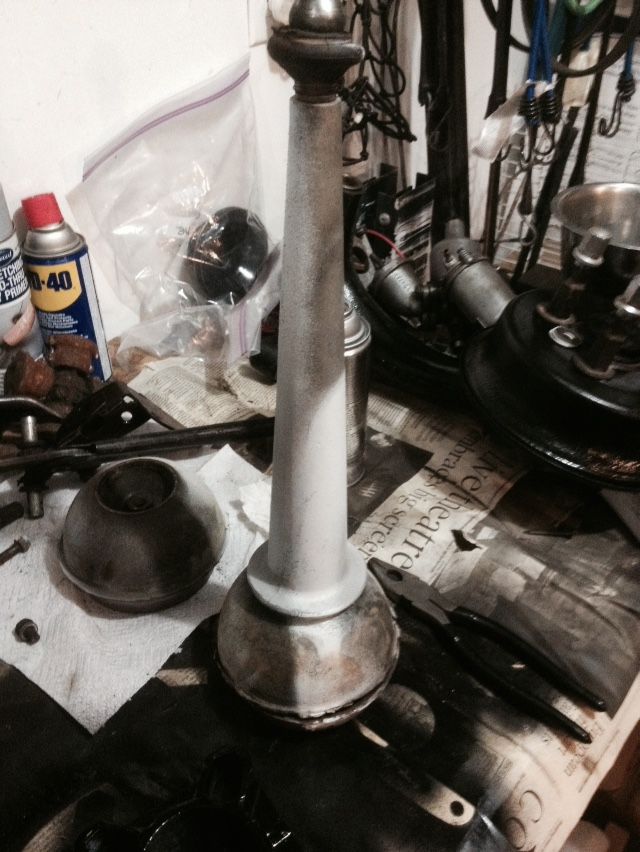
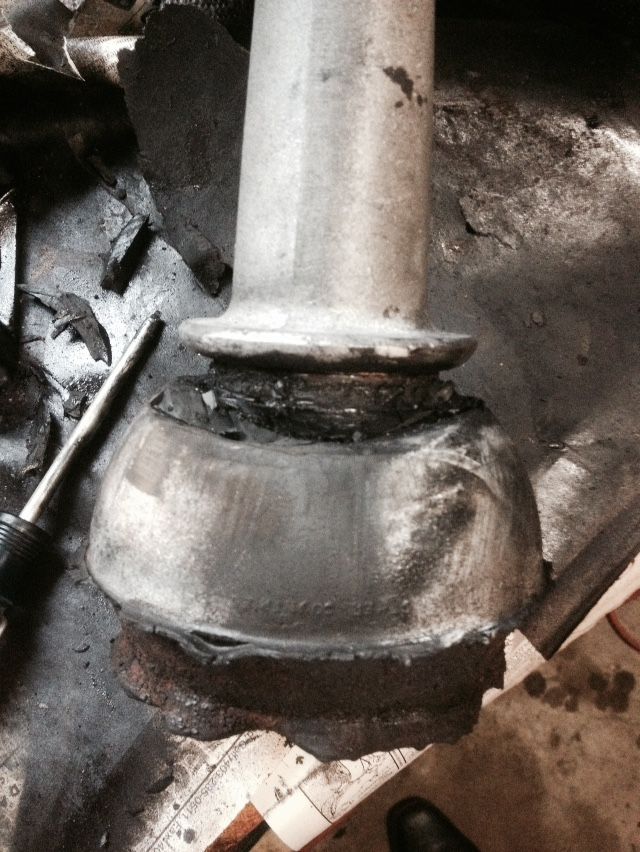
Finally got the radius arm off with a bit of WD-40 and some elbow grease. It was a pain but it came. Now to attempt to remove the hub and such so that it can get a new shiny paint job.

Edited by roughneckin, 25 August 2014 - 09:03 PM.
Mini Mad
Posted 26 August 2014 - 05:29 PM
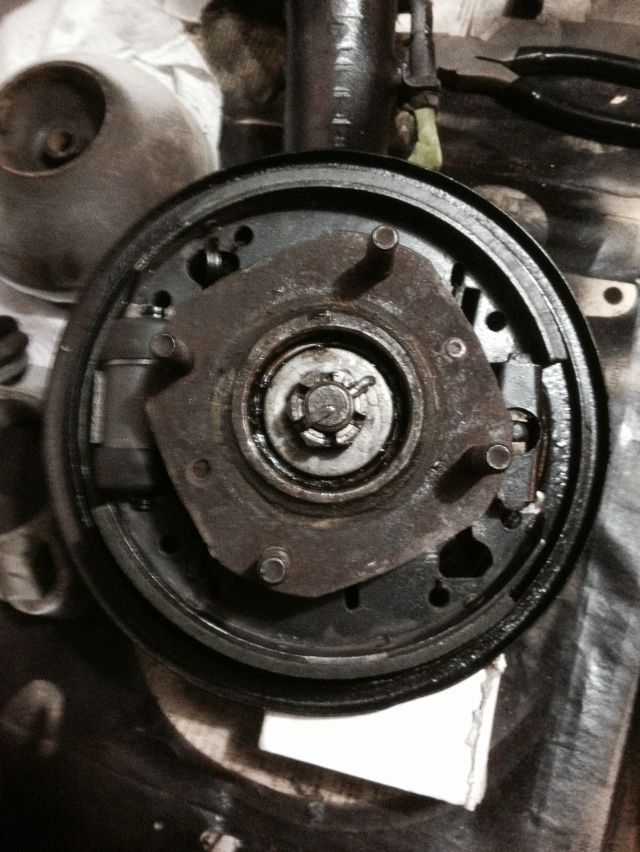
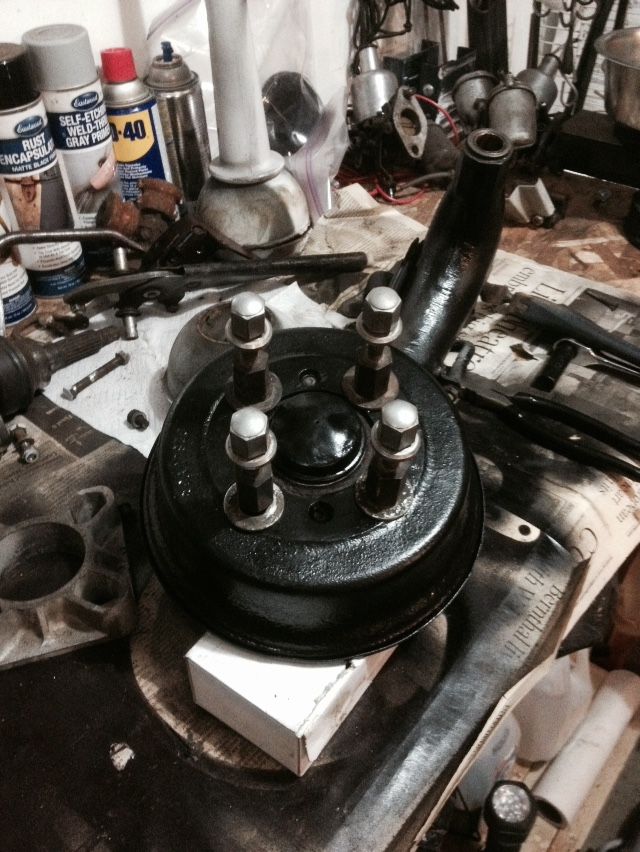
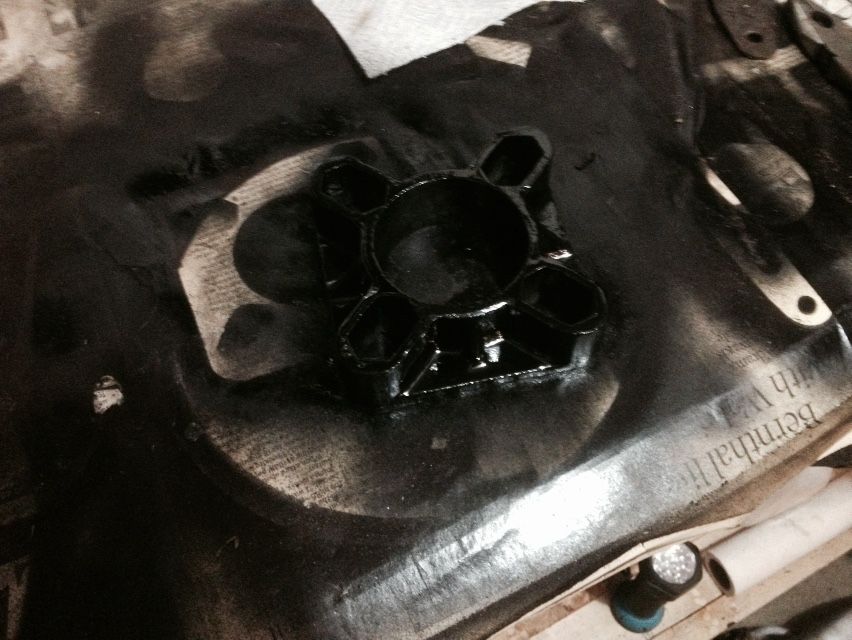
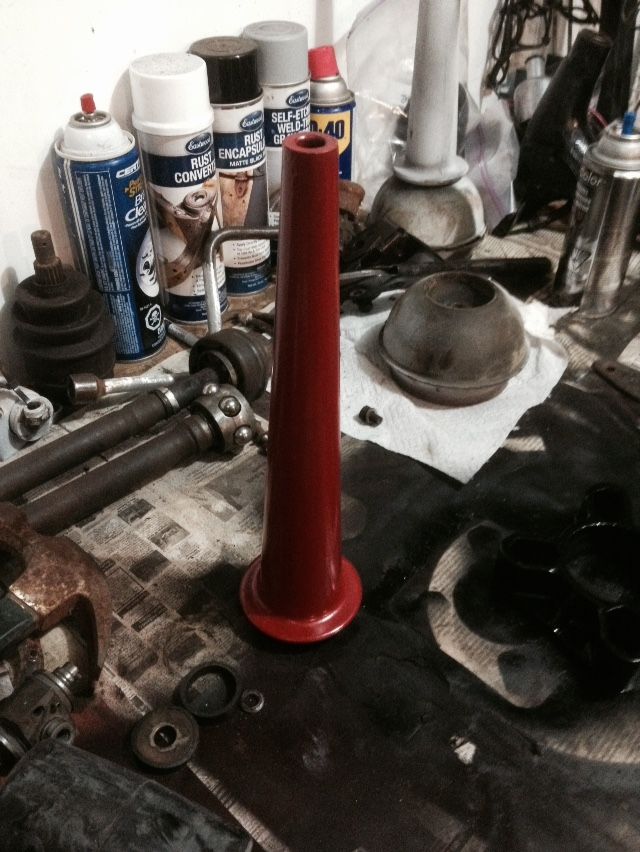
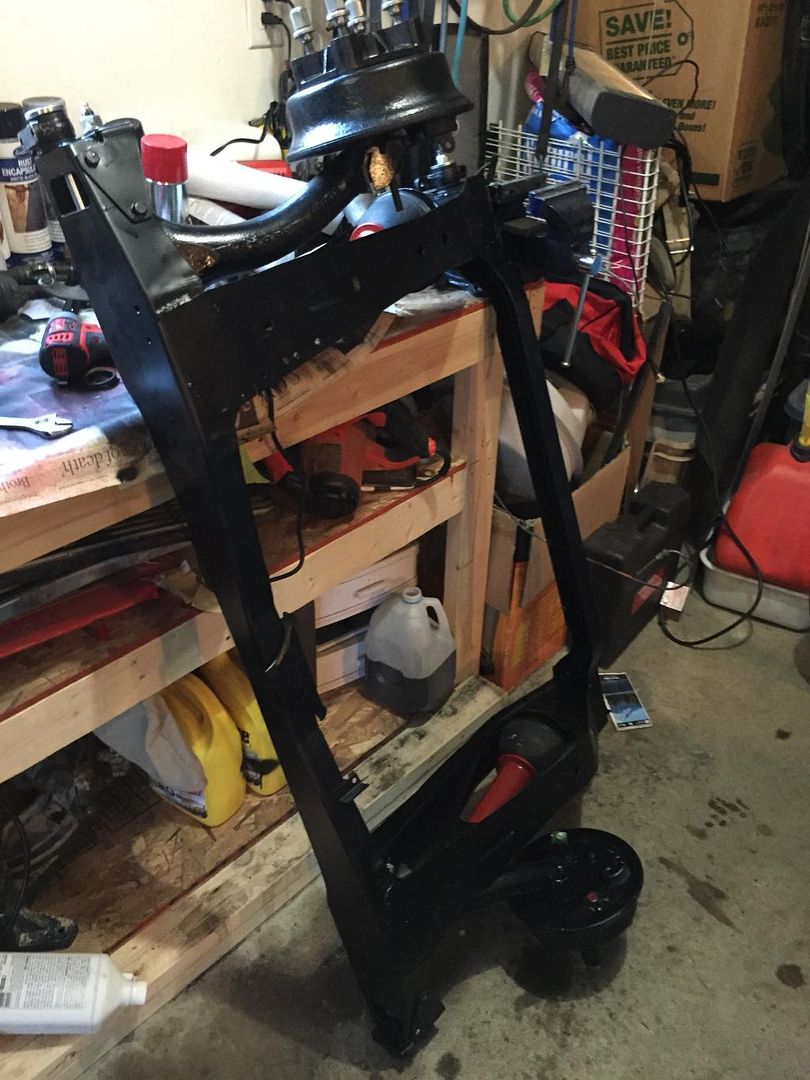
Well after some help from the folks on this wonderful site I got the hub removed from the radius arm and started the process of grinding off any excess paint and primer from the parts and put some high temp paint on all of them.
I know I don't need high temp for some of the parts but it's soooo shiny!!
All prepped...

And painted...

Now just need to find a less rusty rear subframe to attach it to. Pretty hard to find a used one over here.
Edited by roughneckin, 26 August 2014 - 05:30 PM.
Mini Mad
Posted 06 October 2014 - 04:24 AM
Mini Mad
Posted 17 October 2014 - 11:26 PM
Mini Mad
Posted 23 February 2015 - 05:23 AM
Formally known as dominicdee
Posted 24 February 2015 - 12:31 PM
great work mate!
Up Into Fourth

Posted 24 February 2015 - 01:18 PM
Looks like its a great project you have there and its coming along nicely... i need a nice big garage like that :)


0 members, 1 guests, 0 anonymous users


