Jump to content


Photo
- - - - -

Wills Mini Special


  • Please log in to reply
320 replies to this topic

#106 sonikk4

sonikk4

    Twisted Paint Polisher!!!

  • Admin
  • PipPipPipPipPipPipPipPipPipPipPip
  • 15,970 posts
  • Name: Neil
  • Location: Oxfordshire

Posted 28 January 2014 - 07:14 PM

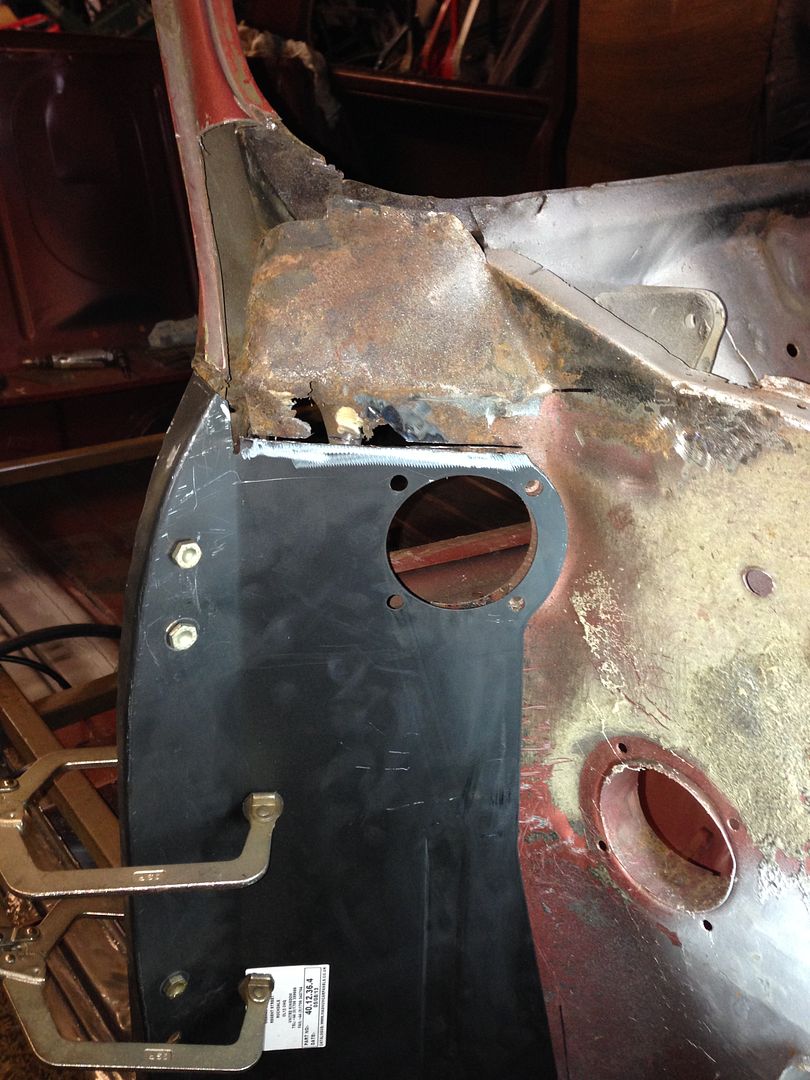
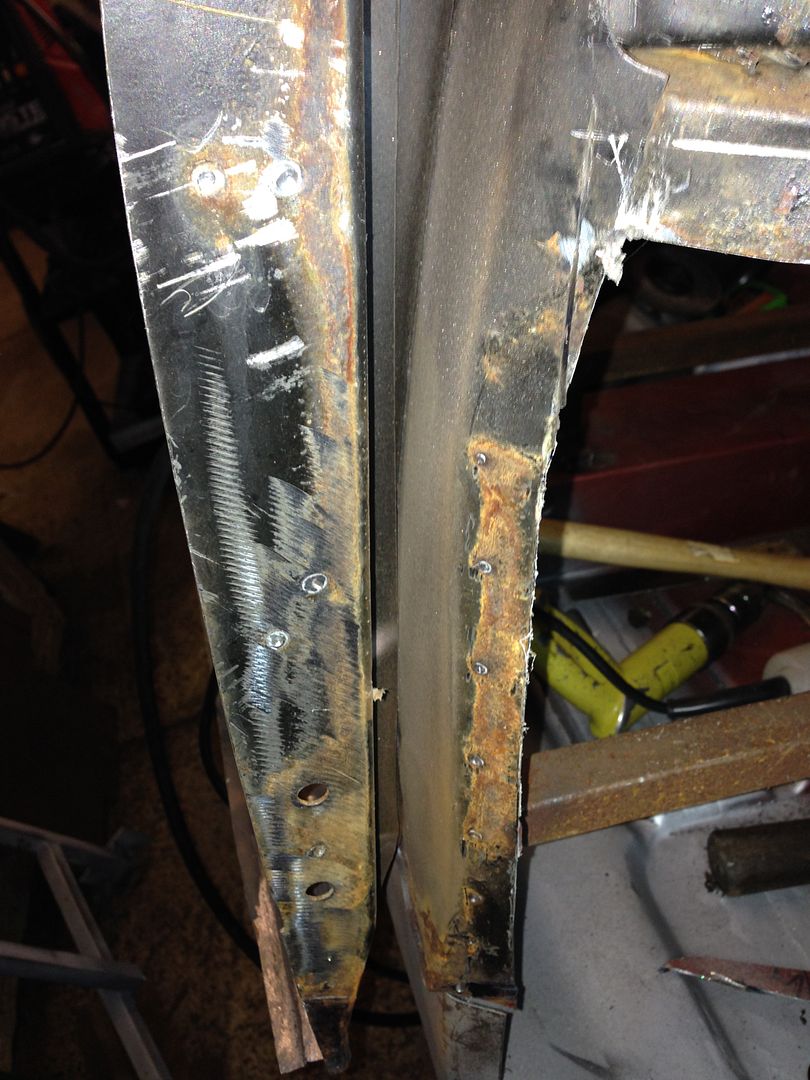
Started the flitch panel today and the rust on the A post.


So most of the old flitch cut out and the new flitch offered up

IMG_2299_zps85a1718e.jpg


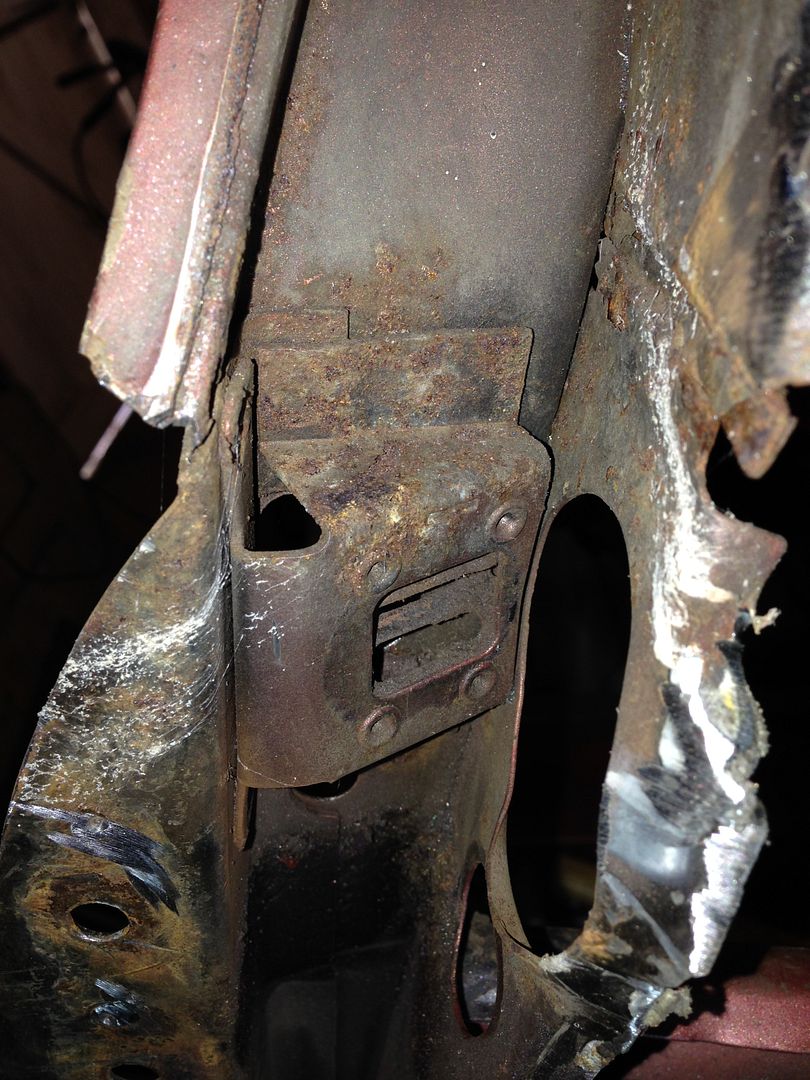
Some of the other bits lurking behind especially on the A post

IMG_2300_zpsef406528.jpg

IMG_2302_zpsda9df5e2.jpg

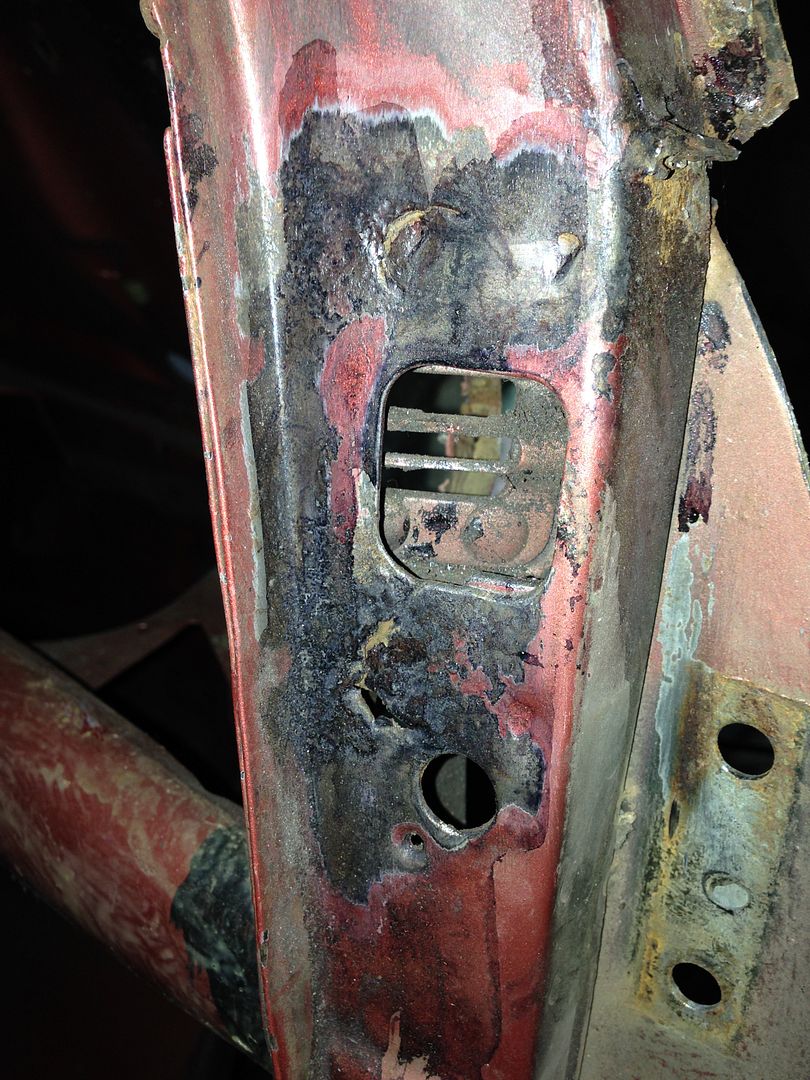
and this around the door stay cutout

IMG_2303_zps0634dd0f.jpg


So off it came

IMG_2304_zps27775d4a.jpg

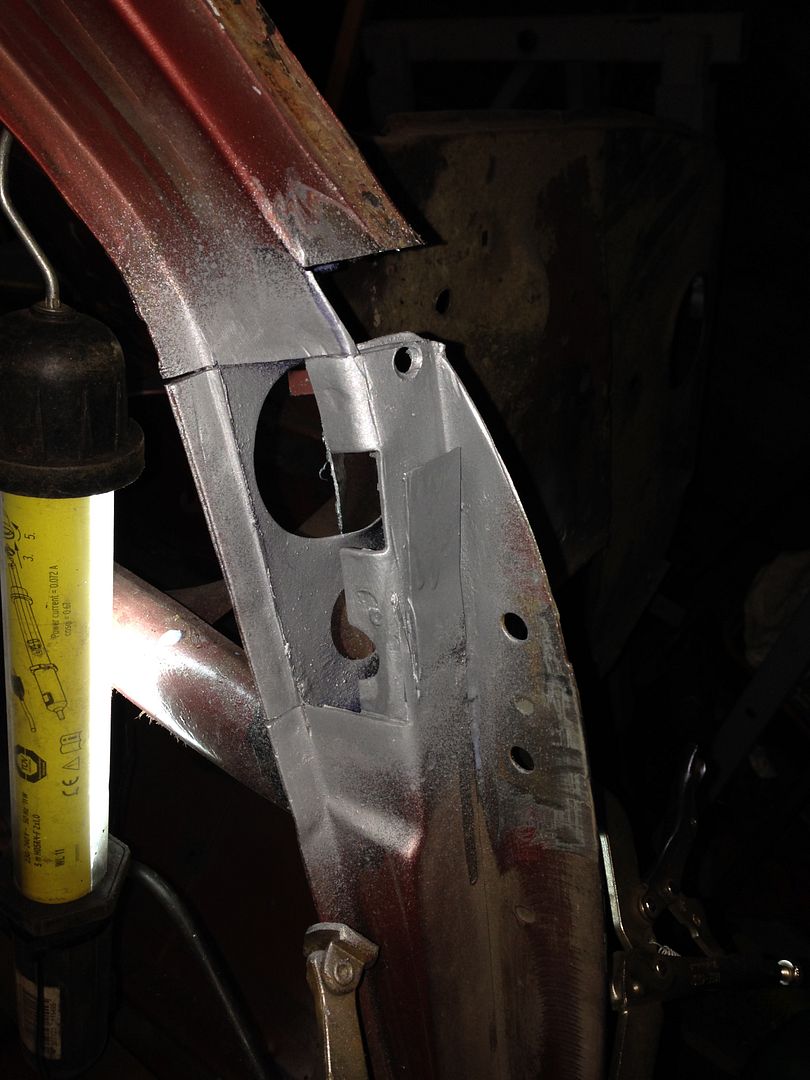
and then the new metal welded in plus the door stay bracket

IMG_2305_zpsa7c57845.jpg


Some final trimming and grinding needed to finish it off, then the flitch can be welded in


#107 sonikk4

sonikk4

    Twisted Paint Polisher!!!

  • Admin
  • PipPipPipPipPipPipPipPipPipPipPip
  • 15,970 posts
  • Name: Neil
  • Location: Oxfordshire

Posted 29 January 2014 - 06:31 PM

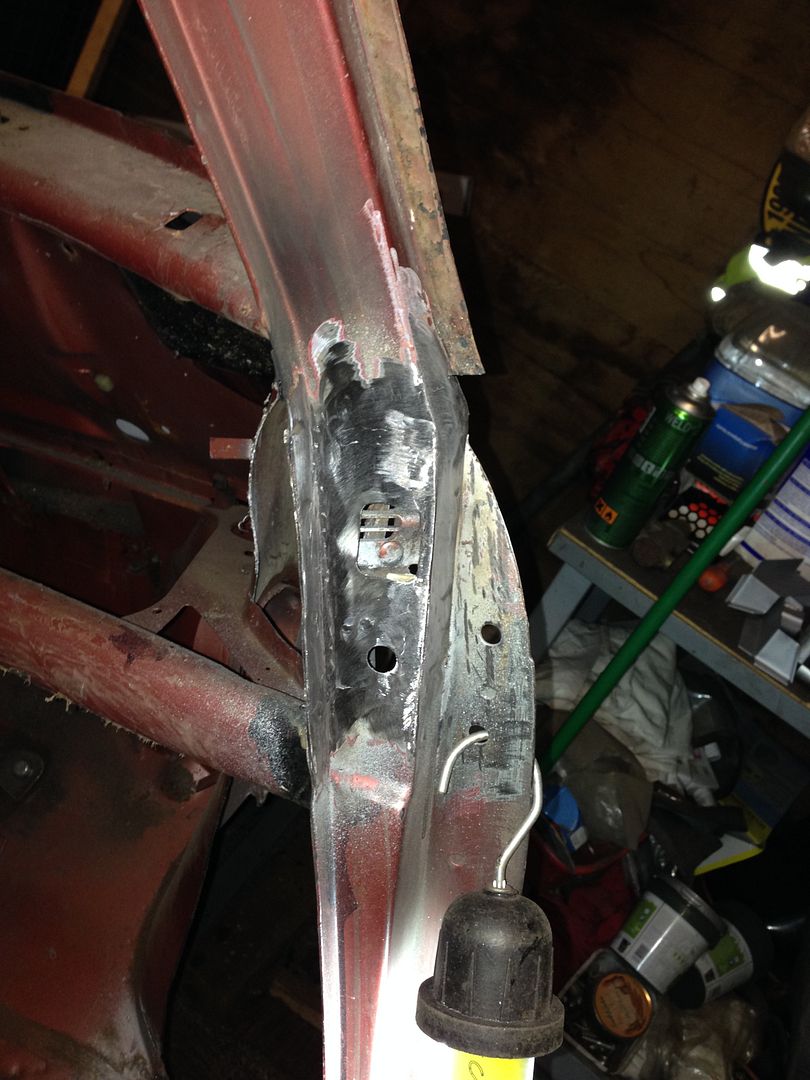
Flitch installation time. As usual there was more rust above the replacement panel so i added a new section to the new panel that will cover that gnarly piece.

IMG_2307_zpsf1f270af.jpg


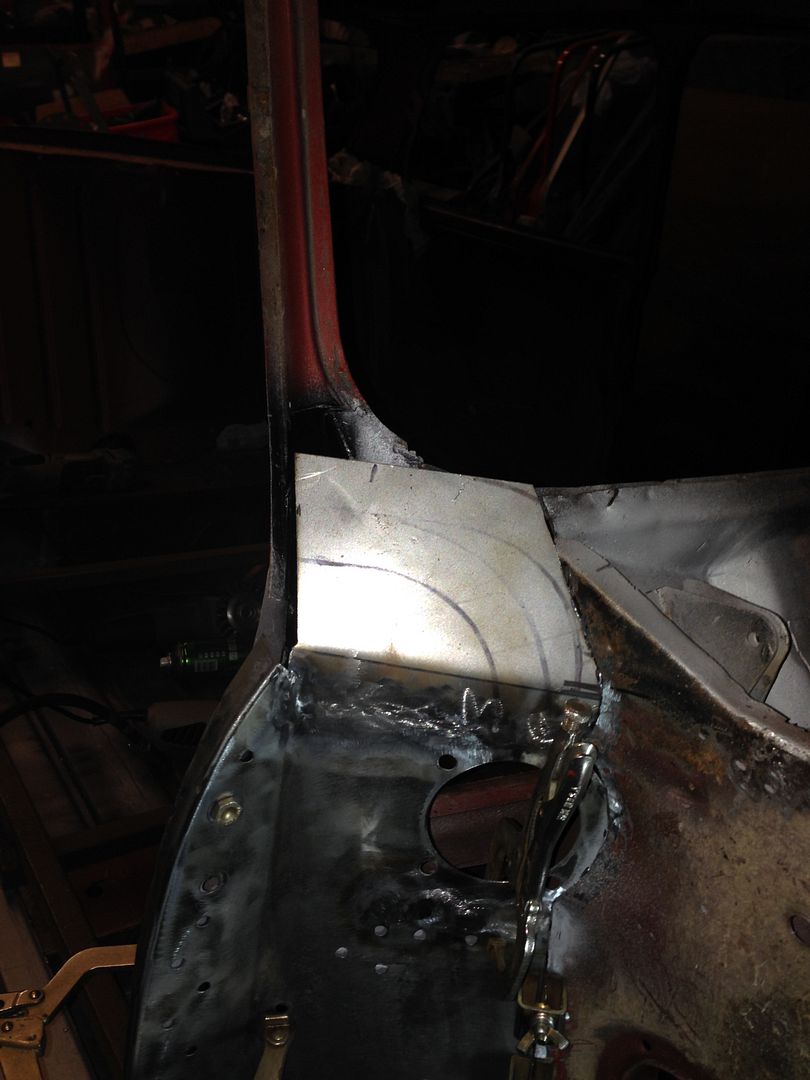
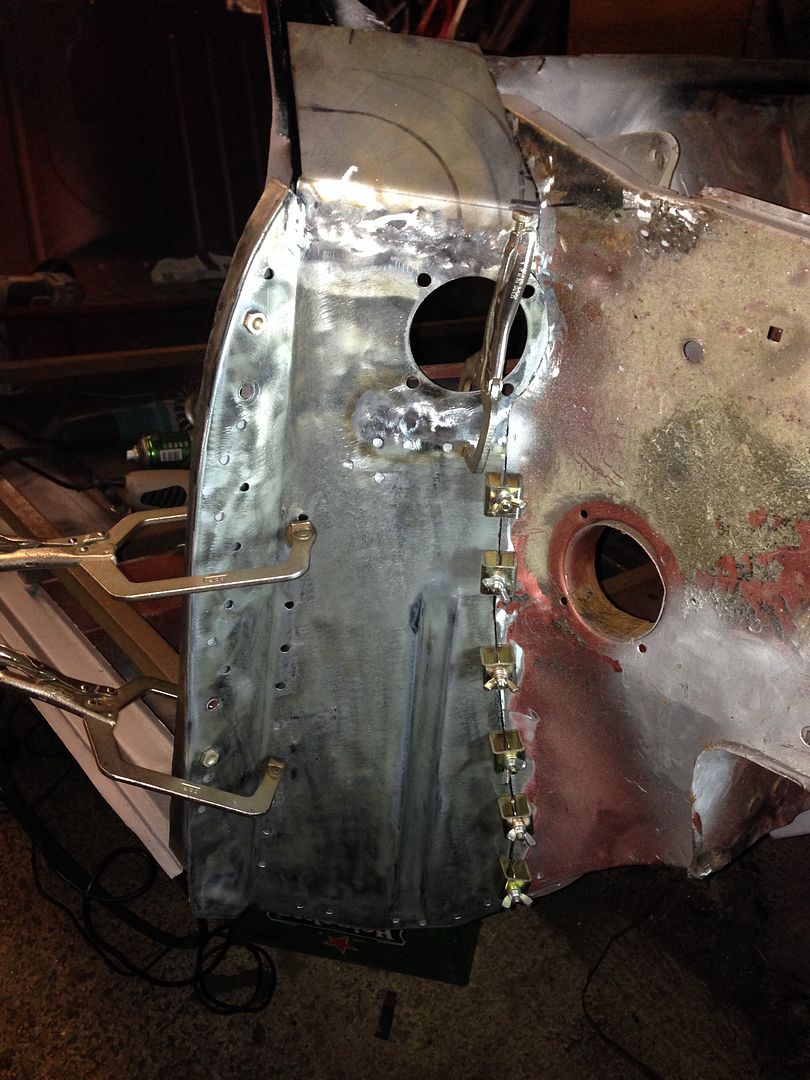
then it was onto the install, the crappy e coat was removed first and Zinc rich primer added to all of the covered areas,

IMG_2306_zps669bb959.jpg

then tacked in place and the plug welds done

IMG_2308_zpsabcb1f37.jpg

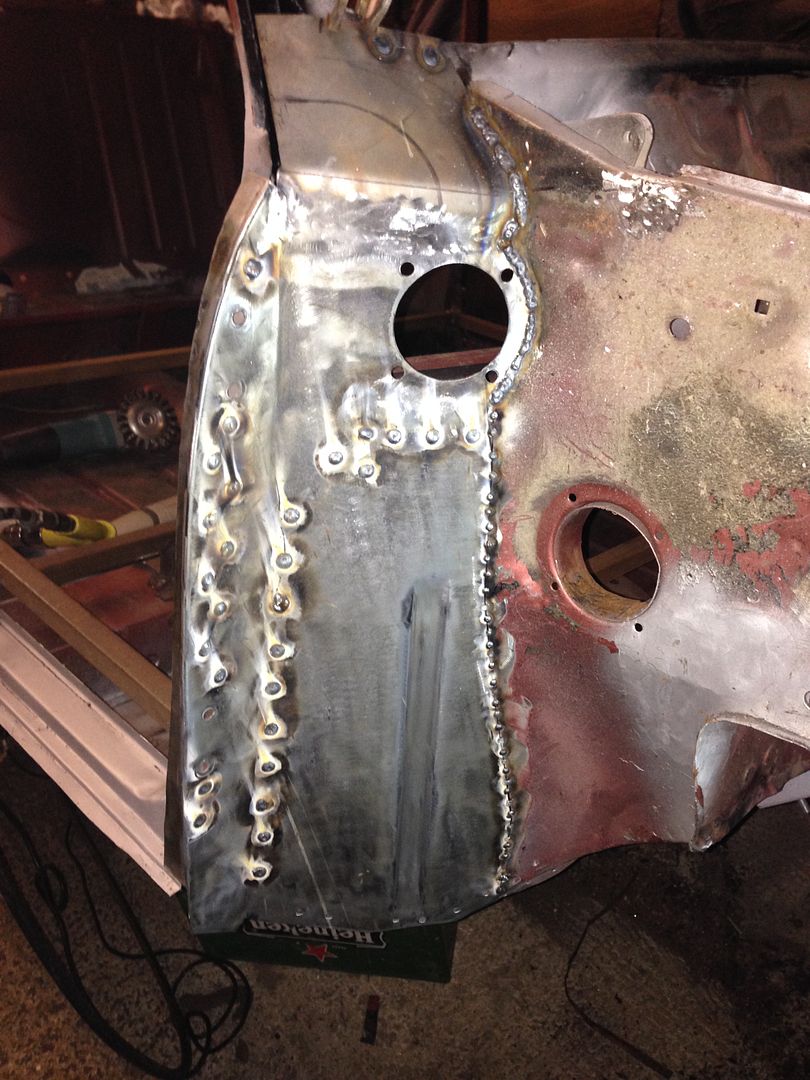
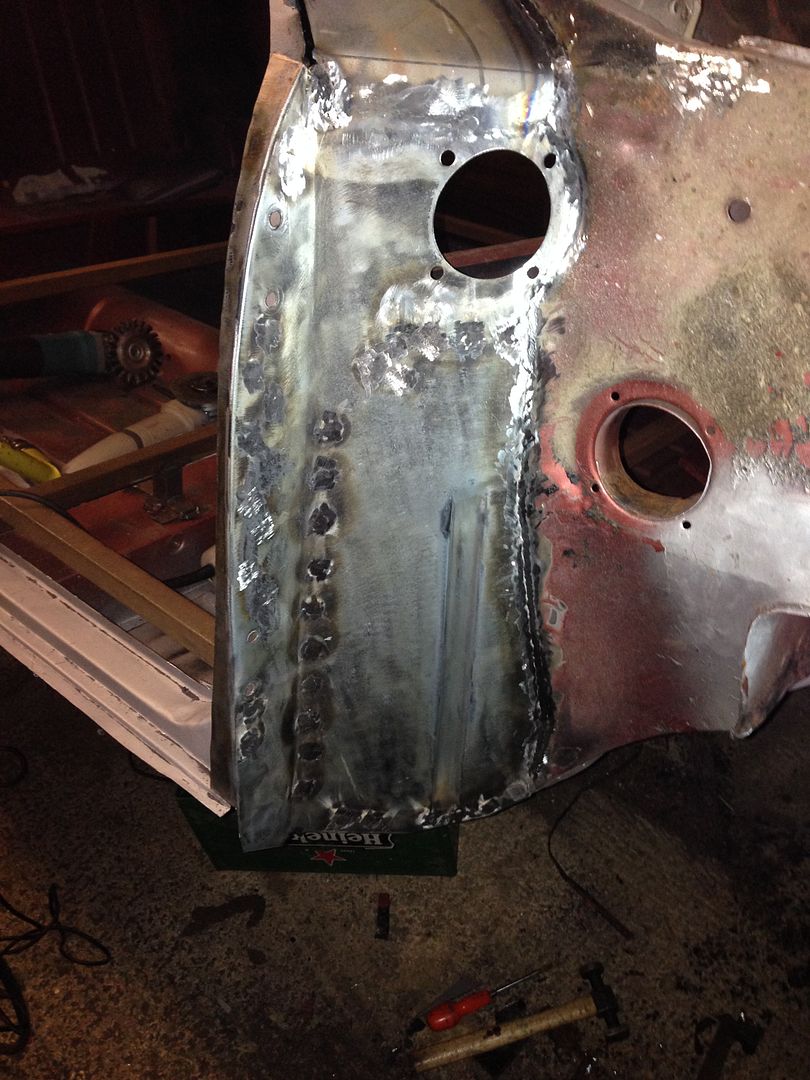
Welded up and started the clean up

IMG_2309_zpse280f106.jpg


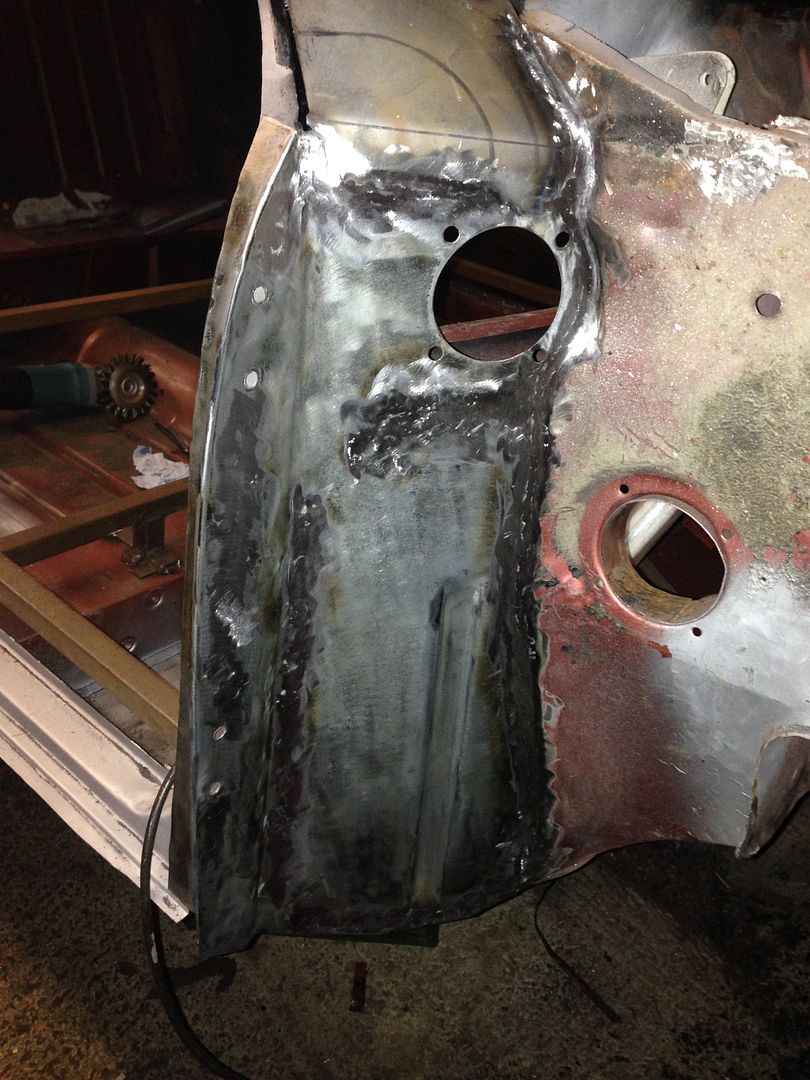
and just about ground flush

IMG_2310_zpse3fd2a64.jpg


#108 Marco1972

Marco1972

    One Carb Or Two?

  • Members
  • PipPipPipPipPipPipPip
  • 822 posts
  • Location: Birmingham

Posted 29 January 2014 - 07:27 PM


Top notch work as usual Neil

At the top of the flitch where you have made the extra bit is that meant to be welded to the windscreen frame ?
Only asking as we're doing this same bit this weekend.
Was it welded there originally ? Ours was toast so no idea how it was meant to look just interested as it will be 3 layers of metal when the scuttle goes on I hope this won't cause us issues when refitting the windscreen.

Mark.

#109 sonikk4

sonikk4

    Twisted Paint Polisher!!!

  • Admin
  • PipPipPipPipPipPipPipPipPipPipPip
  • 15,970 posts
  • Name: Neil
  • Location: Oxfordshire

Posted 29 January 2014 - 07:32 PM

It was welded in two places but did not look like this piece does. If you look to the right you can see two layers of metal where the bulkhead is joined to the top dash rail. I will be filling that gap as well and also attaching the left hand side of the top piece to the windscreen pillar. This will add a bit of extra strength.


This is a small amount of trimming left to do at the top.


#110 Marco1972

Marco1972

    One Carb Or Two?

  • Members
  • PipPipPipPipPipPipPip
  • 822 posts
  • Location: Birmingham

Posted 29 January 2014 - 07:39 PM


Great stuff

It's like having my own full colour how to restoration manual. :-)

Look forward to the next update

#111 Minidarren83

Minidarren83

    One Carb Or Two?

  • Members
  • PipPipPipPipPipPipPip
  • 1,207 posts
  • Location: Stanford Le hope

Posted 30 January 2014 - 10:48 AM

Top work as always Neil speeding along now

#112 sonikk4

sonikk4

    Twisted Paint Polisher!!!

  • Admin
  • PipPipPipPipPipPipPipPipPipPipPip
  • 15,970 posts
  • Name: Neil
  • Location: Oxfordshire

Posted 30 January 2014 - 07:23 PM

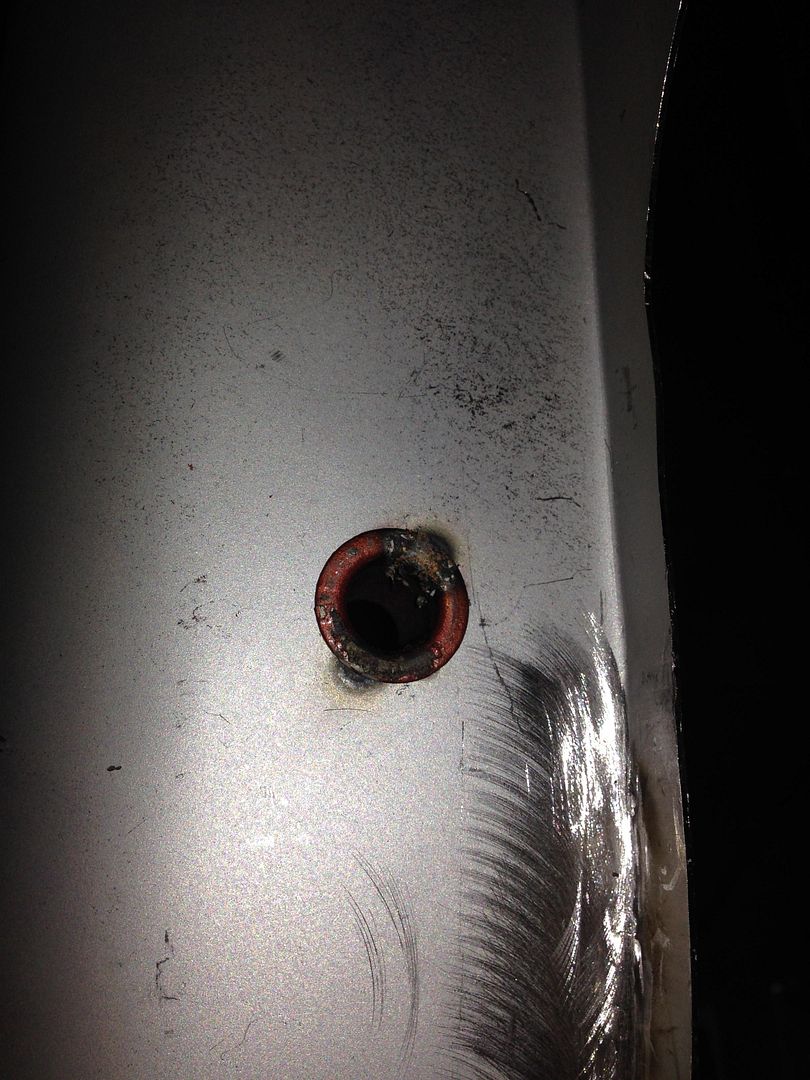
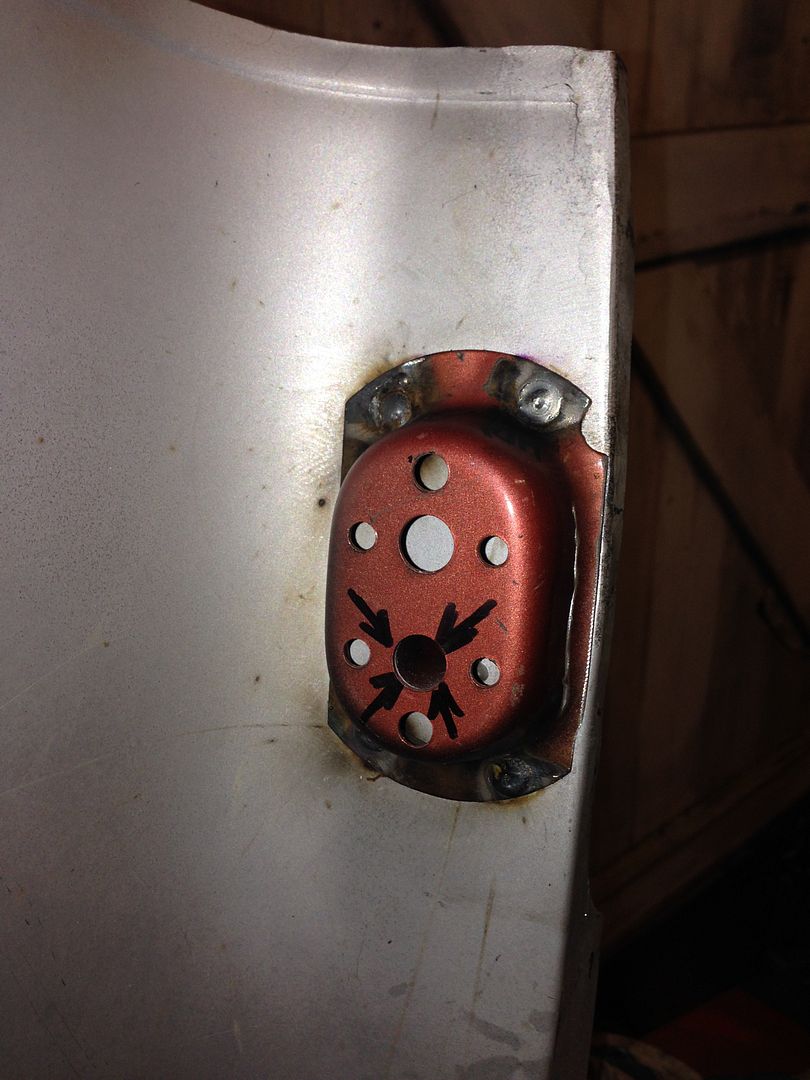
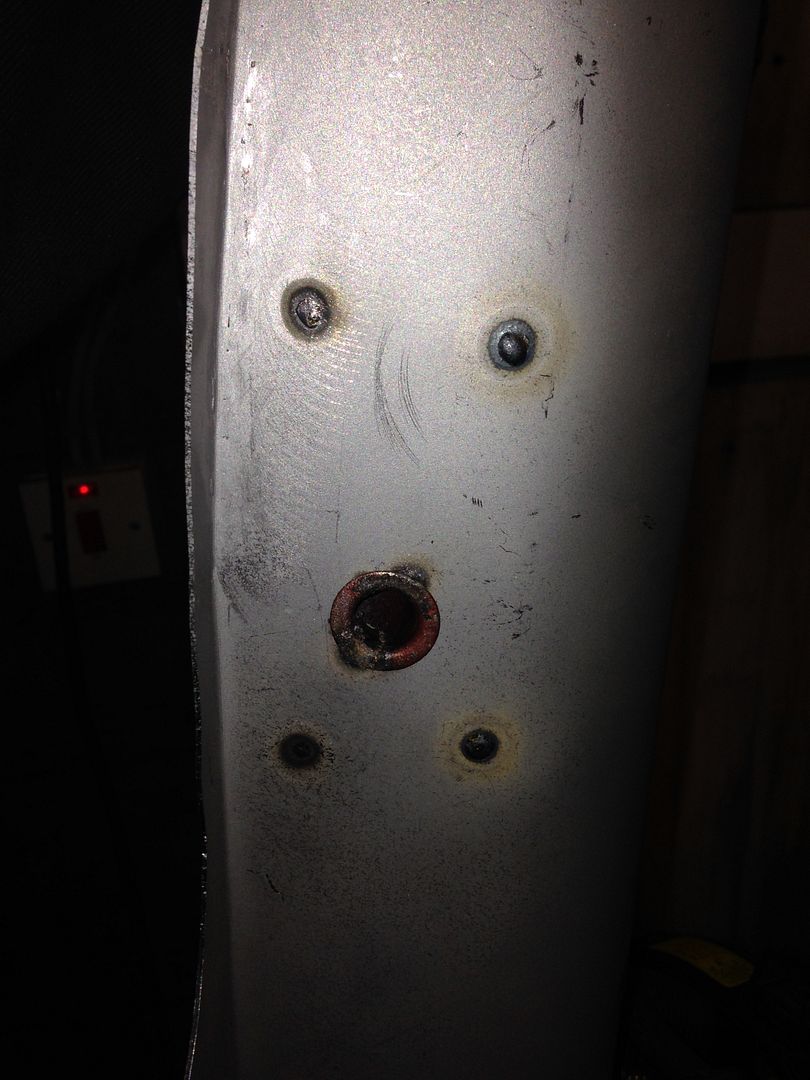
I went back to the companion bin area today as i really wanted to fit it. So out came the brace as it was in the way and then onto trying to fit it.

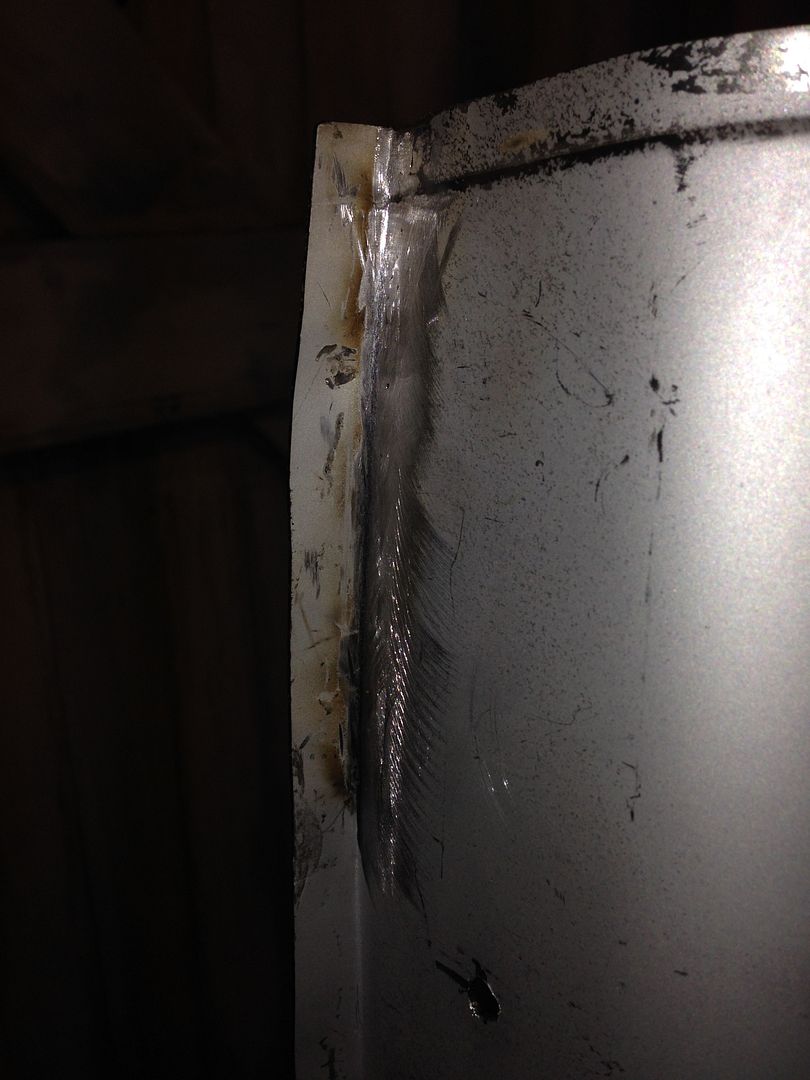
That was not as easy as it looked either. Nice panel from M Machine but they had not curved the section where it fits on the B post so had to section that area first

The finished article
IMG_2312_zps385532a2.jpg


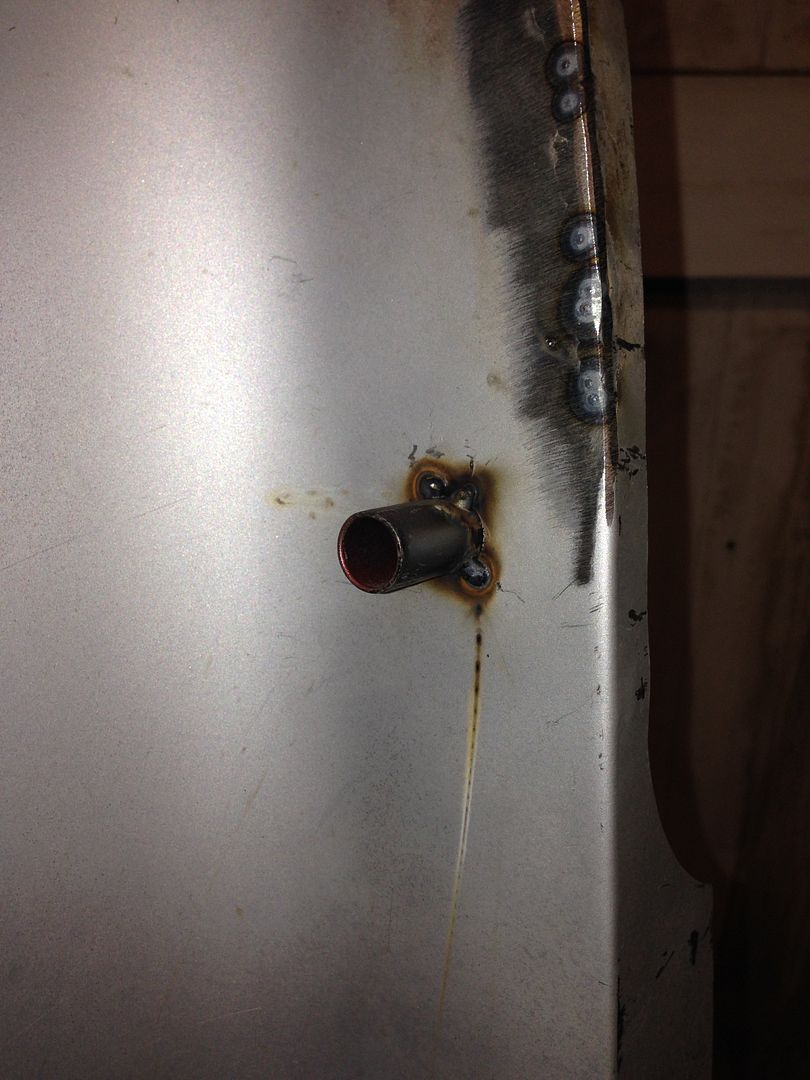
then it was on to fitting the seat belt mount
IMG_2313_zps7f8e8ccb.jpg

IMG_2314_zpse6780f22.jpg

IMG_2315_zps4184b238.jpg

IMG_2316_zps2ea20c20.jpg


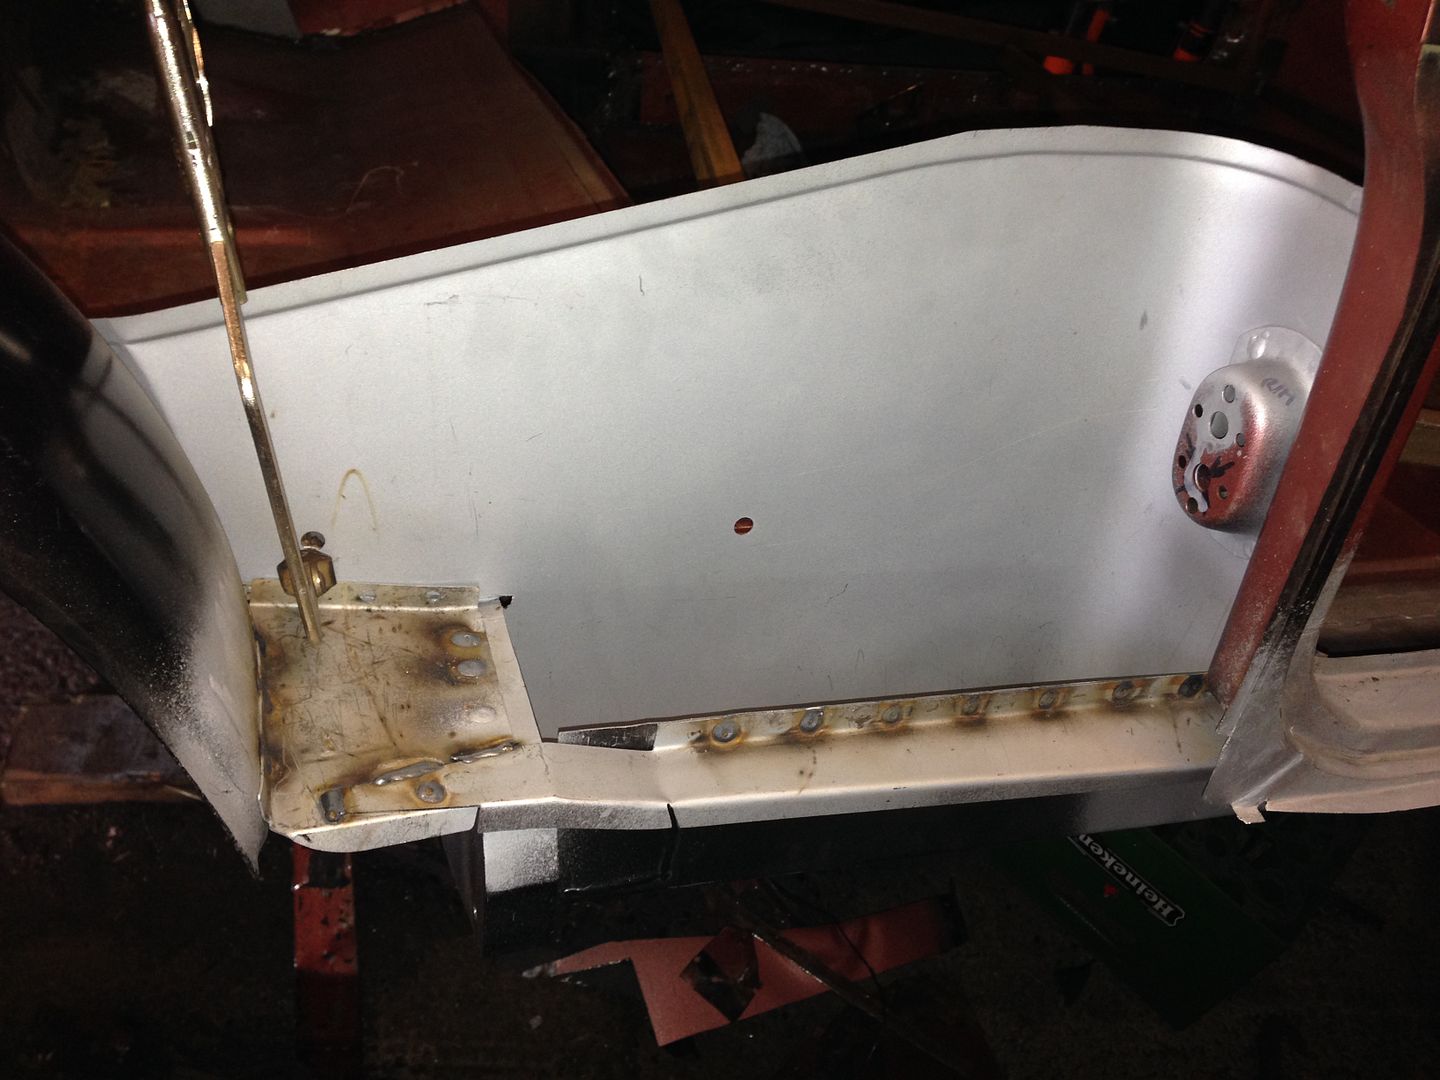
But before bin went in it was time to fit the close out and inner sill stiffener. I need the companion bin in place to position the closeout and it worked nicely
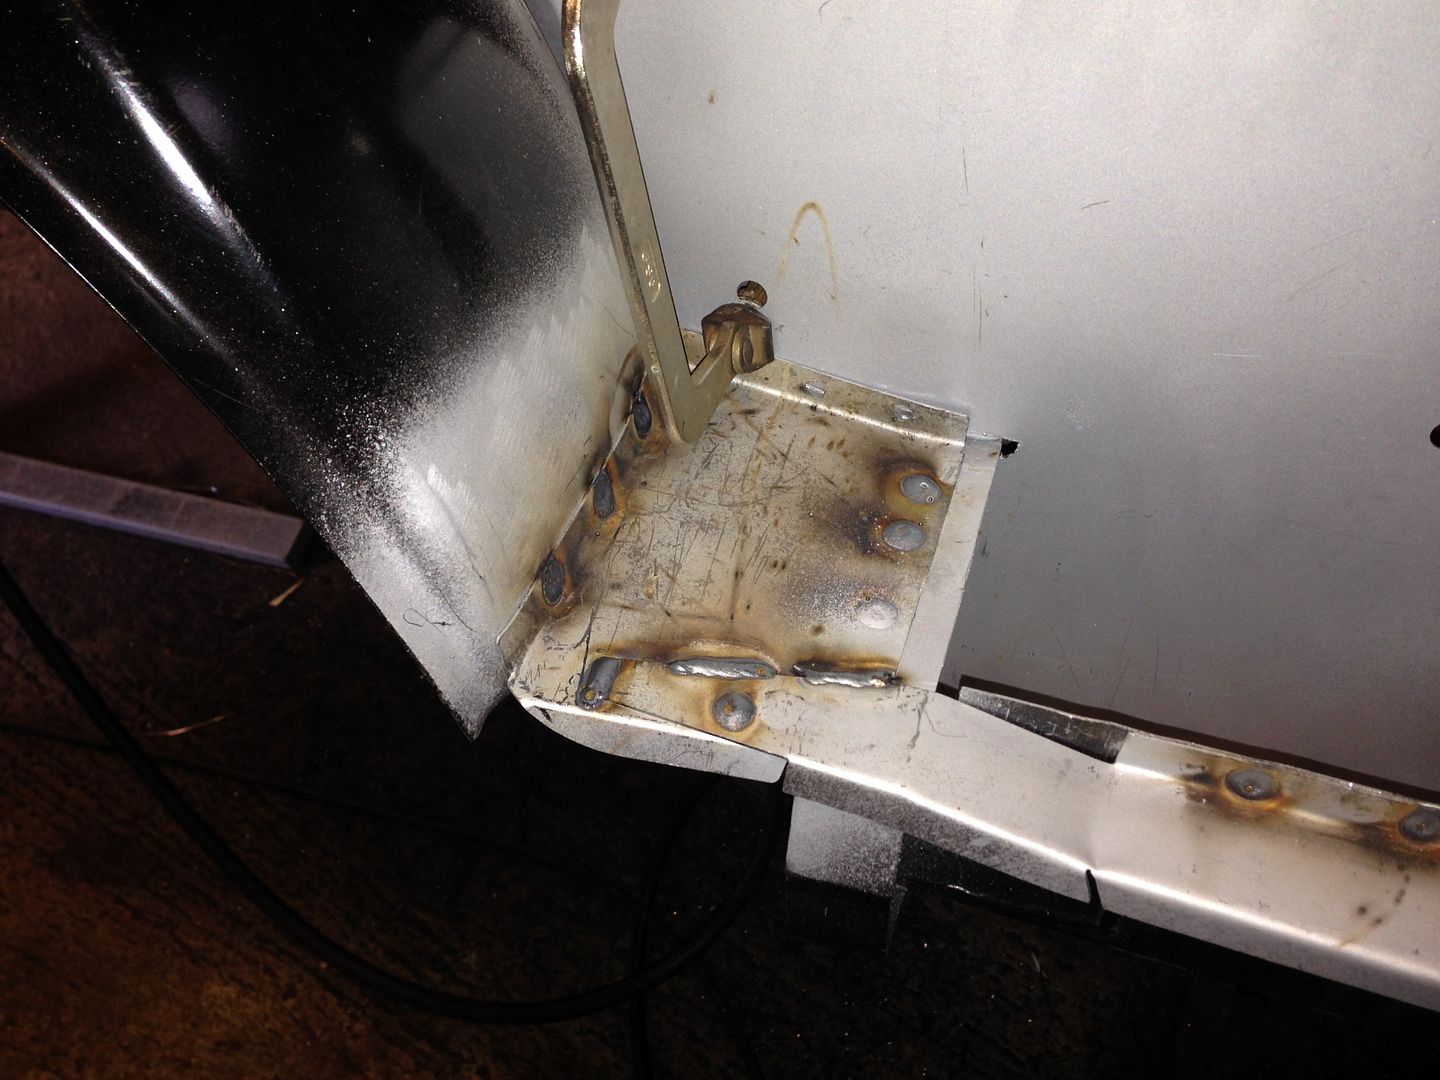
IMG_2317_zps816aa6a9.jpg

IMG_2318_zps0ff45419.jpg

It got flashed over with Zinc rich primer as i will clean the plug welds up next week
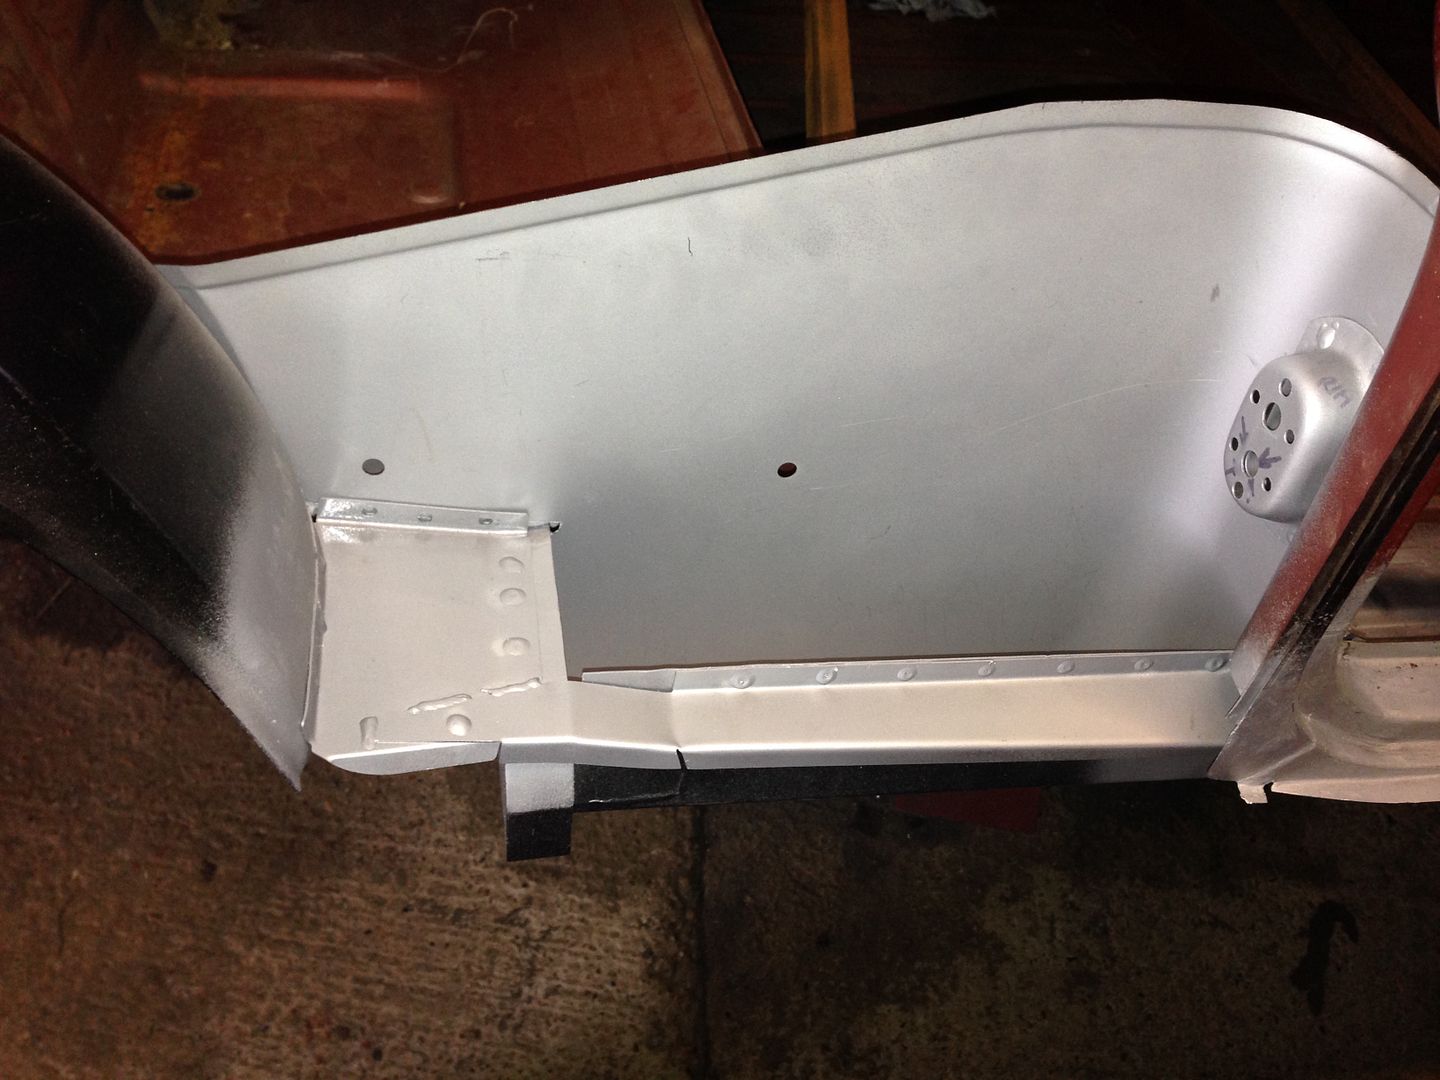
IMG_2319_zpsdd7576f7.jpg


I did revisit the flitch at the bottom but still got some bits to do at the top but no piccies. Enough of this been at it for 9 days now so back to work sat for a rest then back on to it next thurs.


#113 sonikk4

sonikk4

    Twisted Paint Polisher!!!

  • Admin
  • PipPipPipPipPipPipPipPipPipPipPip
  • 15,970 posts
  • Name: Neil
  • Location: Oxfordshire

Posted 14 February 2014 - 04:56 PM

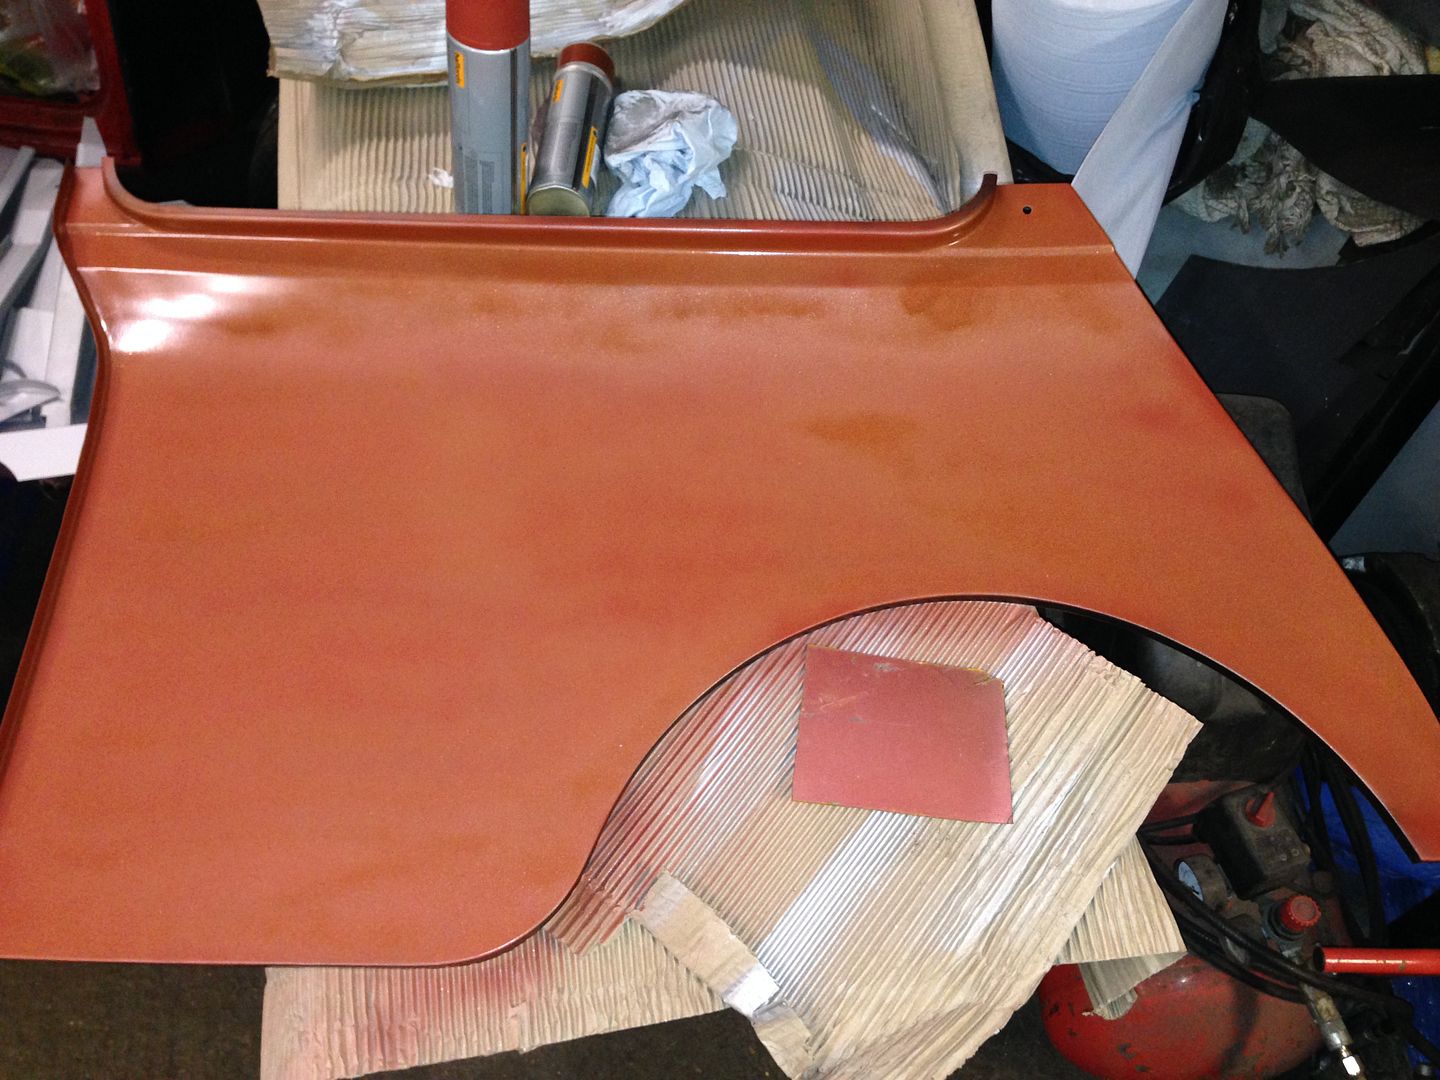
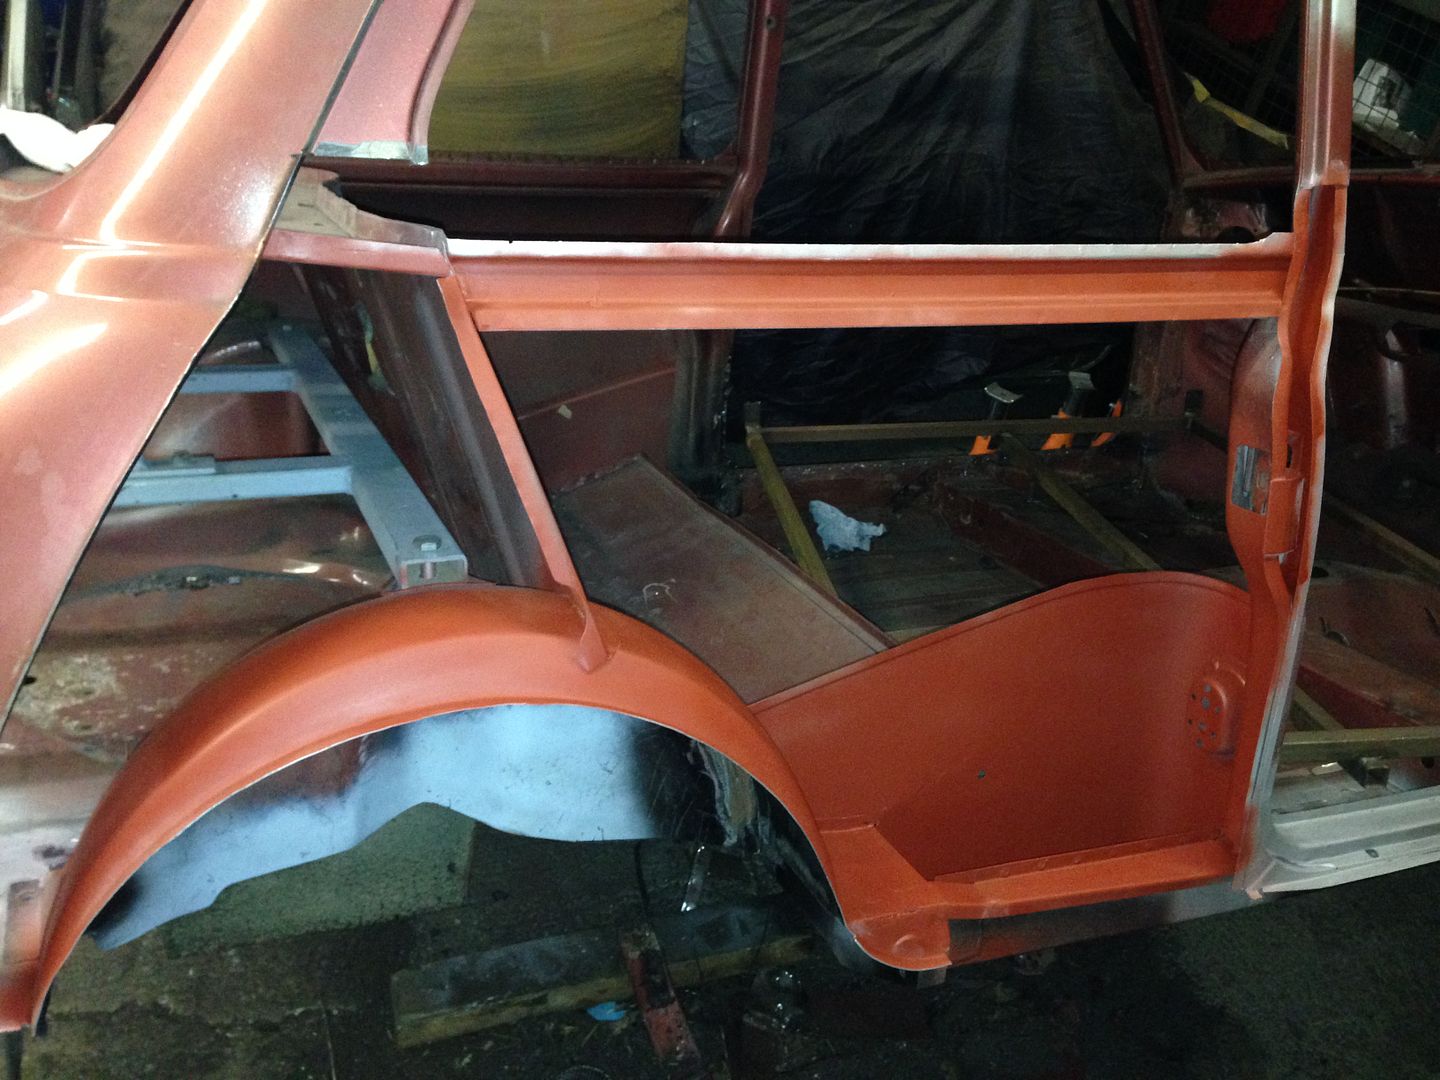
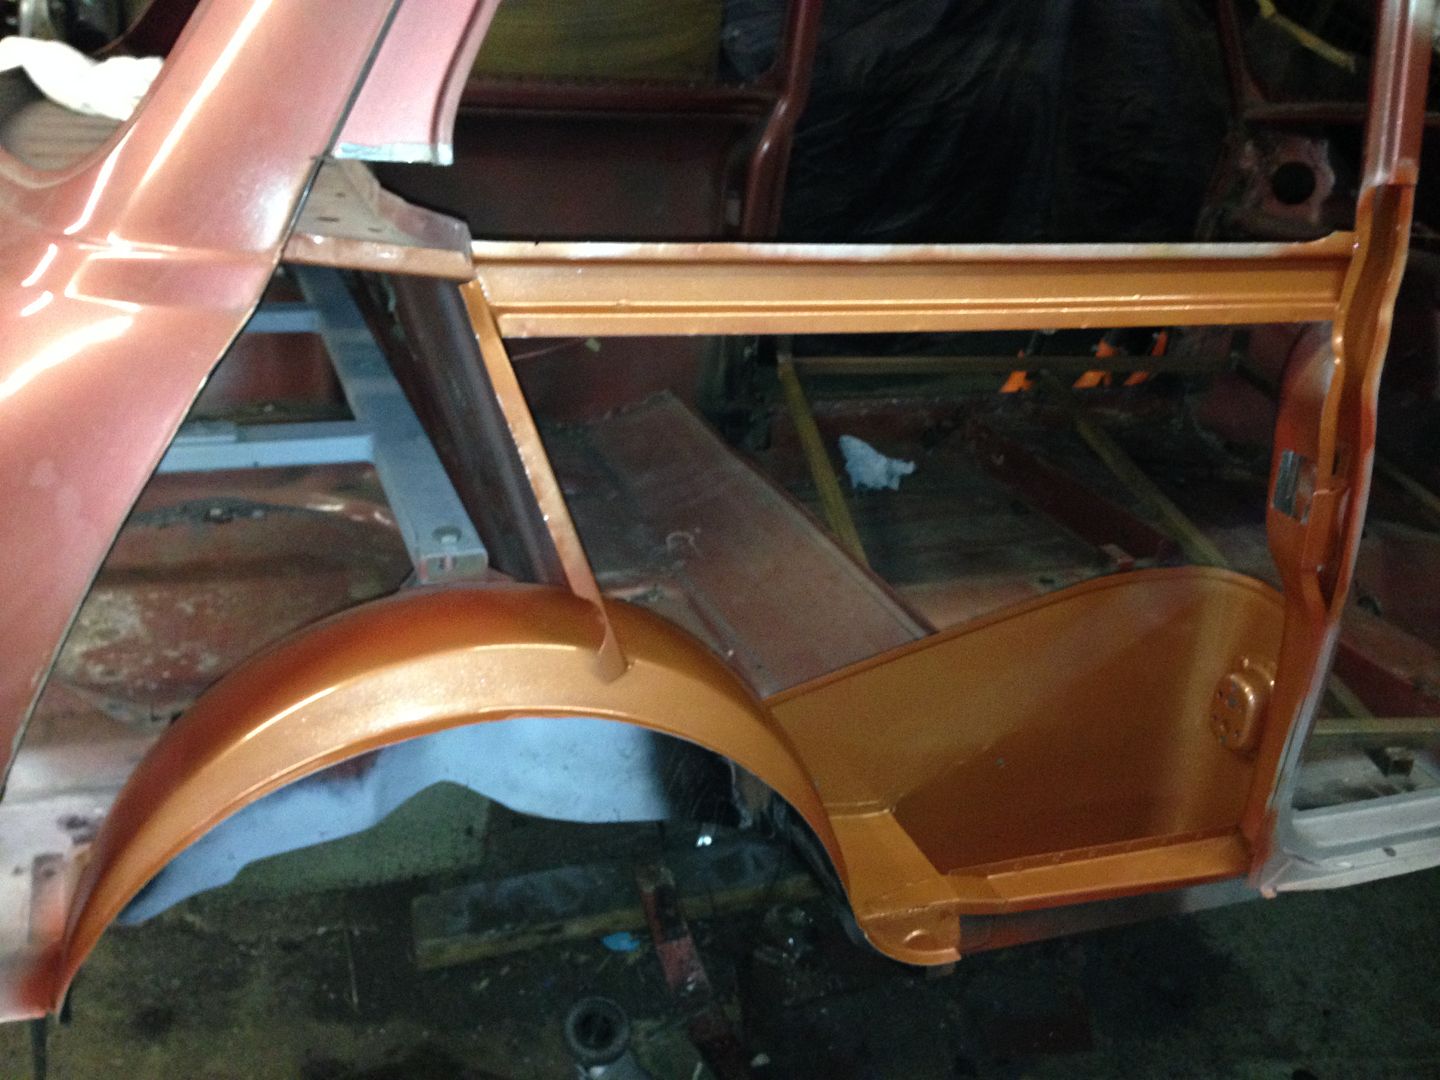
Prepped the quarter panel and finished off welding the companion bin to the rear seat pan and splashed some more paint around as well

IMG_2341_zps7de2e0d9.jpg

IMG_2343_zps9b636e2a.jpg

IMG_2344_zps1ec80dde.jpg

 and nearly ready ti fit

IMG_2342_zps20b891b0.jpg


#114 Marco1972

Marco1972

    One Carb Or Two?

  • Members
  • PipPipPipPipPipPipPip
  • 822 posts
  • Location: Birmingham

Posted 14 February 2014 - 06:03 PM


Nice to see you back at it Neil
Think the weather might scupper our efforts this weekend :-(

Is that a heritage quarter panel ?

Keep it up mate it's coming along nicely :-)

#115 sonikk4

sonikk4

    Twisted Paint Polisher!!!

  • Admin
  • PipPipPipPipPipPipPipPipPipPipPip
  • 15,970 posts
  • Name: Neil
  • Location: Oxfordshire

Posted 14 February 2014 - 07:58 PM

Nice to see you back at it Neil
Think the weather might scupper our efforts this weekend :-(

Is that a heritage quarter panel ?

Keep it up mate it's coming along nicely :-)


Only one day though bud and yes its a Heritage panel. Fits nicely in most places but i do have to move thing around a bit. The arch is pretty crap but this is down to the original panel.


Still nothing that a big hammer cannot sort out. ;D  


#116 Wise Old Elf

Wise Old Elf

    Camshaft & Stage Two Head

  • Members
  • PipPipPipPipPipPipPipPip
  • 1,655 posts
  • Location: Maldon
  • Local Club: Club Lotus

Posted 14 February 2014 - 08:56 PM


Still nothing that a big hammer cannot sort out. ;D  


Yeah I say that regularly at work when referring to my colleagues lack of intelligence. :) 


#117 silver_toes

silver_toes

    Speeding Along Now

  • Members
  • PipPipPipPipPip
  • 364 posts
  • Location: West Yorkshire
  • Local Club: None

Posted 14 February 2014 - 08:59 PM

Really enjoy reading this thread. I love the mini special and can't wait to see the finished product.


Neil, your work is amazing as usual.


#118 sonikk4

sonikk4

    Twisted Paint Polisher!!!

  • Admin
  • PipPipPipPipPipPipPipPipPipPipPip
  • 15,970 posts
  • Name: Neil
  • Location: Oxfordshire

Posted 14 February 2014 - 09:09 PM

Really enjoy reading this thread. I love the mini special and can't wait to see the finished product.


Neil, your work is amazing as usual.


Cheers, you will see the body resto complete but not the finished article. Once the metalwork is finished its going back in a big metal box for sometime.


#119 sonikk4

sonikk4

    Twisted Paint Polisher!!!

  • Admin
  • PipPipPipPipPipPipPipPipPipPipPip
  • 15,970 posts
  • Name: Neil
  • Location: Oxfordshire

Posted 11 March 2014 - 08:44 PM

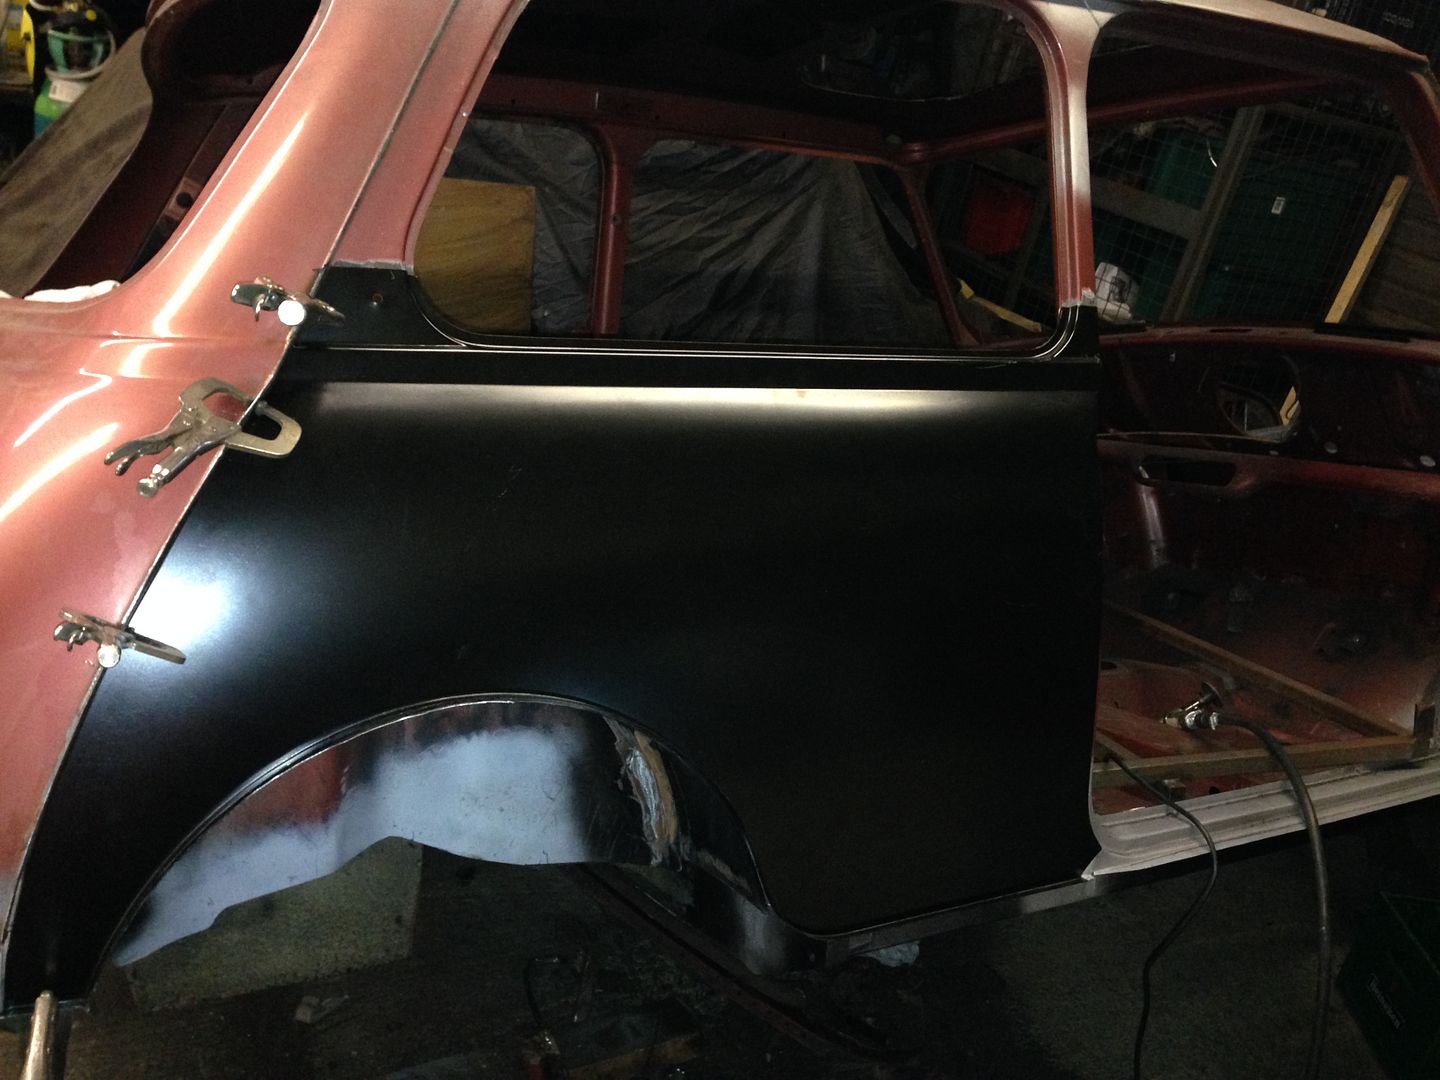
Back to the grindstone and the rear quarter panel. So after much cursing hammering and drilling of holes it fits in the big gap. Just need to open up the plug weld holes and get busy with the welder.

IMG_2559_zps3248771b.jpg


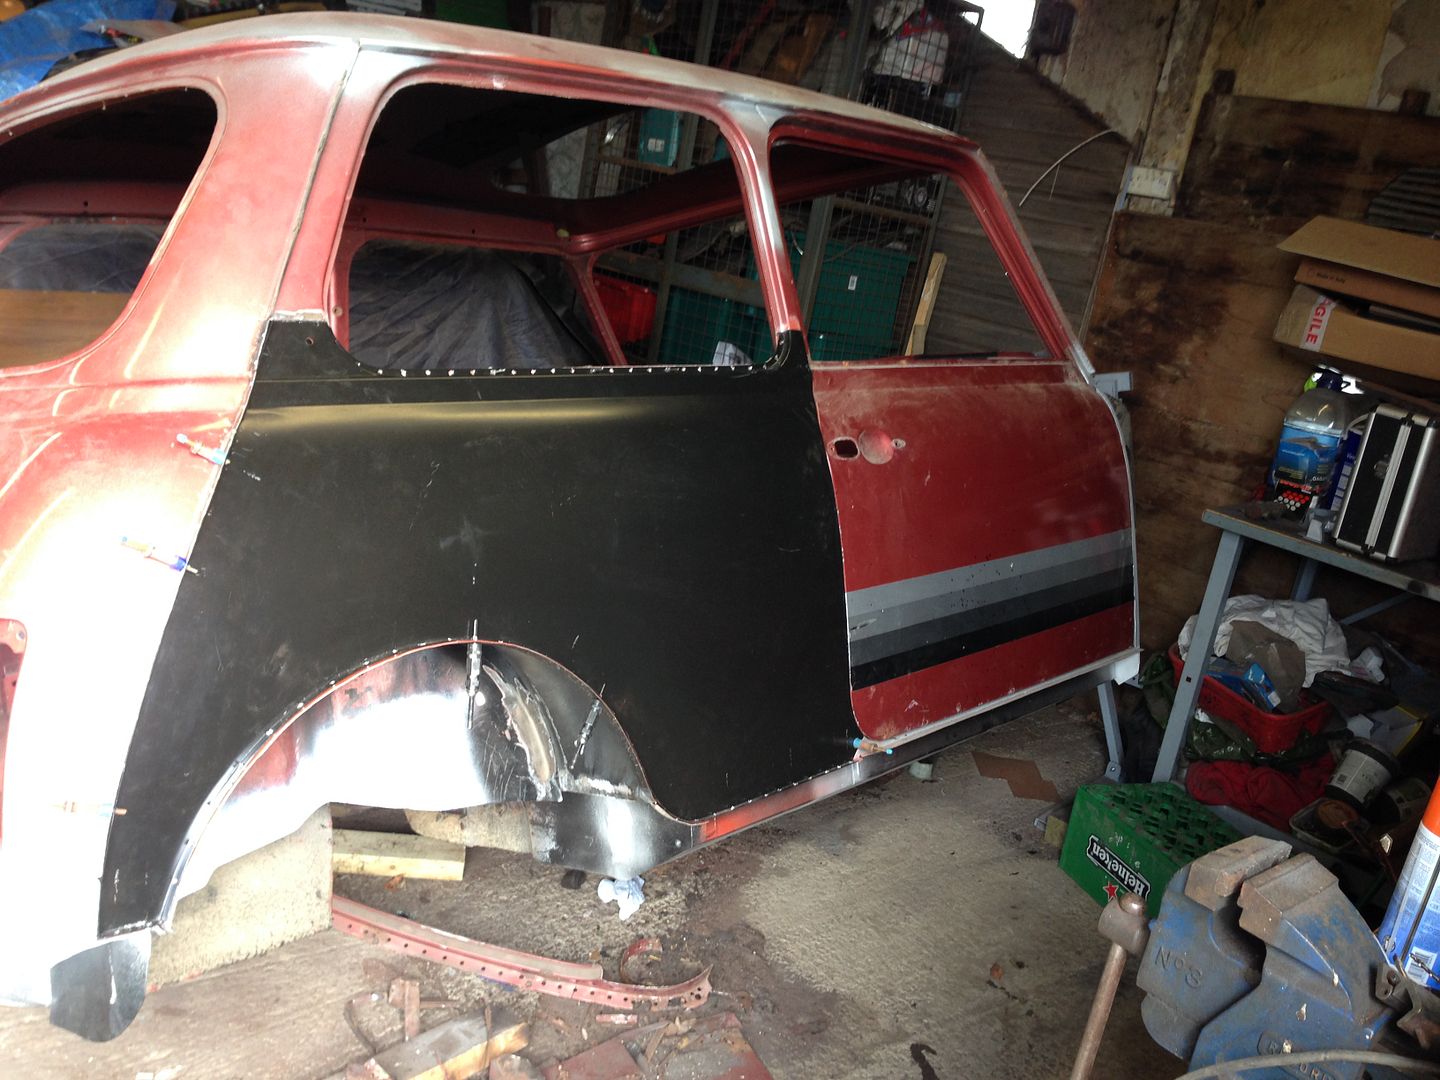
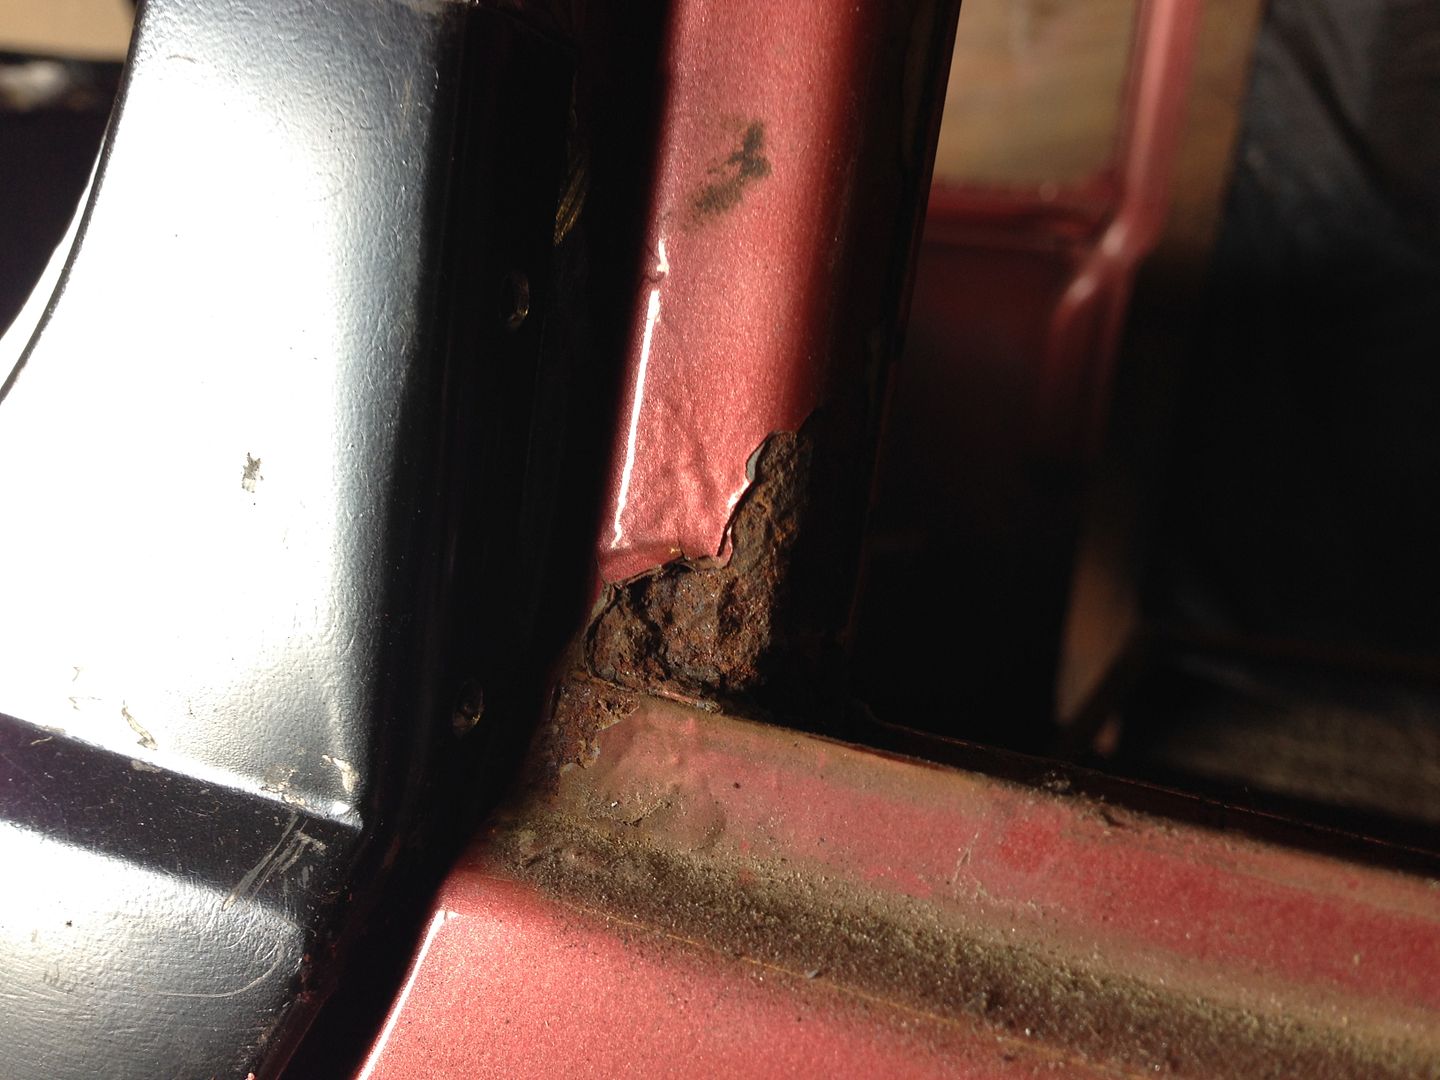
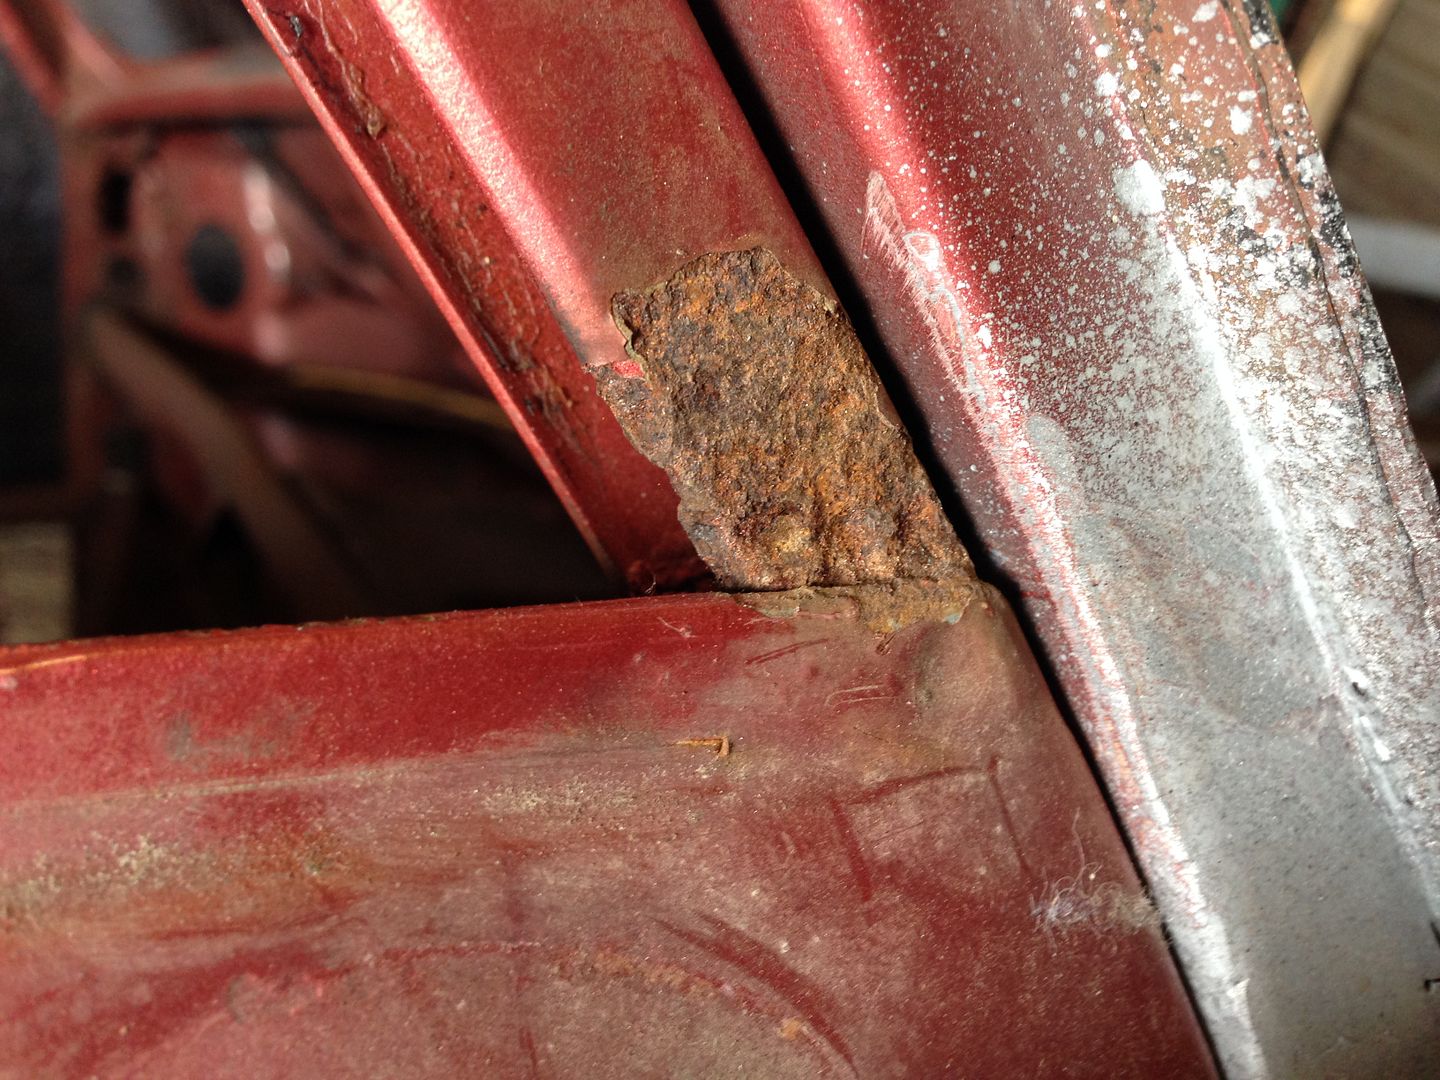
Offered up the door to see how things look and apart from a couple of minor issues it fits as well. The only thing i have found is rust on the window frame which is going to be a P.T.A!!!!!!! 

IMG_2561_zps363028f8.jpg

IMG_2560_zps66fee425.jpg


#120 Marco1972

Marco1972

    One Carb Or Two?

  • Members
  • PipPipPipPipPipPipPip
  • 822 posts
  • Location: Birmingham

Posted 11 March 2014 - 10:13 PM


Nice to see you back at it mate
How are you going to tackle the crusty bits on the door frame ?


2 user(s) are reading this topic

0 members, 2 guests, 0 anonymous users