Jump to content


Photo
- - - - -

Wills Mini Special


  • Please log in to reply
320 replies to this topic

#301 james_k

james_k

    Learner Driver

  • Noobies
  • PipPip
  • 15 posts
  • Location: Wigan

Posted 02 October 2014 - 10:07 AM

Just sepnt two days reading the whole thread and there's some amazing work gone into it. A real credit to you Neil!


I bought my first mini on the weekend after wanting one for years . Will have to carry out some repairs on it myself hopefully not to this extent though, also need to learn some welding skills first though.


Anyway keep up the good work Neil, almost finished


#302 sonikk4

sonikk4

    Twisted Paint Polisher!!!

  • Admin
  • PipPipPipPipPipPipPipPipPipPipPip
  • 15,989 posts
  • Name: Neil
  • Location: Oxfordshire

Posted 02 October 2014 - 03:05 PM

Neil them there tabs you have put on. 
 
Are they just folded steel? 
 
Think of putting some on my removable front to add some strength that's all.


Yes Sal that's all they are, I did put a small curve on them as well to suit the contour of the two panels.

#303 Jemy

Jemy

    Starting My Mini Up

  • Noobies
  • Pip
  • 1 posts
  • Location: south wales

Posted 02 October 2014 - 04:41 PM

Just wanted to say thank you for sharing has given me loads of insight into what and how needs doing on mine. phenomenal job !

#304 sonikk4

sonikk4

    Twisted Paint Polisher!!!

  • Admin
  • PipPipPipPipPipPipPipPipPipPipPip
  • 15,989 posts
  • Name: Neil
  • Location: Oxfordshire

Posted 02 October 2014 - 04:44 PM

Just wanted to say thank you for sharing has given me loads of insight into what and how needs doing on mine. phenomenal job !


No problem, glad it helps.

#305 sonikk4

sonikk4

    Twisted Paint Polisher!!!

  • Admin
  • PipPipPipPipPipPipPipPipPipPipPip
  • 15,989 posts
  • Name: Neil
  • Location: Oxfordshire

Posted 02 October 2014 - 06:35 PM

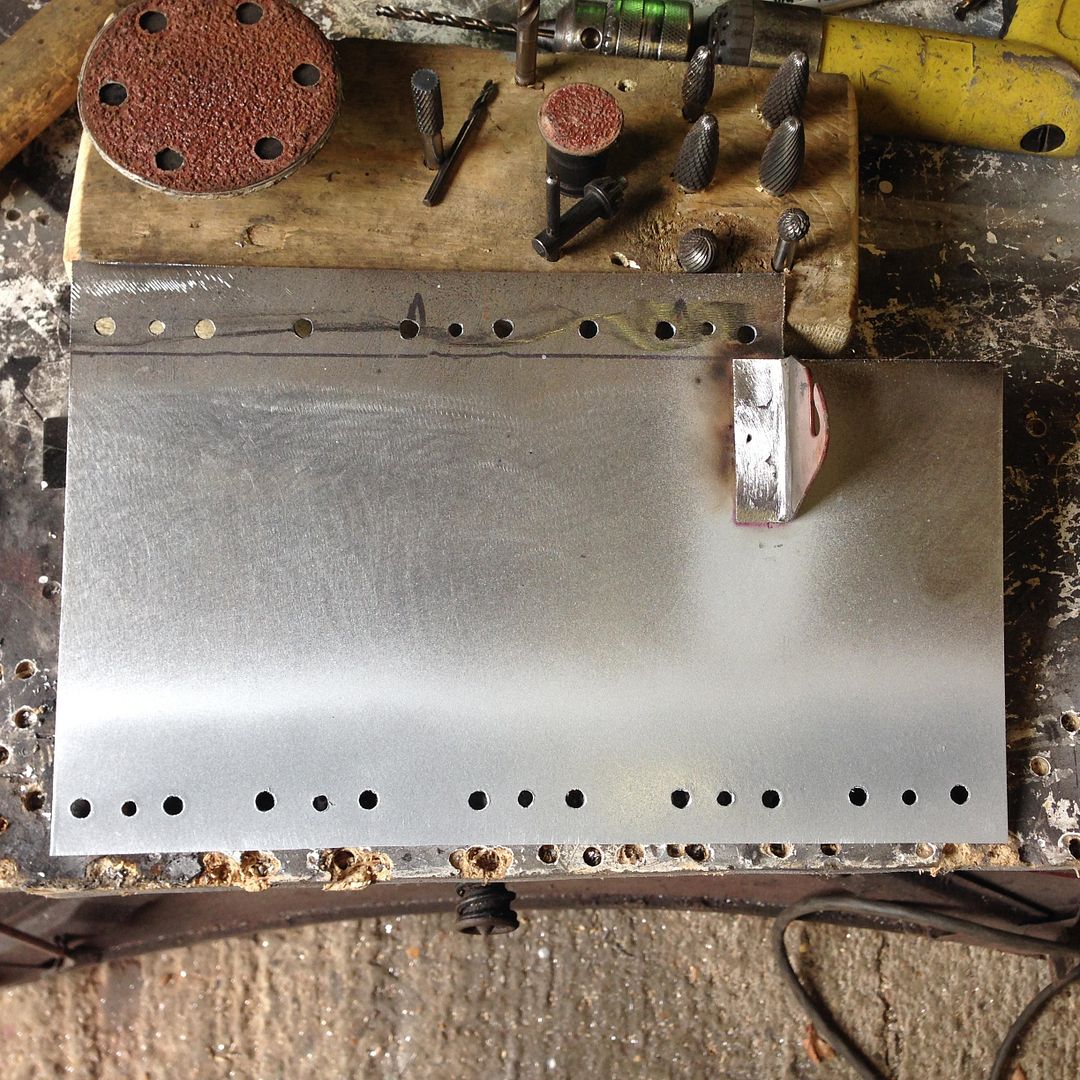
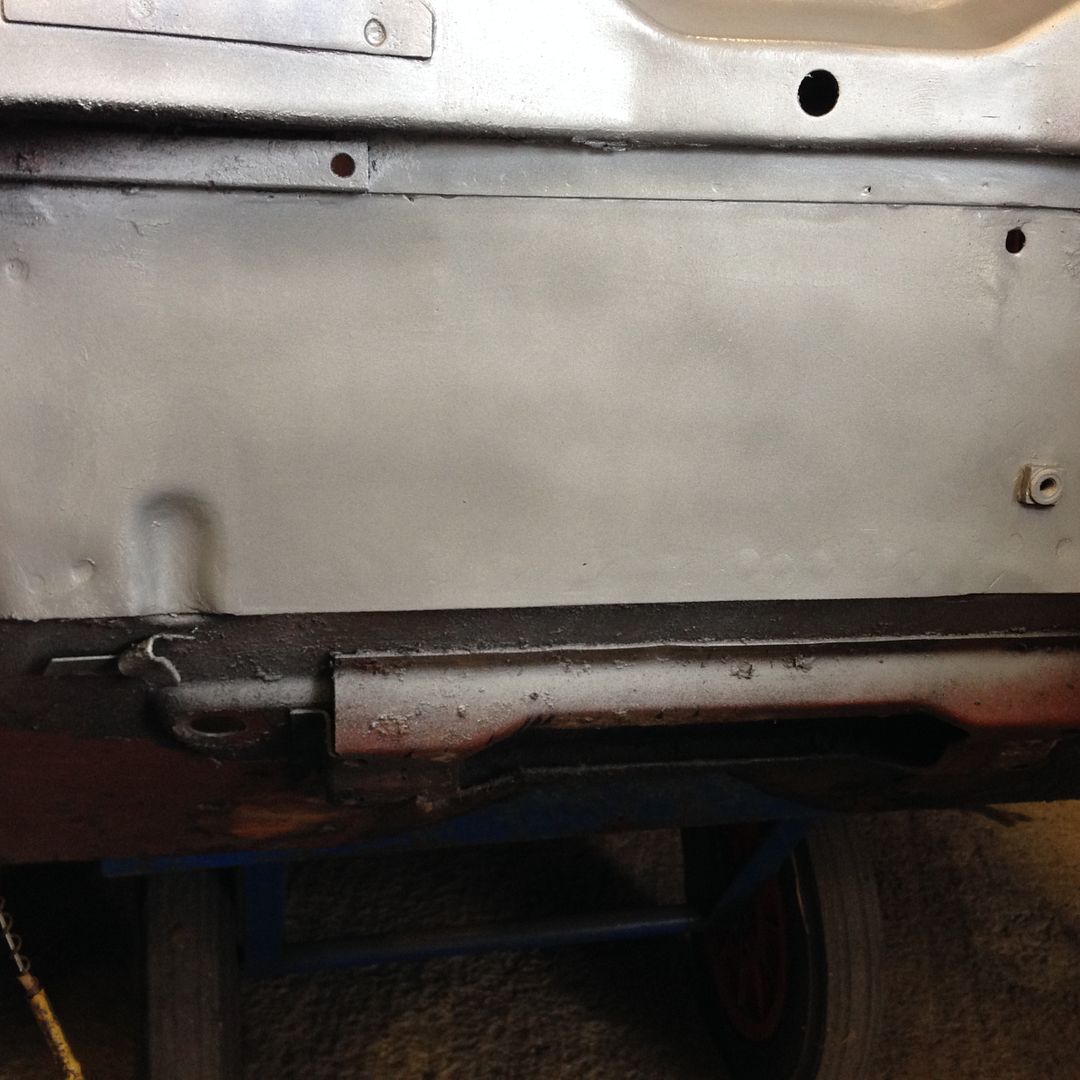
On with the bulkhead repair, new repair section fabricate and heater support hook welded in place

IMG_3482_zps44a6a531.jpg


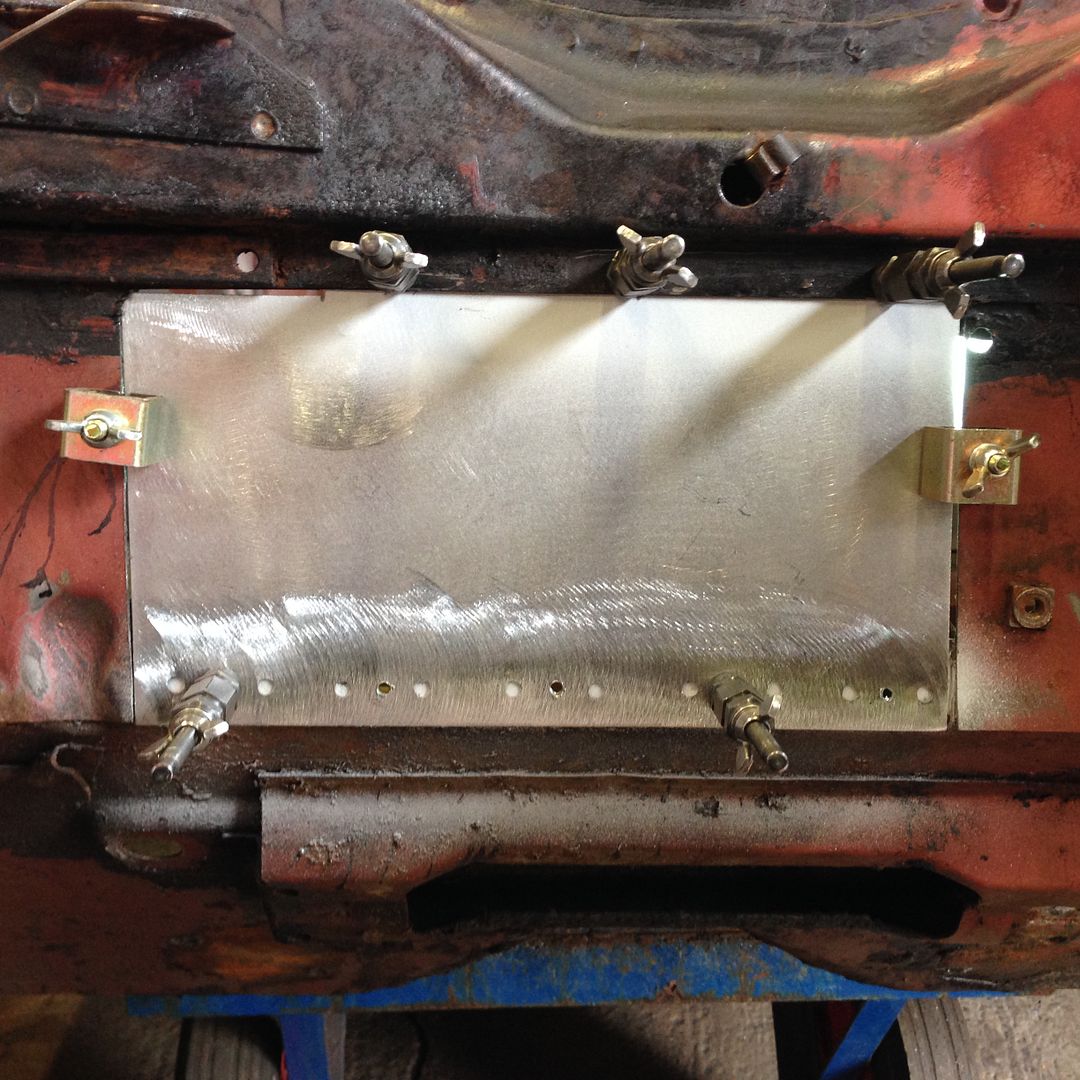
and clamped in place ready for welding

IMG_3483_zpsecea6d62.jpg


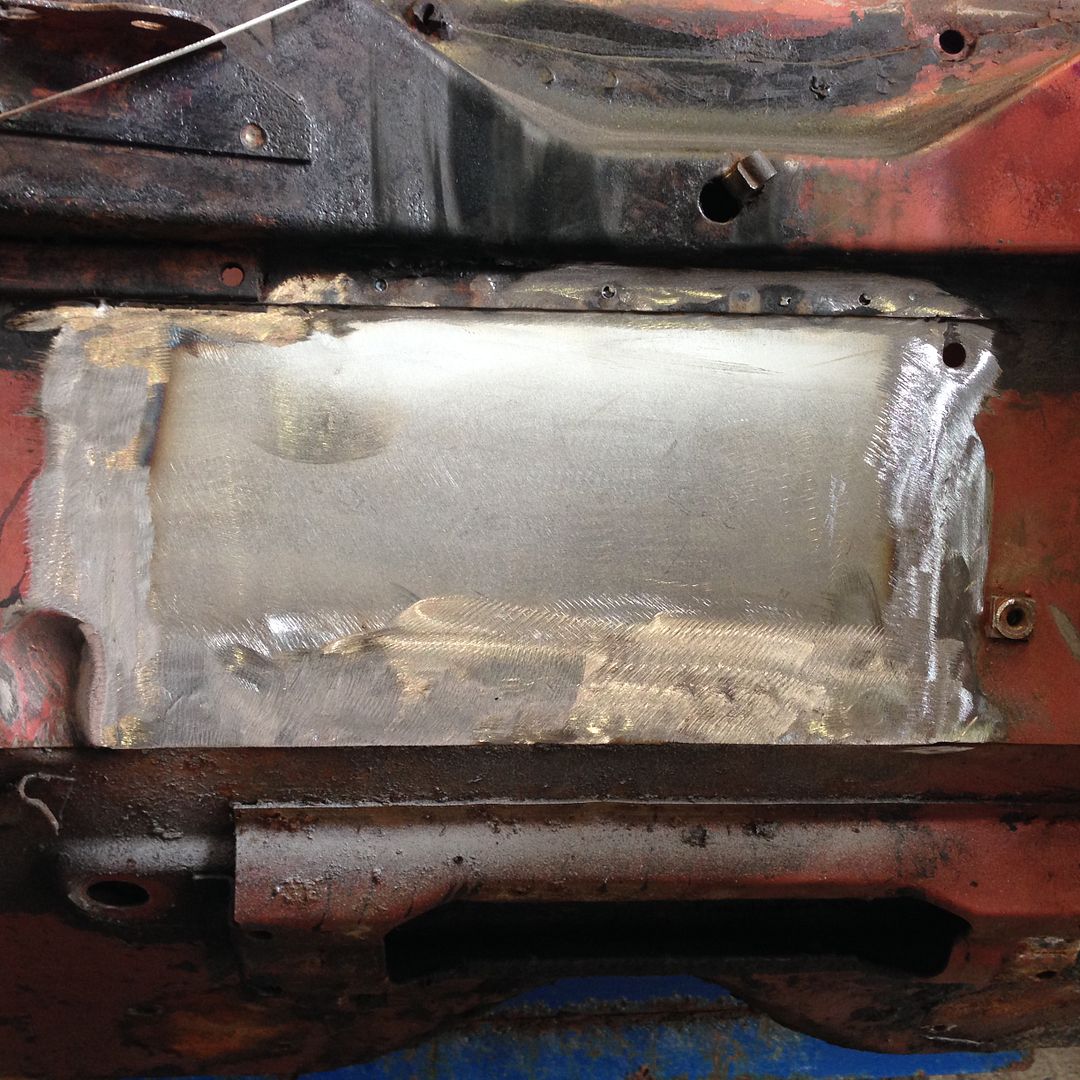
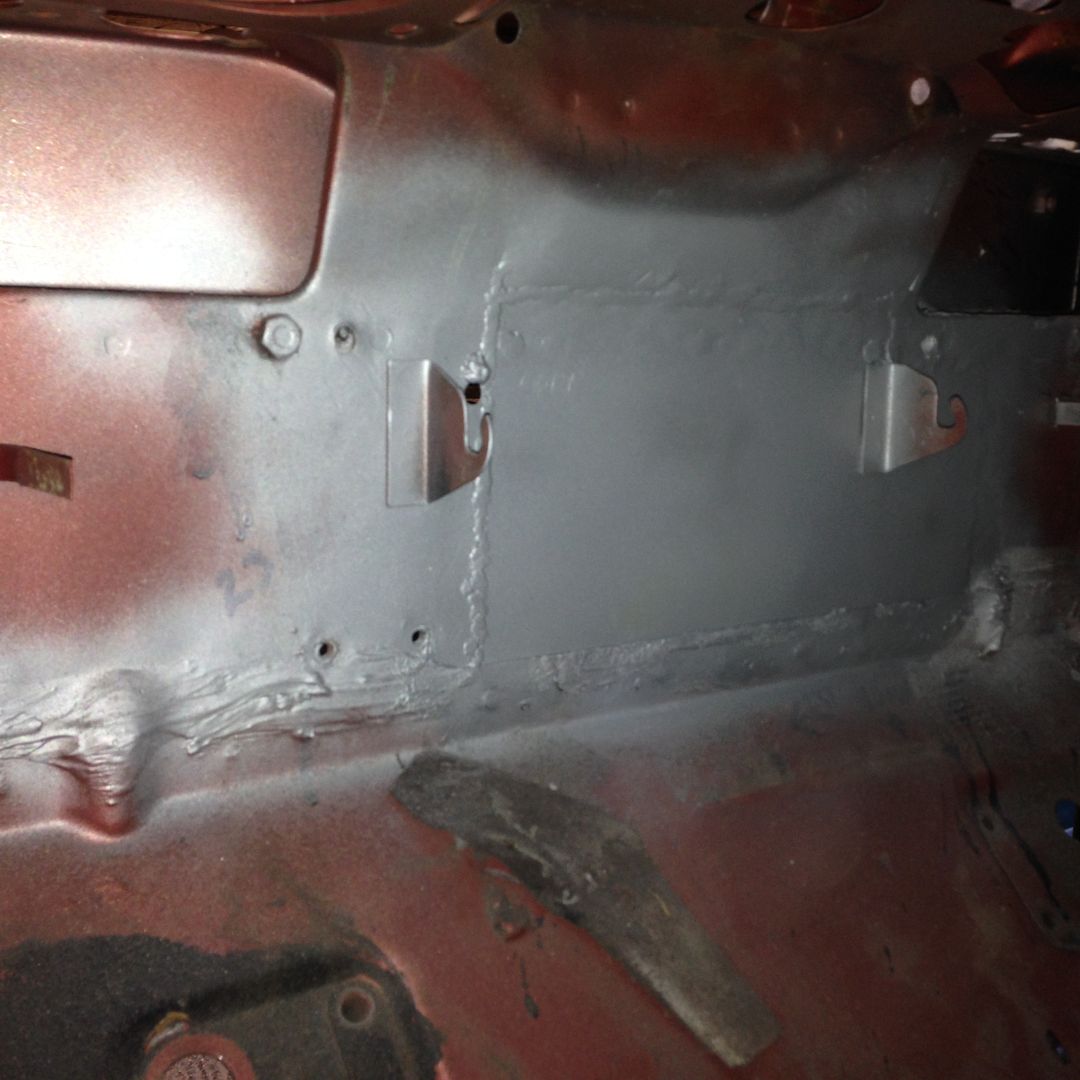
welded in place and cleaned up

IMG_3484_zps9e3f06ff.jpg

IMG_3491_zps3b85eeb6.jpg

IMG_3489_zps811290ff.jpg

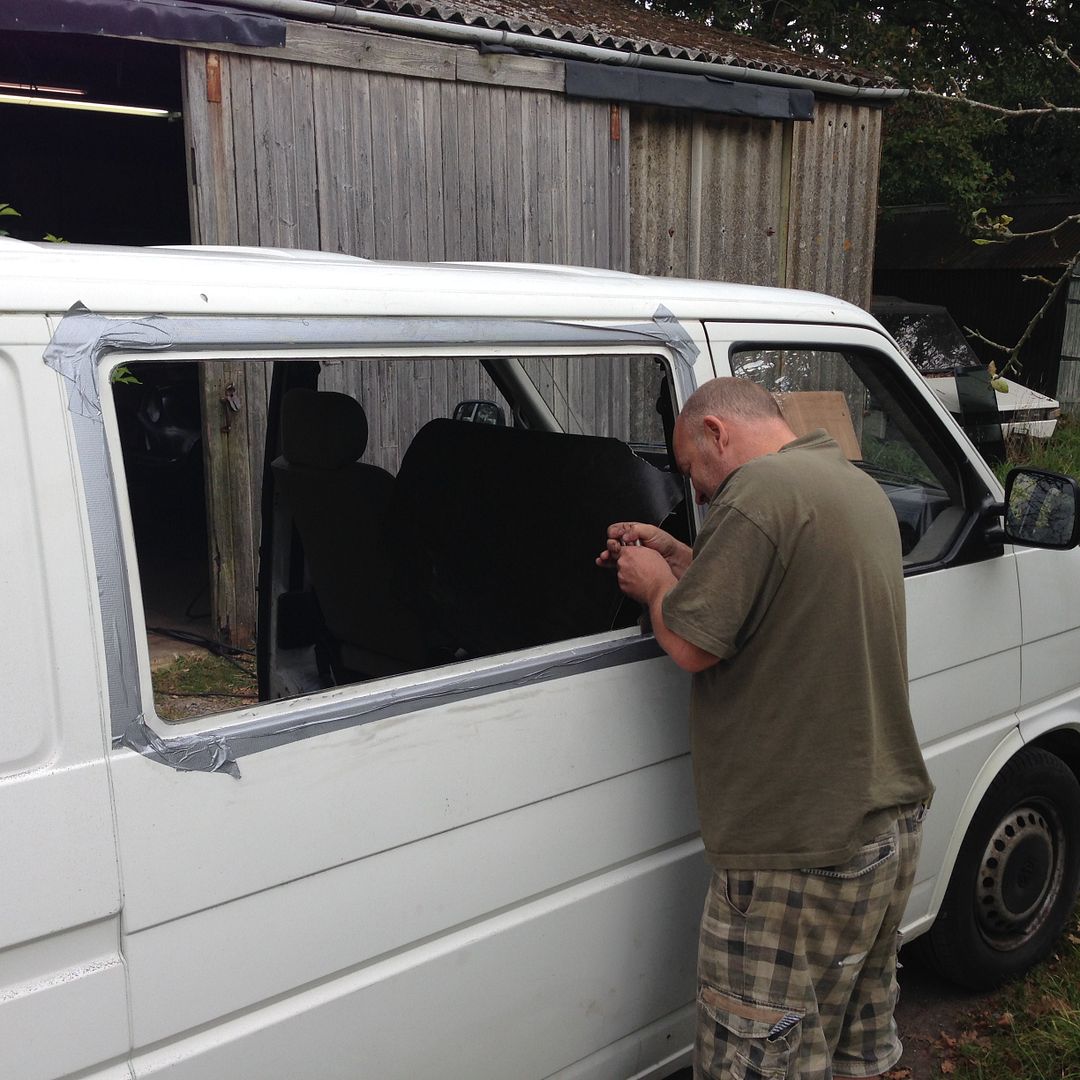
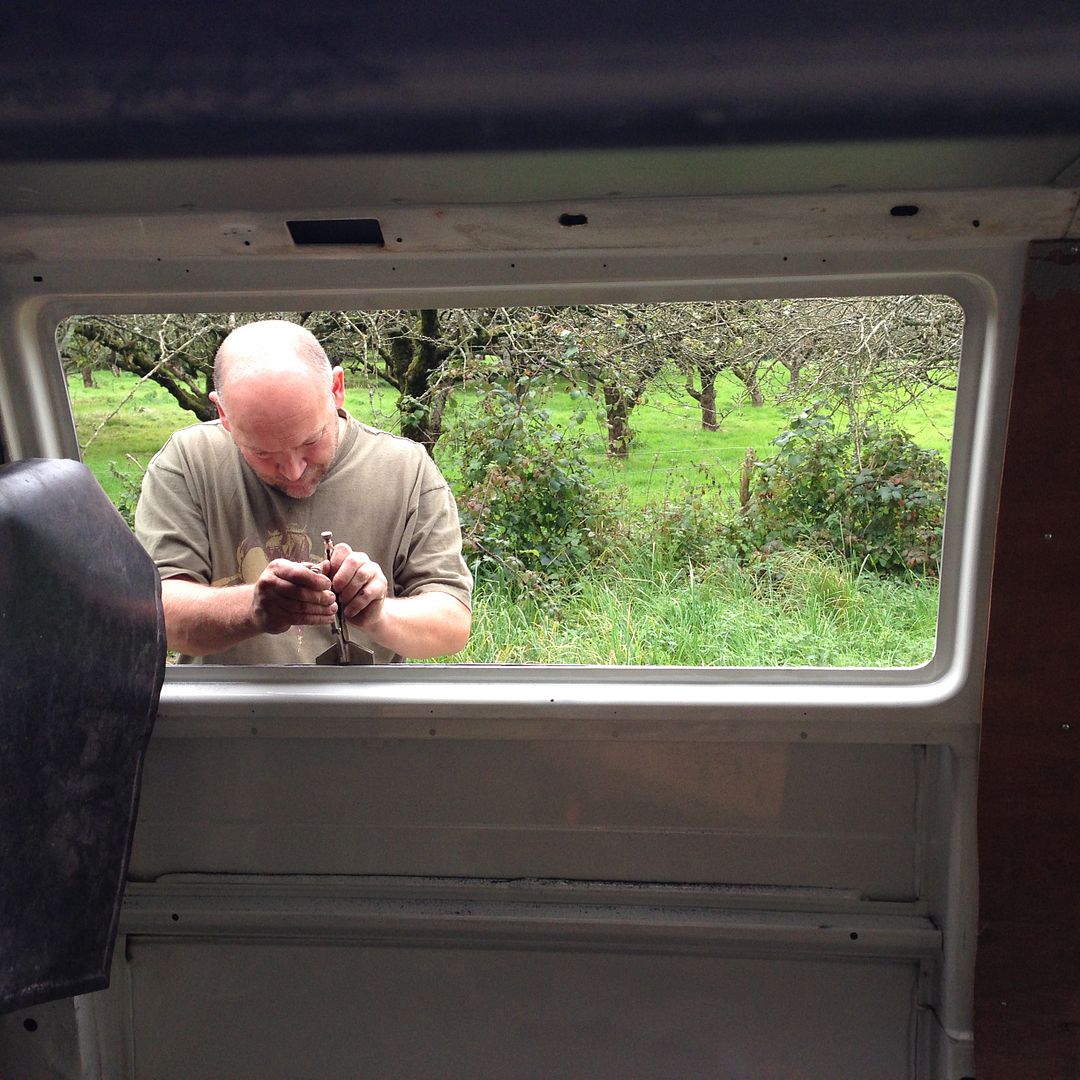
and in between doing that i did this

IMG_3485_zps1b85096f.jpg

IMG_3486_zps58f22d30.jpg

Paul busy tweaking the lip in place ready to be bonded together. His van certainly will be lighter inside.

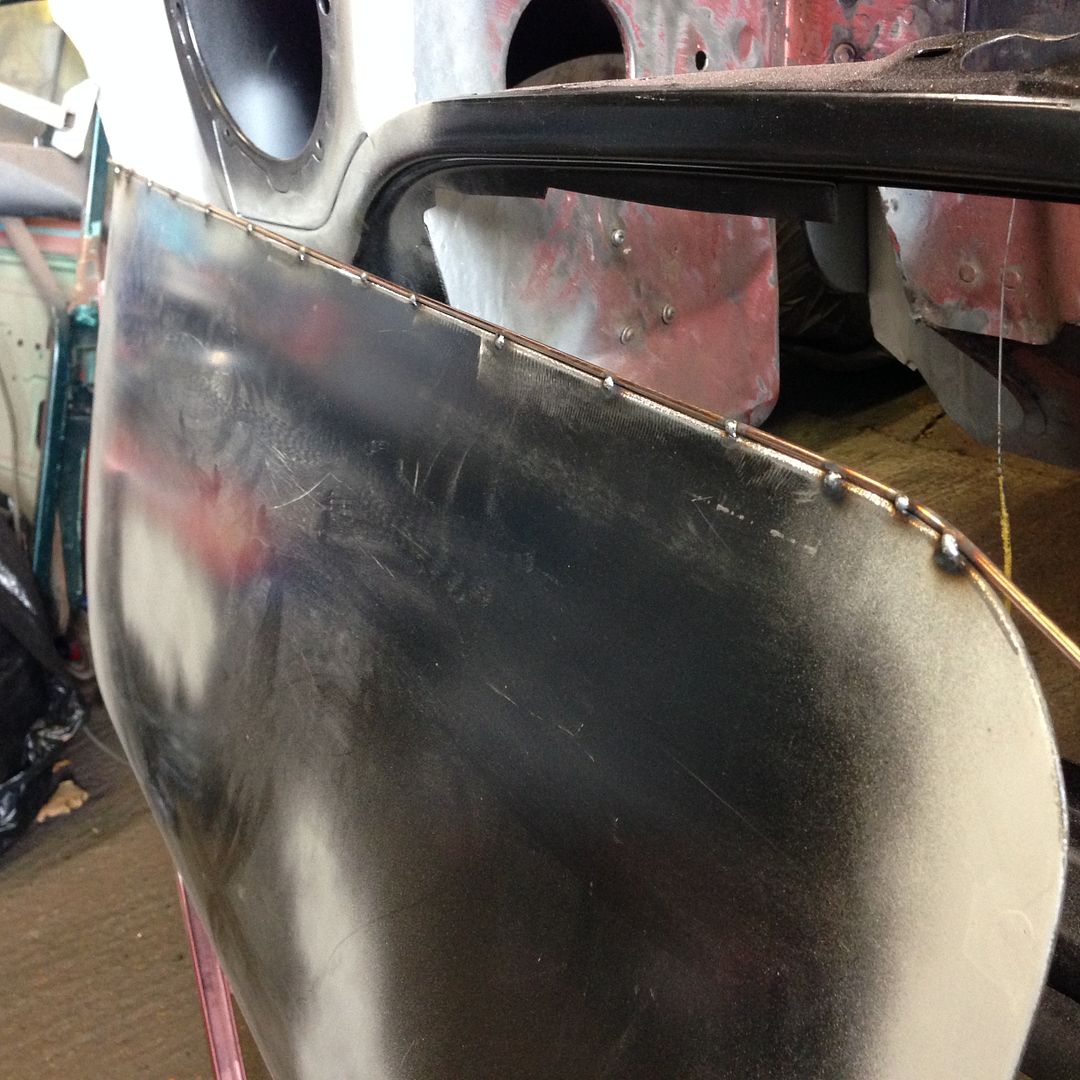
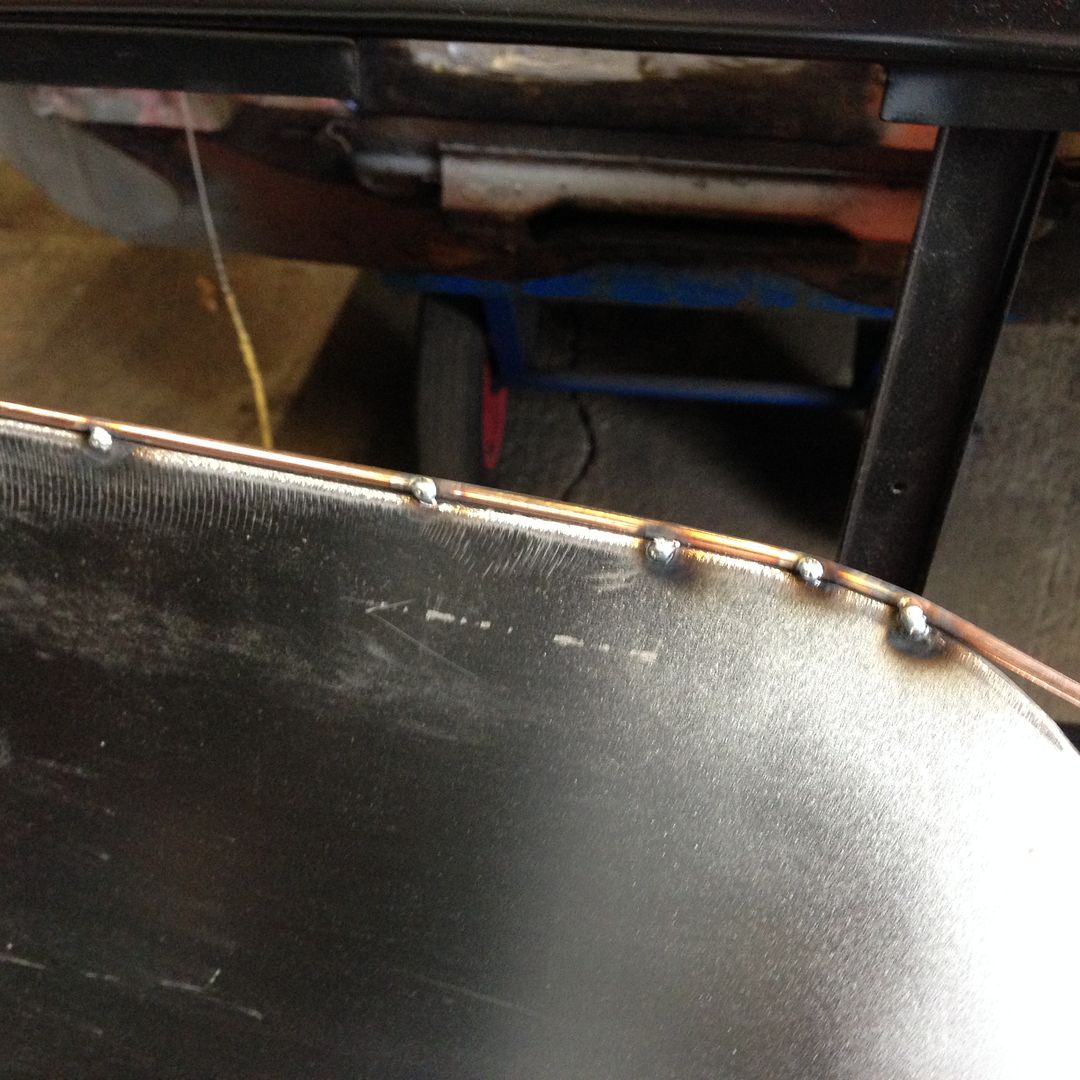
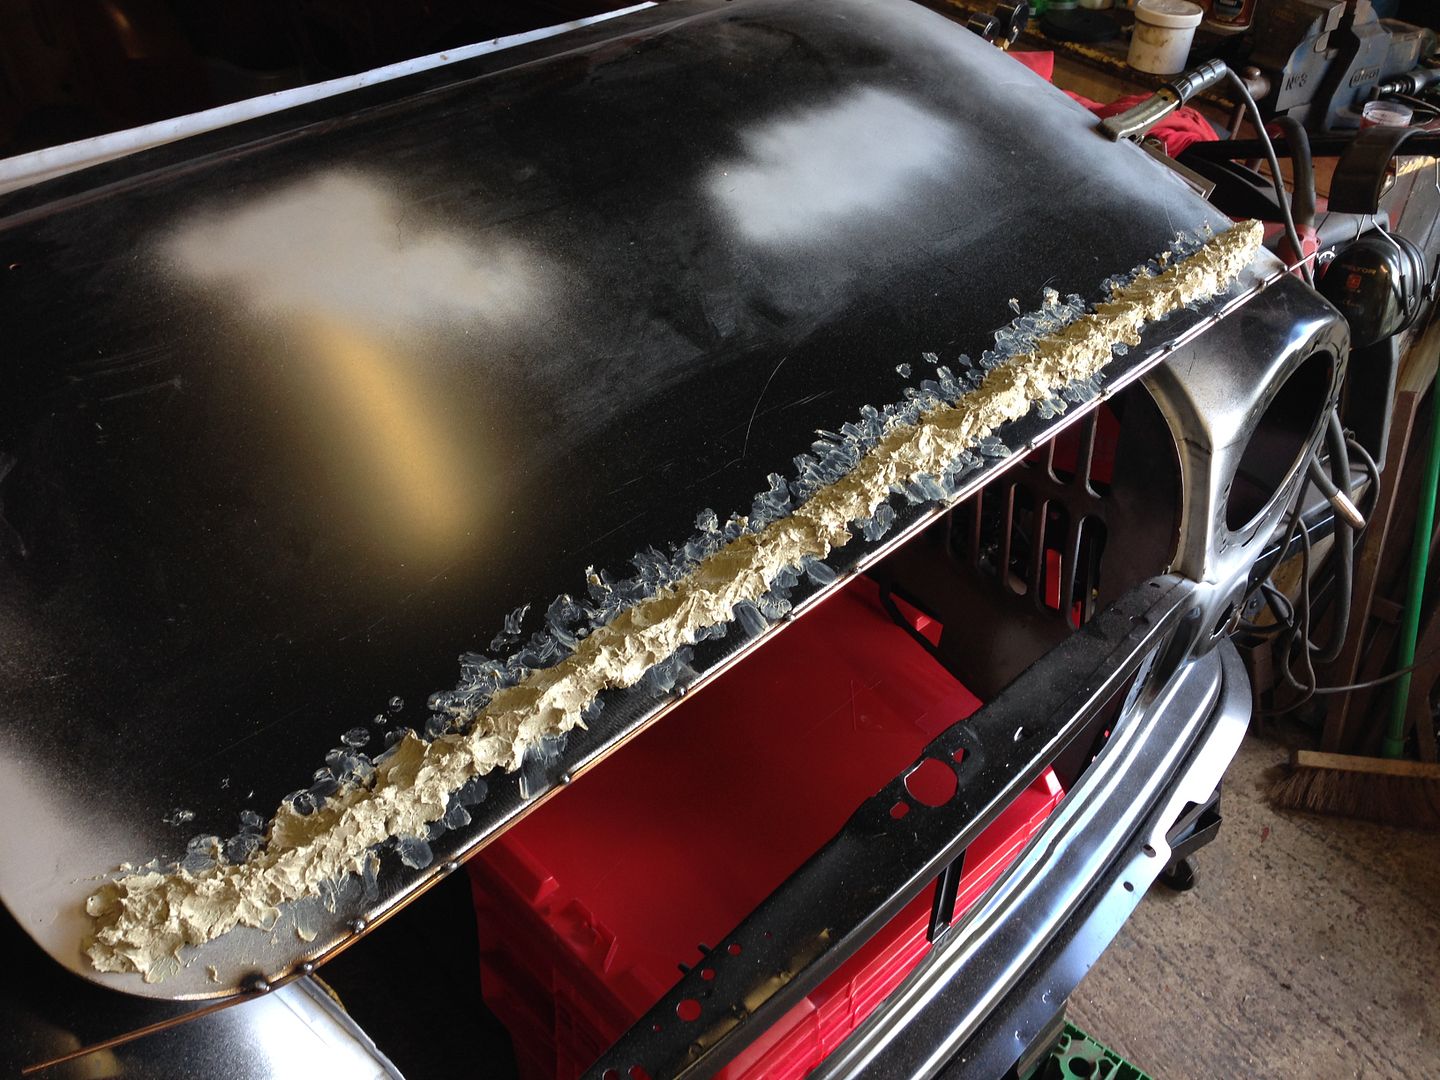
So after that i had time to tack a filler rod to the bottom of the drivers door and this will be finished tomorrow

IMG_3487_zpsa11328ce.jpg

IMG_3488_zpsa650bb7a.jpg


#306 sonikk4

sonikk4

    Twisted Paint Polisher!!!

  • Admin
  • PipPipPipPipPipPipPipPipPipPipPip
  • 15,989 posts
  • Name: Neil
  • Location: Oxfordshire

Posted 03 October 2014 - 03:00 PM

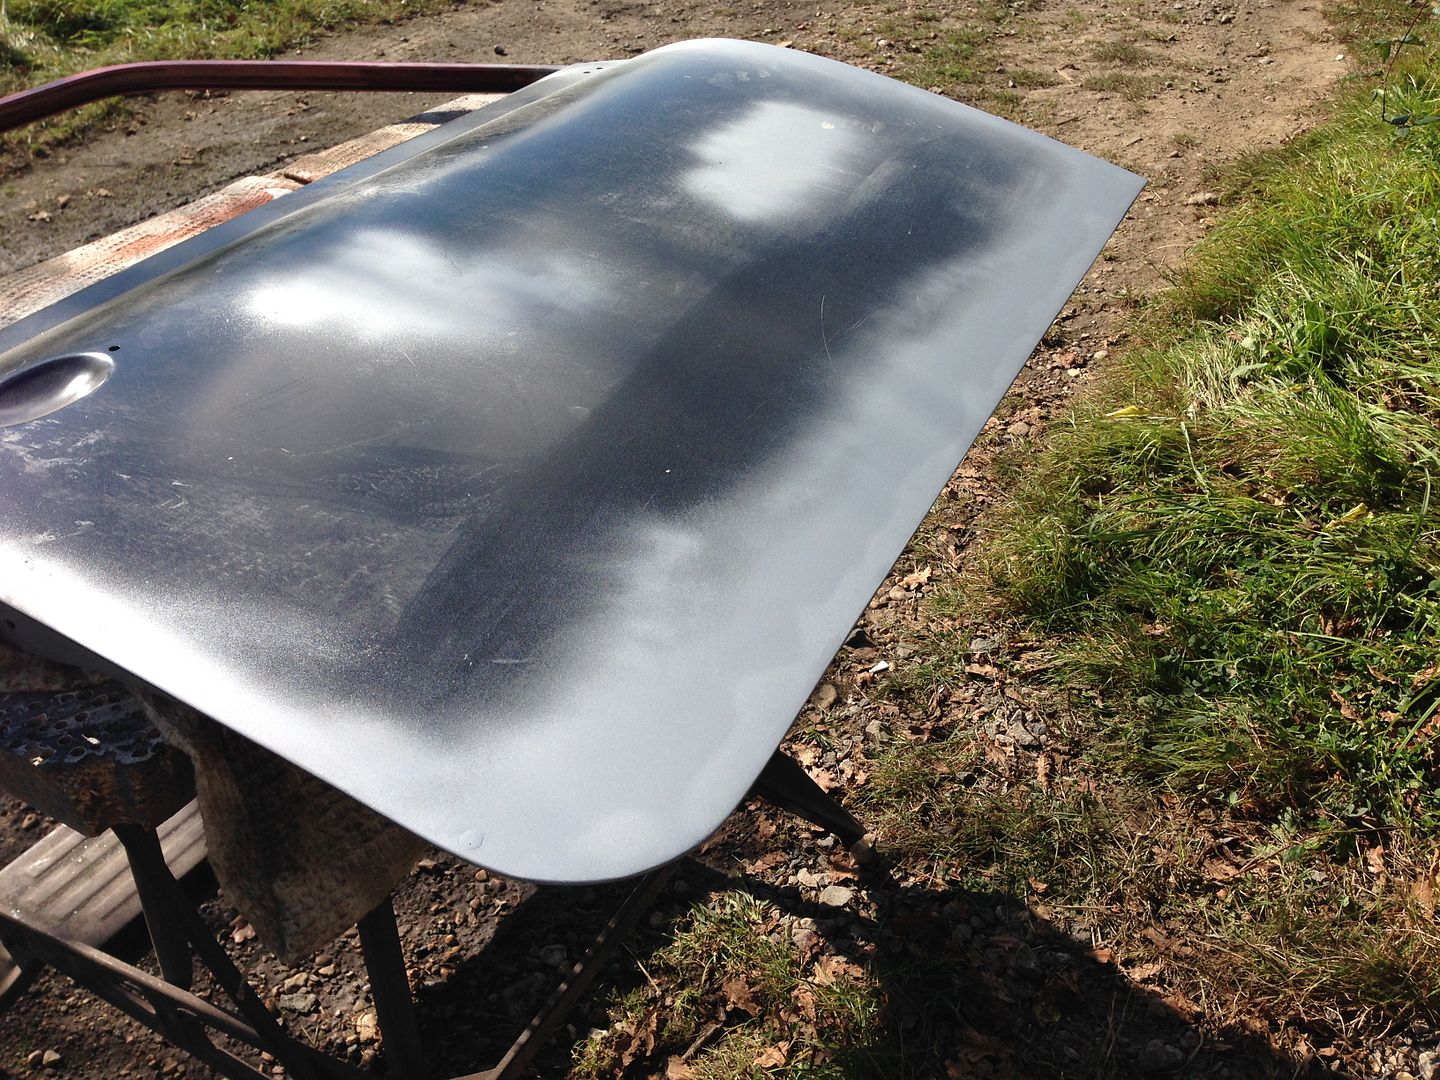
So after a quick blast with the welder today i have finally finished welding this car.


Plenty of Frosts Cold Front

IMG_3492_zps3cf63a8b.jpg

and you get this which is nothing to see

IMG_3493_zps11cad26d.jpg

and not a ripple in sight so happy days. Just need to seam seal the whole car so that's a job for next week.


#307 james_k

james_k

    Learner Driver

  • Noobies
  • PipPip
  • 15 posts
  • Location: Wigan

Posted 03 October 2014 - 05:16 PM

Might be a daft question but how come you've welded a welding rod to the bottom of the door? Have you used it as some kind of filler?


#308 Carlos W

Carlos W

    Mine is purple, but I have been told that's normal

  • TMF+ Member
  • PipPipPipPipPipPipPipPipPipPipPip
  • 10,114 posts
  • Location: Sittingbourne, Kent

Posted 03 October 2014 - 05:18 PM

Might be a daft question but how come you've welded a welding rod to the bottom of the door? Have you used it as some kind of filler?


You can tighten up door gaps really nicely with them


#309 sonikk4

sonikk4

    Twisted Paint Polisher!!!

  • Admin
  • PipPipPipPipPipPipPipPipPipPipPip
  • 15,989 posts
  • Name: Neil
  • Location: Oxfordshire

Posted 03 October 2014 - 05:53 PM

As Carlos has said by using a welding rod welded to the door you can get decent door gaps rather than having gaps you can walk through.

#310 Marco1972

Marco1972

    One Carb Or Two?

  • Members
  • PipPipPipPipPipPipPip
  • 822 posts
  • Location: Birmingham

Posted 03 October 2014 - 08:00 PM

Top notch job mate

Been a really informative build going to miss following this one

Looking forward to paddy now

#311 acky

acky

    Stage One Kit Fitted

  • Noobies
  • PipPipPip
  • 84 posts
  • Location: Huddersfield

Posted 02 February 2015 - 02:23 PM

just awesome Sonic, the end result is making re-assess what ive done


what tips do you have for plug welding ??


I have a joggler with a 5mm punch, is that too big a hole or ok ?


What do you use for sanding in tight positions ??


#312 sonikk4

sonikk4

    Twisted Paint Polisher!!!

  • Admin
  • PipPipPipPipPipPipPipPipPipPipPip
  • 15,989 posts
  • Name: Neil
  • Location: Oxfordshire

Posted 02 February 2015 - 04:13 PM

Most of the time I drill a 1/4" holes for plug welding but 5mm will be fine but do plug weld on high power.

For tight gaps I always use my right angle die grinder and carbide burr.

#313 clubman91

clubman91

    Mini Mad

  • TMF+ Member
  • PipPipPipPip
  • 137 posts
  • Location: North Wales

Posted 03 March 2015 - 12:24 AM

Had a look through this build, Great work...Shame will not see the rest of the build.
How can i get a set of the door steps?
Cheers,
Mark.

#314 sonikk4

sonikk4

    Twisted Paint Polisher!!!

  • Admin
  • PipPipPipPipPipPipPipPipPipPipPip
  • 15,989 posts
  • Name: Neil
  • Location: Oxfordshire

Posted 03 March 2015 - 08:48 AM

I currently don't have any spares plus I'm not sure as and when Alan can make another batch as he has to set up his press.

#315 mk1leg

mk1leg

    Crazy About Mini's

  • Members
  • PipPipPipPipPipPipPipPipPipPip
  • 9,343 posts
  • Location: Jersey
  • Local Club: Mini Club Jersey, MCR

Posted 03 March 2015 - 09:46 PM

Wow this has come on a long way......great skills......... :highfive:


2 user(s) are reading this topic

0 members, 2 guests, 0 anonymous users