Wills Mini Special
#166

Posted 08 May 2014 - 07:08 AM
It's so thin, I had a right game with mine
#167

Posted 08 May 2014 - 07:33 AM
How do you manage to keep the edge of the seat pan to companion bin lip in such good shape ?
It's so thin, I had a right game with mine
I used a grinder on the inside of the companion bin to knock the spot welds back. Easy to do with the quarter off.
#168

Posted 08 May 2014 - 07:46 AM
I had the misfortune of doing it from the seat side , I have a cunning plan for when I replace the other side
Looking good anyway Neil
When do you think you will finish the metal work ?
#169

Posted 08 May 2014 - 08:59 AM
I also have a SPI coming in for a front floor panel as well this month so it's a tad busy. And I need to do Paddy's rear bearings and fit new brake drums as well.
#170

Posted 12 May 2014 - 05:28 PM
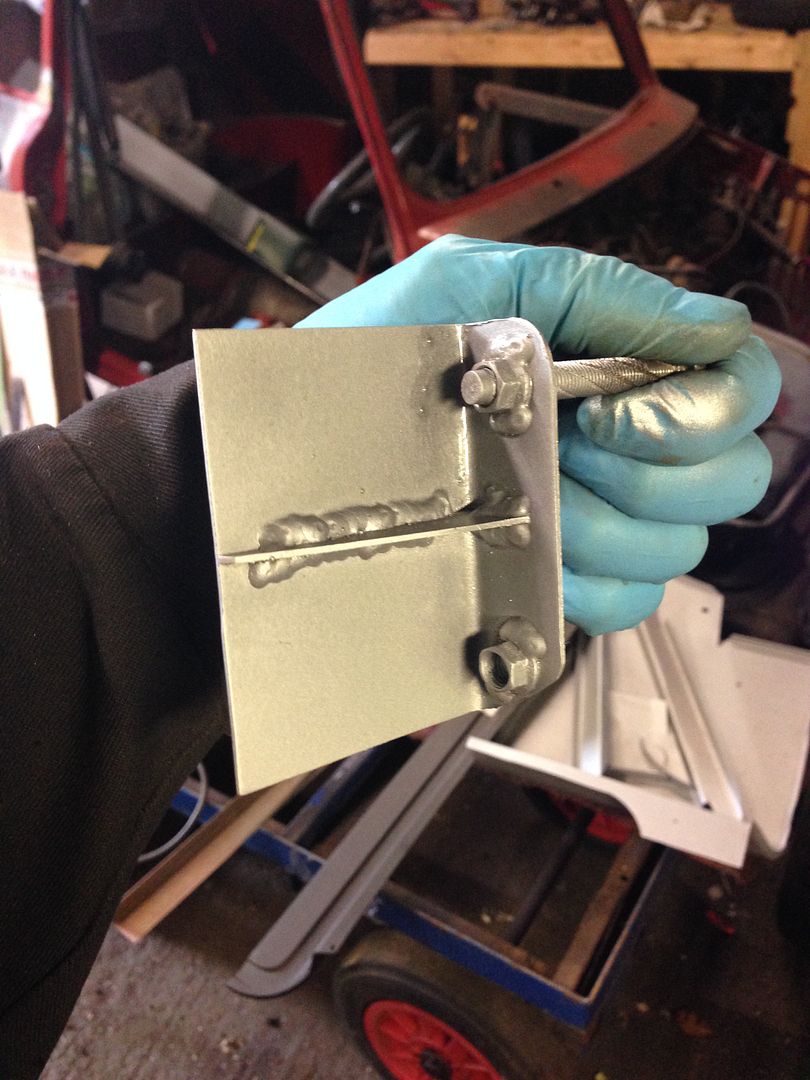
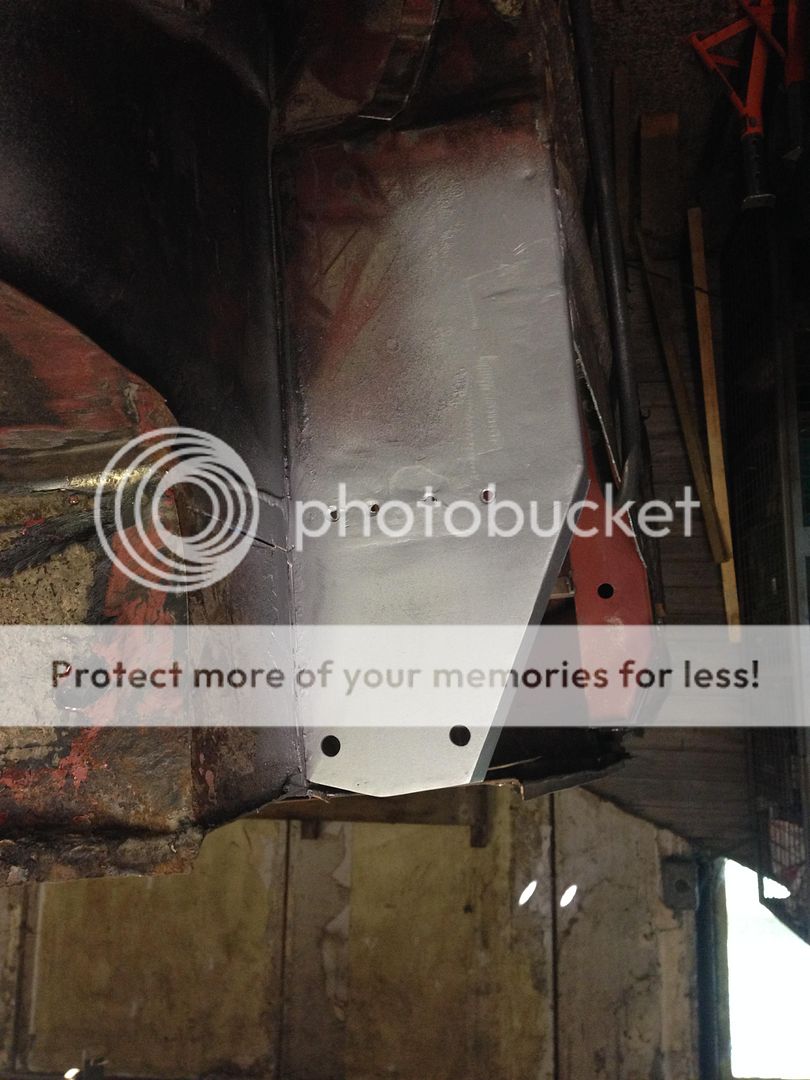
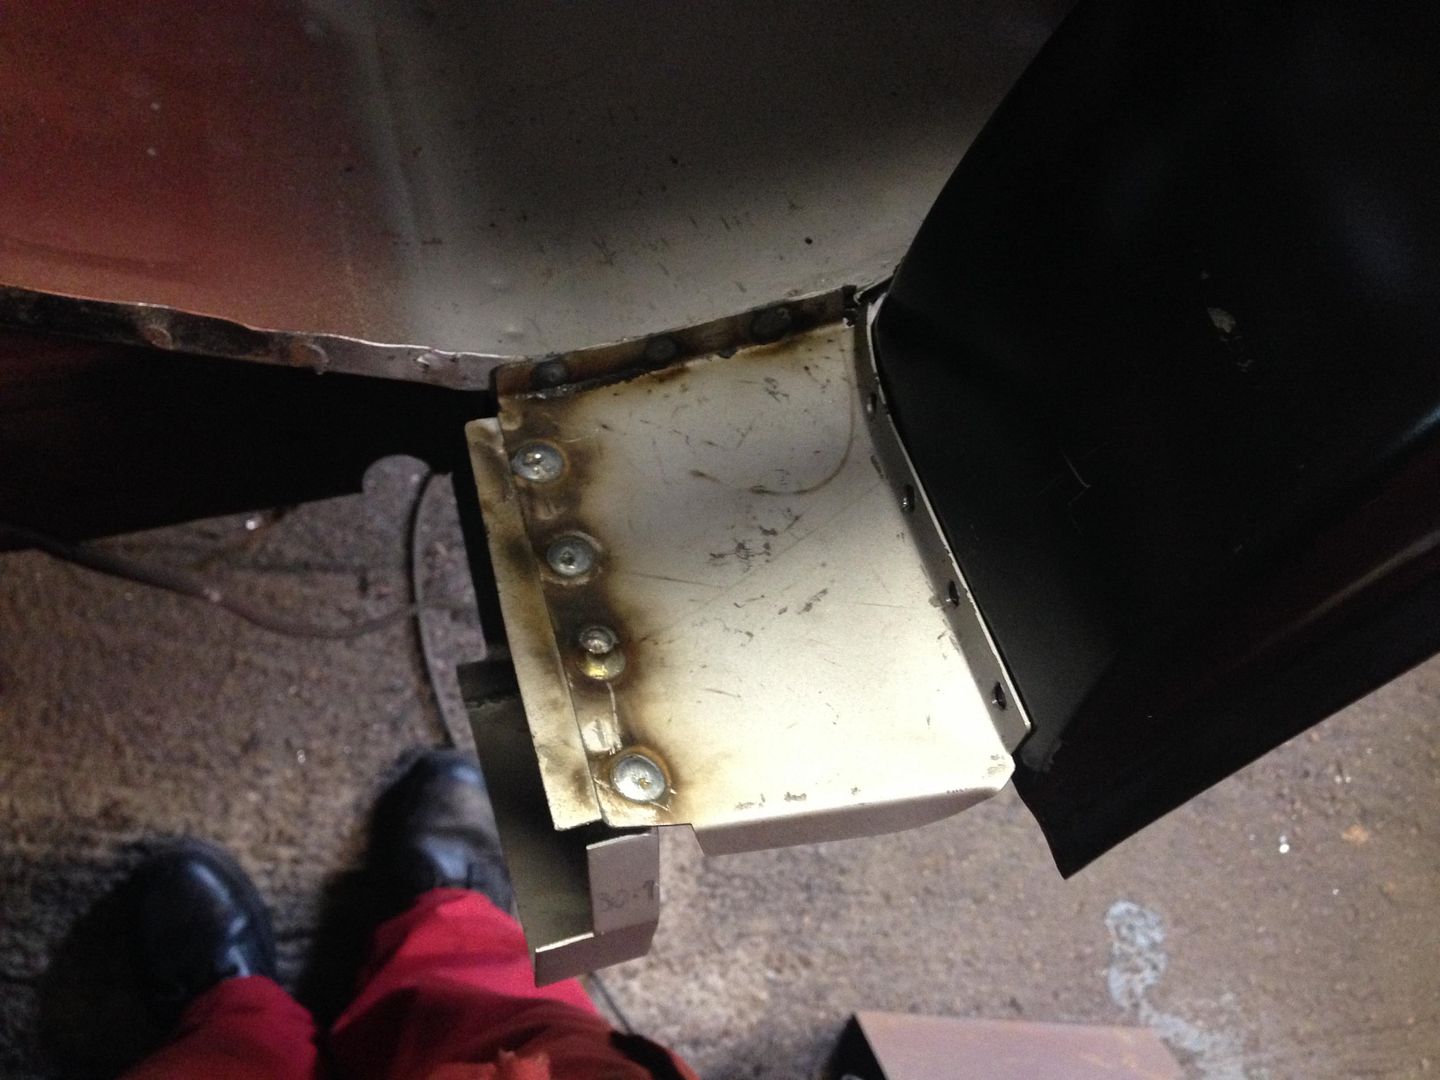
Upwards and onwards, thoroughly annoyed with myself as i managed to loose the heelboard to new inner sill stiffener so knocked one up including a reinforcing gusset
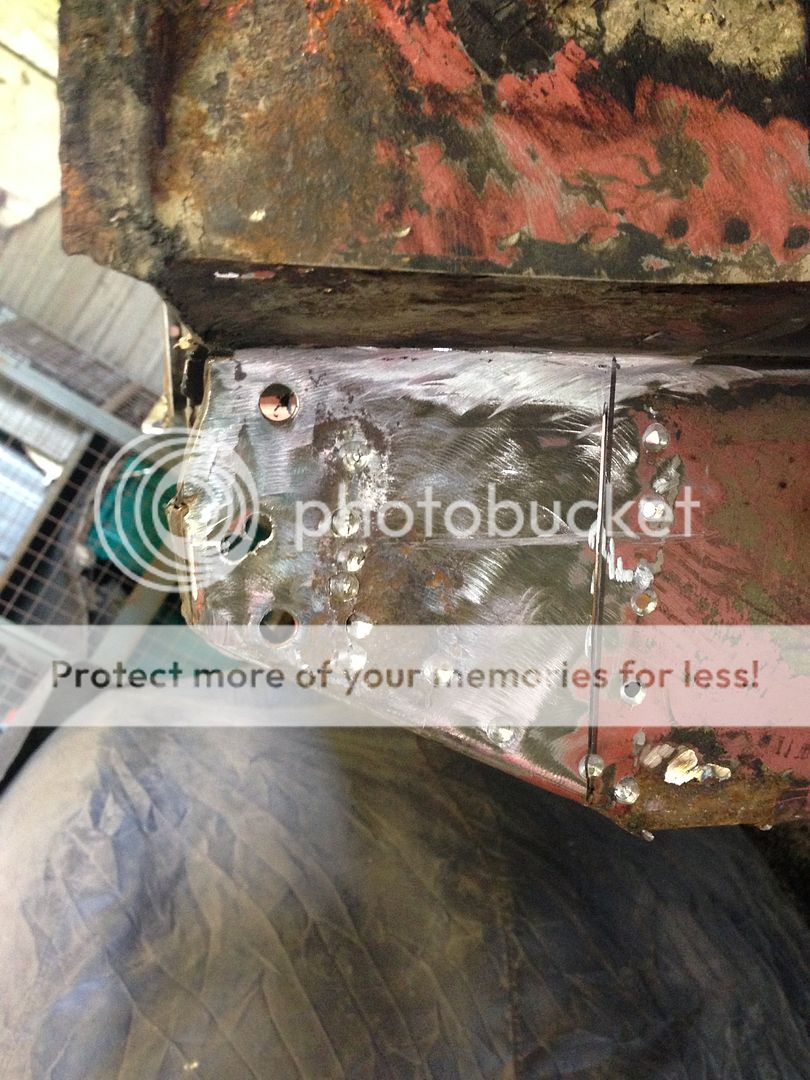
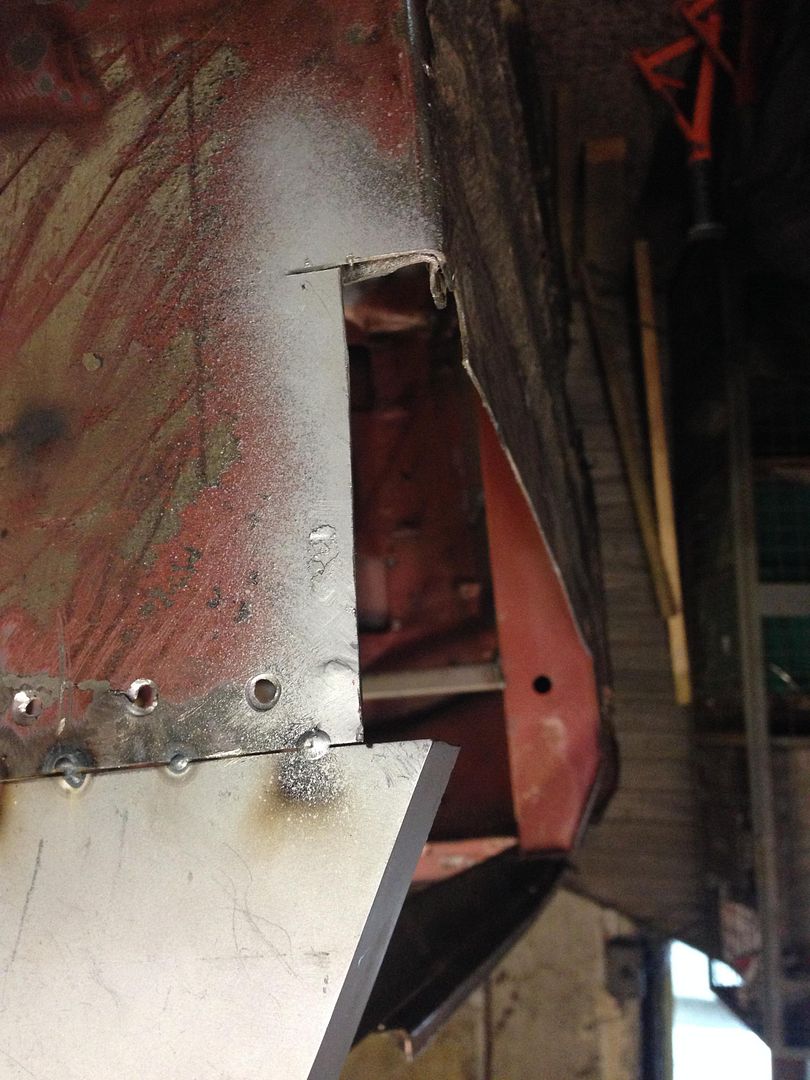
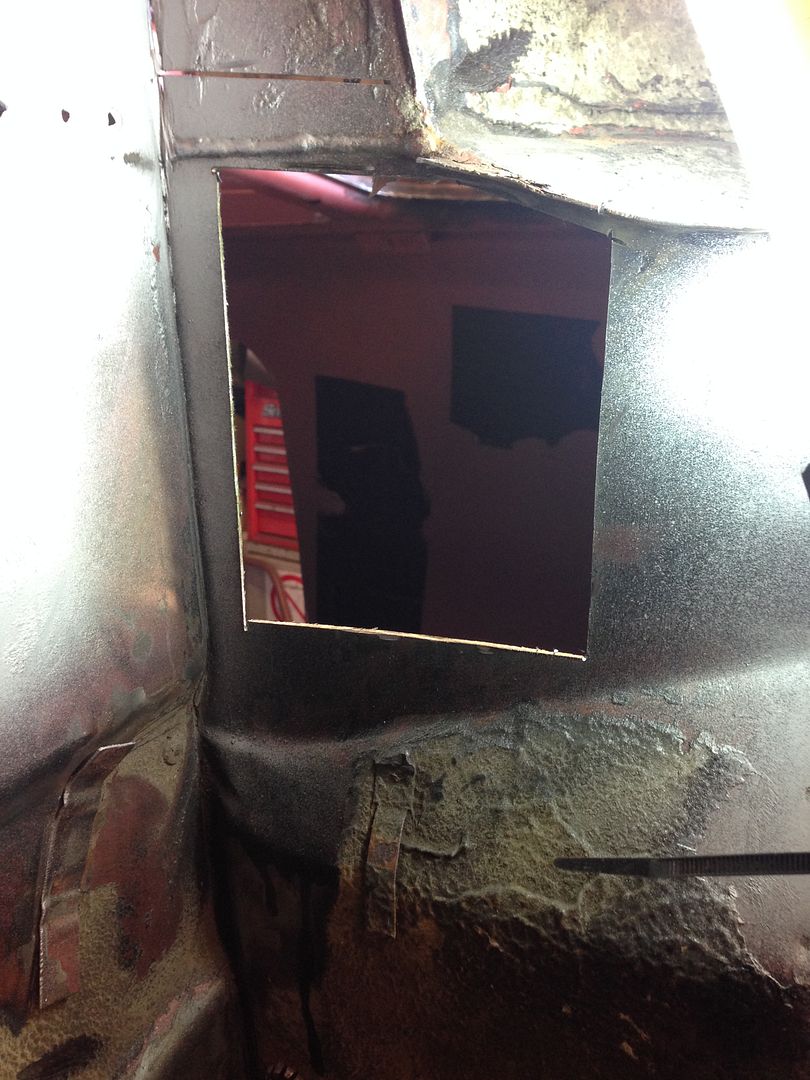
then it was on to fitting the new heelboard end repair section i made last week so off with the old end piece
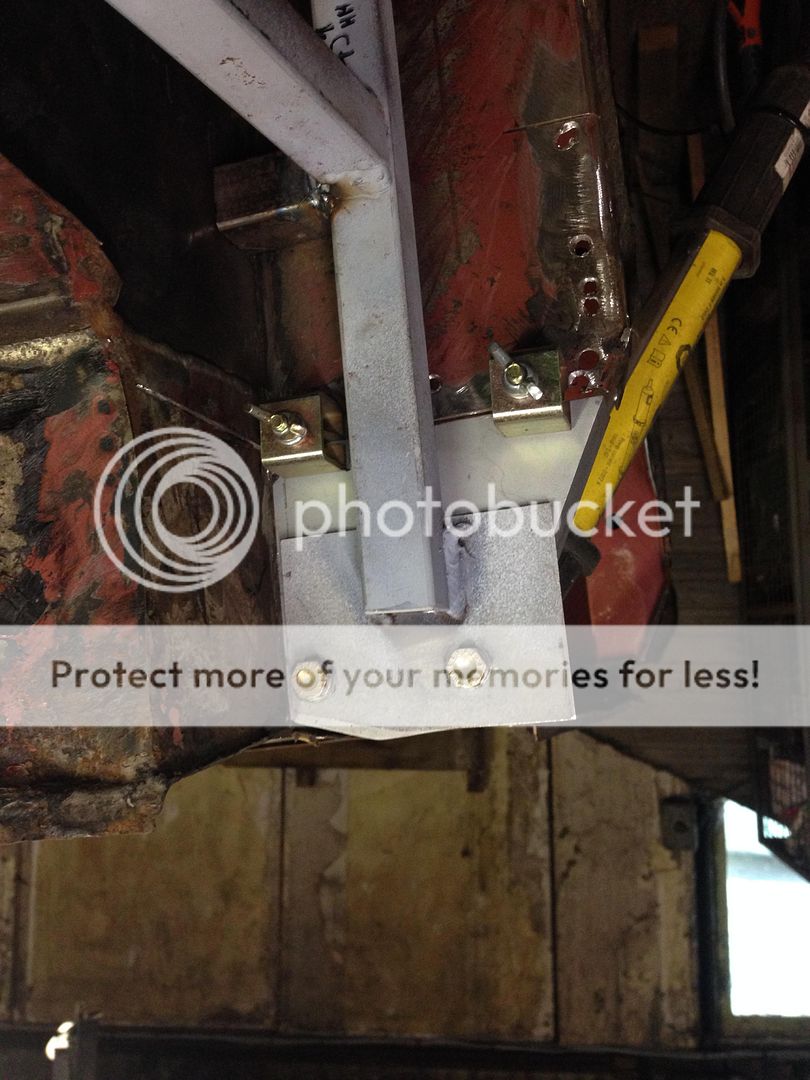
making sure the new section is aligned correctly
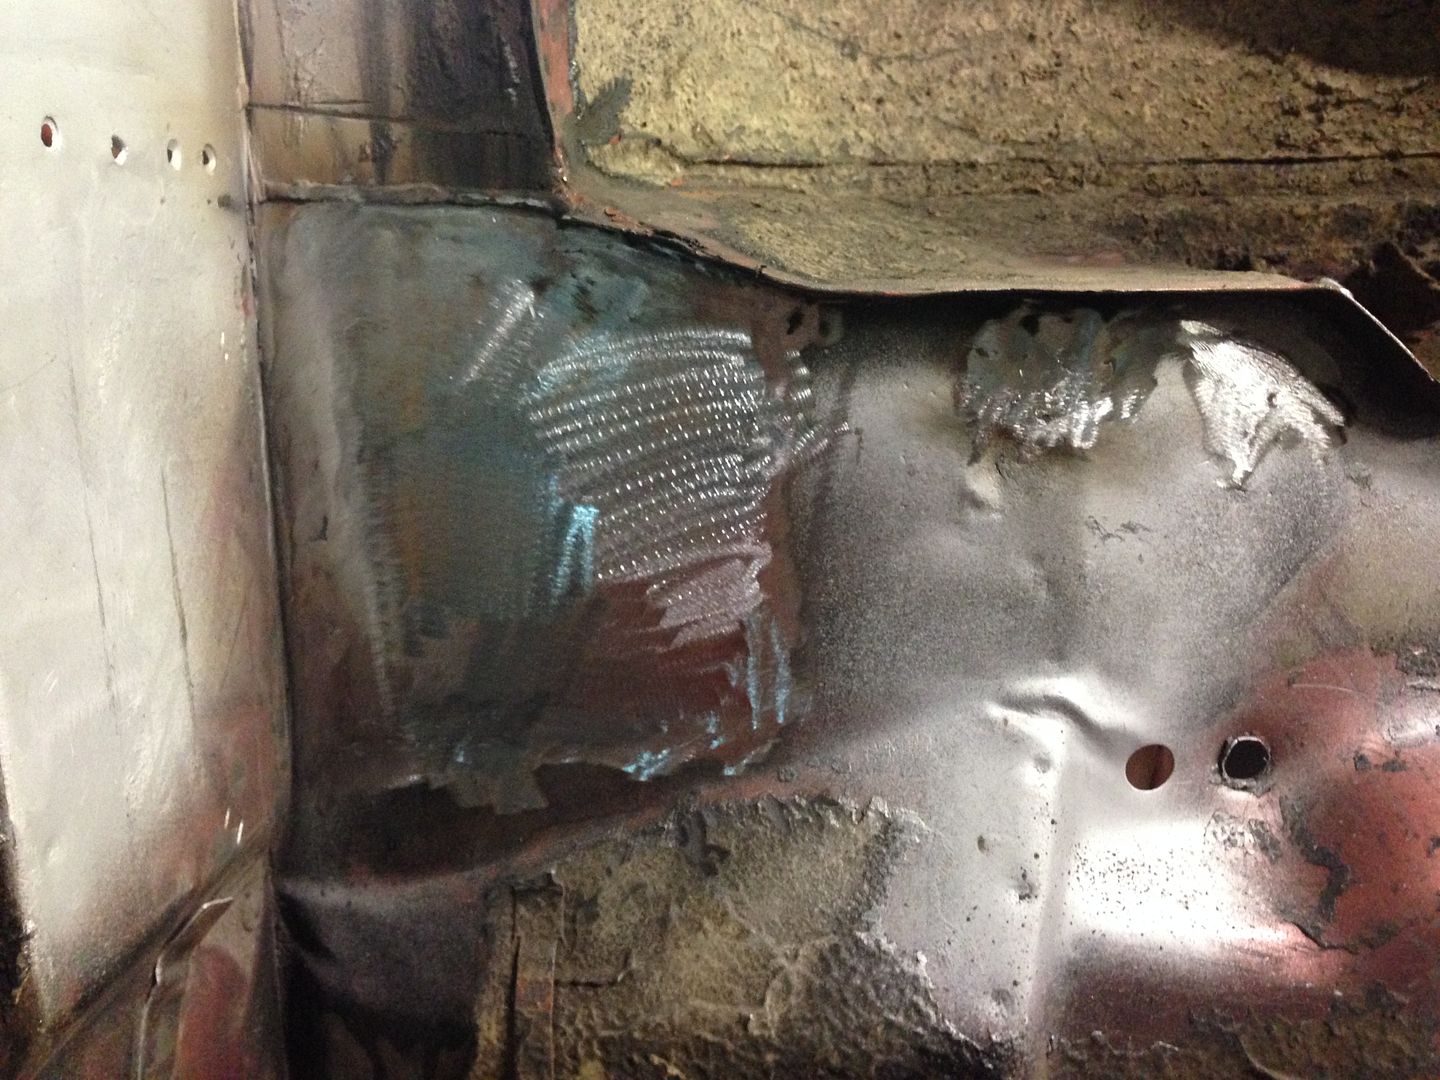
then tacked in place and the where i removed the last of the inner sill return to find more rust
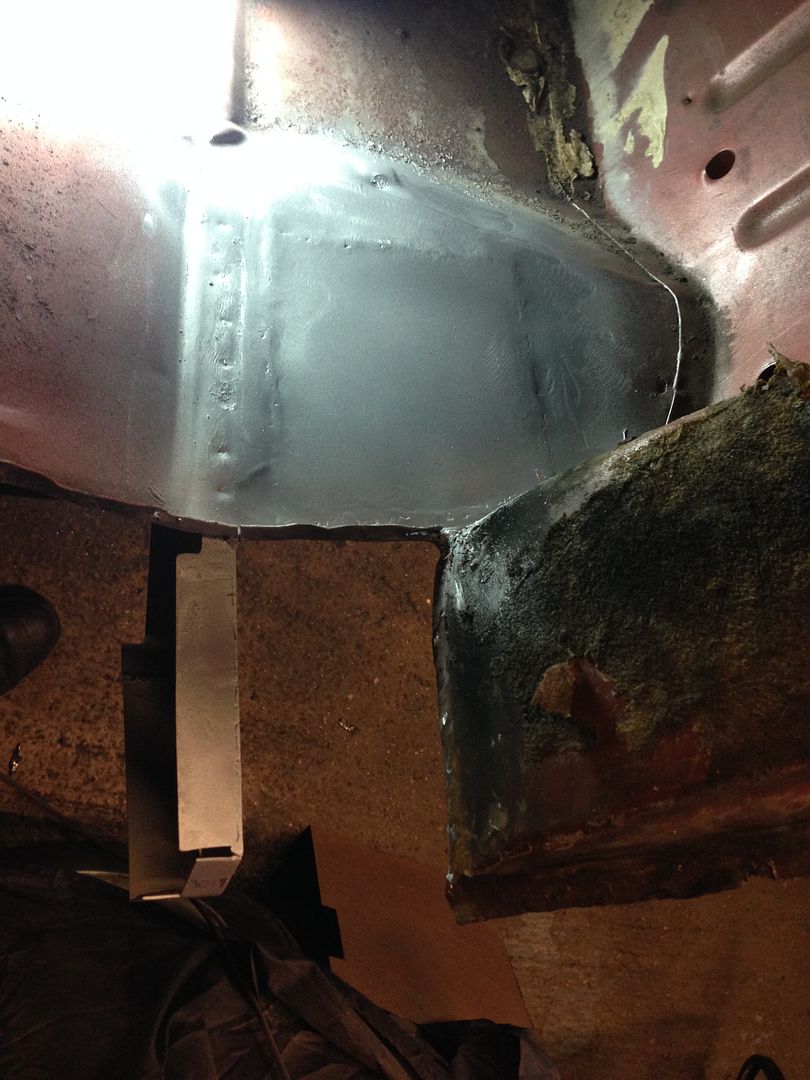
and welded up and ground back. Just some final dressing to do
#171

Posted 12 May 2014 - 08:35 PM
I have this very repair to do on mine Neil
I've been putting it off after the trouble I had with the other side
I had to rework it due to it going out of alignment somehow ??
You make it look to easy
Nice bit of fab work on the reinforcing piece mate plenty of weld on those nuts
#173

Posted 13 May 2014 - 08:48 PM
How important are those heelboard to inner seal plates ? I've just remembered I had not put mine back on...
#174

Posted 14 May 2014 - 05:45 AM
Looks like a great resto!
How important are those heelboard to inner seal plates ? I've just remembered I had not put mine back on...
Very as they transfer the loading from the subbie to the monoqoque of the car. It's one of those areas where it needs to be as strong as possible due to the forces involved there.
#175

Posted 22 May 2014 - 06:46 PM
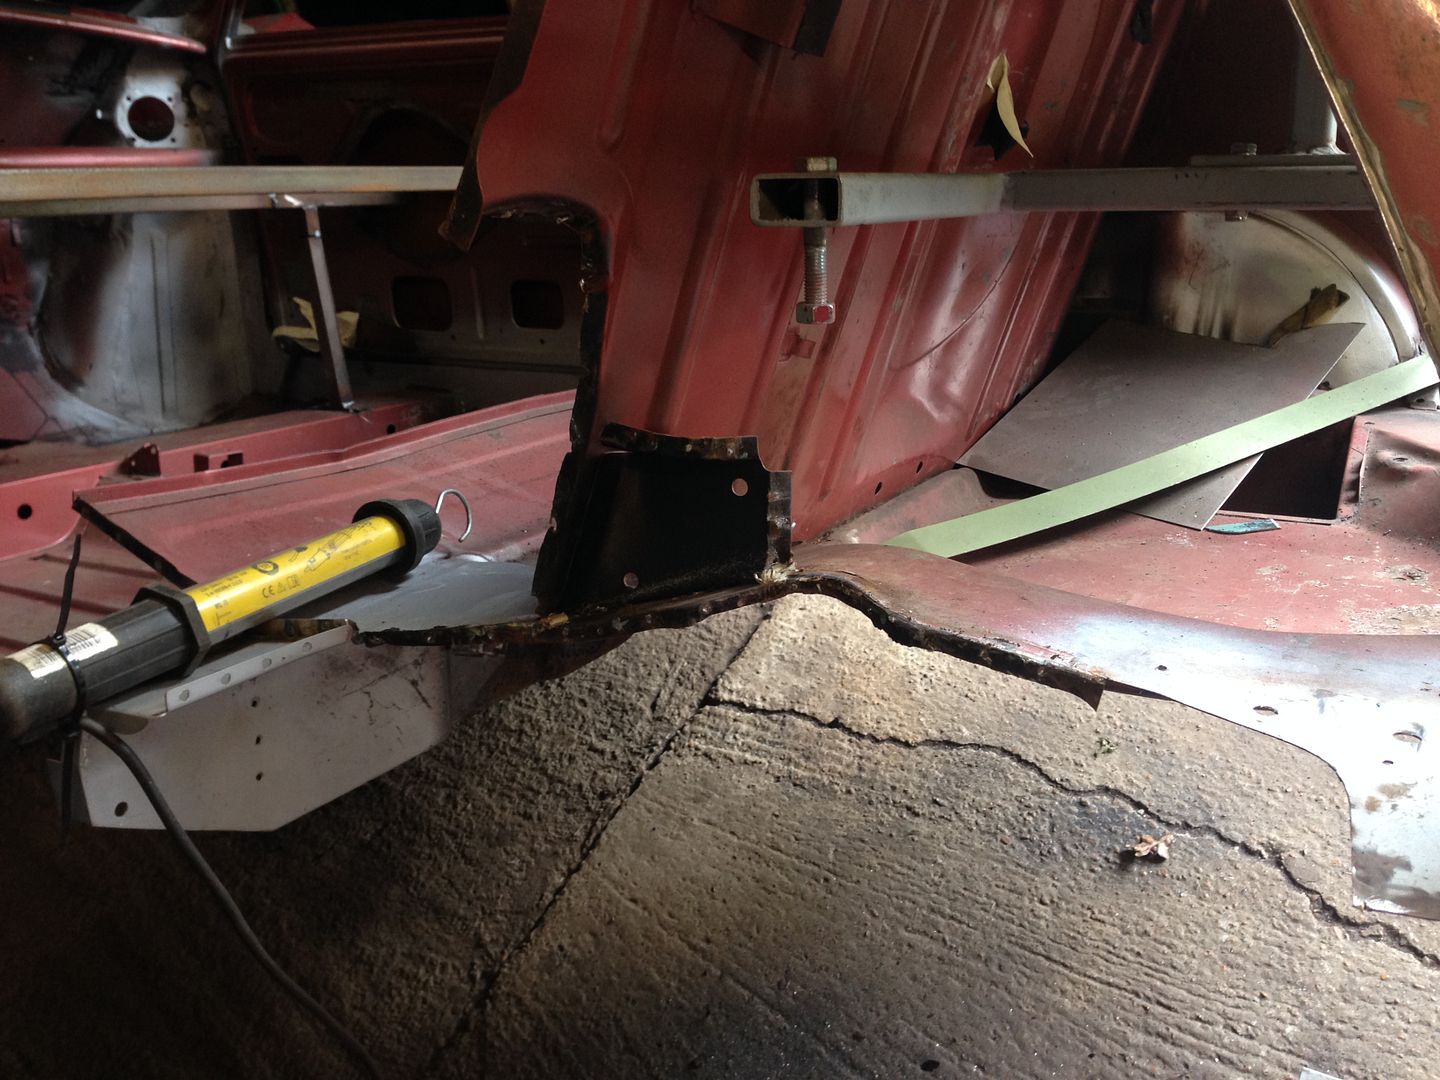
Today this happened, came off in me guv honest
This went in first though just to make it will be positioned correctly
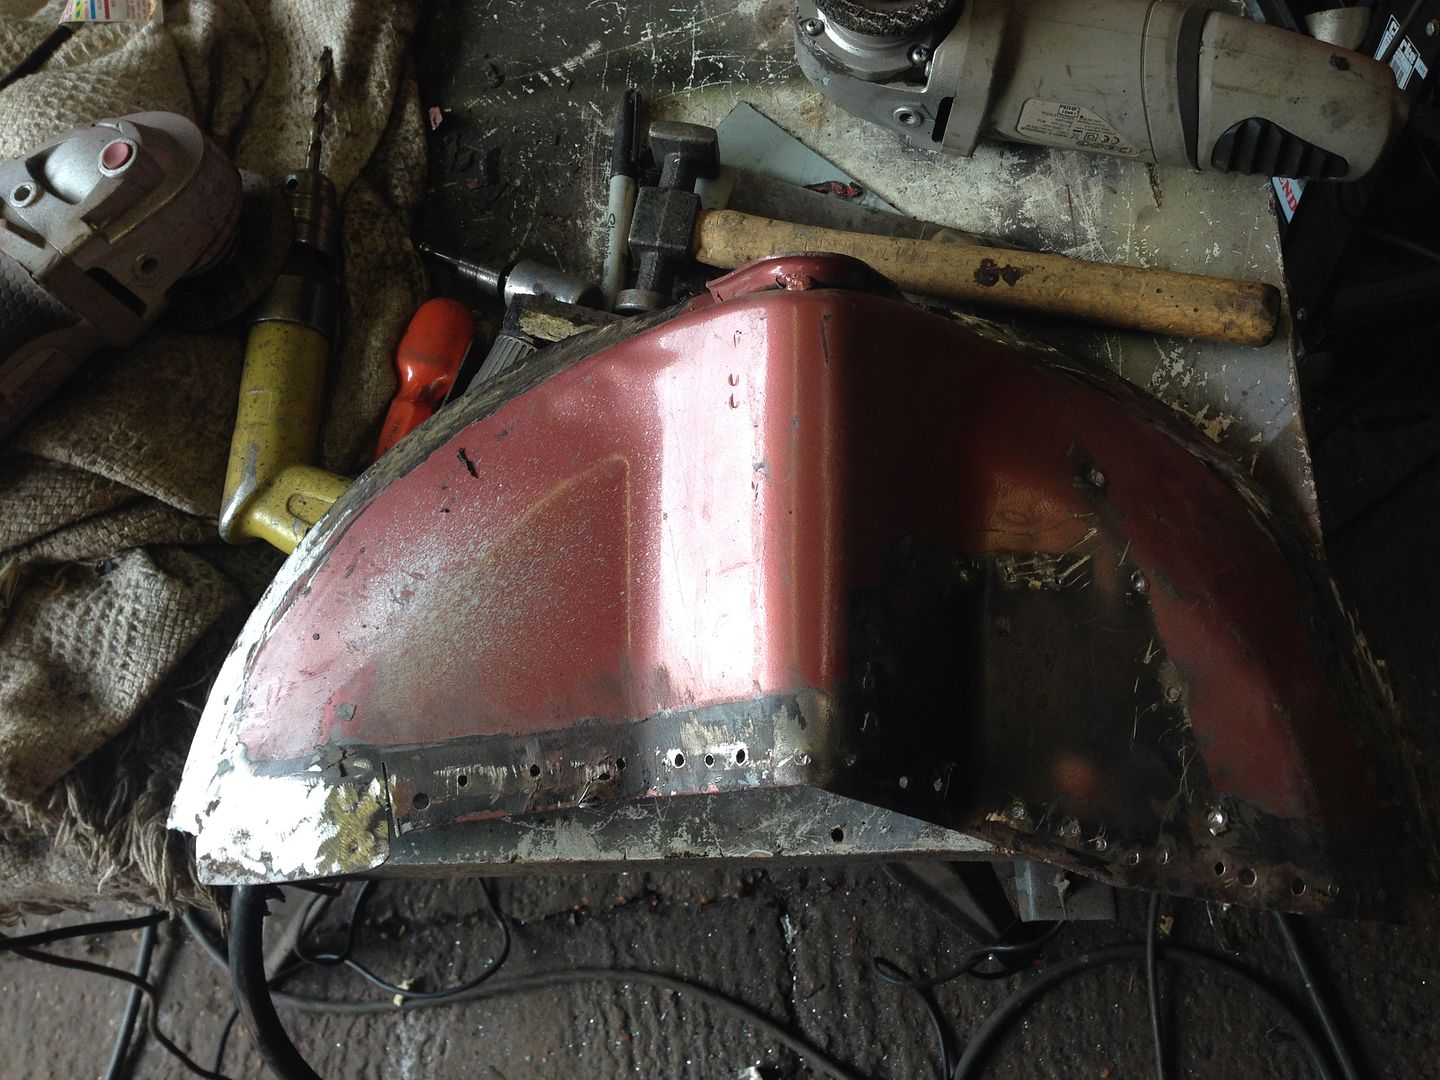
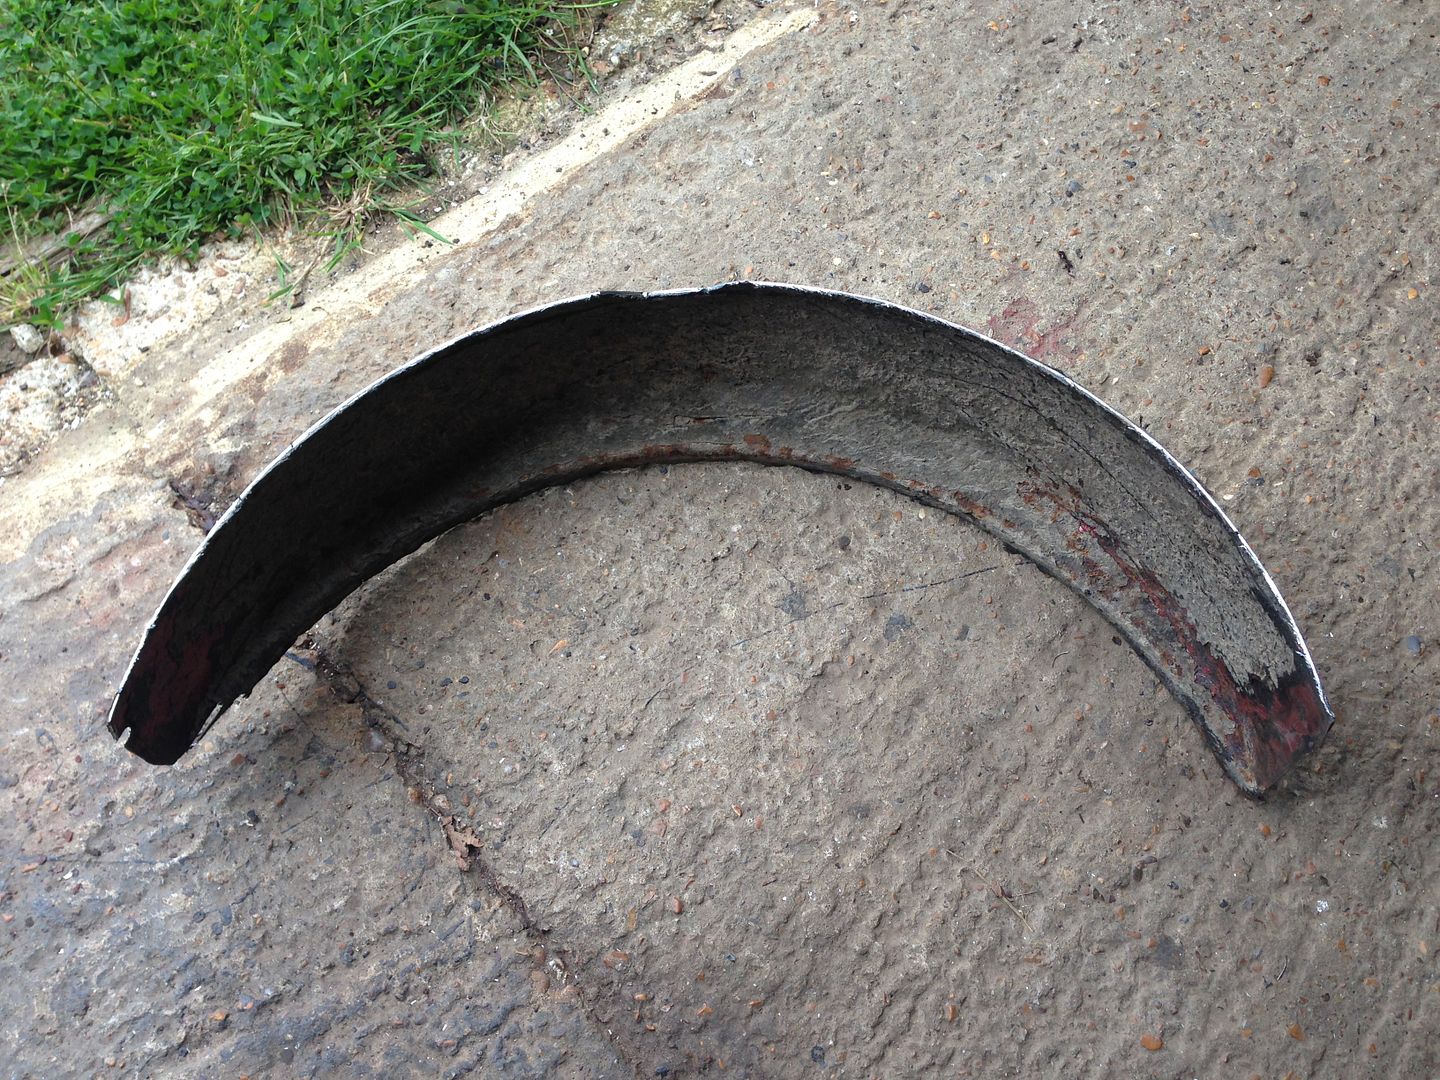
The it was a case of splitting the two halves of the arch to end up with this
A bit of repair work to the inner section then the Heritage outer will be welded to it and the whole lot welded back in place.
#176

Posted 22 May 2014 - 07:57 PM
hi neil when you fitted the inner sill to floor panel did you butt join the floor or overlap the panel as you had skin pins it until you got to the front floor many thanks still superb workmanship as always
simon
#177

Posted 22 May 2014 - 07:59 PM
I joggled the floor so it was overlapped. Flush on the underside but you could see a ridge on the inside.
#178

Posted 22 May 2014 - 08:13 PM
thanks for that i have to do this on my mini next week
#179

Posted 22 May 2014 - 09:42 PM
What's next on the list mate ?
#180

Posted 22 May 2014 - 10:18 PM
Once all of that is done its in with the inner sill followed by the rear quarter.
I'm still waiting on my bespoke door steps as Alan has had issues with forming the small return, he will be changing to a slightly larger set of tooling shortly (1mm bigger) for the return and this means it will form without slipping out of the tooling. Now I know why Magnum panels are crap as they suffer the same problem.
1 user(s) are reading this topic
0 members, 1 guests, 0 anonymous users


