Wills Mini Special
#151

Posted 30 April 2014 - 08:36 AM
#152

Posted 30 April 2014 - 11:55 AM
love this thread! everything your doing to this car is immaculate!
#153

Posted 30 April 2014 - 12:24 PM
It's the right thickness for the profile of the folded lip. I will be using it along the bottom of the door as well.
Awesome also nicked that idea thanks neil.
#154

Posted 30 April 2014 - 01:09 PM
#155

Posted 30 April 2014 - 08:03 PM
love this thread! everything your doing to this car is immaculate!
Cheers its a slog but should be worth it for the owner
It's the right thickness for the profile of the folded lip. I will be using it along the bottom of the door as well.
Awesome also nicked that idea thanks neil.
No problem Sal, it worked well for Project Erm and the finished product looks really good.
Lovely work !
Thankyou ![]()
#156

Posted 30 April 2014 - 08:24 PM
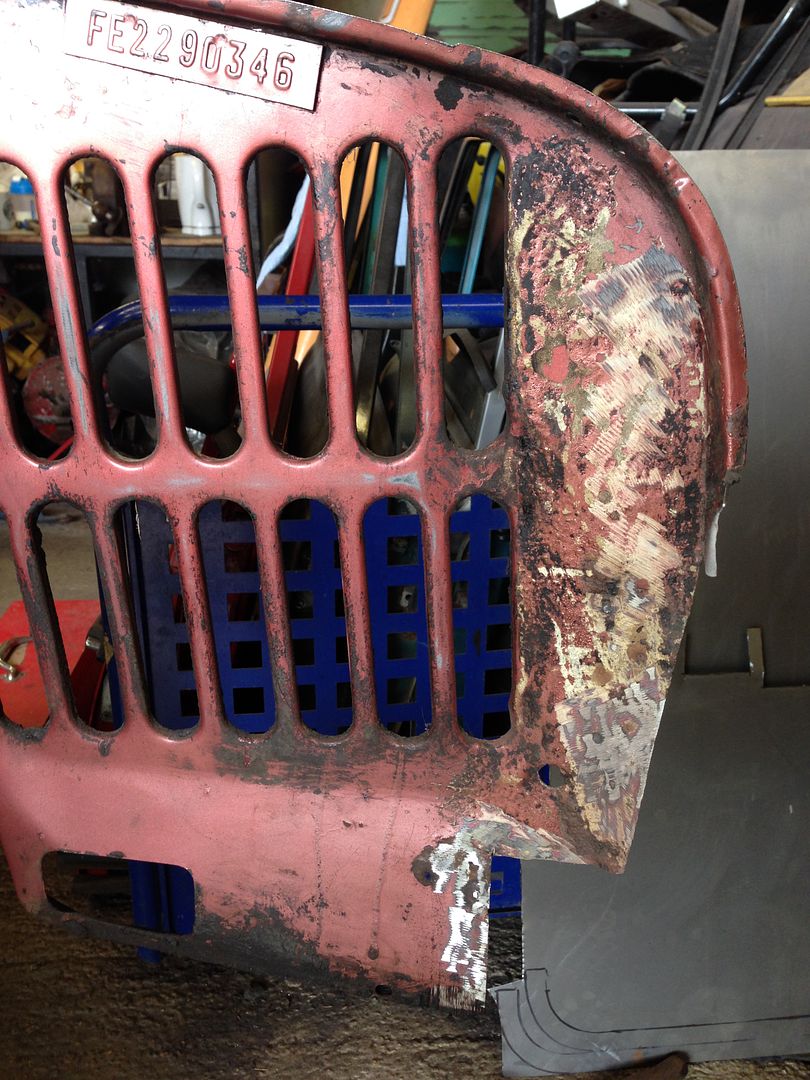
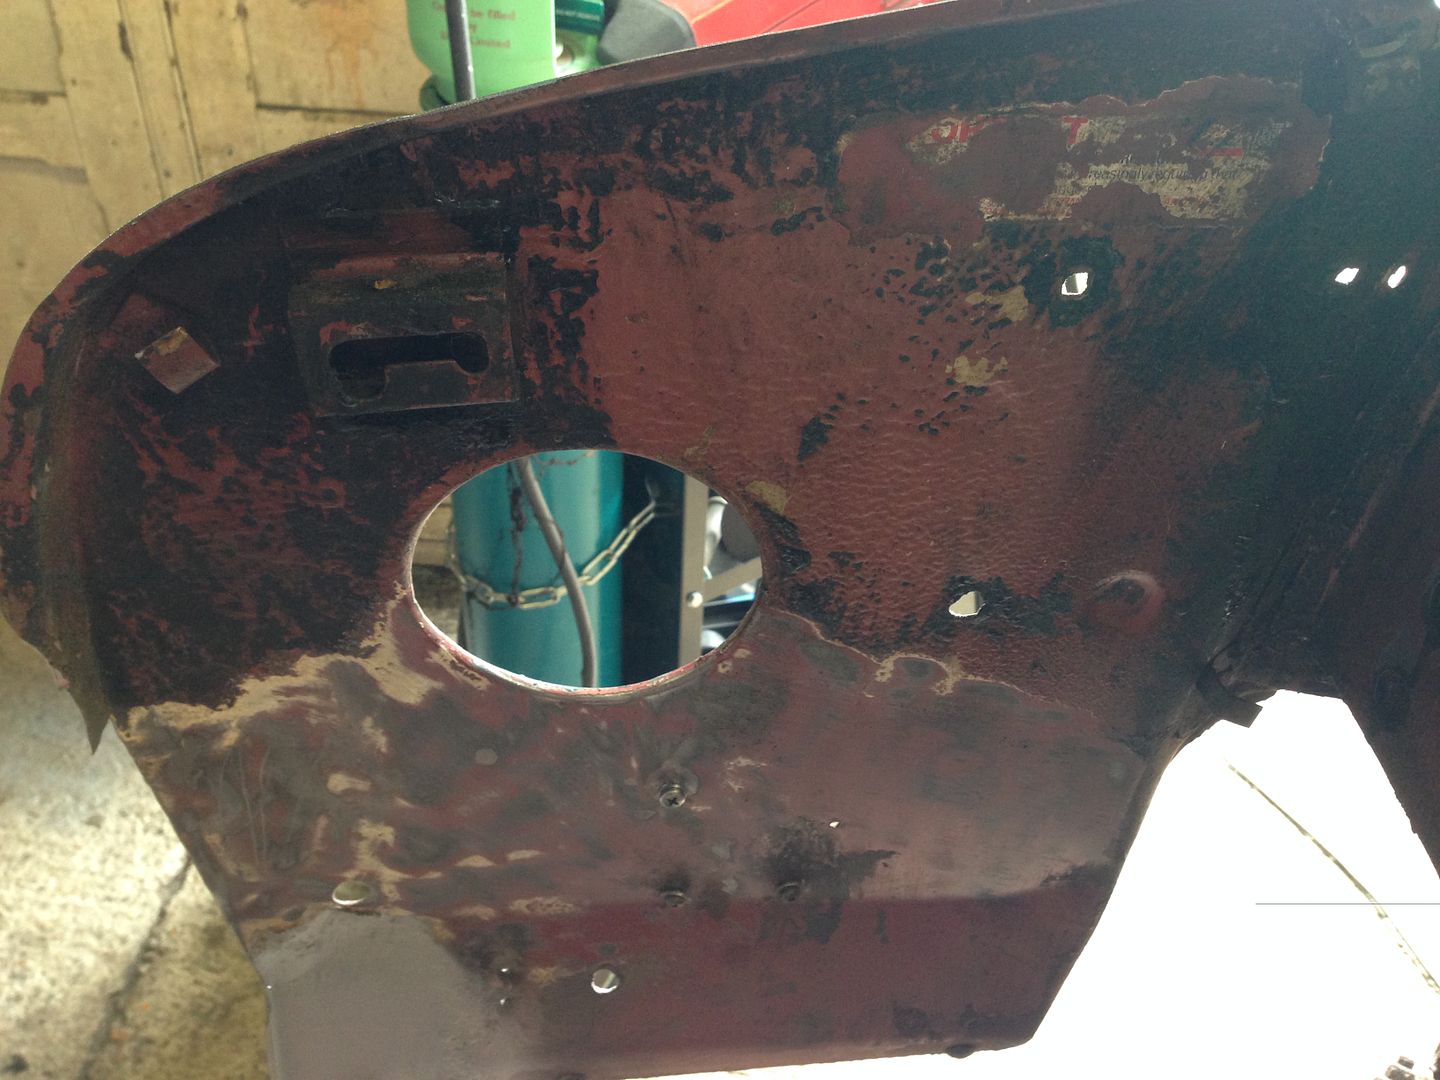
A bit more repair work today on the inner wings.
L/h inner wing at the front looked very iffy and covered in gunk along with the r/h inner wing.
L/h inner
R/h inner
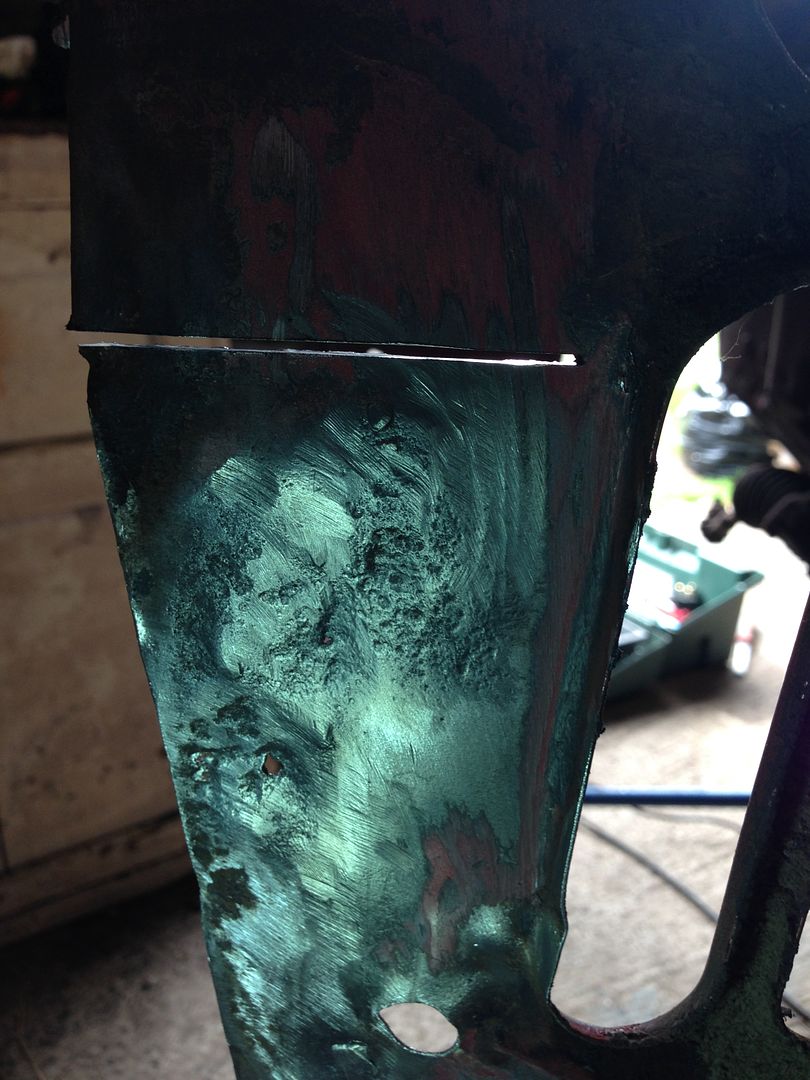
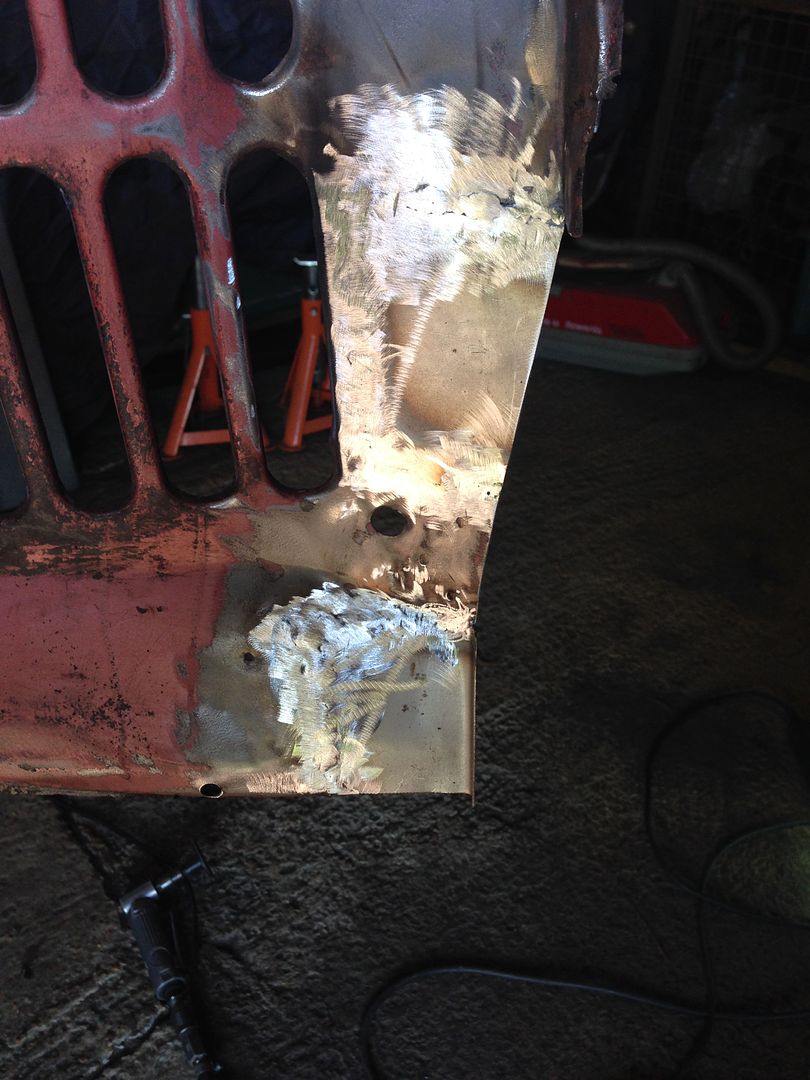
Once the crap was off on the l/h inner i found this, some previous rust removal that had thinned the metal drastically
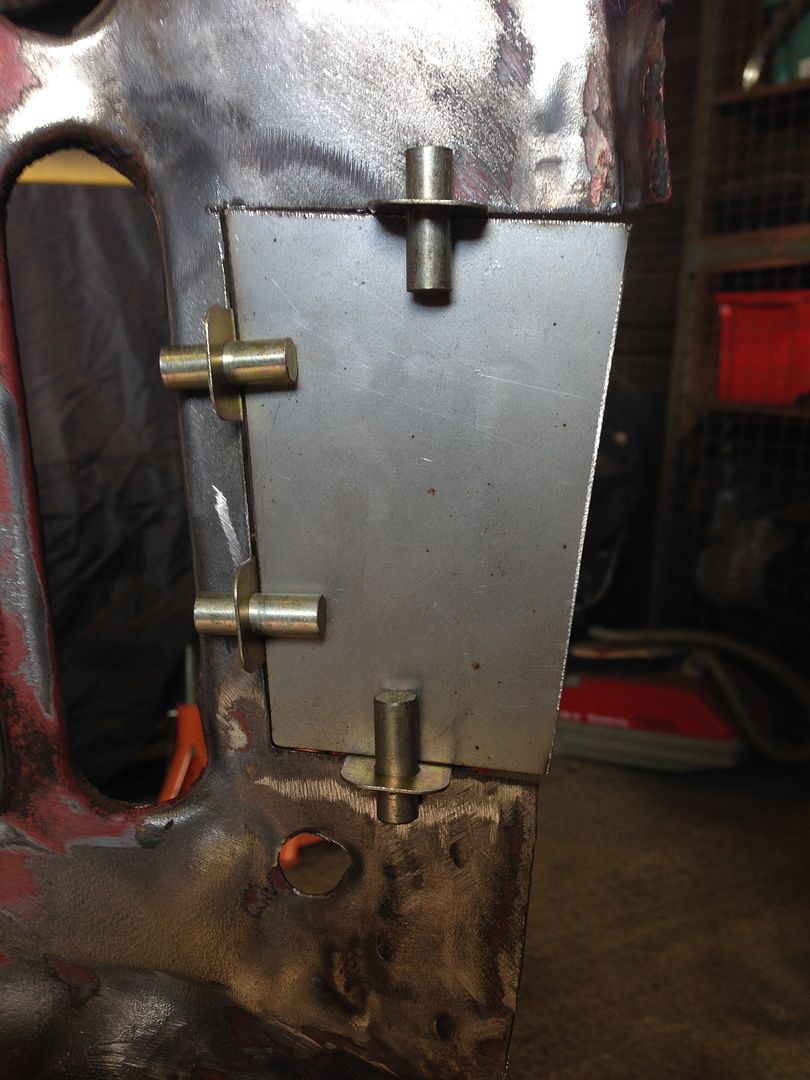
New metal in place
New metal welded in
Desperately needing panels now as there is not much more i can do apart from the old little repair on the roof guttering.
Can I ask where you got your panel spacer magnets from please?
#157

Posted 30 April 2014 - 08:27 PM
#158

Posted 30 April 2014 - 08:28 PM
A bit more repair work today on the inner wings.
L/h inner wing at the front looked very iffy and covered in gunk along with the r/h inner wing.
L/h inner
R/h inner
Once the crap was off on the l/h inner i found this, some previous rust removal that had thinned the metal drastically
New metal in place
New metal welded in
Desperately needing panels now as there is not much more i can do apart from the old little repair on the roof guttering.
Can I ask where you got your panel spacer magnets from please?
They are not magnets but inter grips. You can get them from Ebay , Frosts etc
http://www.ebay.co.u...=item20c1bbd173
http://www.frost.co....ing-clamps.html
#159

Posted 30 April 2014 - 08:33 PM
A bit more repair work today on the inner wings.
L/h inner wing at the front looked very iffy and covered in gunk along with the r/h inner wing.
L/h inner
R/h inner
Once the crap was off on the l/h inner i found this, some previous rust removal that had thinned the metal drastically
New metal in place
New metal welded in
Desperately needing panels now as there is not much more i can do apart from the old little repair on the roof guttering.
Can I ask where you got your panel spacer magnets from please?
They are not magnets but inter grips. You can get them from Ebay , Frosts etc
http://www.ebay.co.u...=item20c1bbd173
http://www.frost.co....ing-clamps.html
or you can make them yourself, heres a guide on how to do it. http://www.theminifo...e-panel-clamps/ I do like the magnet idea though...
Edited by alex-95, 30 April 2014 - 08:34 PM.
#160

Posted 01 May 2014 - 07:04 AM
Cracking work as usual Neil
Is Will going to return it back to a stock special ? Or has he got bigger plans for it
I have to say the mini special is one of my favourite models
Mark
#161

Posted 01 May 2014 - 08:20 AM
Your flying along with this now mate
Cracking work as usual Neil
Is Will going to return it back to a stock special ? Or has he got bigger plans for it
I have to say the mini special is one of my favourite models
Mark
Will has said it will be back to stock but when is anybody's guess though.
#162

Posted 01 May 2014 - 07:00 PM
I used to use round bar magnets and a washer glued half way along to provide the right space and they stay in place and hold in line while tacking up. They look exactly the same and thought someone was manufacturing them saves me making some more. ![]()
#163

Posted 06 May 2014 - 09:32 PM
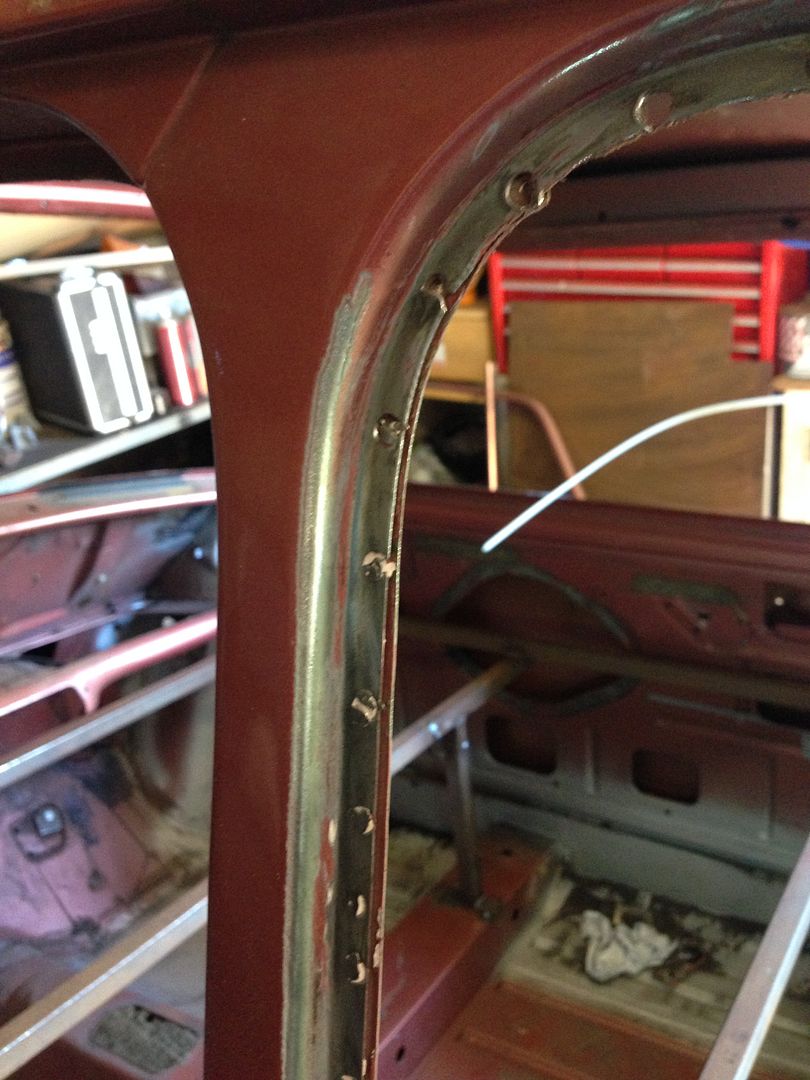
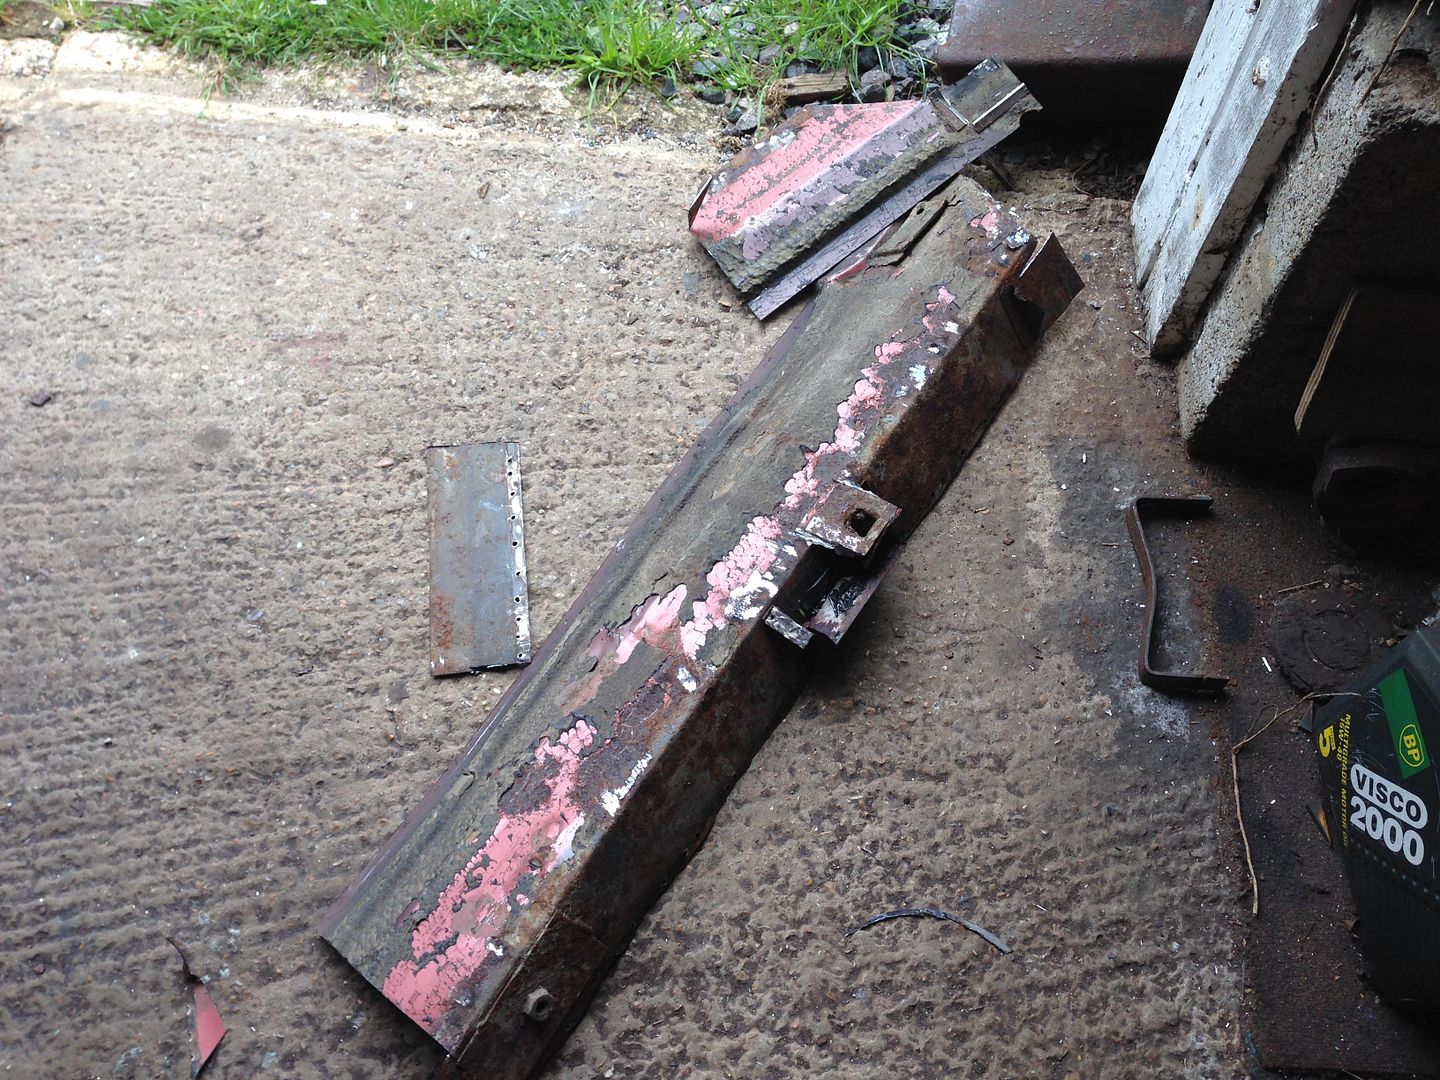
Mmm my opinion on the bodyshop who repaired the l/h rear quarter is shall we say unprintable. There must have been a rail outside to tie the horses to.
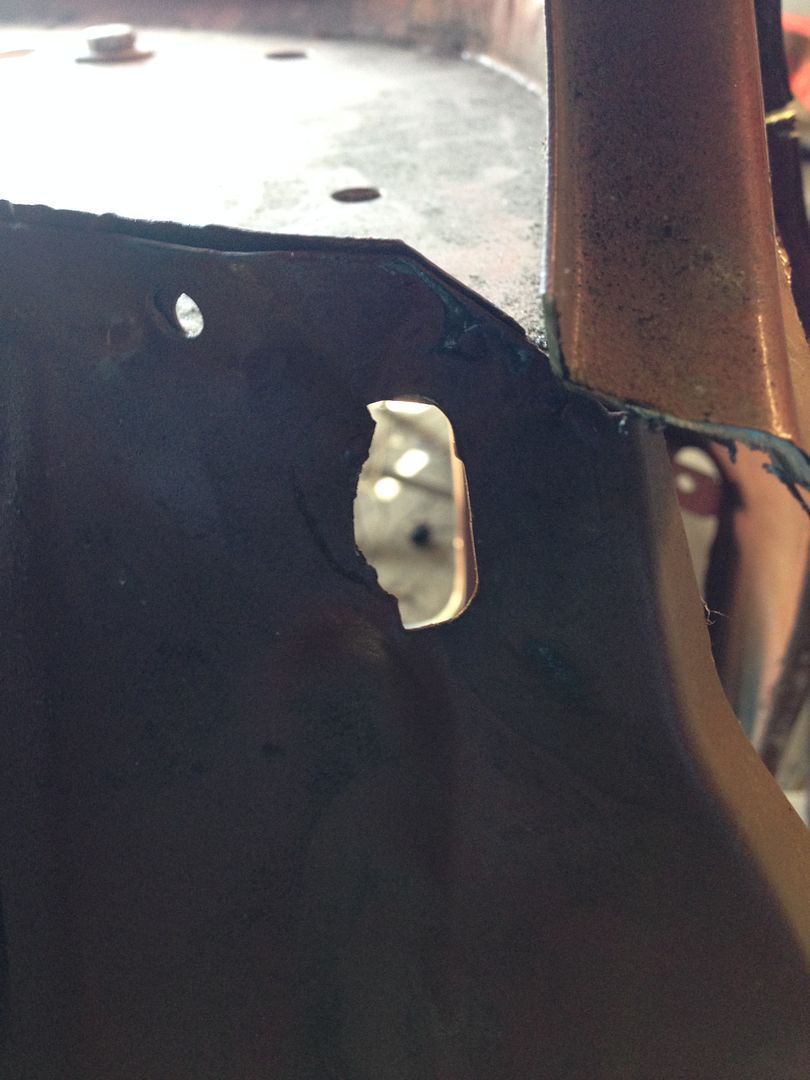
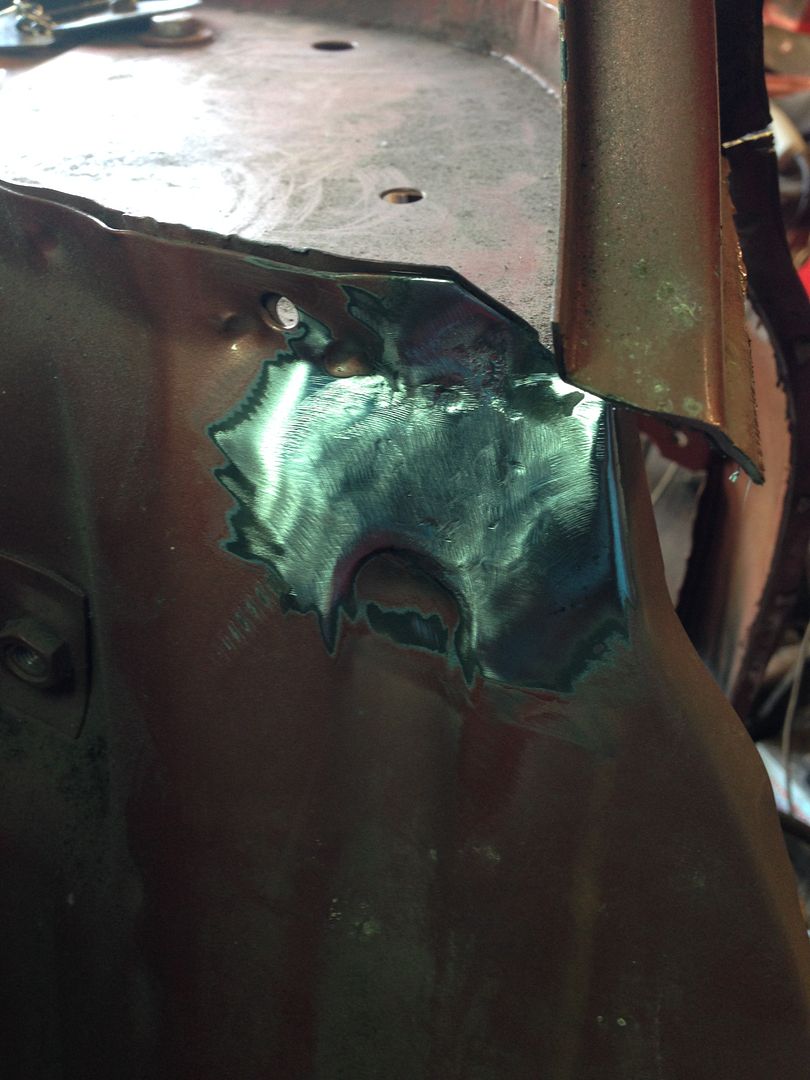
Now its not difficult to see but the bloody great hole in the rear bulkhead where the waist rail attaches to is a bit of a give away. Its not rust but torn away in the impact.
now sorted
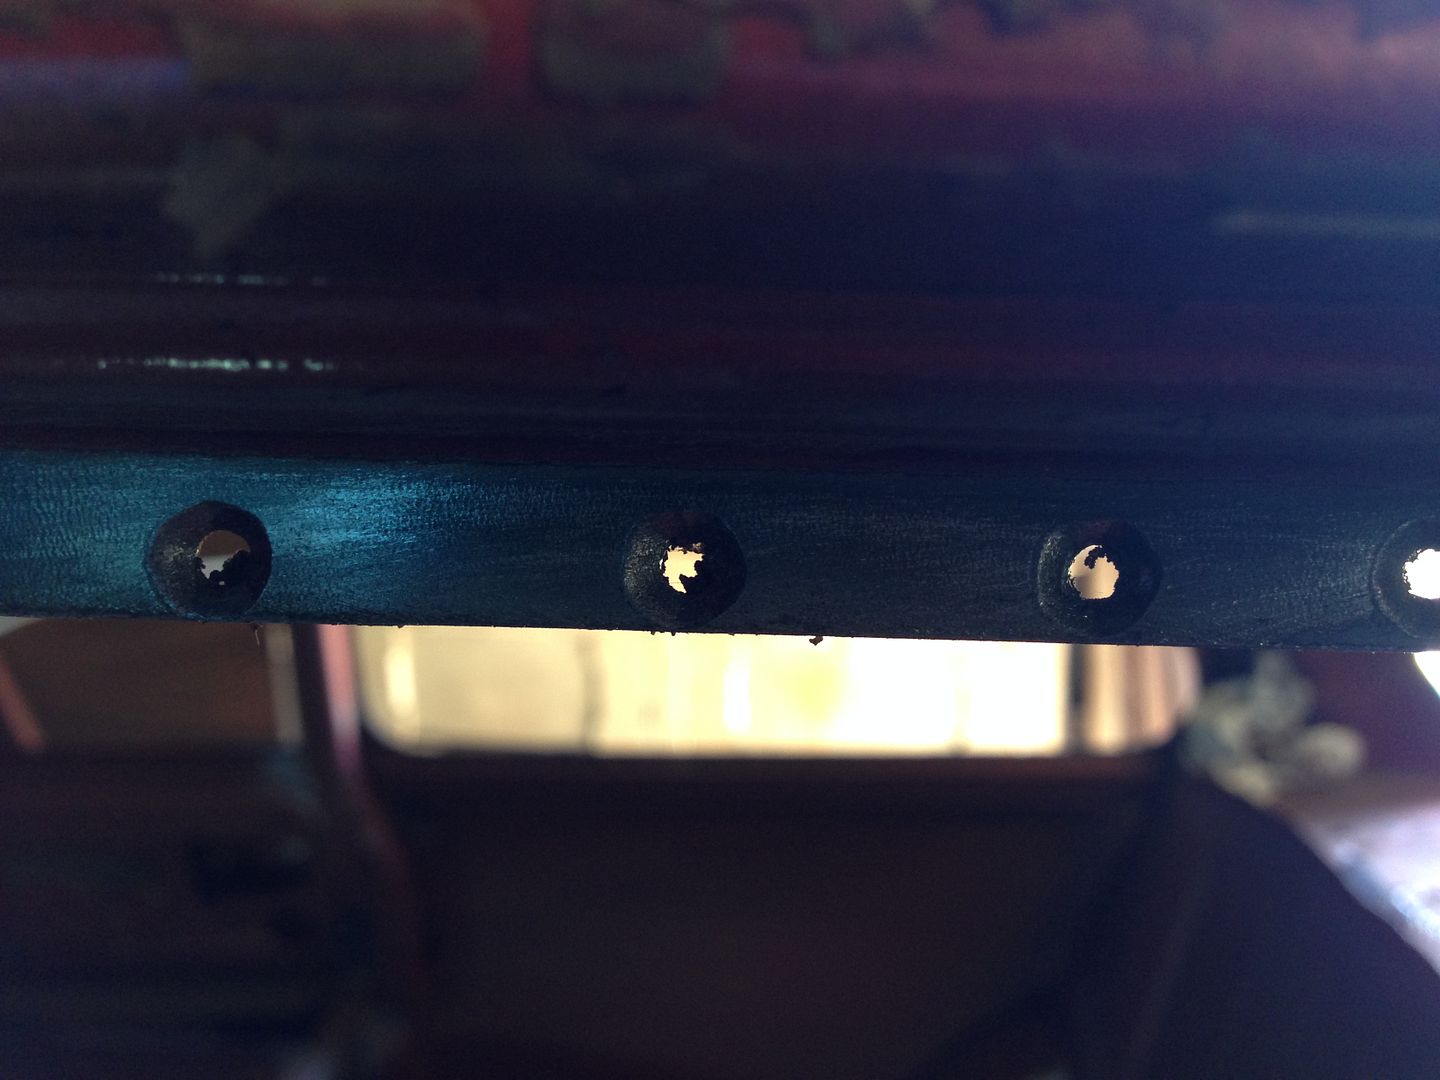
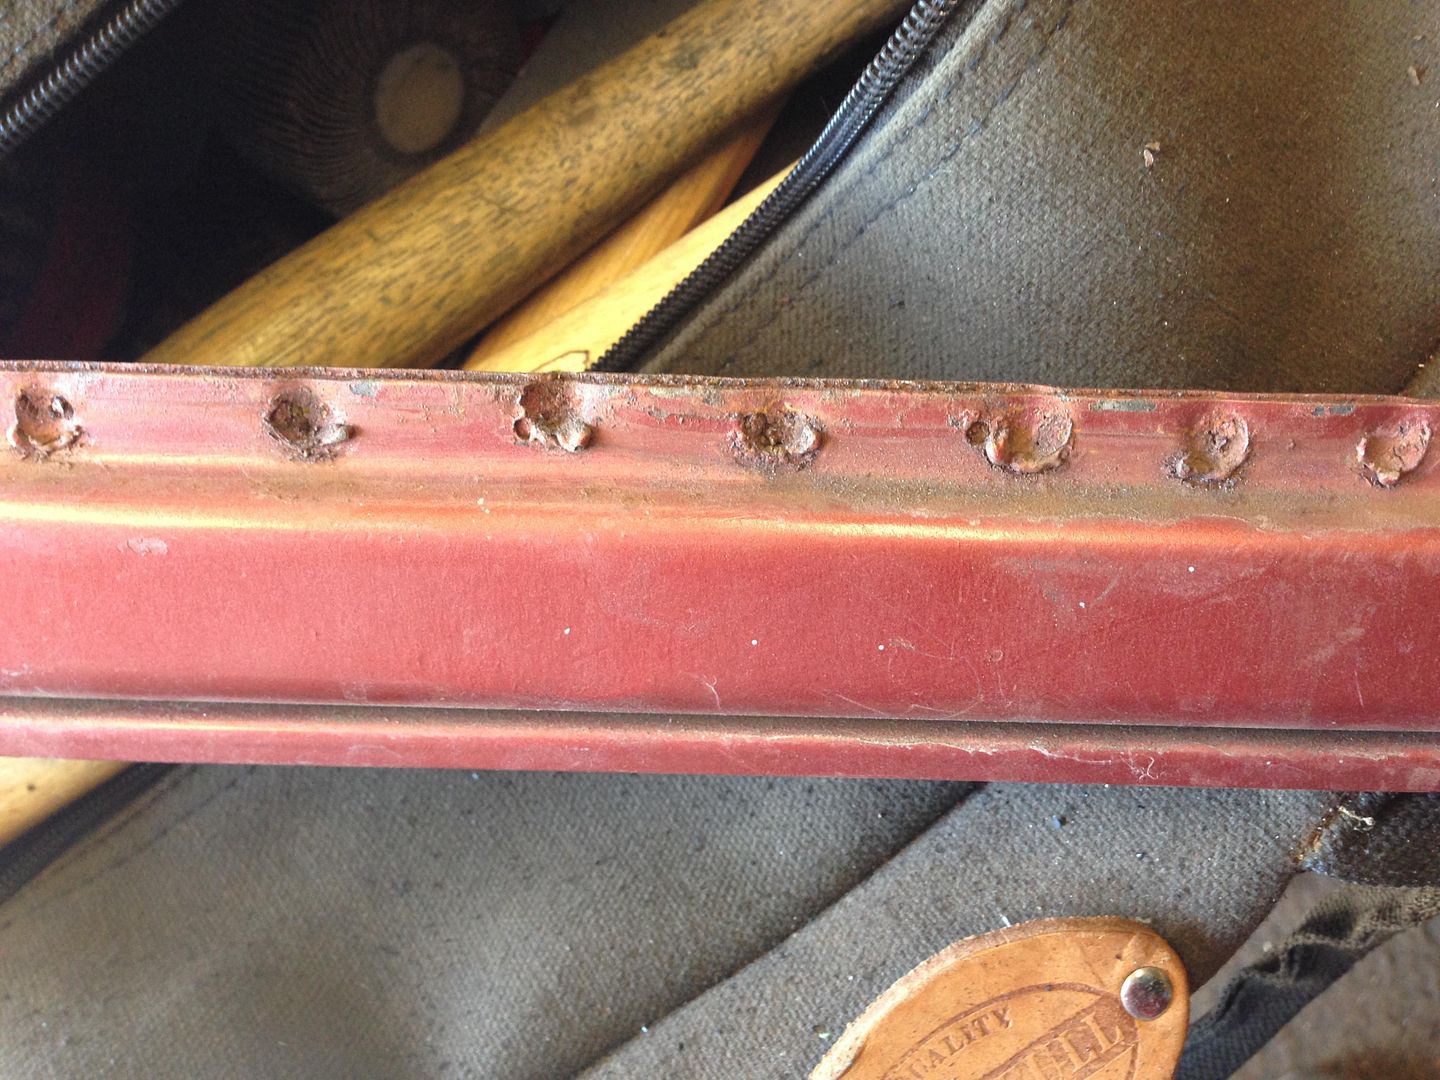
then what about these spot welds then
Not good so each of these need to be welded up. More bloody time wasted.
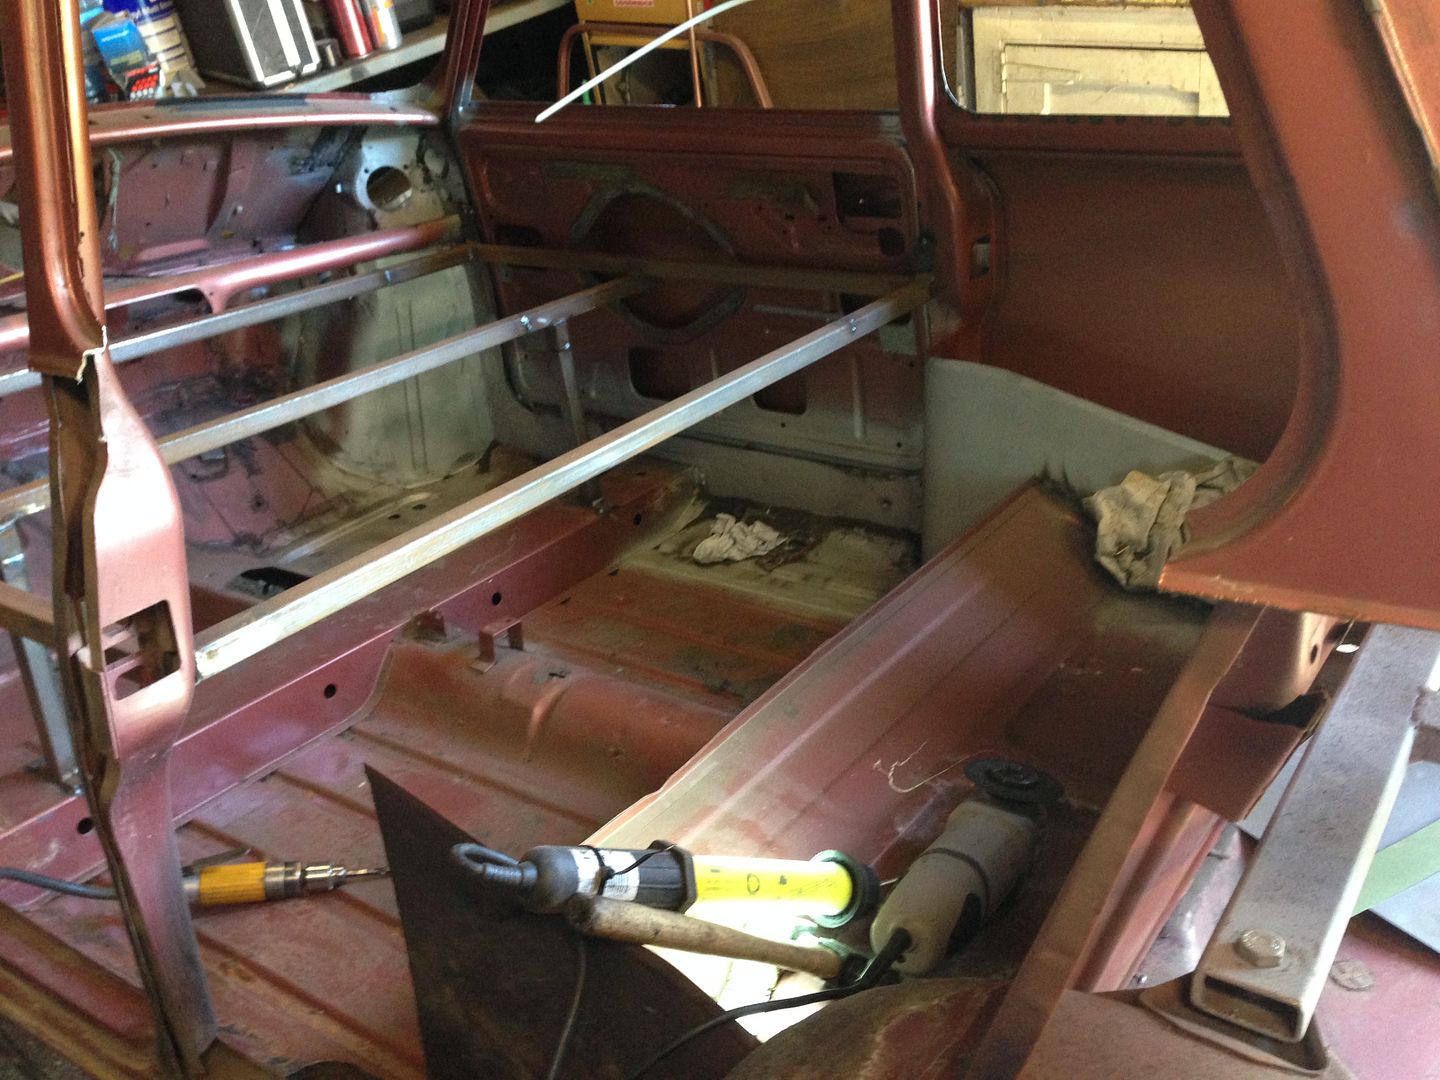
Anyway the old rail is off
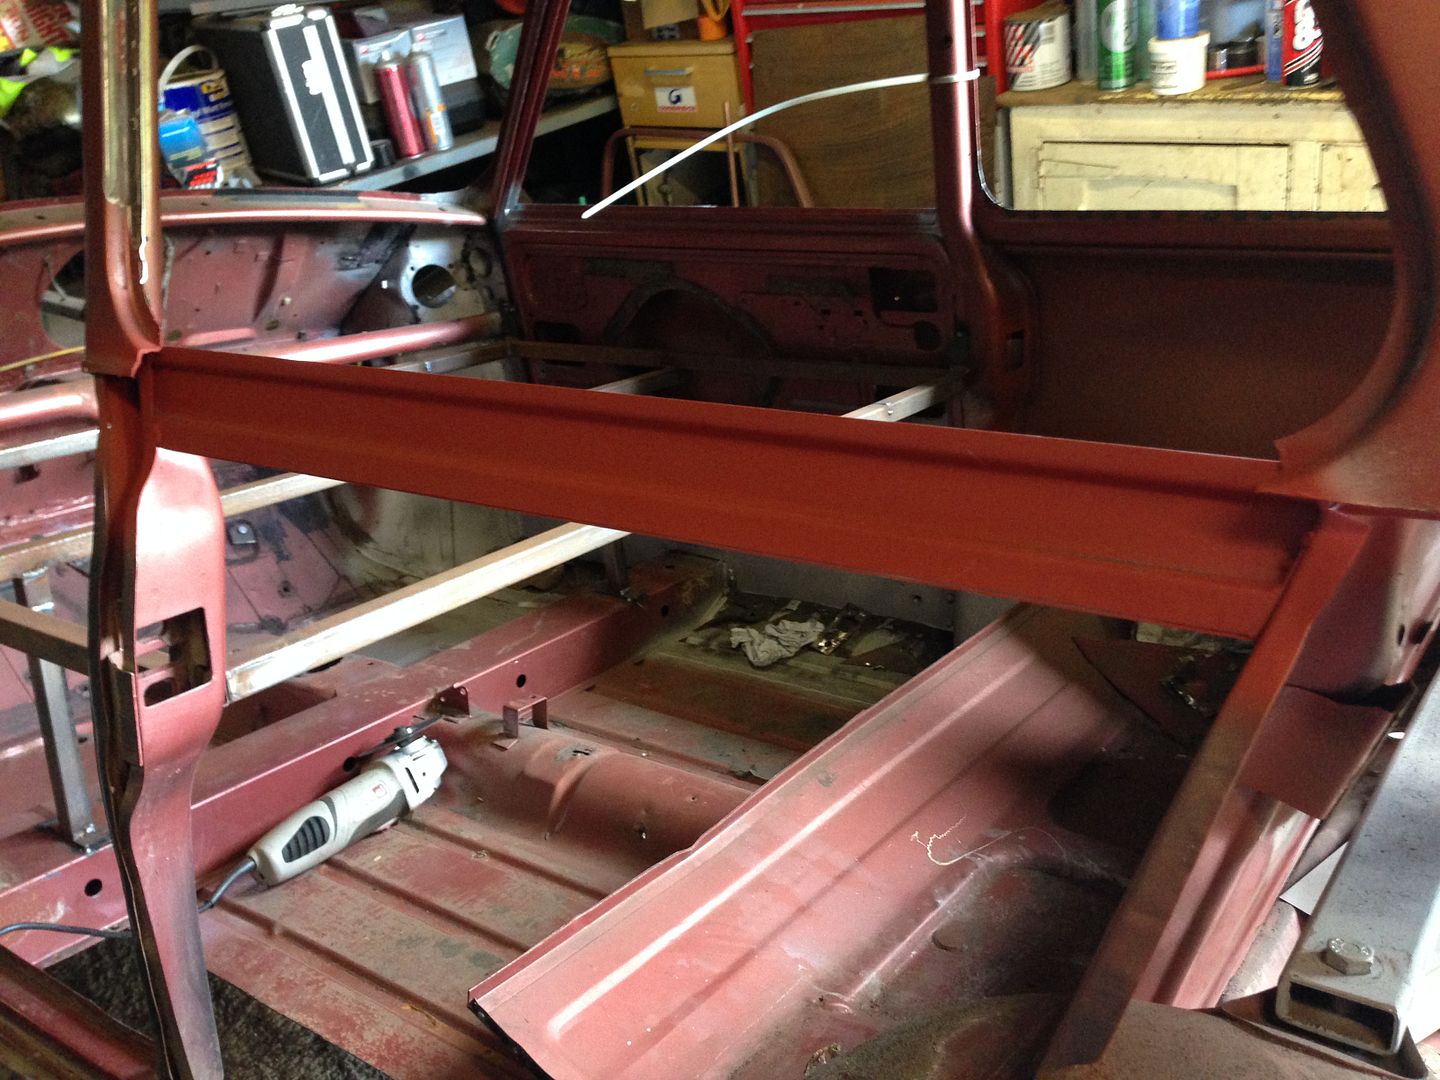
the new one is on but forgot to take a picture so will do that tomorrow when i do spot weld filling.
#164

Posted 07 May 2014 - 07:43 AM
Just goes to show what was classed as acceptable back in the day
Mind you some of the factory spot welds on my car were sub standard to say the least which made my life easier when I removed my companion bin
Not as bad as my lads car some of the welding ( and I use that term very loosely ) was shocking I think he thought seam sealer was a substitute for joining two pieces of metal together
Minis for you
Keep up,the good work mate
#165

Posted 07 May 2014 - 07:54 PM
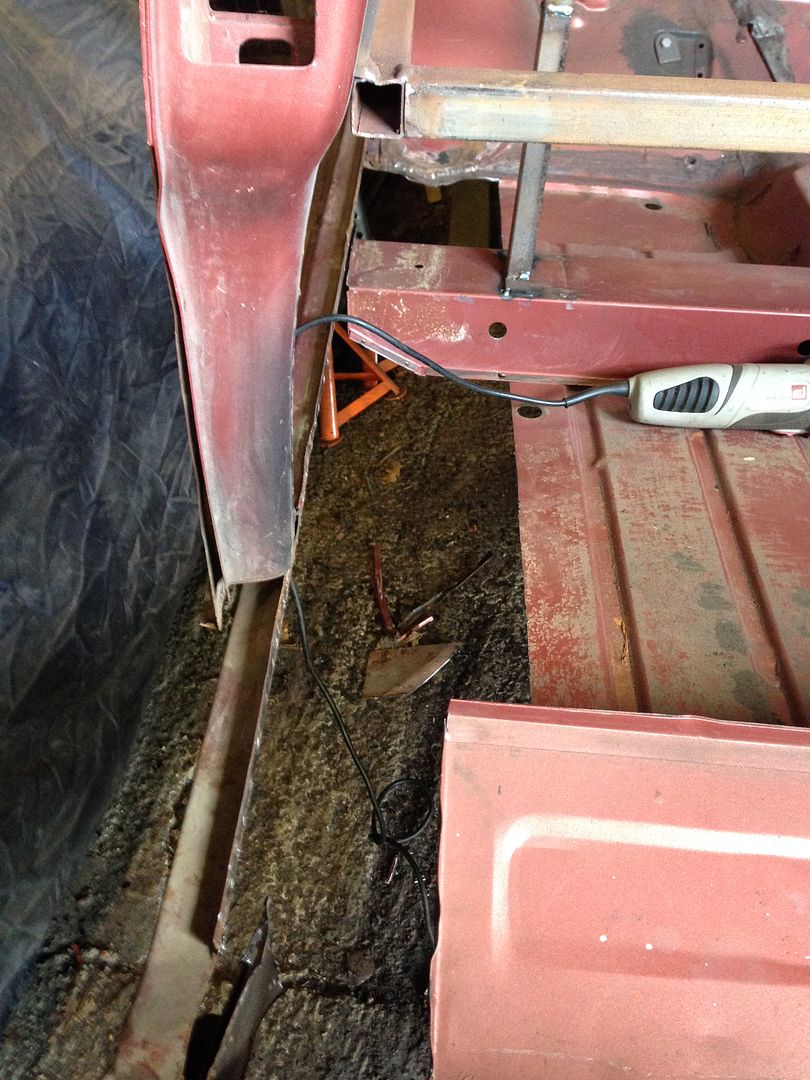
I didn't add it yesterday as i forgot to take a picture but here's the waist rail in place
I did weld the spot weld holes up which did not take that long so it was onto the inner sill, so after a bit of chopping around i ended up with this
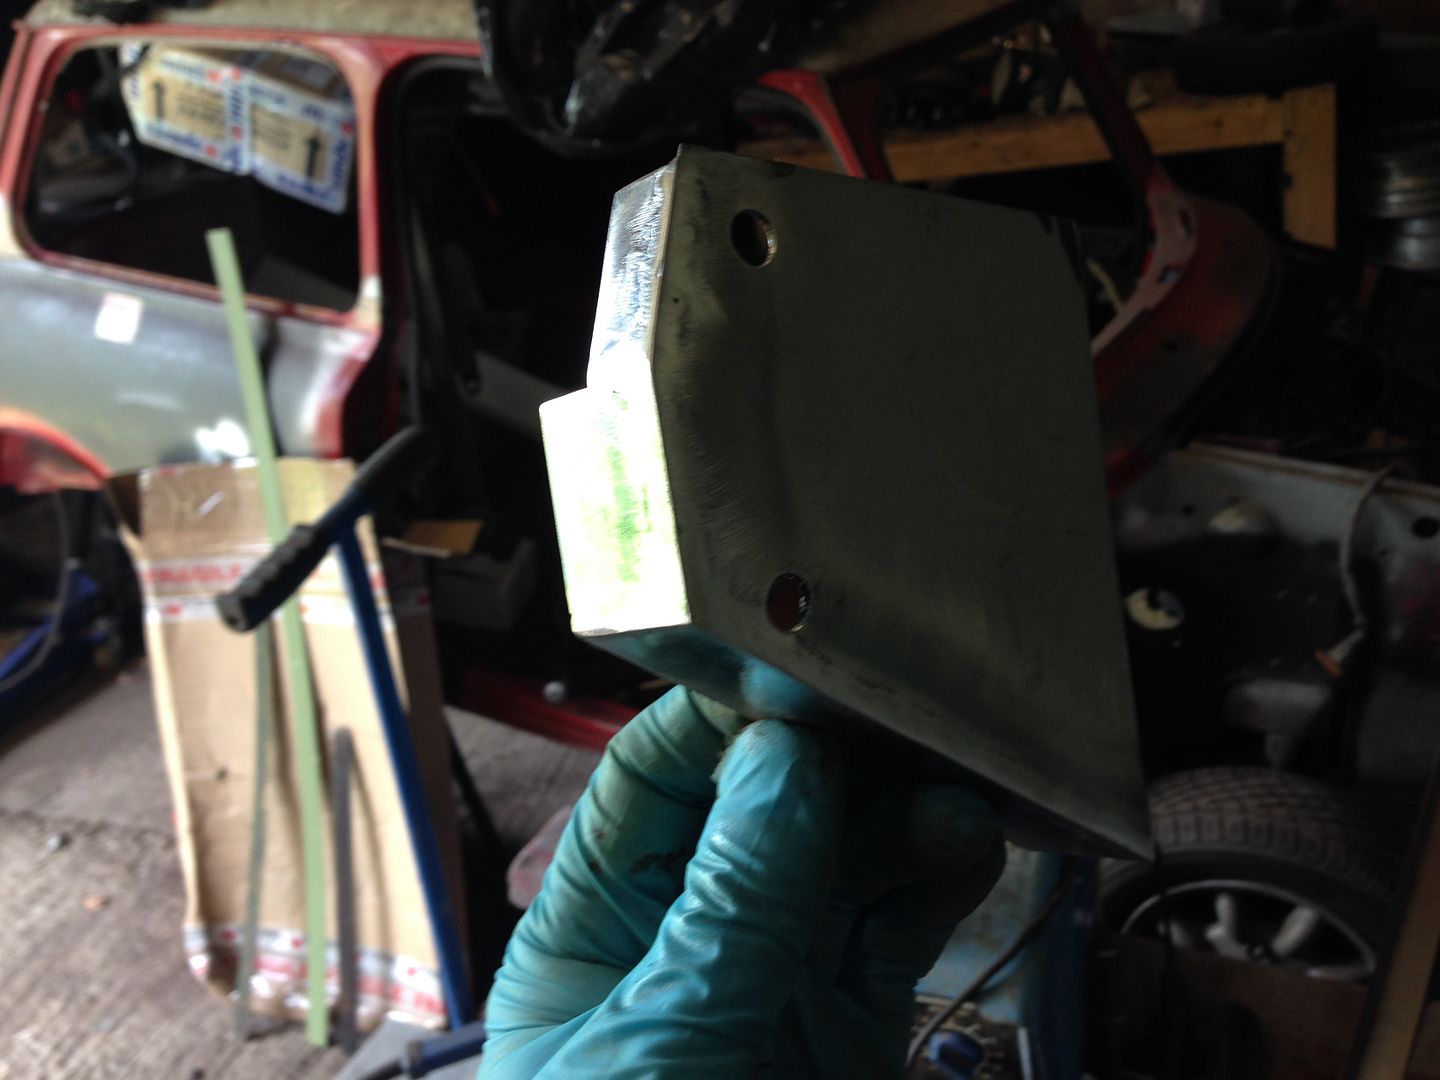
And after a bit of fabrication i knocked up this Heelboard end repair piece, this will be fitted next week along with the inner sill.
1 user(s) are reading this topic
0 members, 1 guests, 0 anonymous users


