Jump to content


Photo
- - - - -

It Was About Time...


  • Please log in to reply
34 replies to this topic

#1 Yams

Yams

    Super Mini Mad

  • Members
  • PipPipPipPipPipPip
  • 644 posts

Posted 17 August 2013 - 09:58 PM

So it was about time I made a build thread. I always kept putting it off, mainly because after working all day on the mini the last thing I wanted to do was come in and write about it. But, most of the hard work is now out of the way. This is really a time line that I will also continue to update. So here we start.

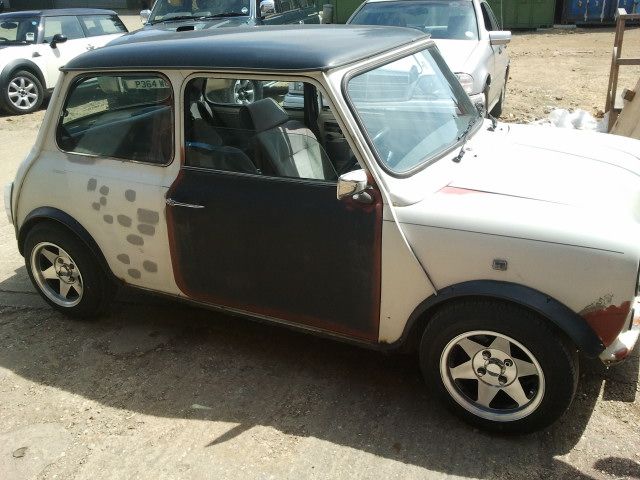
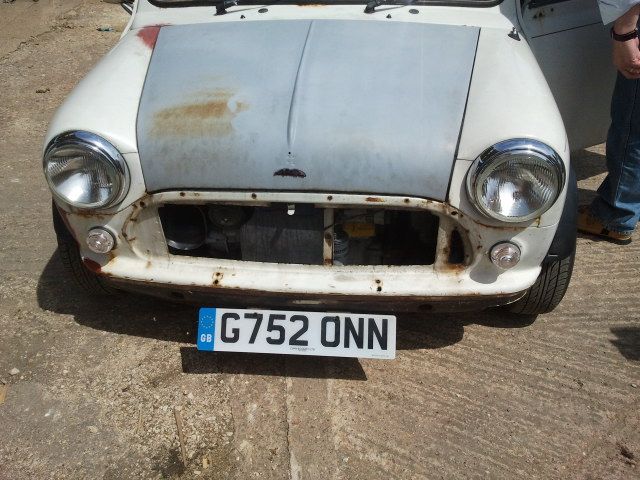
I bought Patrice in July of 2010. Here is how he looked then. I paid £1800, and later felt a bit stung, and that I should have waited.
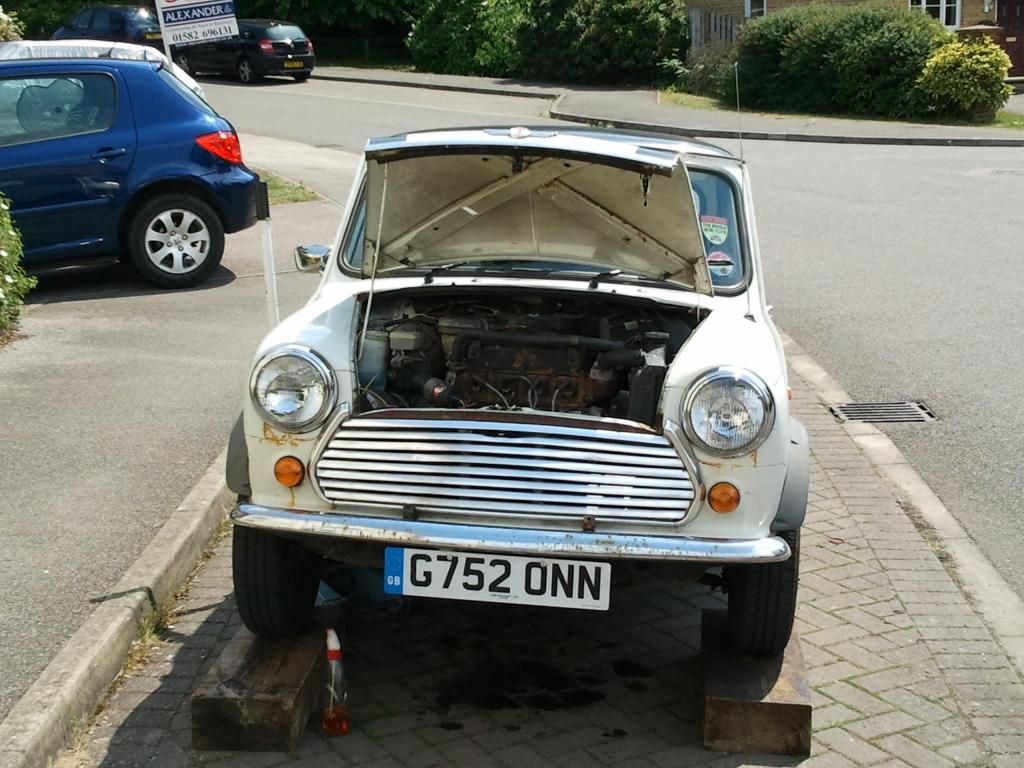
 

2011-06-04135257.jpg

2011-09-06140221-2.jpg

2011-09-06140210.jpg


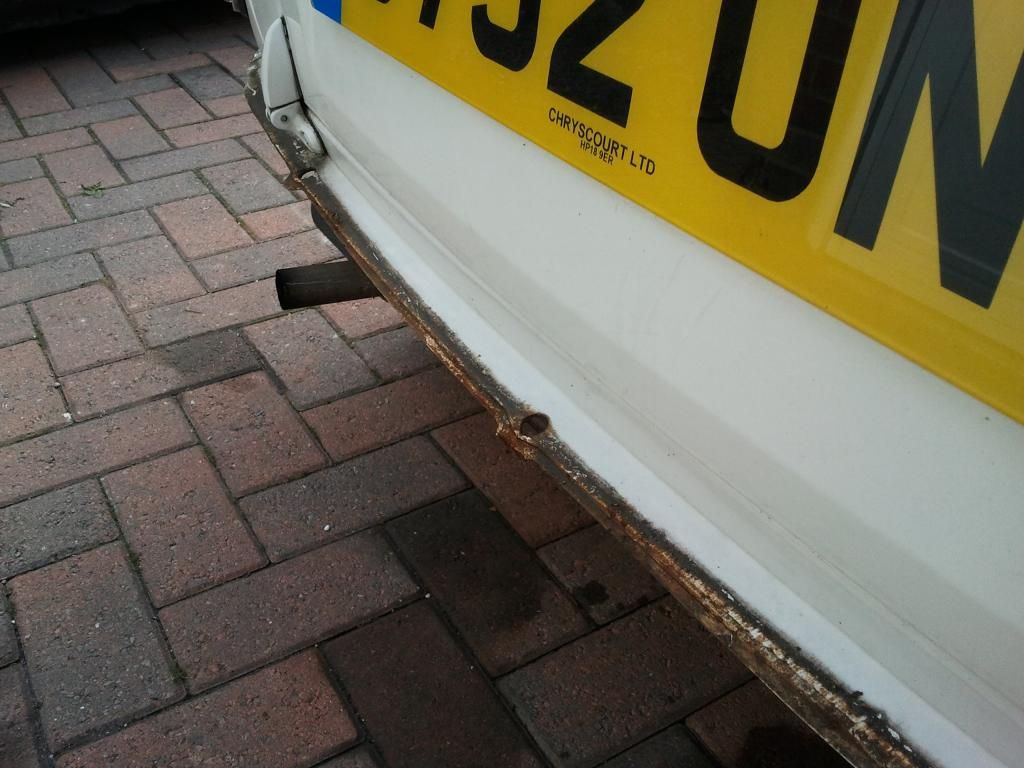
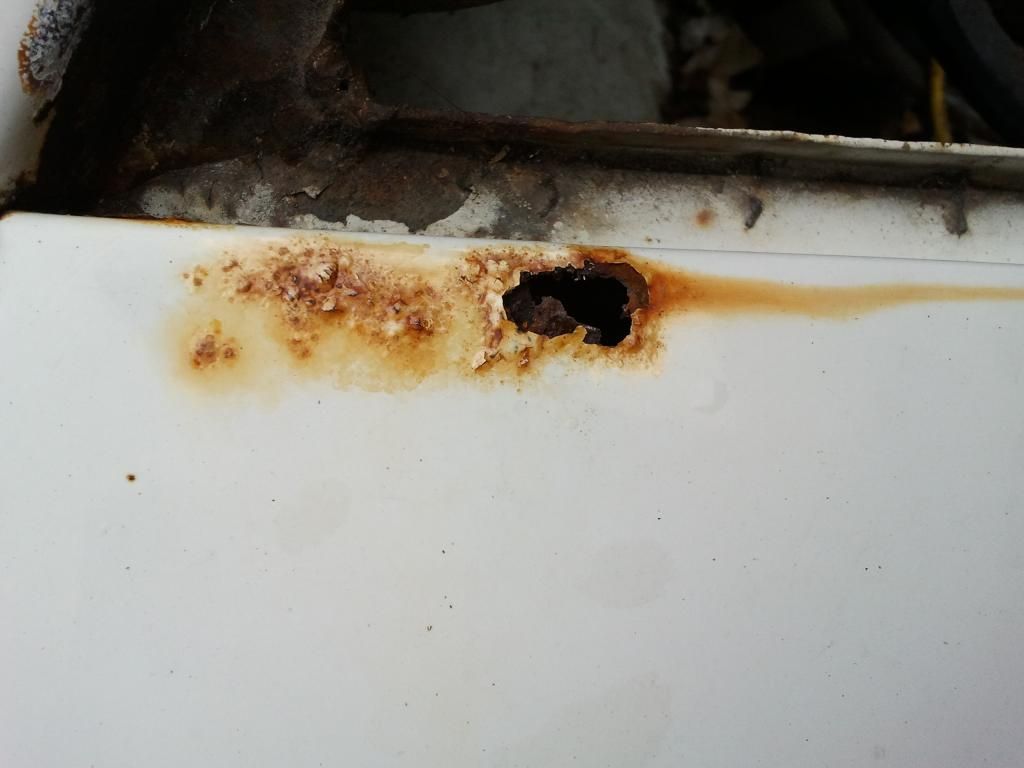
He had a few holes here and there, but I never really knew the extent of the damage. He is my first car, and it didn’t help that I had only basic mechanical skills from my previous motocross riding. However he had only about 30,000 miles on the clock with a full service history.


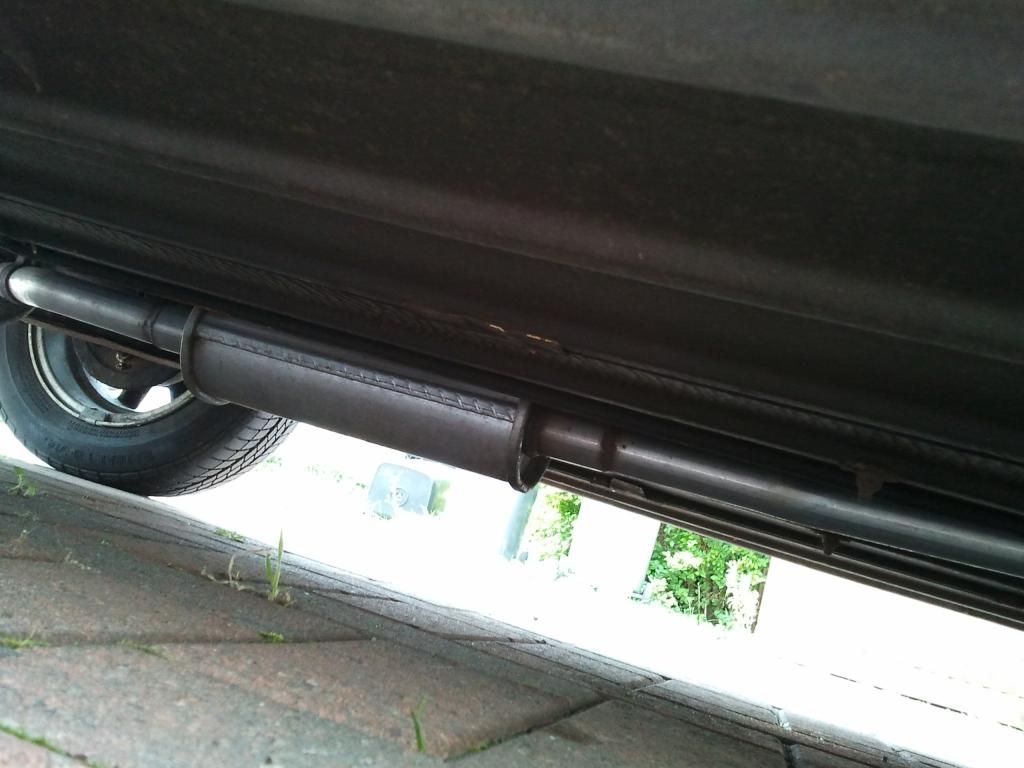
The idea was always to respray, and apart from the odd hole he seemed to be 'solid'.  The first thing i did was get the back box changed. Looking back at it now it seemed to be like a fletcher centre exit double piped exhaust, however it was blowing due to a tear, and also the brackets holding it on had gone rotten. At the time i lacked the experience to do ANYTHING like this, so i had HiQ around the corner do it. They seemed to be just as inept, as they bashed the down-pipe with a hammer. O_O

2011-09-06140309.jpg


It was then about a year of the body-work slowly rusting under the paint that prompted me to go head on and tackle it as a project. I really wish i hadn't...


The out-comes of this 'spree':
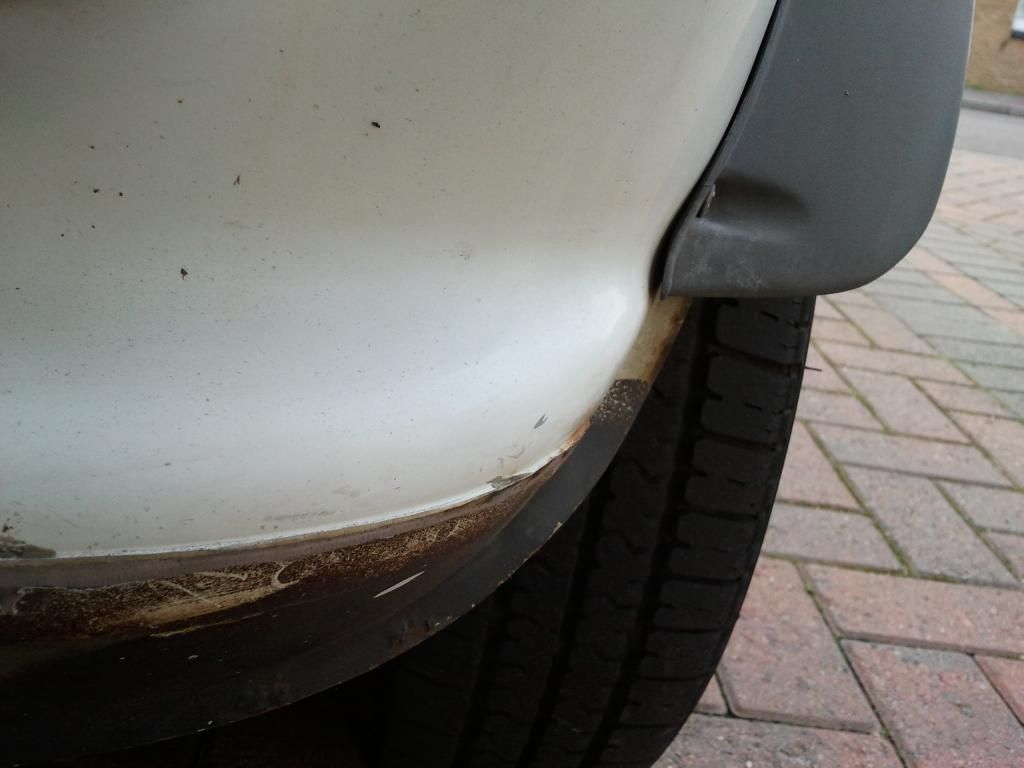
2011-09-08155153.jpg


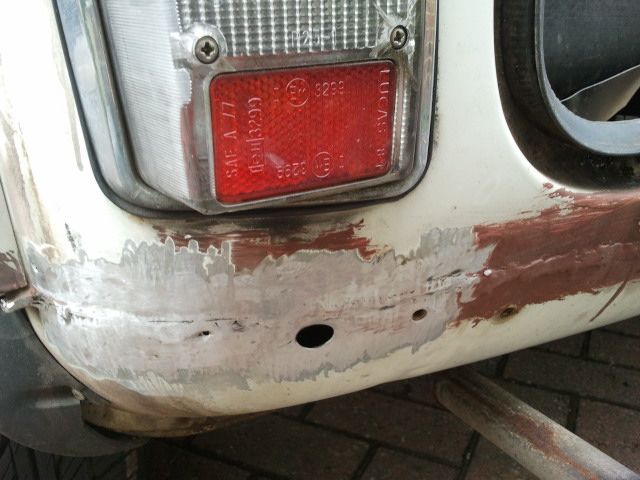
I started to de-bumper, without truley knowing what i had started. In a flash the front seam was off, and it looked... well...
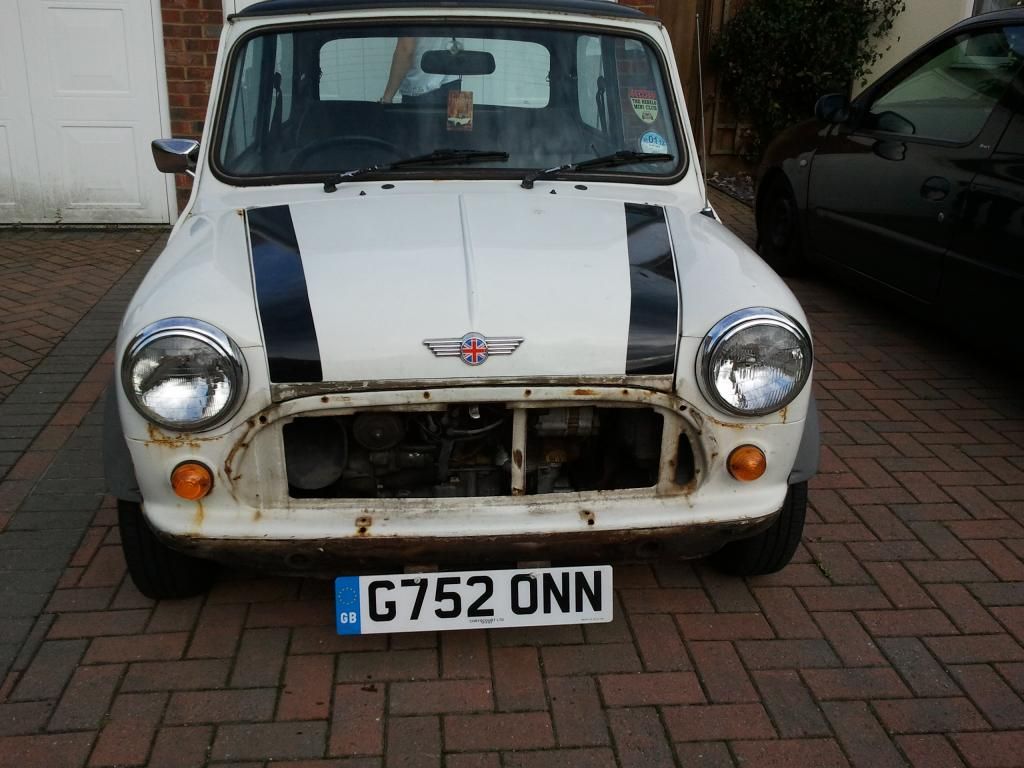
2011-09-08172525.jpg


The rear then went from this

2011-09-08172540.jpg


To this


2012-09-12120530.jpg


I regretted this afterwards. I was literally on the verge of selling Patrice on. I'm sure many other mini owners have felt this before, but when this didn't go to plan, and i had got myself in way over my head i felt like i had just destroyed my car.


After deciding i would see the work through, i decided to pick up a set of these.
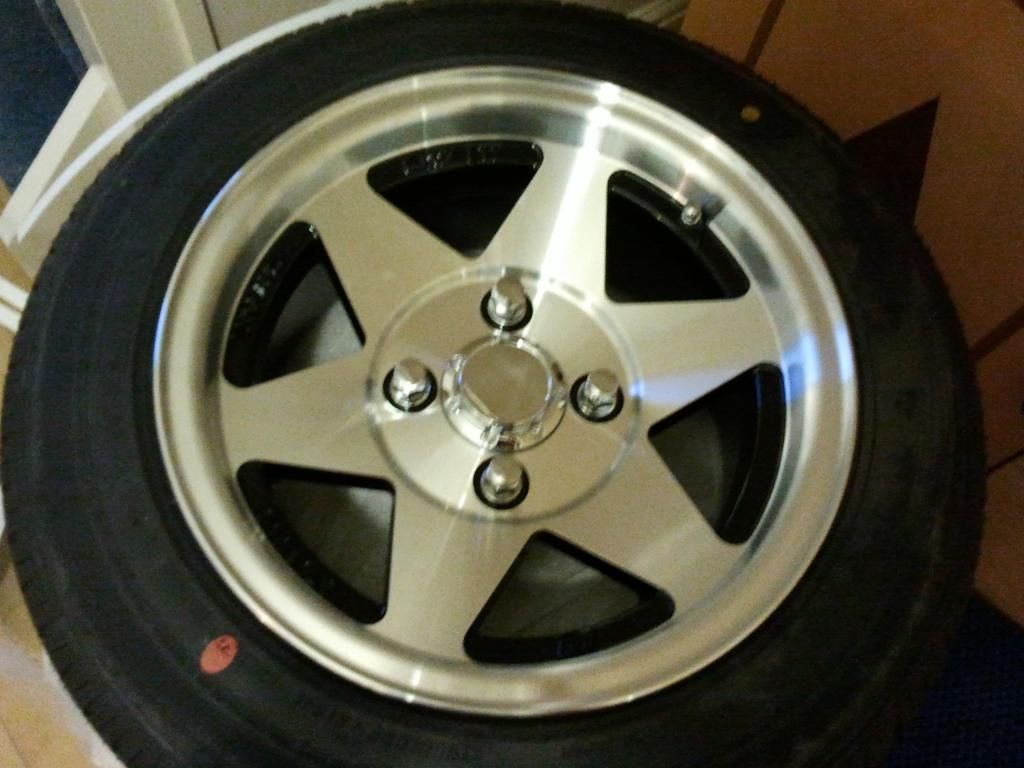
2011-11-11160416.jpg


Things were great, i had a slight bit more confidence in my car now.
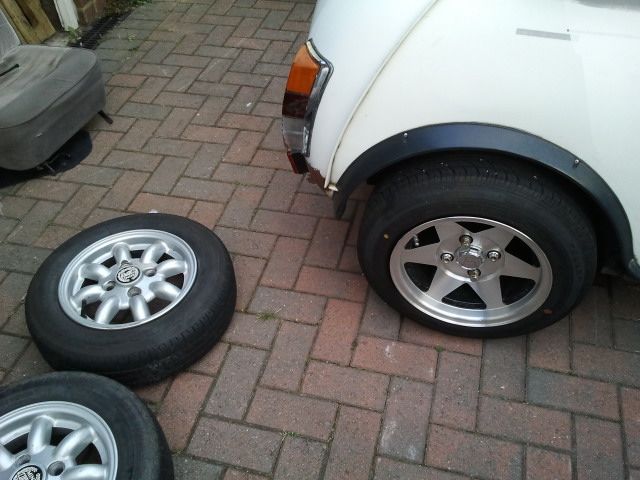
2012-08-21183528.jpg


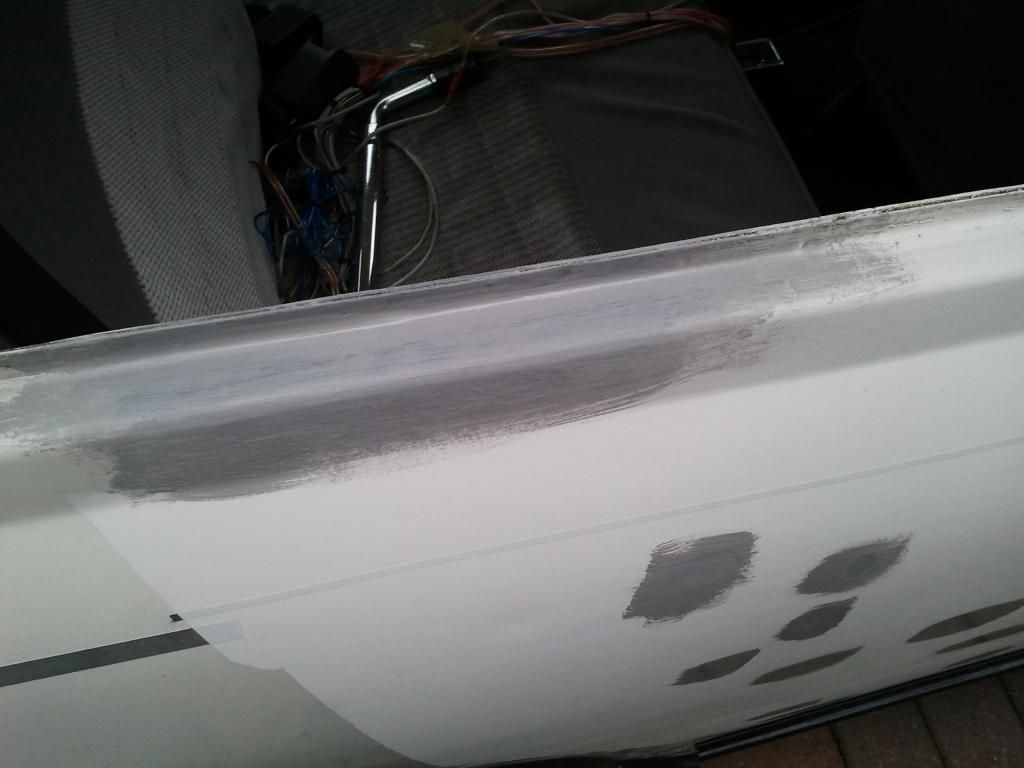
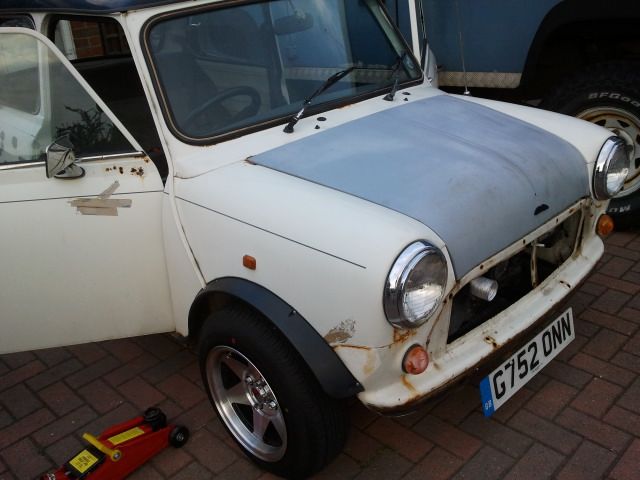
In my new fount knowledge a vigor of managing to fit wheels, i perused the bodywork further! Leaving myself in a bigger mess, and having to drive and even worser looking car. Here are the fabulous results of a zealous unexperienced 18 year old version of myself.
2011-12-14134541.jpg


2012-08-21183542.jpg


The bonnet was messed about with, and painted in just primer. It went rusty underneath within a few weeks. Rust progressively got worse the more i messed with it...


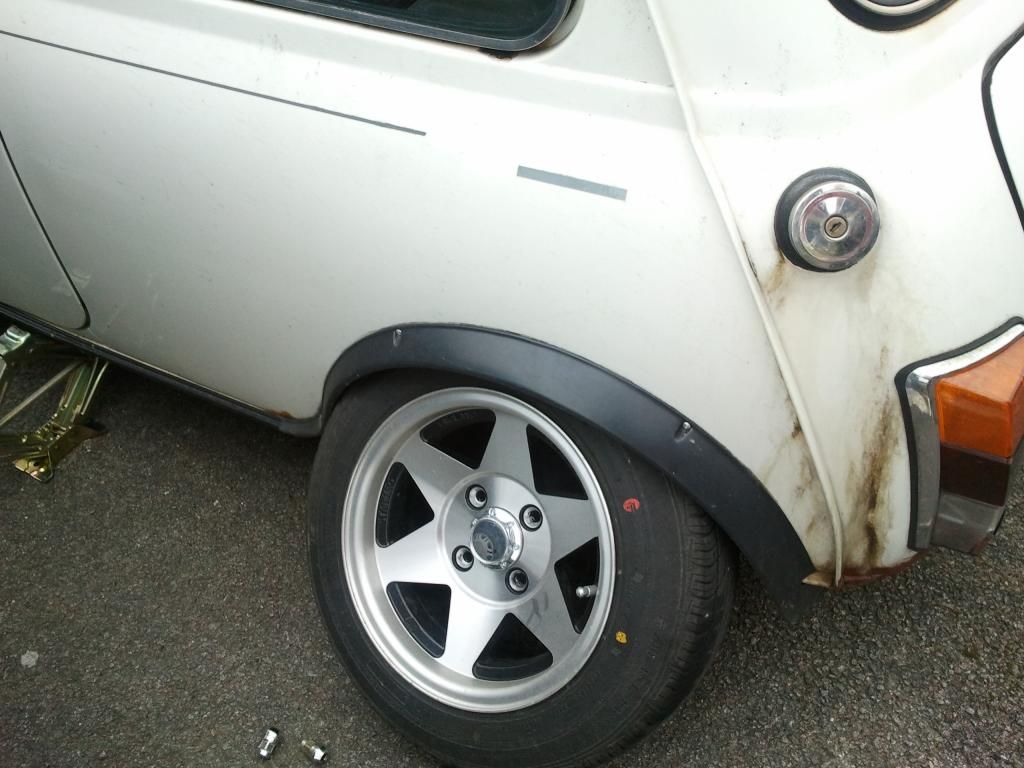
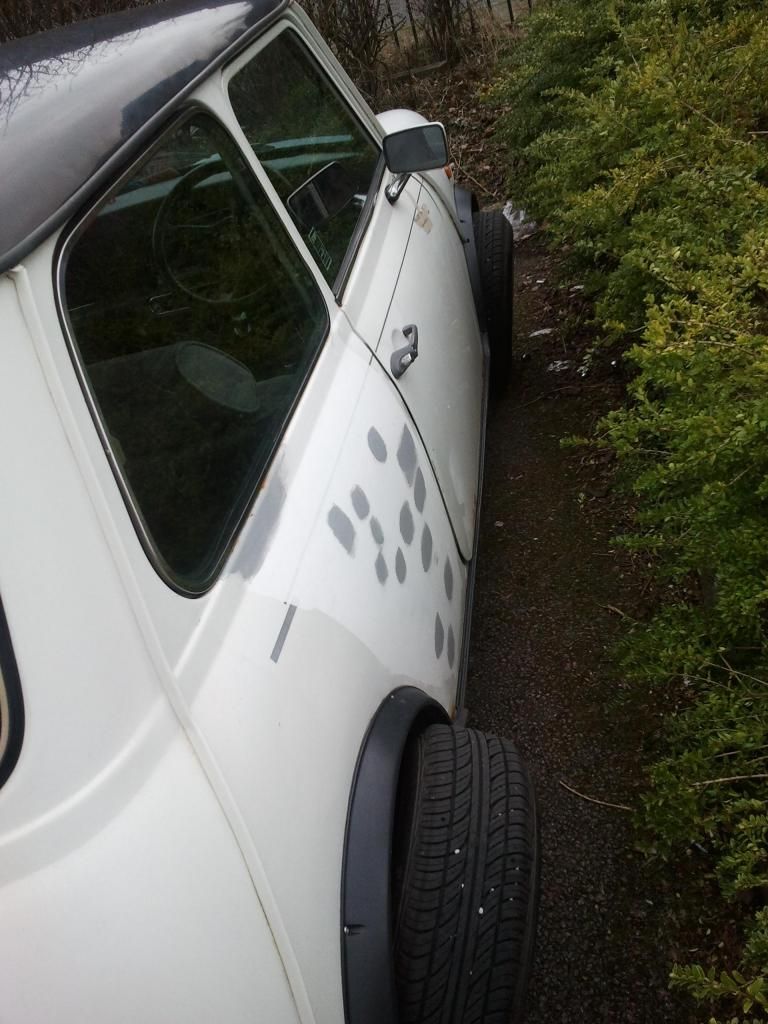
In my arrogance i thought that no-one would bother stealing mini wheels, because they tend not to fit on modern day cars, and no-one in the mini community would buy stolen wheels. I was totally naive, and never again will i make this mistake. I came out of college and someone had tried to steal the wheels.
2012-03-09133119.jpg


2012-03-09133131.jpg


Obviously the Police couldn't do much. There was no damage done, other than a few gouges out of the wheels where it had sat for a while. It really was demoralizing having to wait ages next to my car buckled under the wheels while friends came down to lend me their jacks. That evening i bought locking wheel nuts, and had one hell of a sleepless night. never again will i make a mistake like that.   


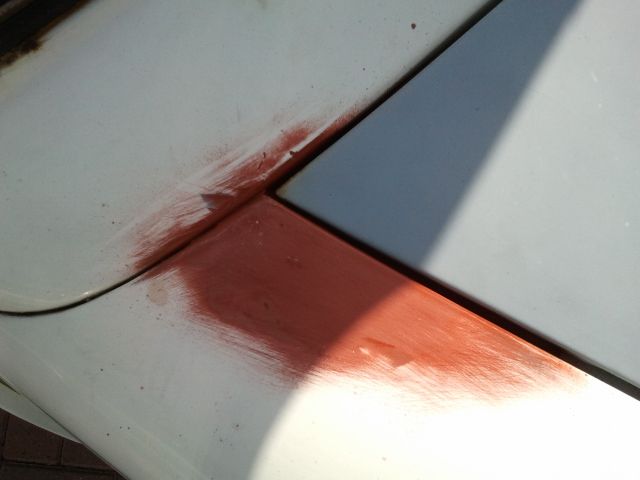
The doors also became rotten at the bottom, and the metal was literally flaking off. I was told i could have them repaired, and it would be way way cheaper then buying a new set, or a refurbished set. This however turned out to be salt in the wound. I bought a set of door skins, and then paid £350 to get ONLY the drivers side re-skinned, and to have the hole patched up on the wing. The door then wasn't hung properly and the inside wasn't waxed. It was at this point i realized that there are con-men everywhere. Even in the mini community :-/
 

2012-09-12122114.jpg


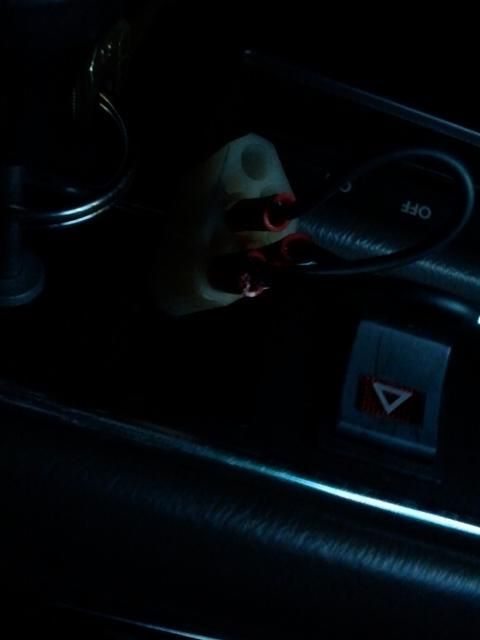
Around this time it was August 2012. After the door was skinned, i went on holiday to Cornwall for a week. I drove Patrice all the way there, and it was great, until all went dark on an unlit dual carriage-way at around 11pm. I had never known before what it would be like to be a bat driving a mini. It's actually quite terrifying. It turned out that a dodgey cigarette lighter i had wired in for the sat-nav had someone burned out the light switch. Luckily i had some wire, and managed to connect it so i could make it to the camp site. Not too bad for an amateur improvisation in my opinion.
2012-08-26002431.jpg   


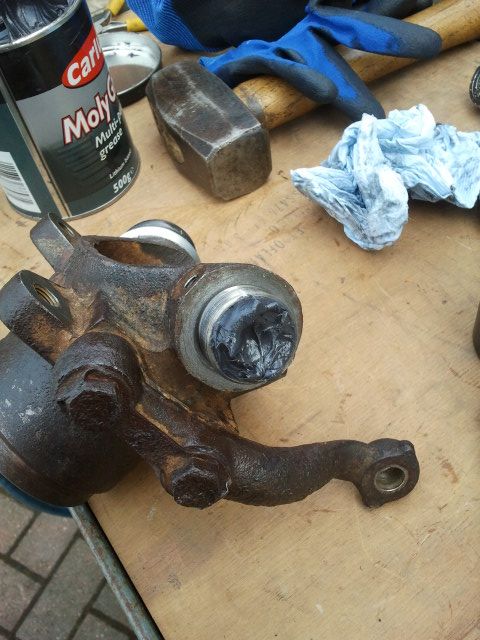
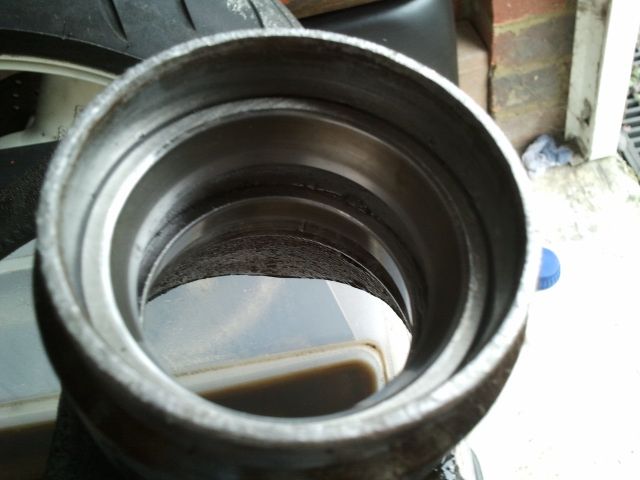
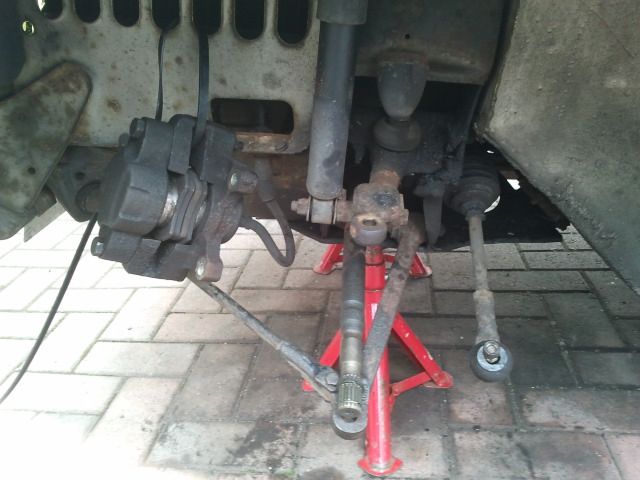
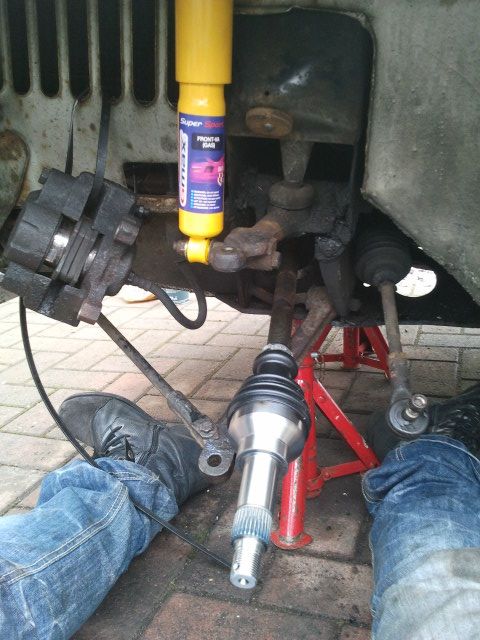
On the way back from Cornwall a nasty knocking sound started coming from the wheels when on full lock. Just my luck that the outer CV's had gone. I managed to pretend it wasn't there for a good 3 months or so, lol. Eventually i decided to replace them. I wasn't sure which one was damaged so i just replaced both. While i was at it i also deiced i might as well do a bit more. I bought new cones all round, and deiced i'd also finally have a go at fitting my Hi-Los i'd bought back in 2010 when i had dreamed on a snazzy lowered mini. I also bought some new shocks, as mine easily kicked the bucket years ago.  :shy:


2013-04-10123001.jpg New ball joints also.

2013-04-09141301.jpg2013-04-09141317.jpg

2013-04-11151636-1.jpg Spot the difference. Thats right, I knocked the bump stop off.


I also did the track rod ends, and the bushes at the steering arm (If thats what it's called) because they were ripped, and i heard that was an MOT failure now.


I-have-no-idea-what-I-am-doing.jpg


I'll leave it there for tonight. I'll update some more tomorrow, as I'm now fairly caught up to where i am currently.


Edited by Yams, 17 August 2013 - 10:07 PM.


#2 Minisamwellen

Minisamwellen

    Mini Mad

  • Members
  • PipPipPipPip
  • 151 posts
  • Location: Essex
  • Local Club: Colchester Mini Club

Posted 17 August 2013 - 10:19 PM

someone actually tried to steal your wheels while you were at College, that's awful. I'm definitely investing in some locking wheel nuts! I'm in a similar position to what you were though (18 and not really having a clue what to do, let alone where to start).

Sam  :-)


#3 Artful Dodger

Artful Dodger

    " I AM THE SPECIAL ONE"

  • Members
  • PipPipPipPipPipPipPipPipPip
  • 4,435 posts
  • Local Club: aint no body got time fo dat

Posted 17 August 2013 - 10:31 PM

Awsome:) good luck bud!


Shame about te scumbags who tried to nick the wheels...

#4 malcs_miniturbo

malcs_miniturbo

    Super Mini Mad

  • Members
  • PipPipPipPipPipPip
  • 602 posts
  • Location: swindon

Posted 18 August 2013 - 08:00 AM

That's mad someone tried nick the wheels at college glad you got locking wheel nuts.but good work so far

#5 Yams

Yams

    Super Mini Mad

  • Members
  • PipPipPipPipPipPip
  • 644 posts

Posted 18 August 2013 - 11:45 AM

So anyway, I think i'll update this again before i go out and do some more bits on the car.


After both outer CV's were done and all that it did pass the MOT, Just. It was running twice as rich as it should be, so i sorted that out fairly easily. The next thing was to see how low i could get with my new suspension fitted.


2013-04-22152847.jpg  Obviously some adjustments had to me made. ;D 


So after fitting the hi-lo kit myself, and generally making it up as i went along, using my brain for once, i started to feel a bit more adept, mechanically. Around this time i was 20, and I had just started Uni in Northampton and had a fair amount of free time, except when i was working my part time job, which at this time was just to sustain myself buying mini parts.


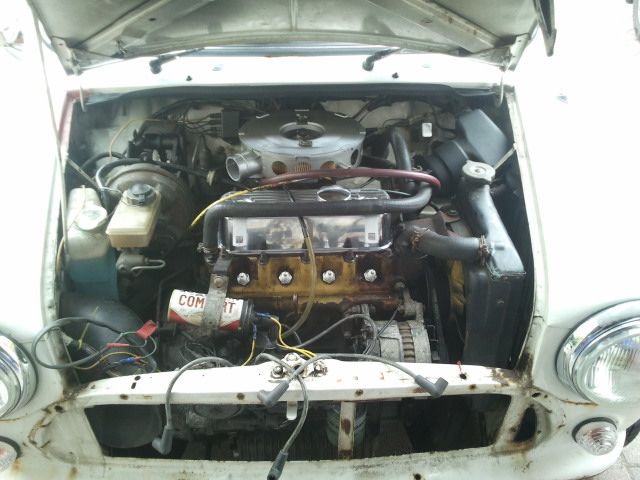
I drove the car around like this all through my first year of Uni, and i started again to make little pieces of progress over this summer. Where i live we had a fairly wet start to the summer, so bodywork wasn't something i could do outside on the drive. However i did decide i would tart up the engine. It had around 40'000 miles on the clock now over the 2 1/2 years i'd had him.


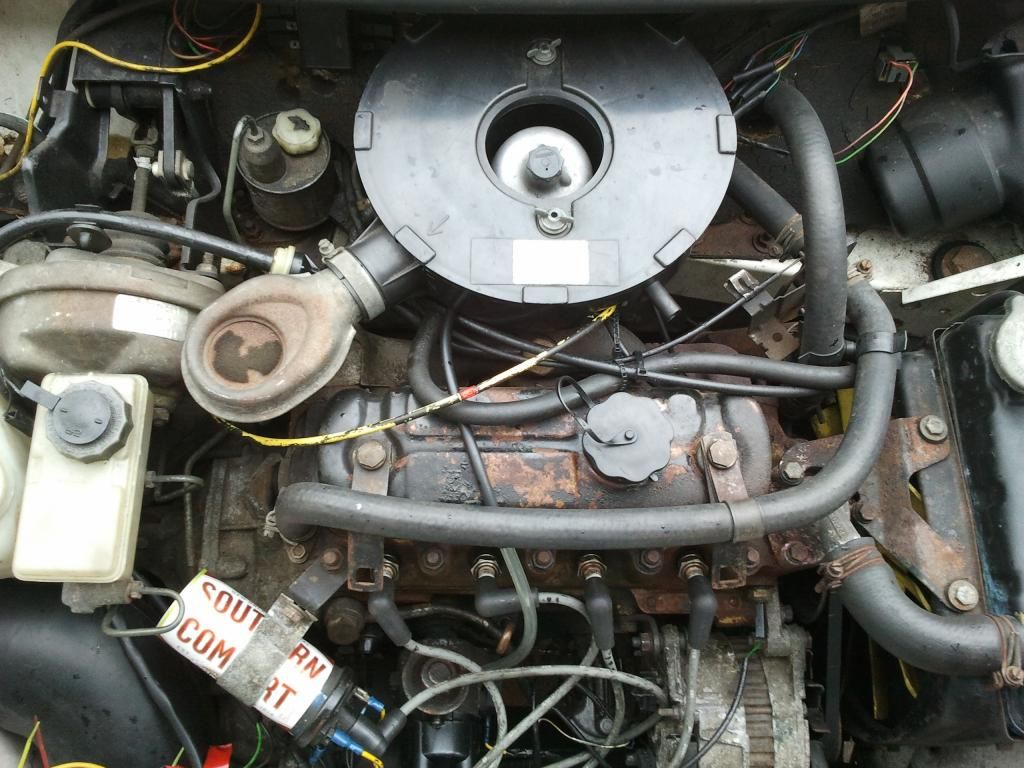
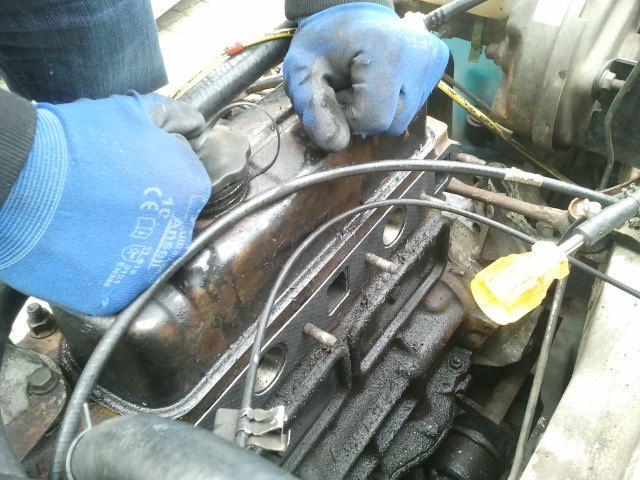
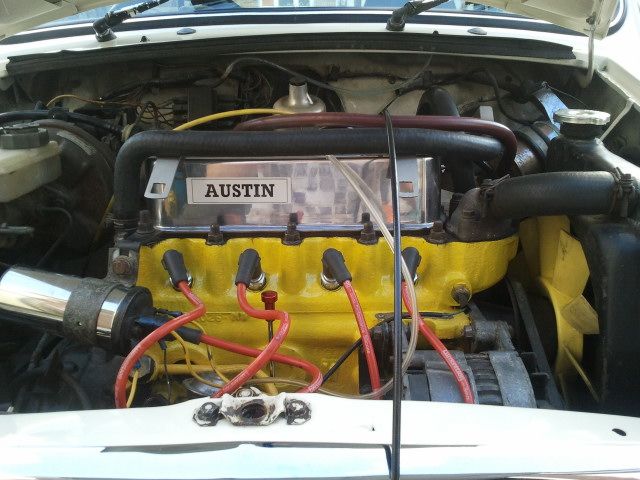
2013-06-10144021-1.jpg I purchased a new rocker cover, and sprayed the air filer box silver, and tried the clean the engine a little. It still looked bad though.


So i worked at it over a a week or so.


2013-06-10191640.jpg More cleaning.


And then paint!

2013-06-11131331.jpg This was after the 3rd coat. It had around 6 light coats in total if i remember. I only used about 1/4 of a 250ml tin of hammerite.


Also a Chromed dashpot cover. I then wire brushed a lot of the little bits where paint had dripped, like the engine number, and also some of the other little bits like the oil filter housing, and the advance on top of the dizzy.


Next also came the stage one kit i'd wanted since i had the car. It was nice to finally get one of these, it was a surprise gift from my girlfriend :shifty:


2013-06-11165940-1.jpg


2013-06-12101224.jpg


2013-06-12090738.jpg My brother helped me out. It was much appreciated, being an engineer for the rail-way he finds these things a doddle.


Luckily i'd re-furbished my carb the previous summer before i went away on holiday, and i knew my way around the HS4 fairly well to do the needle and the 'rough' tuning.


2013-06-15182101.jpg


I then bought a few other bits and bobs for the engine, got it tuned and drove it up until around mid July when i had saved up enough the get the bodywork and paint done by professionals. 


I took it to the guys at 'Fusion' at Northampton, Their thread here: http://www.theminifo...ce-northampton/


it arrived looking like this :shy:

2013-07-15135521.jpg Bare in mind i'd been driving this thing for a whole year looking like THIS. :shades:

2013-07-15135534-1.jpg At least Patrice had a gentleman's mustache.


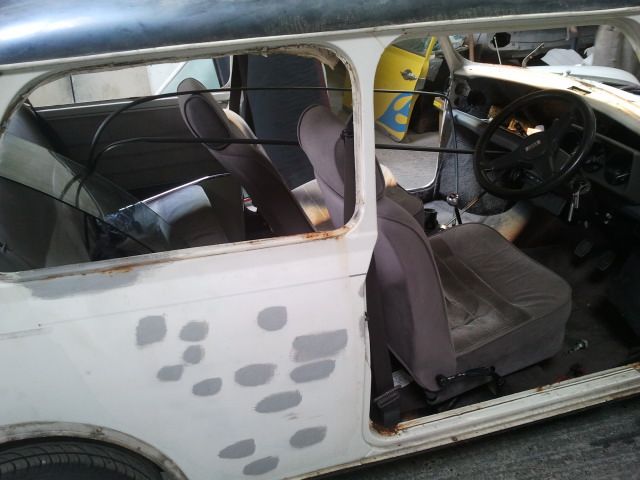
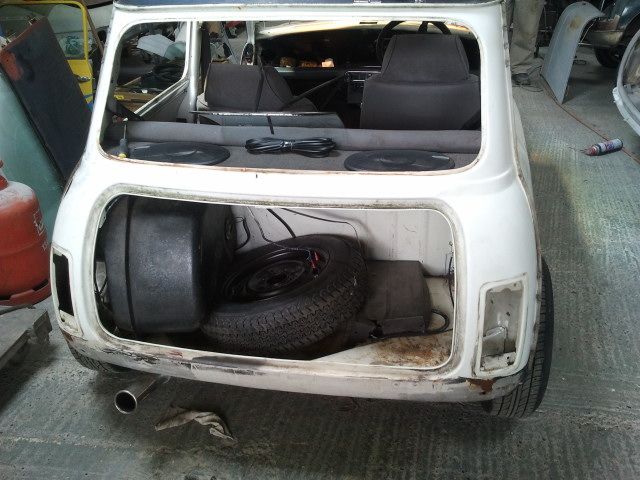
He was stripped down

2013-07-23132646-1.jpg


2013-07-23132700.jpg


I'd also managed to buy a few body parts for him, like a new bonnet and re-conned doors from the mini door company.


By the start of August he was looking like this

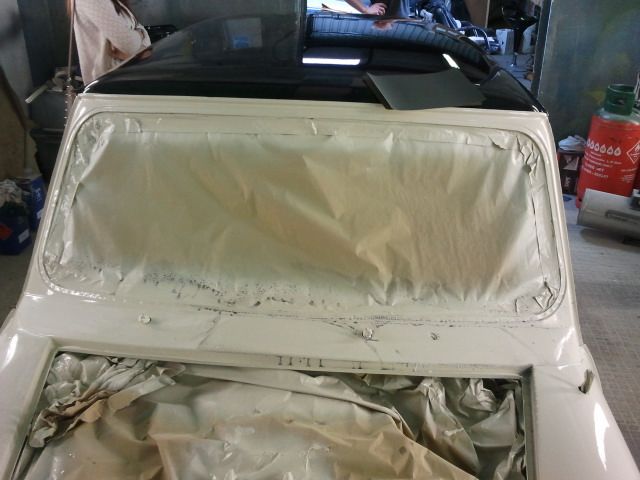
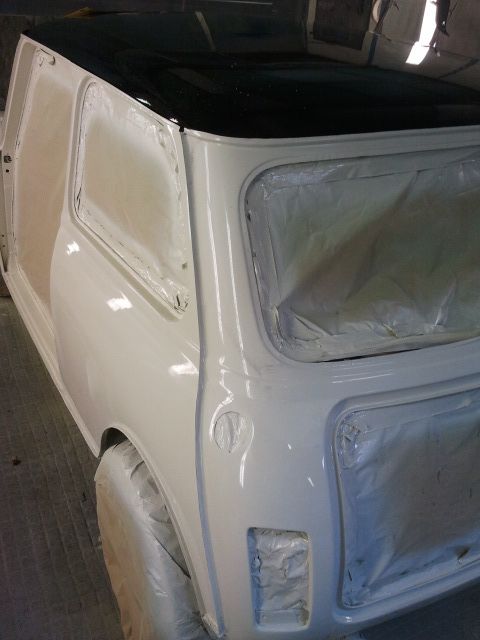
20130802_113243.jpg20130802_113302.jpg The front panel was too far gone, so he had a new bumperless one.


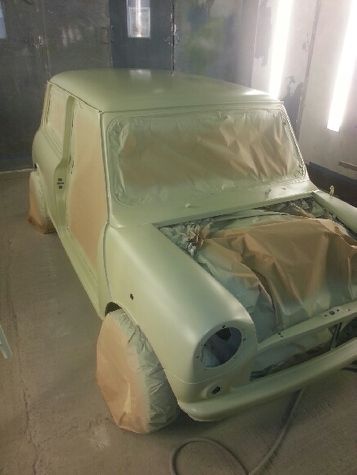
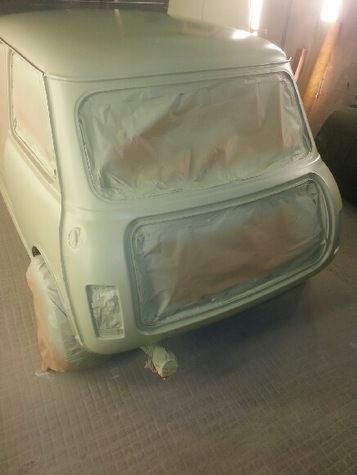
He was sand blasted, had the bodywork done and the back tidied up, and primed.


a few days after he looked like this,

2013-08-06132301.jpg2013-08-06132322-1.jpgi

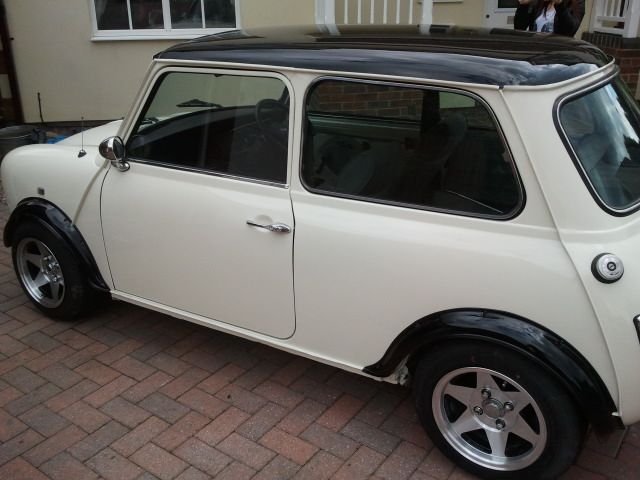
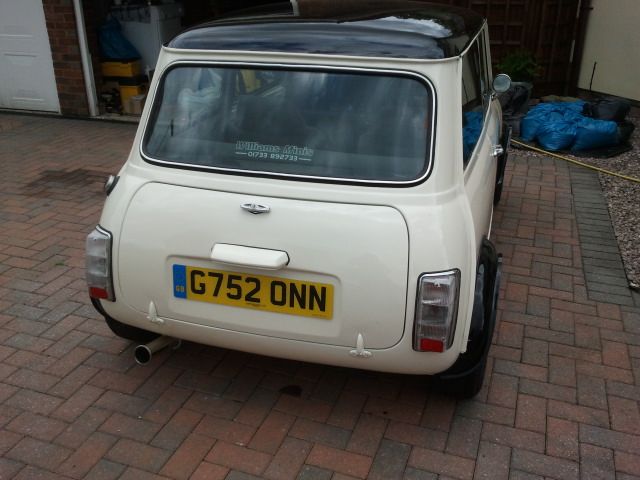
Painted in Arum white with a black roof. I also ordered a few extra parts through them, like a new grille and headlining etc.


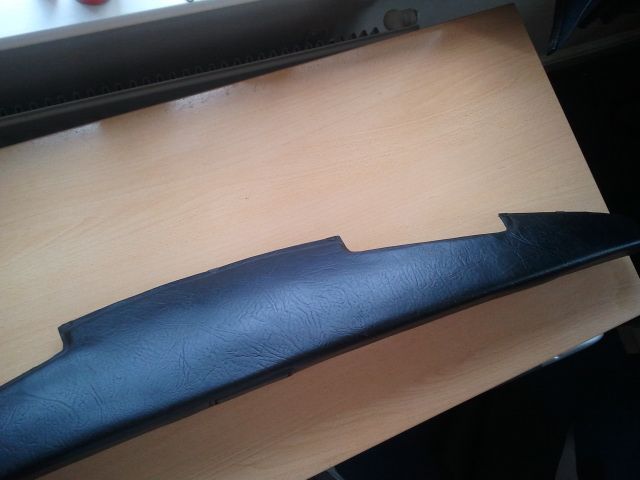
While they got on with that i started to wrap the top dash in black vinyl.

2013-08-08105011.jpg  The interior is probably the only thing left outstanding.


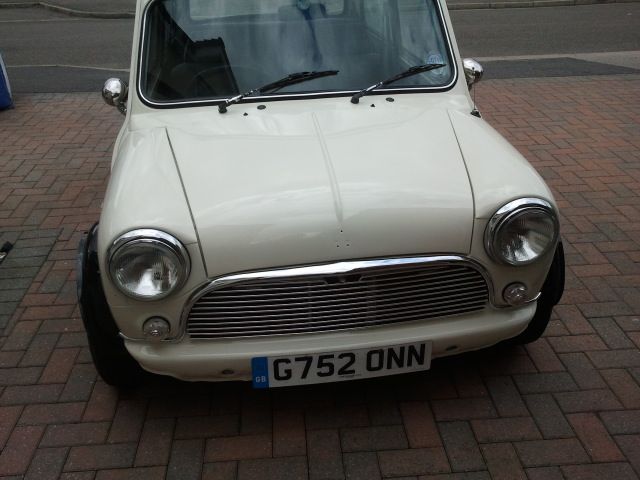
After the front grille was fitted it looked awesome.


2013-08-12160305.jpg2013-08-12160316.jpg2013-08-12160328.jpg 


And here is a shot with the engine.


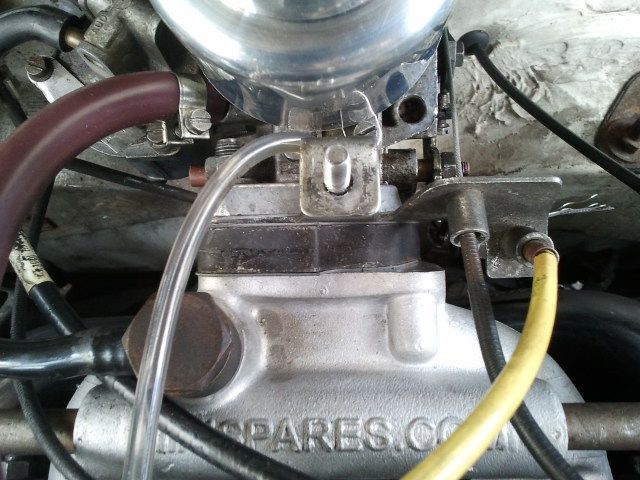
2013-08-16193635.jpg I had just fitted a new choke also that had to be cut down.


I'll leave it there again for now. So far I've just finished making door cards and i'll upload pics of them later, and the interior is getting started. At least now this is all up tp date and current, which means no more old photos, this thread will now be updated as i go along.


Thanks for looking and ill give an update later tonight depends on how much i get done :proud:


#6 tomb1992

tomb1992

    Speeding Along Now

  • Members
  • PipPipPipPipPip
  • 490 posts
  • Location: Birmingham

Posted 18 August 2013 - 03:35 PM

quick  and sweet progress! make sure you get some decent quality lock wheels nuts. the ones i got started rusting and they can be a right bugger to get off! engine and mini looks ace painted by the way  :whistling:  :whistling:!  


#7 olds_kool_lews

olds_kool_lews

    Up Into Fourth

  • Traders
  • PipPipPipPipPipPipPipPipPip
  • 3,601 posts

Posted 18 August 2013 - 03:51 PM

Looks spot on now mate, glad you like it! Last time i saw the car, you were driving it away from our unit without the grill on, but the grill really sets it off! Keep up the good work, i bet you haven't stop polishing it!

#8 mossy2a

mossy2a

    Mini Mad

  • Members
  • PipPipPipPip
  • 182 posts
  • Location: Derbyshire

Posted 18 August 2013 - 08:21 PM

looks nice.. the mk1 grille really sets it off.


#9 Yams

Yams

    Super Mini Mad

  • Members
  • PipPipPipPipPipPip
  • 644 posts

Posted 18 August 2013 - 08:45 PM

quick  and sweet progress! make sure you get some decent quality lock wheels nuts. the ones i got started rusting and they can be a right bugger to get off! engine and mini looks ace painted by the way  :whistling:  :whistling:!  


 Yeah i bought the wheel nuts straight after the incident. Been fine for the last year and a bit now so all is good, and thanks!


Edited by Yams, 18 August 2013 - 08:46 PM.

#10 Yams

Yams

    Super Mini Mad

  • Members
  • PipPipPipPipPipPip
  • 644 posts

Posted 18 August 2013 - 09:03 PM

So how i got on today.
 

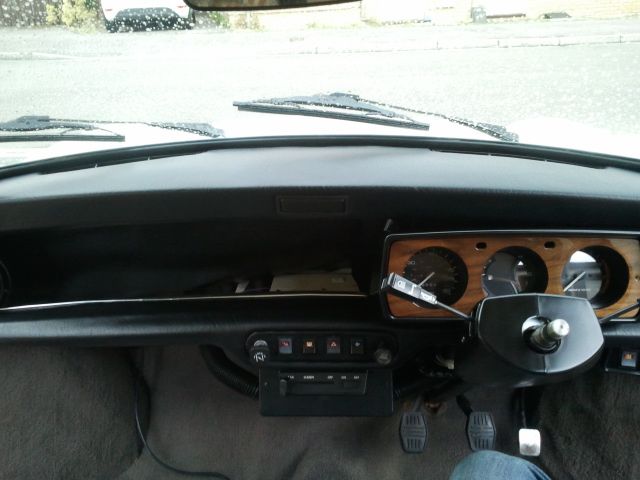
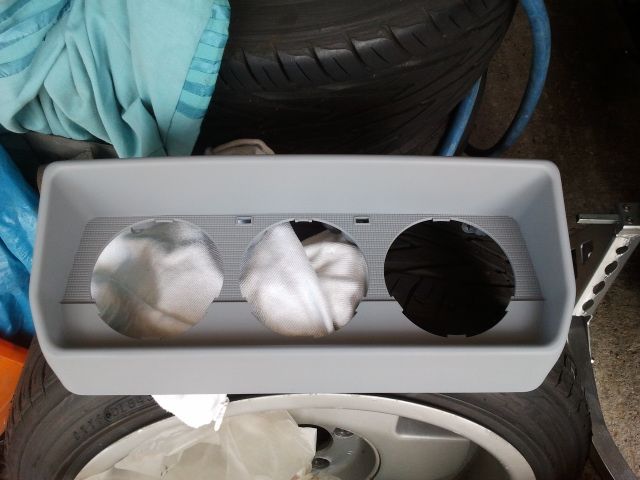
Well the interior all came out, and the bottom dash was wrapped in black

2013-08-13174925.jpg


And everything was given a good clean,

2013-08-14114842-1.jpg


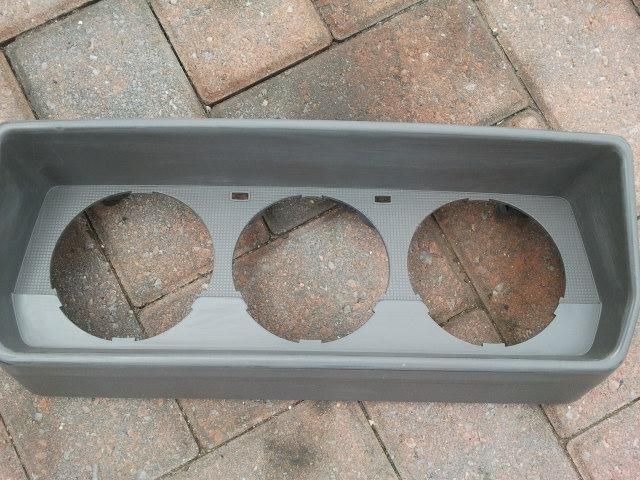
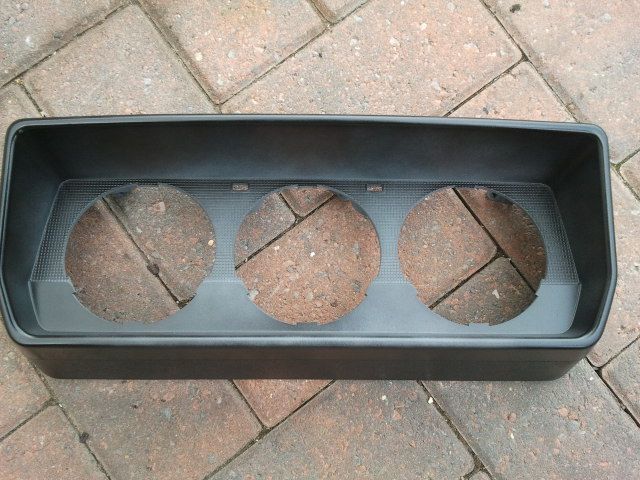
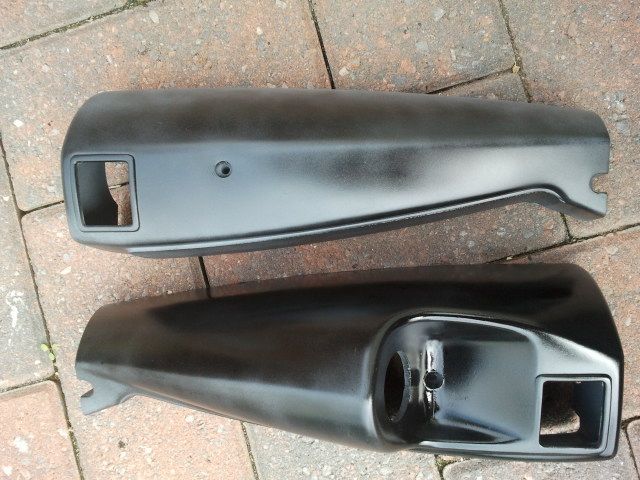
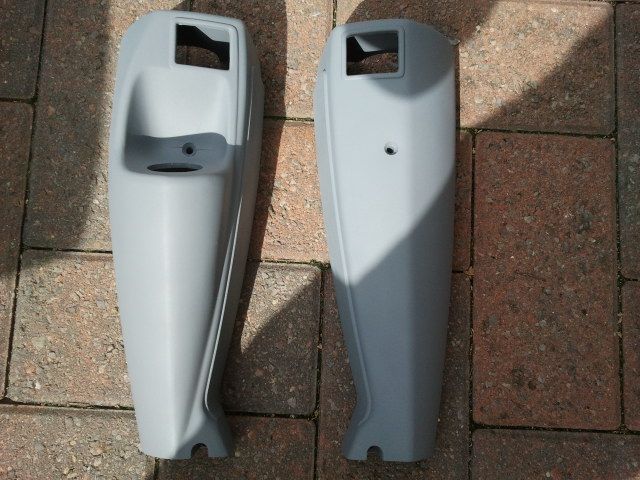
The clocks and steering-wheel cowl are also gloss black, which is much nicer than that horrible brown/grey interior colour. What really annoyed me was after a little prep, it seemed that they were previously black before, so they painted them those horrible colours in the factory? I may be wrong, i hope so.


2013-08-14115437.jpg2013-08-14121615.jpg


After the second dusting of black

2013-08-14123942.jpg


Then finished


2013-08-14132852.jpg


2013-08-14141715.jpg2013-08-14143943.jpg


And the interior back together. I also managed to pick up a wooden clock cover from Huddersfield minispares to finish it off the look. Just need a wooden steering wheel now.


2013-08-15192038.jpg


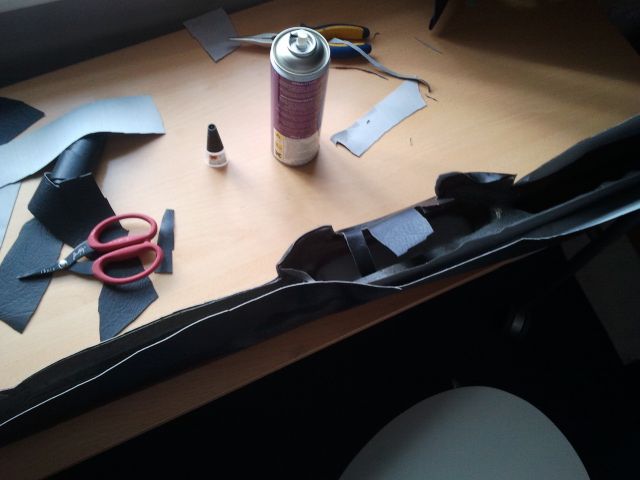
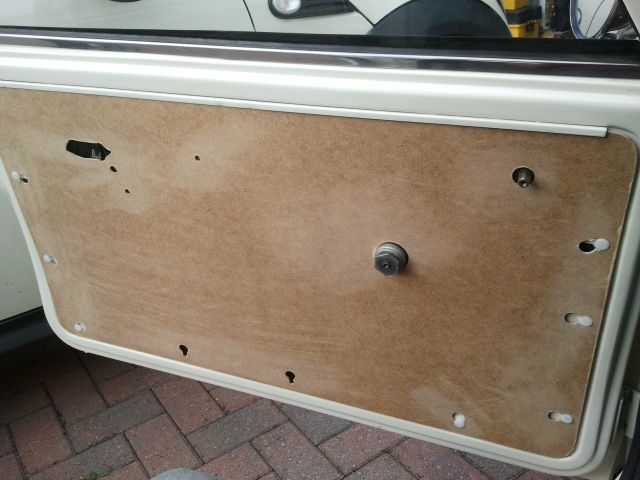
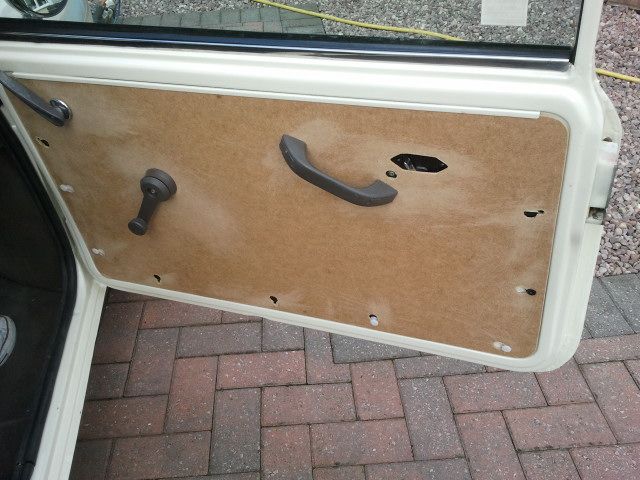
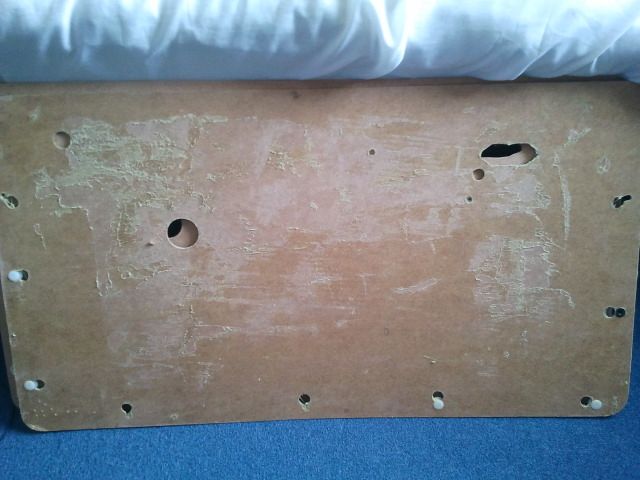
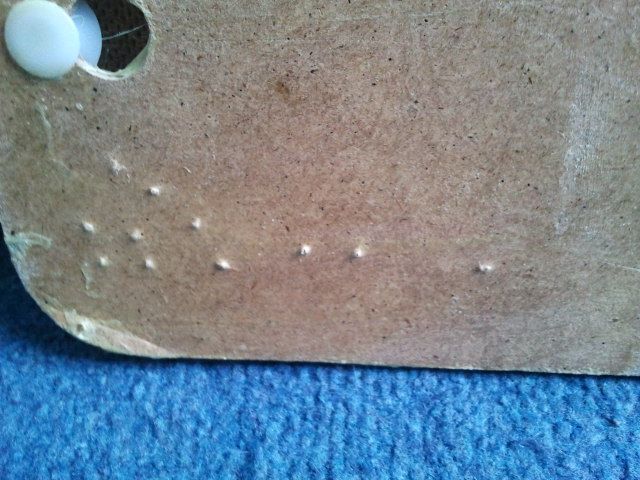
Next was door cards. So after using my old scabby ones as templates i managed to cut out some new ones in hardboard, and after some sanding i managed to get them to fit better than the originals.

2013-08-12190107-1.jpg2013-08-12190647-1.jpg


I wont use all of the holes though, as they stay on fine with only using half of them. I also don't want to make it impossible to take them off in the future.


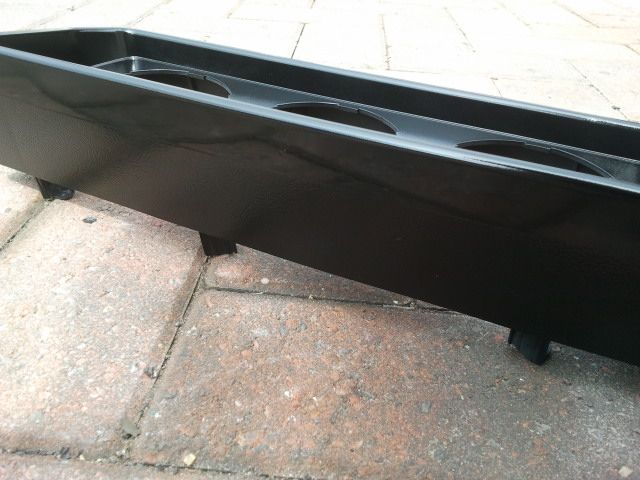
And of course a new parcel shelf.

2013-08-16173654.jpg2013-08-16185006.jpg


The final, against the old, which just had a carpet on top, and some 6x9 pioneer speakers. If anyone wants them just say and ill link photos, they still work, i just don't want speakers on the back shelf, and they are just taking up room.


#11 Yams

Yams

    Super Mini Mad

  • Members
  • PipPipPipPipPipPip
  • 644 posts

Posted 19 August 2013 - 05:12 PM

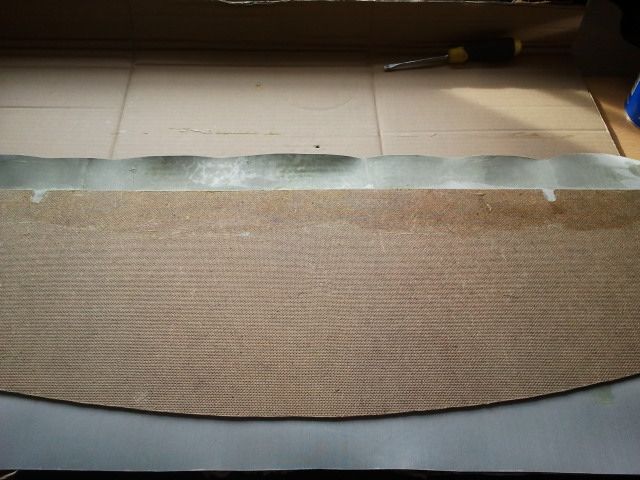
So the first attempt at covering the door cards didn't go well. I stapled through the board after the glue had dried to fold the edges over, and i used staples that were too long. They came through the fabric on the front.

2013-08-16172425-1.jpg2013-08-16172430-1.jpg


However after a good sand, after the glue had dried out a bit more the board was generally flat, and generally looked fine.

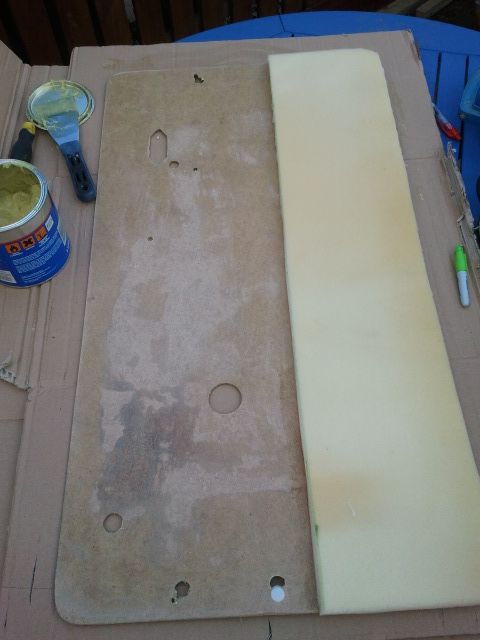
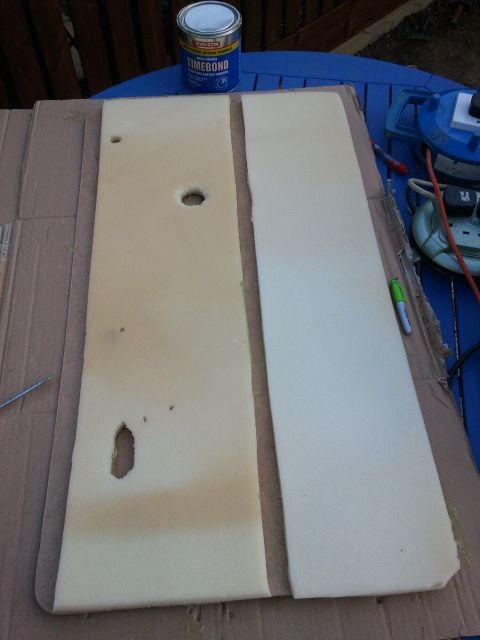
I then decided after this i would foam them. I cut the foam to give a gap in the middle where i will place a chrome strip.


2013-08-18171212-1.jpg2013-08-18172704-1.jpg2013-08-18161737-1.jpg


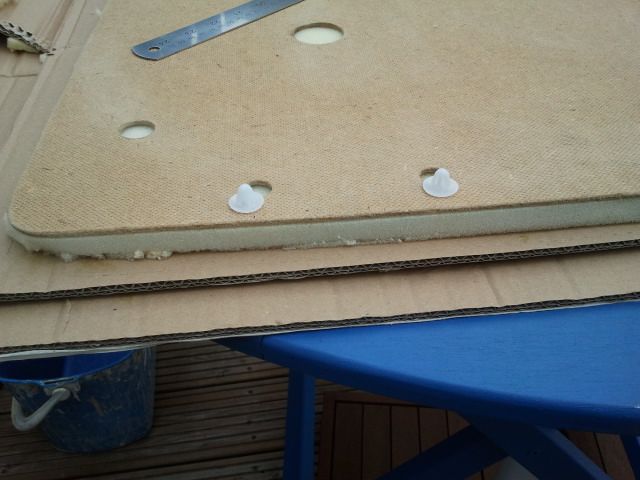
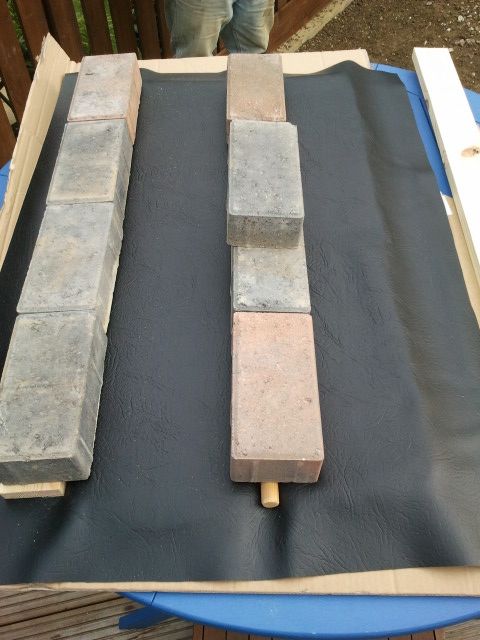
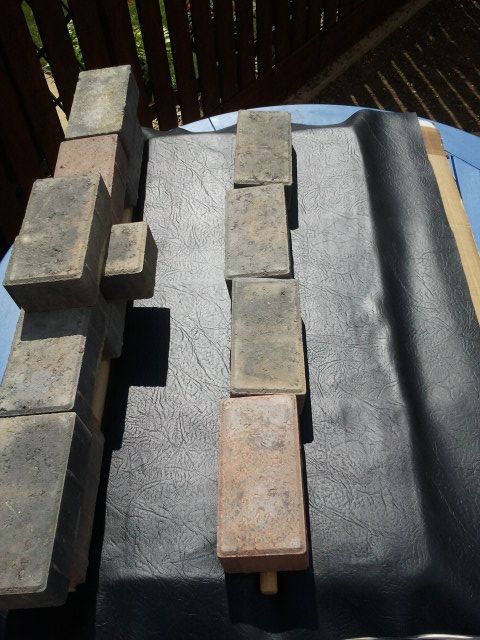
I then used a broom handle and another plank f wood to stick down the recessed parts, and stack bricks on top.


2013-08-18185118-1.jpg2013-08-19130449.jpg


I've folded the corners over now, but im waiting for them to dry before i take any photographs. I also just need my chrome strip from ebay to arrive then they are ready to go in :)


#12 Yams

Yams

    Super Mini Mad

  • Members
  • PipPipPipPipPipPip
  • 644 posts

Posted 28 August 2013 - 11:18 AM

Update!  <3


So i was a bit lazy, because re-trimming an old scabby interior is what i would call mundane. Luckily i had my mother on hand to help with the sewing etc. Pre-made seat covers? I aint affordin' that! This is a budget yet suave build.

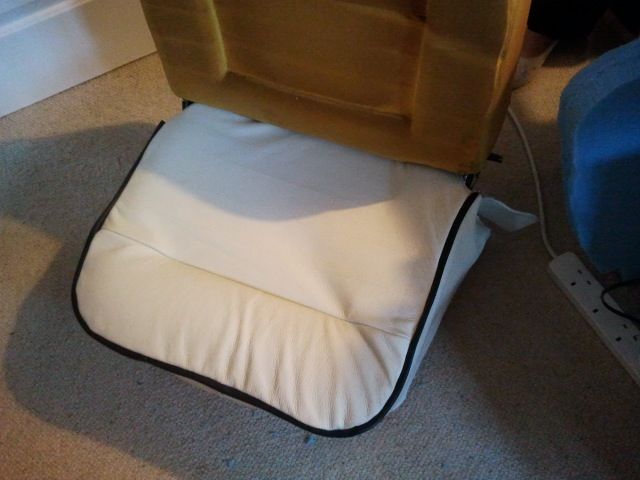
So i had an old leather sofa inc cream. It was supposed to go to the charity shop, but they didn't want it because they said it was in too poor condition, i just think they couldn't be bothered to collect it, it was basically a 4-piece...


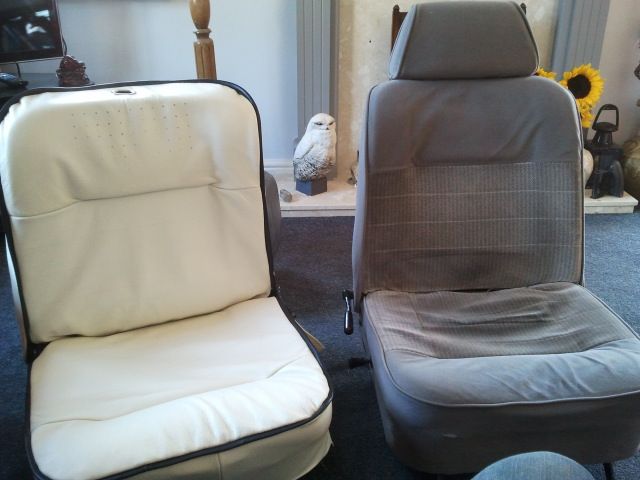
So anyway, the leather was cut off that, and the old crappy grey interior front seats were picked apart and used as templates. Luckily my mum has a old 1930's singer sewing machine that sews leather with ease.


Doing the first cover was kind of tricky, but i soon got the hang of it. The piping is black vinyl which was left over from the door cards. 

2013-08-23180637.jpg2013-08-26122715.jpg


Looking much better if you ask me.


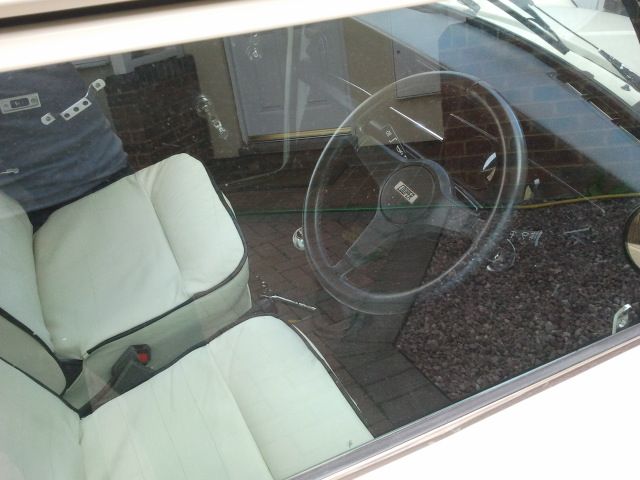
2013-08-26141529.jpg In the car, the drivers seat is also just finished, so I'll upload some picks of them together.


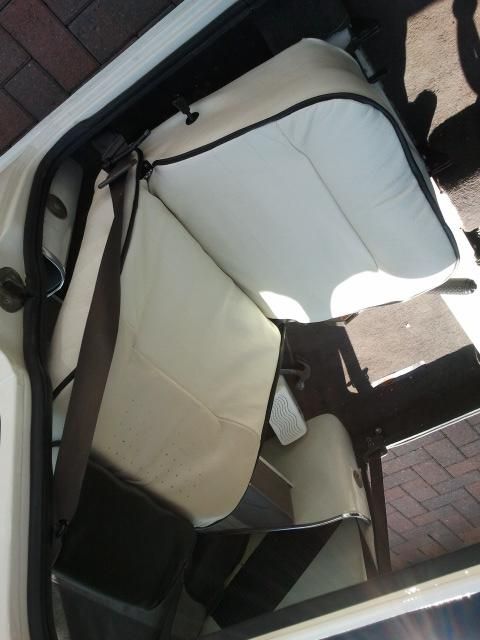
The rear seats have also now come out for re-trimming, I'm literally drowning in cream leather here. Also on closer inspection my rear seats smell like wee. :shifty:


#13 samg2007

samg2007

    Speeding Along Now

  • Members
  • PipPipPipPipPip
  • 499 posts
  • Location: Bristol

Posted 31 August 2013 - 01:48 PM

Looking good, love the look after the respray. Following!

#14 Yams

Yams

    Super Mini Mad

  • Members
  • PipPipPipPipPipPip
  • 644 posts

Posted 07 September 2013 - 06:48 PM

Update!  <3


Been a while since i updated this. Unfortunately i haven't mastered the art of materializing mini parts from thin are like some of you manage to do, heu heu.


Front seats are now done, huzzar!

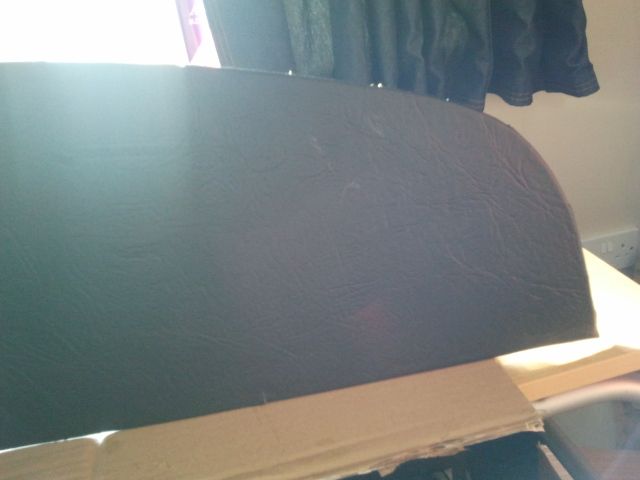
As well as the door cards.

2013-09-02114211.jpg


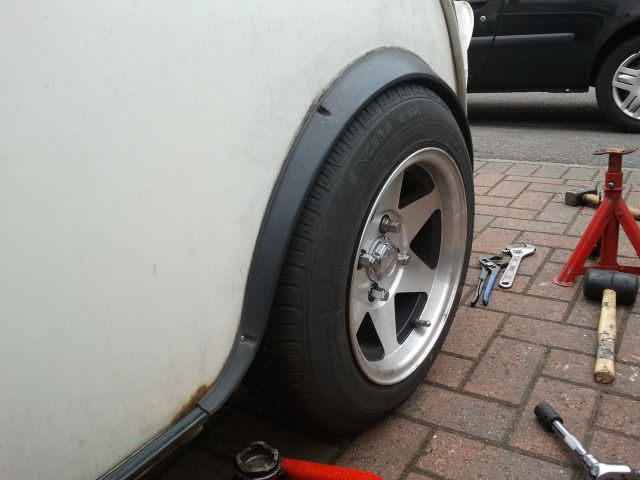
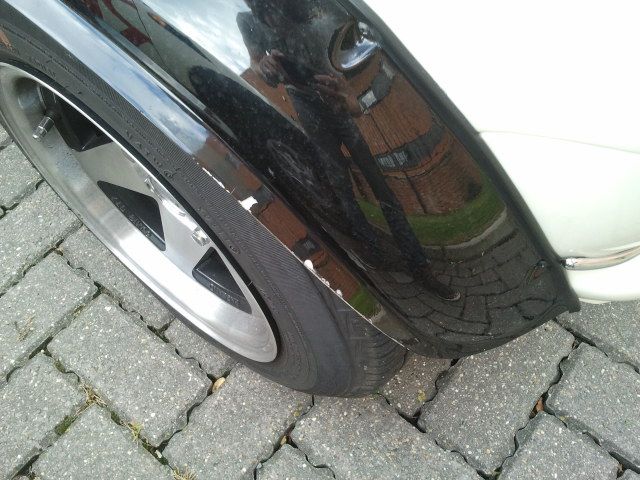
unfortunately someone also managed to crash into me. Over the 3 years i've been driving, i have never even been close to crashing, then when its painted, suddenly someone manages to catch my front wheel arch. O_O

2013-08-22175203.jpg This has made me dissapoint. However i will be able to cover this with the chrome strip i ordered for the arches. Still meh though.


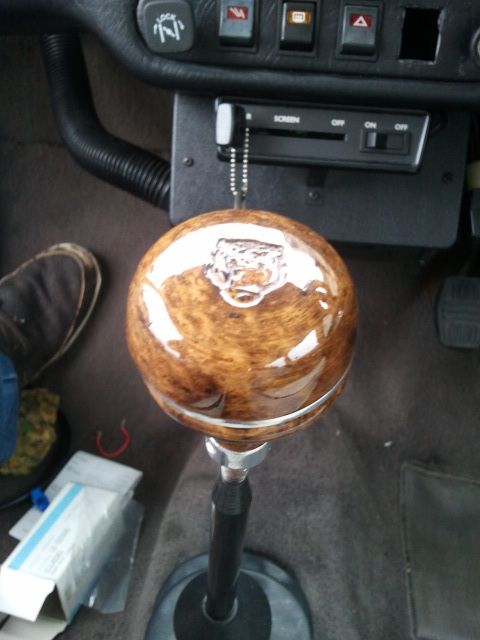
Also, gear knob :). I dont know why i found this so funny, but i had a good chuckle, maybe i was just being a bit derpy when i fitted it. 

2013-09-06144425.jpg


Just part of the update.....


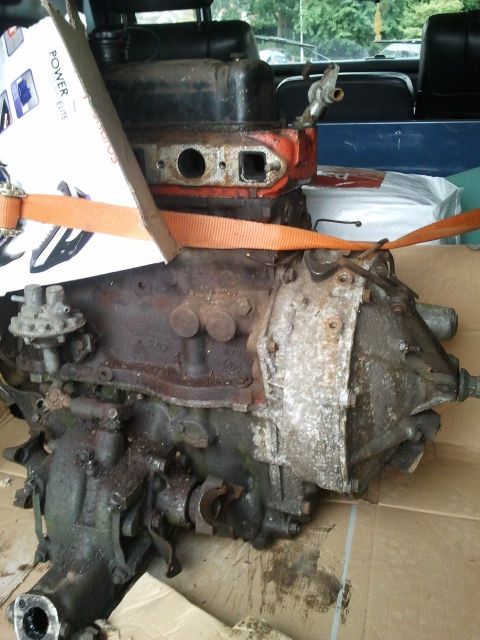
1275!

2013-09-07160012.jpg


So anyone who overlooked this because it seemed to be just a cosmetic rebuild, i decided i would go all out. Its a 1275, not A+, it has an 11 stud head fitted, complete with gearbox etc. I will be stripping it down, replacing required parts,  and learning (I got my vizard) Really chuffed about this. I now have big plans for this, looking for either twin 1 1/2 SU's, A hiff44 or a weber with swan neck inlet, however i have heard bad things about the air flow on them.


So that wraps it up for now, hopefully there will be another update soon!


#15 the_samkingdon15

the_samkingdon15

    formally known as samkingd0n

  • Noobies
  • PipPipPipPipPipPip
  • 644 posts
  • Location: Devon
  • Local Club: I ride alone

Posted 07 September 2013 - 07:21 PM

this looks amazing.. what a transformation.. shame about the bastards trying to nick your wheels :/
quick question, how much did they charge for the bodywork and paint?
keep up the amazing work
sam


1 user(s) are reading this topic

0 members, 1 guests, 0 anonymous users