'88 City E - 'the Purist' - Slammed 16V Show Car'
#571

Posted 05 April 2017 - 07:11 PM
#572

Posted 06 April 2017 - 09:43 PM
Thanks a lot chaps. Have no fear, I shan't loose complete faith!... I'll always love this car, except for the times that I hate it with every fiber of my being...
It's booked in at Revivals59 for the 3rd May. They're damn good there, so hopefully it will be in good hands,
so sorry hear your having trouble. really puts damper on the vibes.. ever think about going honda?
I did think about it, but decided against it as I'm quite fond of the A-series, since I know I'm familiar with it and it's mostly easy to work on! I wouldn't mind the reliability or power though! ![]() I also don't have a hope in hell of affording a conversion anytime soon!
I also don't have a hope in hell of affording a conversion anytime soon!
#573

Posted 15 May 2017 - 01:37 PM
So it's about time I wrote a proper update since my last one was just me complaining. The car is now at Revivals59 in Thriplow. They handle a lot of Mini's and have a very good rep, so hopefully it's in the right hands! It's due to be worked on later this week so I should hopefully know the problems soon,
Anyway, before sending it off, I got a fair few jobs done that needed doing.
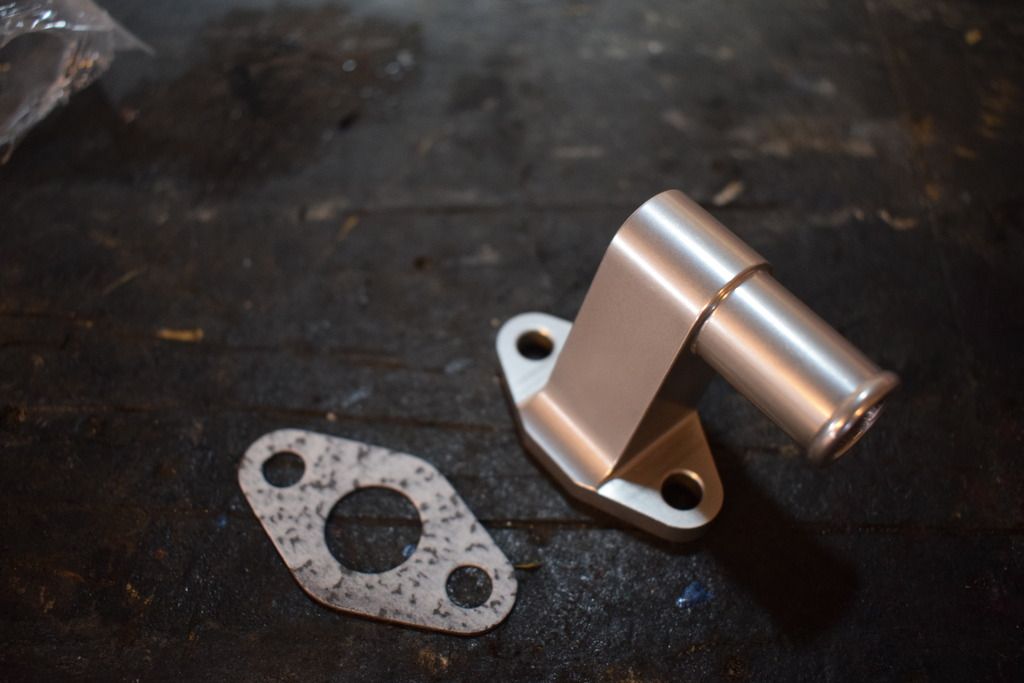
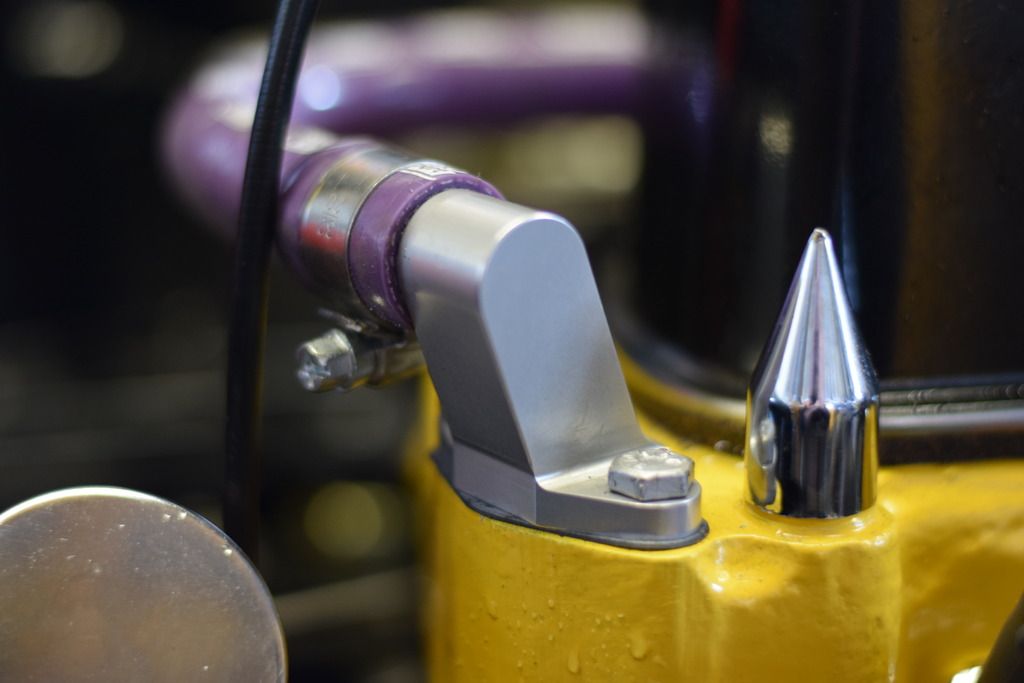
Firstly, my leaky heater valve has always annoyed me, and since I always used to drive with the heater on anyway, I splashed out on some DSN goodness.
Next up, I was never happy with the fitment of the front wheels, so some 9mm spacers were in order. This of course meant I also needed longer studs, which took a while to fit.
First things first, off with the hubs.
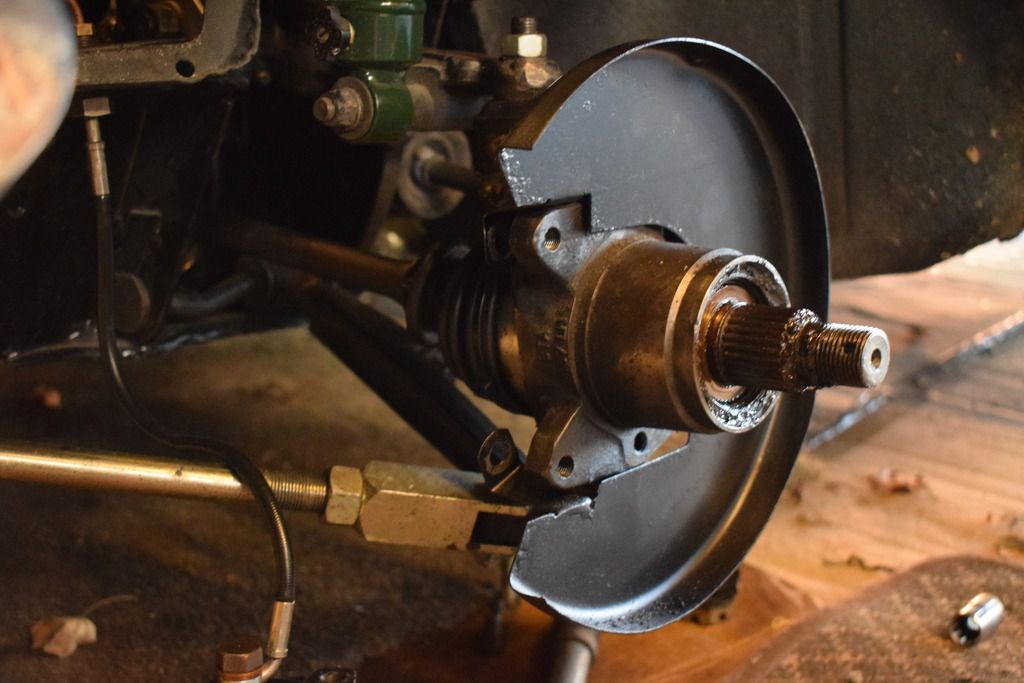
Splitting the drive flange from the disk proved to be an absolute arse of a job. Lots of hammering required.
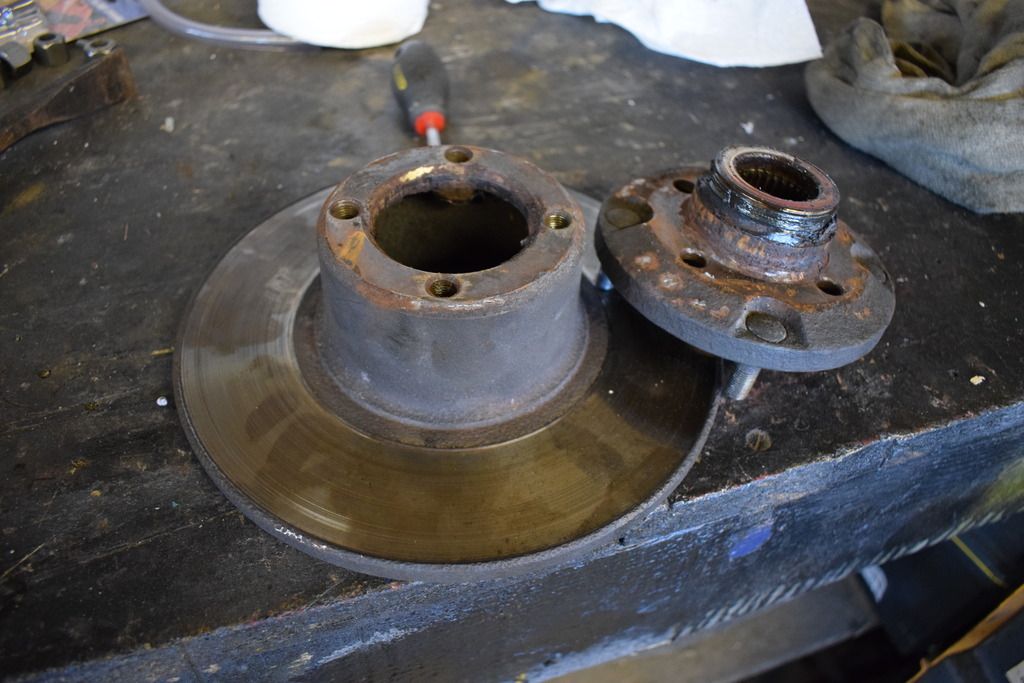
The next issue I had was the studs themselves. While the replacements were longer, the thread stopped too soon meaning the nuts ran out of thread before meeting the wheel. There didn't seem to be any replacements that would do the job, so I broke out the tap and die set which seemed to do the trick. This also means I can remove the spacers if I choose to do so.
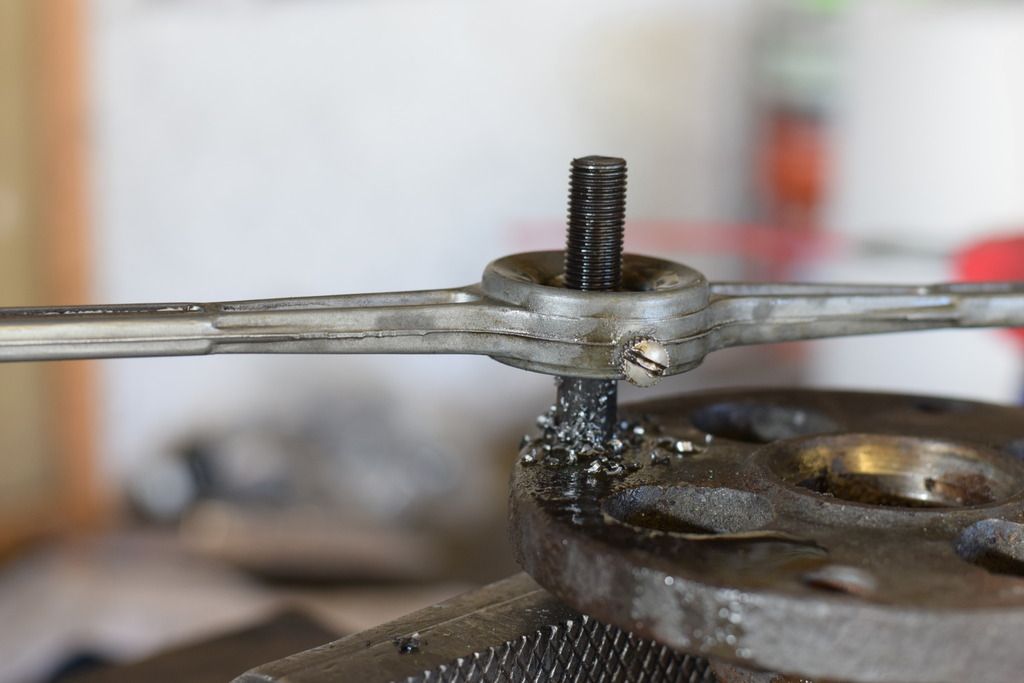
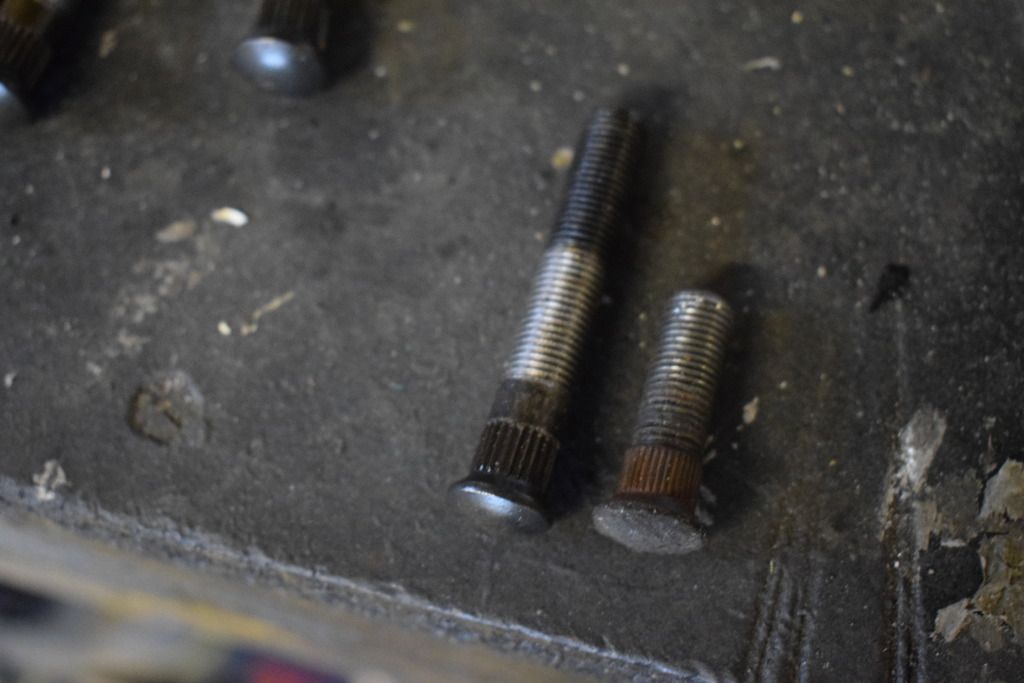
Old vs New. You can see how much extra thread I added.
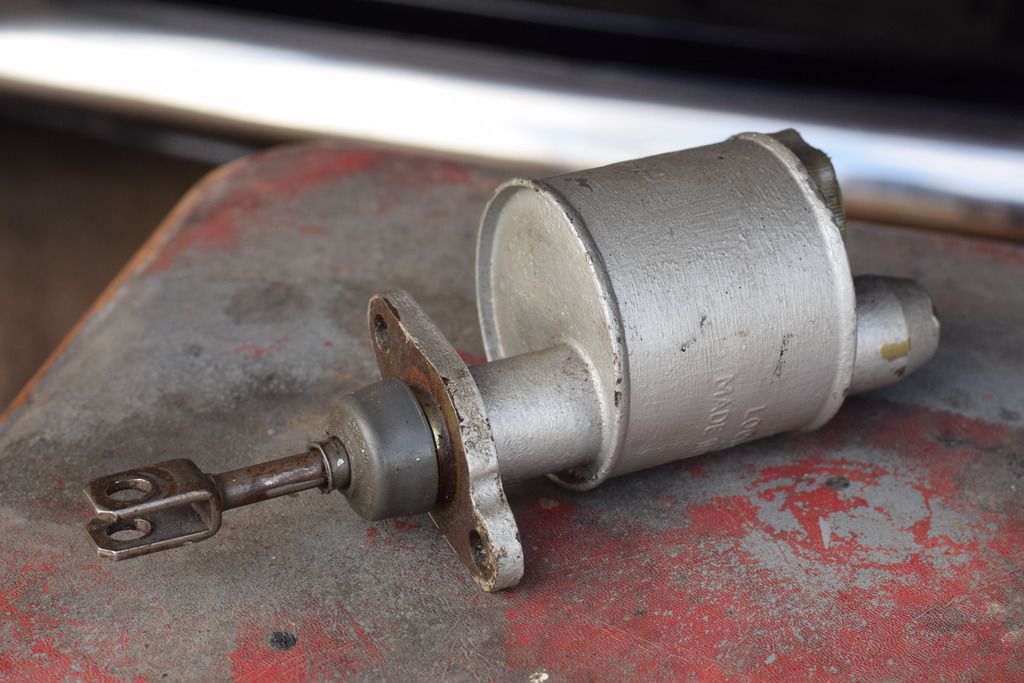
So with that out of the way, I turned my attention to my rather annoying brake fluid leak. For months now I've had brake fluid dripping from both the brake and clutch pedal, which to me suggested that the seals had gone in either one or both of the cylinders. After checking the levels, I noticed that brake fluid hadn't dropped, but the clutch had significantly, so that was my first port of call, and what I found surprised me...
I was expecting to find knackered seals, but what I did find was a bloody rust hole in the side of the reservoir!
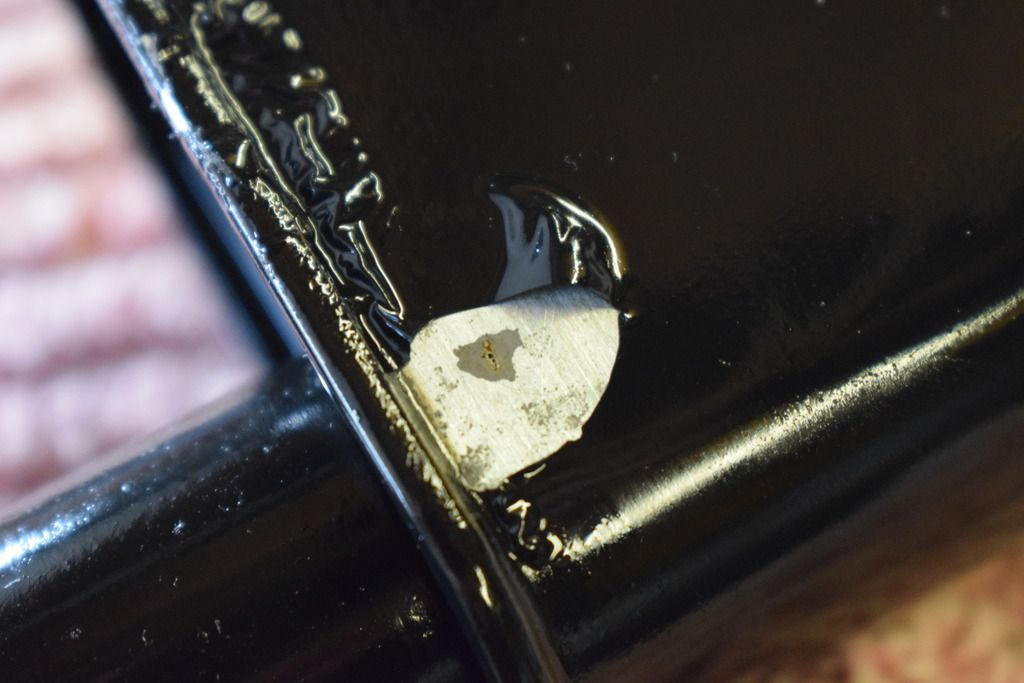
Luckily I had a spare clutch cylinder lying around, so after a new set of seals and a lick of paint it was bolted in and seems to be doing the job.
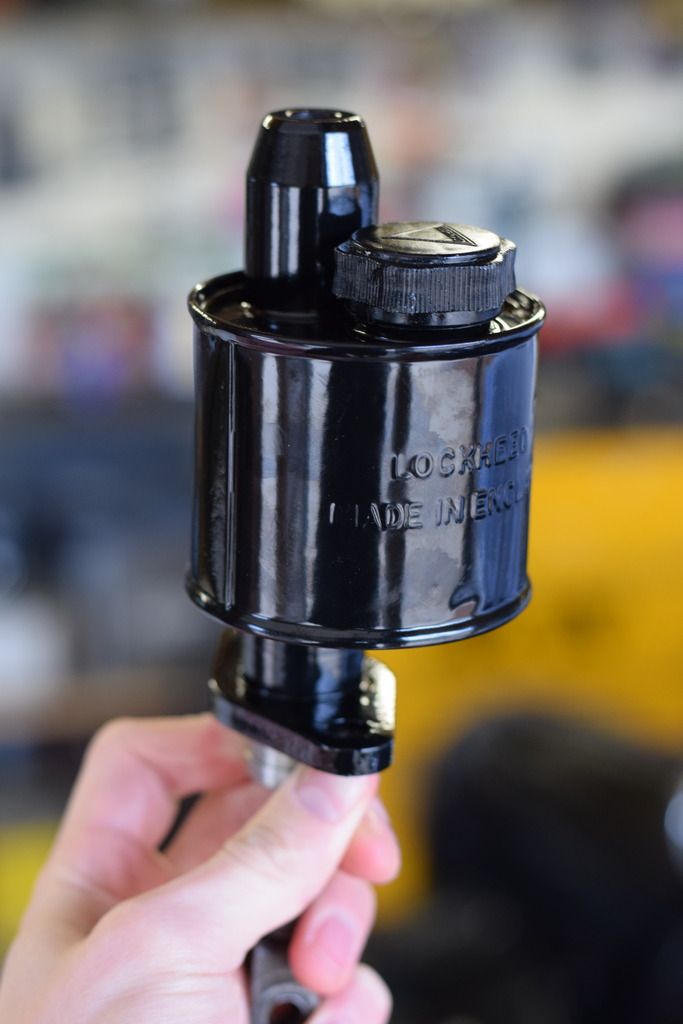
(Rubbish pic) ....
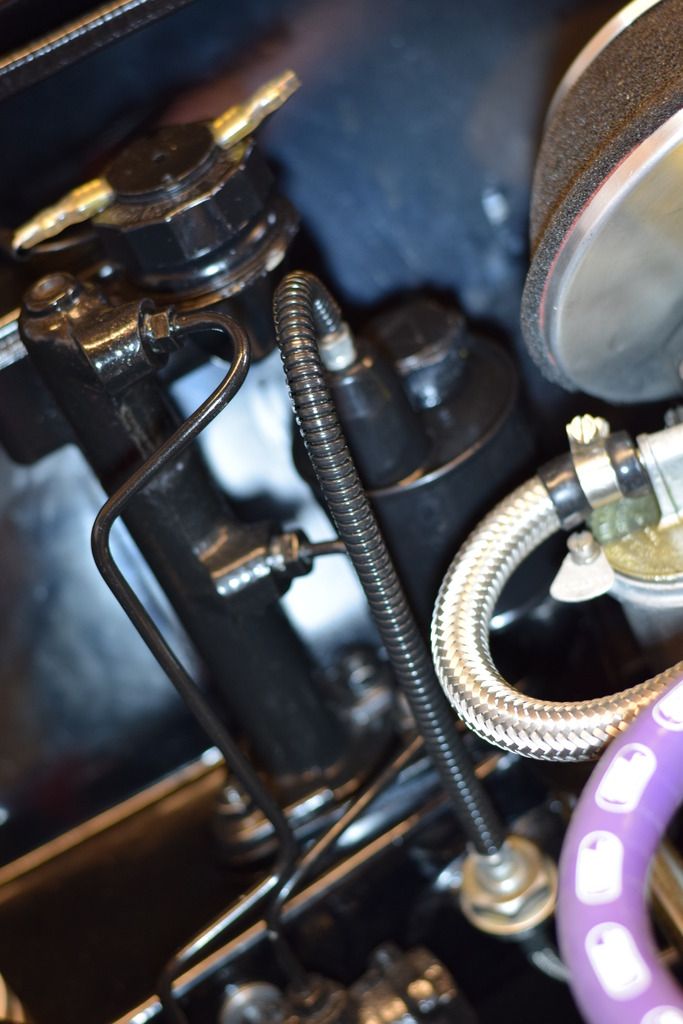
However... I've noticed that the brake and clutch pedals are STILL always slightly damp, so something is still leaking. I can only assume it's the brake master cylinder as I haven't checked it, but the fluid levels are remaining constant so I'm still confused....
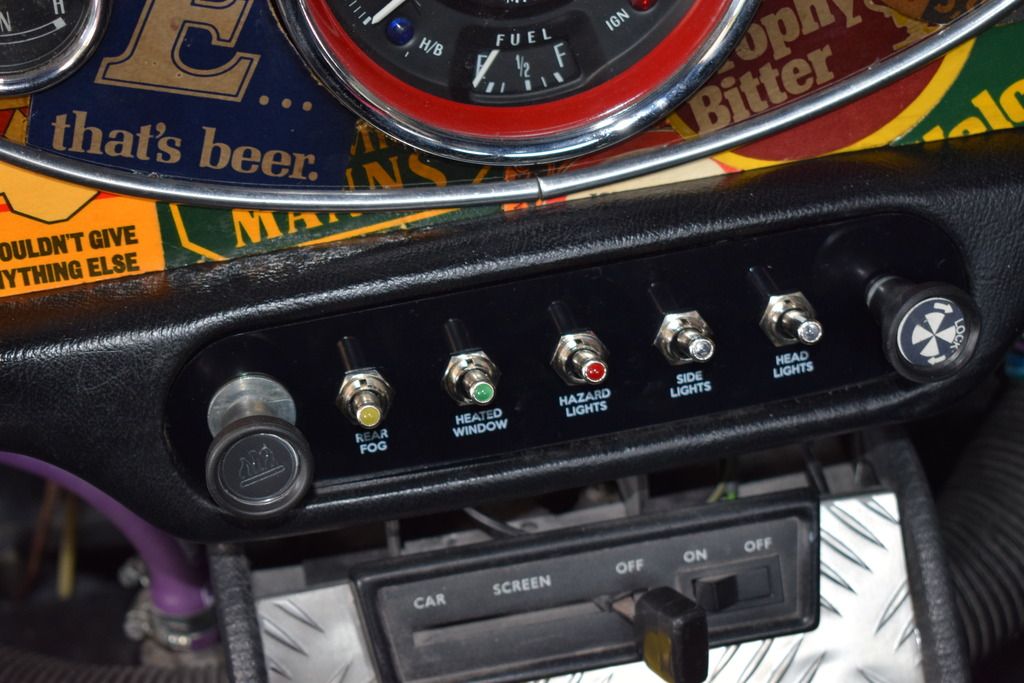
Moving on, I then fitted my Wired by Wilson toggle switch set, which I must say is an absolutely lovely bit of kit and well worth the money. It's very well made and completely pug and play.
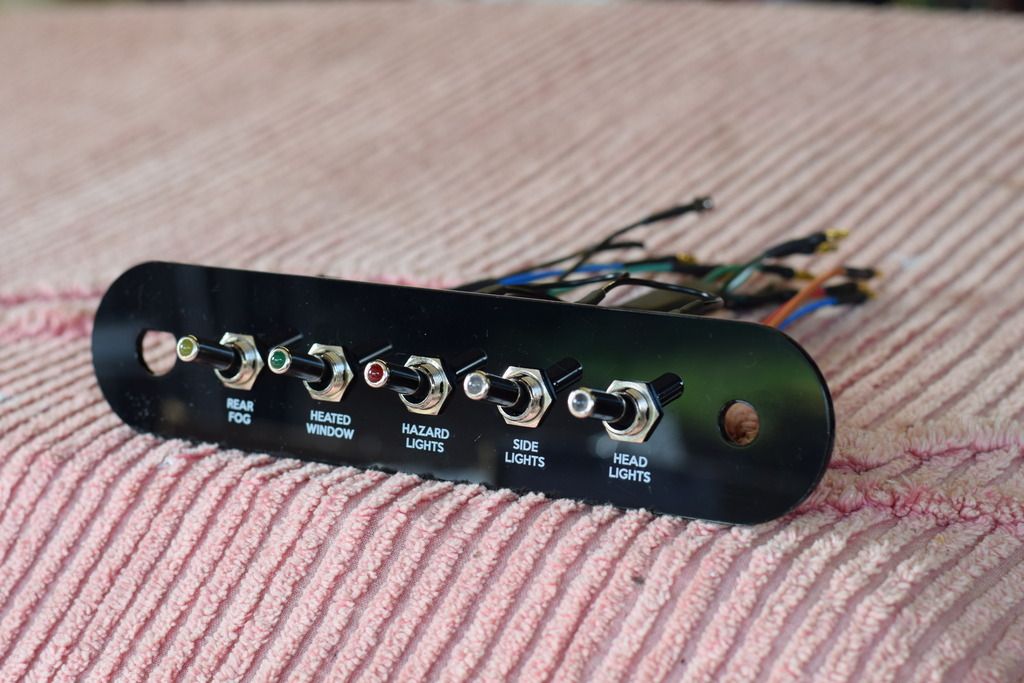
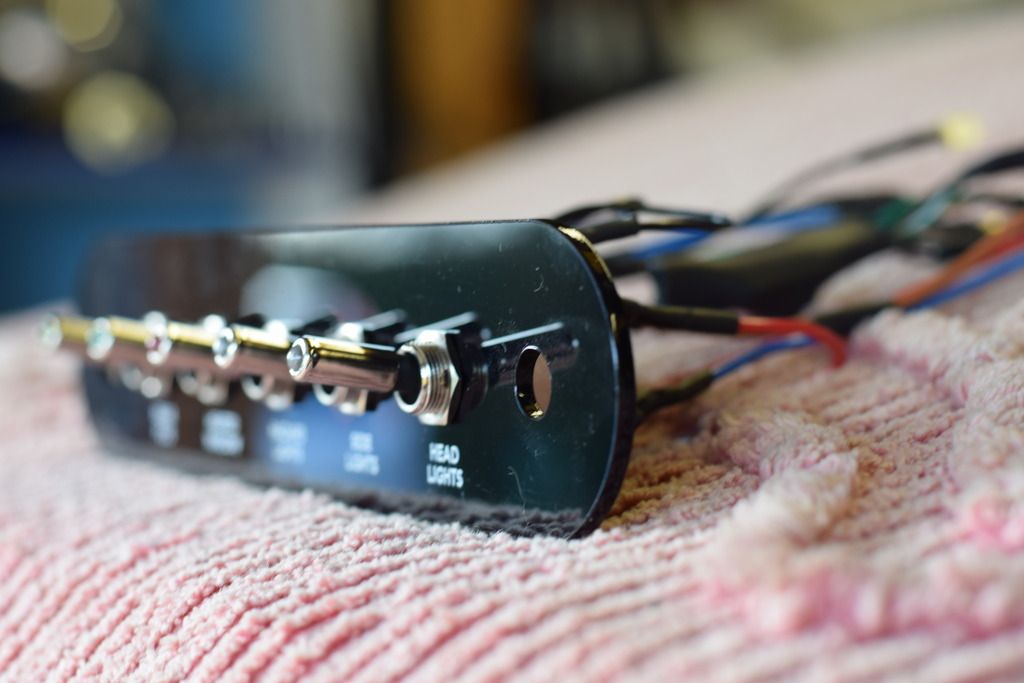
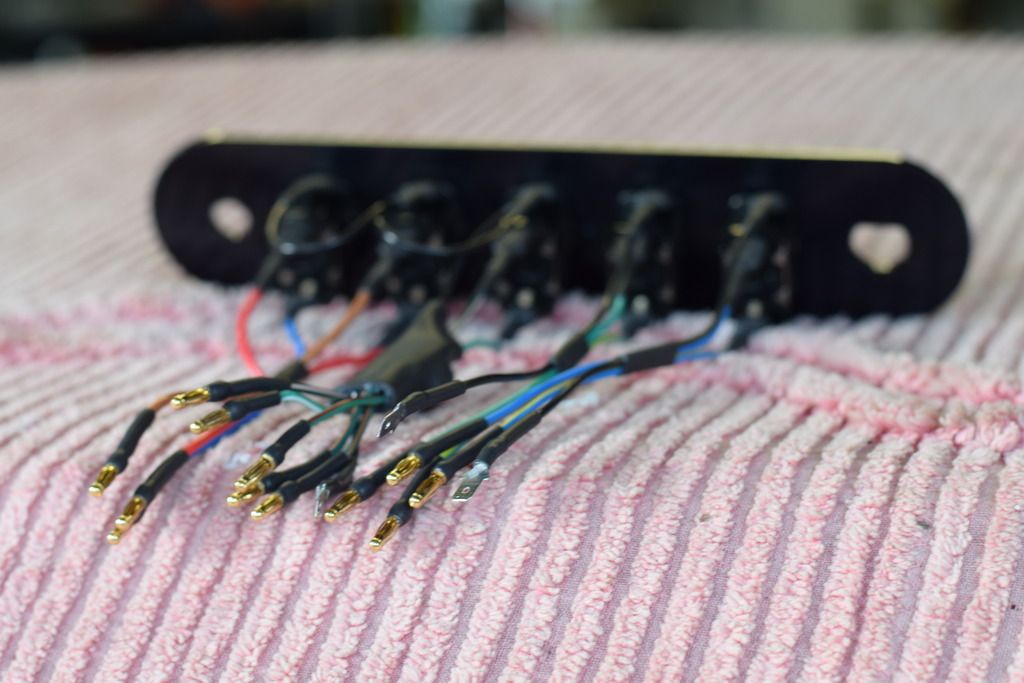
BEFORE (rubbish pic... again)
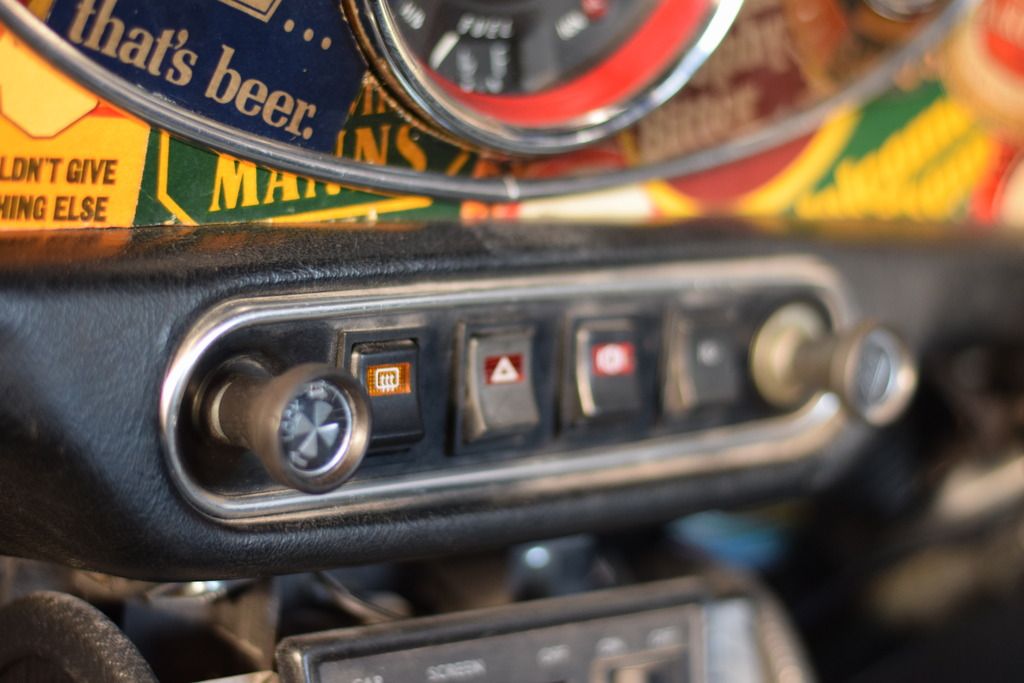
AFTER
The heater knob is now fake after fitting the DSN bypass. I didn't just want a hole there though.
I've always thought the standard Mini horn was a bit weedy, so I got myself something a little more substantial.
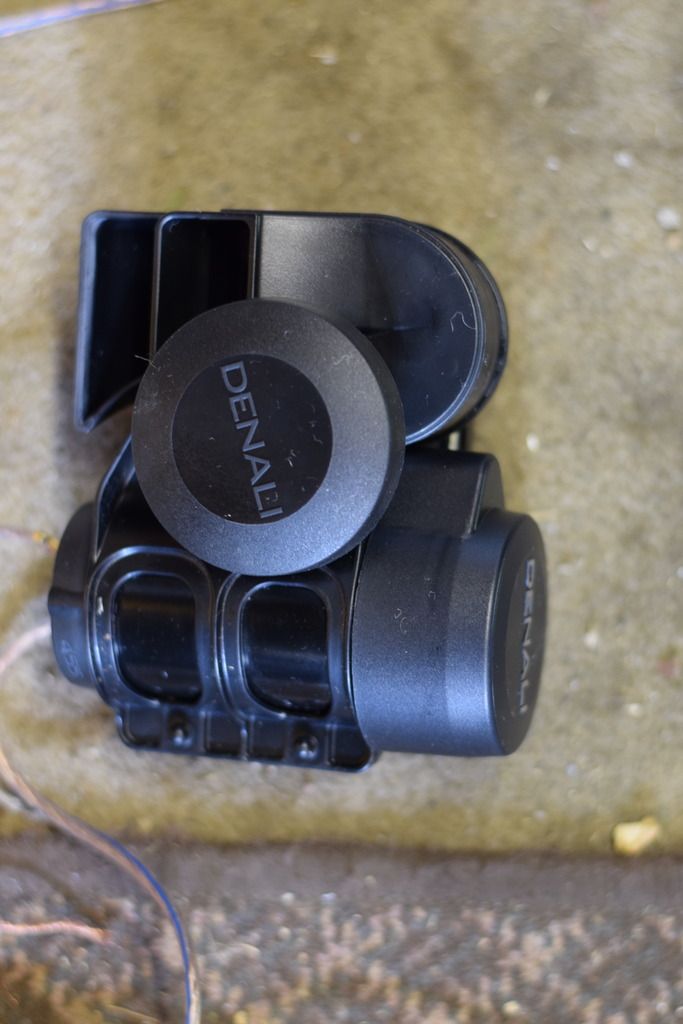
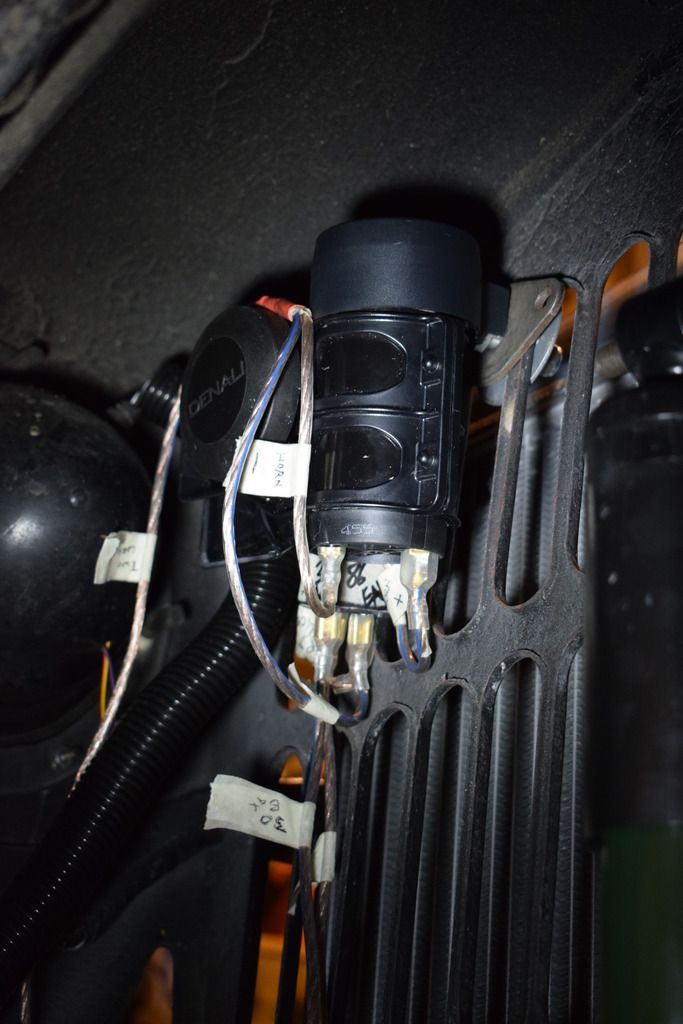
A Denali Soundbomb air horn. at 120db it certainly does the job!!
Squeezed it in under the front wing for some stealth, and wired it to an LED push button to the right of the steering column.
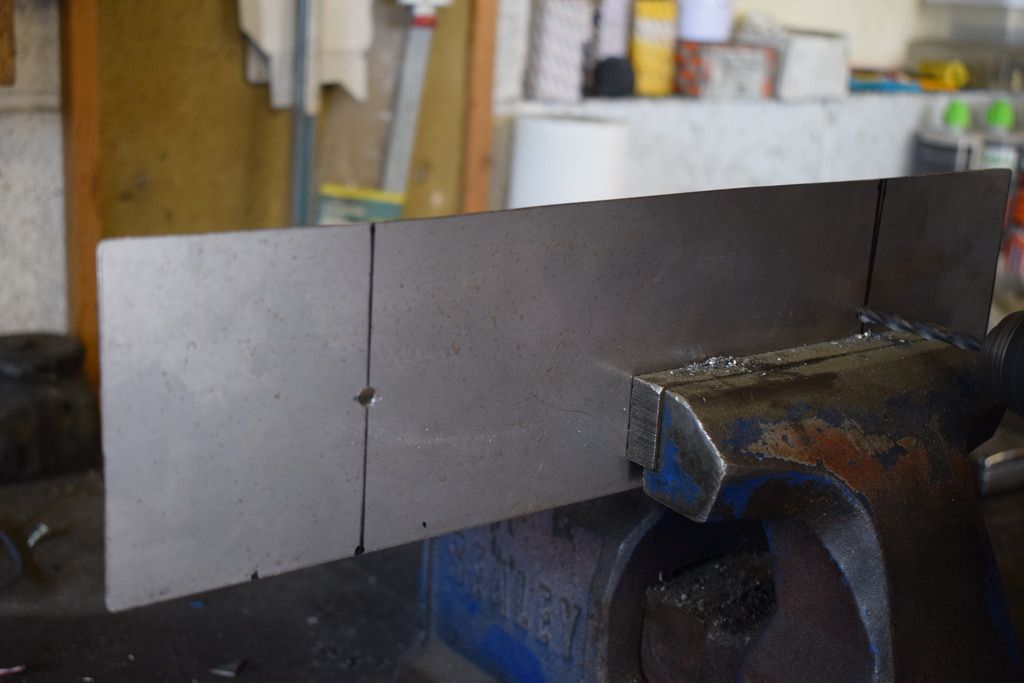
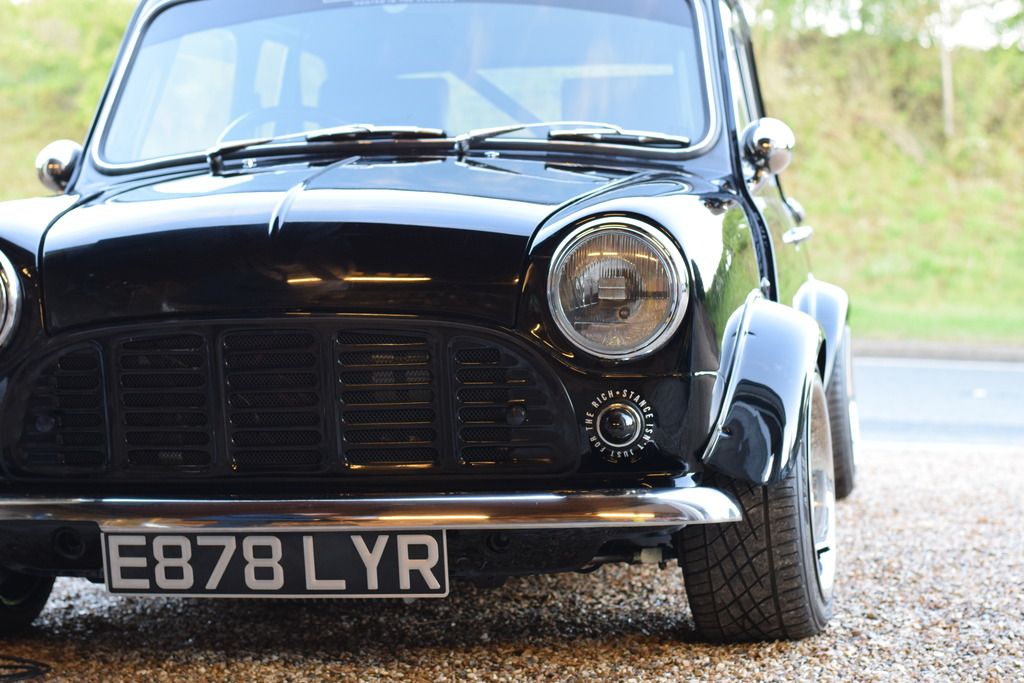
Something else I've always wanted to do was make it easier to switch my plates around for shows etc, so this is what I did.
I cut a strip of steel shorter than the plate, drilled some holes, painted it black, and bolted it to the number plate brackets. I then added strips of Velcro to secure the plates which works a treat! For the rear I simply stuck the Velcro straight to the boot lid.
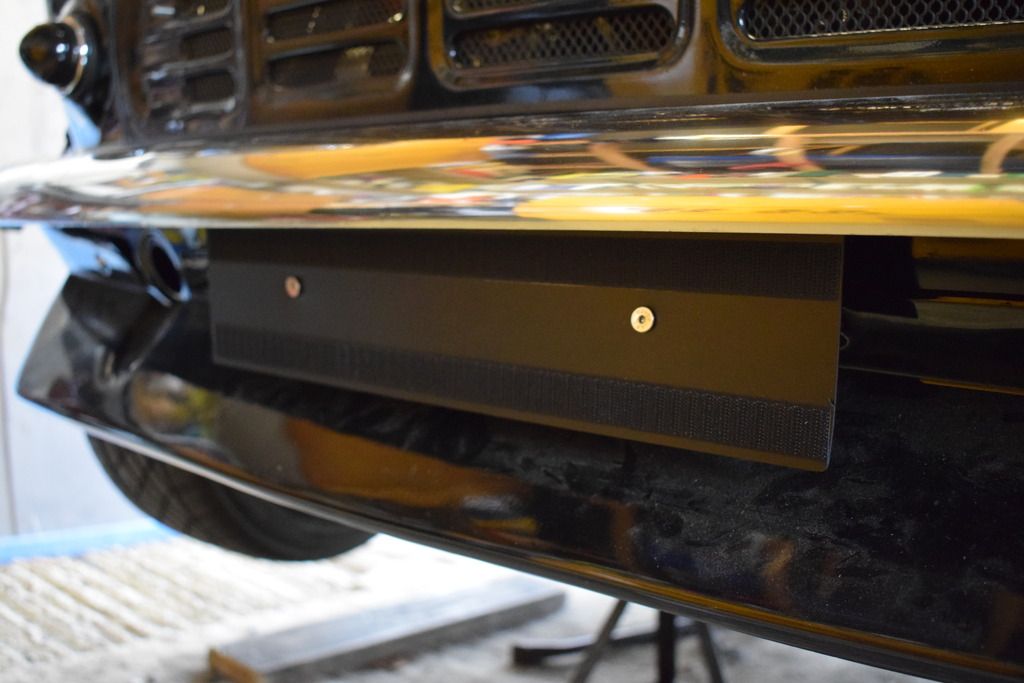
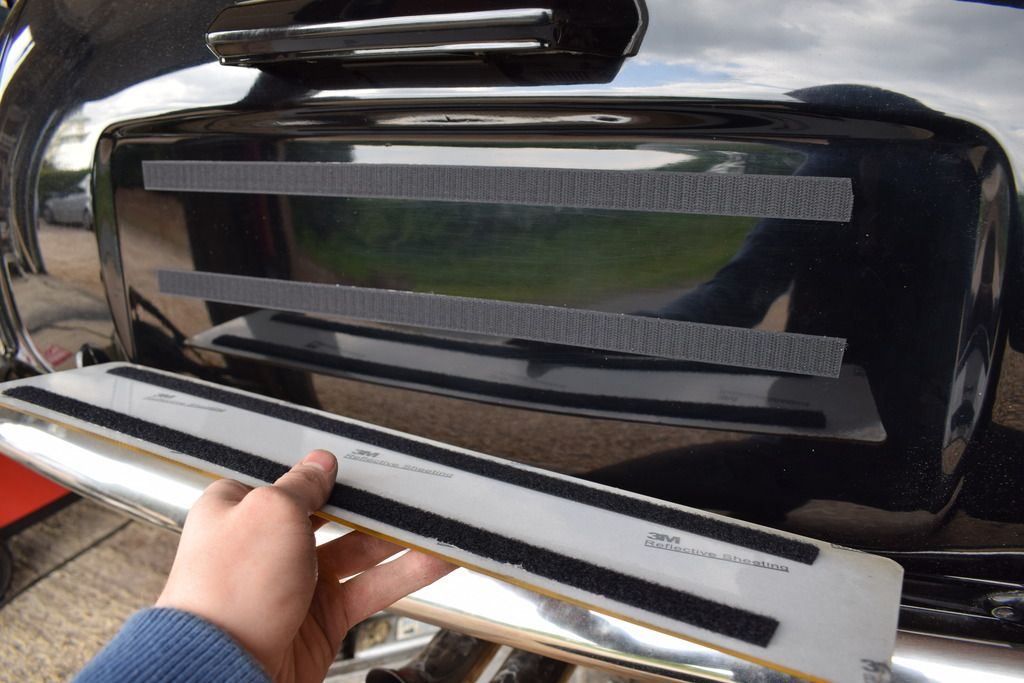
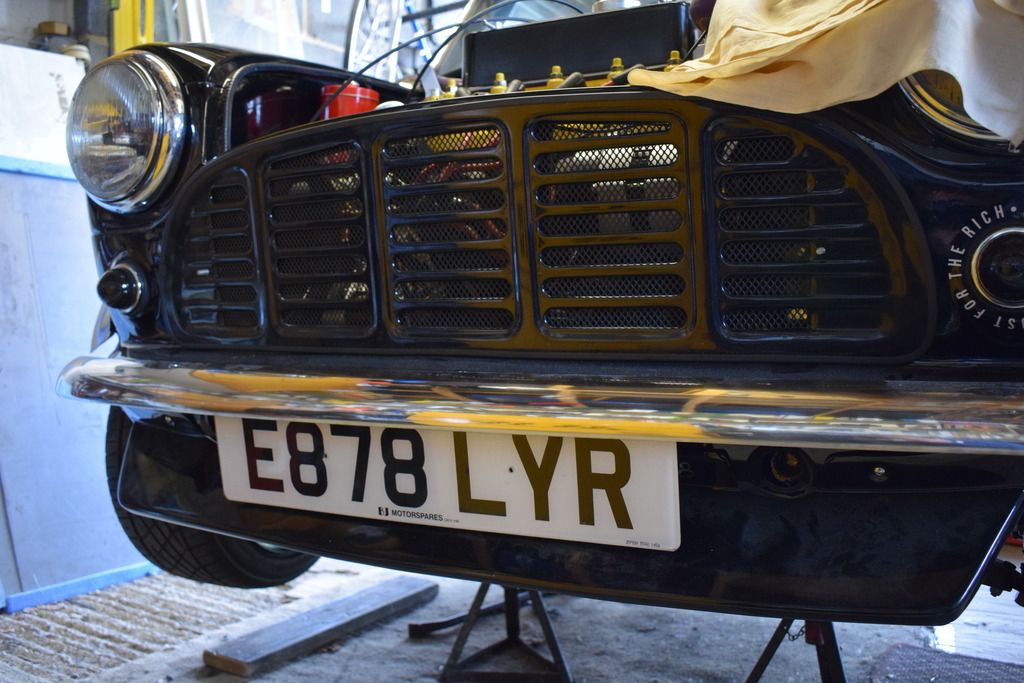
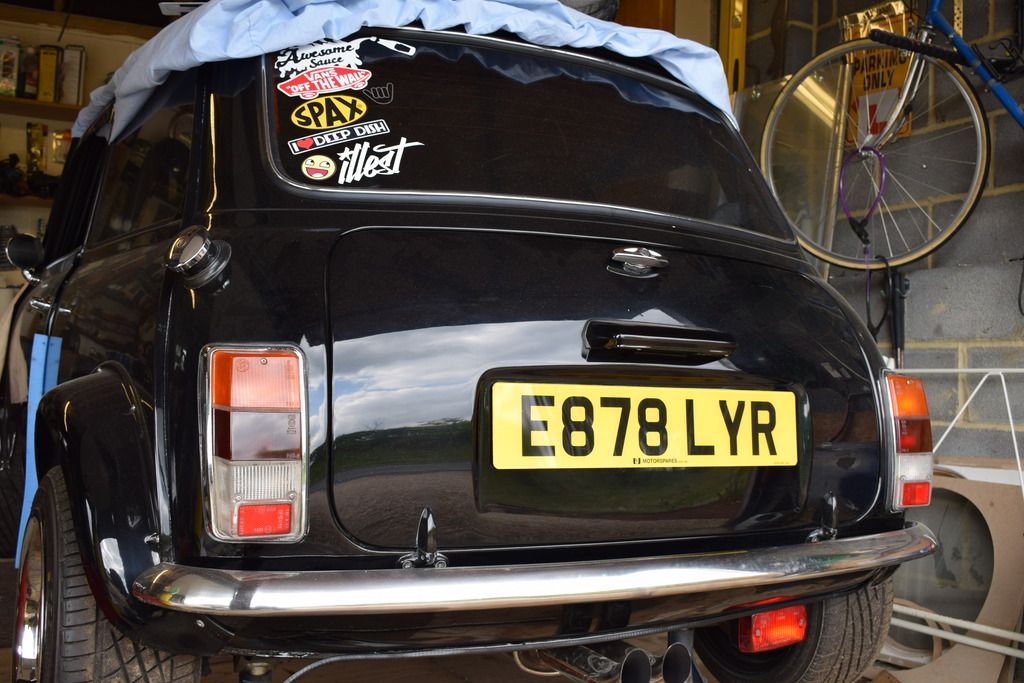
It's currently in 'legal/MOT' mode, hence the standard rear lenses. The tinted ones will be back on once it's on the road, along with the black and silver plates.
I also noticed that my rear subframe is flaking slightly, so I got under there with a wire brush and some stonechip to get it sorted. I've also given the sills, valences, subframes, inside arches, and most of the floor a good coating of Waxoil to keep it rust free under there. Especially as it will be sitting outside for some of the time at Thriplow, luckily they have promised to push it inside at night.
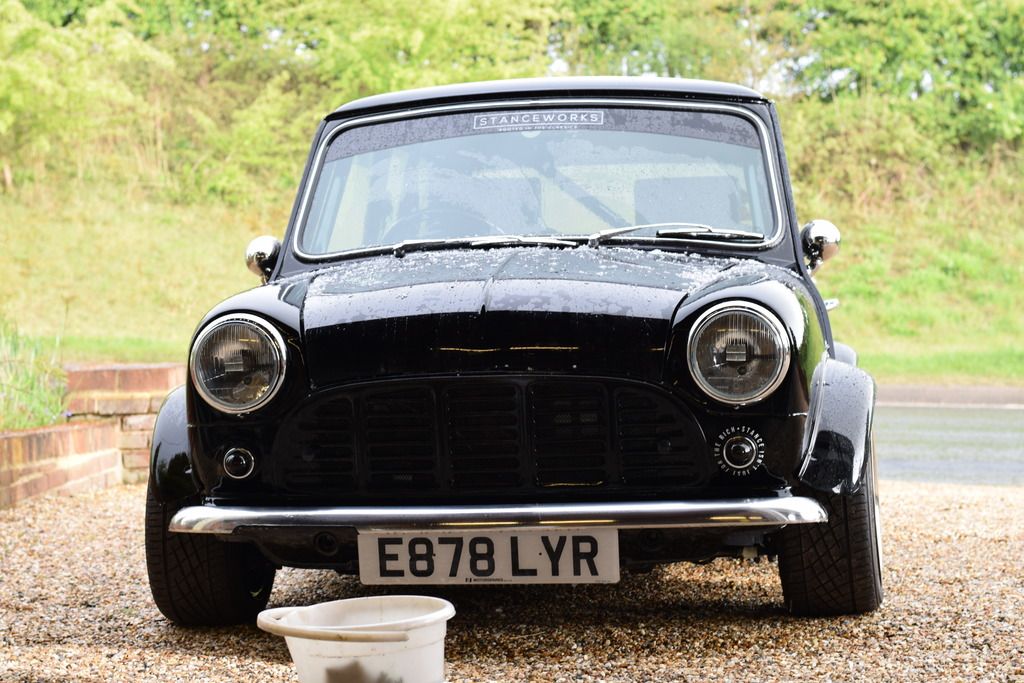
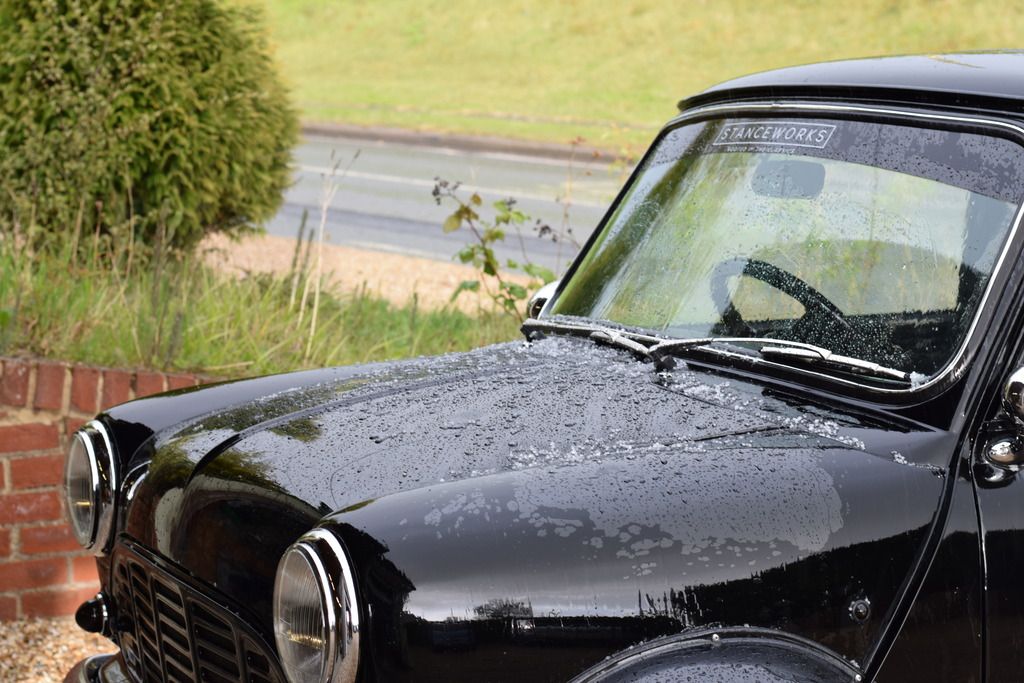
Speaking of which, since it'll be out side I decided to give it the first wash, polish, and wax since the respray, just to protect it from the inevitable rain. Obviously I got hailed on as soon as I pushed it out the garage...
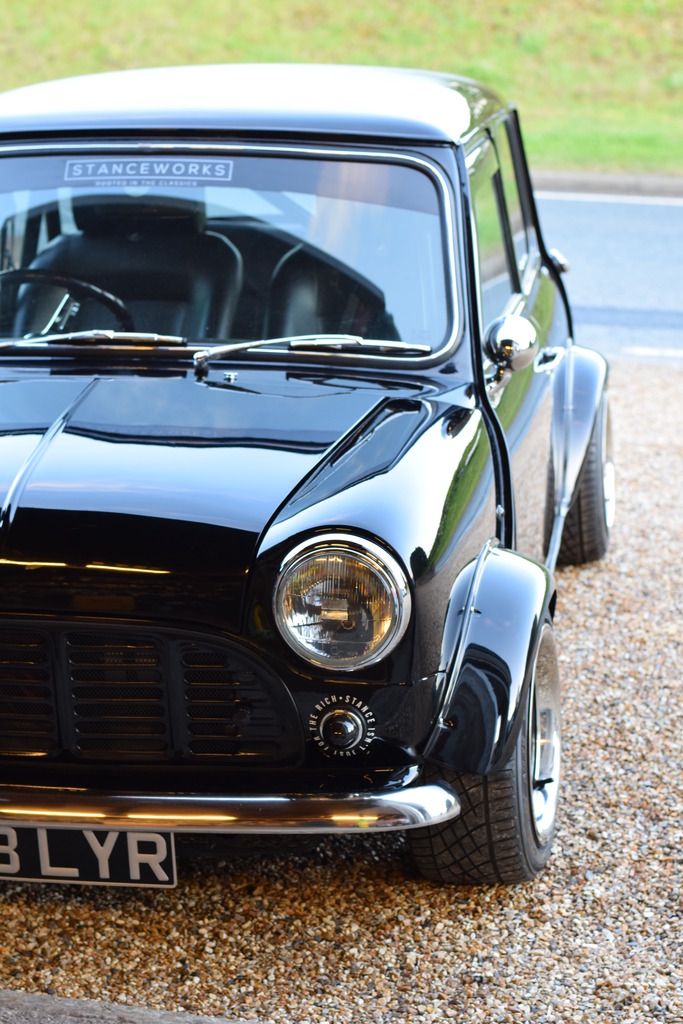
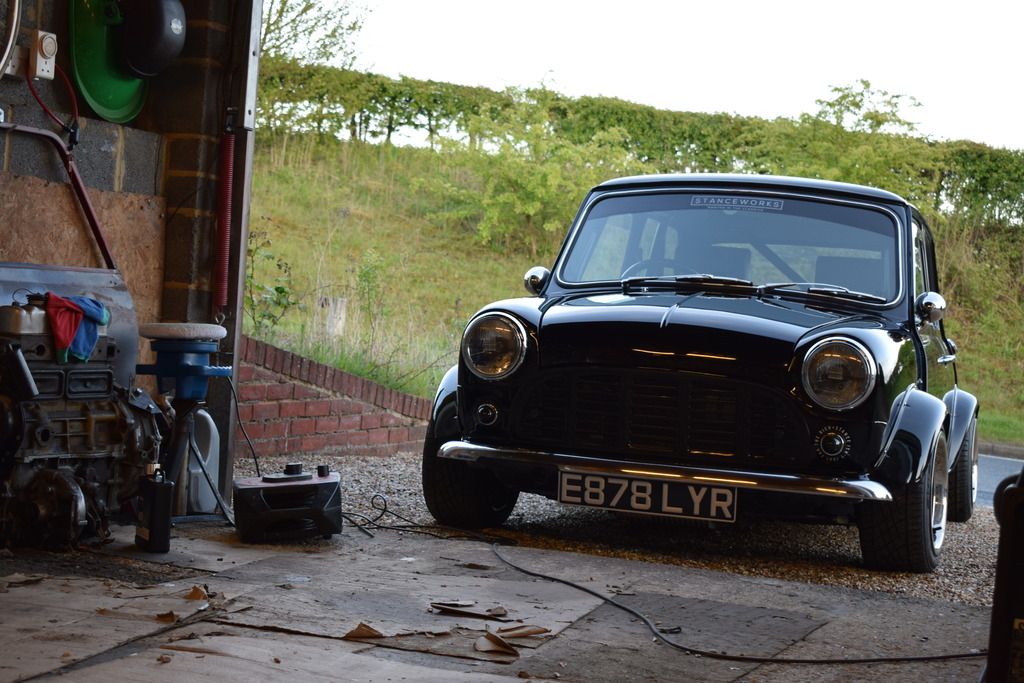
It looks bloody good in some light, but awful in other light. All the dust over time has caused some pretty bad swirl marks, not to mention the quality of the paint job wasn't perfect either. It will need a good machine buff when I get it back that's for sure!!
#574

Posted 15 May 2017 - 03:58 PM
This does look good!
#575

Posted 15 May 2017 - 08:01 PM
This does look good!
haha thanks man!
#576

Posted 16 May 2017 - 02:33 PM
I love the penultimate photo ![]()
#577

Posted 31 May 2017 - 10:03 AM
Quick update. I picked it up from revivals on Saturday, and they have worked their magic!! ... IT'S FINALLY ALIVE!!!!!
Apparently I had the wrong dizzy fitted, and when they fitted the correct one (which I had), that was over advancing, so it was stripped down and had the bob-weights modified.
I had over 40deg of vacuum advance apparently, so the system was disconnected as the car runs well without it.
The choke was stopping the throttle bodies from closing completely, and the butterflies were not in sync.
Running too rich on full throttle, and the jets needed to be raised.
Timing was also completely wrong.
After a session on the rollers, it pulled 57bhp at the fly, which really isn't great for a 1275. Apparently they recon I need 1 1/2" carbs instead of 1 1/4". Over all I'm pretty chuffed though, it has so much more torque than the 998 had, so for now I'm happy.
It failed the MOT on a few things though.
screen washers not working.
no chassis vin plate
no battery clamp.
These are all fixed now, and the retest is on friday. I'm just happy to be able to drive the damn thing after so long!! ![]()
#578

Posted 31 May 2017 - 11:23 AM
#579

Posted 31 May 2017 - 04:24 PM
Great news!
#580

Posted 31 May 2017 - 05:12 PM
#581

Posted 31 May 2017 - 10:50 PM
The Mk1 Cooper S made 75hp from factory with twin HS2 carbs so they definitely have the potential for more power. Good to hear its drivable on the road after so long though!
#582

Posted 31 May 2017 - 11:08 PM
#583

Posted 01 June 2017 - 02:25 PM
Great news!! Now its time to drive it :)
#584

Posted 01 June 2017 - 04:27 PM
Your car looks amazing!! Great work. I really enjoy the "stance isn't just for the rich" sticker around the turn signal. Great touch.
#585

Posted 01 June 2017 - 08:26 PM
I don't think that's right about the carbs either - I had twin 1 1/4s on my 1302 Mayfair and that kicked out 79bhp with similar torque. Still, looking good! ![]()
18 user(s) are reading this topic
0 members, 18 guests, 0 anonymous users


