Jump to content


Photo
- - - - -

'88 City E - 'the Purist' - Slammed 16V Show Car'


  • Please log in to reply
767 replies to this topic

#511 Chris1992

Chris1992

    Up Into Fourth

  • Members
  • PipPipPipPipPipPipPipPipPip
  • 2,022 posts
  • Location: Essex

Posted 06 June 2016 - 06:29 PM


I'm a bit stuck now since I've done everything I can without the car!


Is there a sporty cam in the engine yet?


It's a Metro 1275 and I'm told the standard metro cams are very good, even similar to the kent 266 cam  :D so that should provide me with enough poke, I'm not going all out fast-road spec, but a bit of extra beef is always nice  ;D


#512 Chris1992

Chris1992

    Up Into Fourth

  • Members
  • PipPipPipPipPipPipPipPipPip
  • 2,022 posts
  • Location: Essex

Posted 07 September 2016 - 09:45 PM

Well well well, I've been very lazy with my updates indeed! A lot has happened, and this may take a couple of posts to cover, so bare with me!


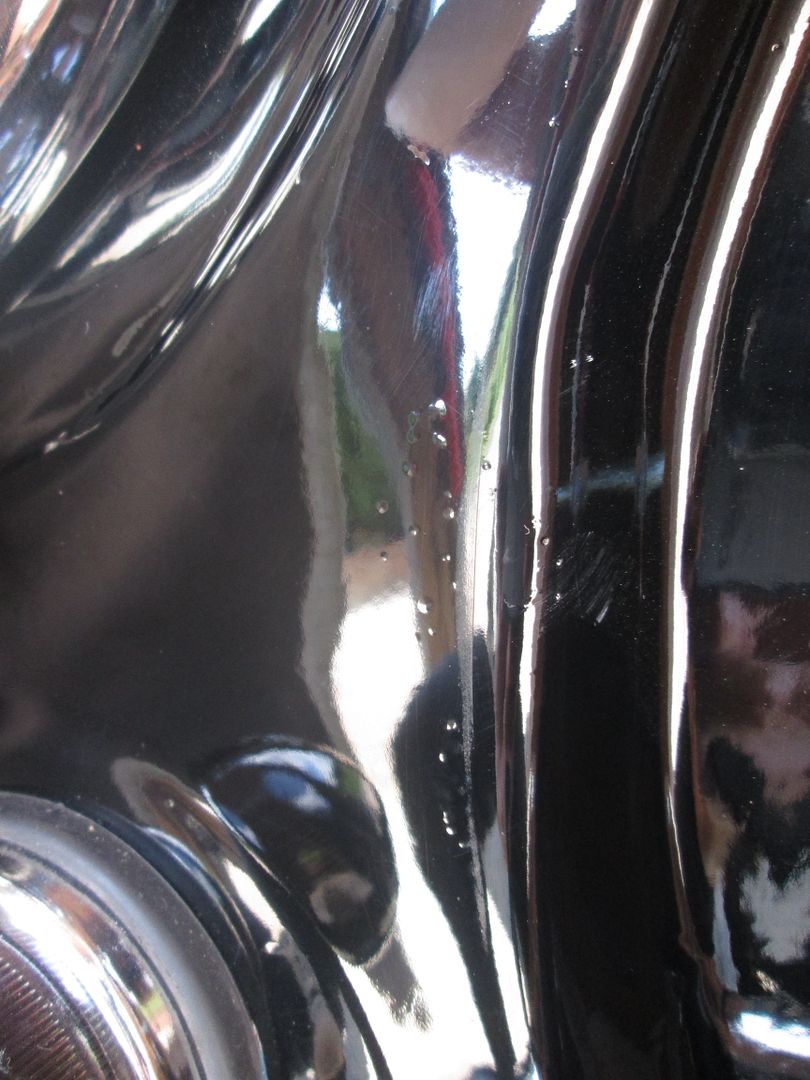
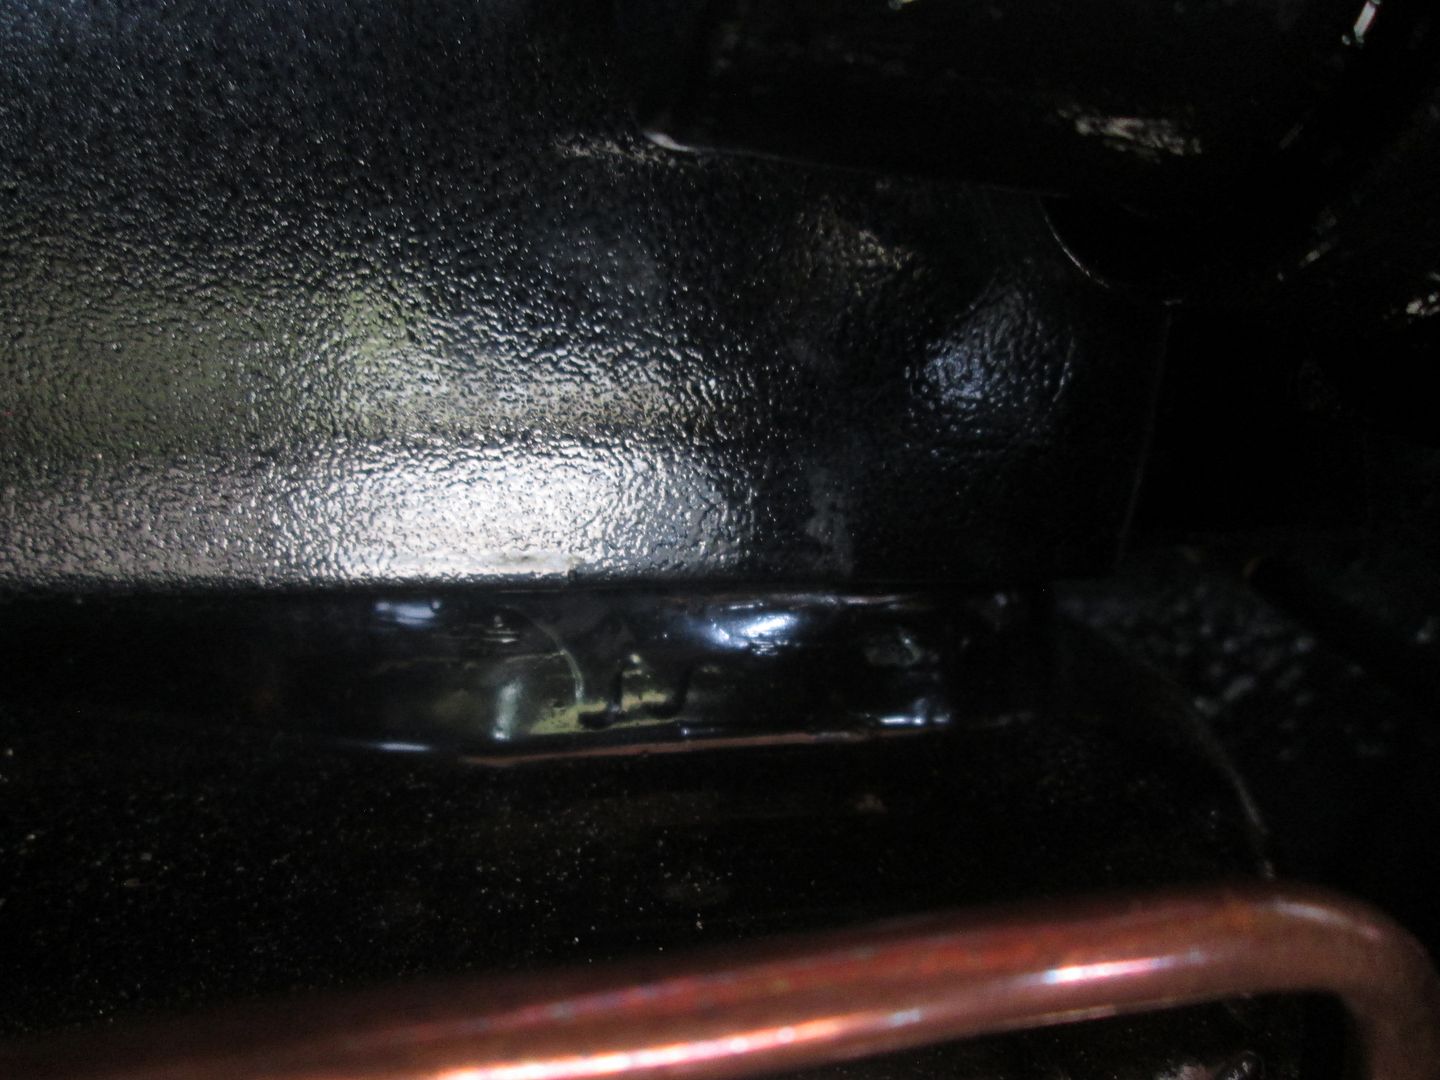
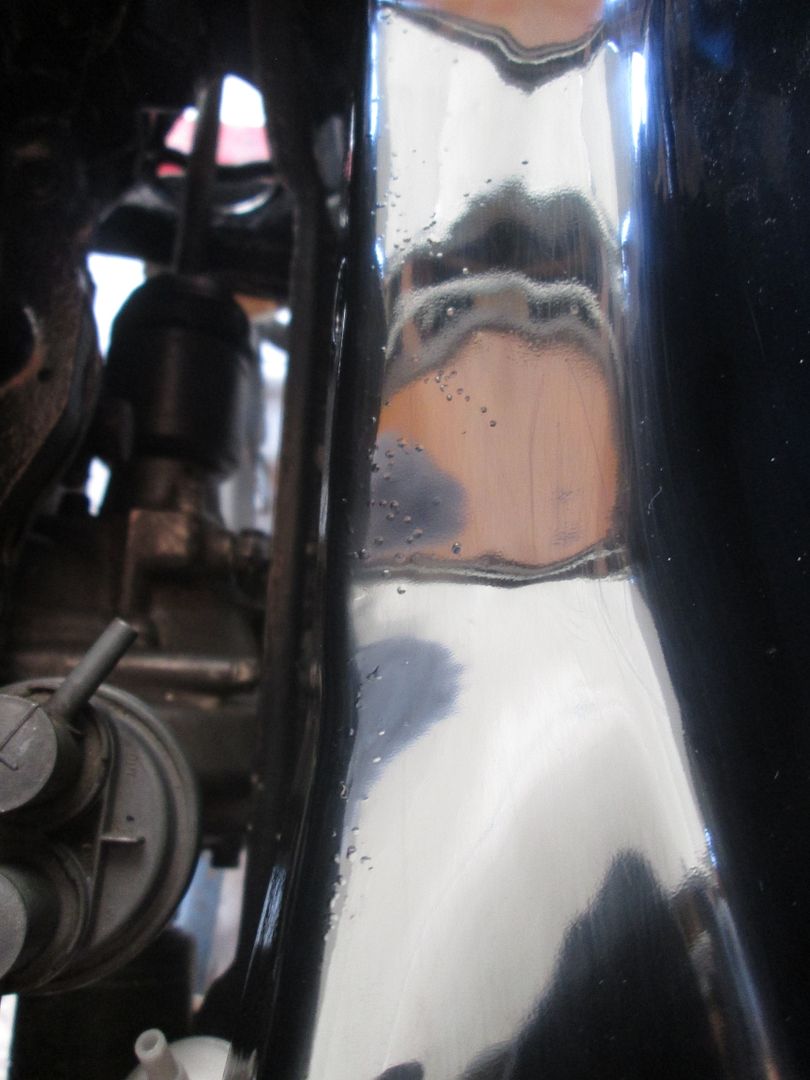
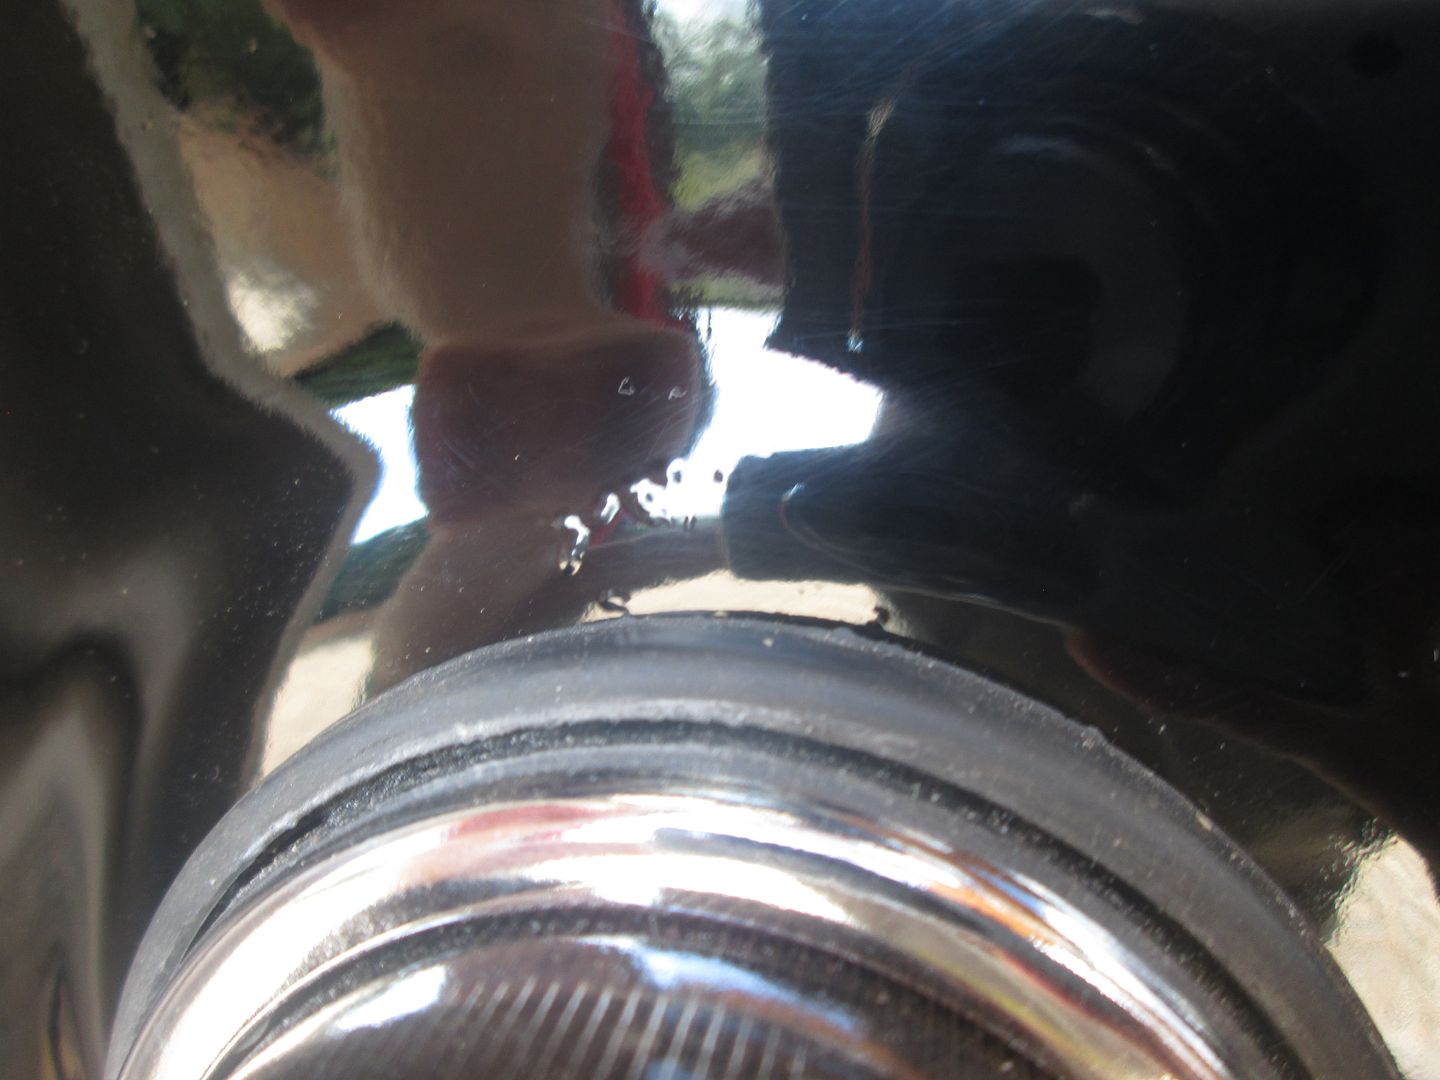
Reading back over the last few posts of my build thread, it appears that it was back with the painter having some errors corrected when I last updated. Well, the car is back now, and for about a week or so it looked pretty good. The paint sinkage is still visible in a few areas, and the eggshell on the passenger door is just as bad as when I sent it back. The problem now though is that after having the car back fro a few months, the blistering on the engine bay crossmember and around the lights has returned. I paid an extra £350 for him to strip the car back to bare metal and start from scratch from the A pillars forwards, but I am almost certain that he just flatted it all back, buffed it up and crossed his fingers...


So, I have decided that he is a cowboy who will never do the job right. I know some people may think this is a bad idea, but my plan of action now is to just get the car built and on the road so I can enjoy it for a bit, while keeping a VERY close eye on the blistering areas. I will take it back and give him one chance to fix the areas around the lights for free or I will take it elsewhere. I've been doing some research and I have a few reputable places lined up for consideration.


Here are some pics of what I'm on about. At least the areas on the crossmember will be hidden by the carbs, it's the front that I'm more worried about.
 

IMG_1419_zpsppupdhug.jpg

IMG_1418_zpsqbv0mhhq.jpg

IMG_1417_zpsean1iax0.jpg


Right then, enough moaning. 


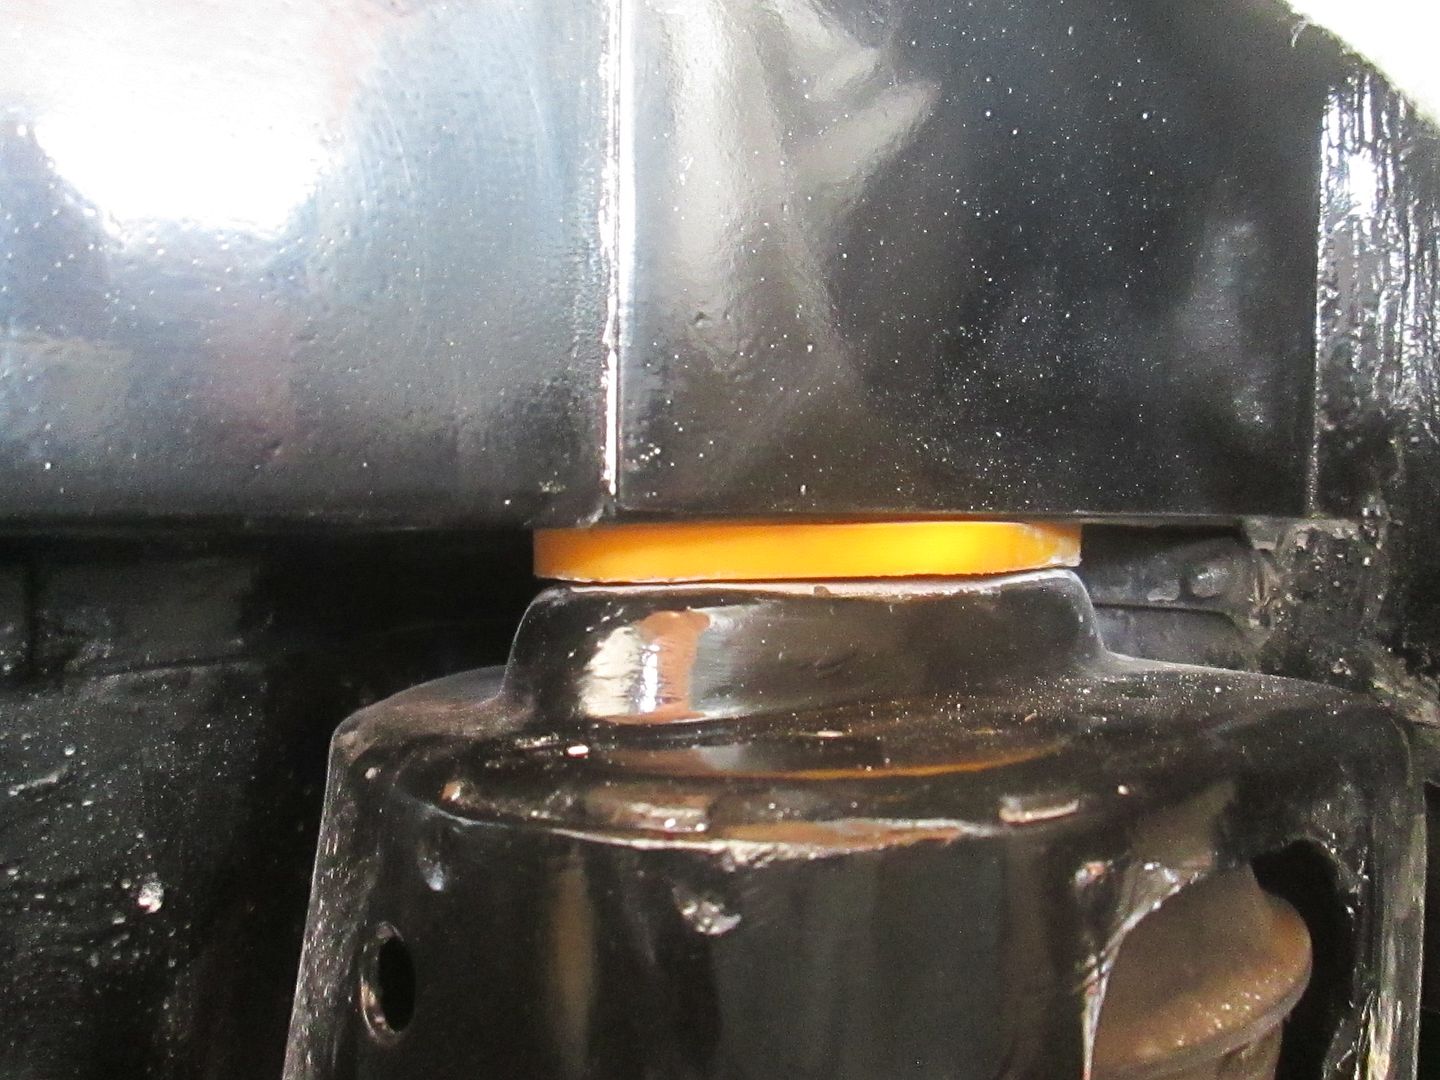
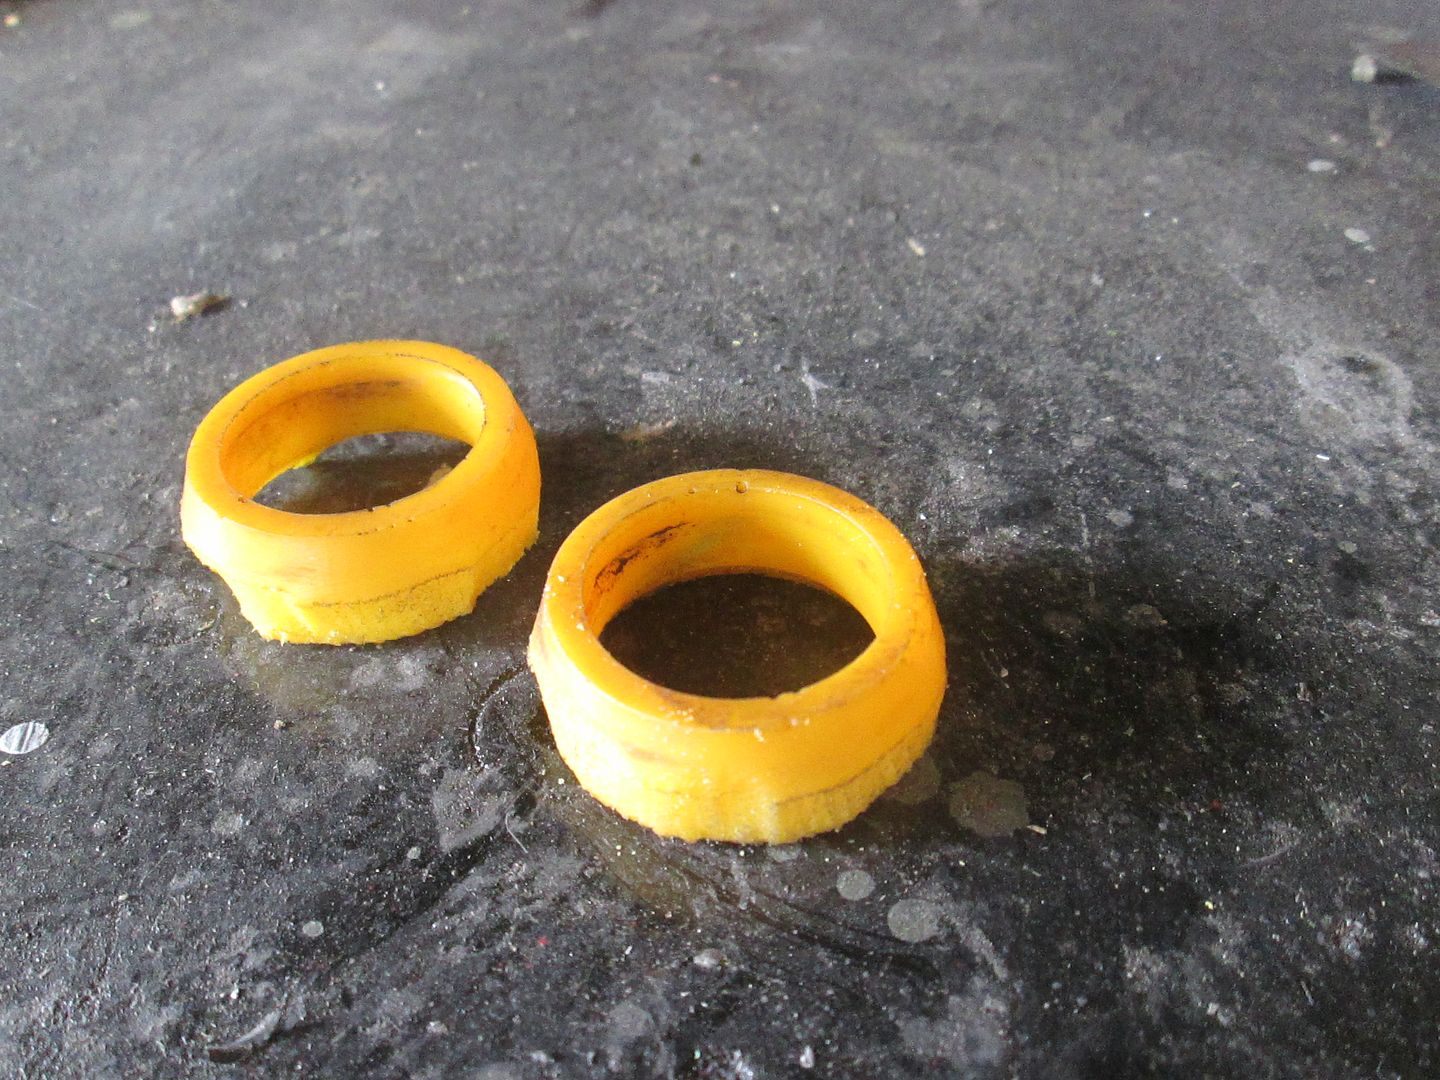
The first thing I did when I got the car back was re-fit the front subframe, and the  very spur of the moment, I decided to solid mount it flush to the crossmember similar to the way the Miglia cars are. After doing a lot of research I cracked on, firstly chopping up my poly bushes so that the bit that locates it into the crossmember was still there (a lot of people simply remove it altogether which I decided against)
 

IMG_0582_zpskufrezxh.jpg

IMG_0583_zpsxnssdz0d.jpg

IMG_1522_zpsio4vuu0l.jpg


Last photo is rubbish, but you can see how much distance I've gained. Should mean I can run a little lower without upsetting the suspension geometry too much.


Obviously the rear subframe mounts needed a lot of fettling so fit now, which involved redrilling pretty much every hole on the car, subframe, and the mounts themselves. I forgot to take pics of this annoyingly but Ill get some of the mounts fitted to the car soon. 


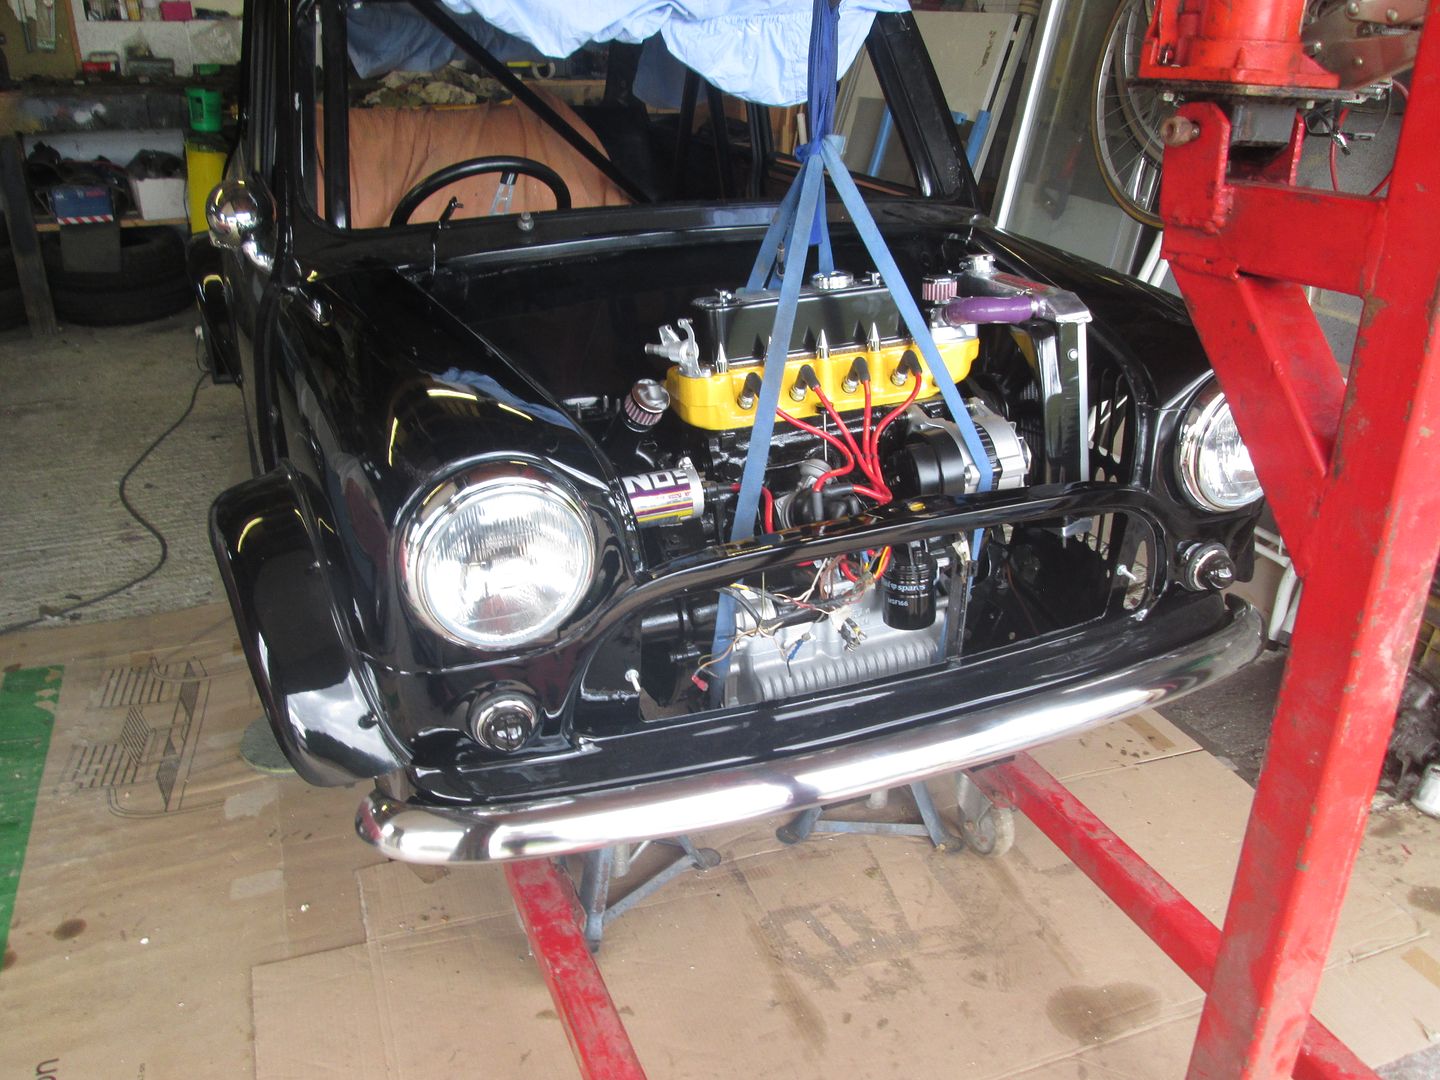
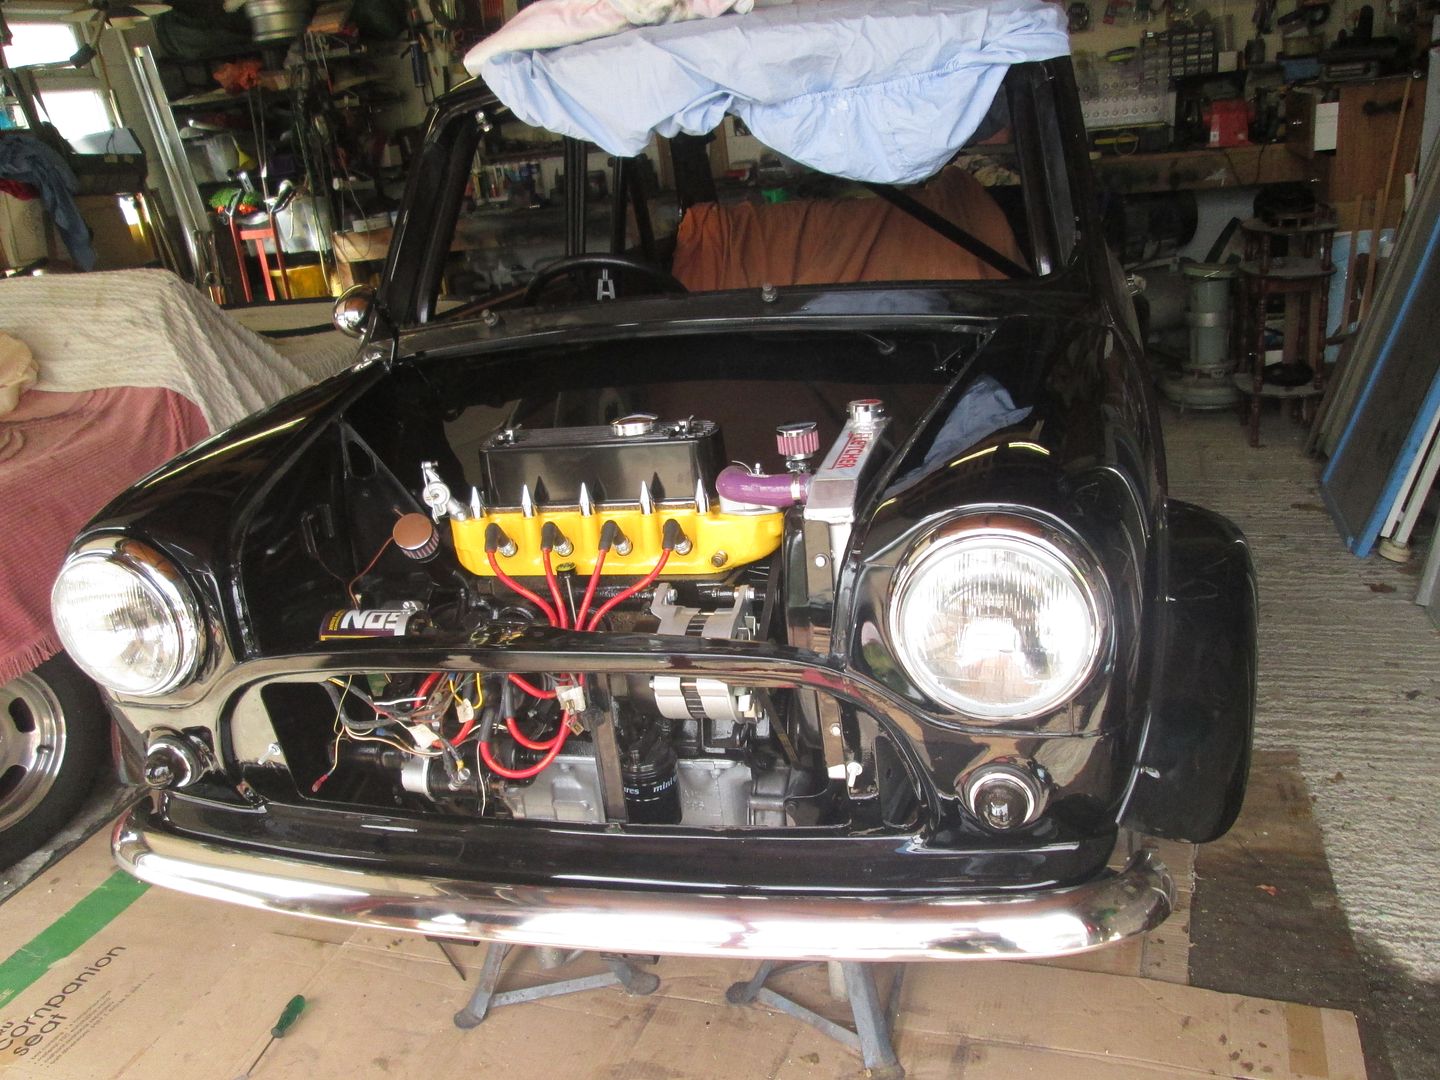
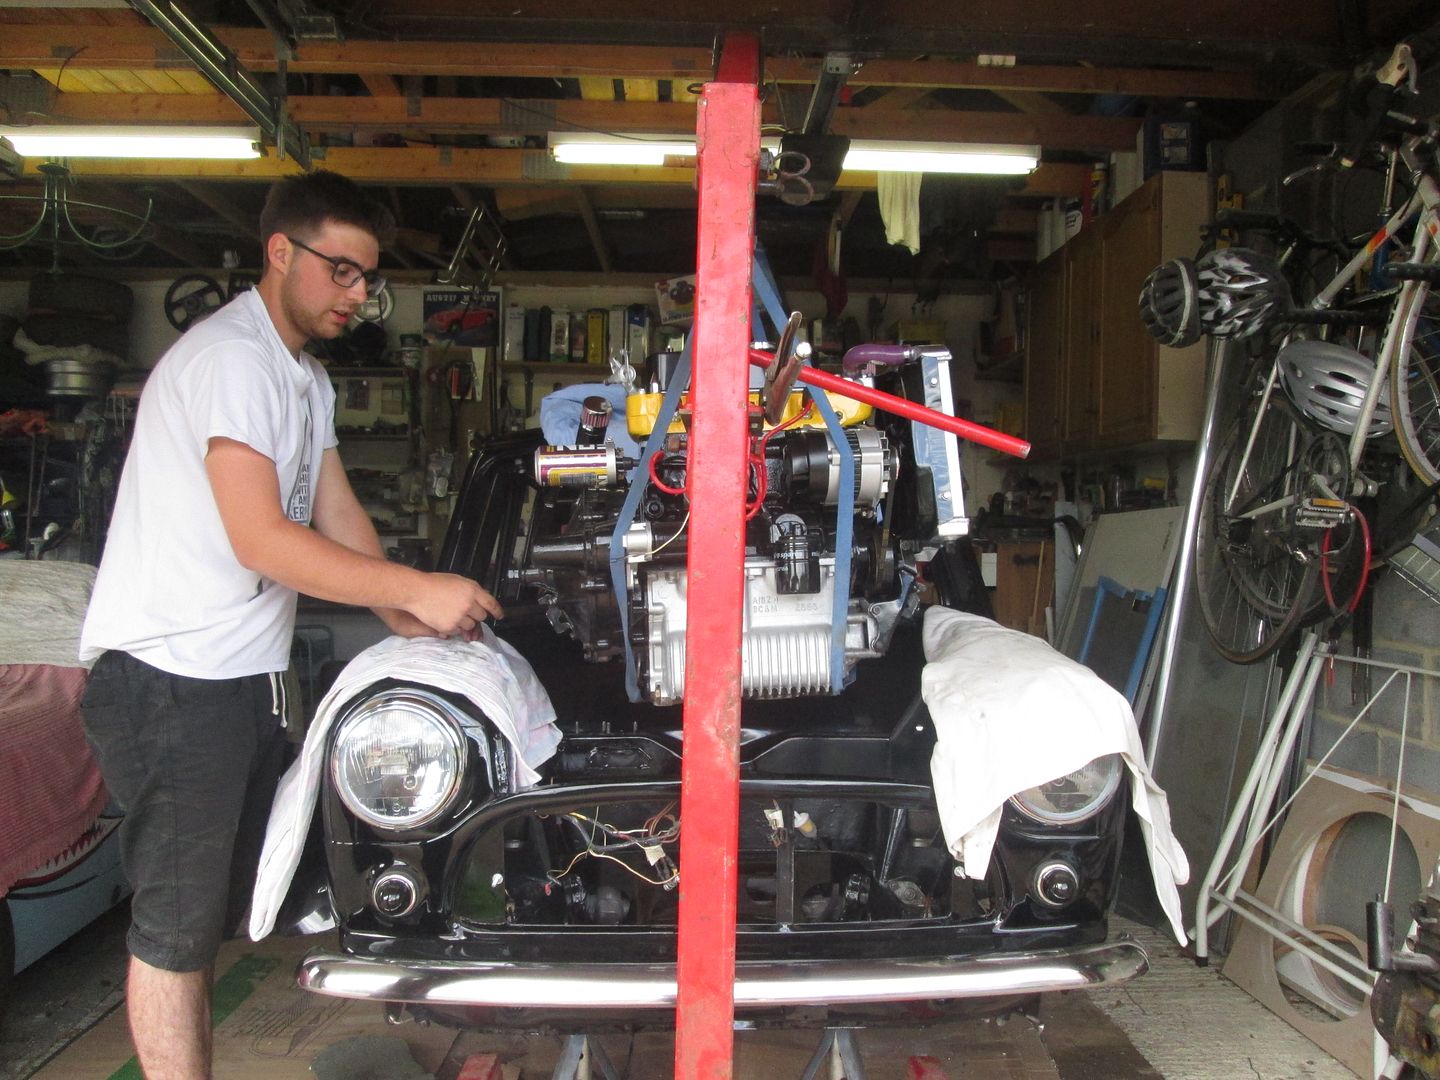
Next up was a big milestone for me. ENGINE TIME!!! ... I borrowed a homemade engine crane off my neighbor, and with the help of a mate and a few straps, we had it in surprisingly quickly! Took quite a while to get the engine mounts to line up though, got there in the end though. 
 

IMG_1385_zpsiyevcuv0.jpg

IMG_1391_zpsdvacblwg.jpg

IMG_1392_zpsurqaidzv.jpg


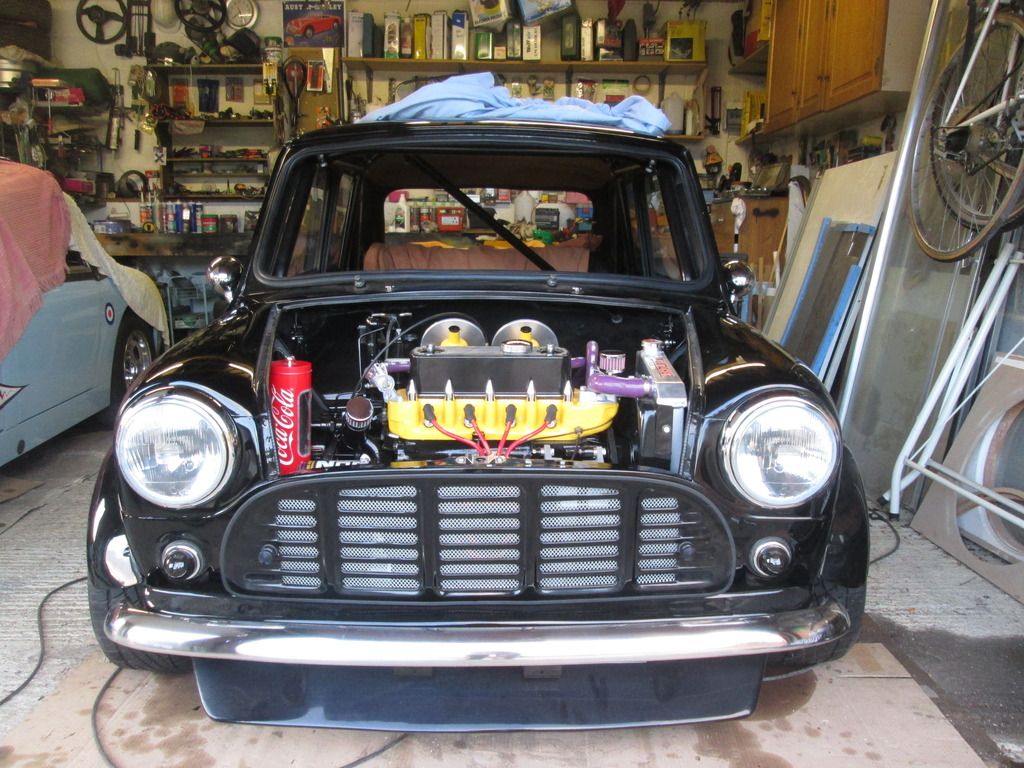
You may also notice that the car now has a face. Here's a few pics with the grille as well. Everything behind is a bit exposed for my liking so I'm going to cut some mesh to go behind the grille and paint it black.
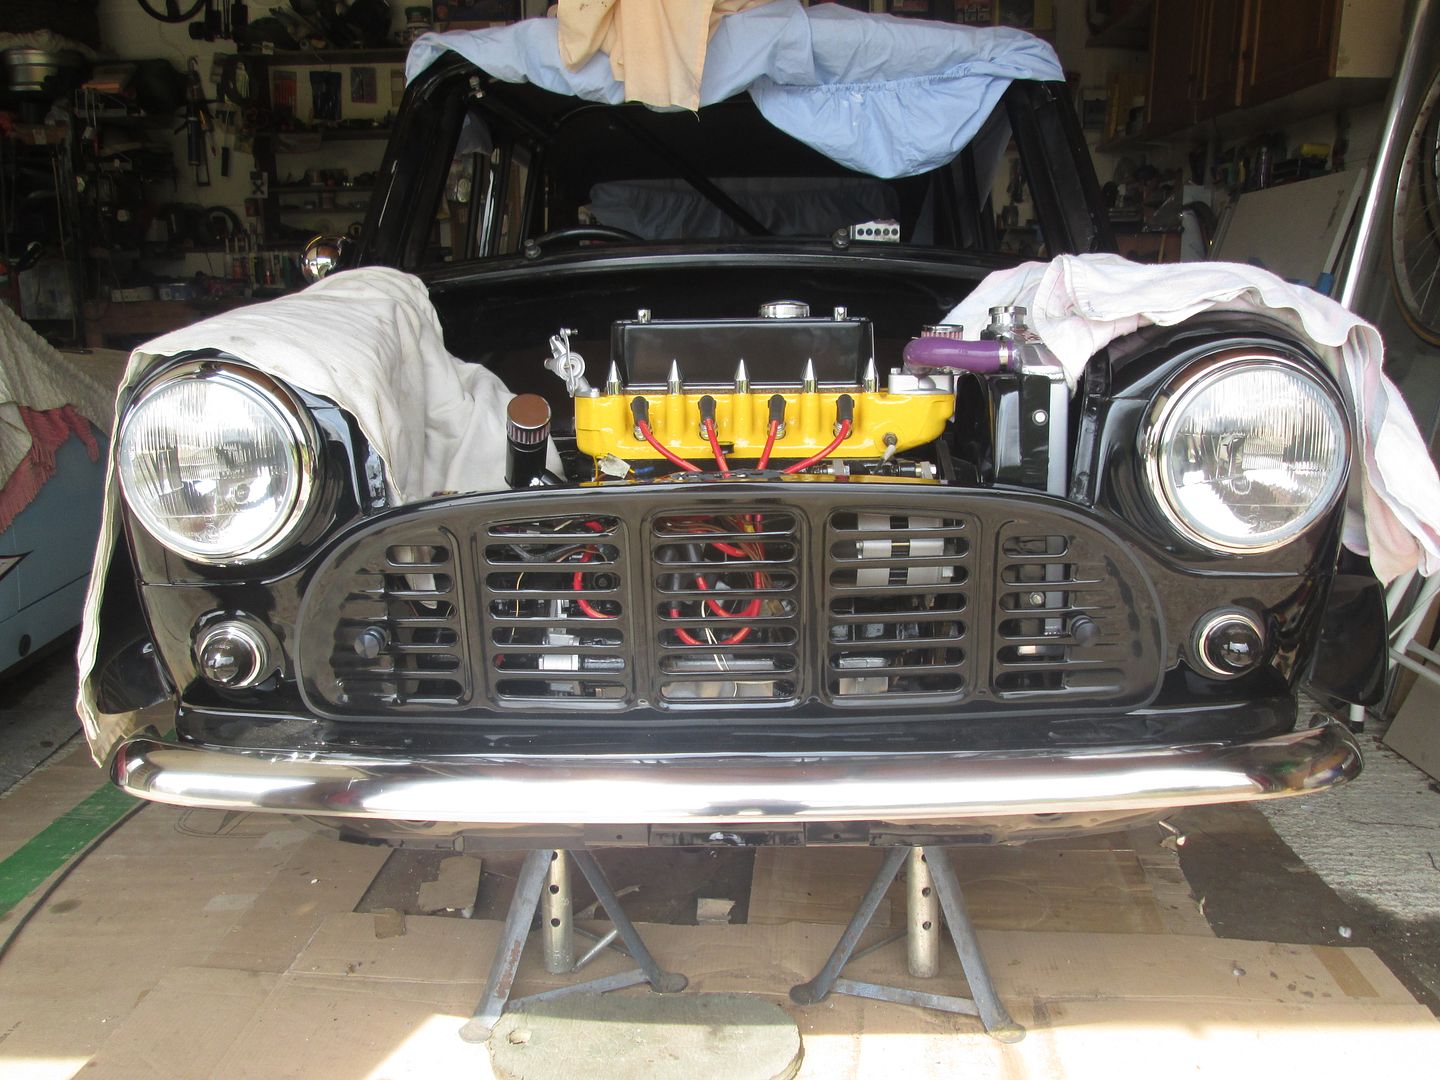
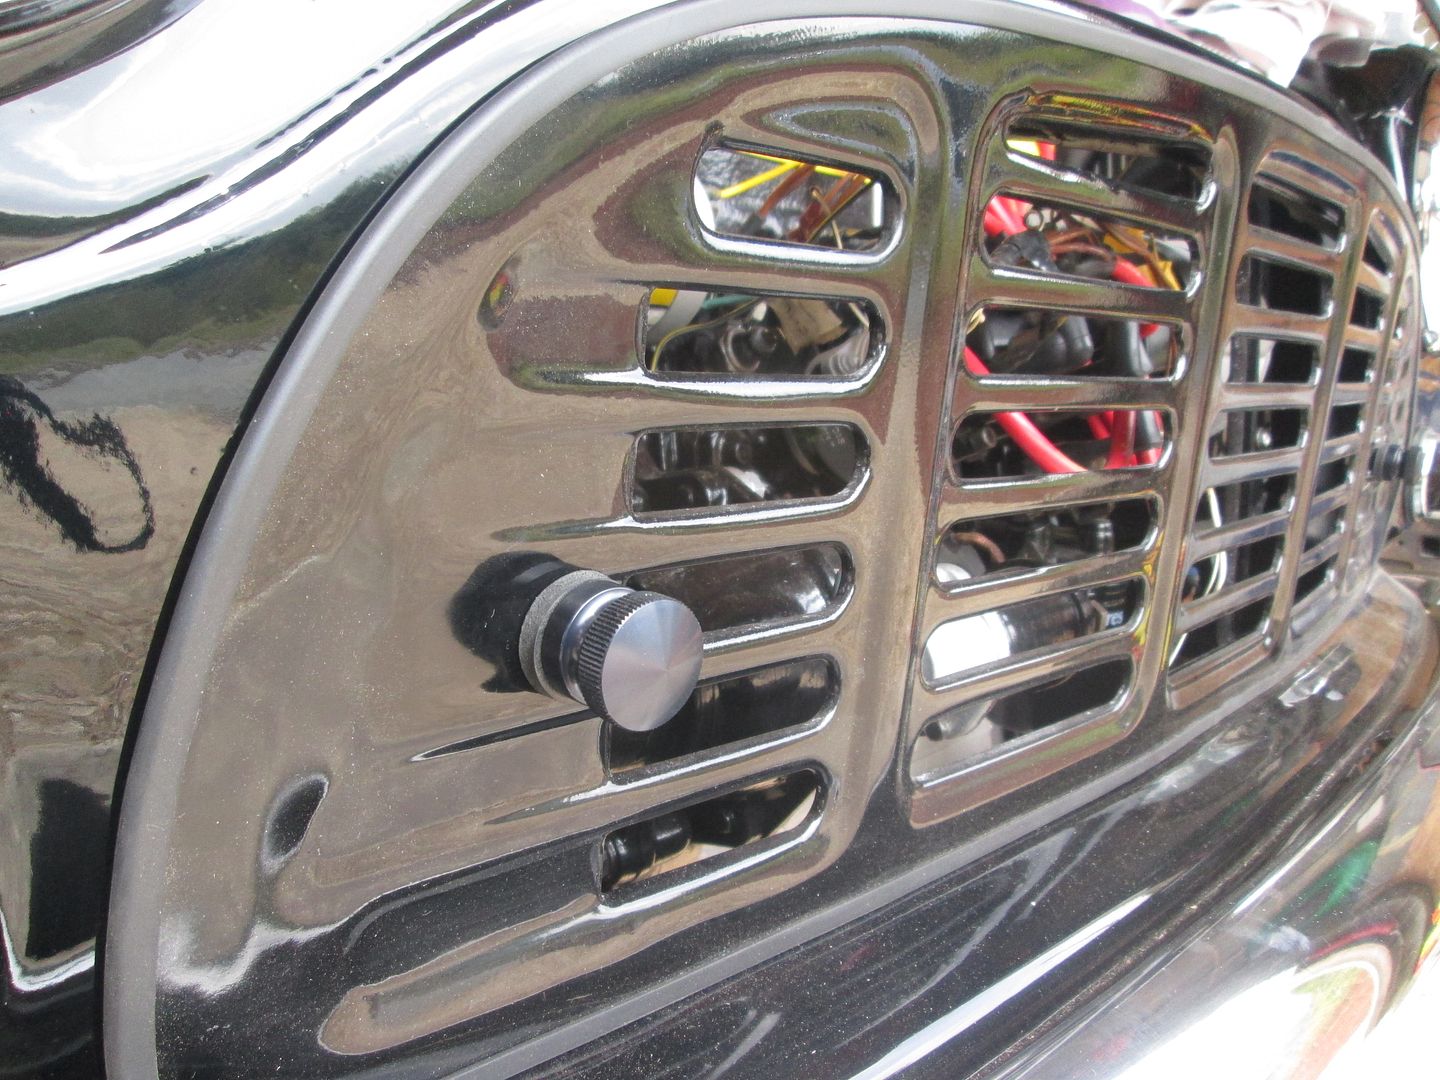
 

IMG_1433_zpsvnl5ixdl.jpg

IMG_1434_zpsk87vopa8.jpg


Trying to get my head around the wiring. It'll all be hidden away when I'm done.
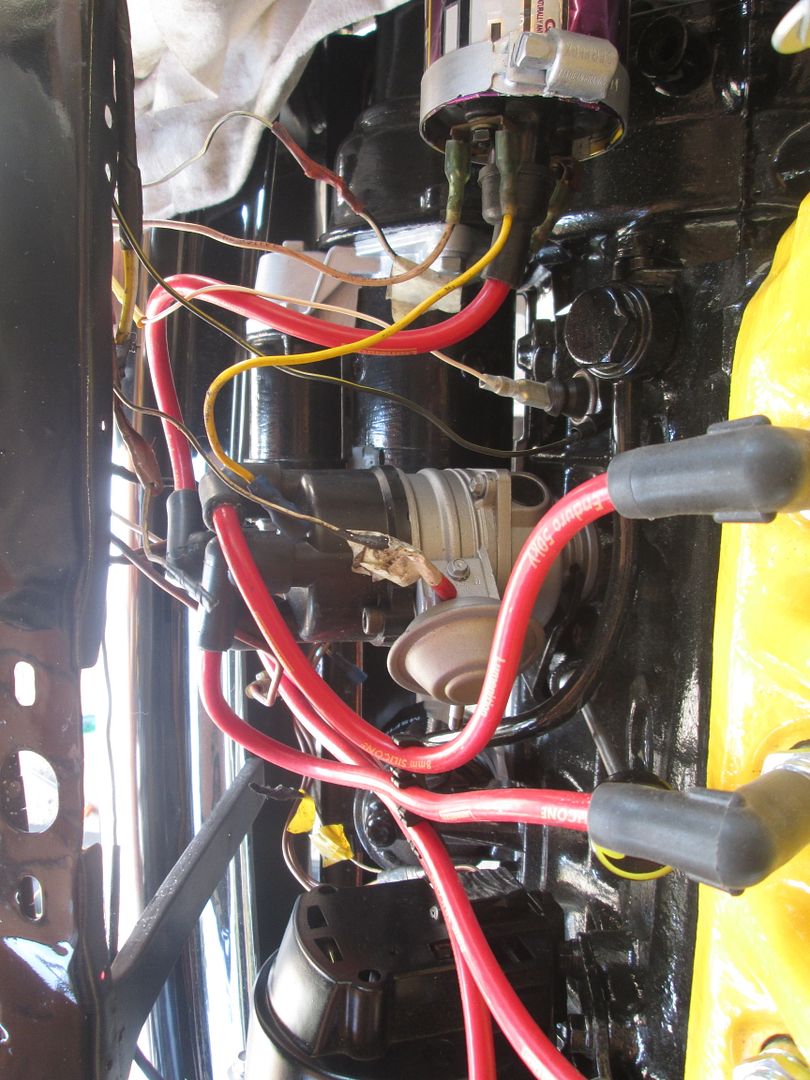


IMG_1446_zpshrewu4in.jpg


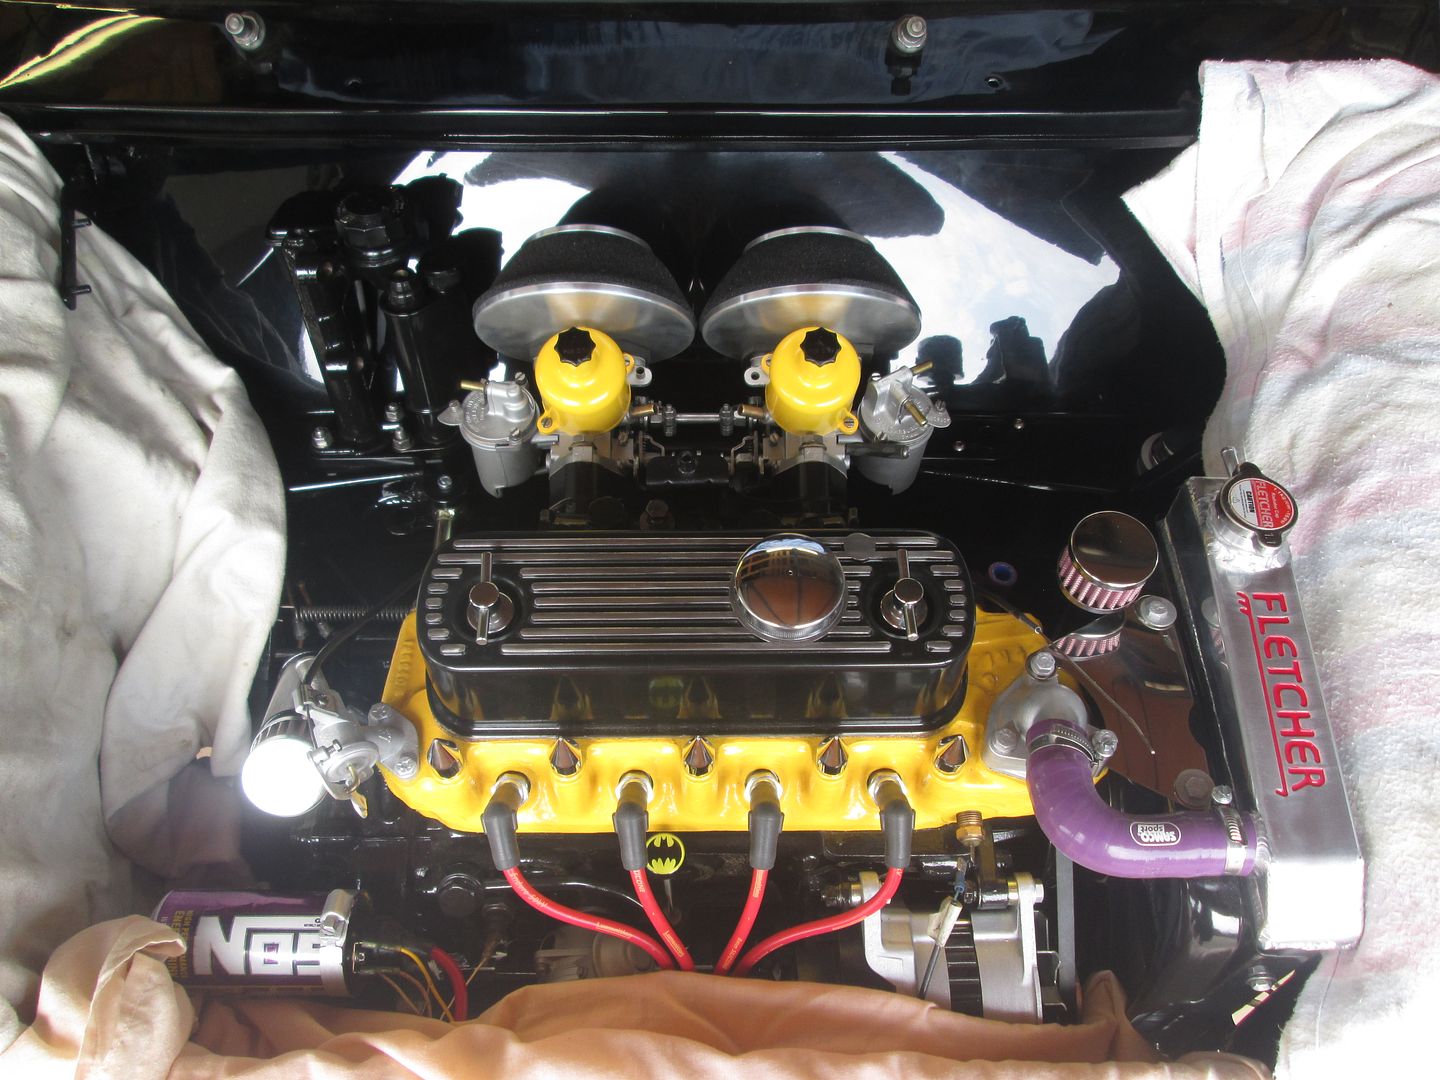
Got myself some Pipercross filters for the carbs as they give much better clearance (plus the black looks cool).
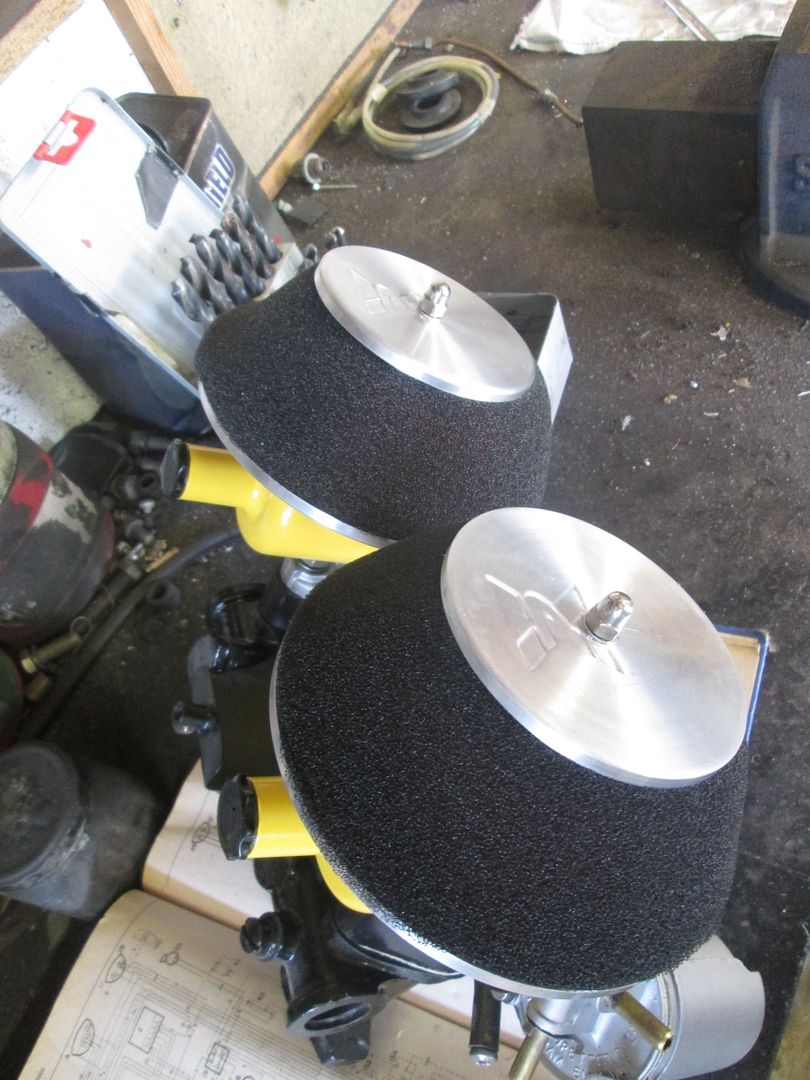
 

IMG_1435_zpsnyhuzr7u.jpg


Bought an adjustable engine steady to pitch the engine forwards a bit so the carbs would fit, then mocked them up.
 

IMG_1449_zpsdn0q48vk.jpg

IMG_1452_zpscswow4p4.jpg


However, this presented another problem. Due to angling the engine forwards so much, it changed the angle of the downpipe so that the bend at the end pointed up into the floorpan slightly, instead of down the length of the car. This meant I couldn't get the Y piece on (raising the subframe probably didn't help either).


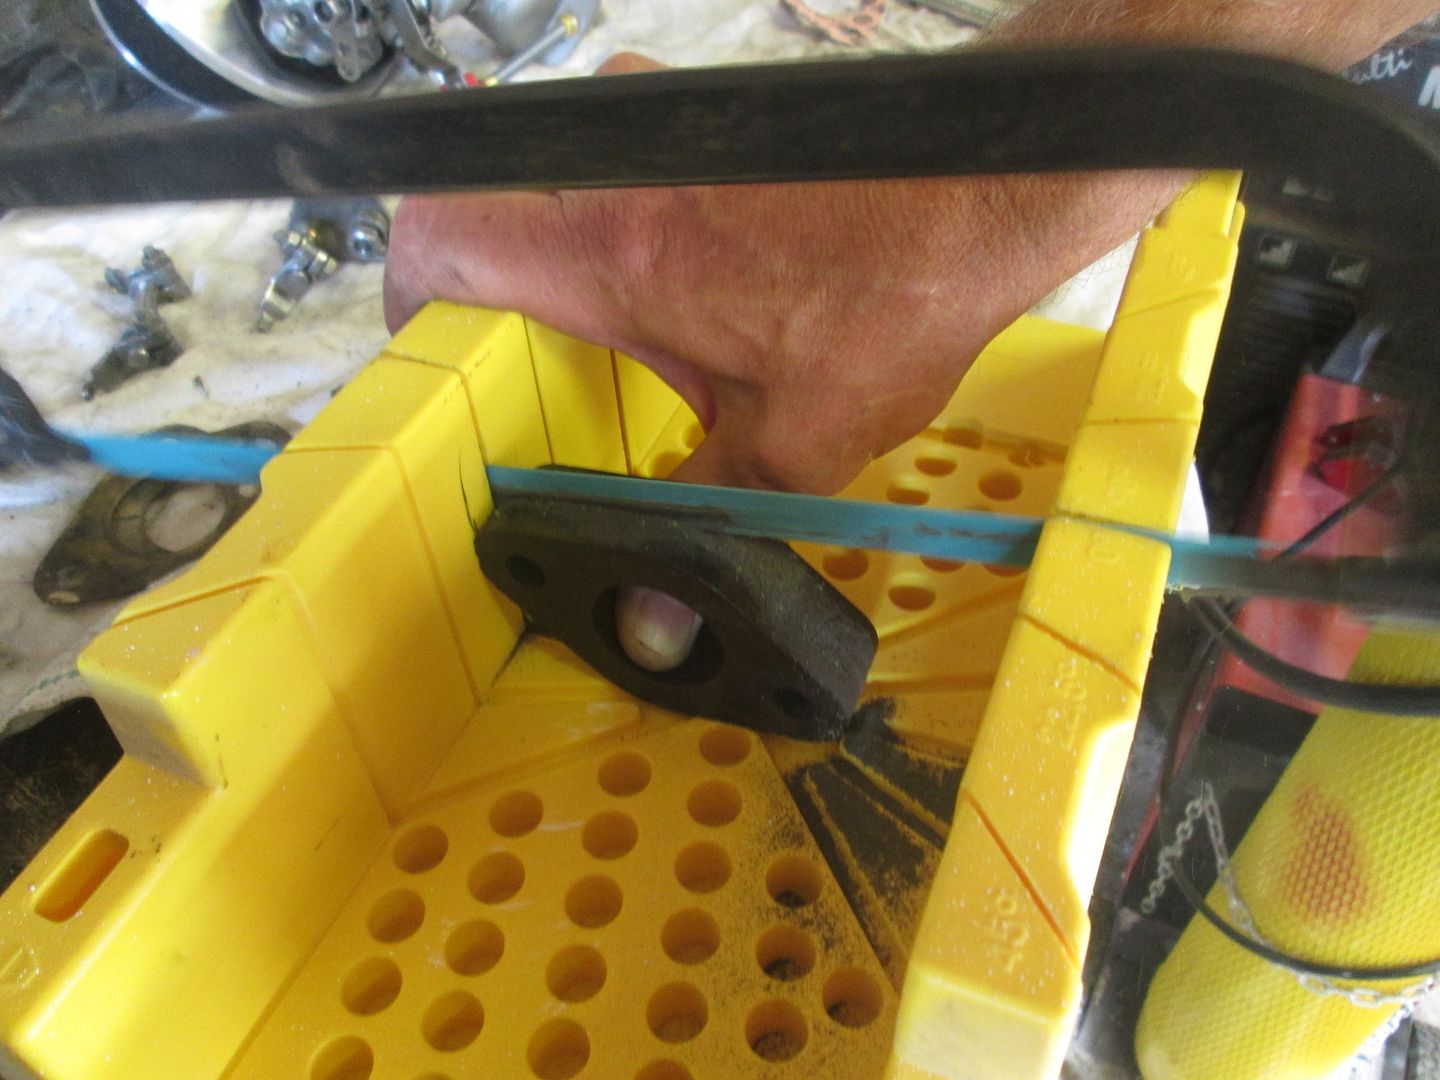
If you look at the pic of the engine steady above, you can see how thick the spacers on the carbs. This had to change, so I dismantled the carbs and sawed the spacers in half. 
 

IMG_1503_zpsoyfnsze1.jpg


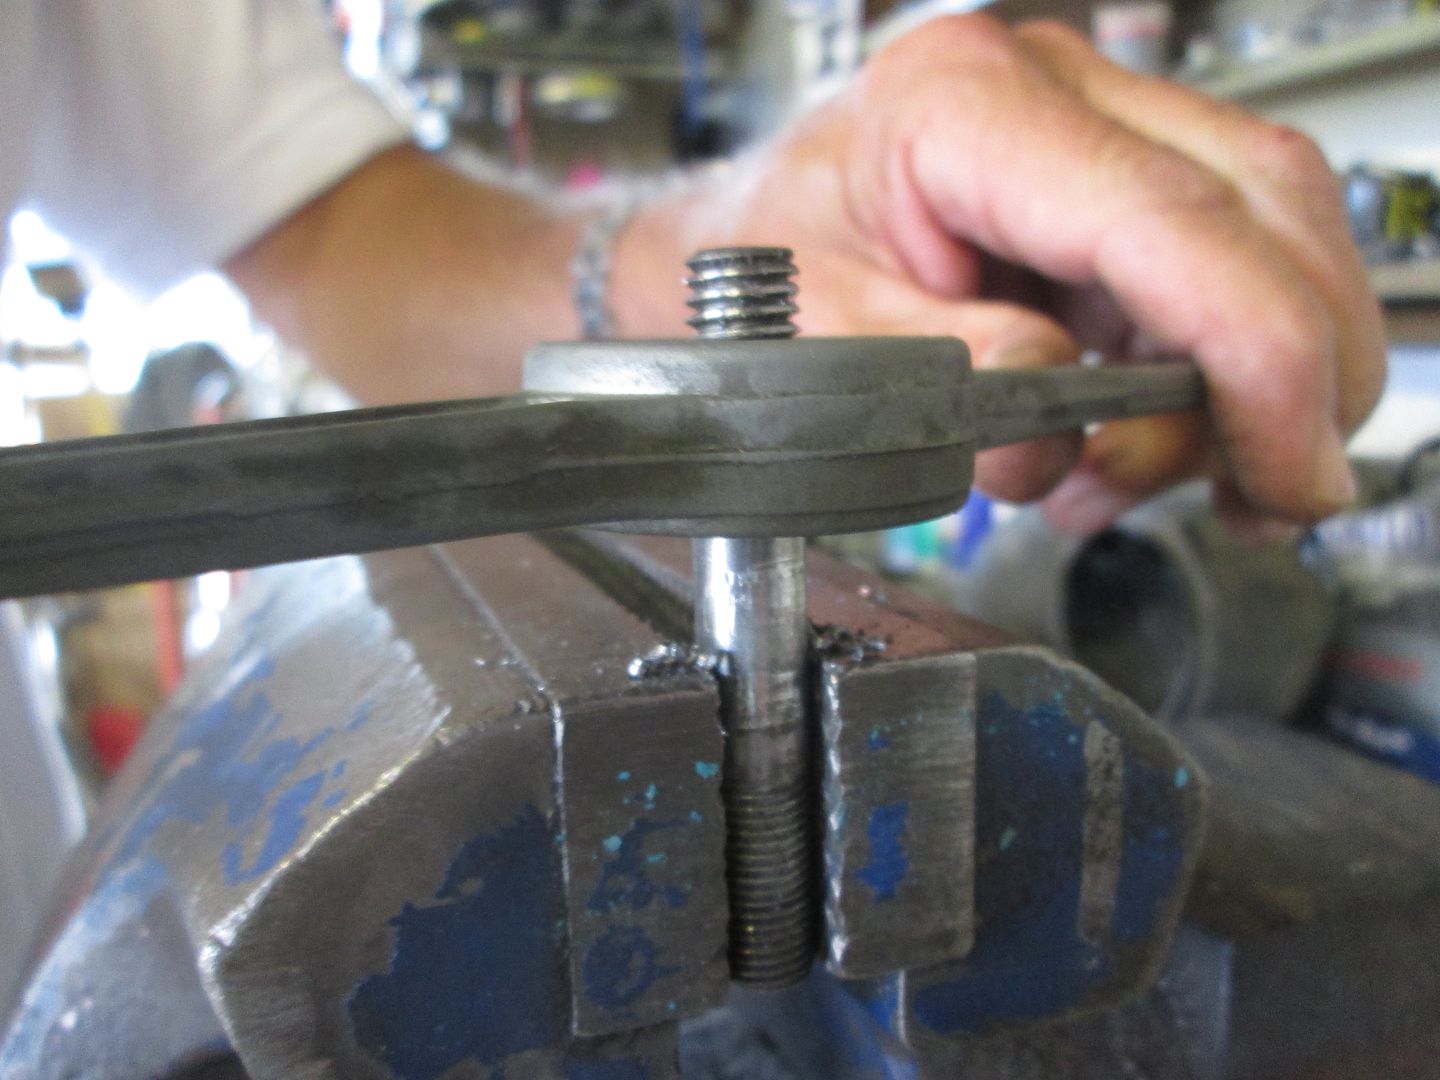
After this, I then had to shorten the studs on the manifold, and after lopping a piece off the end I then tapped new thread onto each stud.
 

IMG_1502_zpsuavz0rbz.jpg


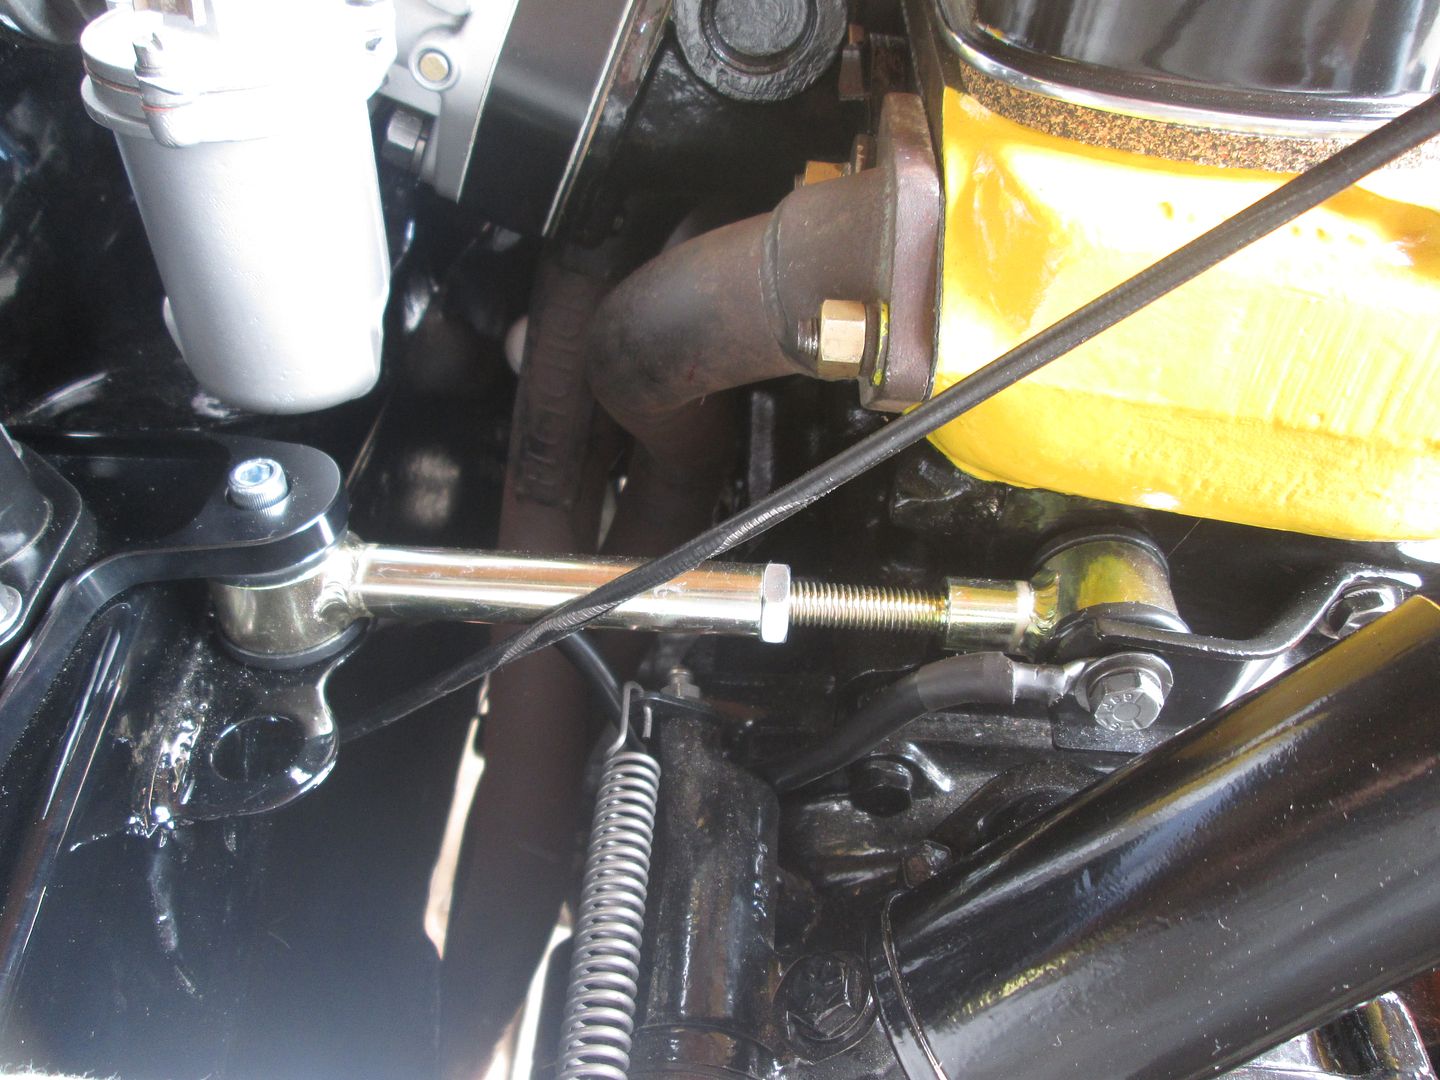
The next problem was that the throttle linkage now hit the heat shield quite significantly due to the thinner spacers, so I fixed that problem by cutting a big hole.


If it looks stupid, but it works, then it's not stupid!  ;D


IMG_1511_zpsuz7lxrnu.jpg


Obviously this now renders the heat shield useless, so I shall be wrapping my exhaust manifold in insulation wrap.


All reassembled with some braided hose for good measure.
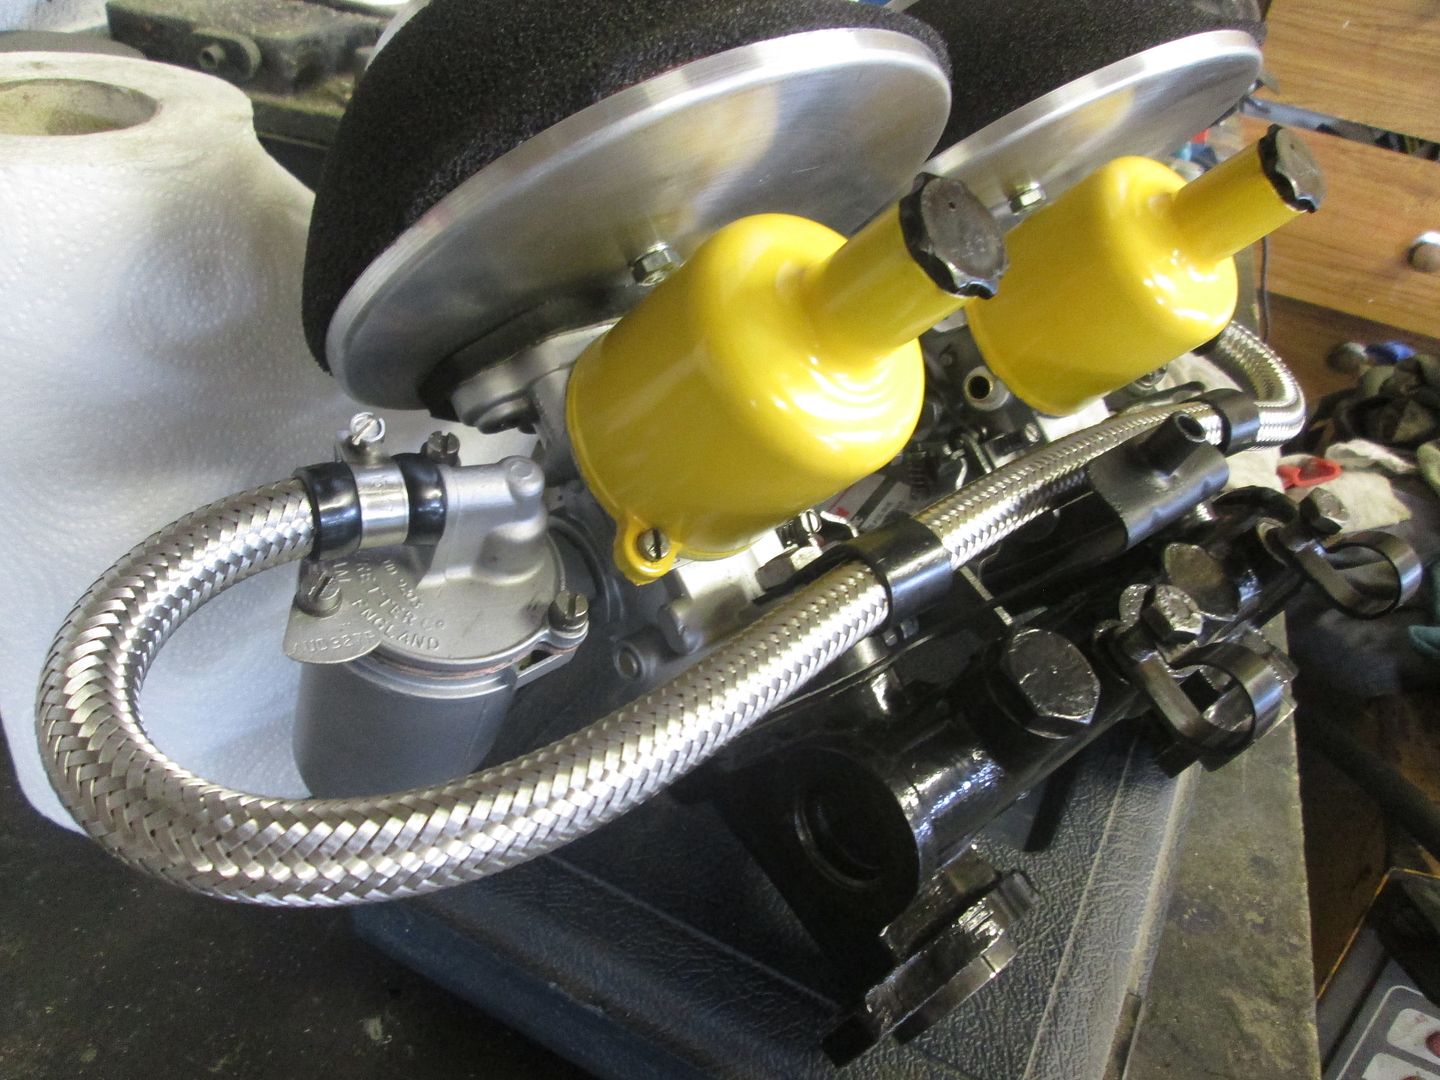
 

IMG_1515_zpszyfnjmrh.jpg


The shorter carb spacers now mean that I can angle the engine much further back, fixing the problem of the manifold not fitting. It was still a tight fit though so I had to do a bit of panel beating to the floor pan.


Exhaust is only temporarily fitted as I'm waiting for my heat wrap.
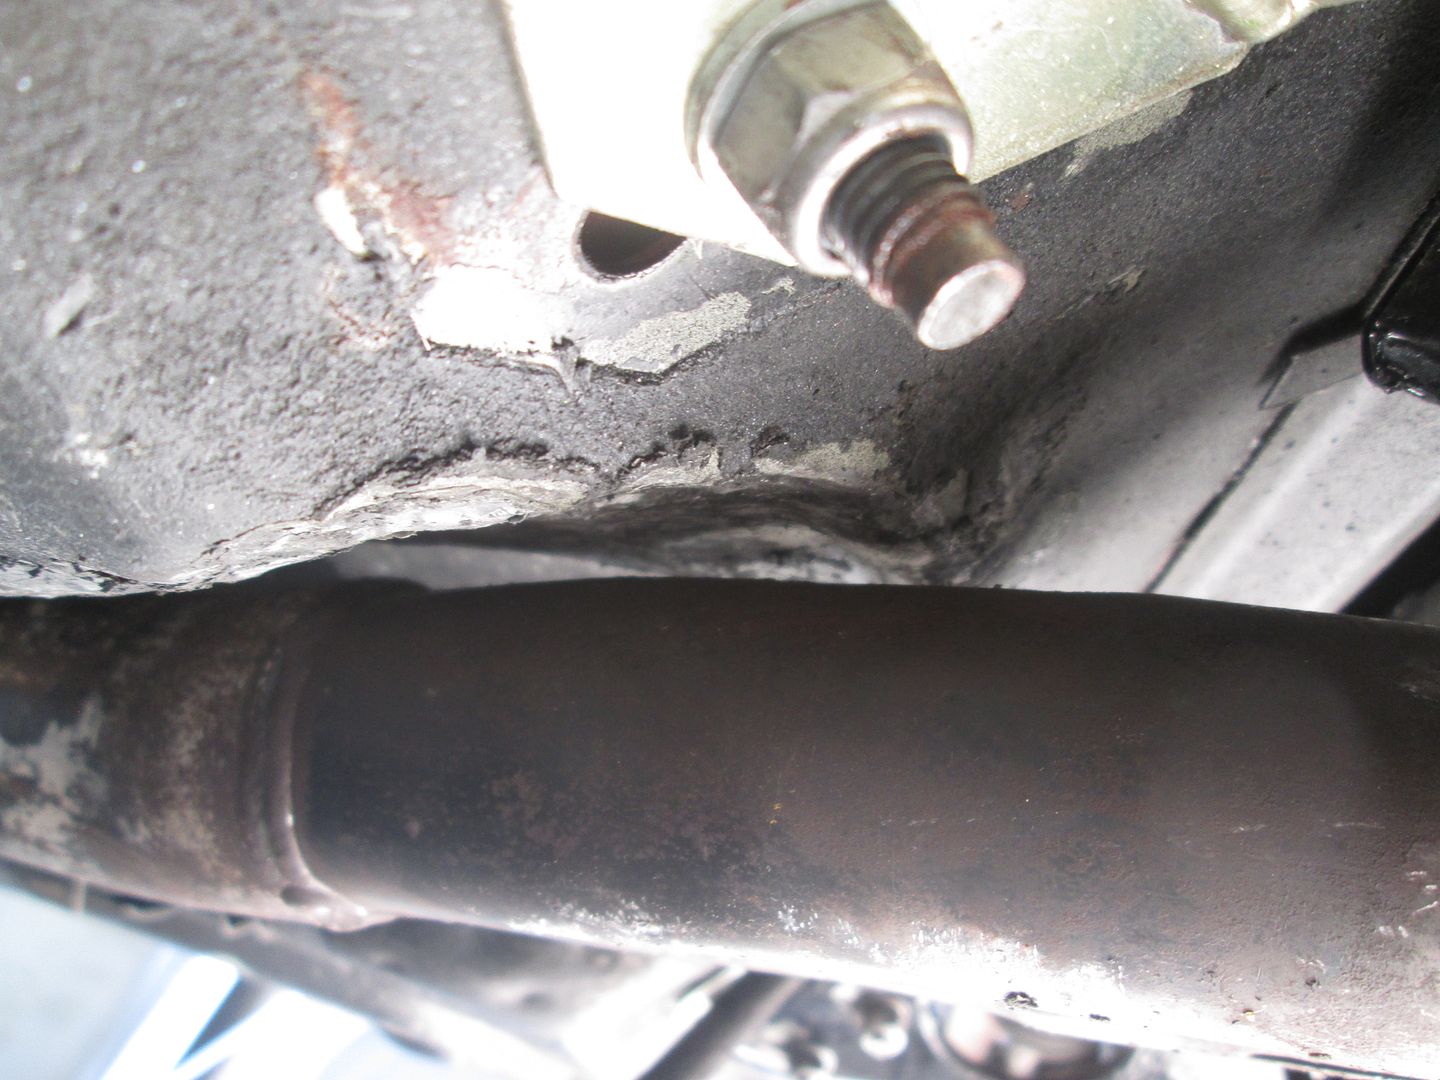
 

IMG_1510_zpsoe1l9jup.jpg


Then got all my clutch and brake cylinders fitted. I had to buy a new compensator valve due to one of the holes being completely stripped of thread which was a pain. 
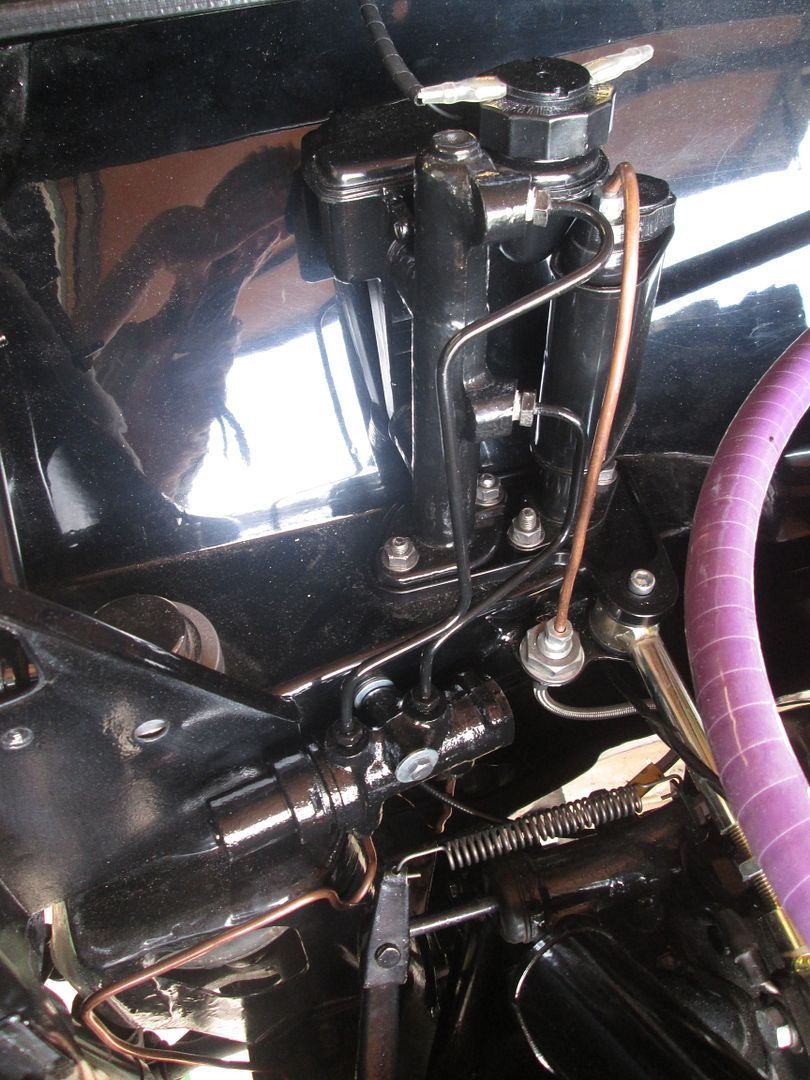
 

IMG_1517_zpsvnoxiqtl.jpg


Next up I got the gas bonnet struts fitted. No bonnet stay for me!
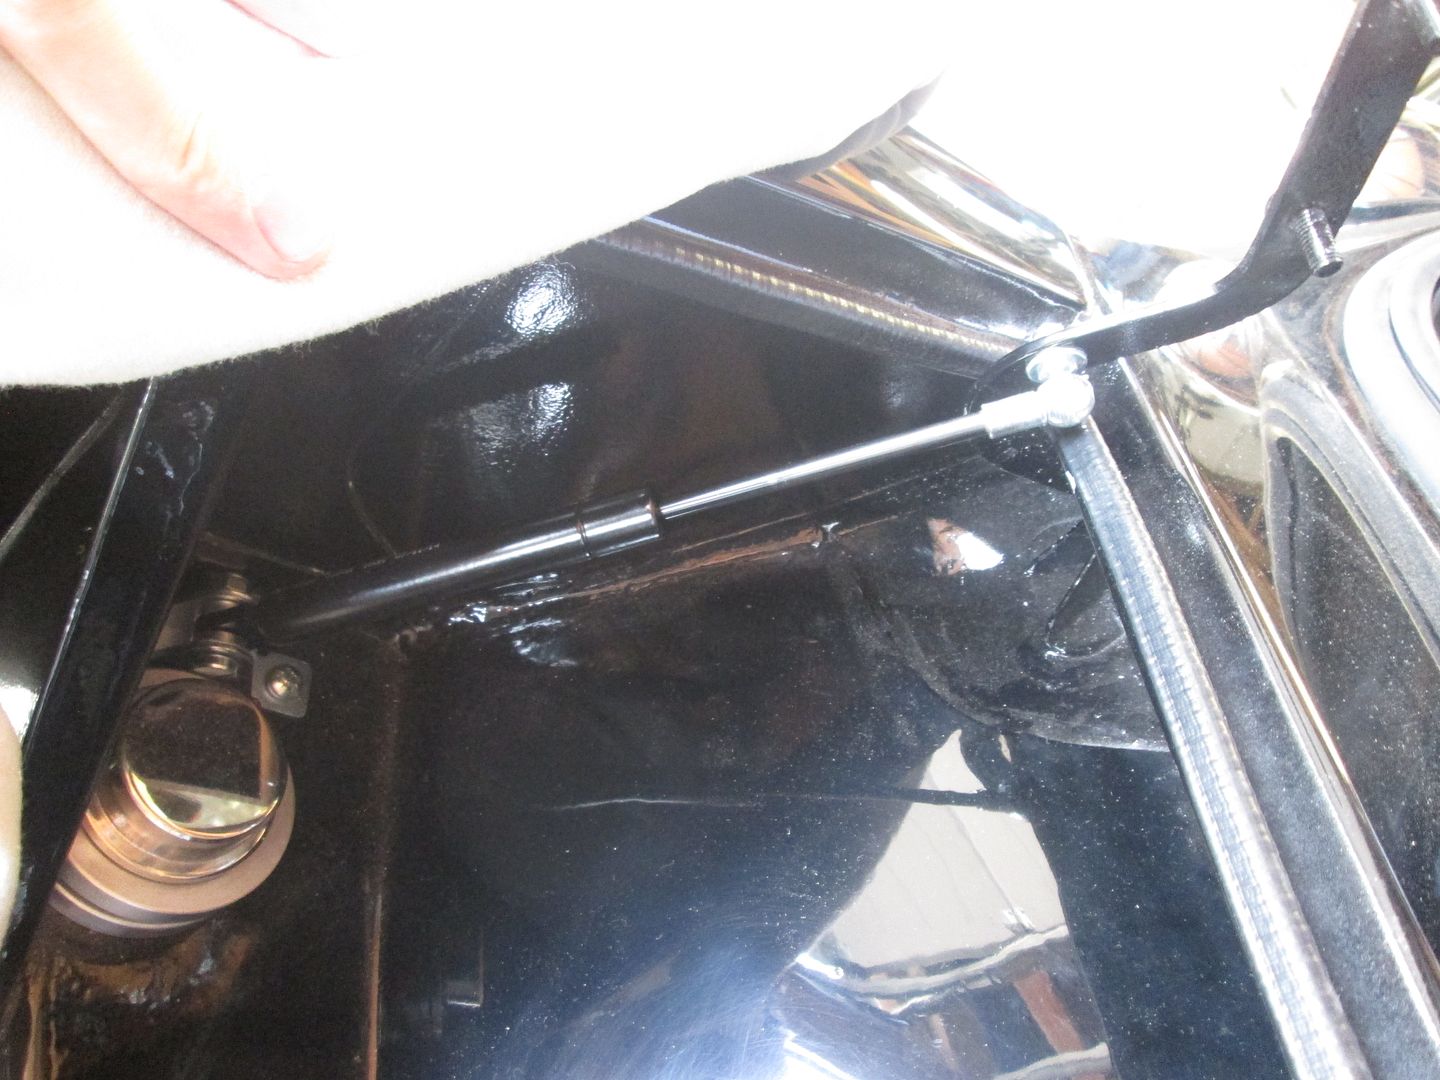
 

IMG_1516_zpsytfryuca.jpg


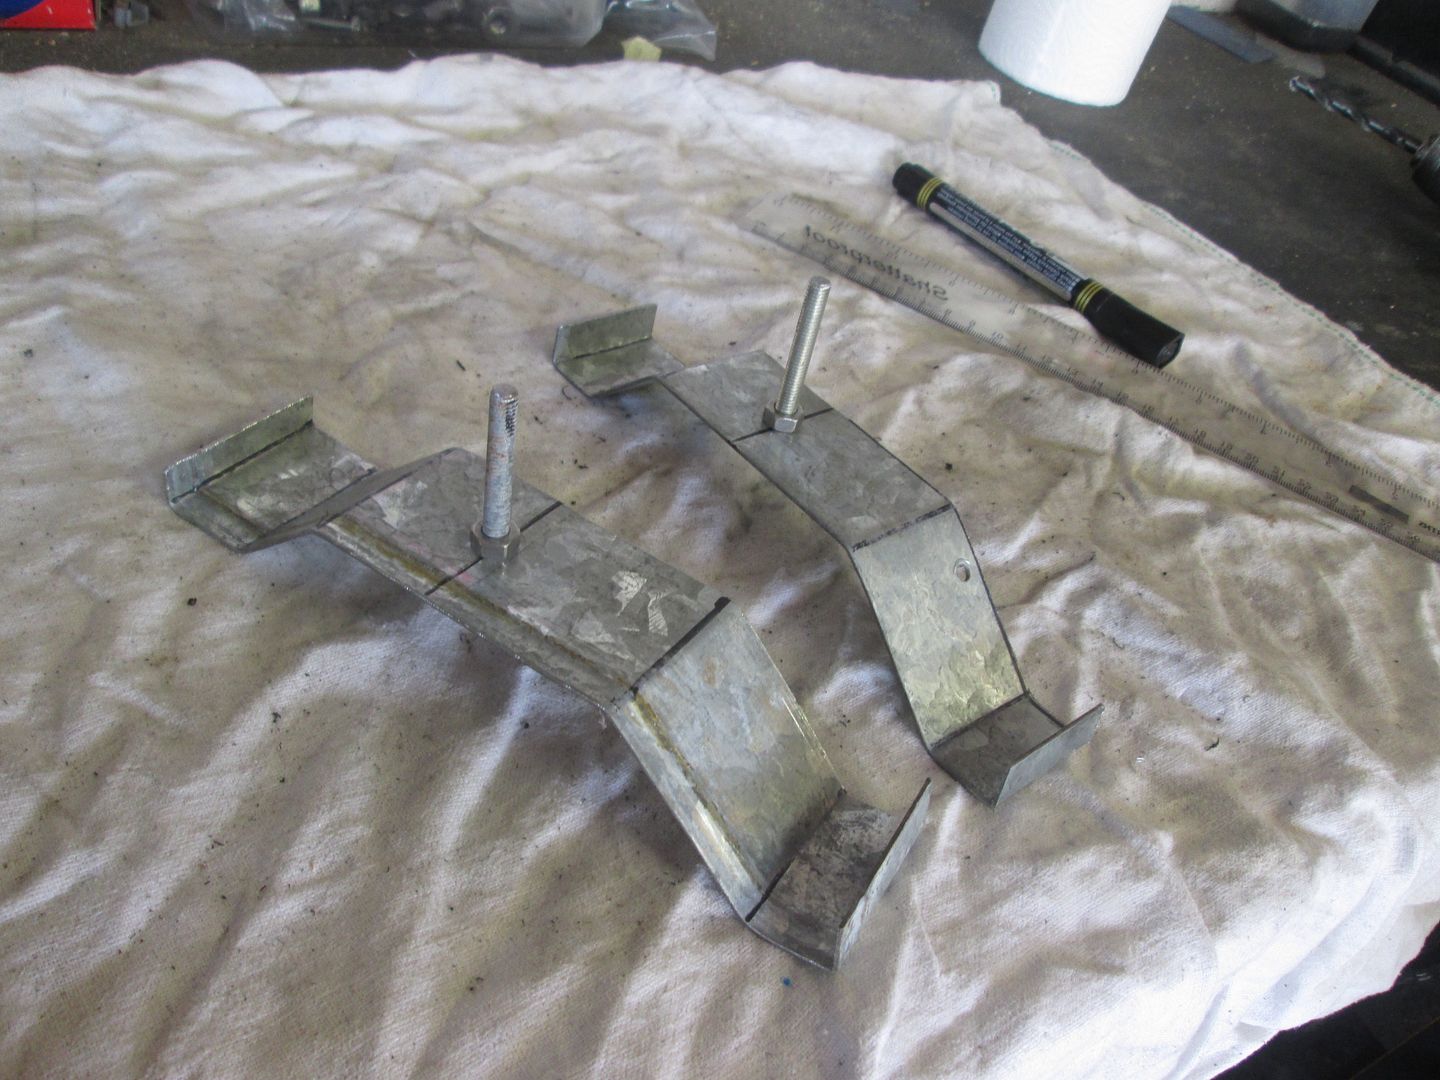
I then moved on to actually getting my custom dash to fit and be easily removable despite the roll cage being completely in the way.


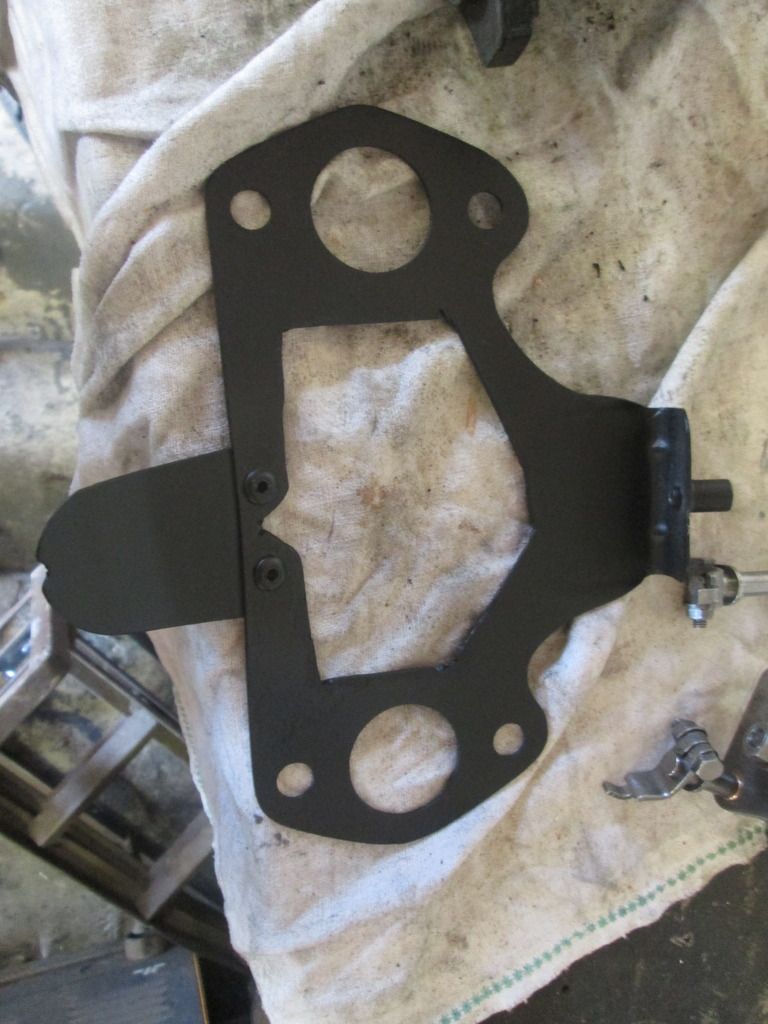
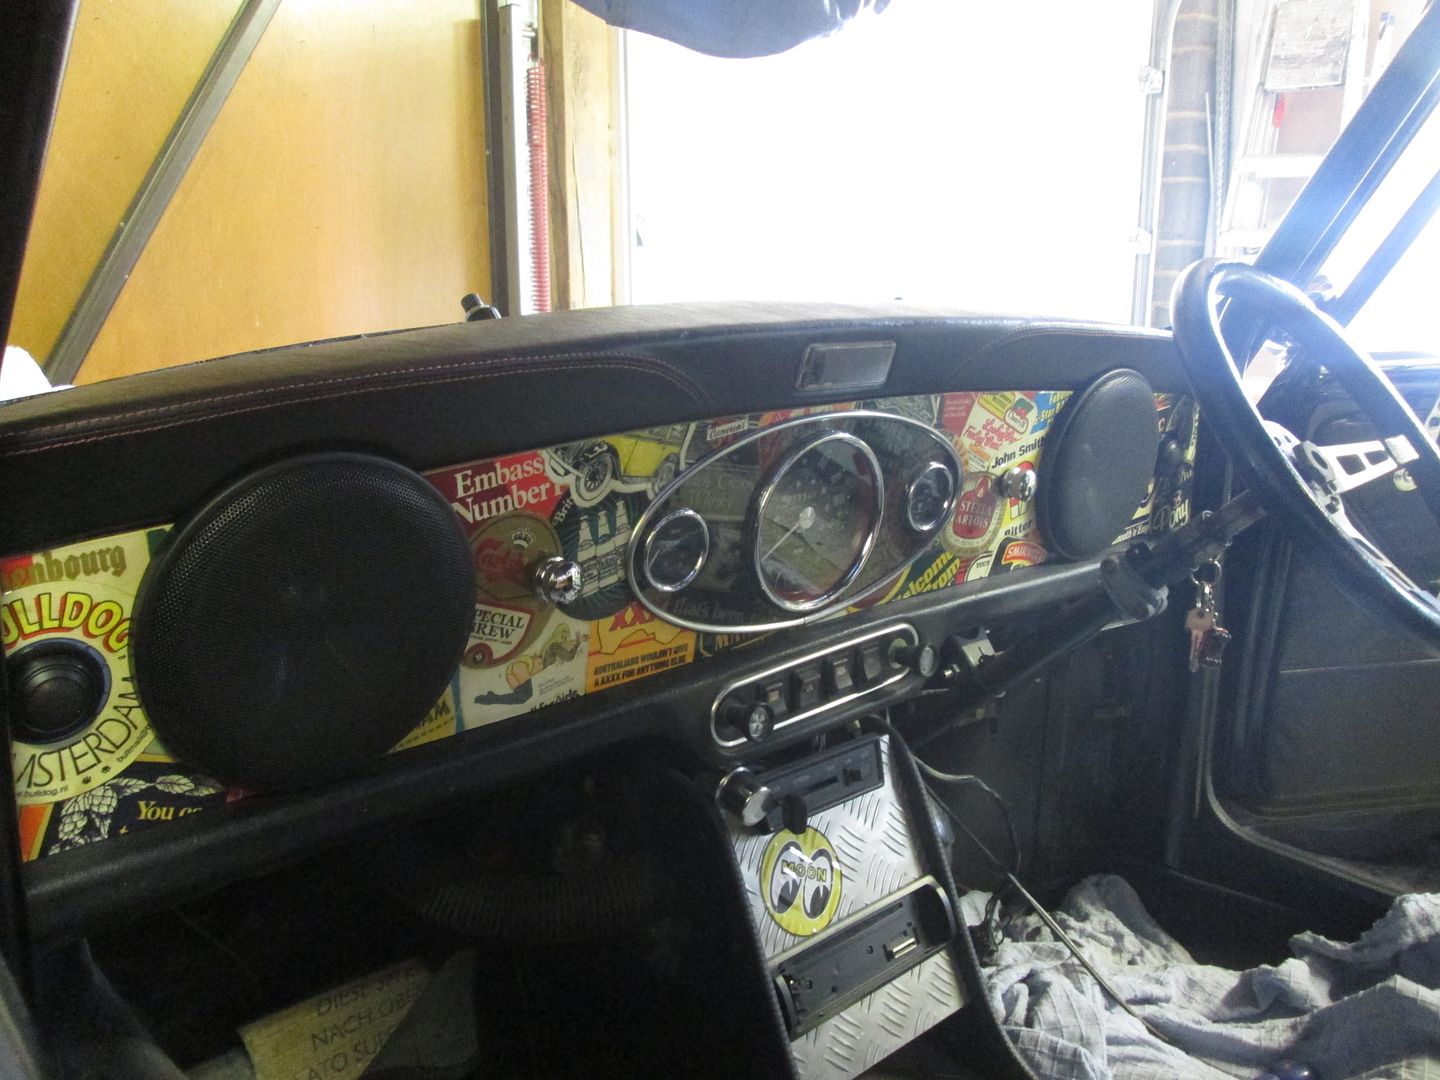
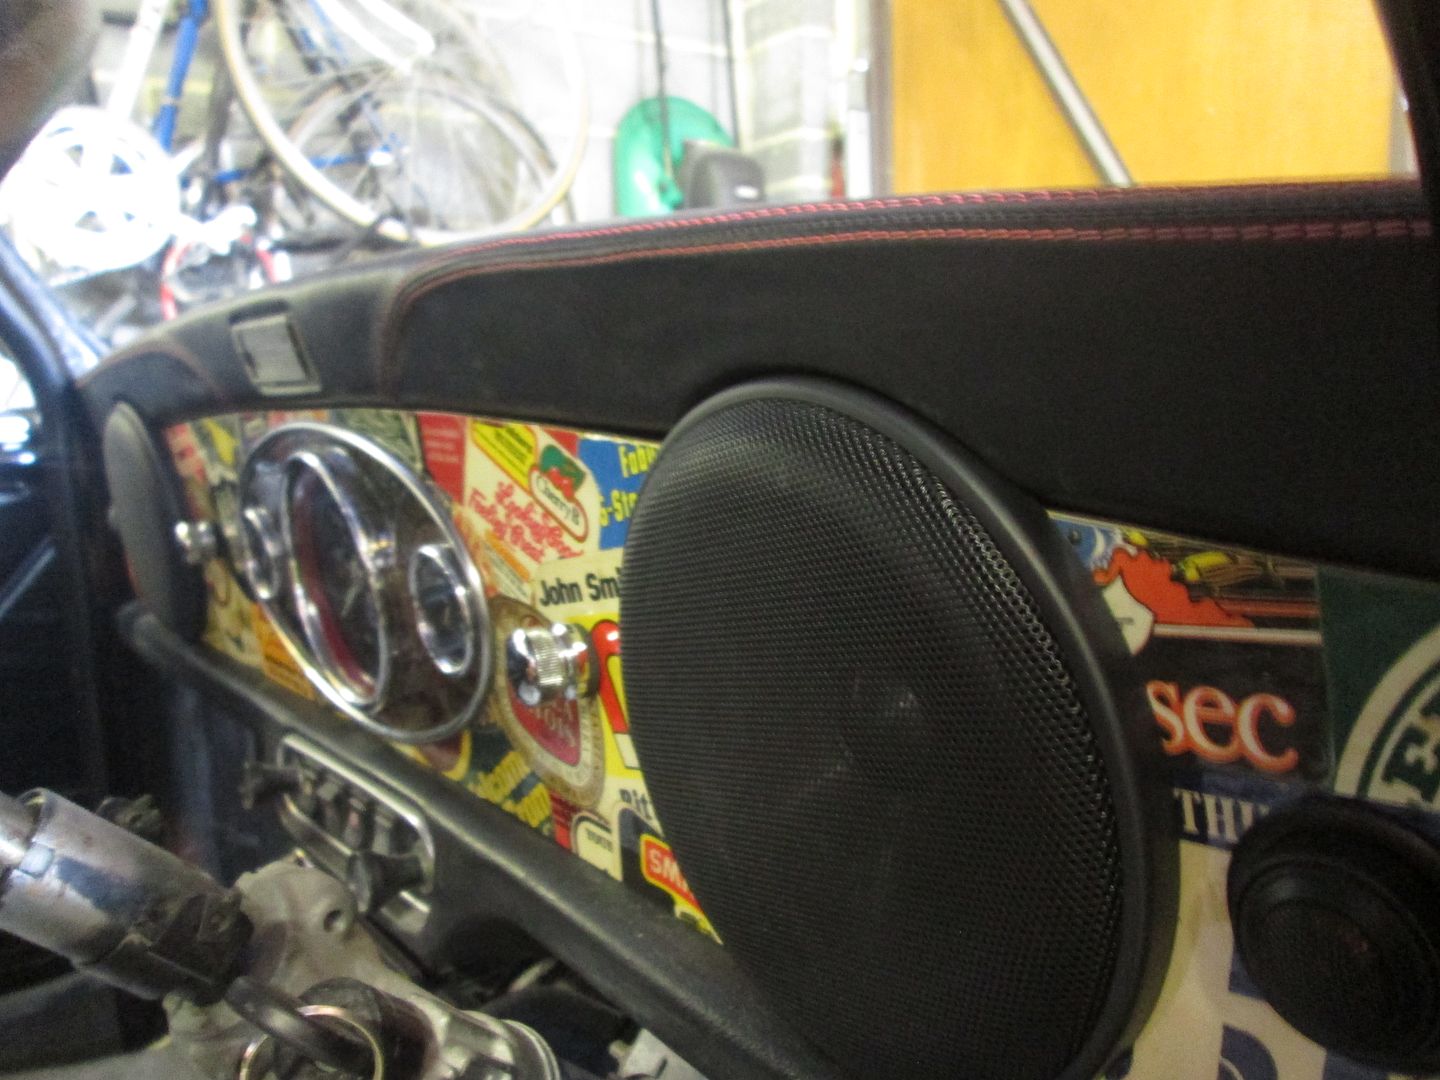
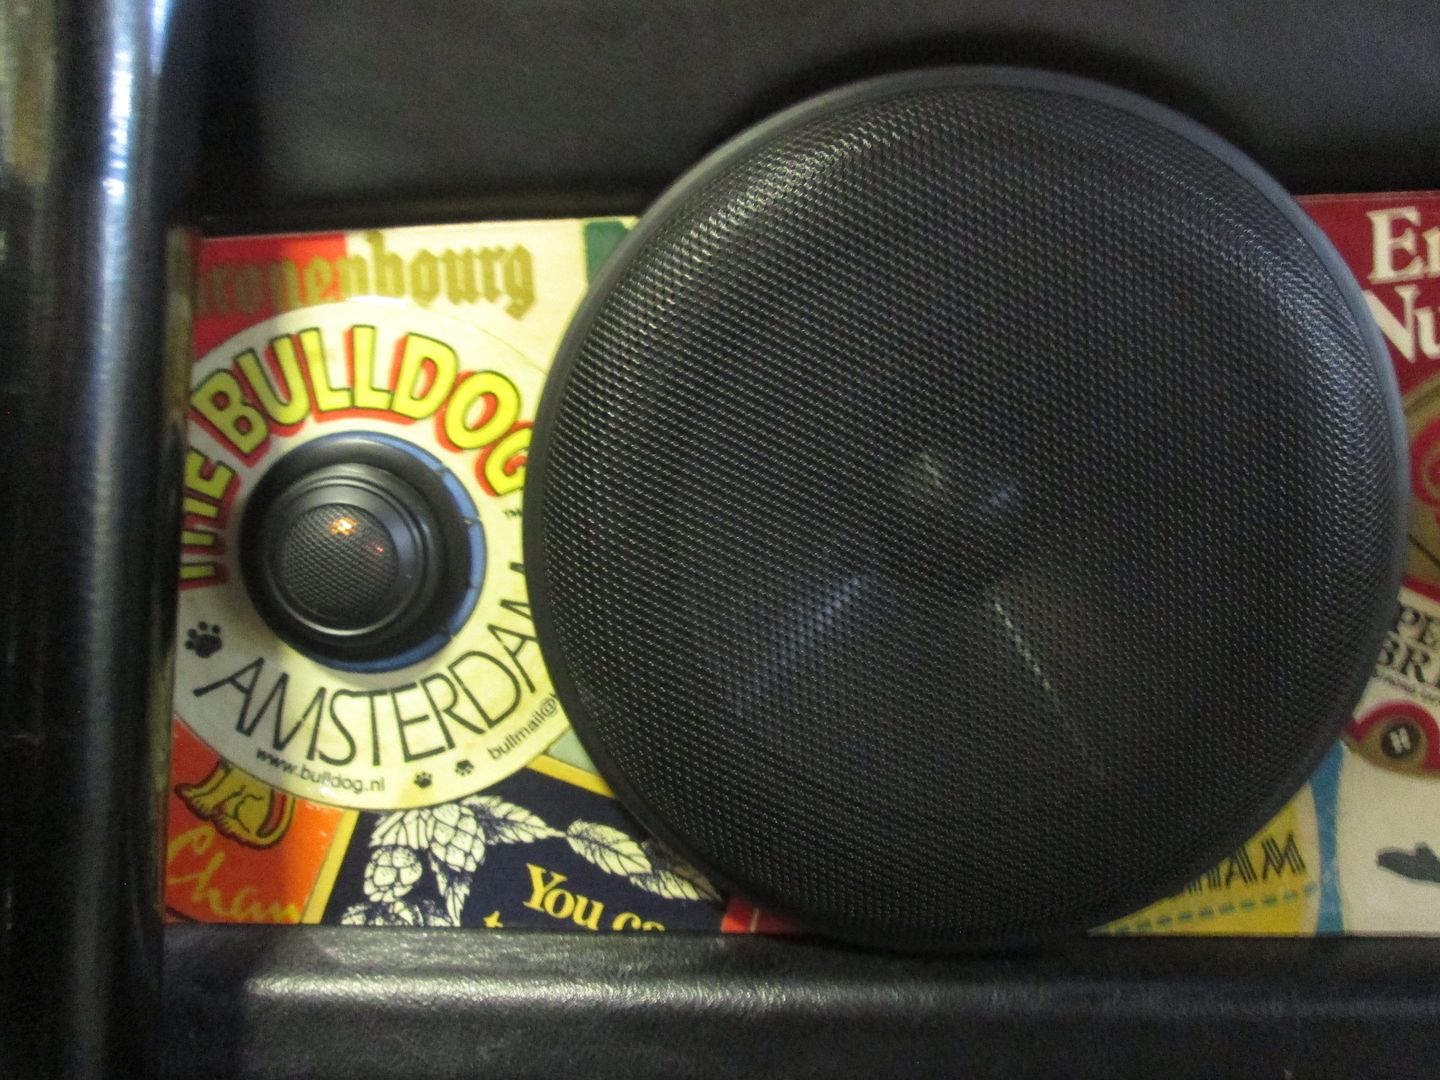
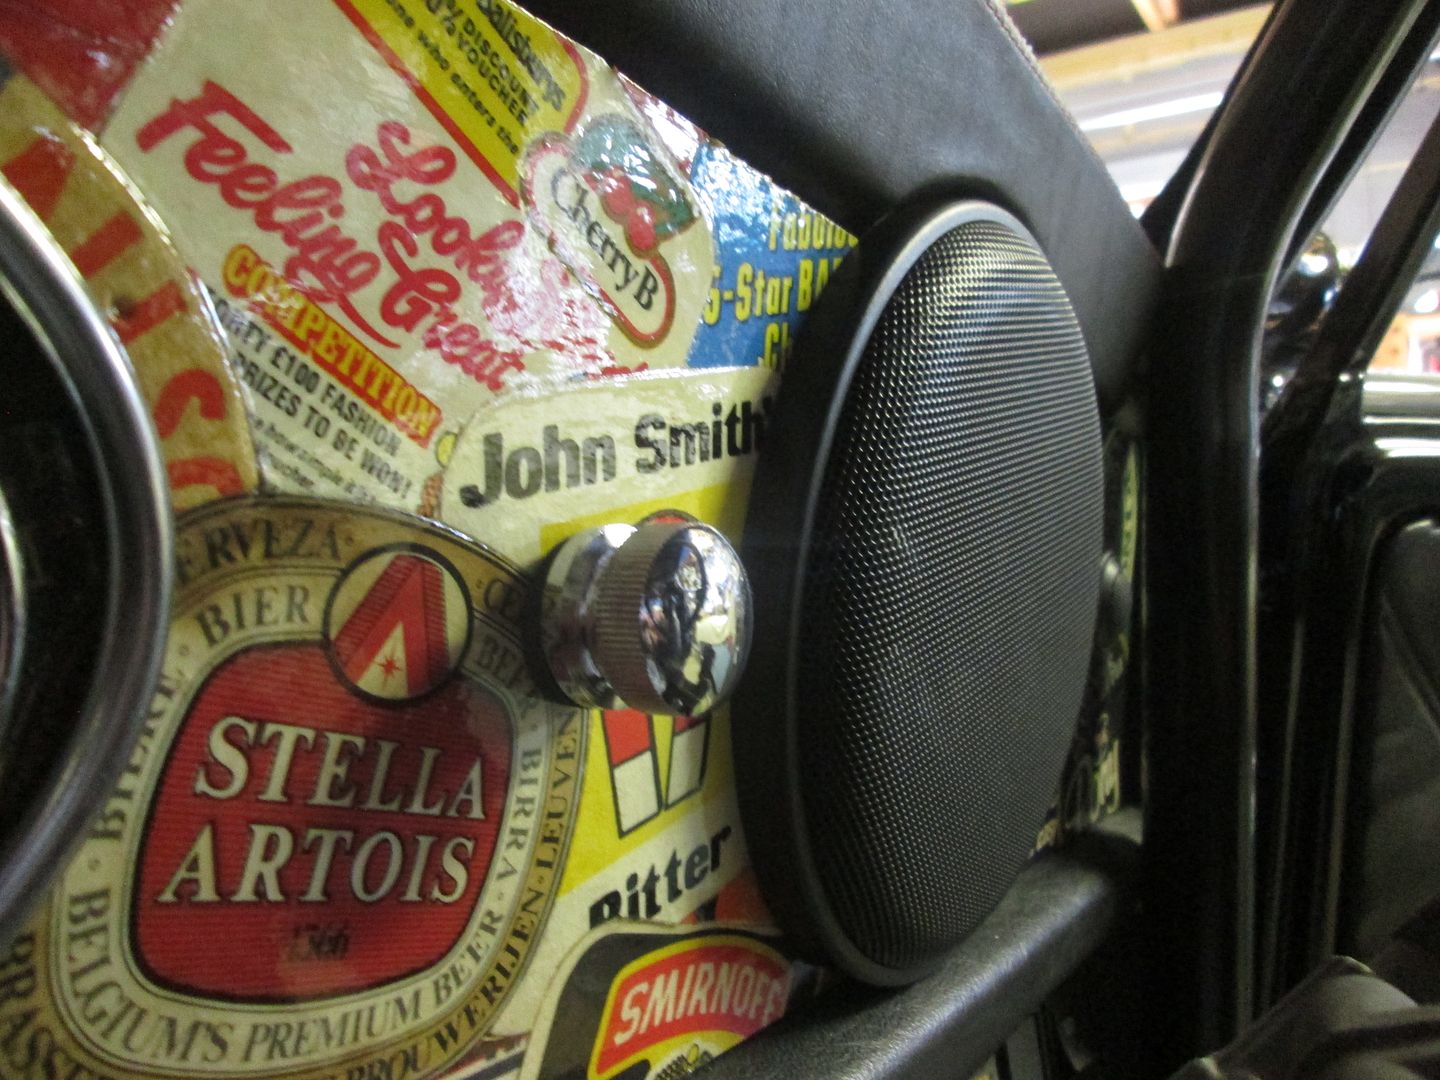
The first thing I did was split it into three sections. The middle section as far as the speakers is held in place with grille buttons and custom brackets, while the end sections are simply held in place by the screws that hold the speakers in. They can be slotted behind the roll cage and screwed in after the middle section is fitted. (the Speakers are JBL, I just bought some different covers since the ones that came with them were ugly as hell) I was skeptical of how sturdy this would be, but it's surprisingly very solid due to being wedged between the top and bottom dash rail... Oh wait, that's something else I forgot to mention... I fitted my top dash rail (better late than never!).


I'm pretty damn chuffed with it personally! Especially how the speakers fit into the cutouts in the top dash rail as I wasn't sure how that was going to turn out. 
 

IMG_1436_zpsxattnhwi.jpg


IMG_1441_zpsy3fh1oi4.jpg

IMG_1443_zpstzfqbc9k.jpg

IMG_1444_zpsgxjipnv6.jpg

IMG_1445_zpslafgckqg.jpg


Part 2 coming up!


Edited by Chris1992, 12 October 2021 - 07:36 AM.


#513 Chris1992

Chris1992

    Up Into Fourth

  • Members
  • PipPipPipPipPipPipPipPipPip
  • 2,022 posts
  • Location: Essex

Posted 07 September 2016 - 11:13 PM

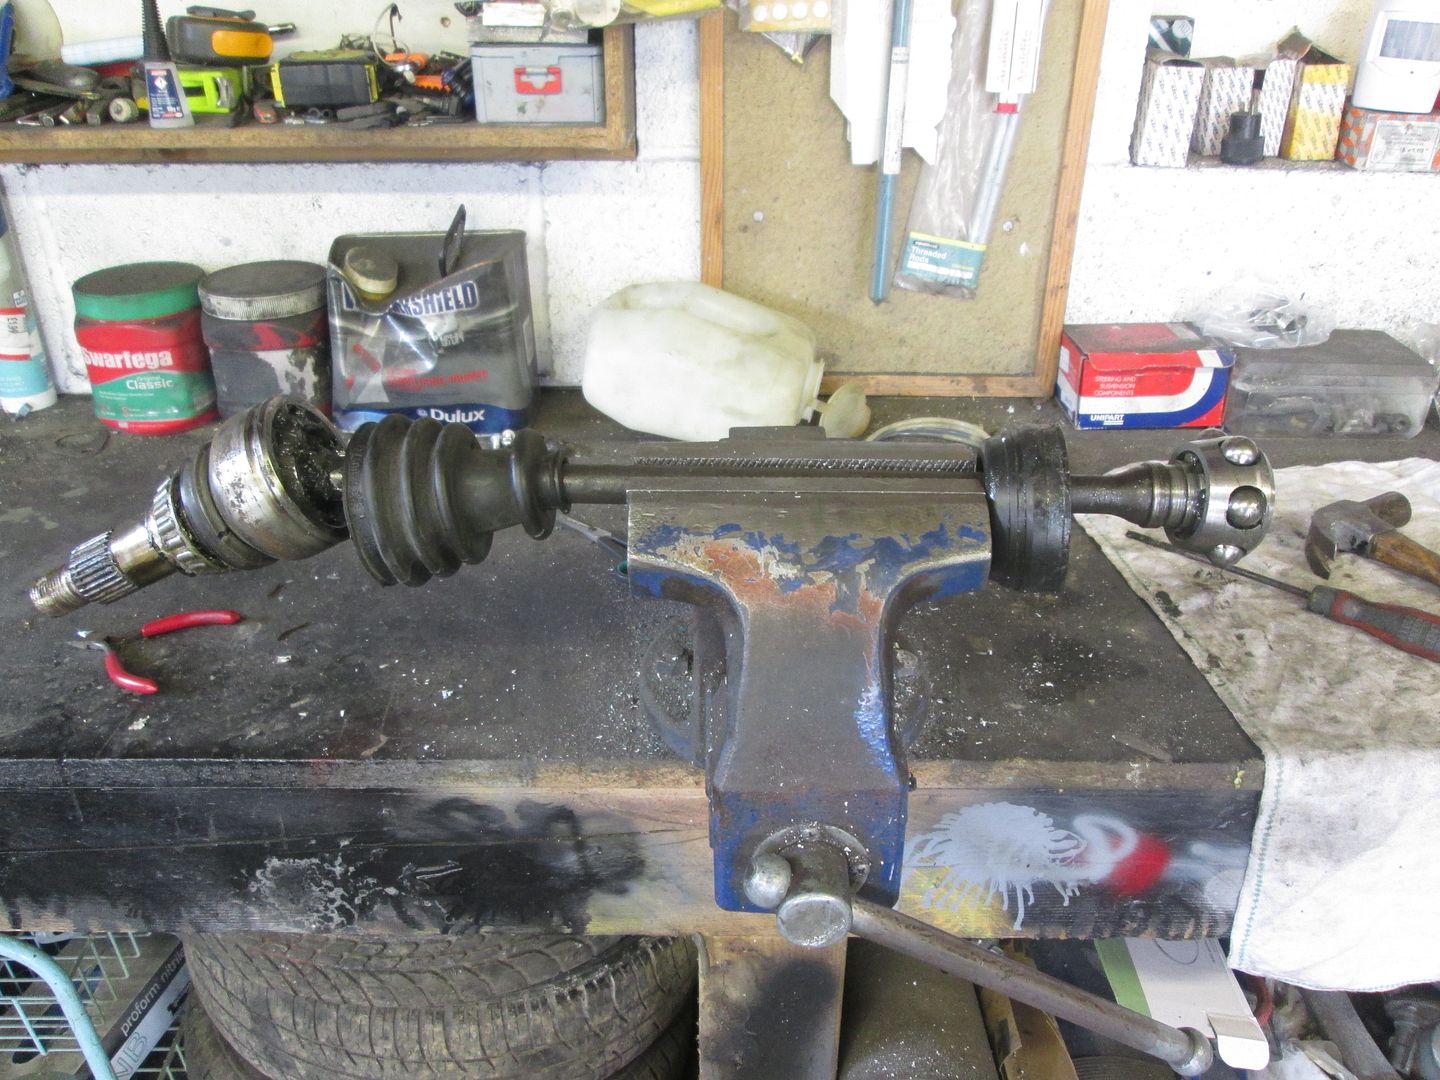
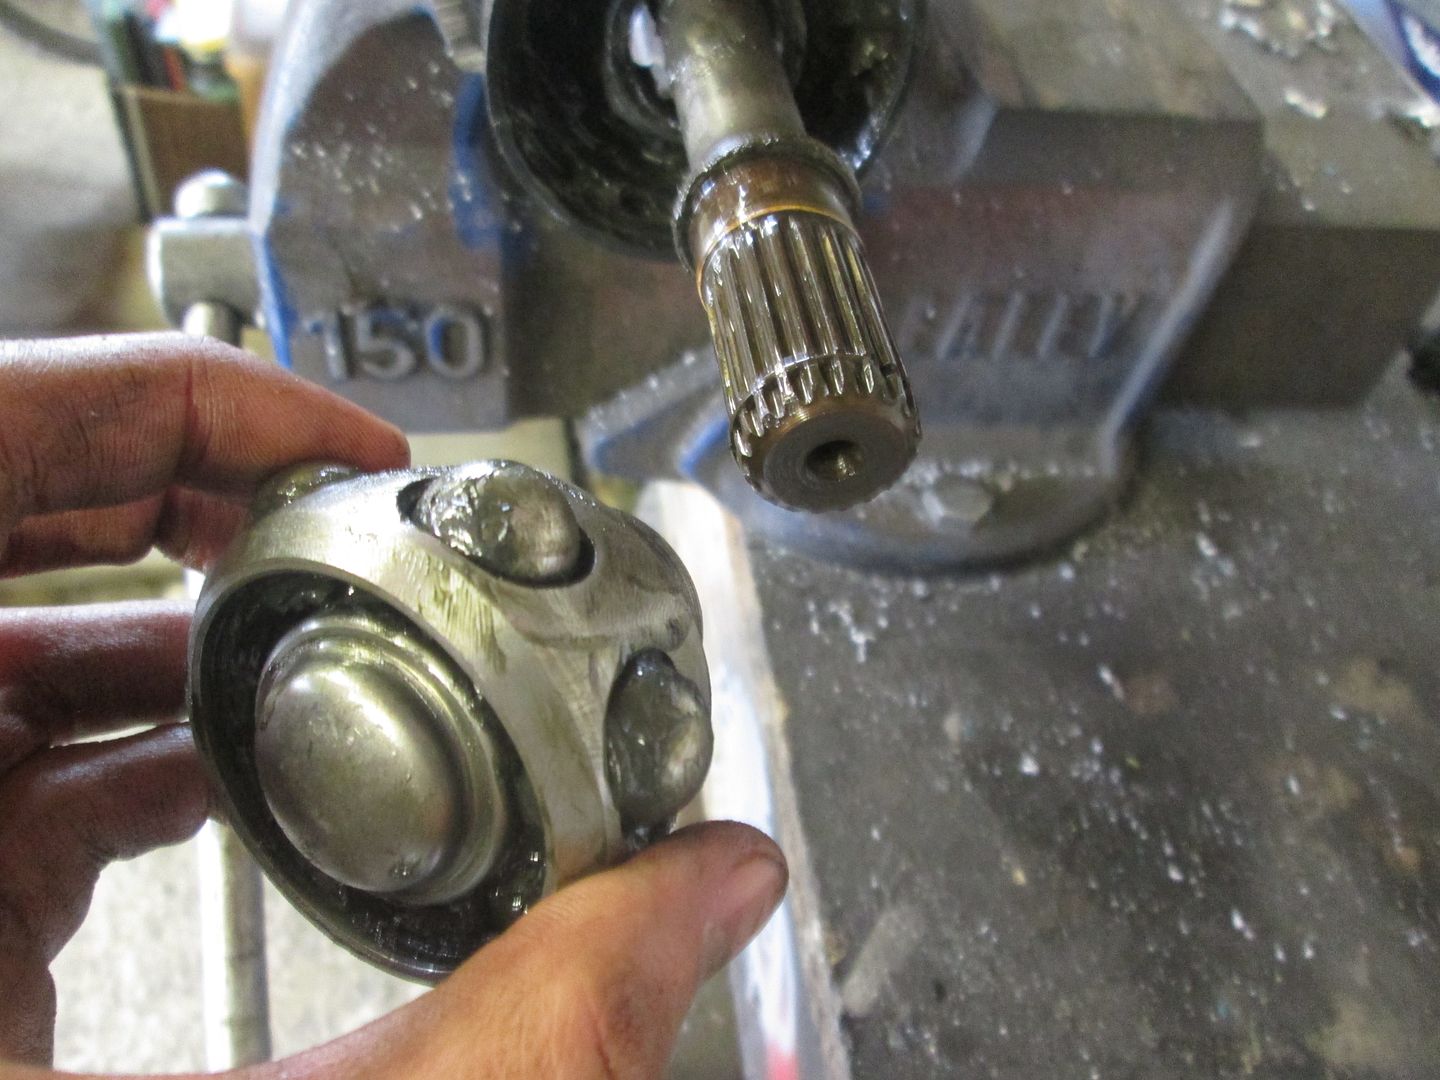
Right then, picking up where I just left off. Shortly after getting my engine in, I realised that my inner CV boot's had completely perished, so needed to be changed. (this would have been a hell of a lot easier if I had realised before putting the engine in :mmkay: )
 

Anyway, dismantled the front suspension assembly and got the driveshafts off the car.


IMG_1519_zps3g9smhay.jpg


Before I could swap the boots over for the new ones I had to get the CV joint off the end of the shaft, and holy mother of god that was a hell of a task. Hours of smacking away with a screwdriver and lump hammer on each driveshaft and they finally came off!... Don't worry, I'm sure they will have perished again by next year meaning I'll get to do it all over again...


IMG_1520_zps5ymmydgn.jpg


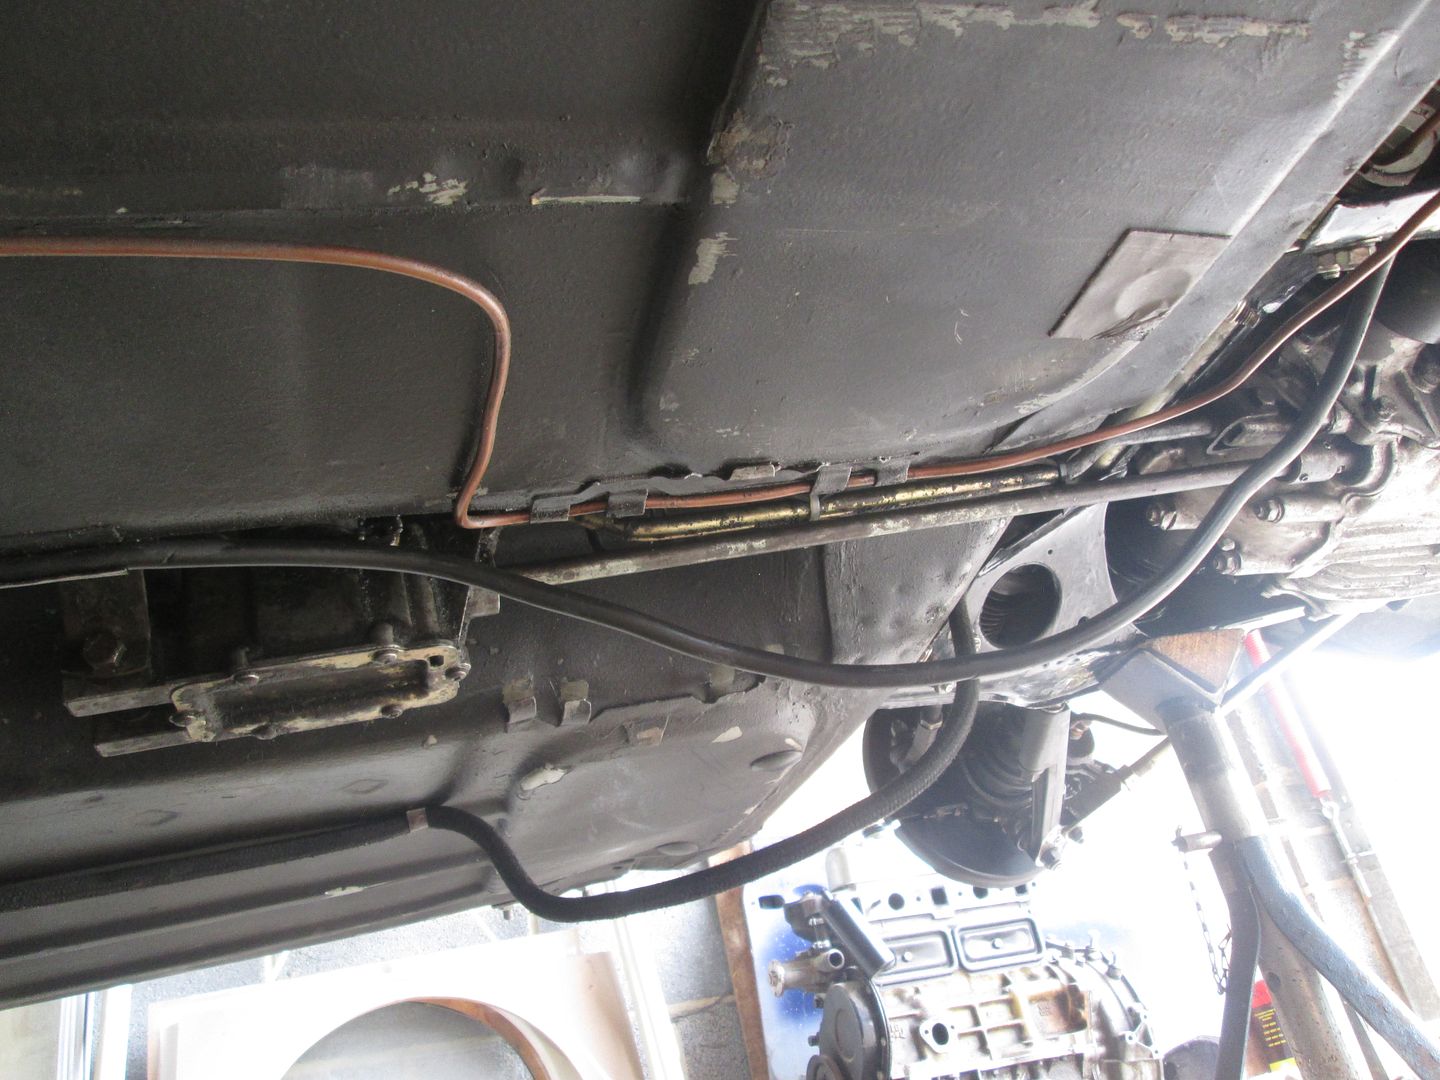
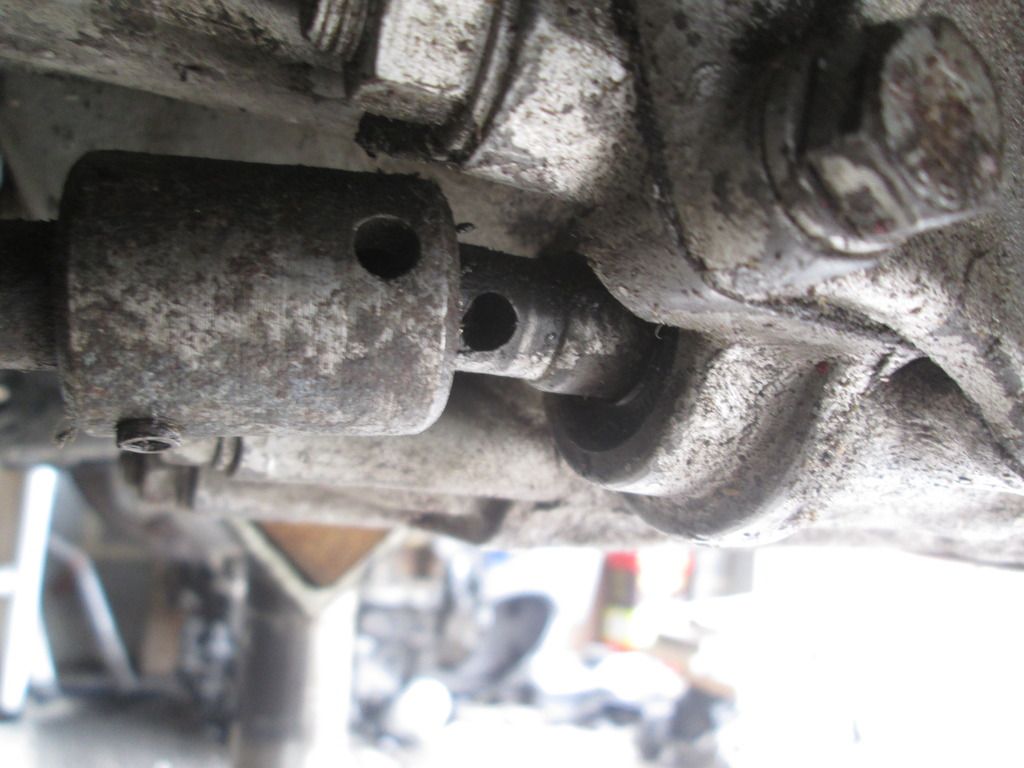
Next up I fitted the gear linkage transfer box mechanism thing. Getting the holes for the pin to line up proved rather difficult.


IMG_1537_zpsmd13mskd.jpg

IMG_1521_zpslcffe6sf.jpg


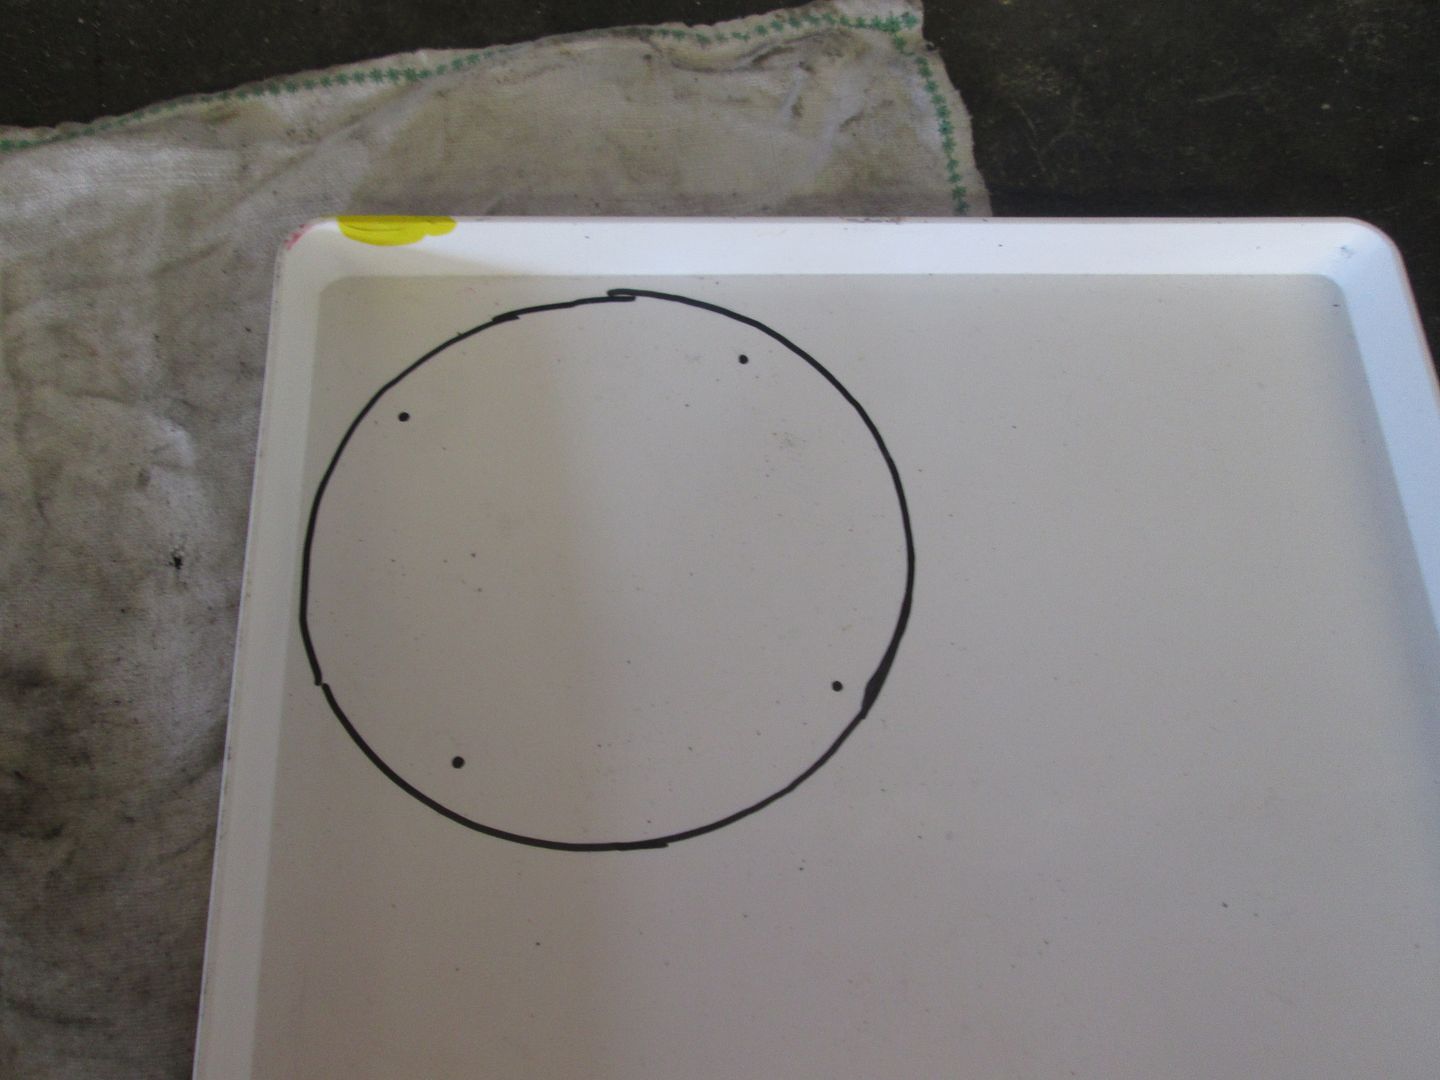
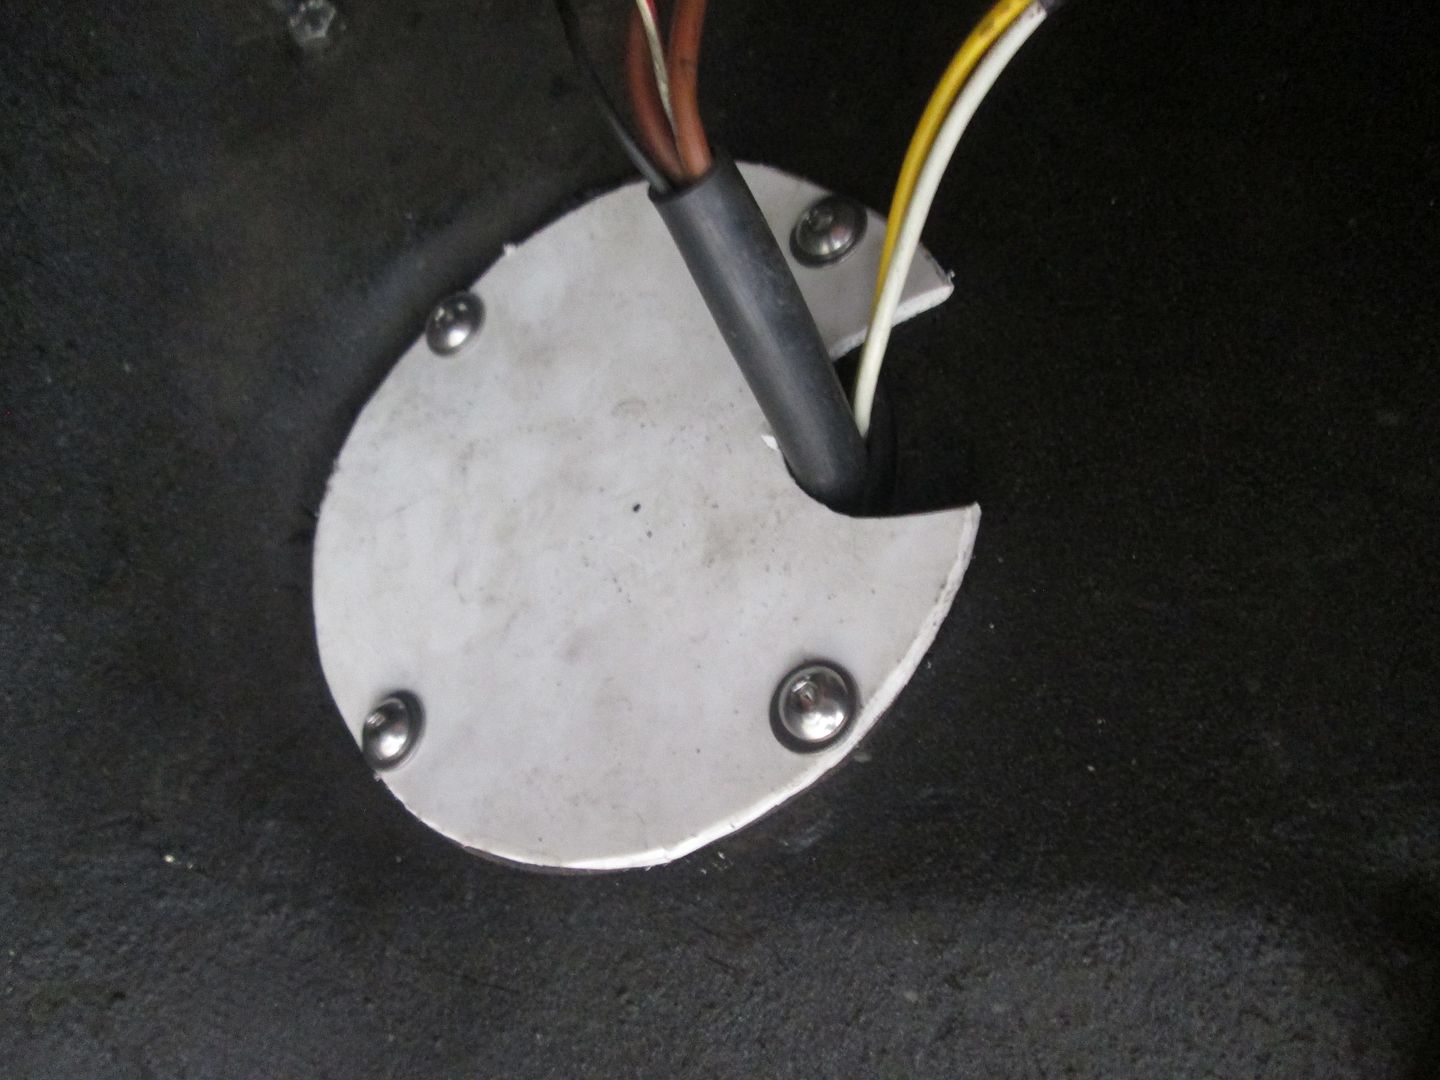
Now since I'm not using the hole in the drivers footwell for the heater intake pipe, I ended up using it for the wiring to keep it all out of site. This meant I needed to make a cover for it unless I wanted chilly legs. I solved this by cannibalizing a paint pallet I found. Job done!


IMG_1514_zpscadurbiq.jpg

IMG_1523_zpsekcux5xp.jpg


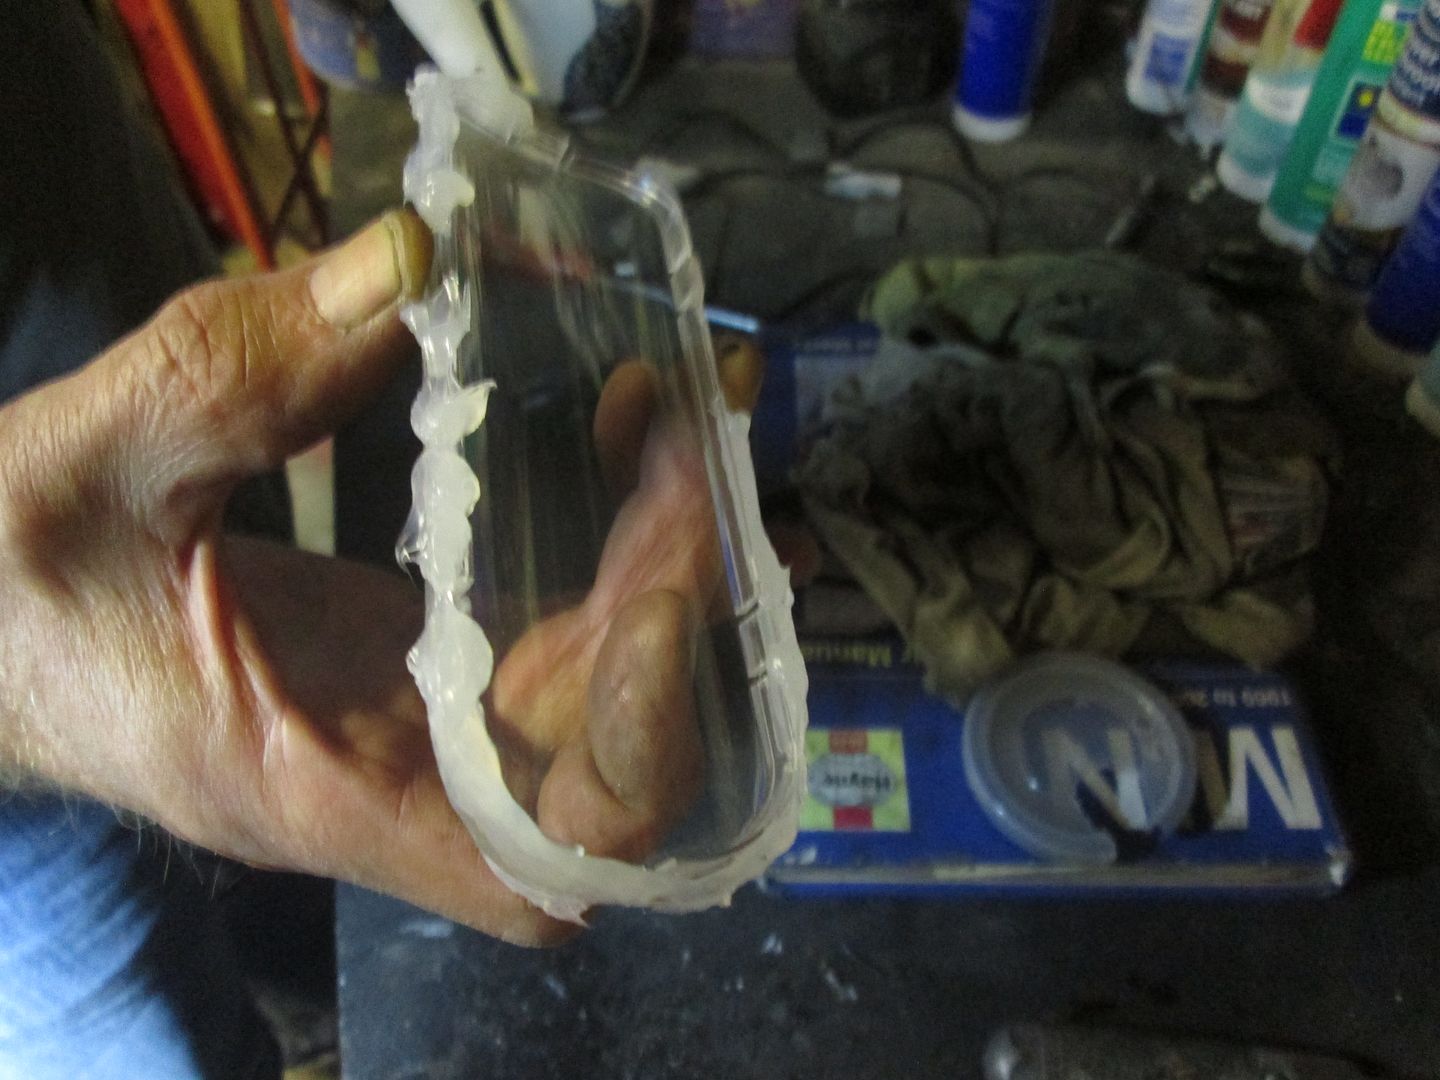
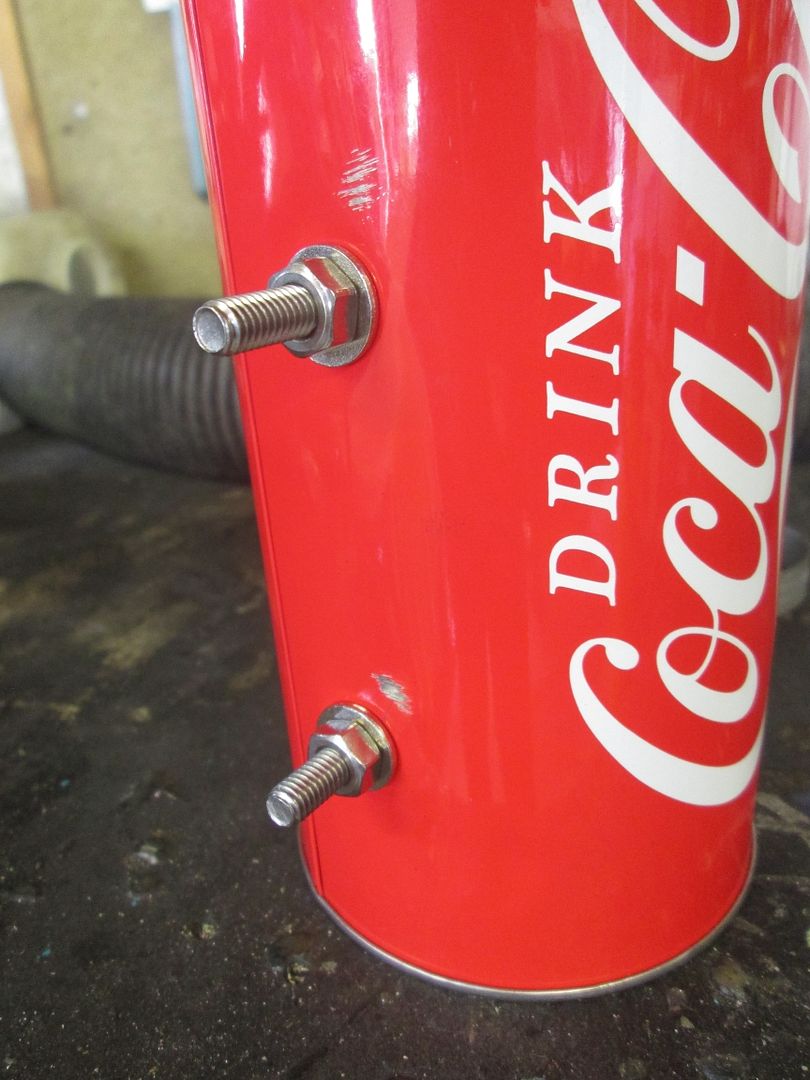
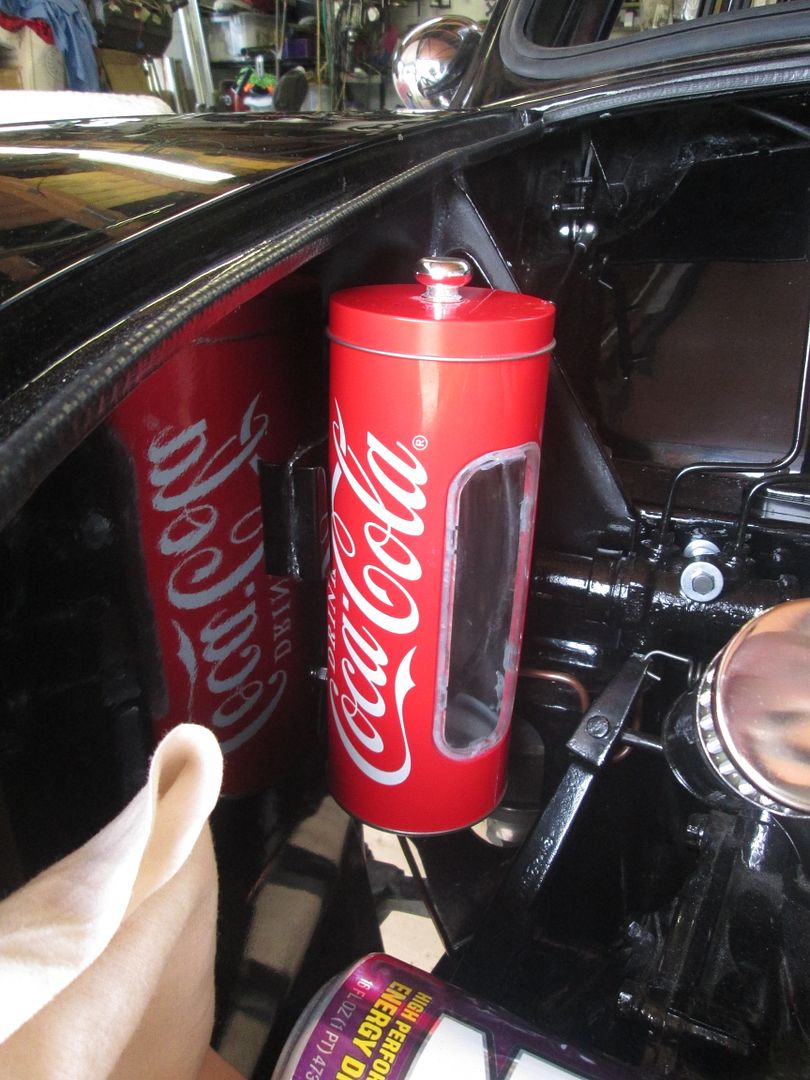
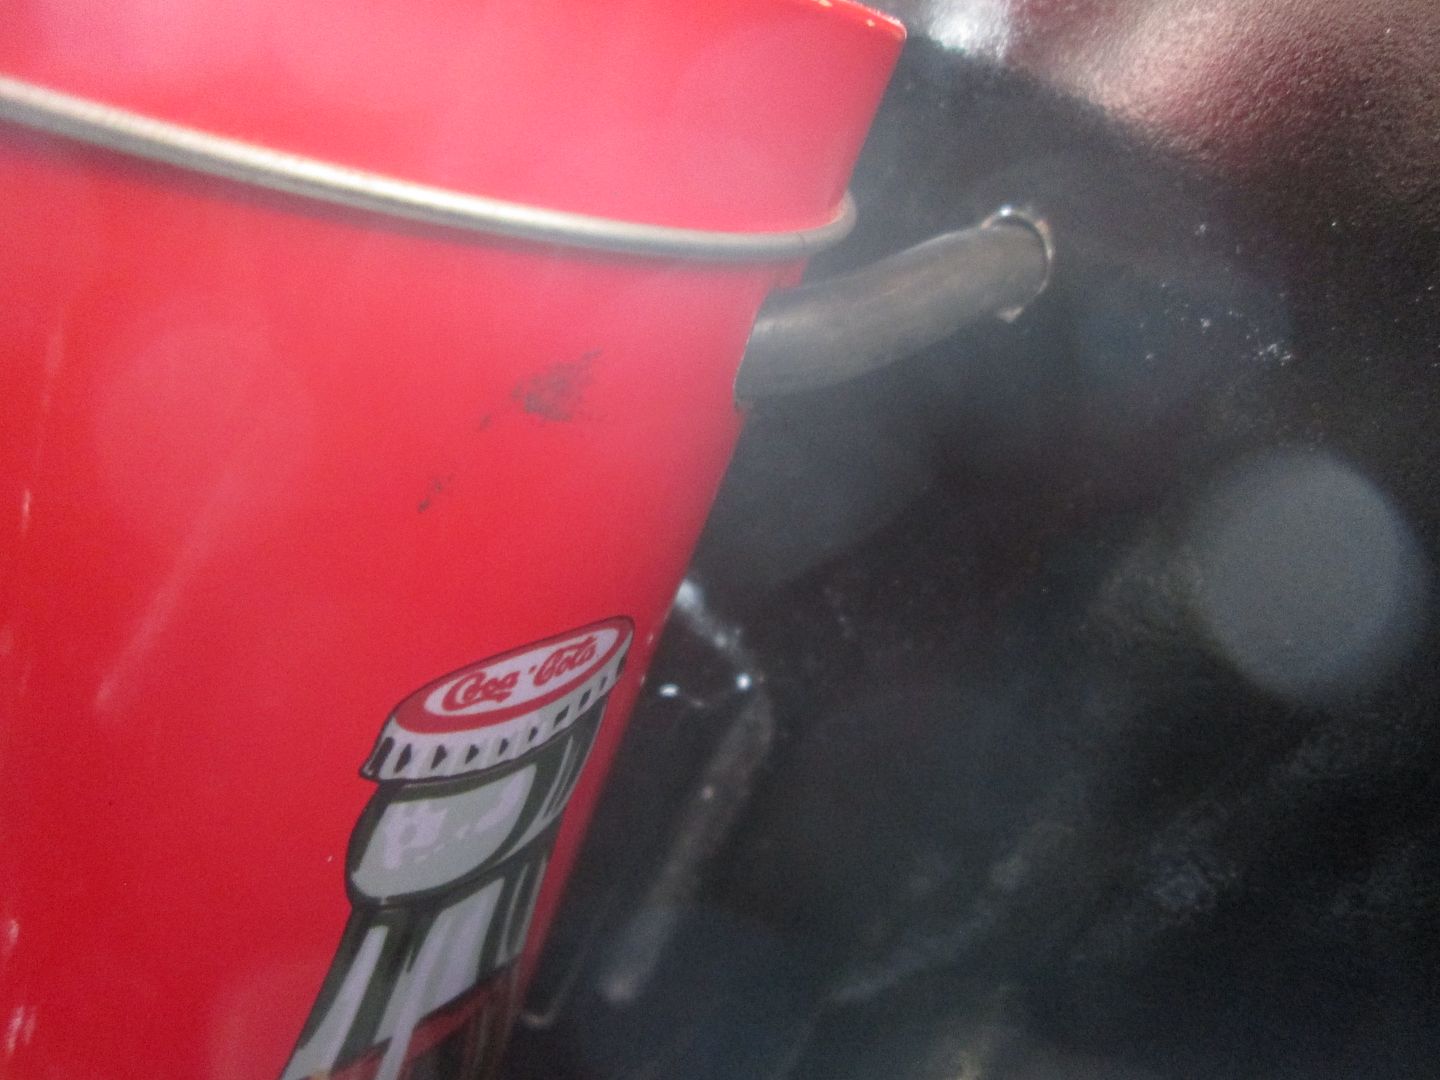
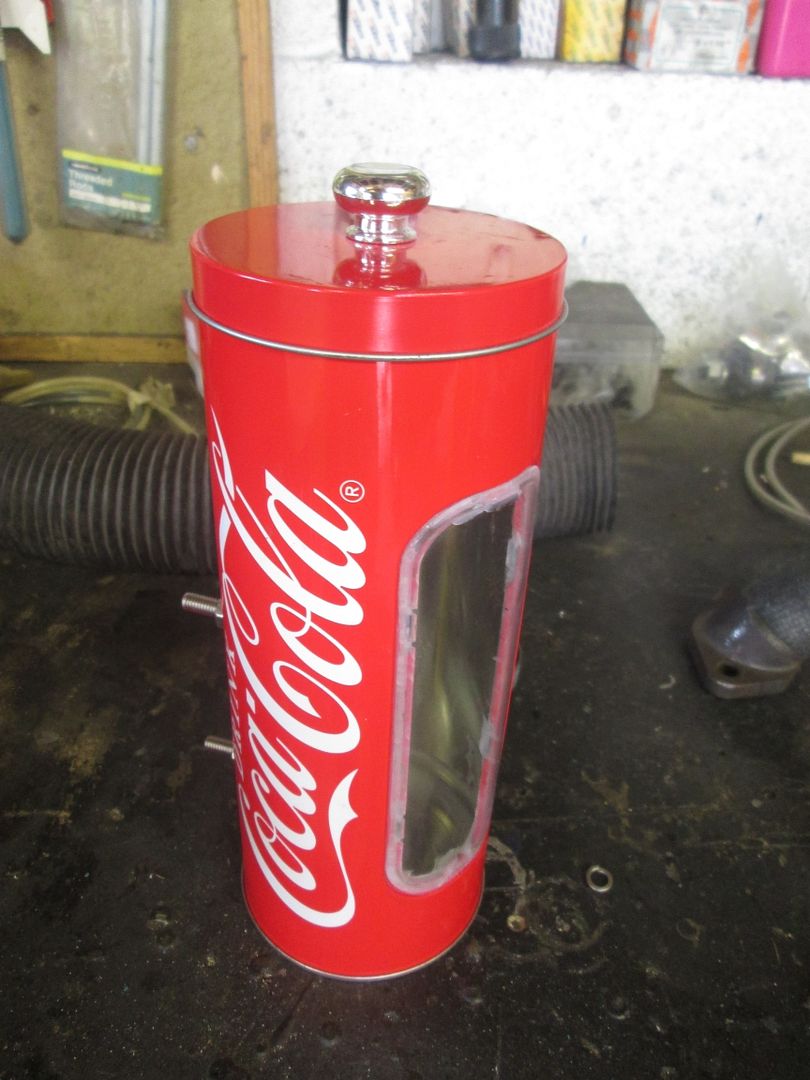
A few years ago in my Christmas stocking, I got given this Coca Cola tin thing full of drinking straws. I've had it lying around for a while now, so I decided to turn it into a washer bottle. It even has a window so i can see the fluid level! I had to do a bit of waterproofing around the base and window, and after making sure I put rubber O-rings behind the bolts it was leak free!


IMG_1535_zpsdpi1h8nw.jpg

IMG_1524_zpsordqoomm.jpg

IMG_1536_zpshnrqetls.jpg

IMG_1538_zpsjd5ee68l.jpg


The motor is under the wing, so the pipe comes out the back and straight through the inner wing.


IMG_1539_zpsqbzslee6.jpg


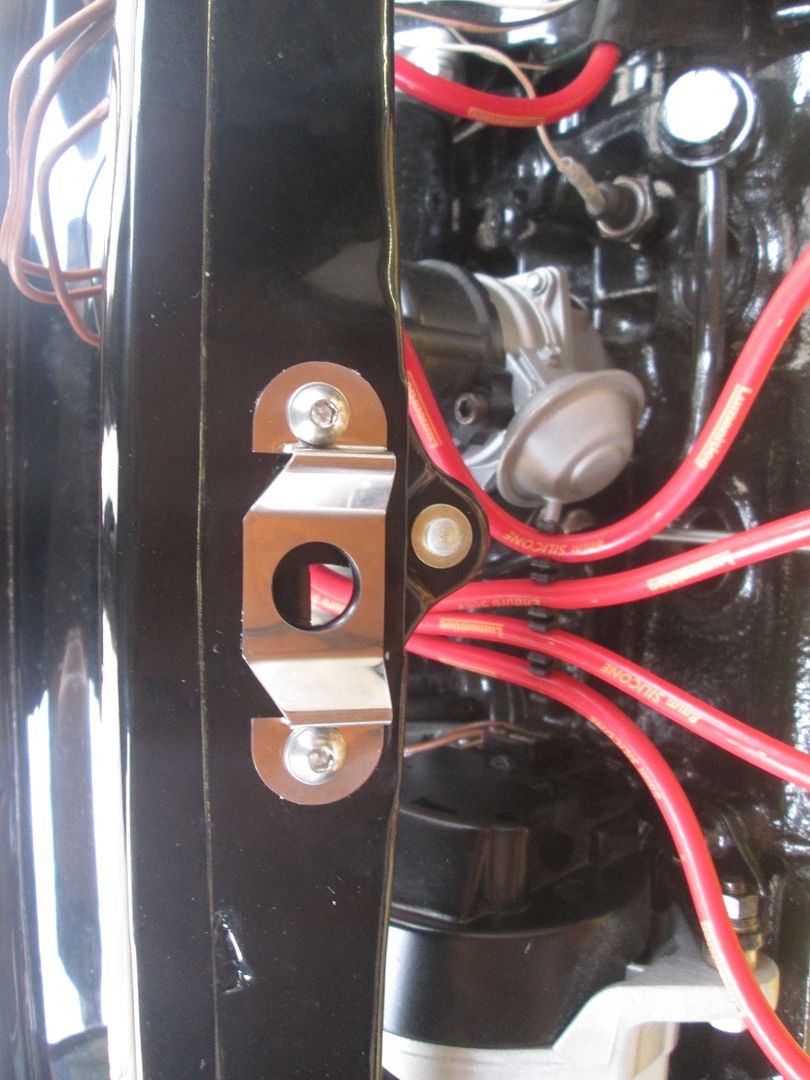
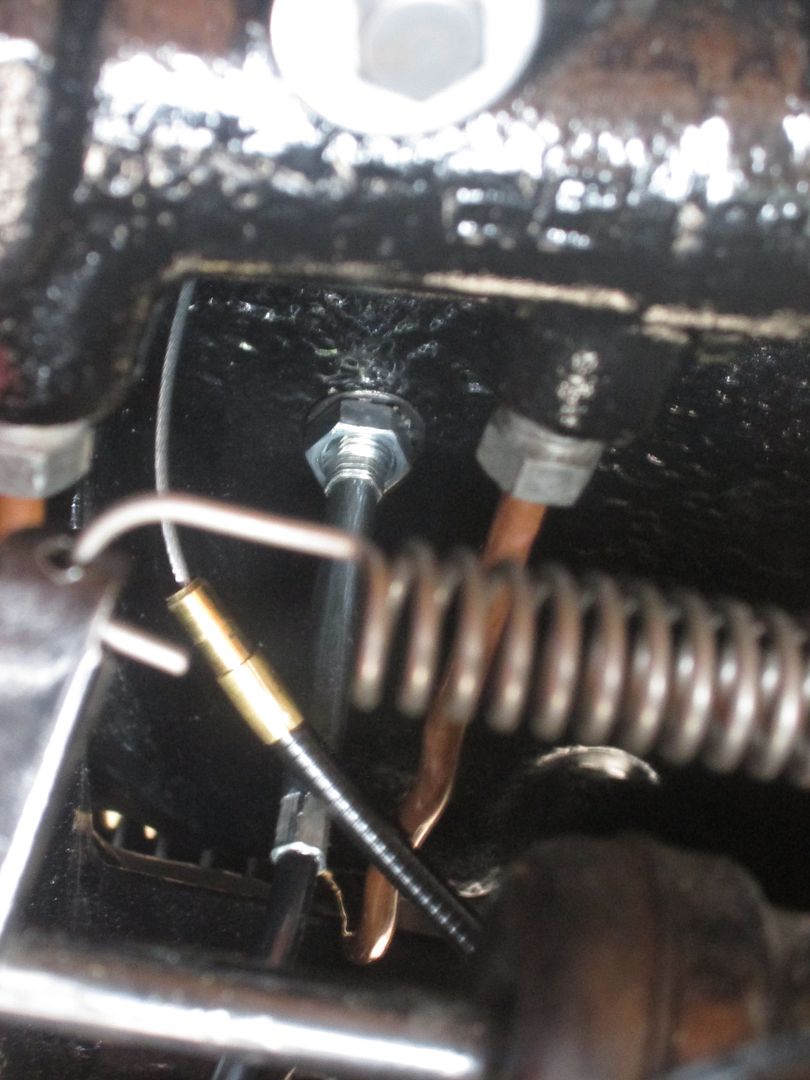
I also managed to fit my internal bonnet release kit. I bought the Minispot one because the Minispares one has been out of stock for yonks. It's ok... It works well, but I had to re-thread the holes as they were too small for the bolts provided in the chrome slam panel kit. The threads were also powder coated all the way through which made the holes even smaller. Also the spring wasn't strong enough so I swapped it for one I found lying around. The cable was also very short so I didn't have many options for mounting positions, especially considering I didn't want it to be visible. In the end I mounted the handle between the accelerator and brake pedal.


IMG_1540_zpsgyihiyjf.jpg

IMG_1541_zpsw9svwukv.jpg


That's about it so far! Sorry for some wonky photos!


#514 Jared Mk3

Jared Mk3

    Has a small thing but it does make a difference

  • Members
  • PipPipPipPipPipPipPipPip
  • 1,974 posts
  • Location: Kokstad, South Africa
  • Local Club: MOCKZN

Posted 08 September 2016 - 05:48 PM

Great progress!! Love that washer bottle and the grille buttons for the dash.

#515 59 Speed

59 Speed

    Formally know as Smackfiend

  • Members
  • PipPipPipPipPipPip
  • 674 posts
  • Location: North West

Posted 08 September 2016 - 06:22 PM

Dash brackets - idea officially stolen 😉

#516 GraemeC

GraemeC

    Crazy About Mini's

  • TMF+ Member
  • PipPipPipPipPipPipPipPipPipPip
  • 7,415 posts
  • Location: Carnforth

Posted 09 September 2016 - 09:00 AM

So with the front subframe lift, how did you address the length of the tower bolts?  Have you added extra spacers on top of the cross member?


#517 Chris1992

Chris1992

    Up Into Fourth

  • Members
  • PipPipPipPipPipPipPipPipPip
  • 2,022 posts
  • Location: Essex

Posted 10 September 2016 - 11:16 AM

Dash brackets - idea officially stolen


Go right ahead man!  ;D


So with the front subframe lift, how did you address the length of the tower bolts?  Have you added extra spacers on top of the cross member?


Indeed I have! If you have a look at one of the pics a little further up where I mention my gas bonnet struts, you can see in that pic how I bought a solid mount kit and then simply put both mounts on top of the cross member instead of one above and one below.  :thumbsup:


#518 minimissions

minimissions

    Up Into Fourth

  • Members
  • PipPipPipPipPipPipPipPipPip
  • 3,427 posts
  • Location: North West
  • Local Club: M.M.O.C

Posted 12 September 2016 - 01:18 PM

This is turning into a wicked build! nice one :)


#519 Chris1992

Chris1992

    Up Into Fourth

  • Members
  • PipPipPipPipPipPipPipPipPip
  • 2,022 posts
  • Location: Essex

Posted 12 September 2016 - 05:24 PM

This is turning into a wicked build! nice one :)


Thanks man! 


#520 James_eaton_thewholething

James_eaton_thewholething

    One Carb Or Two?

  • Members
  • PipPipPipPipPipPipPip
  • 1,063 posts
  • Location: Manchester

Posted 12 September 2016 - 06:00 PM

Looking really good mate

#521 Chris1992

Chris1992

    Up Into Fourth

  • Members
  • PipPipPipPipPipPipPipPipPip
  • 2,022 posts
  • Location: Essex

Posted 12 September 2016 - 10:09 PM

Looking really good mate


Cheers mate, I appreciate it!


#522 Chris1992

Chris1992

    Up Into Fourth

  • Members
  • PipPipPipPipPipPipPipPipPip
  • 2,022 posts
  • Location: Essex

Posted 05 October 2016 - 08:12 PM

Time for an update, and I've been busy again!


The main big news is that I have successfully got the engine running! The timing needs sorting out, and the carbs need balancing and are running super rich, but there are no strange noises, and it revs up fine, so hopefully after some tuning it will run sweet as a nut!


I did run into a massive fuel leak, and discovered that there was a hole in the lid of one of the carb petrol reservoir things right below where the fuel pipe connects. Sorted that by plugging it up with araldite and it seems to be leak free now! There are also no other leaks to report of any fluid.


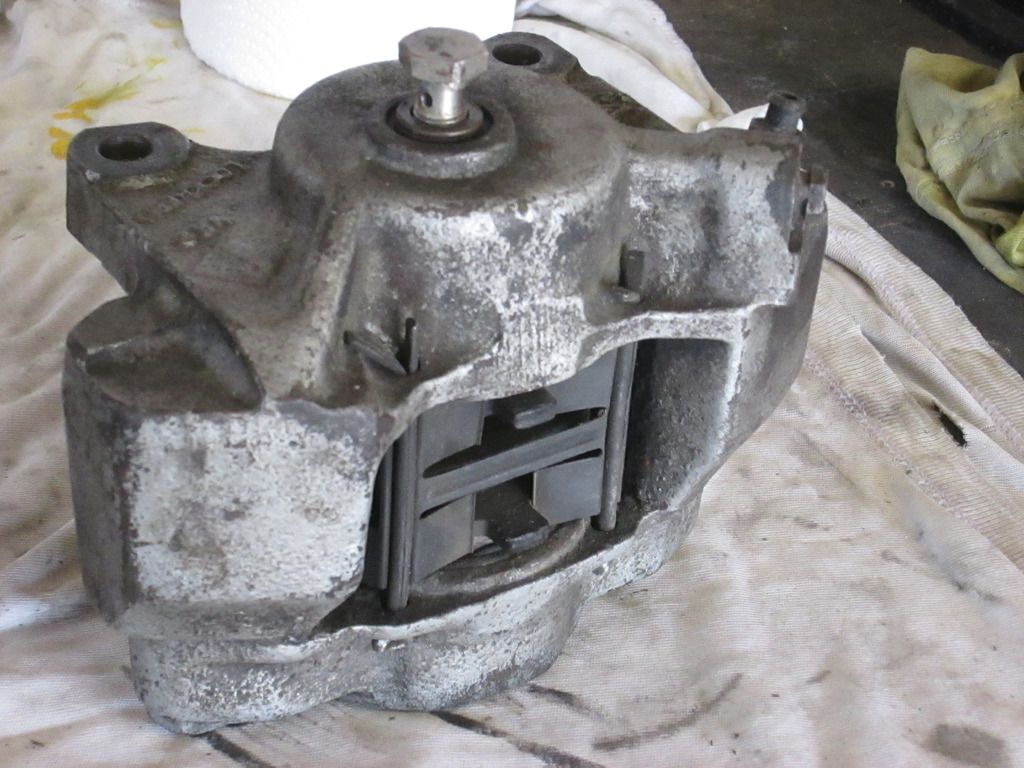
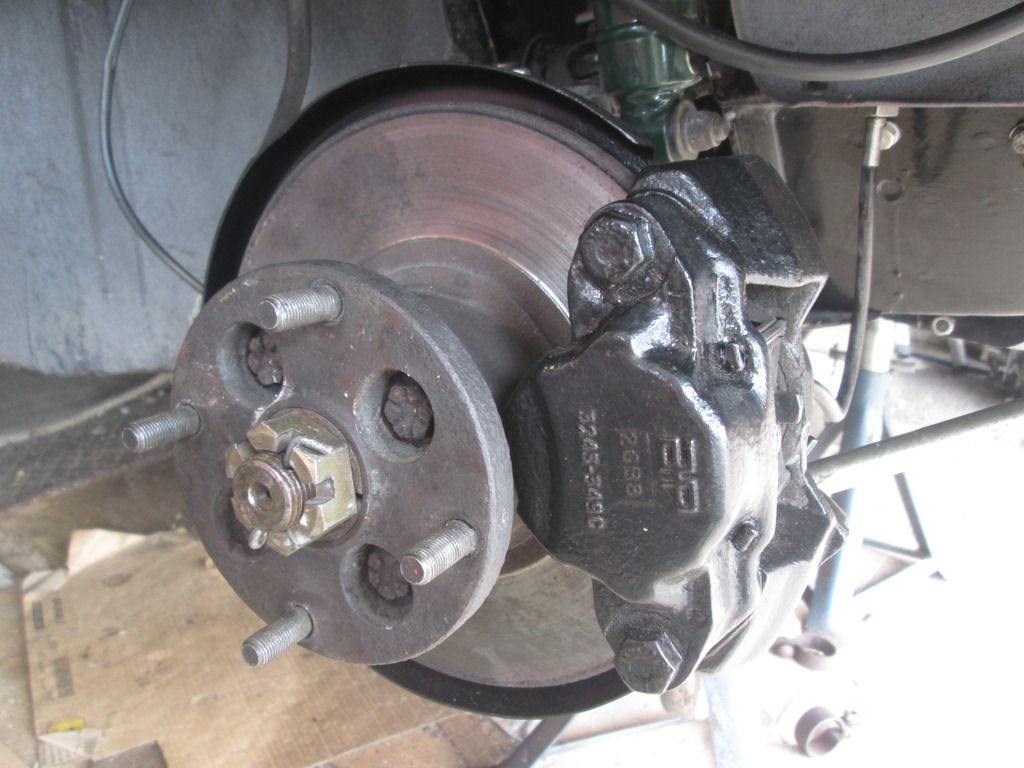
Another task which I got sorted was the brakes... sort of.... Anyway, first the calipers needed a bit of TLC, so they got a good scrubbing, sanding, and painted in Hamerite.


IMG_0102_zpshx5l6cgw.jpg

IMG_1555_zpsv80fq2bz.jpg


After fitting the calipers, I got myself some silicone brake fluid, and my dad gave me hand with bleeding the brakes. It took a while to get all the air out of the system, and to pump through all the old fluid that was still in the pipes, but eventually we got it sorted and the brakes worked perfectly... Excellent!.... Job done!.... Nope.... The next morning I came out to find a small puddled under the drivers side front hub, and a MASSIVE one under the passenger side. It appears that it had leaked out from where the brake line joins to the back of the caliper. As an initial attempt to fix the leak, I tightened the bolts as far as I dared without over-tightening them and that actually seems to have fixed it for now! We shall see after re-bleeding the system.


Moving on, during my quest to get the engine running, I decided to fit an Austin Healy Sprite pull switch for the starter, since I've always thought the one in my dad's sprite was pretty cool. I got it all fitted up, complete with a custom made bracket to clamp the end of the cable, but no joy... As it turns out, I think I have the wrong type of starter motor solenoid for the switch... None of that matters now though, as while I was faffing around with the switch trying to figure out what parts I needed to make it work, I managed to short the damn thing out on the car which completely fried the inside of the switch, rendering it useless... bugger.... So as a temporary fix to get the car running, I bypassed the switch with the battery cables and it fired right up. I was going to fix it and see if I could get the pull switch to actually work, but I don't know if its worth the hassle really. I'll leave it fitted though or else I'll have a hole in my dash, plus it might hopefully confuse potential car thieves! 


Heres some pics of the setup anyway. You can see the switch mounted under the wing.


IMG_1556_zps6gxmbapl.jpg

IMG_1557_zps7afii3au.jpg


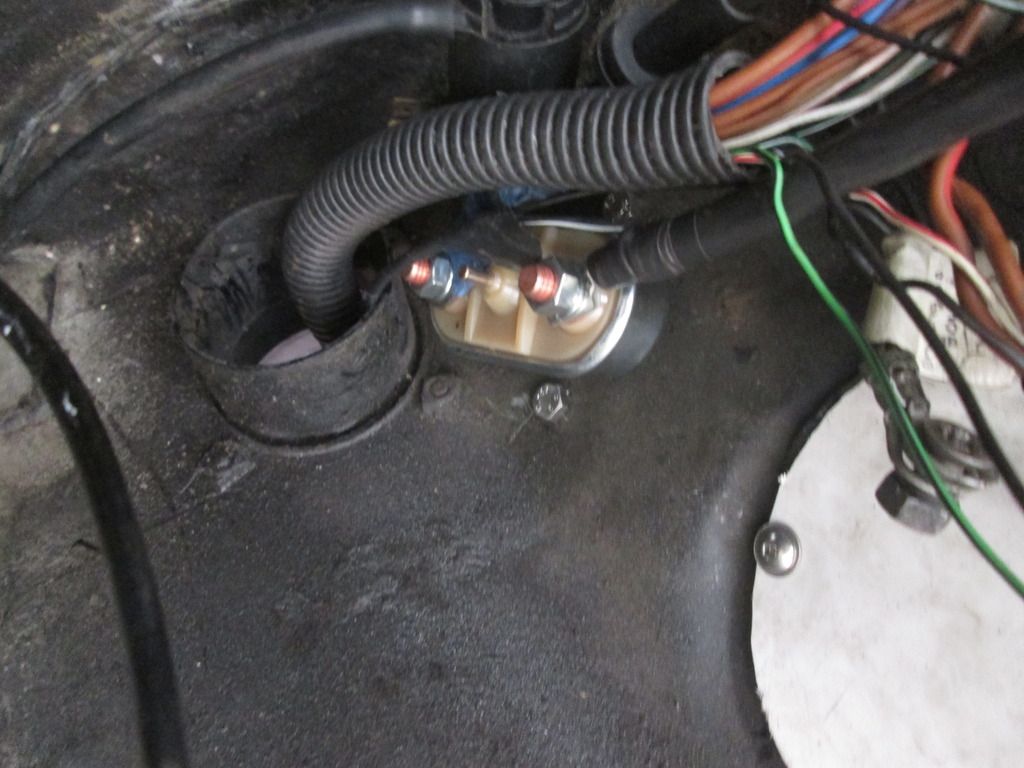
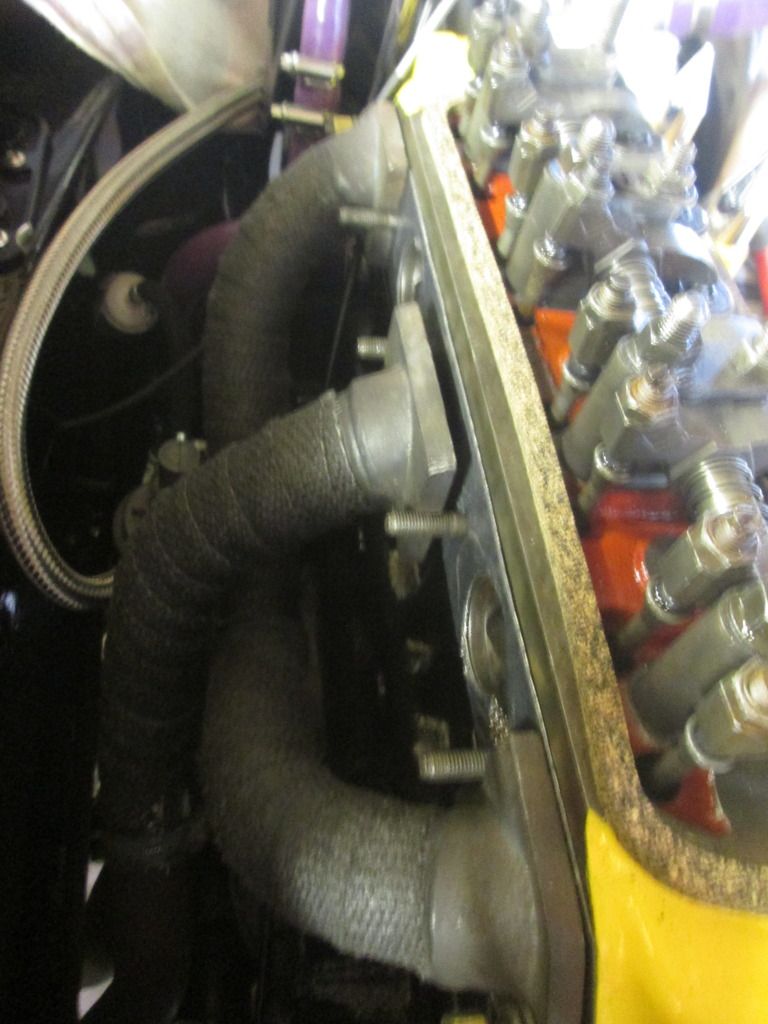
Before fitting my carbs and exhaust, I wrapped my exhaust manifold in some black heat wrap since I was paranoid about how close the fuel pump is to it. (sorry for the rubbish quality pic).


IMG_1580_zpss83qcnnf.jpg


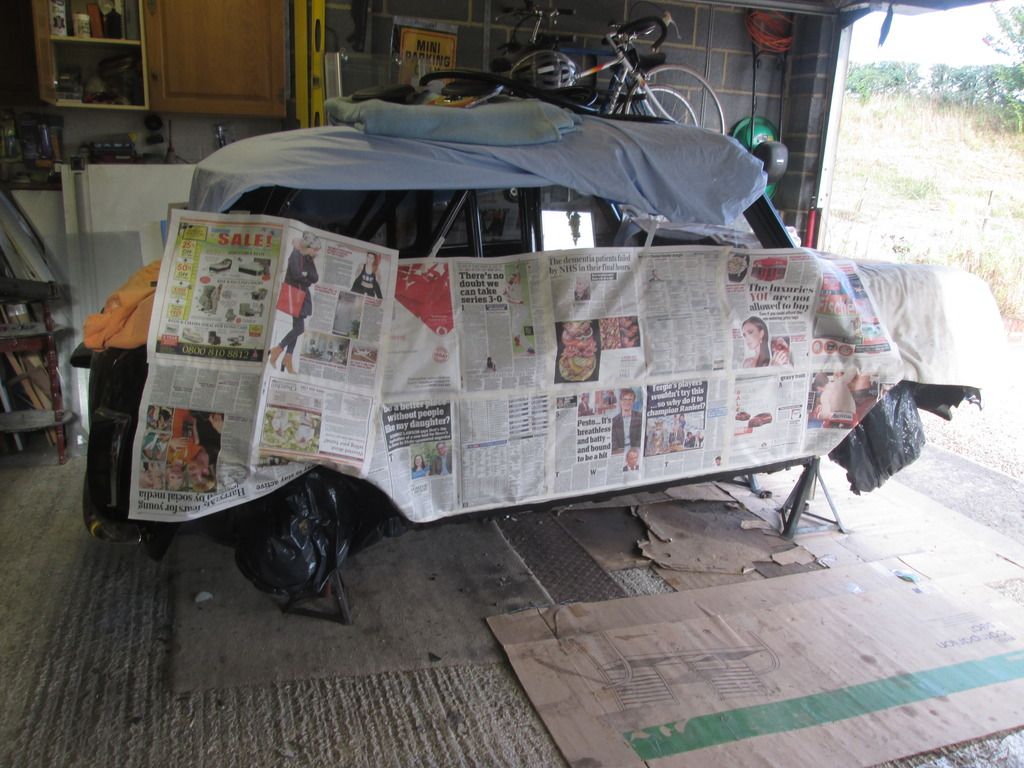
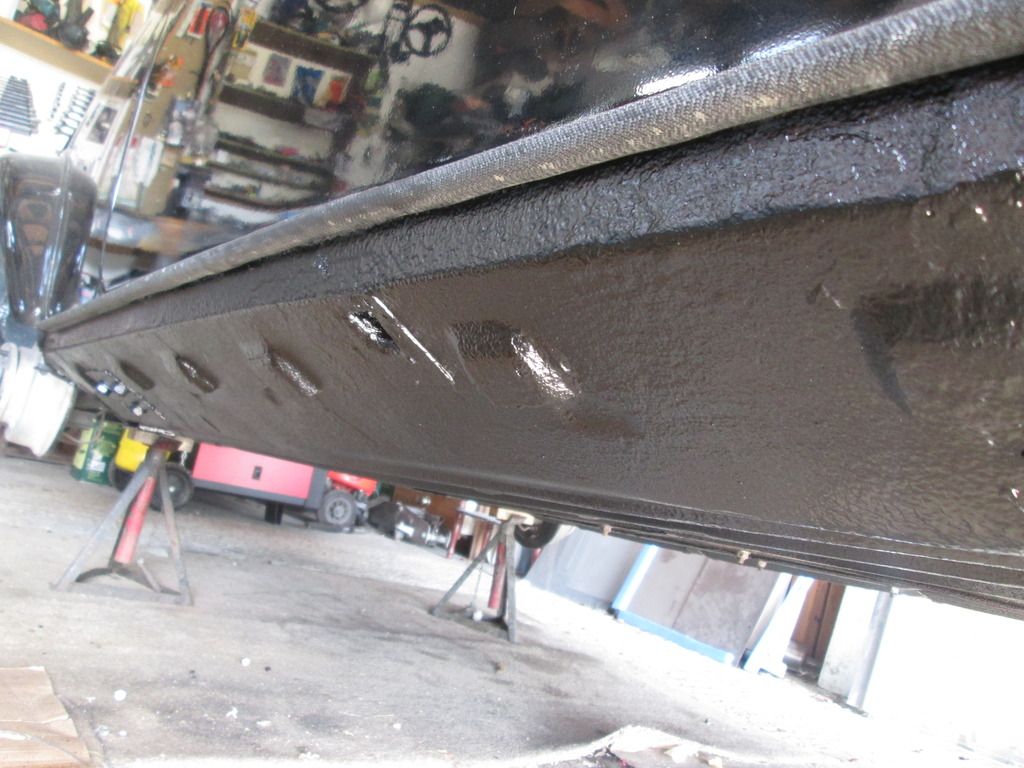
Next I moved onto something that I had been putting off for quite a while; stone-chipping the sills (plus a few other areas). The majority of time was spent masking the car up, but I got on with it and I'm pleased I did because I think the results look pretty good.


IMG_1581_zpsw95pysuk.jpg

IMG_1582_zpsmwkn9ddb.jpg


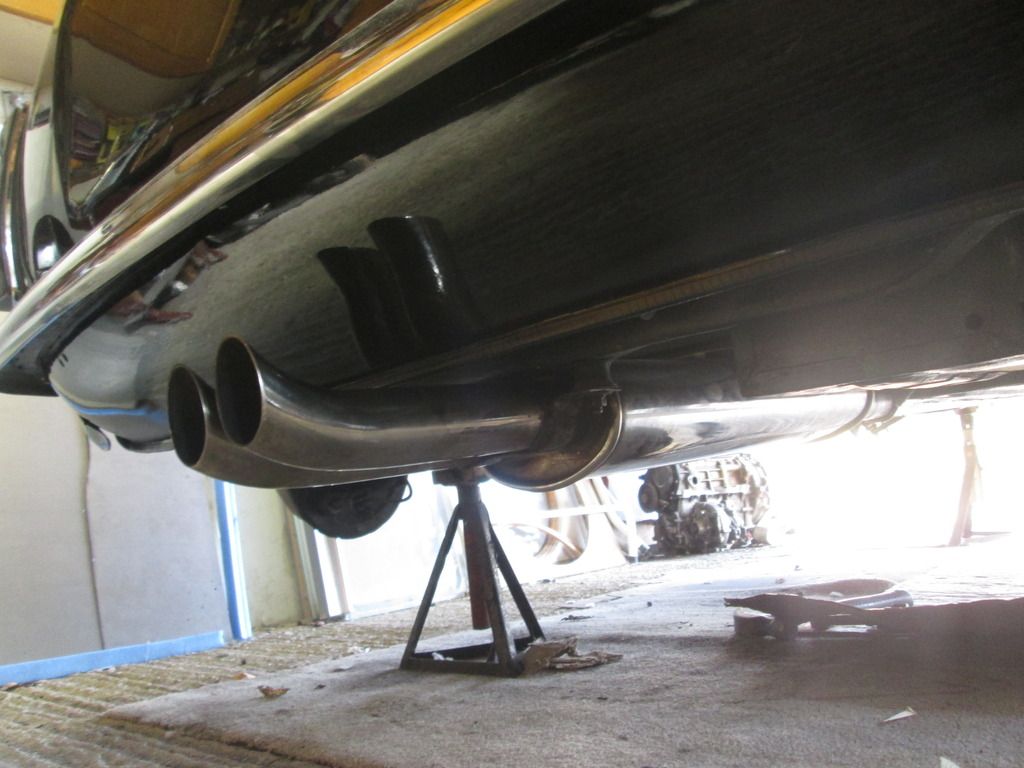
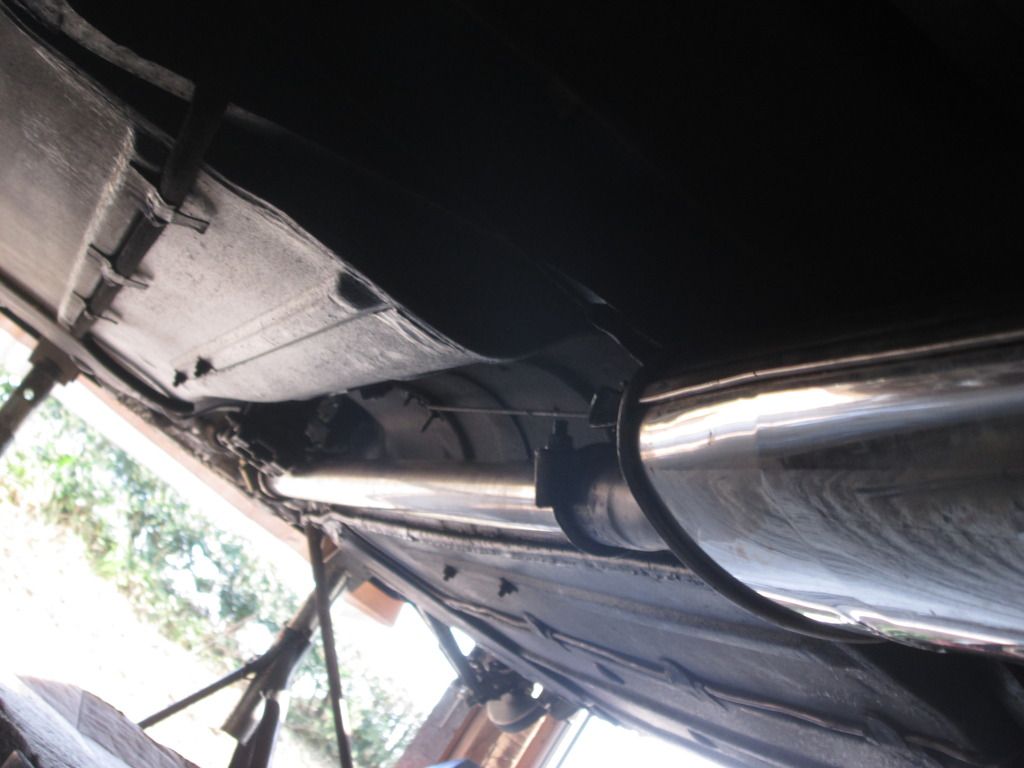
Now that the underside of the underside of the car was nice and protected, I set about fitting the exhaust back box and link pipe. 


IMG_1583_zpsgnlbj37k.jpg

IMG_1584_zpshvbnnmfu.jpg


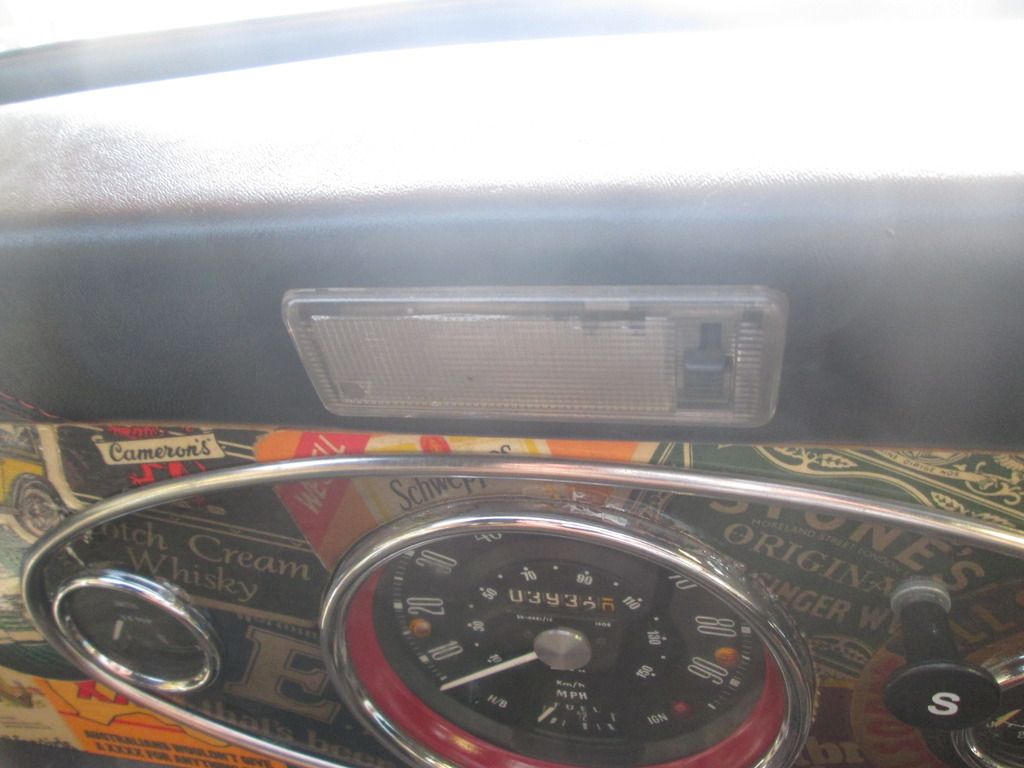
Another little job I'm quite pleased with is my interior light. Since the roll cage complete obscures the original location, I decided it to relocate it to the conveniently shaped ash tray hole in the top dash rail. All wired up and works perfectly! 


IMG_1605_zpsabpuhgy8.jpg


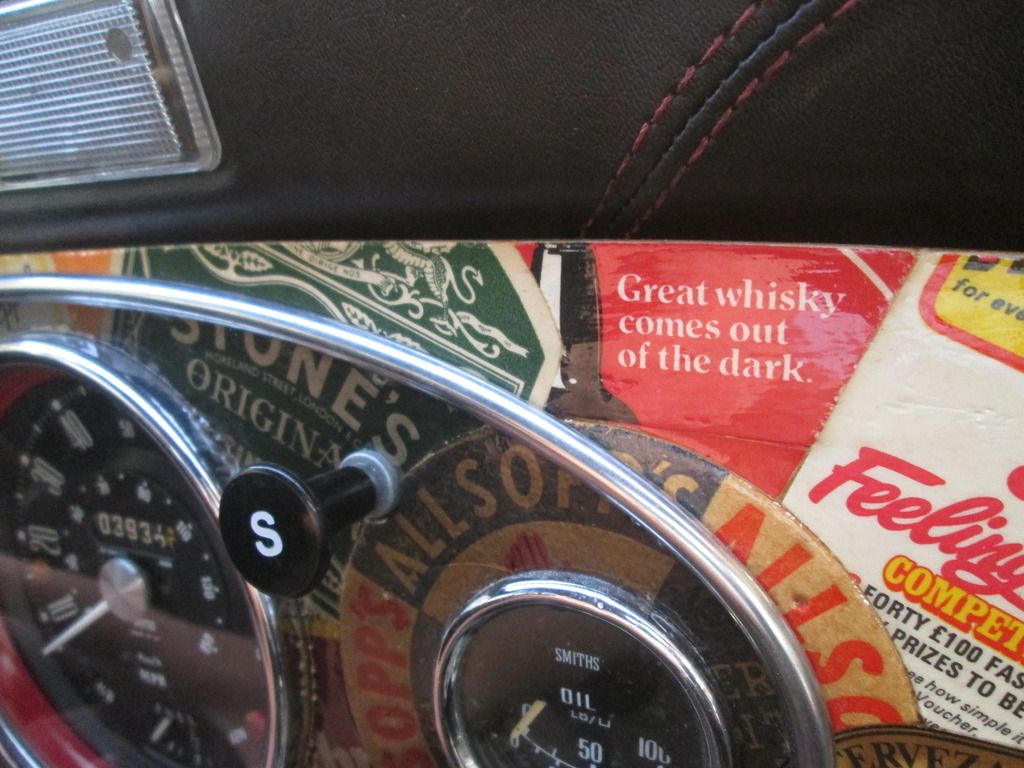
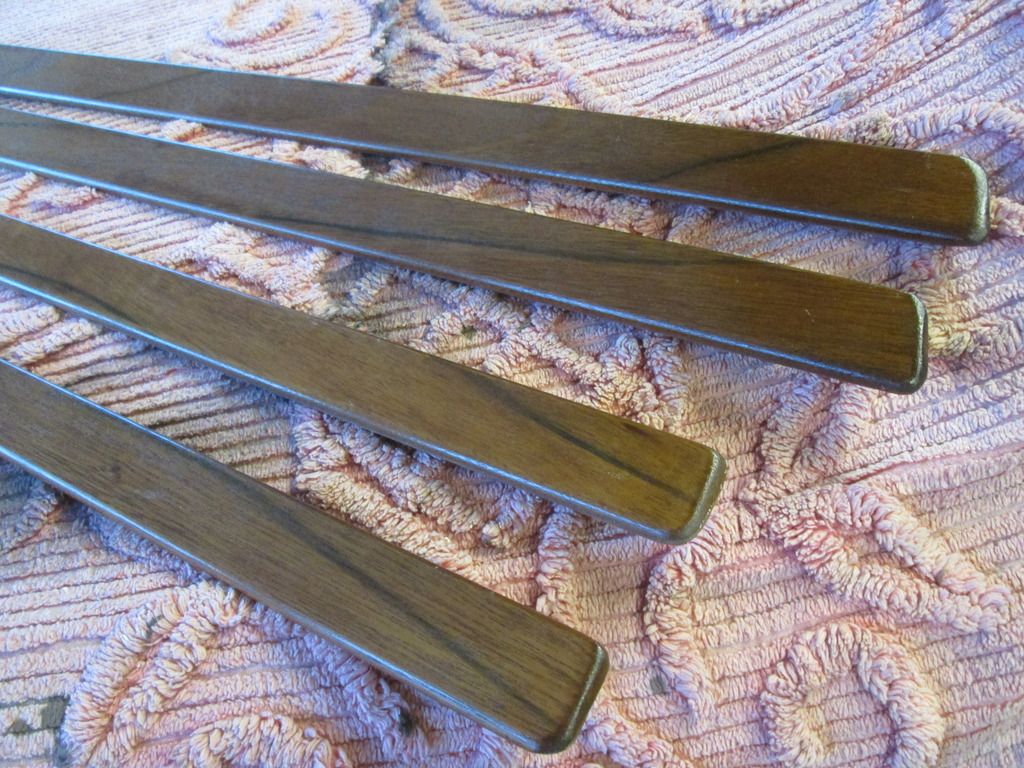
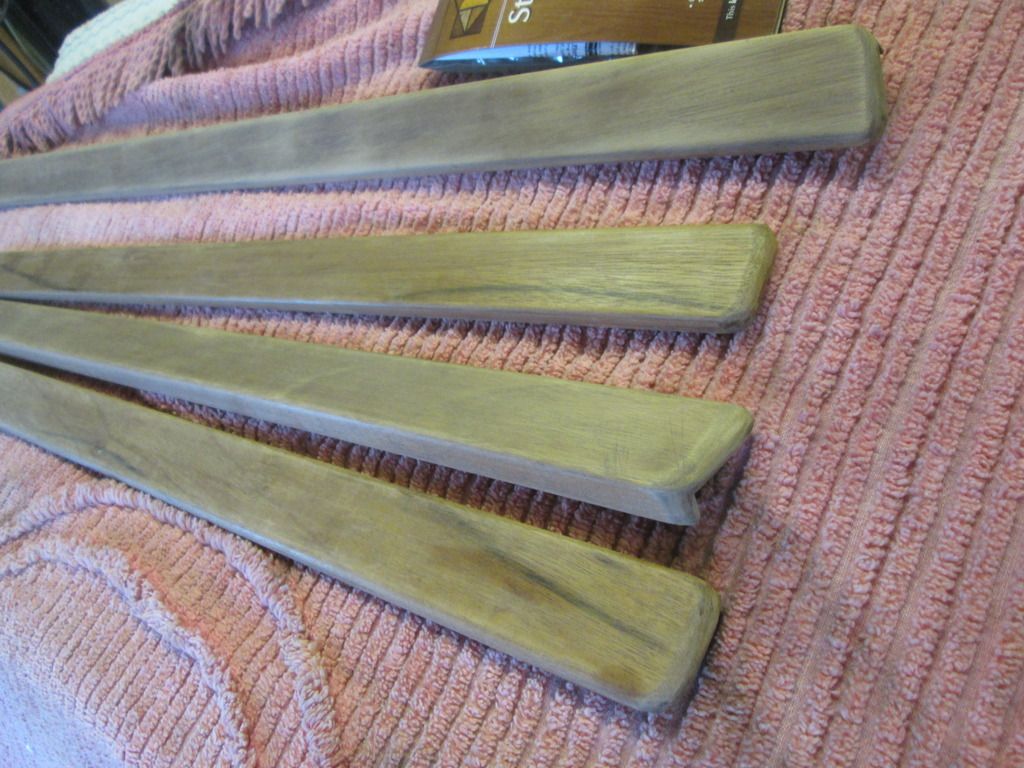
I then managed to grab a bargain when I bought these brand new and unused wooden door cappings of a friend on Facebook for 20 quid. Should make leaning my arm out the window a little more comfortable!  :lol: I really wasn't a fan of the finish on them though, I thought it was a bit tacky. So I stripped them back with paint stripper and gave them a good sanding in preparation for a something very fancy I have planned for them. I'm keeping that a secret for now though! 


IMG_1793_zpsp7vq7vln.jpg

IMG_1935_zpsjhn3o6rb.jpg


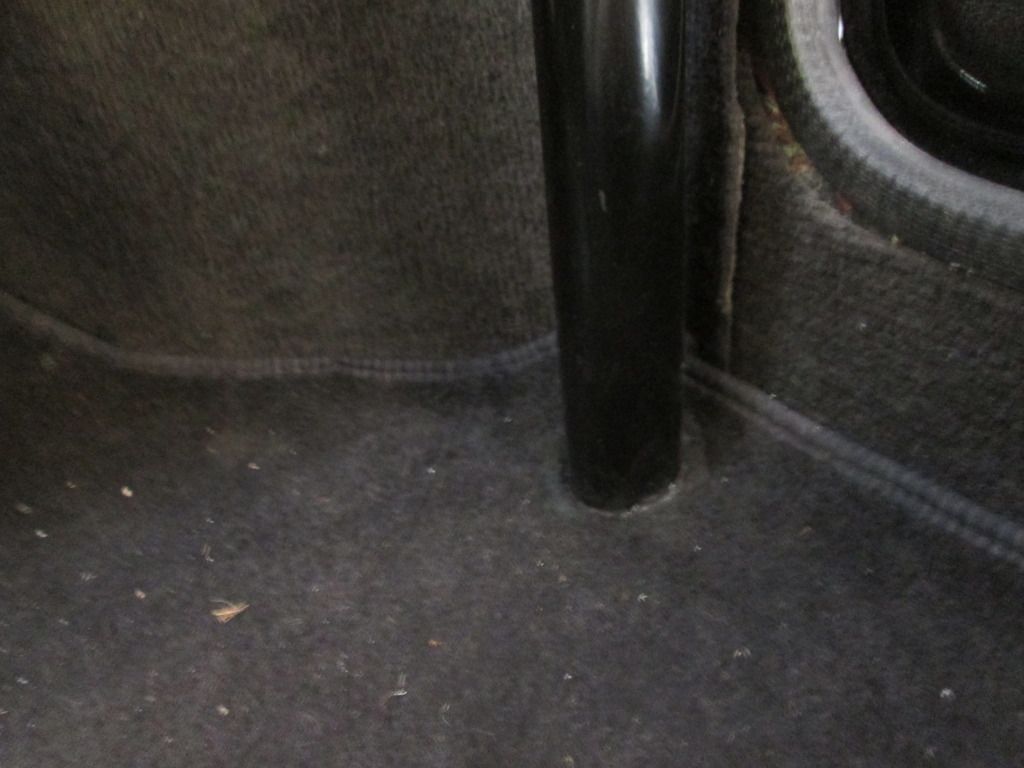
I also finally got round to trimming my carpet so it fits around my roll cage. (another rubbish pic)


IMG_1795_zpsp2gvtx7c.jpg


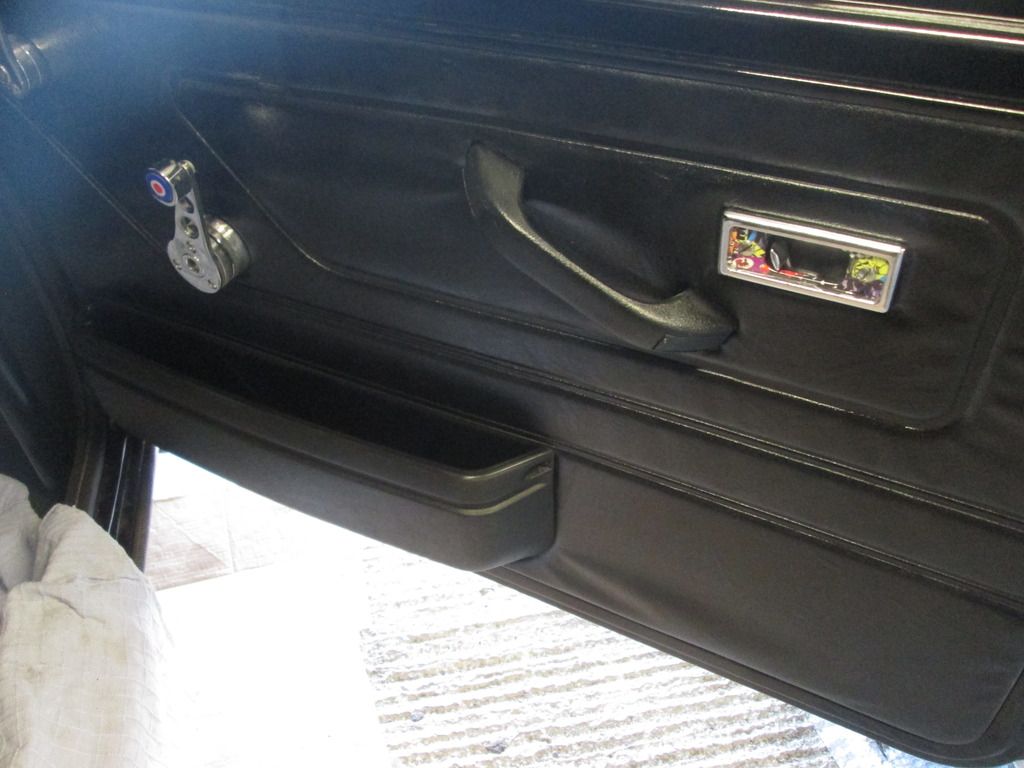
Got my door pockets fitted too! 


IMG_1797_zpsb3ci42ft.jpg


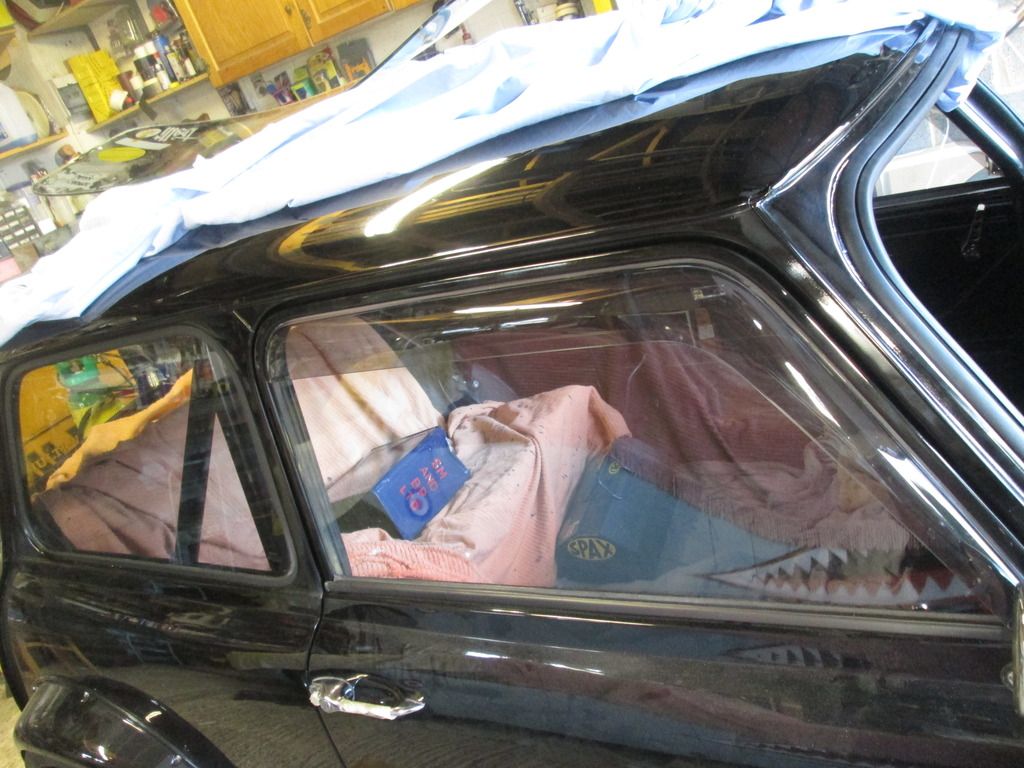
Wind deflectors and side glass reinstalled... Both were a lot easier than i remember... I had a go at doing the rear screen on my own but failed miserably so that will have to wait for when I have another pair of hands to help.


IMG_1937_zps2u1kvroi.jpg


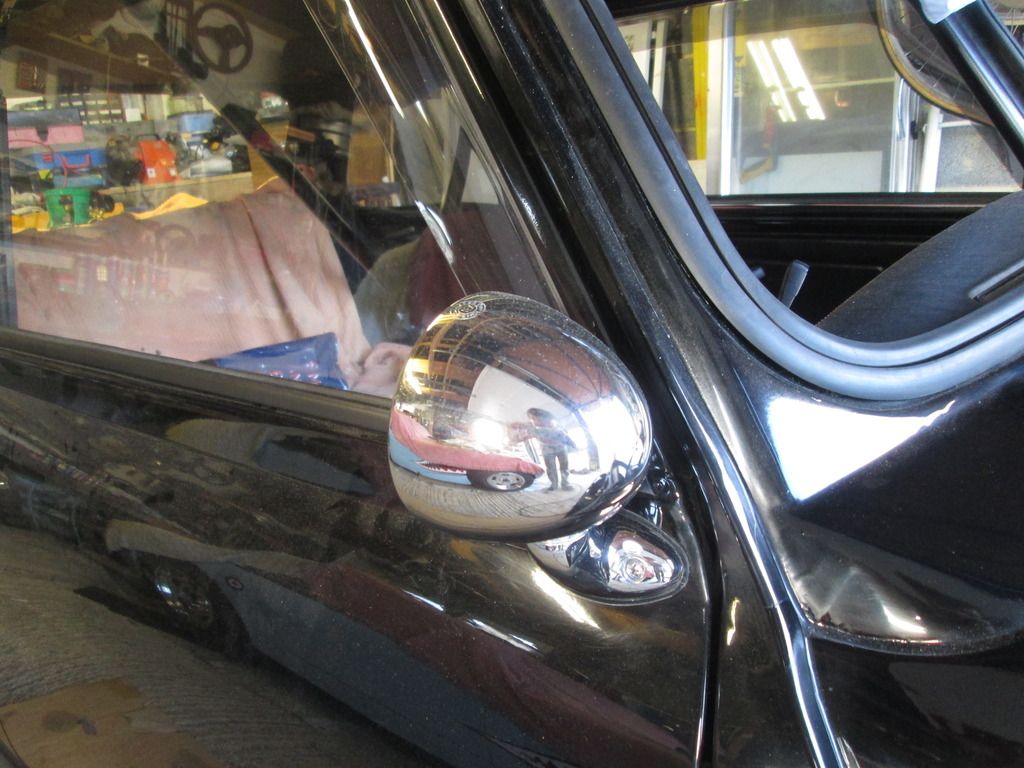
Door mirrors refitted


IMG_1936_zpst2xmh5sv.jpg


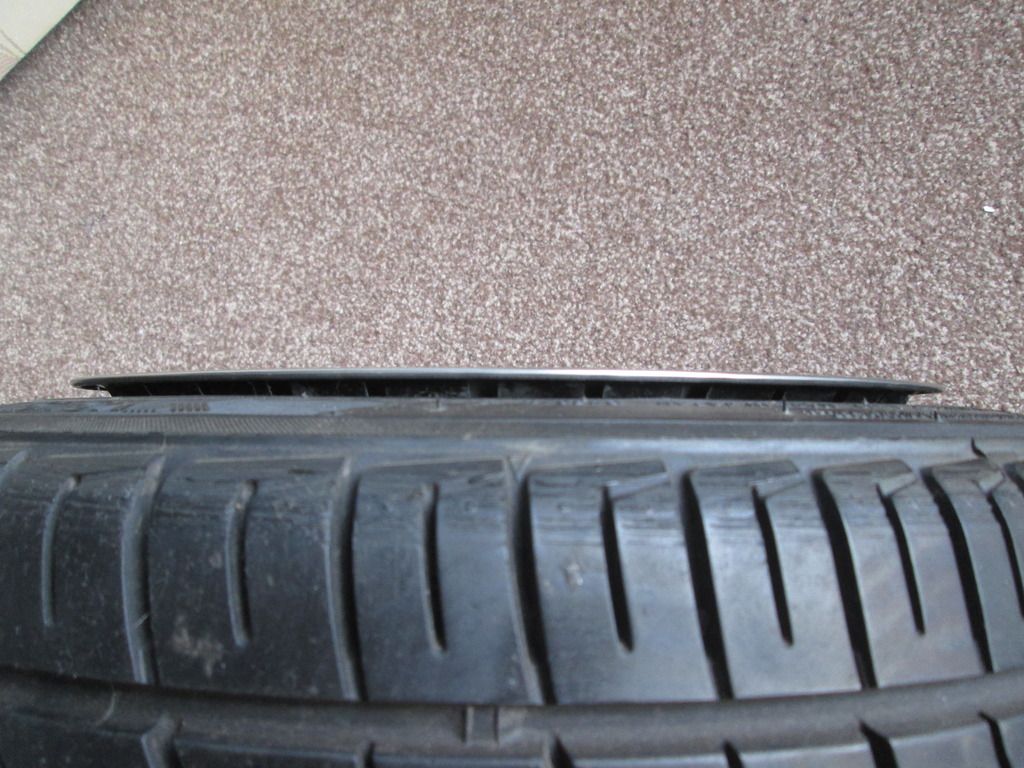
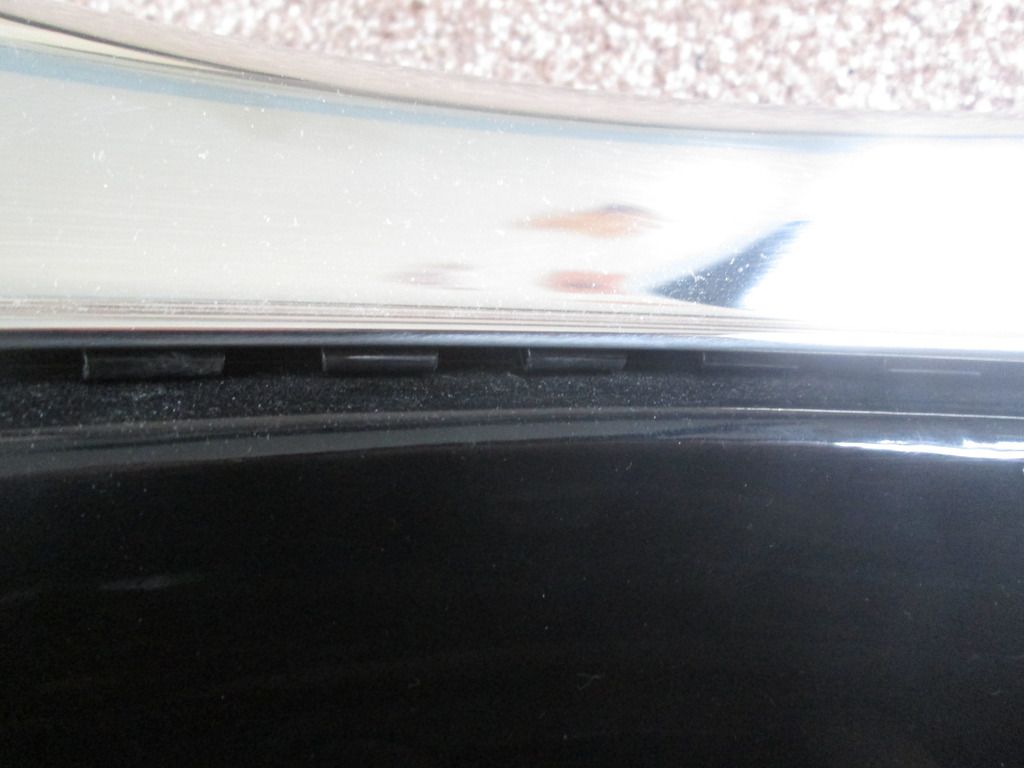
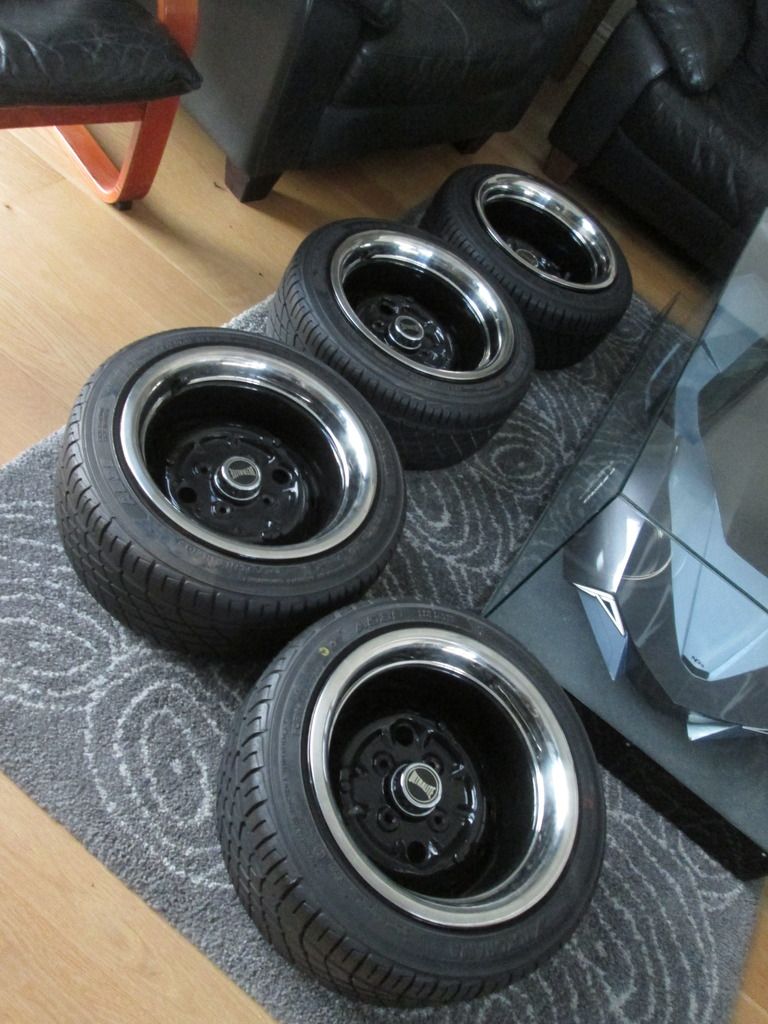
Now long time followers of my build will remember my (as far as I know) one-off banded sprite steelies that I am still very much in love with, and the MG Midget stainless beauty rings that I bought for them. Well a while ago I test fitted one of the beauty rings, and I was slightly disappointed to find that they didn't push on all the way. You can see here how much they protrude. 


IMG_1932_zpsmpstnf4n.jpg


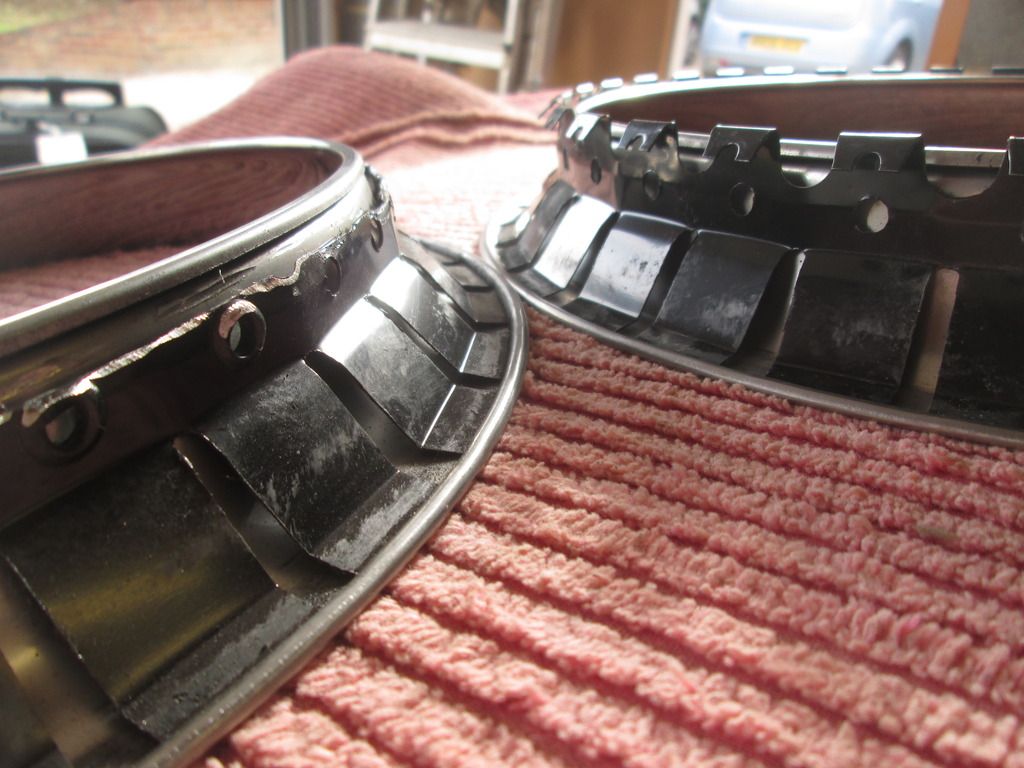
This is because the teeth that hold it on come down further that the rim itself, which is a pretty stupid design in my opinion. Luckily the site I got these from were selling them dirt cheap compared to other places.  


IMG_1931_zps1myxdr30.jpg


To fix the issue, I quite simply chopped all the teeth off with the angle grinder, and stuck them on with silicone instead which looks much better. Getting them off again will be a very different story, but I'll cross that bridge when I come to it.


IMG_1933_zpsnsoo9zeo.jpg

IMG_1934_zpsnypl9sq8.jpg


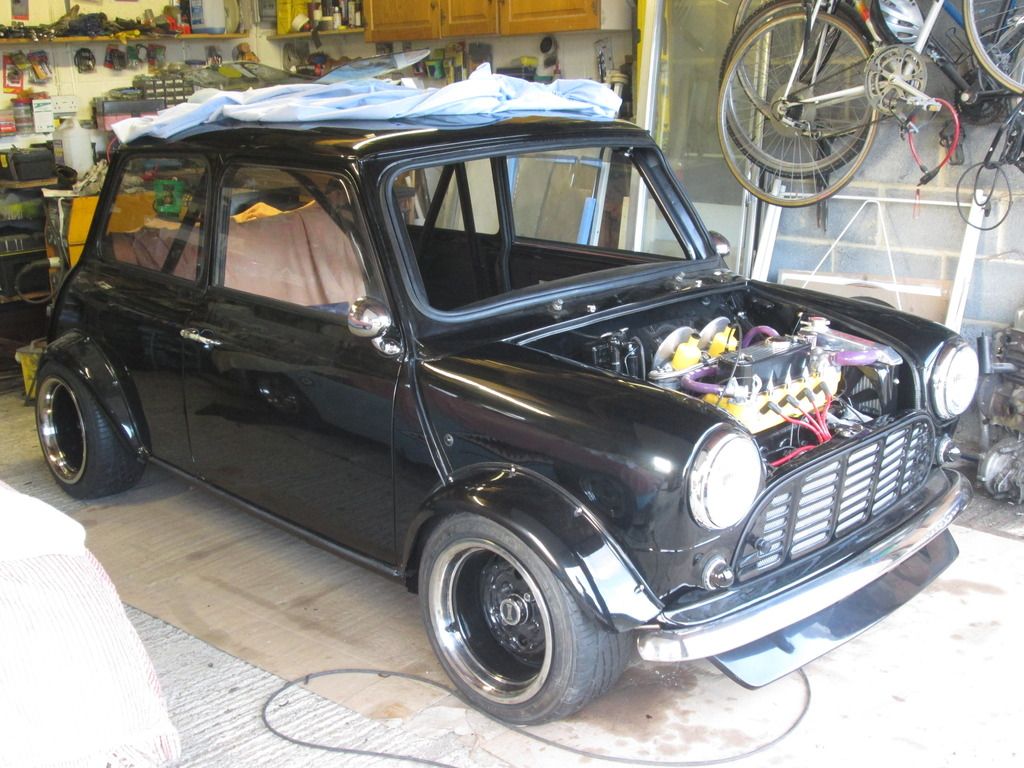
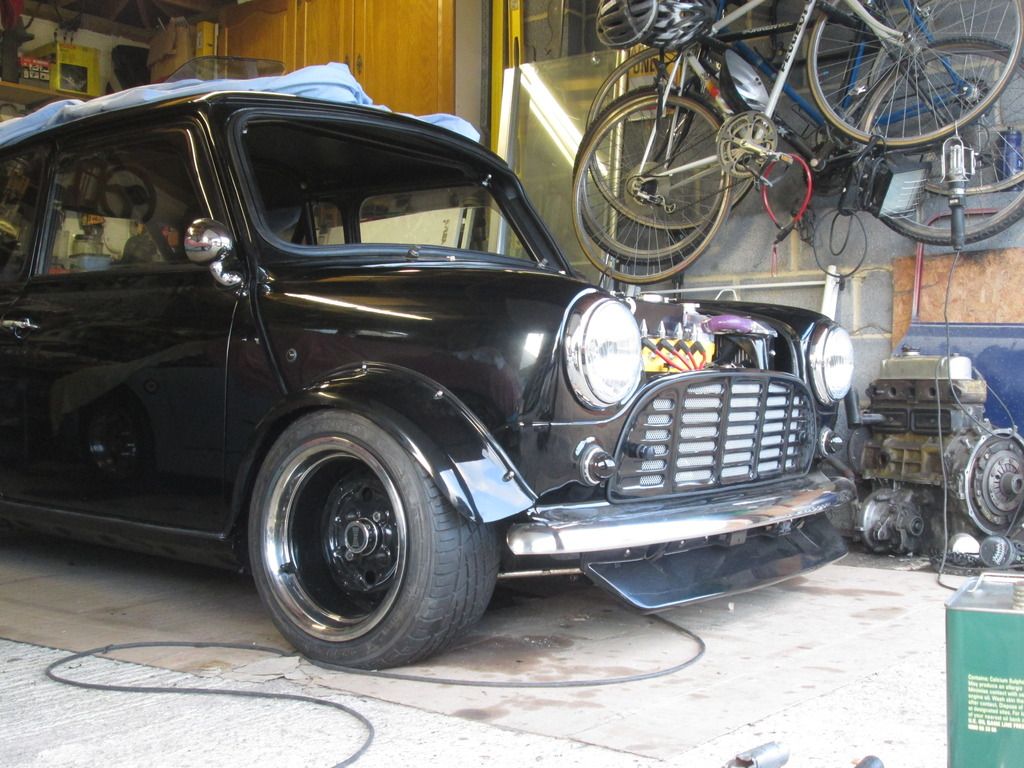
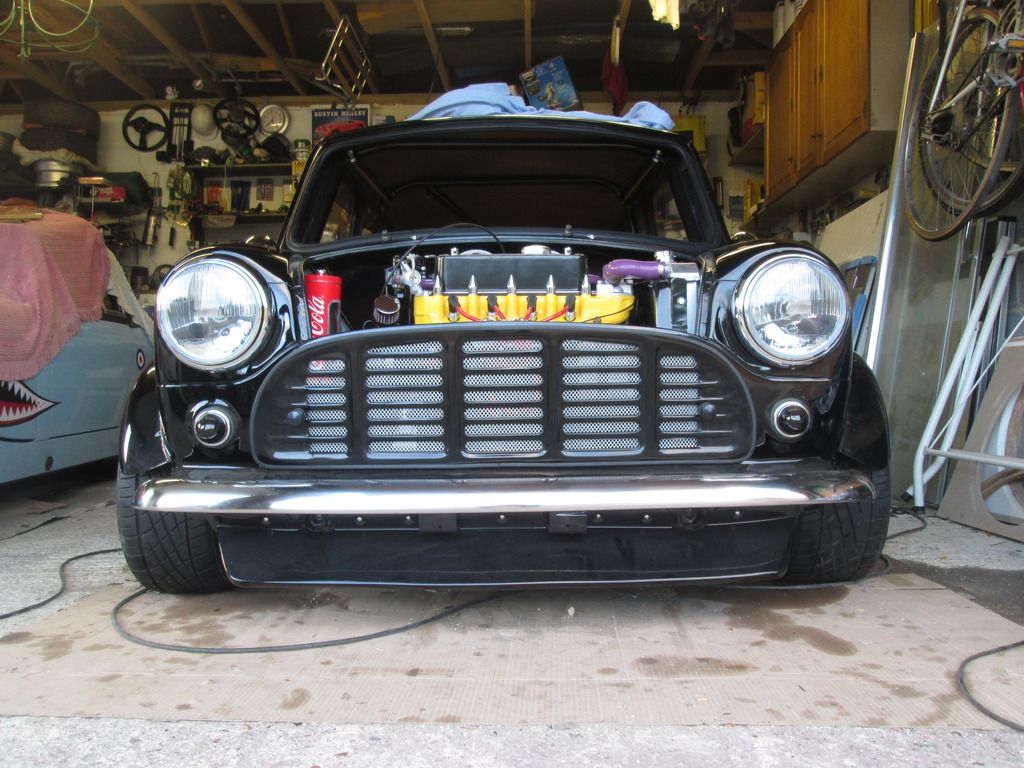
So, now that the wheels were ready, I finished off some odd jobs like wrapping all the wiring under the arches in cable tidy and strapping it up out the way before putting the car on it's wheels properly for the first time since the rebuild!! Took a lot of fettling with the suspension to get it to sit right but I'm pretty happy with how it sits at the moment  :D Please excuse how filthy the car is, it will get a good detailing when its finally finished. I also really need to invest in a decent camera... 


You may also notice I've cut some mesh to go behind the grille which I quite like. However after looking at the pics, I think I'm going to spray it black. 


IMG_1941_zpsrtd5ilyi.jpg

IMG_1938_zpsdf2we2zk.jpg

IMG_1940_zpsijjrtazl.jpg

IMG_1939_zpsplkcnvhh.jpg


Of course i now need to jack it back up again to redo the brakes, but it's getting tantalizingly close now!! My aim is to have it road worthy for the 30th October, as that is the last one of my local meets for the year.


Thats all for now!  :D


Edited by Chris1992, 12 October 2021 - 08:01 AM.


#523 Ben_O

Ben_O

    Mill Road Garage

  • Paint Doctor
  • PipPipPipPipPipPipPipPipPipPip
  • 9,785 posts
  • Location: Isle of Wight

Posted 05 October 2016 - 08:33 PM

Looking really nice Chris.


The end is in sight


#524 Will16

Will16

    Wants a custom member title

  • Members
  • PipPipPipPipPipPipPip
  • 1,090 posts
  • Location: Abingdon, Oxfordshire

Posted 05 October 2016 - 08:41 PM

Looking mean asf mate! Sucks about the starter cable , you spanner  ;D, have you given it a cheeky test drive?


#525 Midas Mk1

Midas Mk1

    Crazy About Mini's

  • TMF+ Member
  • PipPipPipPipPipPipPipPipPipPip
  • 5,729 posts
  • Location: Manchester
  • Local Club: S.U.N.M.C

Posted 05 October 2016 - 08:43 PM

Awesome!!! Making me wish i'd kept my mexico arches on my sportspack now aha, goes so well with the chin! 


1 user(s) are reading this topic

0 members, 1 guests, 0 anonymous users