'88 City E - 'the Purist' - Slammed 16V Show Car'
#436

Posted 11 March 2016 - 01:47 AM
#437

Posted 11 March 2016 - 10:11 AM
Wooo, when am I gonna see it in the flesh?
Not sure man, hopefully she'll be ready for London to Brighton, or MITP if you're going to them, but im planning on getting to shows like Players and a bunch of others too, so you never know! .... I wouldn't hold your breath though haha
#438

Posted 02 April 2016 - 11:42 AM
I've been a very busy boy recently, so that means it's time for an update!
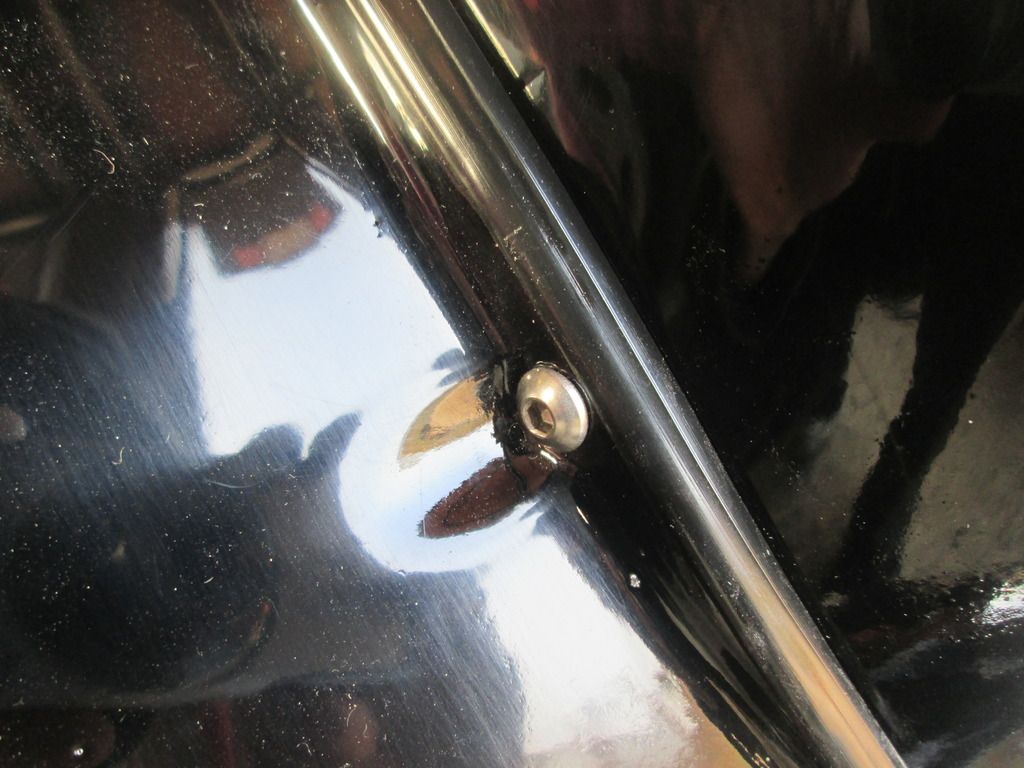
First though, answering a question with a quick close up shot.
How did you hold your arches on in the end?
Rivnuts with a rubber bead from Minispares between the arch and body ![]()
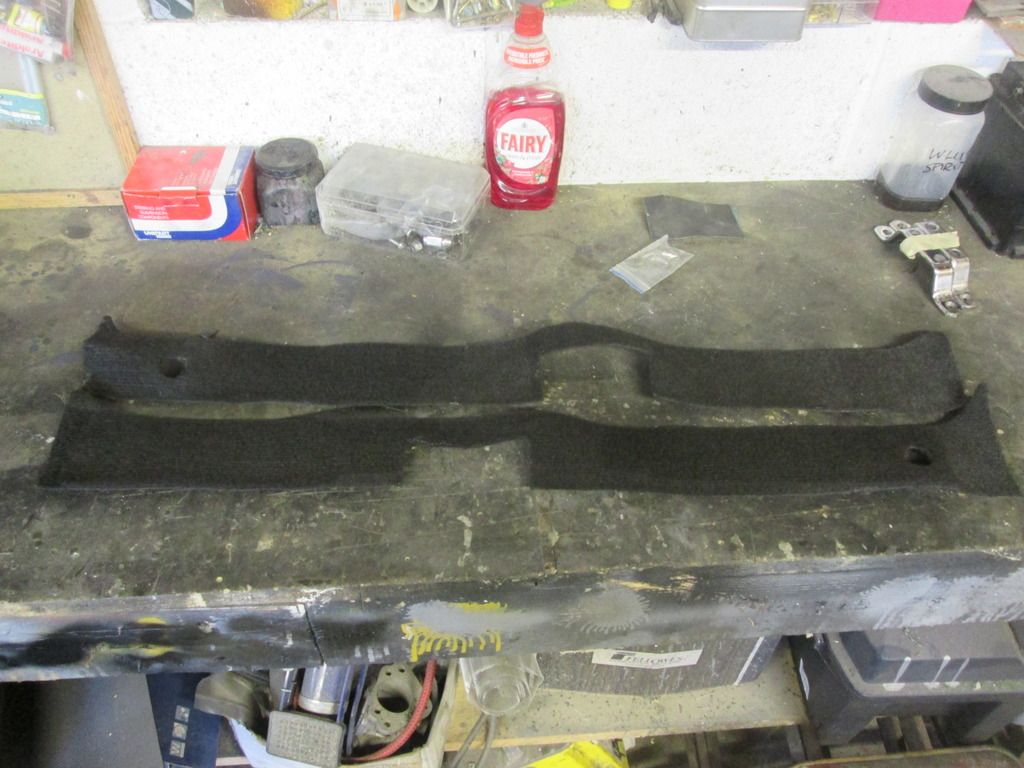
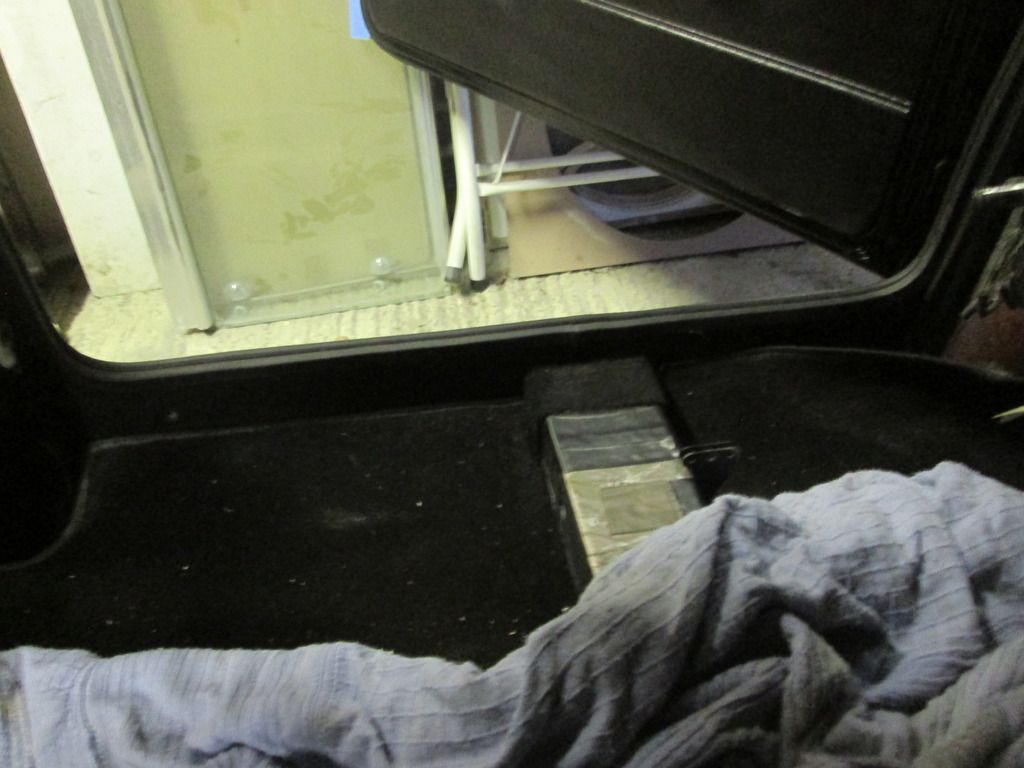
Anyway, on to the update. Starting with just a small job I had been meaning to do. Refitting those bits of carpet that go under the doors. I had already dyed them black so with a bit of contact adhesive they were back in.
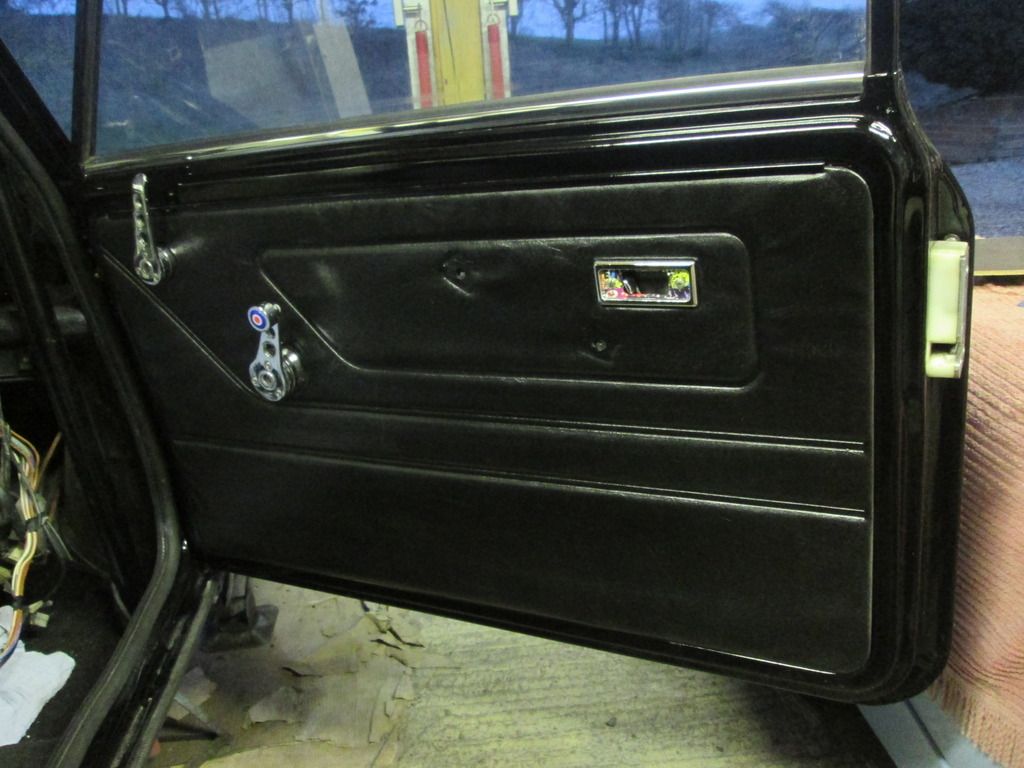
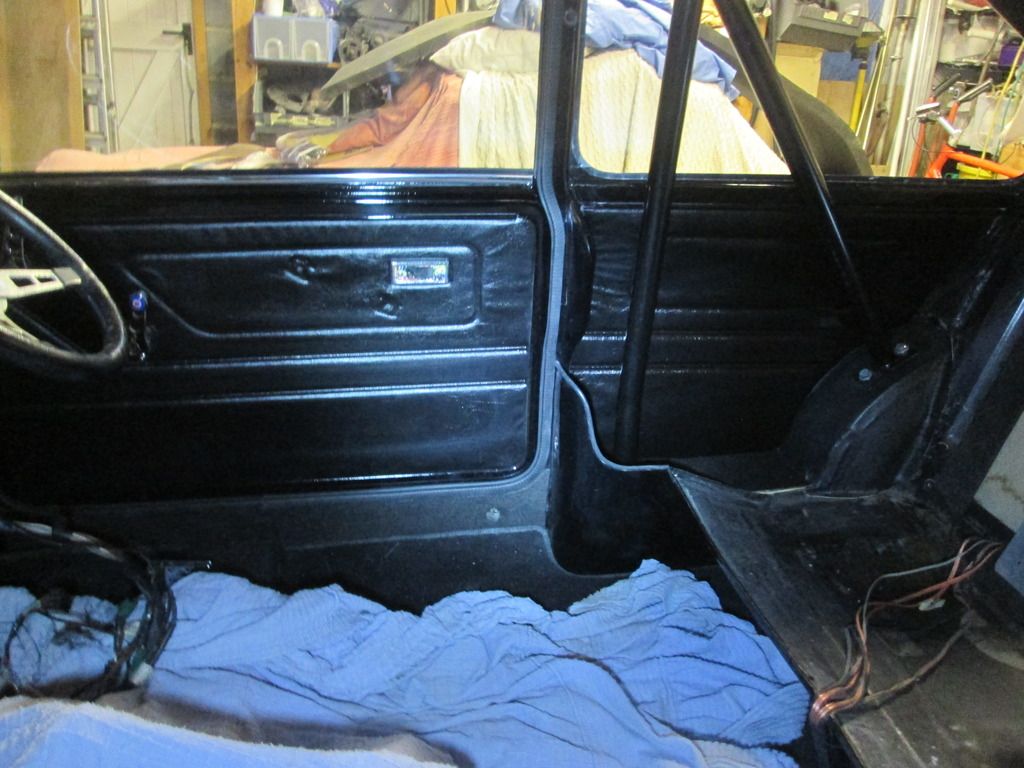
Next I got all the door cards and door furniture fitted. After these (rubbish) photos were taken, I bought some original style pull handles and sprayed them black. Ill get a pic of them soon.
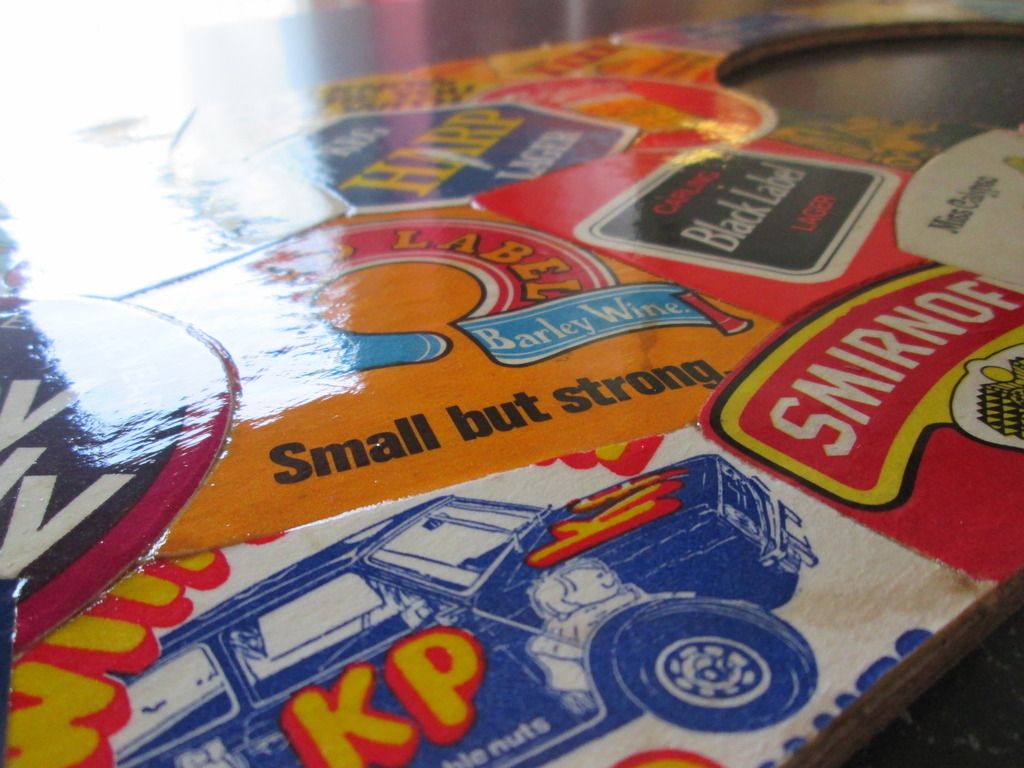
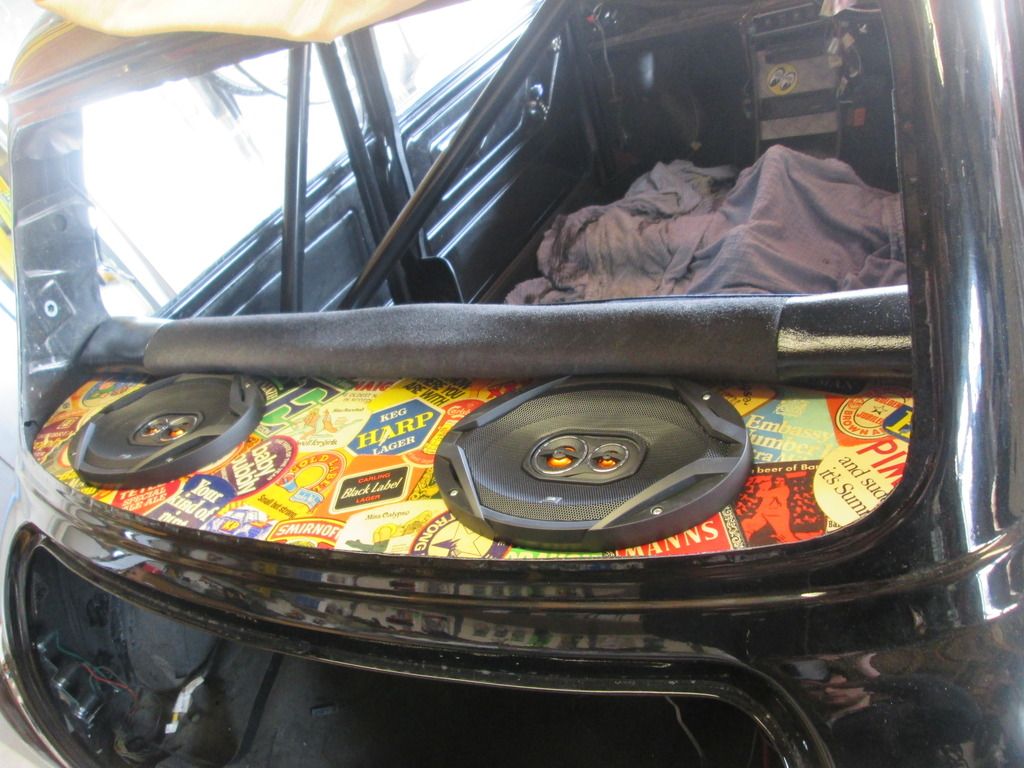
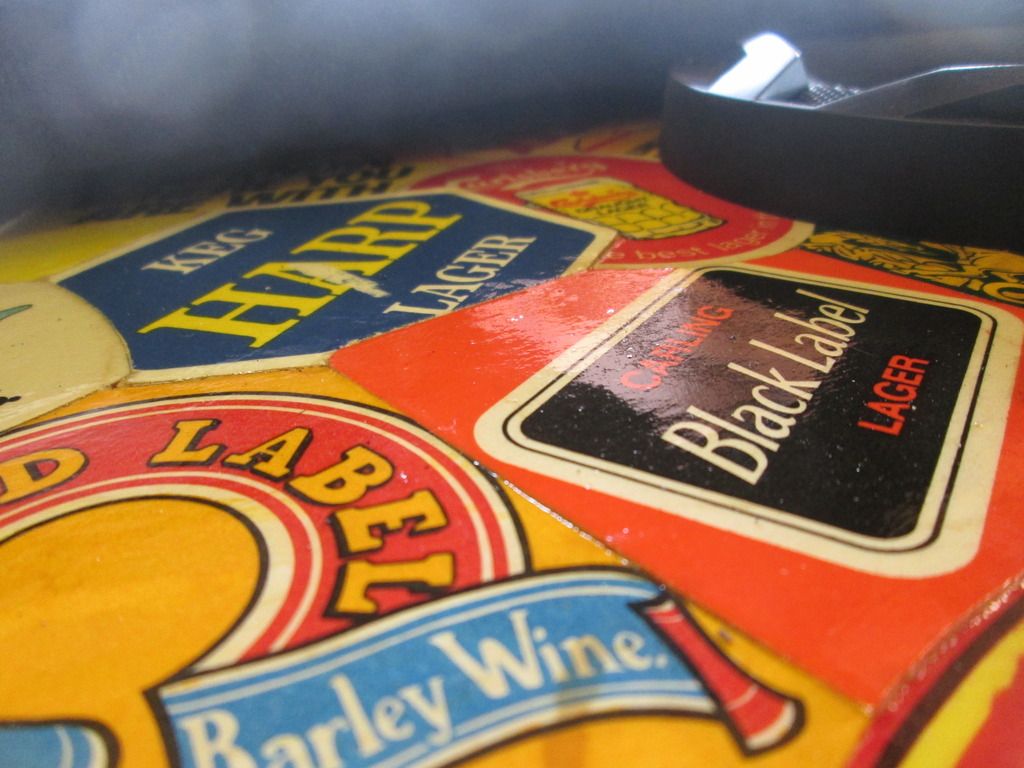
I then decided that I was no longer fond of my old speaker shelf with the big perspex window in it, so I set about making myself a new one. Got a bit creative with a box of pub coasters that my mum collected back in the 70s, she was going to bin them but I managed to save them and put them to good use! They're so wonderfully retro!! I've decided I'm going to make a dashboard to match too.
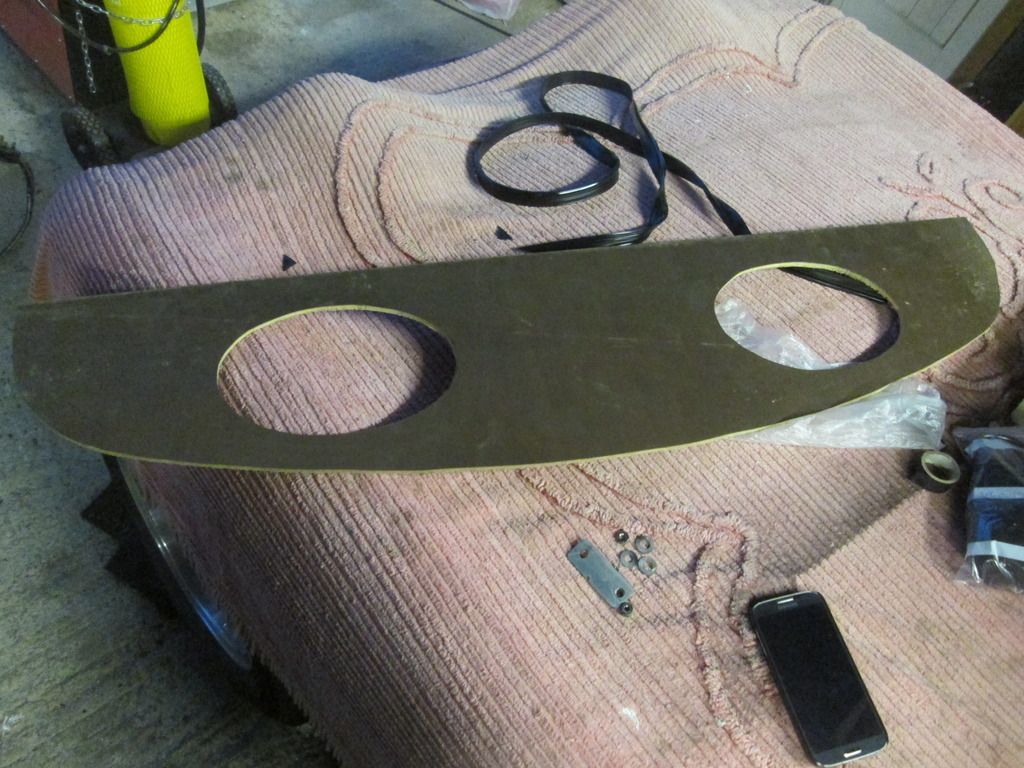
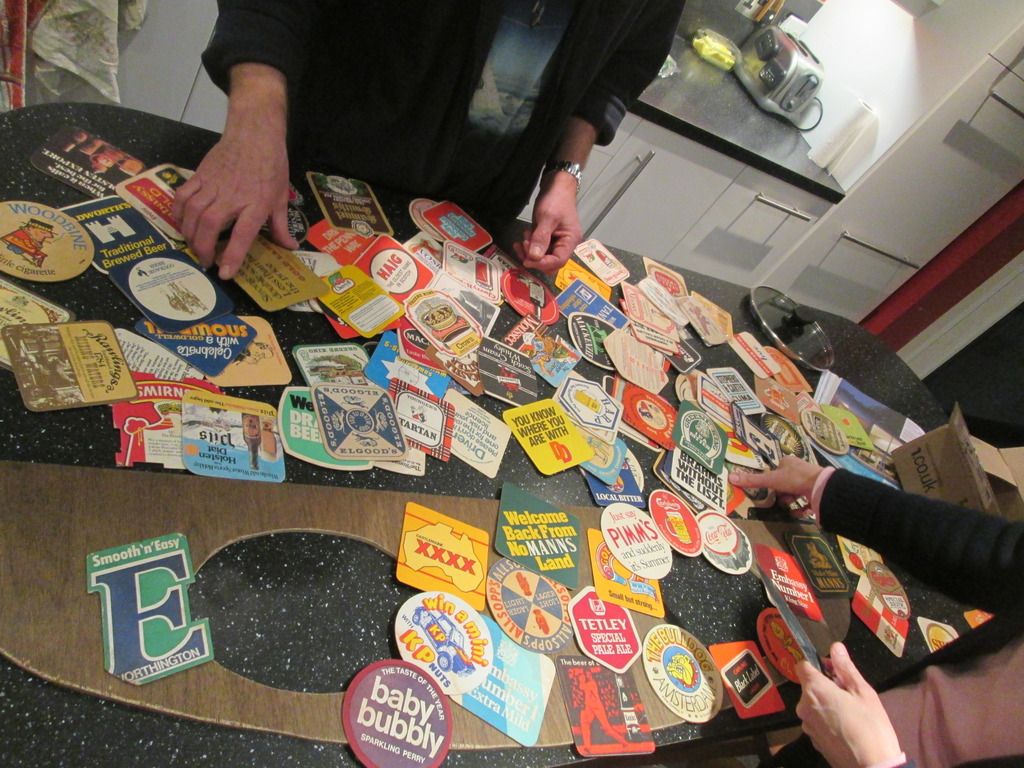
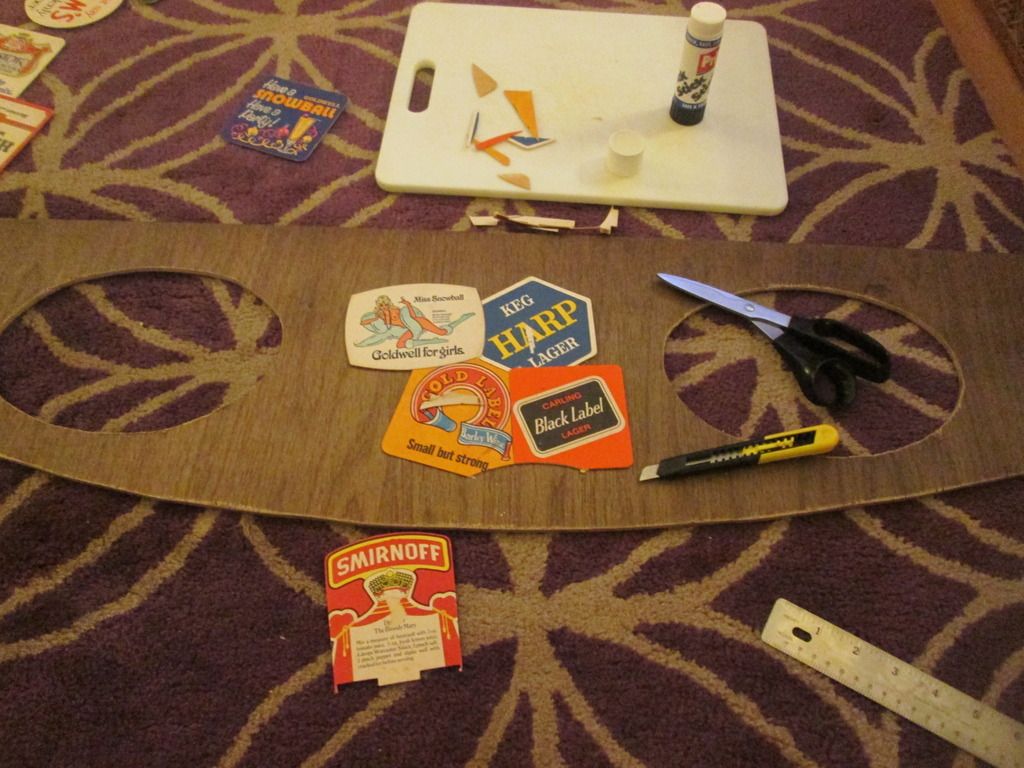
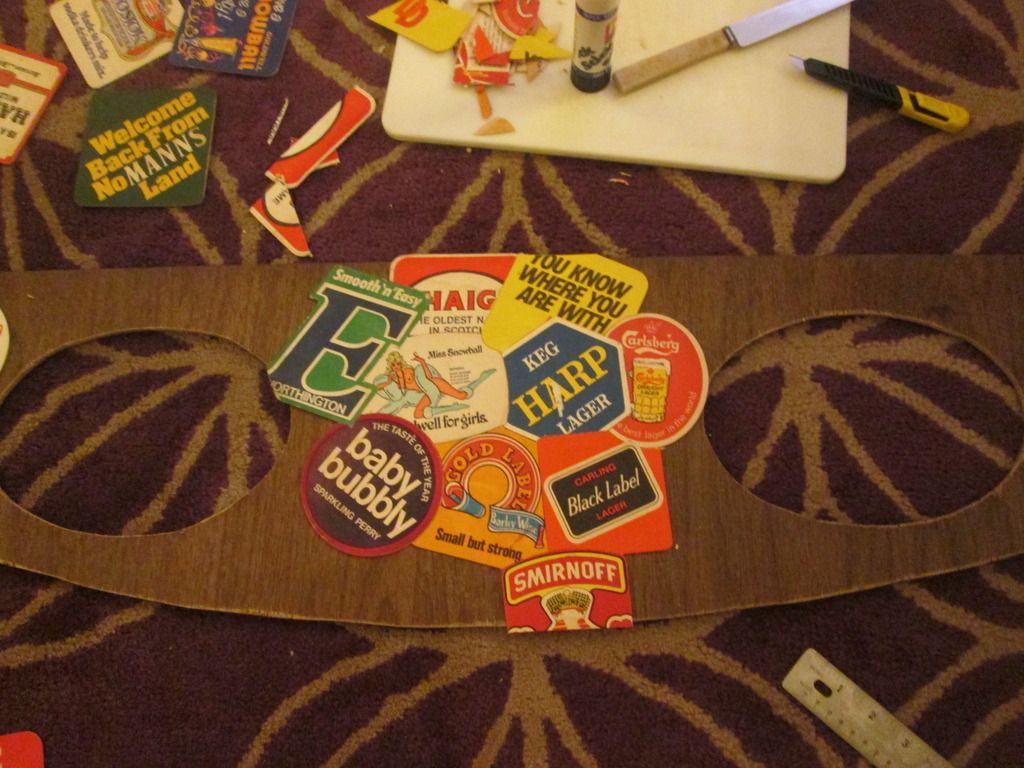
After it was all stuck down, I gave it 2 coats of PVA glue to seal it, then 2 coats of varnish.
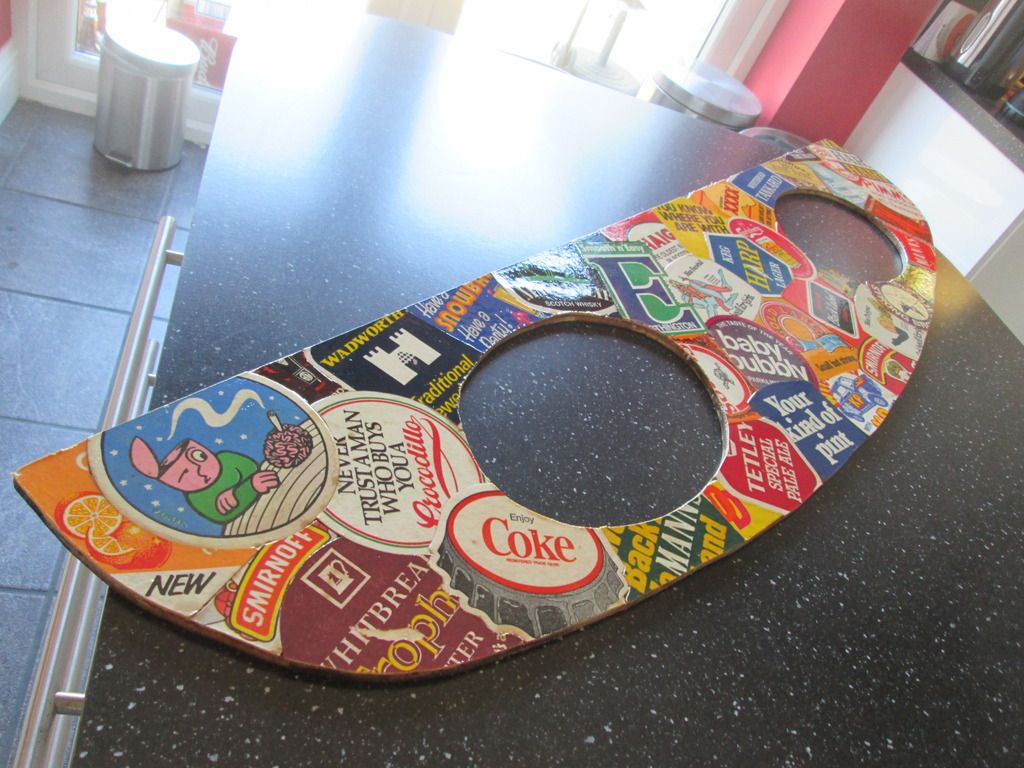
Fitted to the car. Along with my brand new JBL 6x9s
The rear seats were then refitted, along with my ridiculous sub arrangement ![]() forever dividing opinions.
forever dividing opinions.
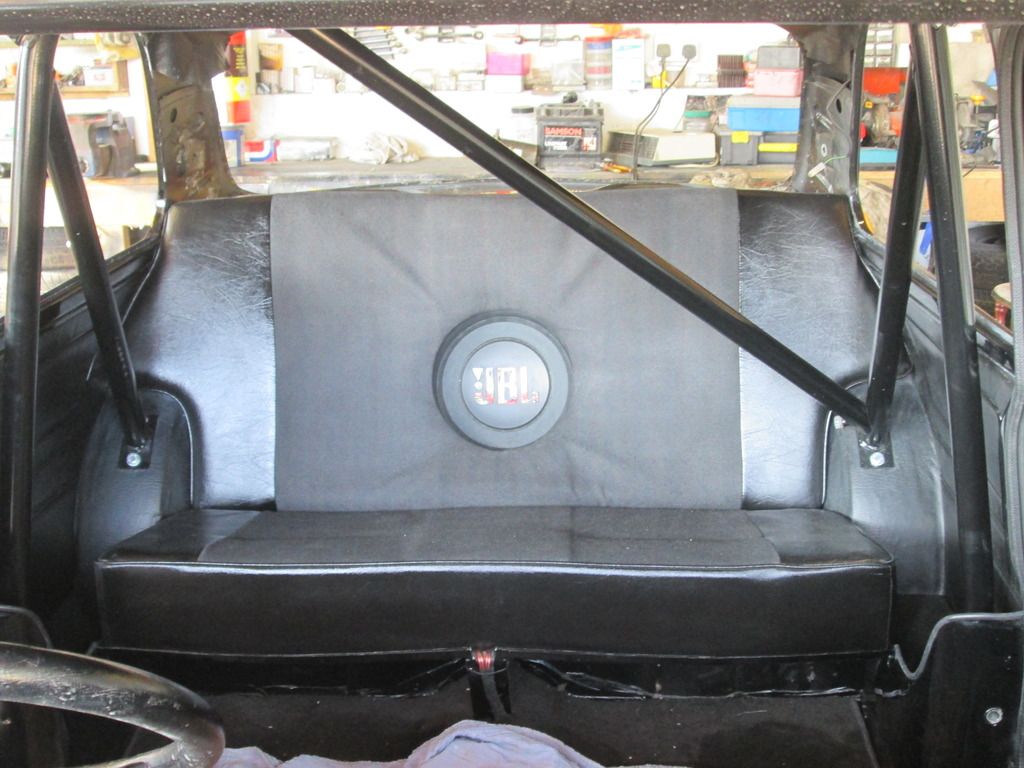
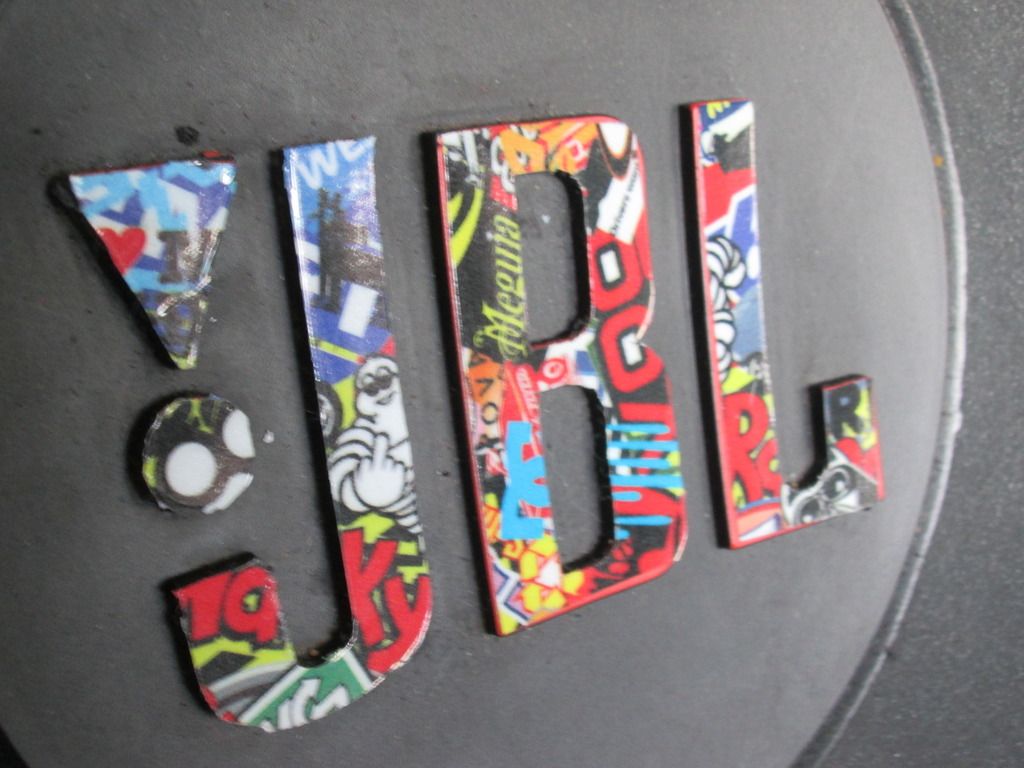
Stickerbombed the JBL logo too
Next I decided to try and tackle the wiring. To keep all the wiring out of site, the loom now goes through the fresh air vents (which I wouldn't be using anyway) and under the front wings. Obviously once everything is sorted, the wires will be wrapped up and supported up above the shock mount (not quite sure how I'm going to do that though). Round the front of the car, all the wires are now squeezed through the tiny hole thats meant for just the headlight wires.
Obviously pretty much every wire is now too short, so I picked up a dashboard wiring loom from a Discovery for a fiver, which I will used to basically extend the loom. Looking forward to tacking that! ![]()
Moving on from that, I decided to drag the Metro 1275 out the corner that I bought a while back and give it some love. For those that remember earlier in the build thread, it was sold as ready to drop straight in, just needed a tidy up; the seller sent me video evidence of the car running and driving a week before the engine was removed and sold to me.
As you can see, it was in a bit of a sorry state!
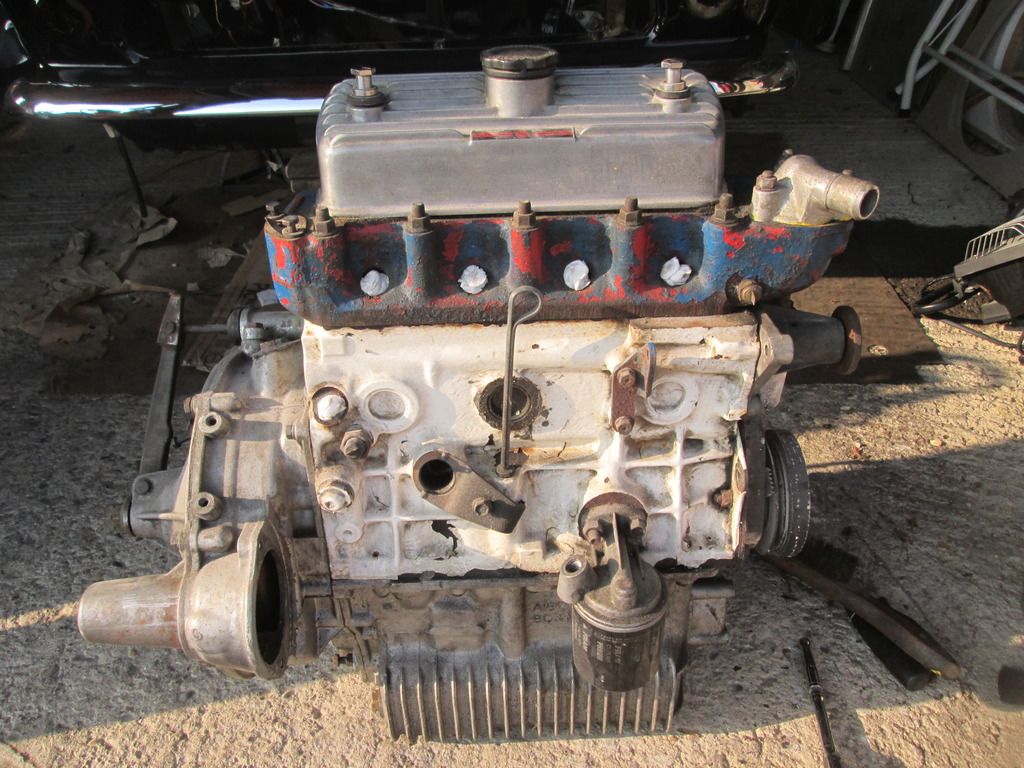
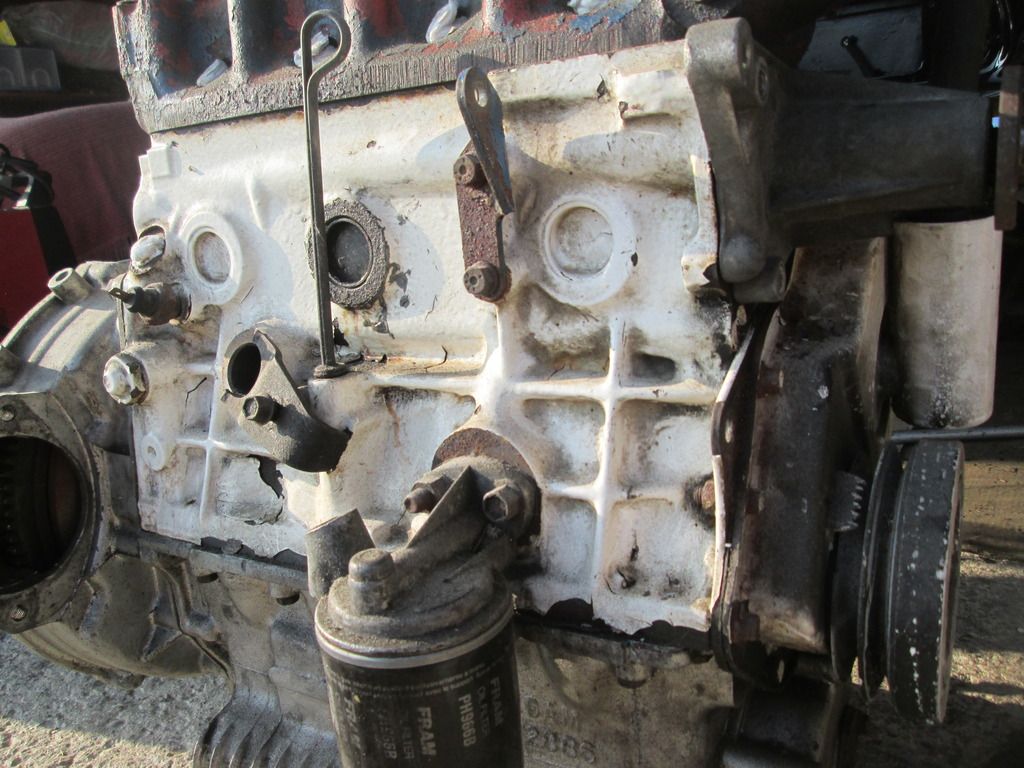
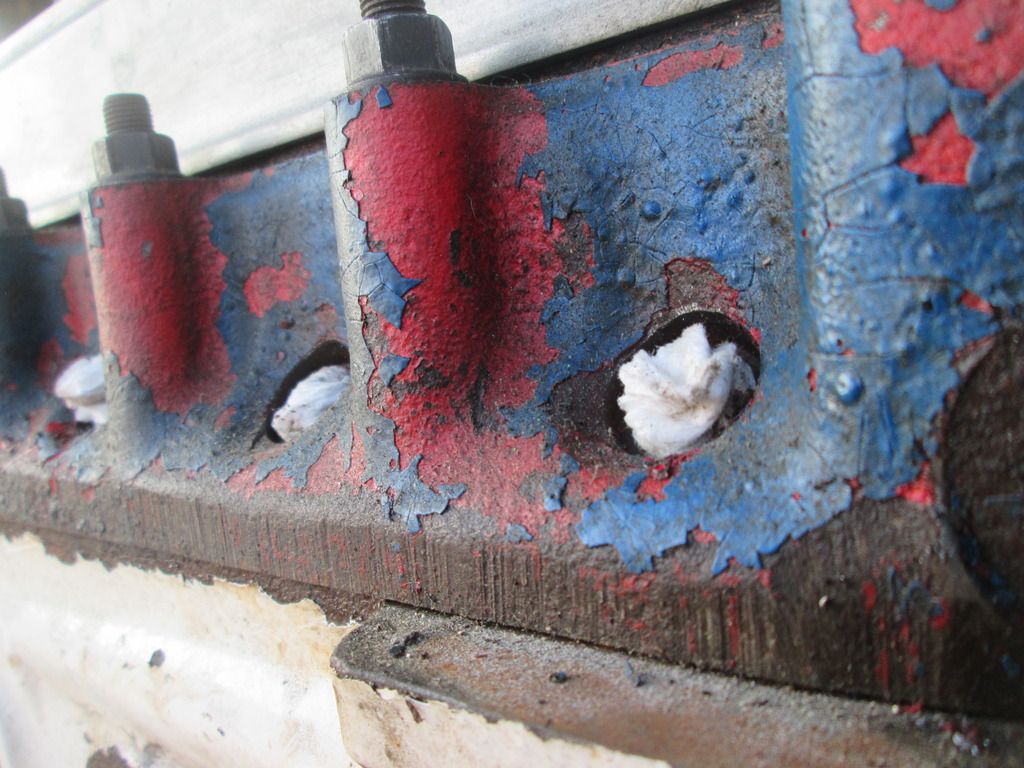
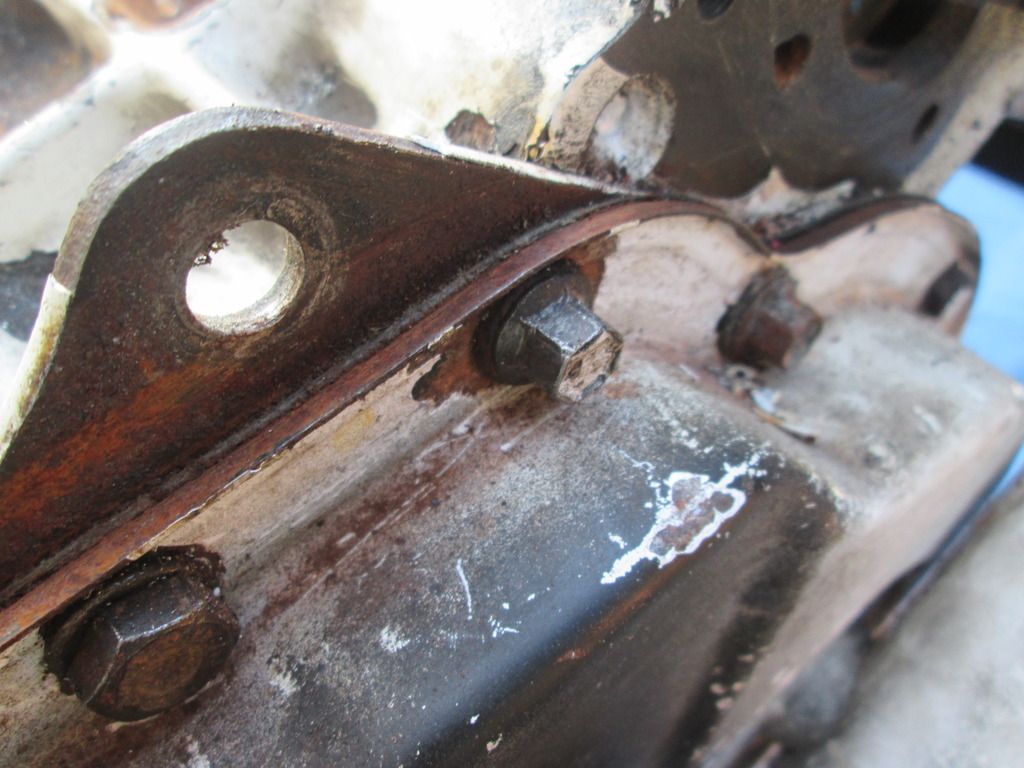
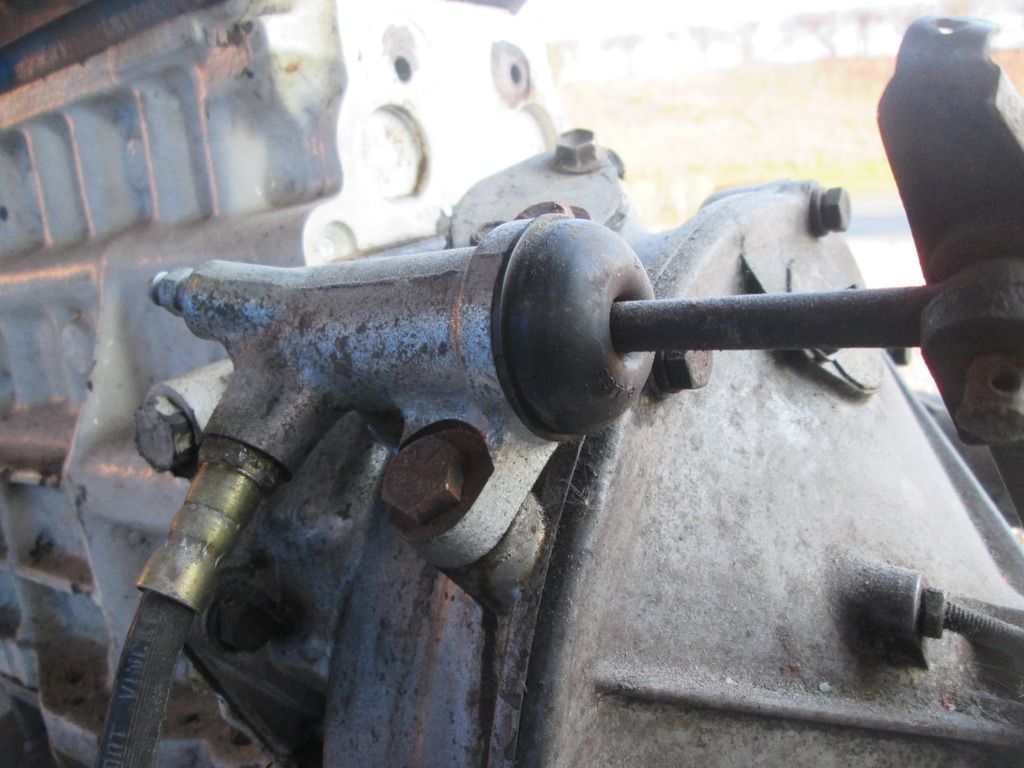

Started off by getting myself some industrial strength paint stripper (since Nitromors is rubbish now). The stuff I got was from a company called Langlow, and its seriously nasty stuff!
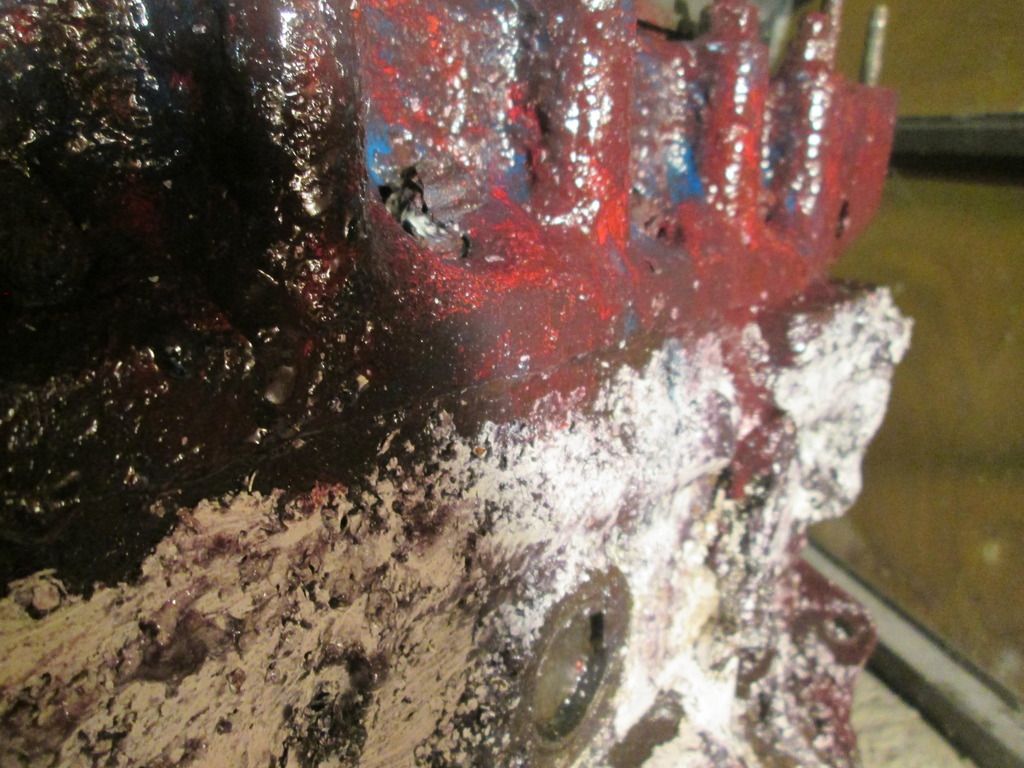
completely stripped back, wire brushed, washs numerous times with hot soapy water, and then again with white spirit
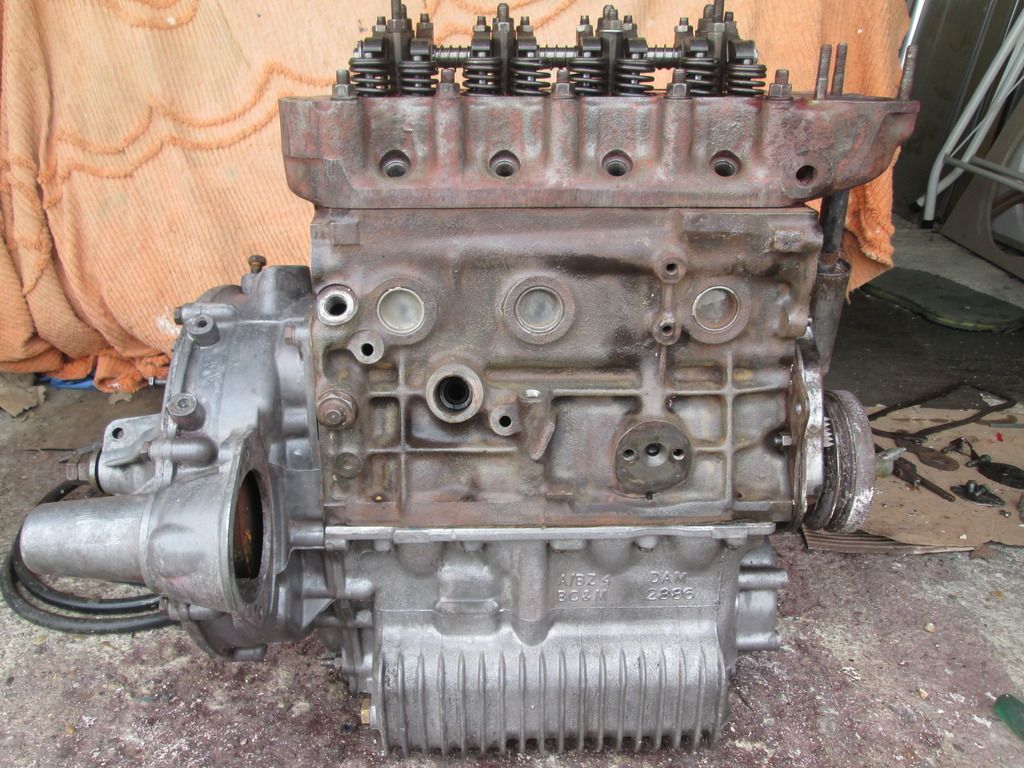
Removed the timing chain cover and stripped it back, before refitting it with new gaskets and new crank pully oil seal.
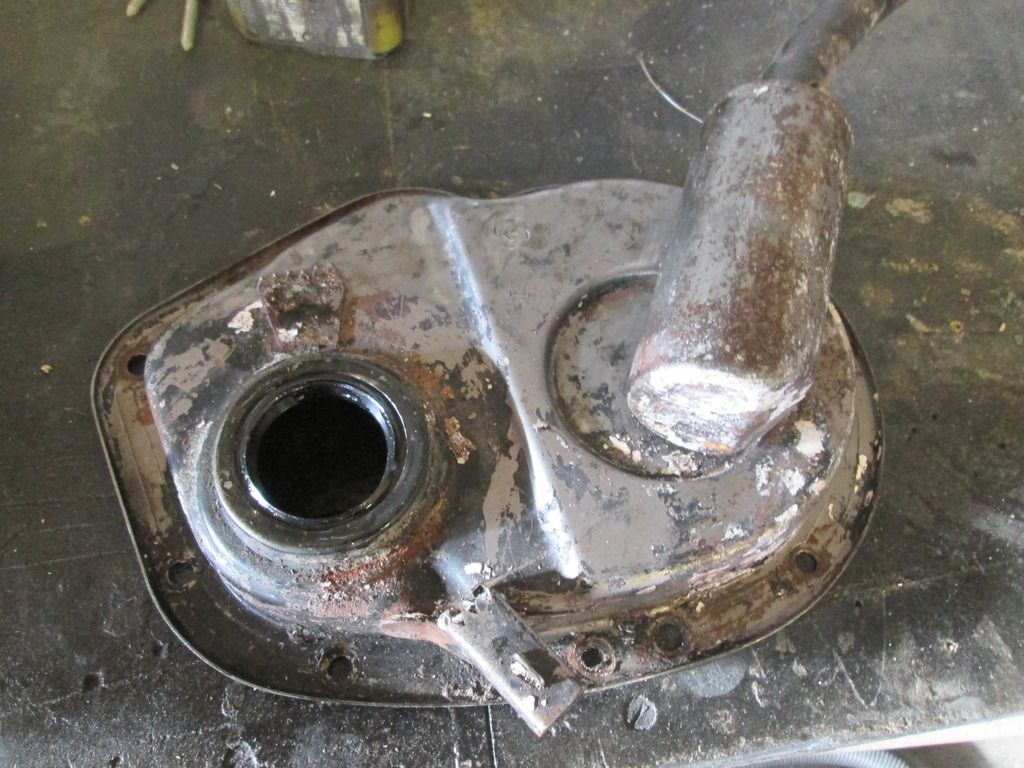
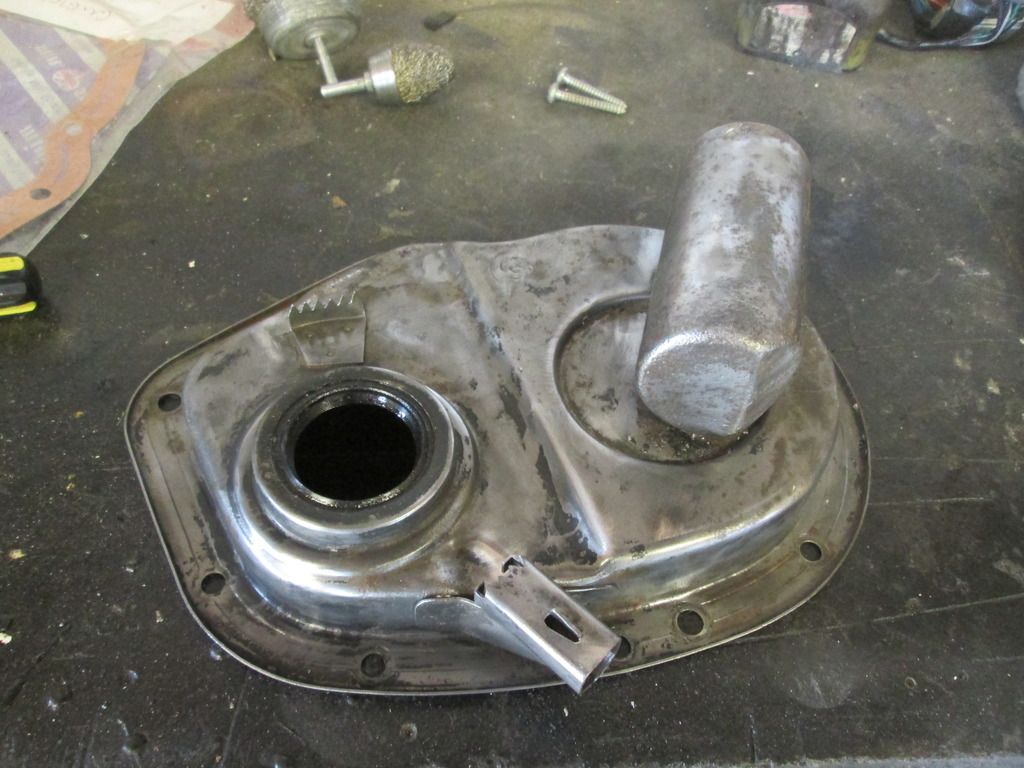
Let the painting begin!!
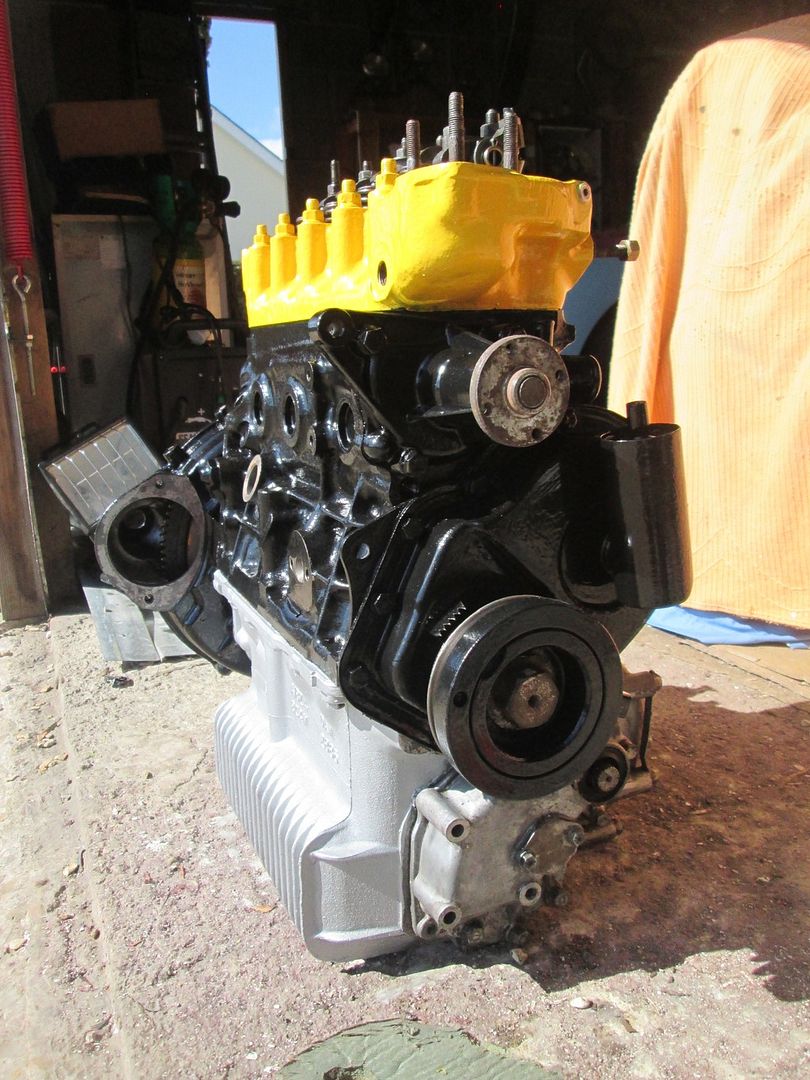
First coat of yellow Hammerite on the head (needed about 4 in the end)
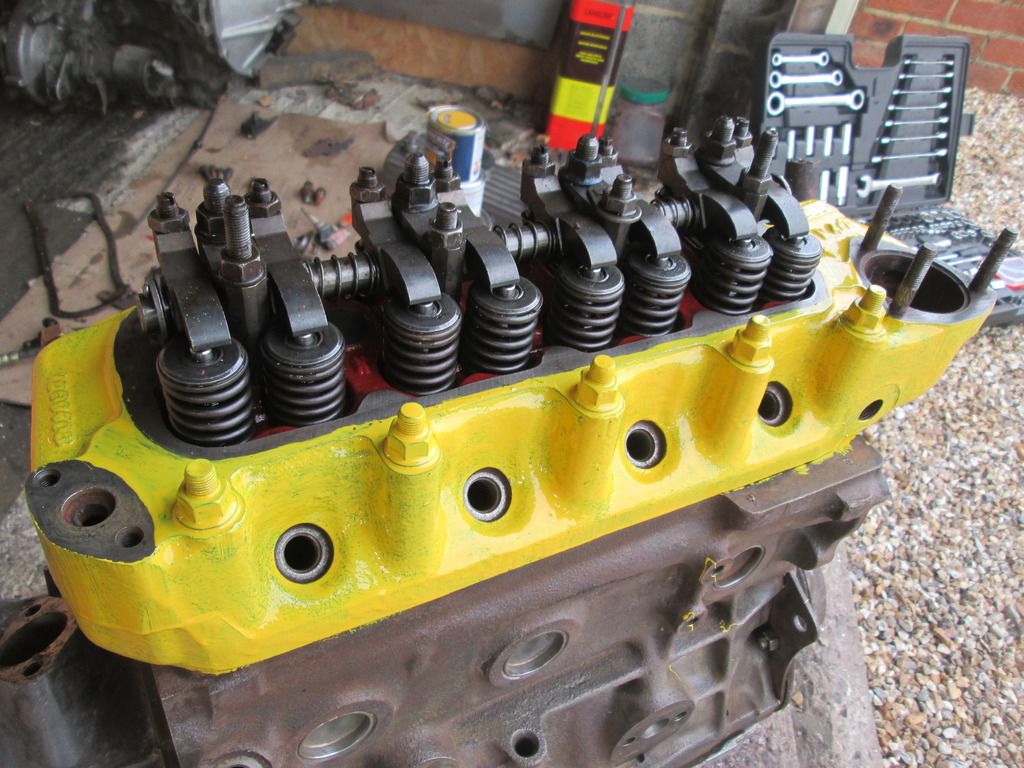
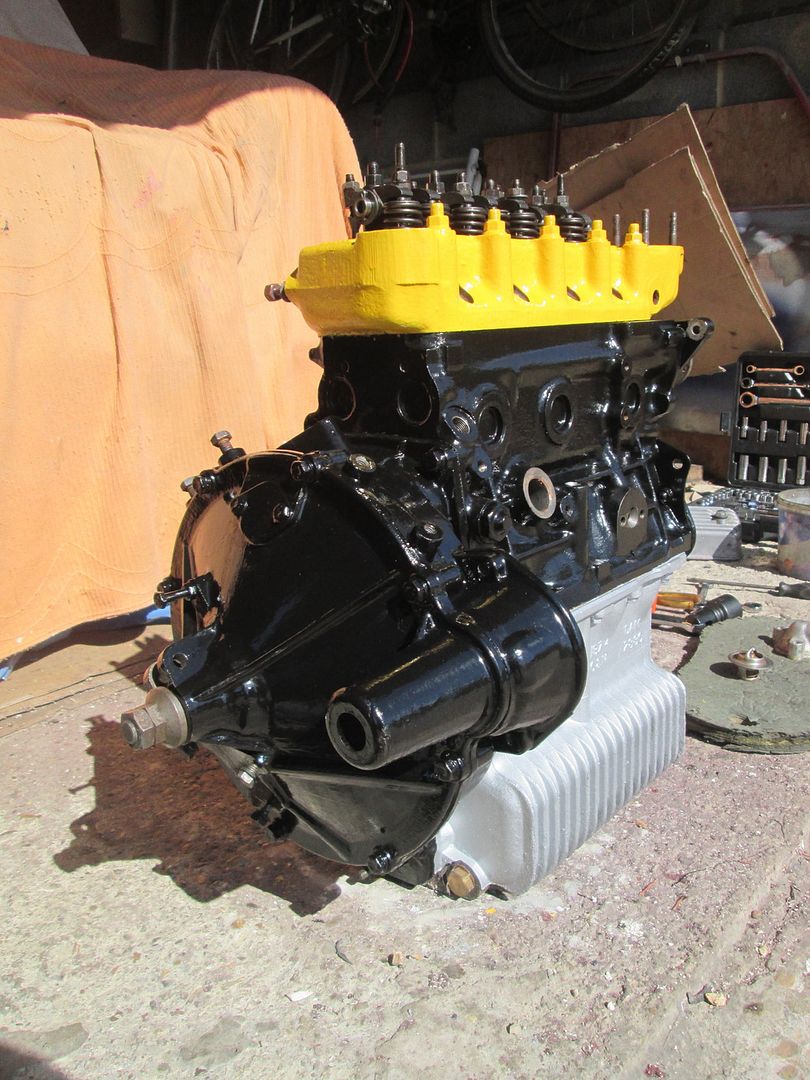
This is the result after 2 coats of hammerite on the block, 2 coats on the gearbox/sump, and 4 coats on the head and clutch case/bell housing. Not bad at all!
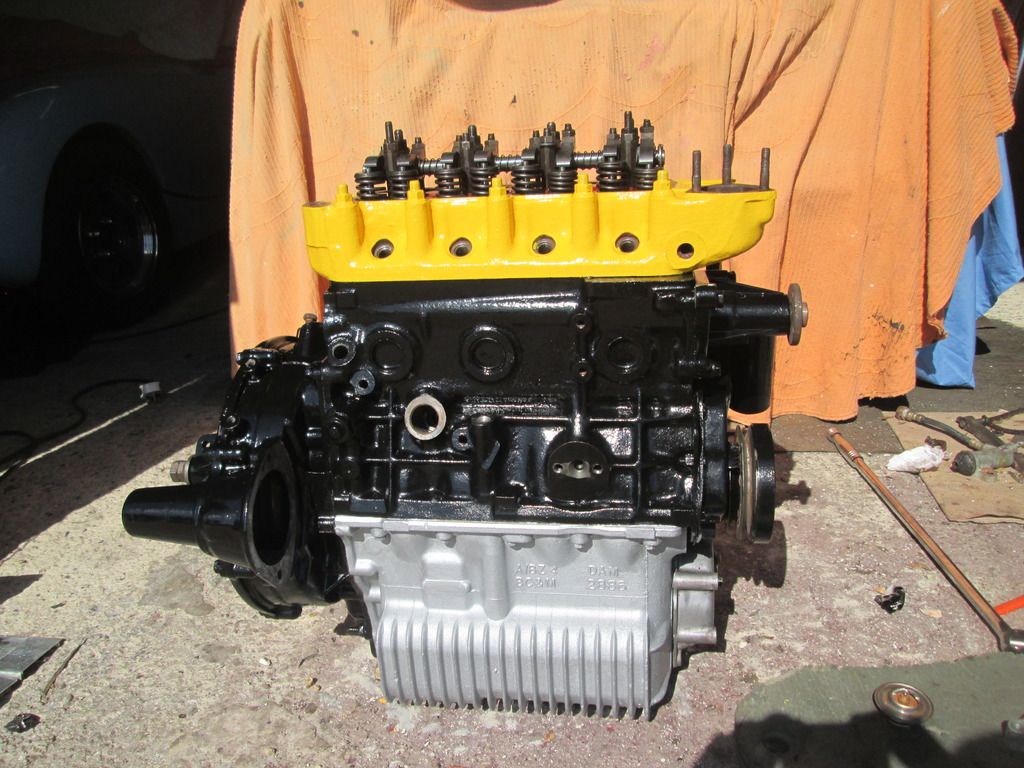
Edited by Chris1992, 11 October 2021 - 05:27 PM.
#439

Posted 02 April 2016 - 11:43 AM
I also worked on the ancillaries a bit, getting them up to scratch. First up was the alternator.
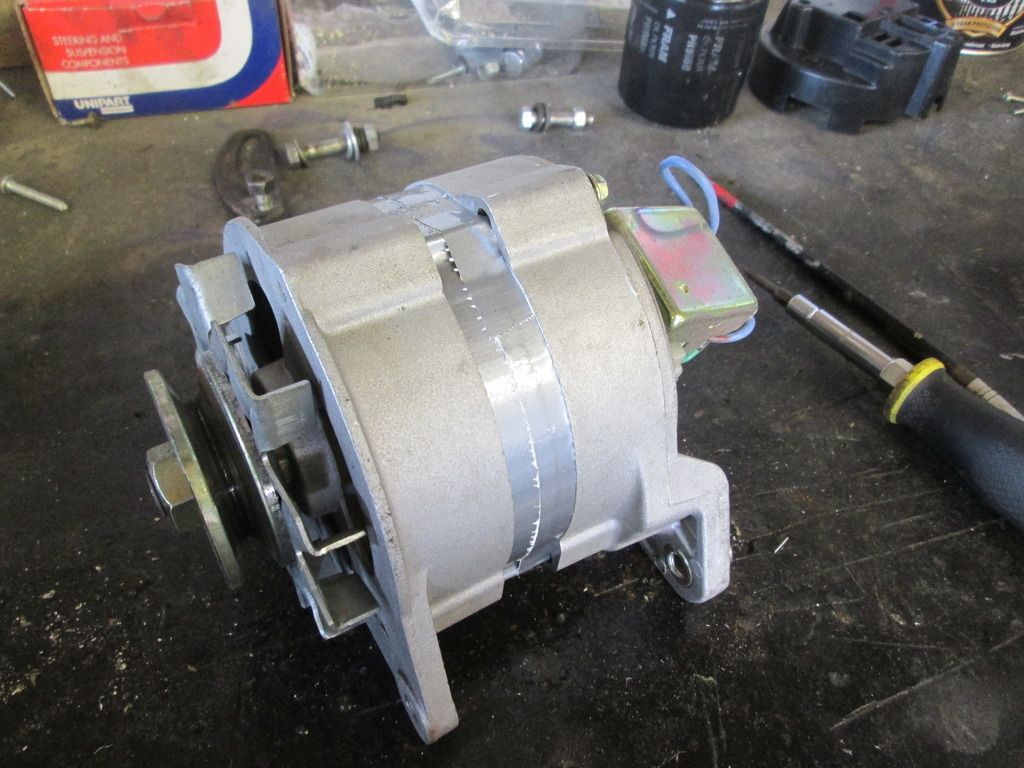
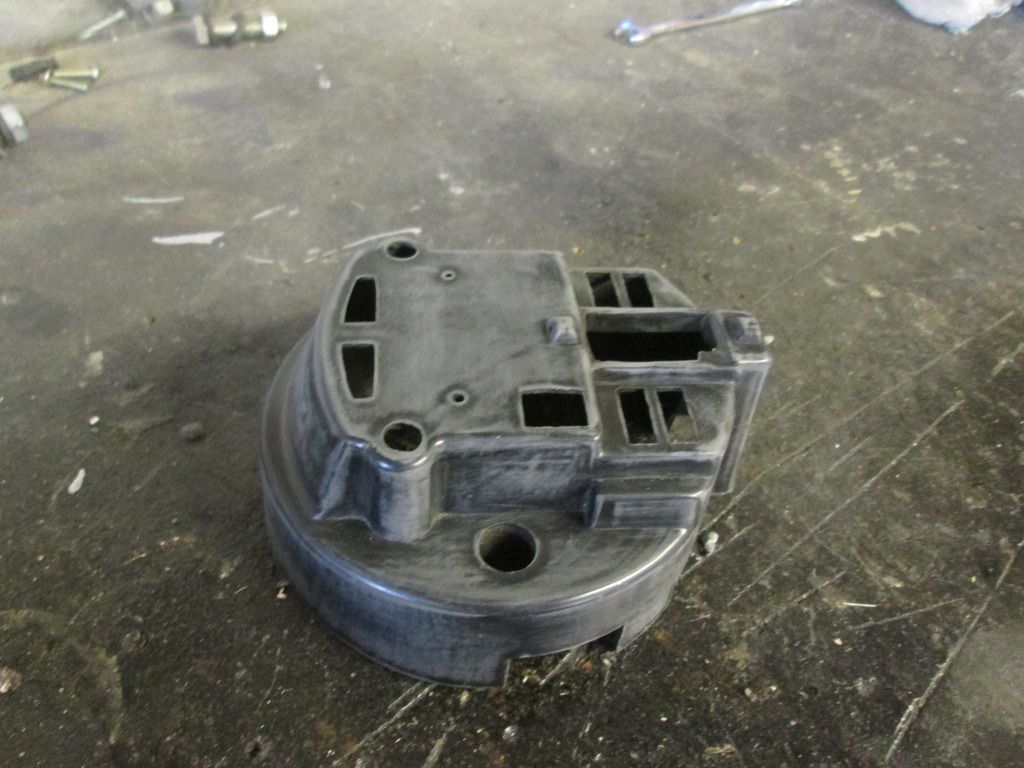
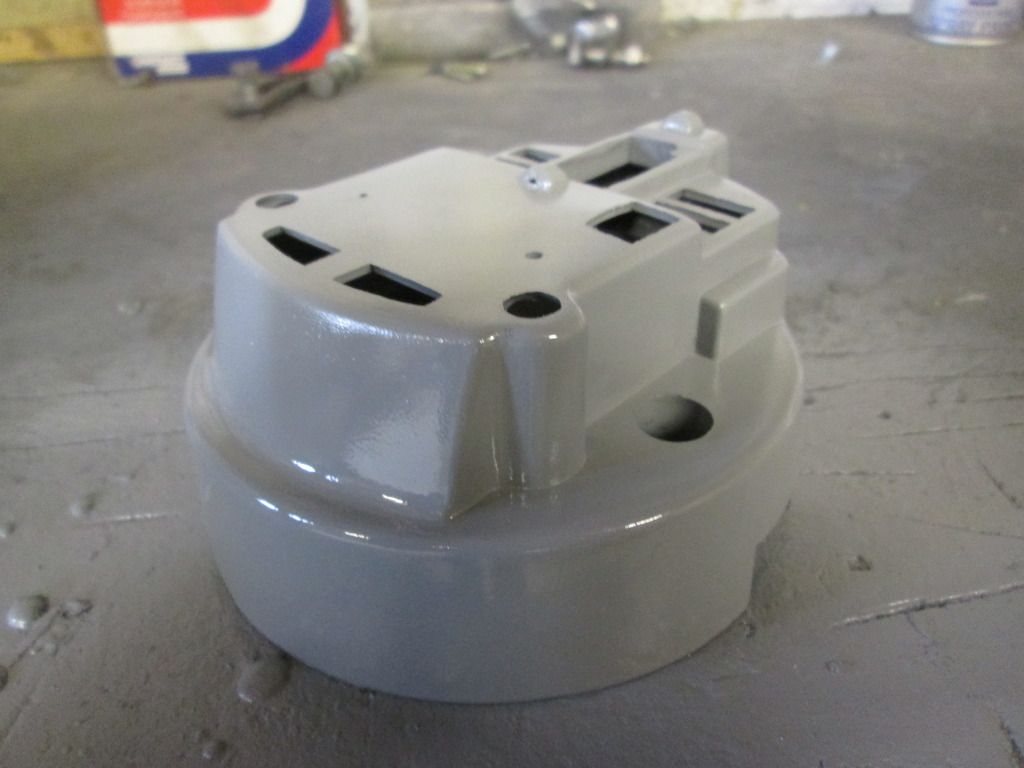
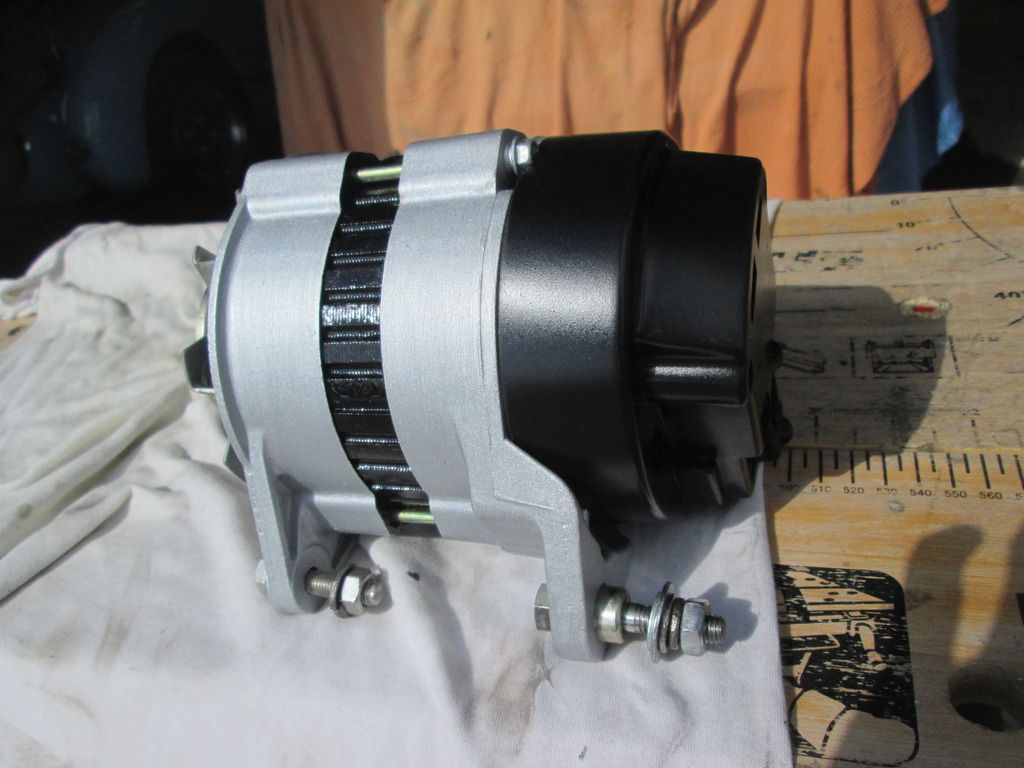
The bracket that holds it to the engine was pretty grim too, so wire brushed that back and painted it once fitted to the engine. No pics of that yet though.
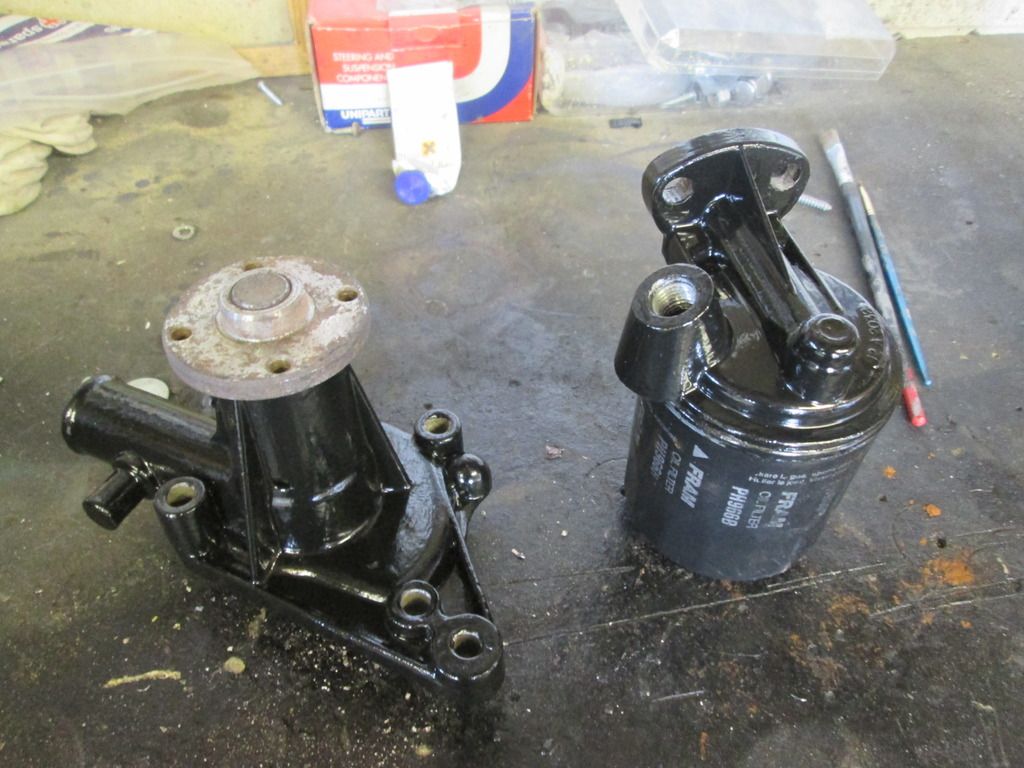
Pics of the water pump and oil filter housing after being cleaned and painted. Now also refitted with new gaskets
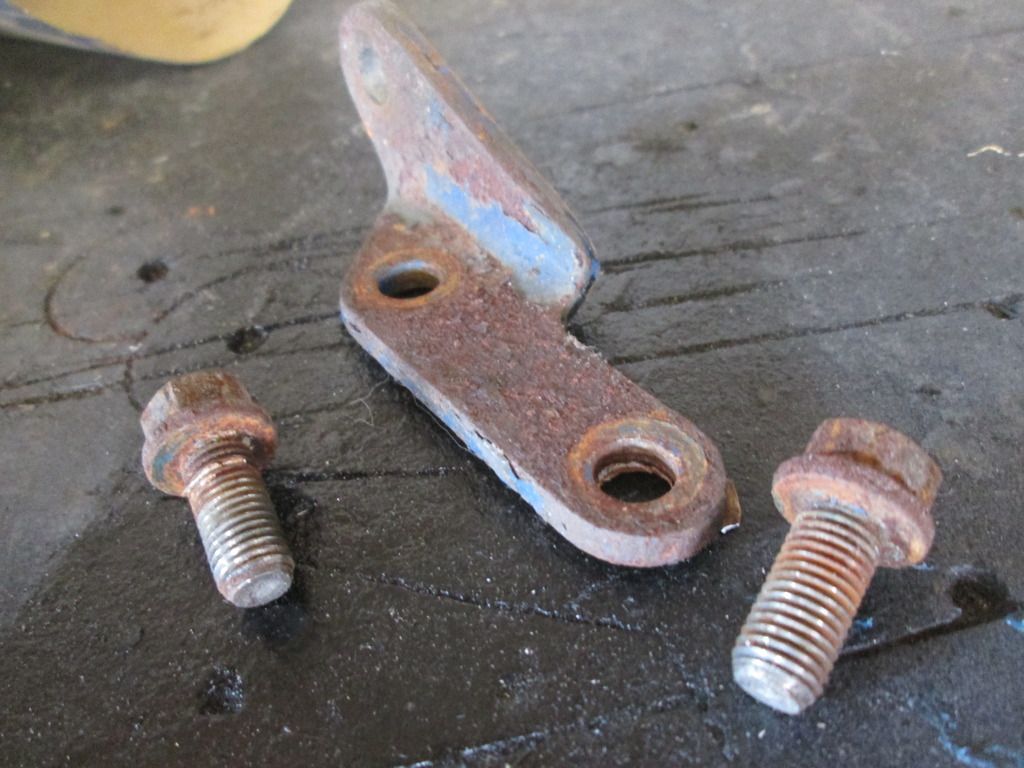
Engine steadies and earth strap cleaned/painted
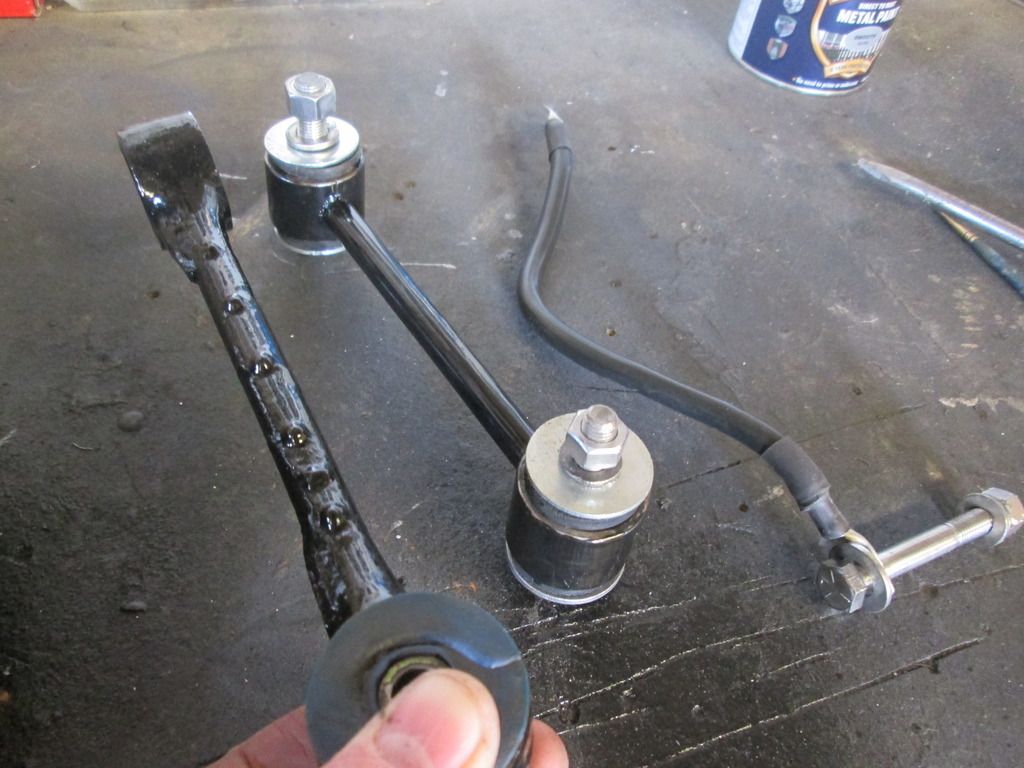
For some reason, the Thermostat housing had obviously been fitted using studs with nuts, instead of bolts. Plus the thread on one of them was completely mangled, so I got them out and replaced them with the bolts from my old 998. (pic of the original studs).
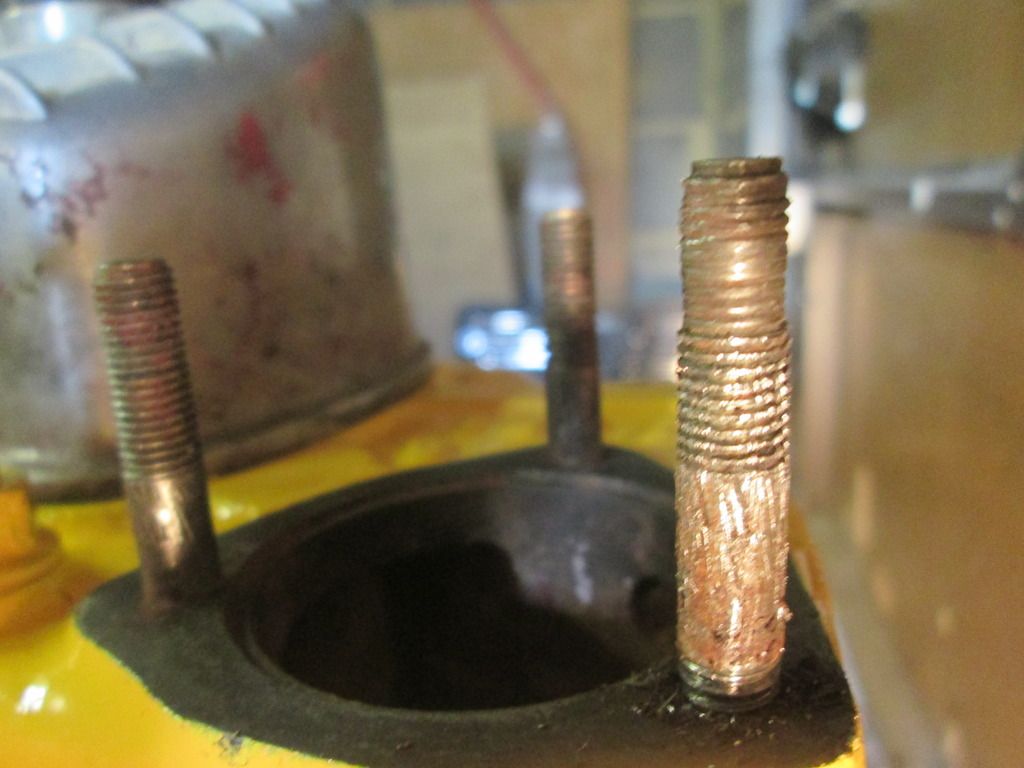
and lastly, a little order from Smiffy's Bits
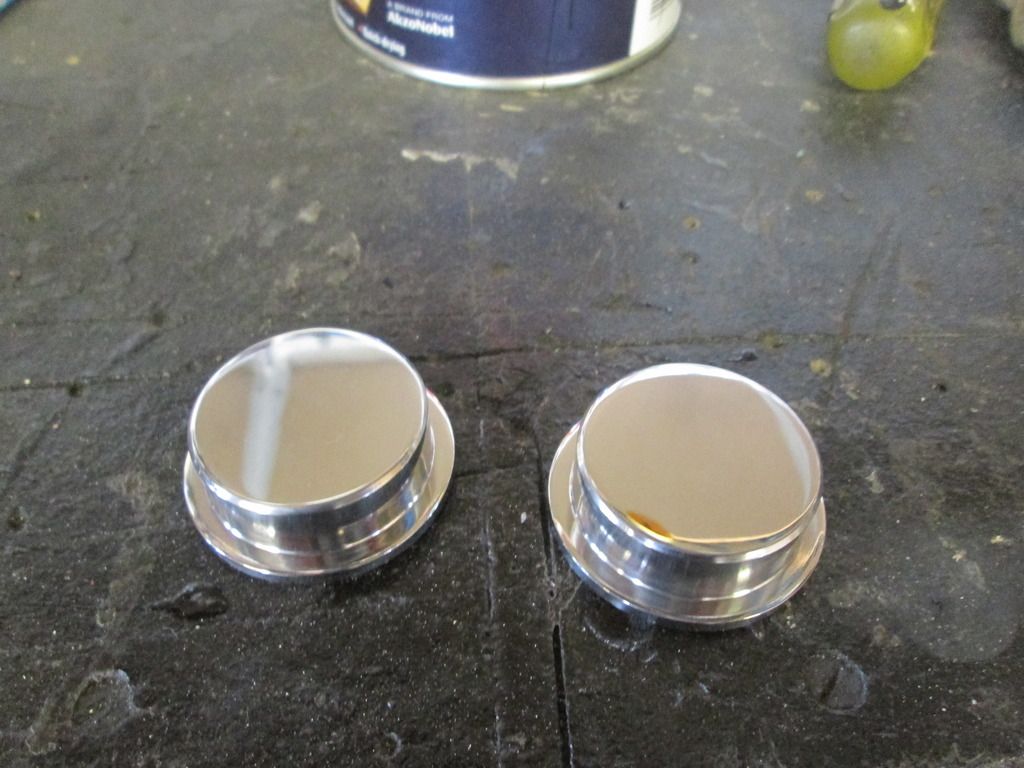
I also have a new Fletcher alloy radiator, and polished rocker cover to get some pics of.
I have also decided that I'm not completely happy with the paint finish; there are a few runs and other imperfections, as well as the valences hardly having any paint on at all, so I spoke to the guy who painted it and he said that once its on the road and MOT'd I can bring it back and he will sort it all out for me, so that seems fair enough!
That's all for now! (had to do the update over 2 posts because I exceeded the photo limit lol)
#440

Posted 02 April 2016 - 12:47 PM
Those old coasters are so cool! Great idea.
#441

Posted 03 April 2016 - 06:46 PM
Those old coasters are so cool! Great idea.
Thanks man! Cant believe she was going to bin them! Such a waste!
#442

Posted 03 April 2016 - 08:05 PM
I have also decided that I'm not completely happy with the paint finish; there are a few runs and other imperfections, as well as the valences hardly having any paint on at all, so I spoke to the guy who painted it and he said that once its on the road and MOT'd I can bring it back and he will sort it all out for me, so that seems fair enough!
Are you sure he hasn't just said this in hope your project never actually gets on the road like so many others?
Might be beneficial to get him to put it in writing or get some email correspondence or something just in case.
Looks great though, good work!
#443

Posted 03 April 2016 - 08:50 PM
Looking good ! love the idea of the coasters
#444

Posted 03 April 2016 - 08:56 PM
Looking good ! love the idea of the coasters
Thanks mate!
Are you sure he hasn't just said this in hope your project never actually gets on the road like so many others?
Might be beneficial to get him to put it in writing or get some email correspondence or something just in case.
Looks great though, good work!
I must admit I was concerned, but one of my friends who had their car sprayed by him (among a few others) ended up with a few runs, and he did exactly what I did; he built the car up over a few months and then the painter took it back and fixed everything and now it looks perfect if I'm honest! I just hope things go as smoothly for me!
Cheers mate!
#445

Posted 03 April 2016 - 09:19 PM
Is this a pro sprayer?
I would never let a car go out with runs!
#446

Posted 03 April 2016 - 09:29 PM
Is this a pro sprayer?
I would never let a car go out with runs!
supposedly! I went with him by recommendation from a few friends who had their cars sprayed by him. facilities looked professional enough! proper spray booth, not just some old shed. But i know what you mean. Its not bad by any means, but its not perfect! I don't understand why he didn't get it right the first time round, but at least hes being helpful so far! Lets just hope he continues to be...
#447

Posted 03 April 2016 - 09:29 PM
+1 on the above, I know you want to get on with the build, but fixing the paint later on when its built isn't the right way to go, and could cause issues / delays in the future
IMO best to get it sorted before the build up.
That said, loving this build and style! I've got one of the chin spoilers on my orange one too ![]()
#448

Posted 03 April 2016 - 09:33 PM
I would be insisting that the paintwork is put right before you continue.
As has been said above, putting it right afterwards is not the right way to go. It would mean removing parts to sort it or worse than that, masking them up leaving you with paint edges...
#449

Posted 03 April 2016 - 09:40 PM
+1 on the above, I know you want to get on with the build, but fixing the paint later on when its built isn't the right way to go, and could cause issues / delays in the future
IMO best to get it sorted before the build up.
That said, loving this build and style! I've got one of the chin spoilers on my orange one too
Its nothing that will require a respray (except the valences might need a quick blow over). Its just a matter of rubbing down in a few places and then compounding again. I could probably do it myself, but since I payed for it I would rather he did it! Theres no problems with reactions or anything, where its good, it really is good! Its just... the paint on the valences is a bit thin, and maybe 4 runs (off the top of my head) that need sorting.... Plus the problem is I don't really have a way of getting it back to the spray booth since the trailer I borrowed of my dad's mate is now being used! ... But yeah, thanks man!
Edited by Chris1992, 03 April 2016 - 09:40 PM.
#450

Posted 03 April 2016 - 09:48 PM
I would be insisting that the paintwork is put right before you continue.
As has been said above, putting it right afterwards is not the right way to go. It would mean removing parts to sort it or worse than that, masking them up leaving you with paint edges...
In theory the only areas that should need spraying are the front and rear valences, which would hopefully only mean removal of the bumpers and front splitter. Other than that, it should just be a case of flatting back the runs and re-compounding them. Like I said above, I could probably do it myself! but its a matter of principal that he does it to be honest. If any other parts are in need of removal then it will be them doing it. They do many full restorations too so removing the odd part shouldn't be too hard for them!
I wish I had noticed the runs when I picked it up to be honest! If I had then i would have said something, but it wasn't until I got it home and inspected it in the sun that I noticed them... Should have checked more thoroughly. Massive school boy error!!
The other problem, as I mentioned above, is that I don't really have access to a trailer anymore! So getting it back to the booth would be an absolute ball ache of a task!
Edited by Chris1992, 03 April 2016 - 09:51 PM.
1 user(s) are reading this topic
0 members, 1 guests, 0 anonymous users


