Have just read this from the beginning and what a great job you are doing. Can't wait for the next update and to see it back from the paintshop.
'88 City E - 'the Purist' - Slammed 16V Show Car'
#421

Posted 09 March 2016 - 11:24 AM
#422

Posted 09 March 2016 - 11:53 AM
Have just read this from the beginning and what a great job you are doing. Can't wait for the next update and to see it back from the paintshop.
Cheers bud! I'm uploading the pics to Photobucket as we speak so hopefully you shouldn't have to wait long! ![]()
#423

Posted 09 March 2016 - 12:00 PM
I really really need to get on with mine as I'd like it on the road for the summer.
#424

Posted 09 March 2016 - 12:06 PM
I had a sneaky wee glance whilst having a tea break at work and I was still reading it an hour later !!
I really really need to get on with mine as I'd like it on the road for the summer.
haha, get back to work you slacker! ![]()
I'm hoping mine will be done for the summer, but knowing Minis something is bound to go wrong! ![]()
#425

Posted 09 March 2016 - 01:24 PM
Right, I promised an update, and an update is what you shall recieve!
I think my last update was sending the car off to the paint shop, so I'll pick up where I left off.
The plan was to tidy up the engine and subframe while I had the space, but I never got onto the engine. Thats a job for another time I guess. anyway.....
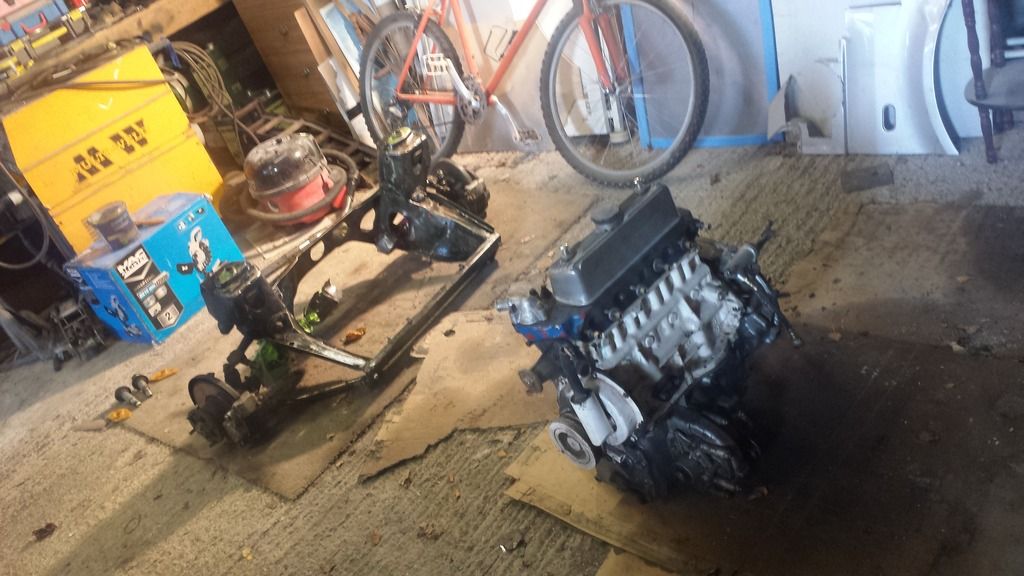
Got it all set up to be taken appart (rubbish photo, sorry!)
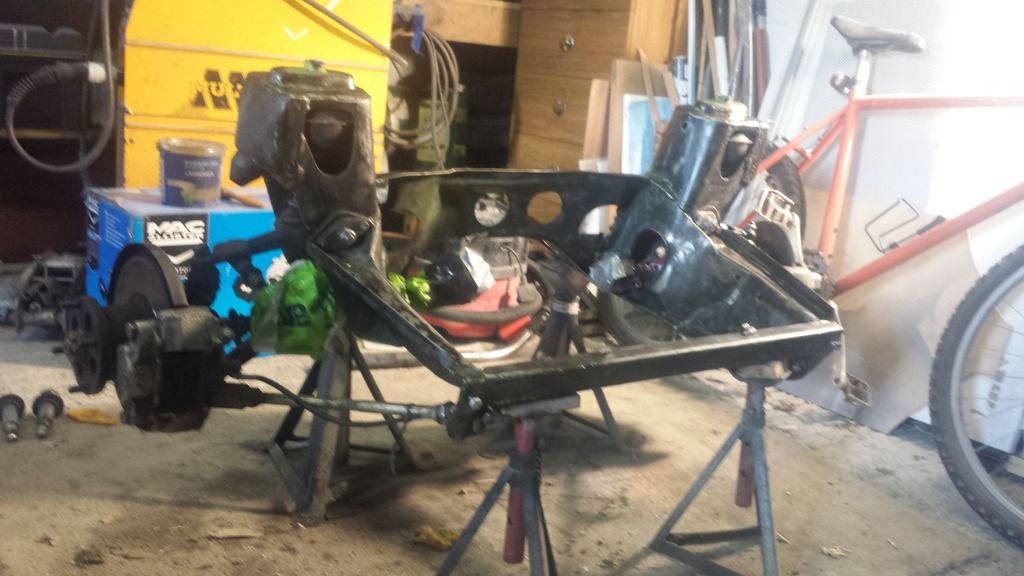
Dismantled
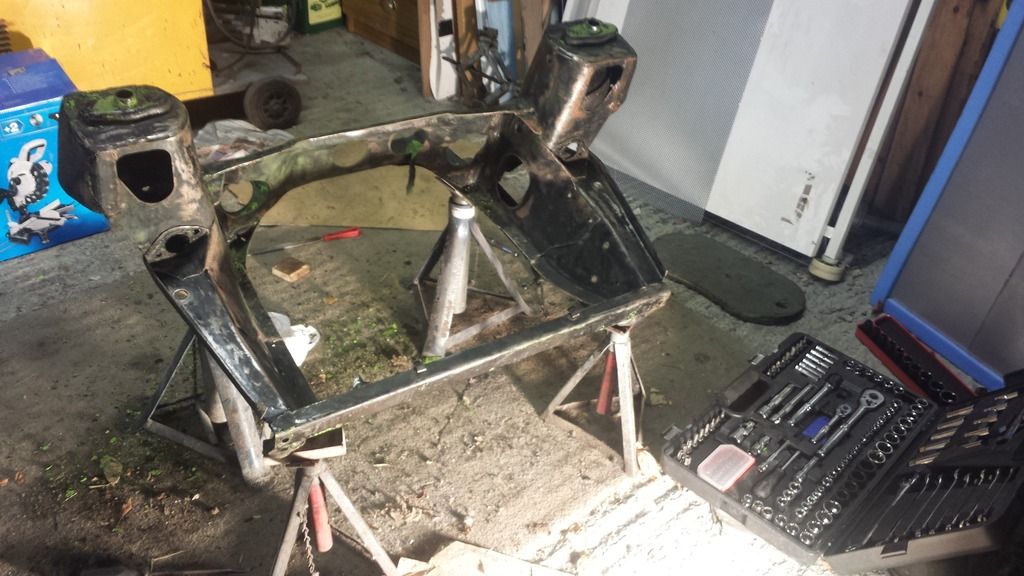
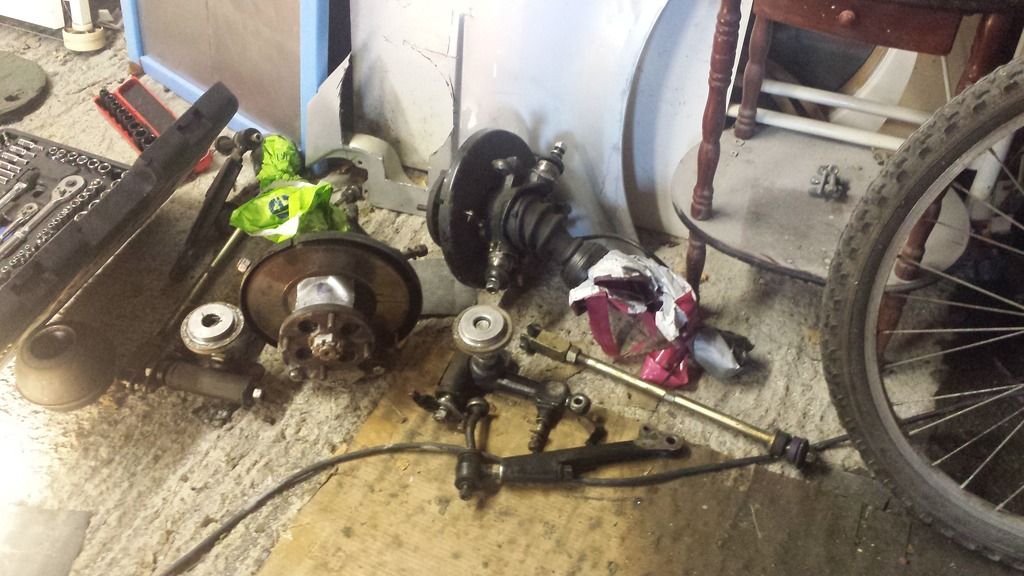
Paint stripped off with a wire brush drill bit and ready for a coat of Hammerite.
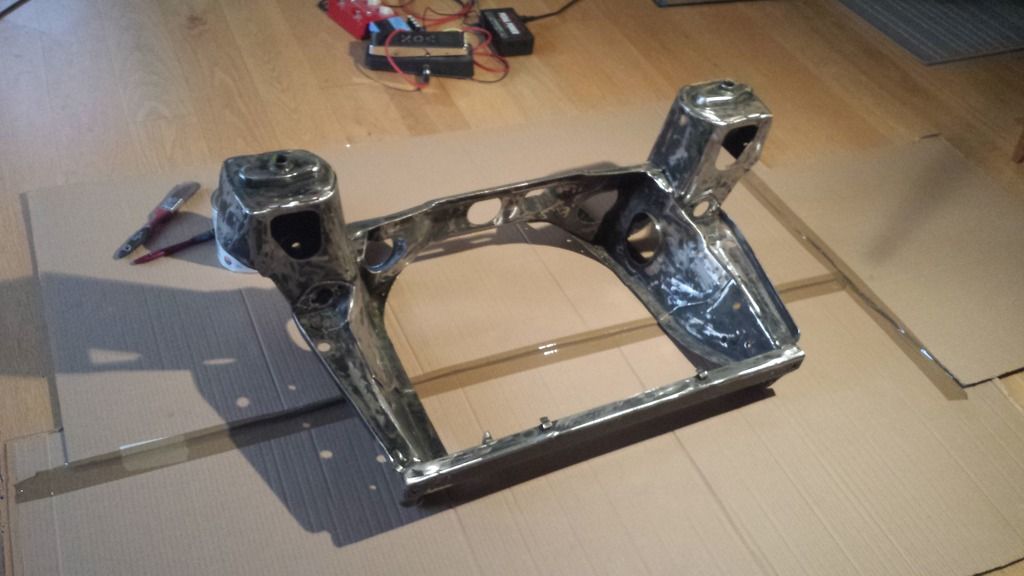
Painted!
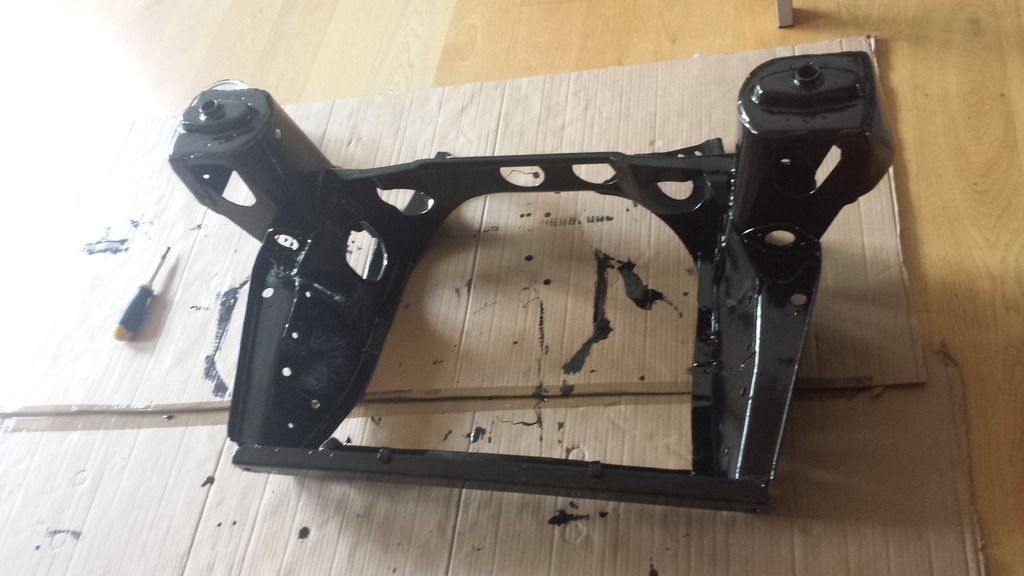
And reassembled with new bump stops for good measure. Calipers are off atm as I'm going to paint them black.
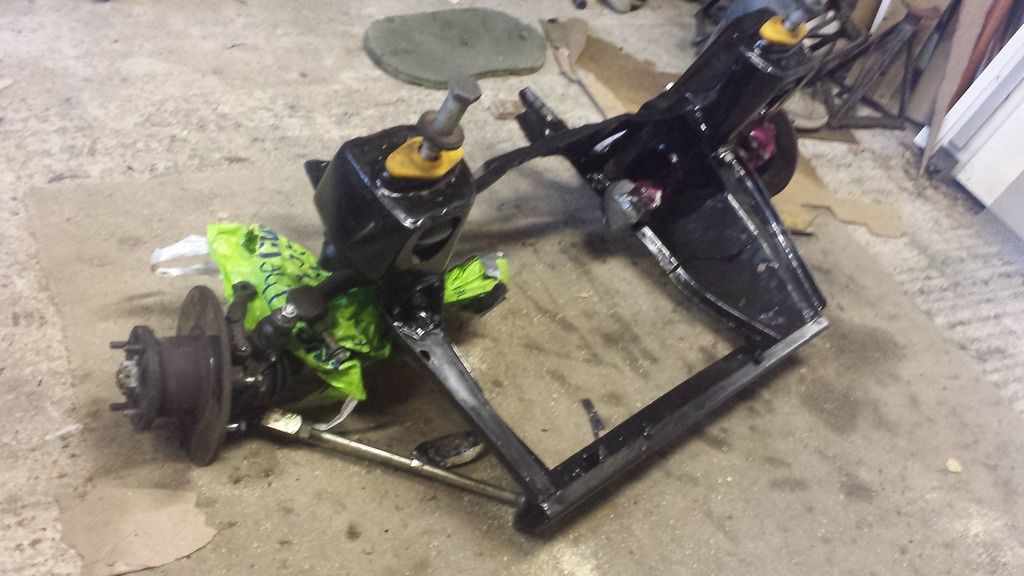
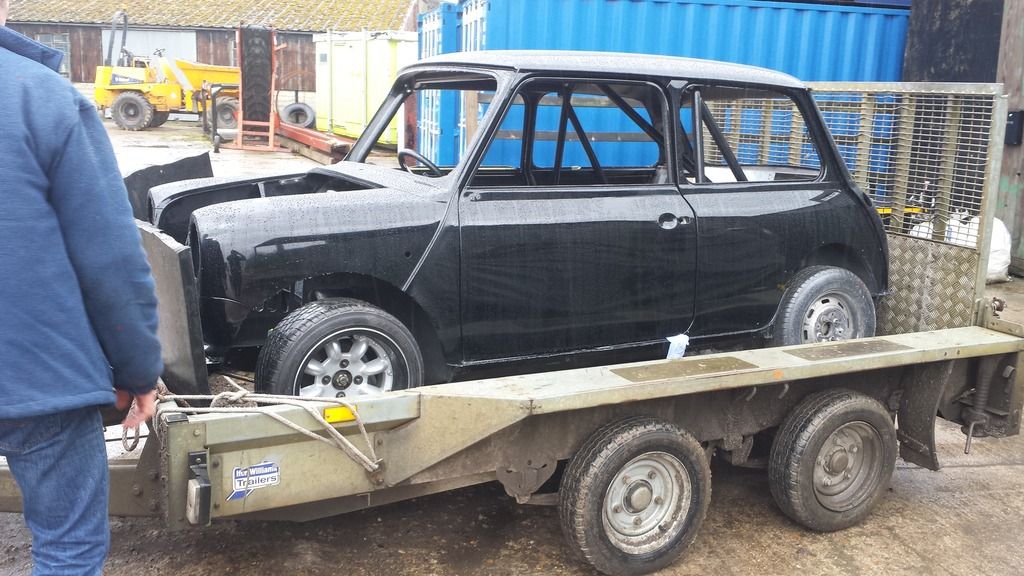
And finally, it was time to go and collect the old girl from the paint shop! Terrible weather made it an absolute pig of a job.
Took the subframe with me and refitted it at the paint shop to make getting it on the trailer easier.
Back home tucked up safe in the garage again. (terrible pics once again, my phone camera really doesnt like the garage lighting!)
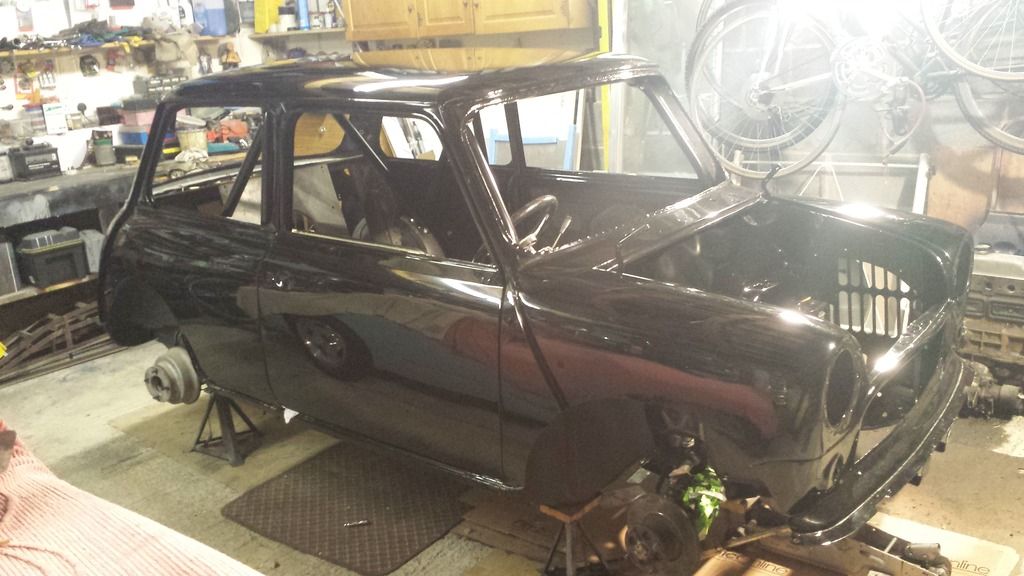
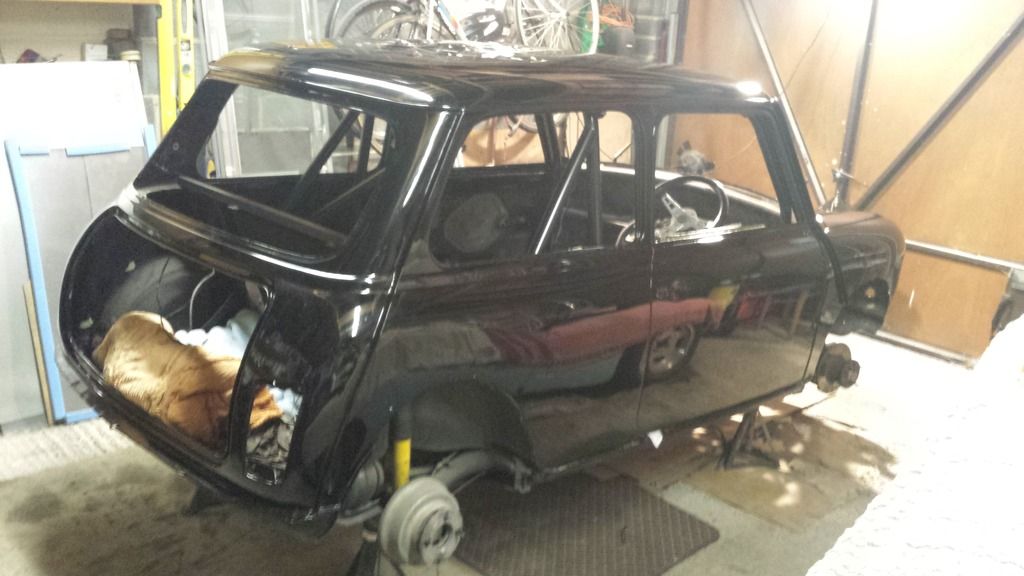
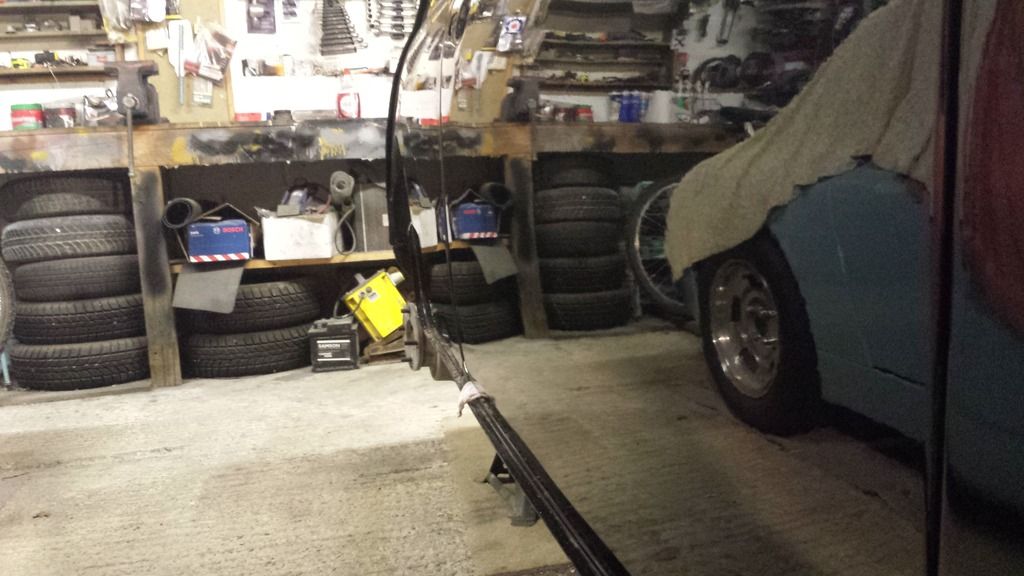
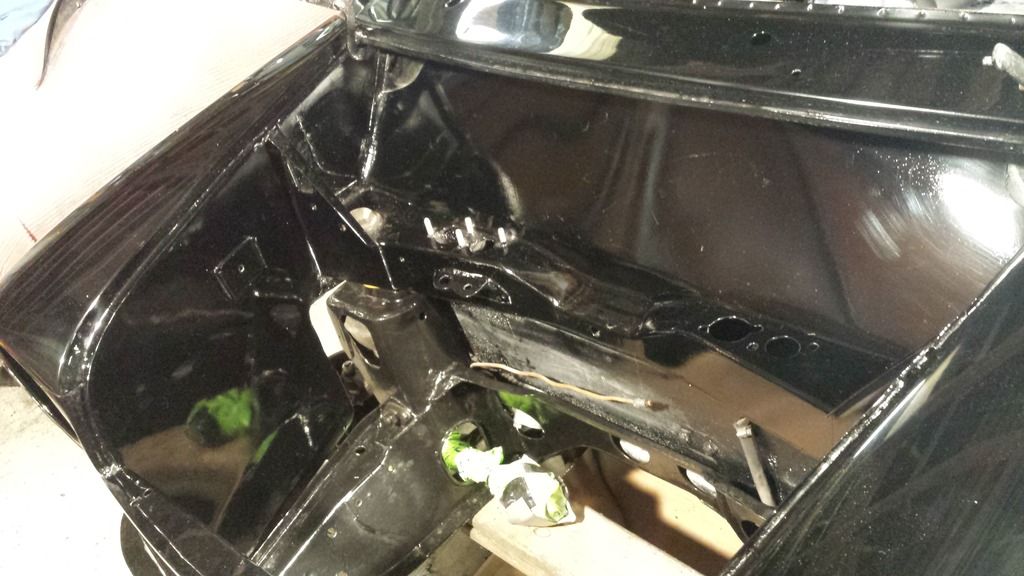
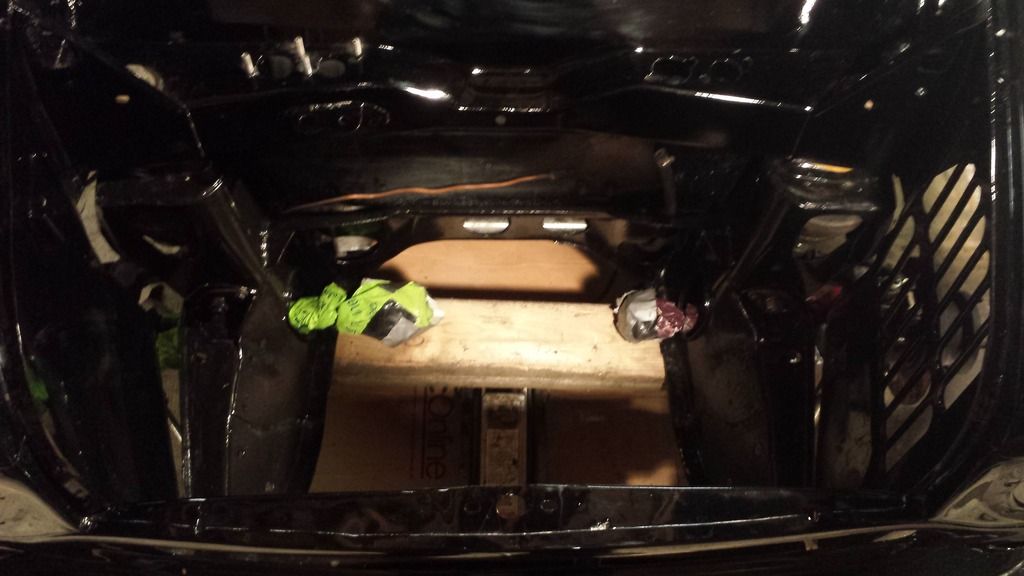
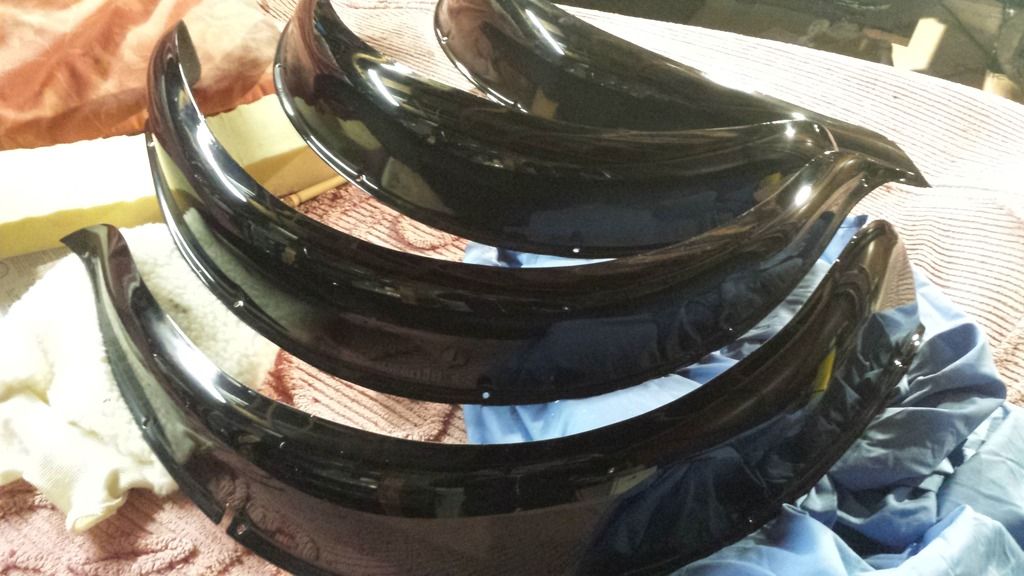
Overall I'm pretty chuffed with the finish. The exterior shine is incredible! Pics don't do it justice. However, I'm not 100% satisfied, as it seems as though less care was taken on areas such as the valences and engine bay. My guess is that he assumed I would care since no one sees those areas anyway, so the result is quite a lot of eggshell on the bulkhead and the shine is nowhere near as deep.... Ah well, I think i can improve it with a bit of careful flatting back and some compounding.
Anyway, moving on, time to begin the rebuild!!
First up I decided to fit the arches.
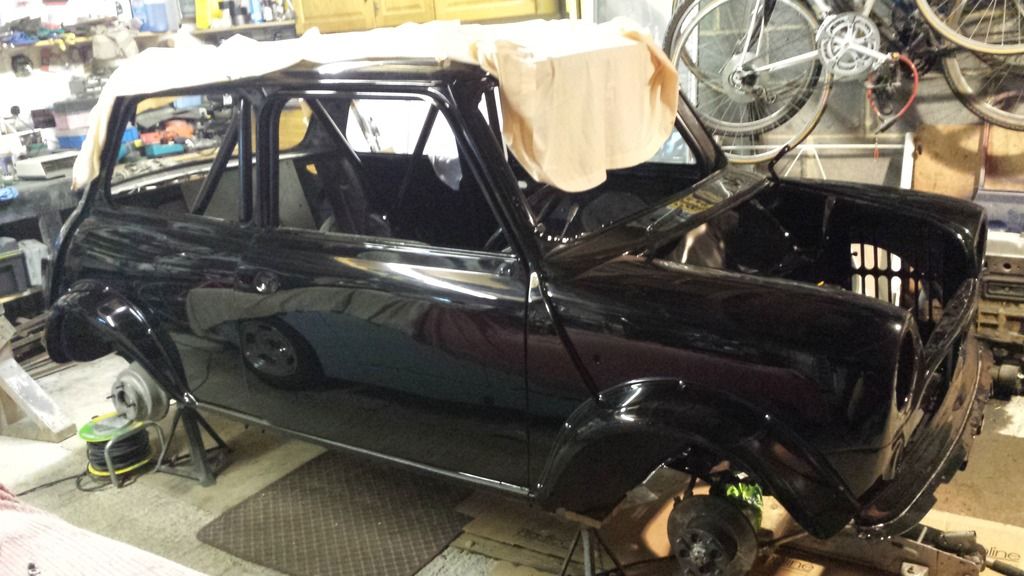
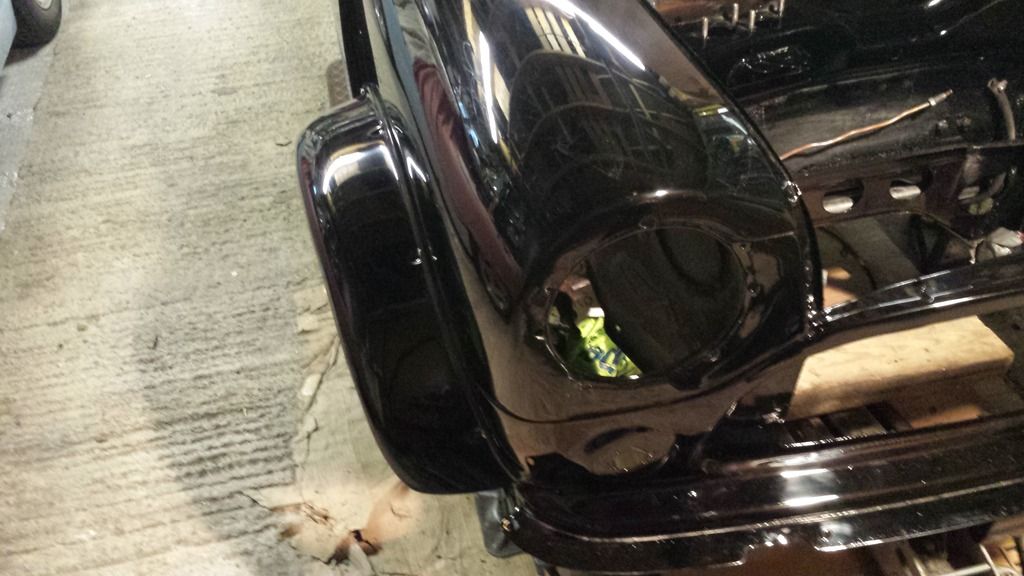
Then moved on to the rear lights and new bumper
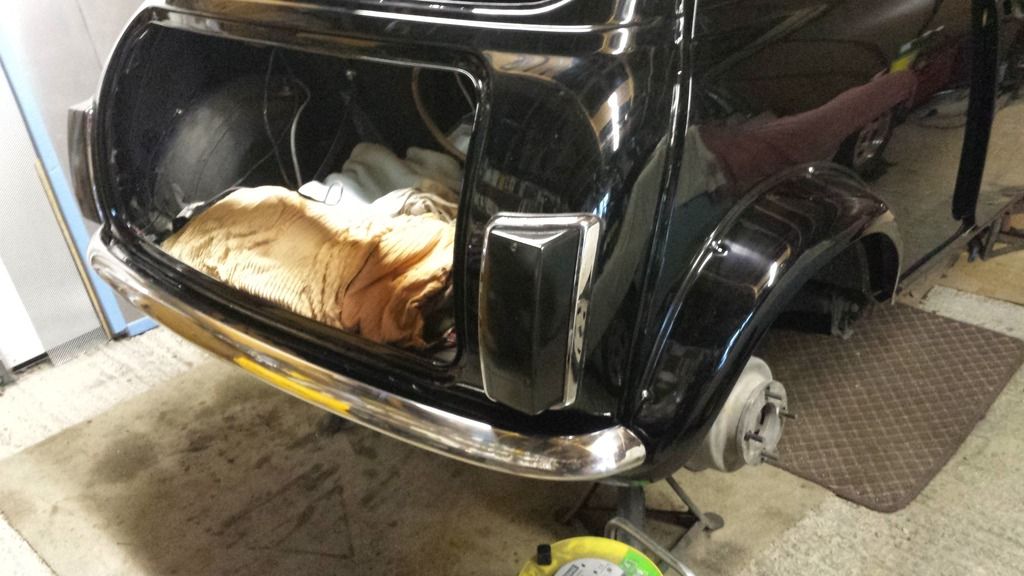
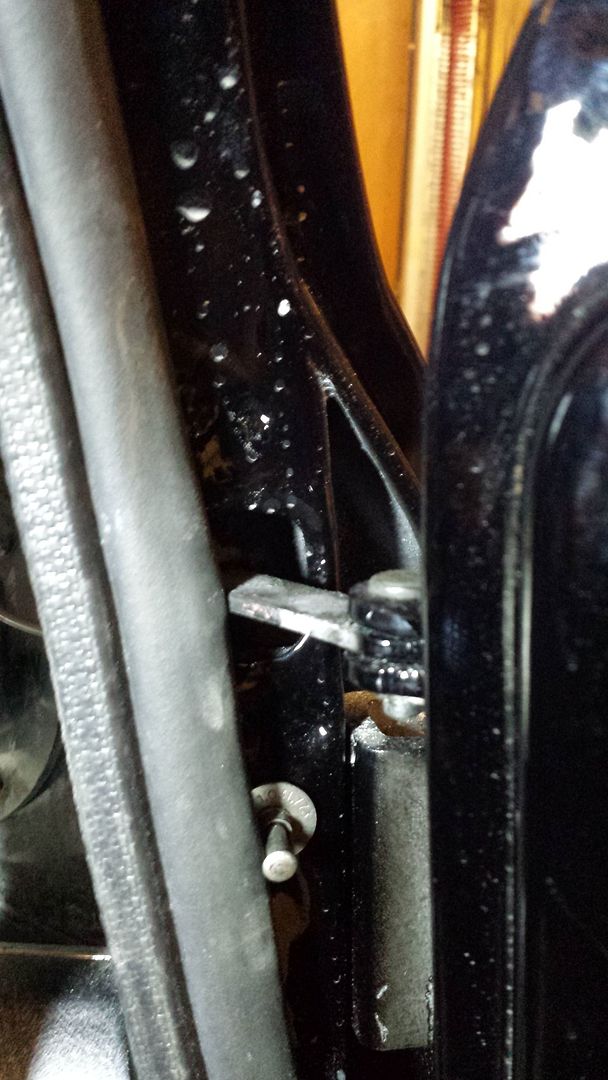
Then turned my attention to the doors, starting with the catches and interior light switches (excuse the water marks)
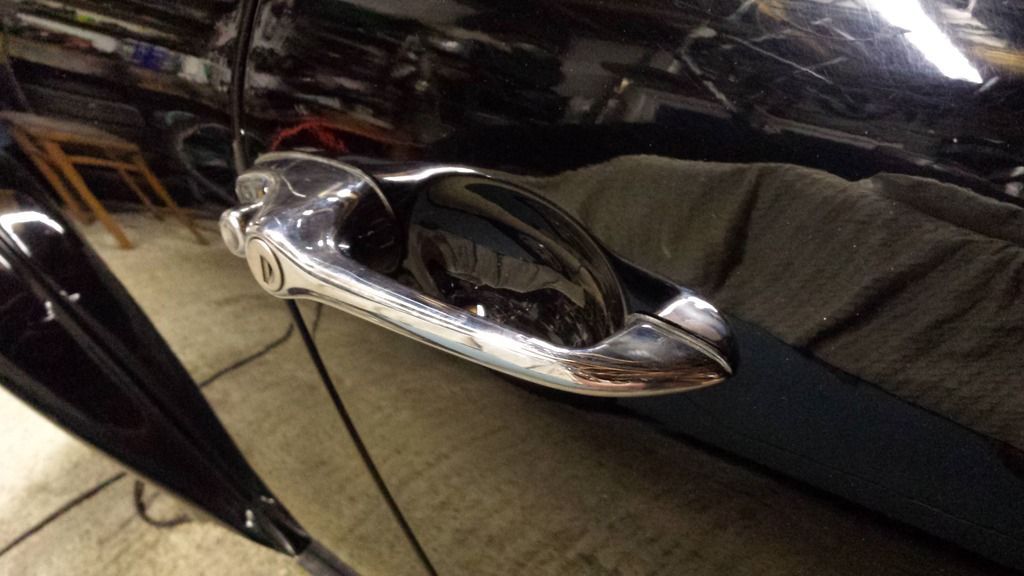
Up next was the door handles, followed by the locking mechanisms
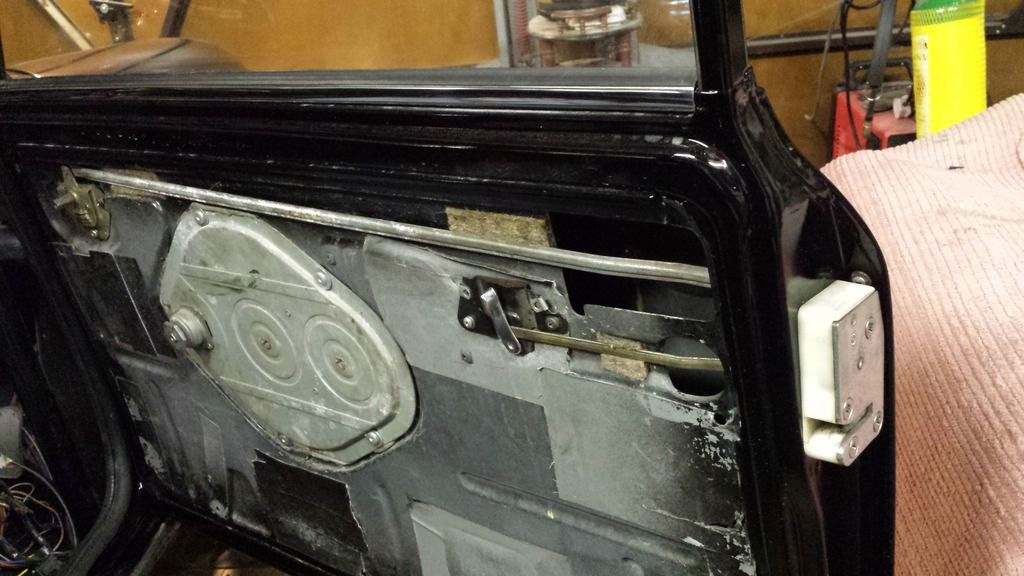
Thats all for now!
Edited by Chris1992, 09 March 2016 - 04:33 PM.
#426

Posted 09 March 2016 - 02:08 PM
Looks sweet and your cracking on well with the build look forward to some more pics :)
#427

Posted 09 March 2016 - 02:19 PM
#428

Posted 09 March 2016 - 02:42 PM
Looks orgasmic to be perfectly honest............. LOL
Looks sweet and your cracking on well with the build look forward to some more pics :)
haha, cheers chaps!! ![]() just getting on with the simple stuff to start with! I'm not looking foreward to the wiring though!
just getting on with the simple stuff to start with! I'm not looking foreward to the wiring though! ![]()
#429

Posted 09 March 2016 - 04:11 PM
#430

Posted 09 March 2016 - 04:32 PM
How come you didn't relocate the washer bottle? After all that time smoothing the bulkhead isn't the old yellowing bottle going to stand out like a sore thumb......? :/
I have something cool planned for the washer bottle ![]() dont worry! It's all been thought about!
dont worry! It's all been thought about!
#431

Posted 09 March 2016 - 06:30 PM
#432

Posted 09 March 2016 - 06:33 PM
Looks brill!
How did you hold your arches on in the end?
#433

Posted 10 March 2016 - 07:32 AM
Flat bulkhead looks great in paint now.
#434

Posted 10 March 2016 - 07:50 AM
looking nice mate the only change I would do is take off the those back lights
#435

Posted 10 March 2016 - 12:11 PM
Thanks guys!!
Bloody show off with your all your mirror like reflectively shiny ness!
Looks brill!
How did you hold your arches on in the end?
Just used some domed rivnuts with a rubber bead between the body and arch. looks nice and tidy! I'll get a close up shot for you when I'm next out in the garage ![]()
1 user(s) are reading this topic
0 members, 1 guests, 0 anonymous users


