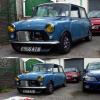
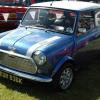
Regardless of the use of filler, the idea is there. I think it's going to look brilliant! ![]()
'88 City E - 'the Purist' - Slammed 16V Show Car'
#391

Posted 26 December 2015 - 03:47 PM
#392

Posted 26 December 2015 - 05:49 PM
Regardless of the use of filler, the idea is there. I think it's going to look brilliant!
cheers man ![]() yeah should look sweet if I ever get it done! haha... going to be tight getting it done for show season!
yeah should look sweet if I ever get it done! haha... going to be tight getting it done for show season!
#393

Posted 26 December 2015 - 06:00 PM
#394

Posted 26 December 2015 - 06:09 PM
Ah m9 you ******* that haga
dnt evan start fam. swear down shes gunna be well peng geeza
#395

Posted 26 December 2015 - 09:46 PM
Ah m9 you ******* that haga
dnt evan start fam. swear down shes gunna be well peng geeza
U what m8 wotch urself b4 u gt rektd
Just make sure your carbs fit before you weld that new piece on!
#396

Posted 26 December 2015 - 11:41 PM
Ah m9 you ******* that haga
dnt evan start fam. swear down shes gunna be well peng geeza
U what m8 wotch urself b4 u gt rektd
Just make sure your carbs fit before you weld that new piece on!
dis ent slamber bruv, bout 2 get bottled fam,
they should! ive seen plenty of minis with twin carbs with blanking plates over the carb recess
Edited by Chris1992, 26 December 2015 - 11:44 PM.
#397

Posted 26 December 2015 - 11:41 PM
**double post** (soz)
Edited by Chris1992, 26 December 2015 - 11:43 PM.
#398

Posted 06 January 2016 - 09:23 AM
#399

Posted 06 January 2016 - 02:38 PM
Looking forward to seeing it in paint!!
I love how low it was sitting! Should be better with these new arches!
#400

Posted 06 January 2016 - 05:28 PM
That moment when you read a thread from the start, get up to date and it's not finished.
Looking forward to seeing it in paint!!
I love how low it was sitting! Should be better with these new arches!
Haha, stay tuned man, shes moving along quickly! albeit with a few setbacks ![]() shes going to paint next weekend now which gives me time to sort out the engine bay and any other imperfections. And she will be just as low as before, if not lower
shes going to paint next weekend now which gives me time to sort out the engine bay and any other imperfections. And she will be just as low as before, if not lower ![]()
Great project. You may find this page useful mate. http://www.theminifo...gine-bay/page-4
Thanks man, thats a god link! I had spotted it before actually.
May as well give a little update of things while I'm here. I took peoples advice and all of the filler in the bulkhead is now gone! got myself some nice flat 1.2mm steel and made a panel to replace it. Then a welder mate came round yesterday and welded it all in for me (I've been practicing my welds and they're getting better, but I wanted this done properly). Just need to get it all ground down and a skim of filler over the welds should finish it off nicely. Pics coming soon! ![]()
#401

Posted 06 January 2016 - 06:54 PM
#402

Posted 06 January 2016 - 07:09 PM
Get those pics up!
#403

Posted 07 January 2016 - 11:10 AM
That moment when you read a thread from the start, get up to date and it's not finished.
Looking forward to seeing it in paint!!
I love how low it was sitting! Should be better with these new arches!
Haha, stay tuned man, shes moving along quickly! albeit with a few setbacksshes going to paint next weekend now which gives me time to sort out the engine bay and any other imperfections. And she will be just as low as before, if not lower
Nice! Looking forward to seeing that! Love low minis! Have you seen the project thread with the blue clubby on wellers? He mentioned some trouble with the rear cones running so low.

#404

Posted 07 January 2016 - 03:02 PM
Nice! Looking forward to seeing that! Love low minis! Have you seen the project thread with the blue clubby on wellers? He mentioned some trouble with the rear cones running so low.
Yep been following that one for a while! Its so awesome! not sure if I'll be able to get quite as low as him since I'm running 13s, but we shall see ![]()
#405

Posted 16 January 2016 - 12:59 AM
UPDATE!
Right then, so if we all remember correctly, I had just spent many weeks perfectly shaping the bulkhead with filler, only for it to be all for nothing... I got over it pretty quickly though, and took action immediately!
here come the pics....
Began by cracking out the grinder, and well... I went mad with it...
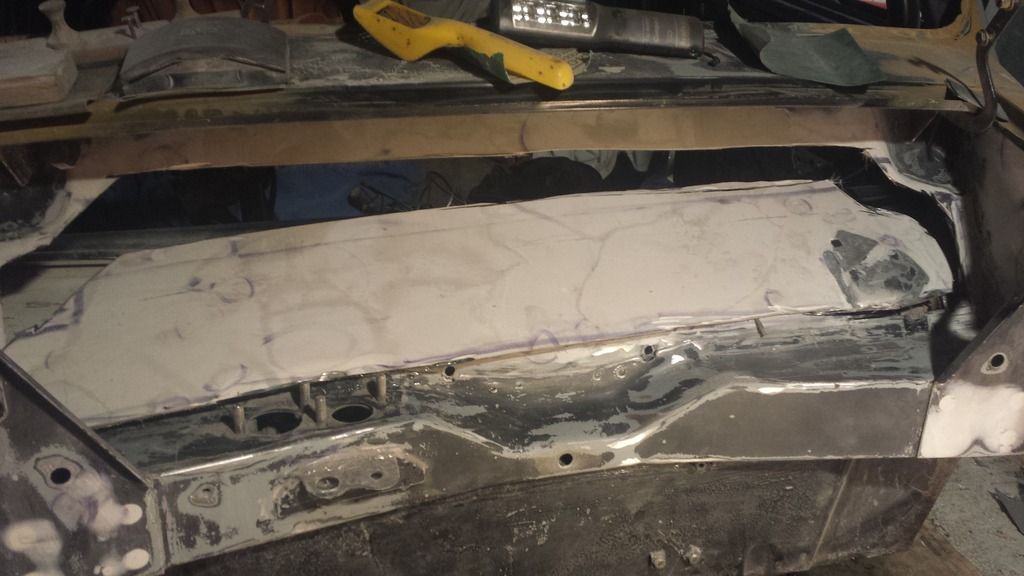
MASSIVE HOLE....
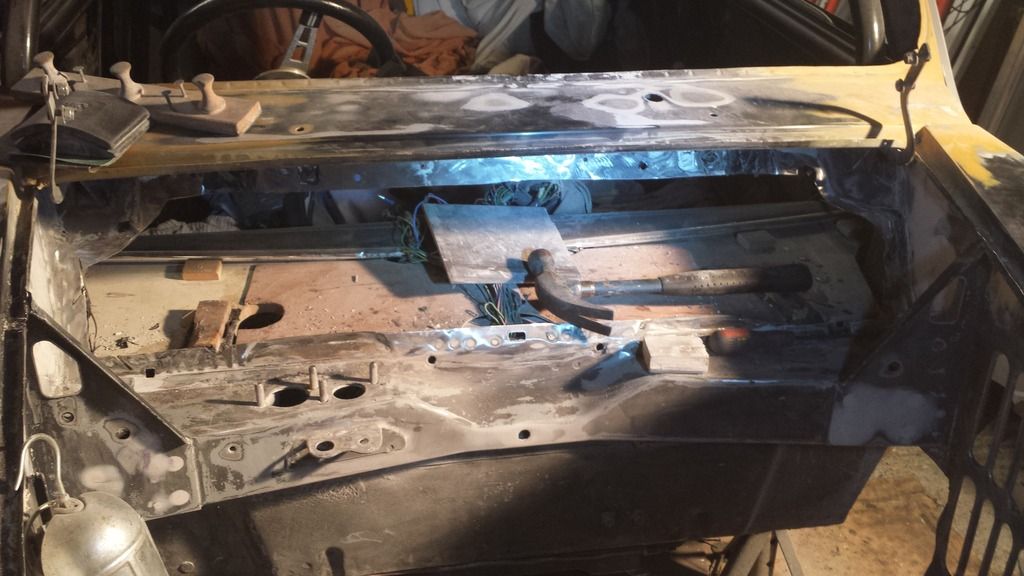
Out with the drill and wire brush to clean up the remaining filler
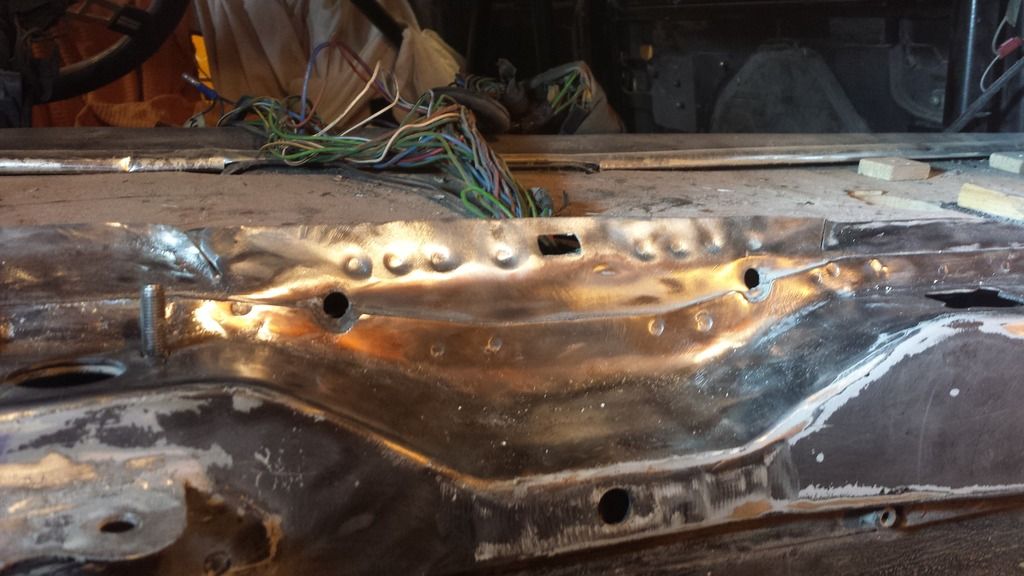
Made up a card template. As you can see my aim was to get it welded flush with the return lip on the crossmember (if that makes sense)
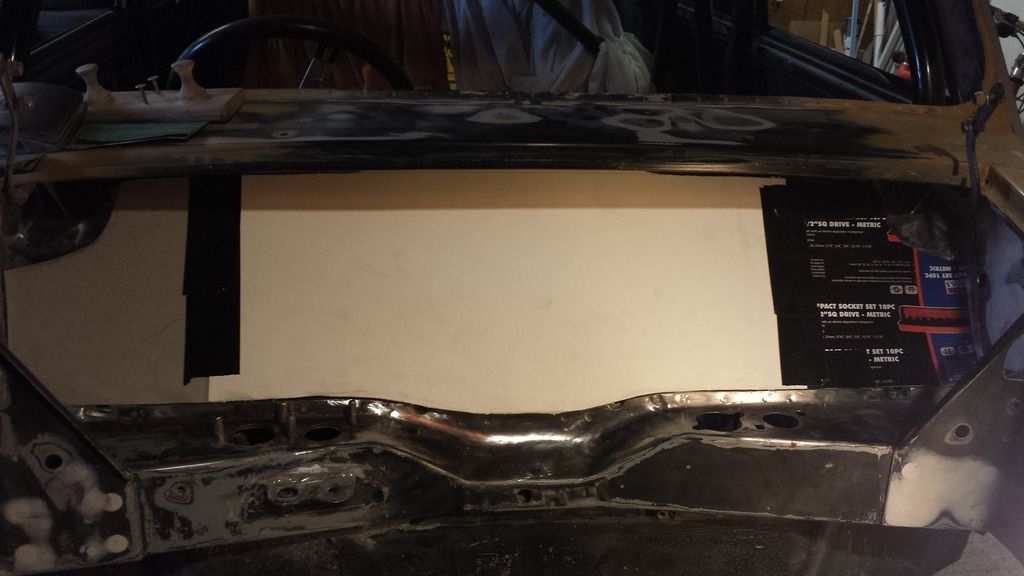
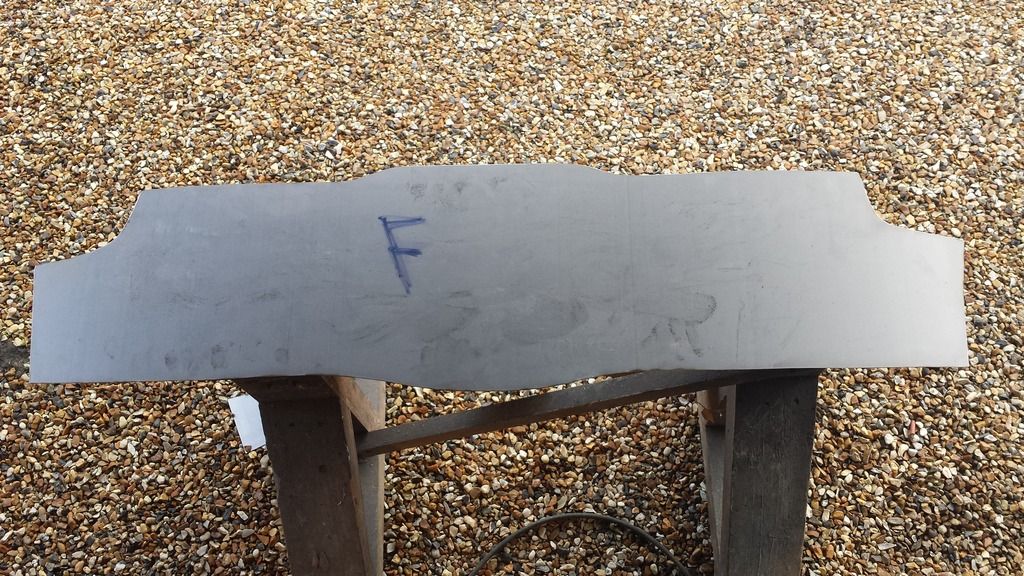
Then got myself a nice big sheet of 1.2mm steel and made a replacement panel
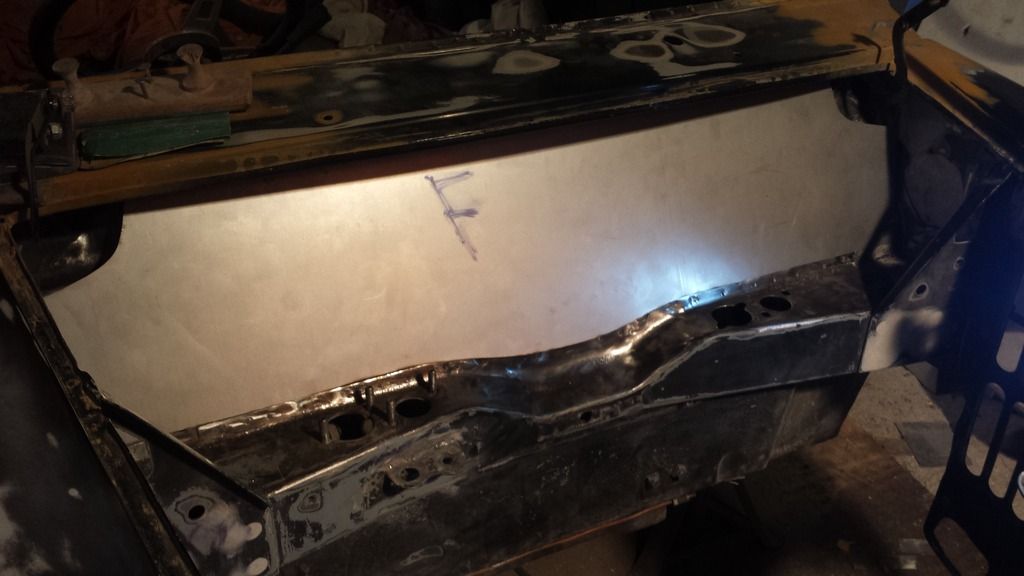
Slotted in (after A LOT of bending and man-handling) and ready to be welded in
As I may have mention a few posts ago, I have been practicing my welding, and I'm getting better, but I wanted this done properly so I dragged in my mate who works doing welding and bodywork in a garage local to me, and he seam welded it in for me. this was the bottom edge done and ground down.
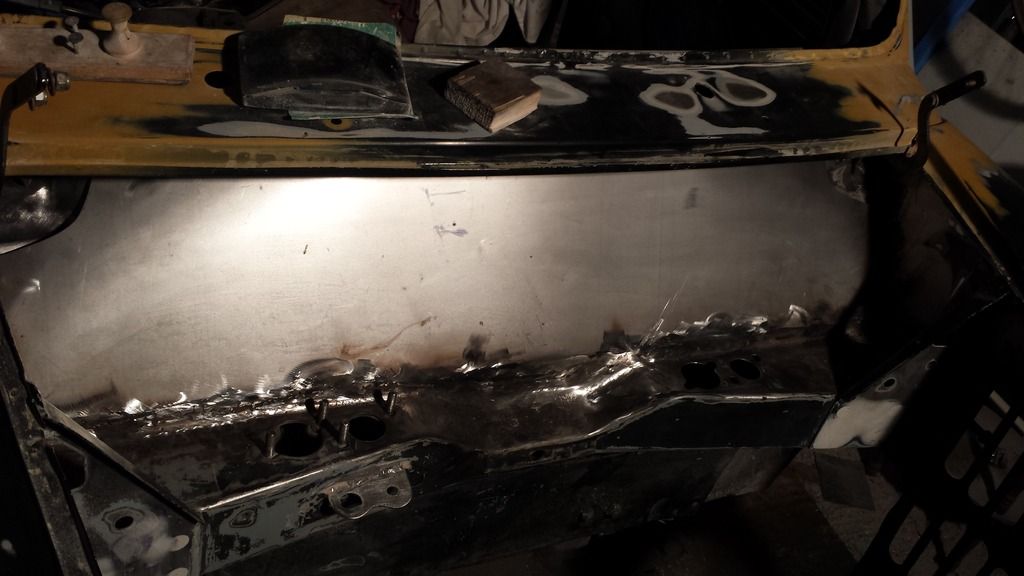
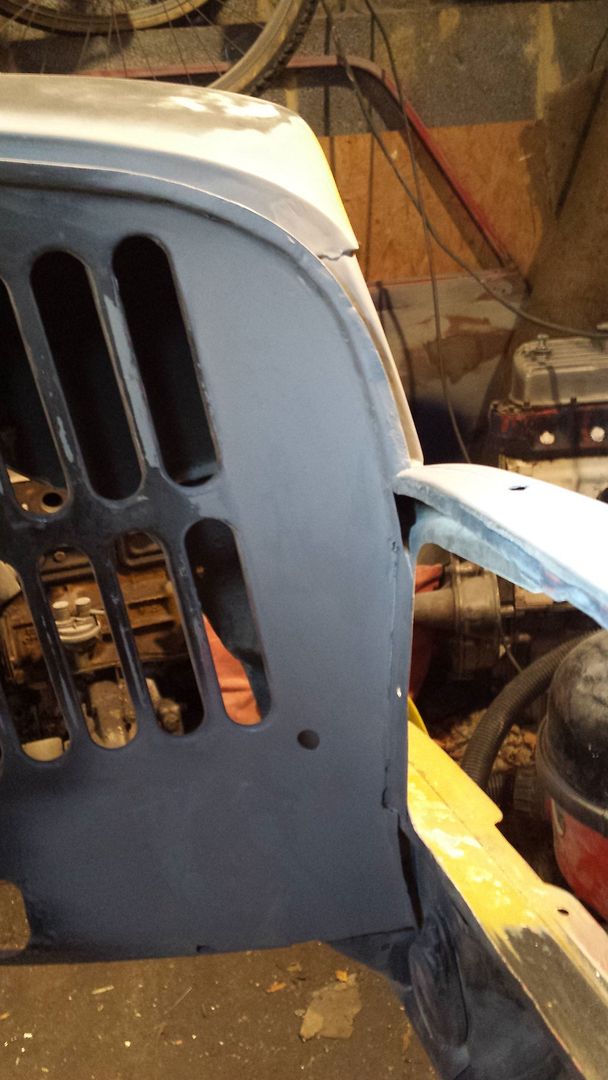
Here you can see how the ends were bent back and welded in (its seam welded along the top too). Then got it all ground down and started applying filler to smooth it over. Only a little bit of filler this time, I promise, I've learnt my lesson!
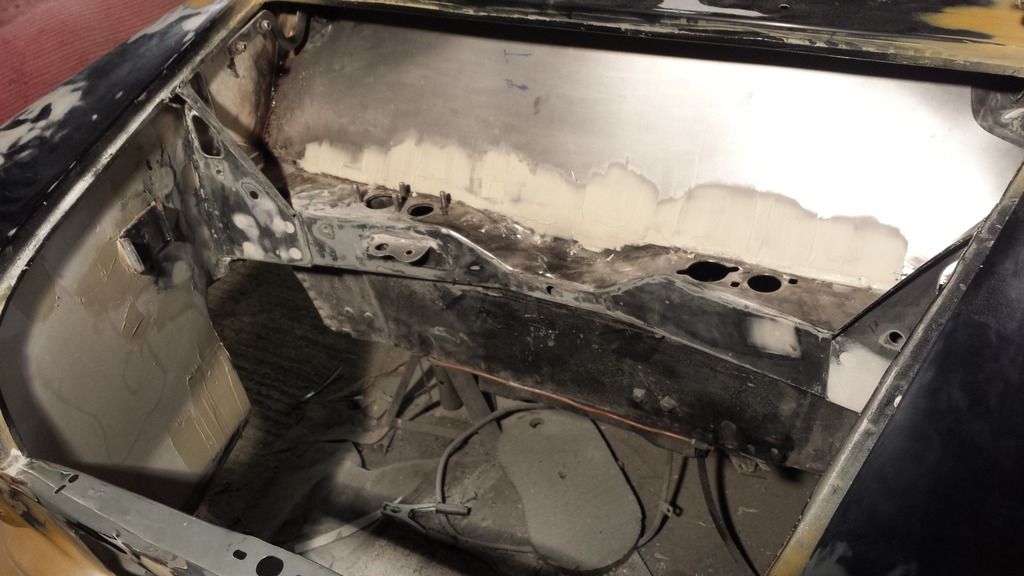
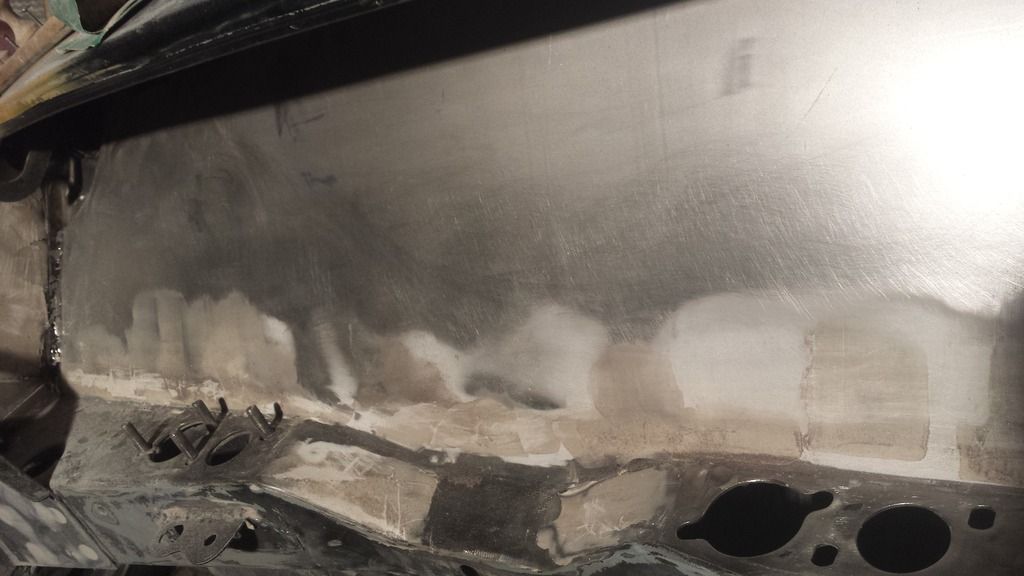
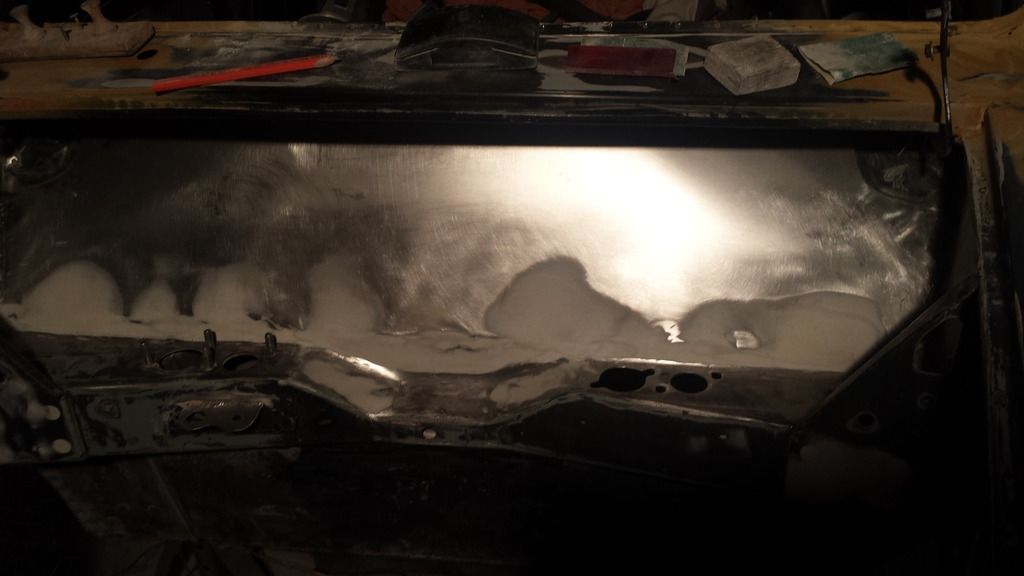
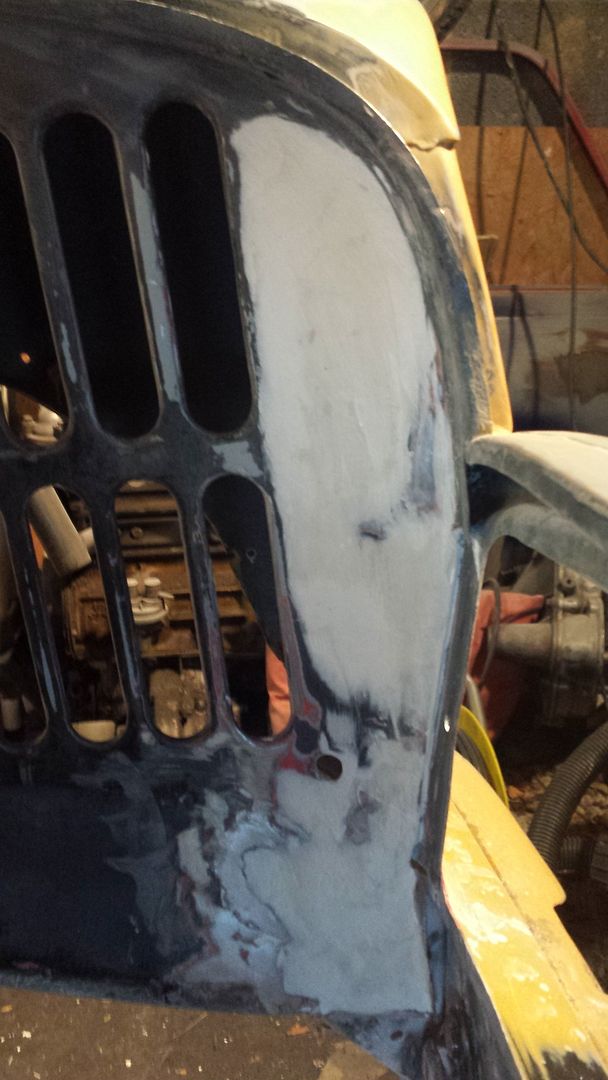
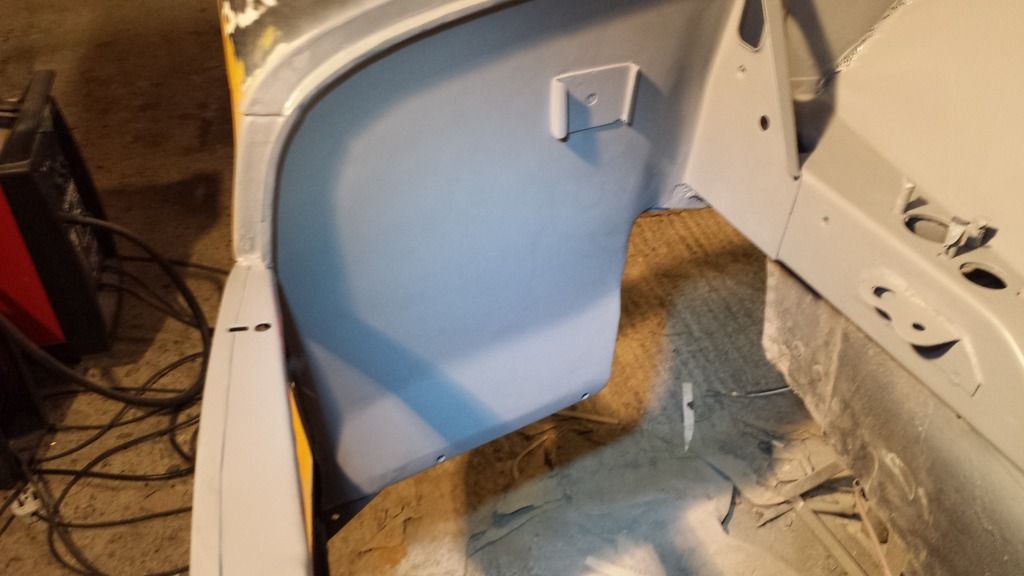
While doing this I was also working on smoothing the inner wings, as you will see below
I know it looks like a lot of filler, but I swear to god its no where near like the bulkhead was! This is just a very thin skim
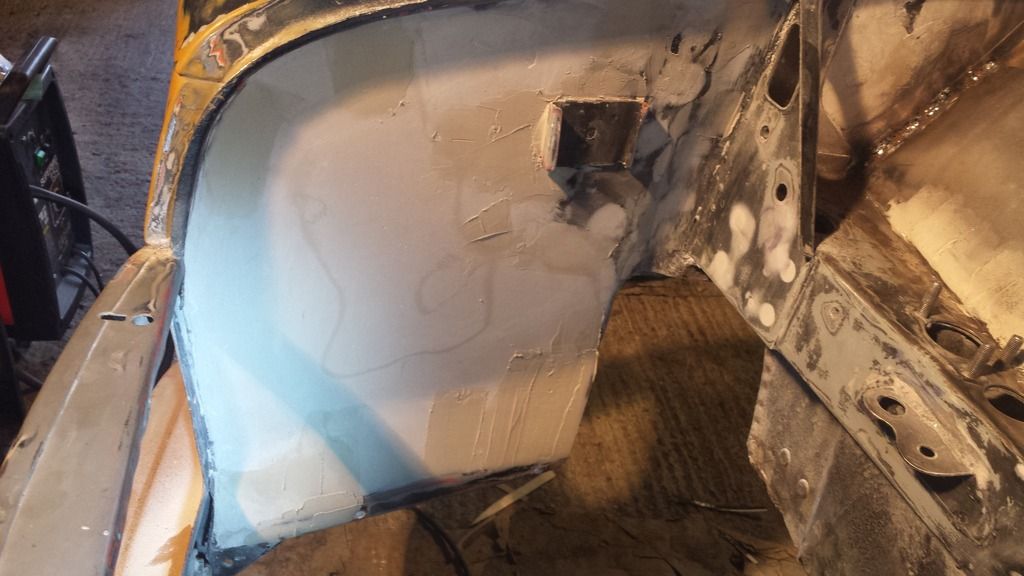
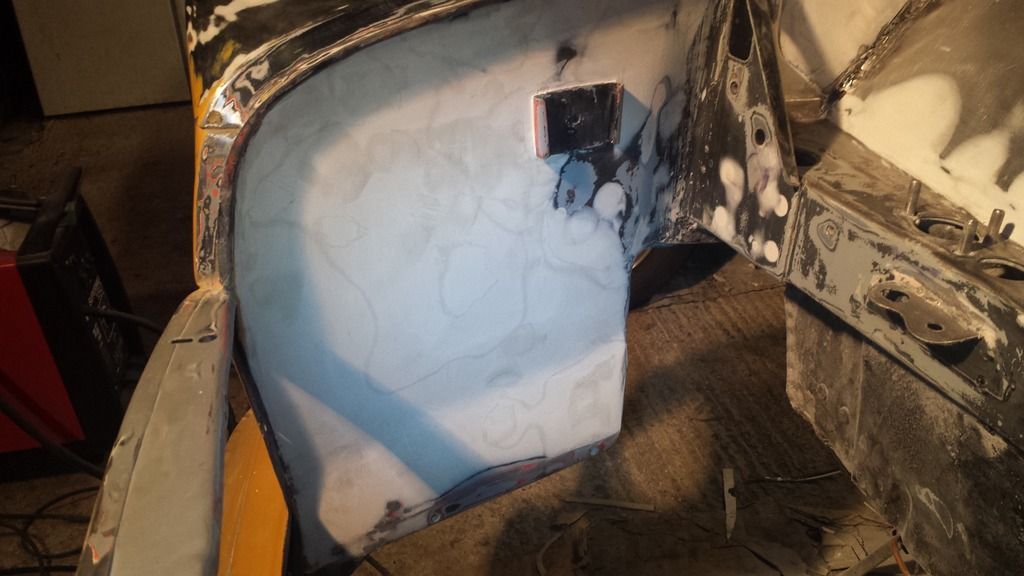
Most of the passenger side inner wing is hidden by the radiator, but some of it is visible, so wanted to make sure it looked pretty (terrible photo, my bad)
Finally gave it all a coat of grey primer after finishing the filler stage. Ignore the blotchiness, the paint was still wet when I took the photos and it was drying slightly quicker where the filler was, plus it wasn't a very thick coat, but you get the idea.
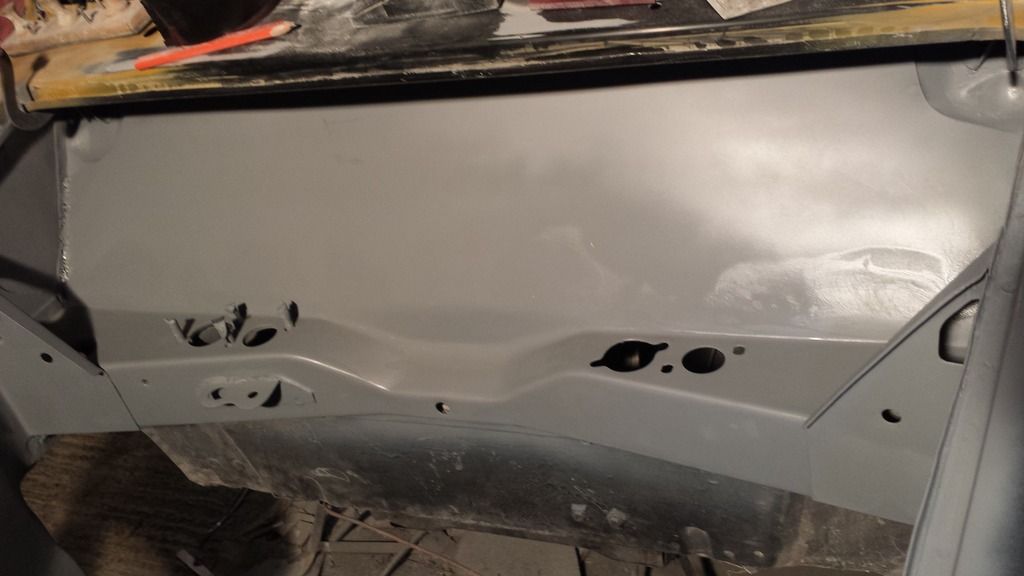
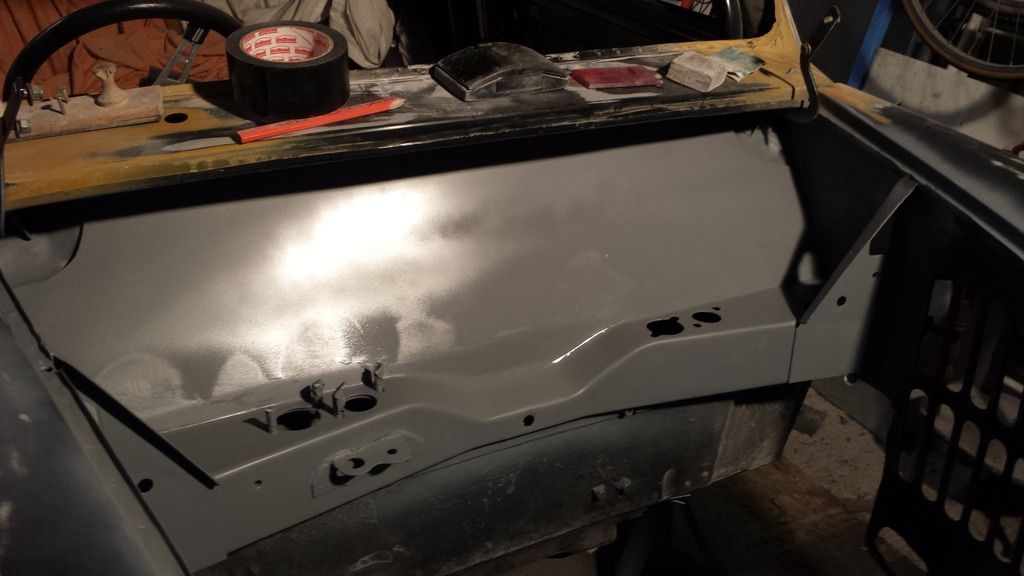

and finally, SHES GOING FOR PAINT TOMORROW!!!
Ill post another update tomorrow if I get the time ![]()
1 user(s) are reading this topic
0 members, 1 guests, 0 anonymous users


