Jump to content


Photo
- - - - -

'88 City E - 'the Purist' - Slammed 16V Show Car'


  • Please log in to reply
767 replies to this topic

#361 Chris1992

Chris1992

    Up Into Fourth

  • Members
  • PipPipPipPipPipPipPipPipPip
  • 2,022 posts
  • Location: Essex

Posted 09 October 2015 - 08:22 PM

slacking with the updates. poor effort... 


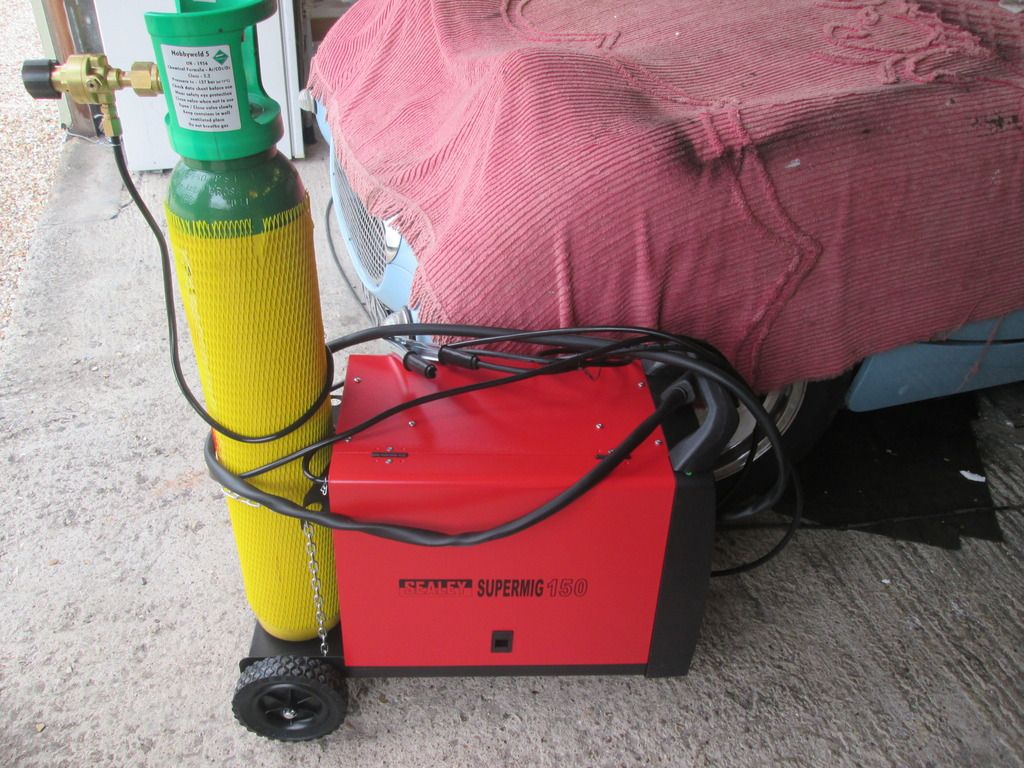
right, I'll kick things off with our new welder, or should I say jigsaw puzzle....
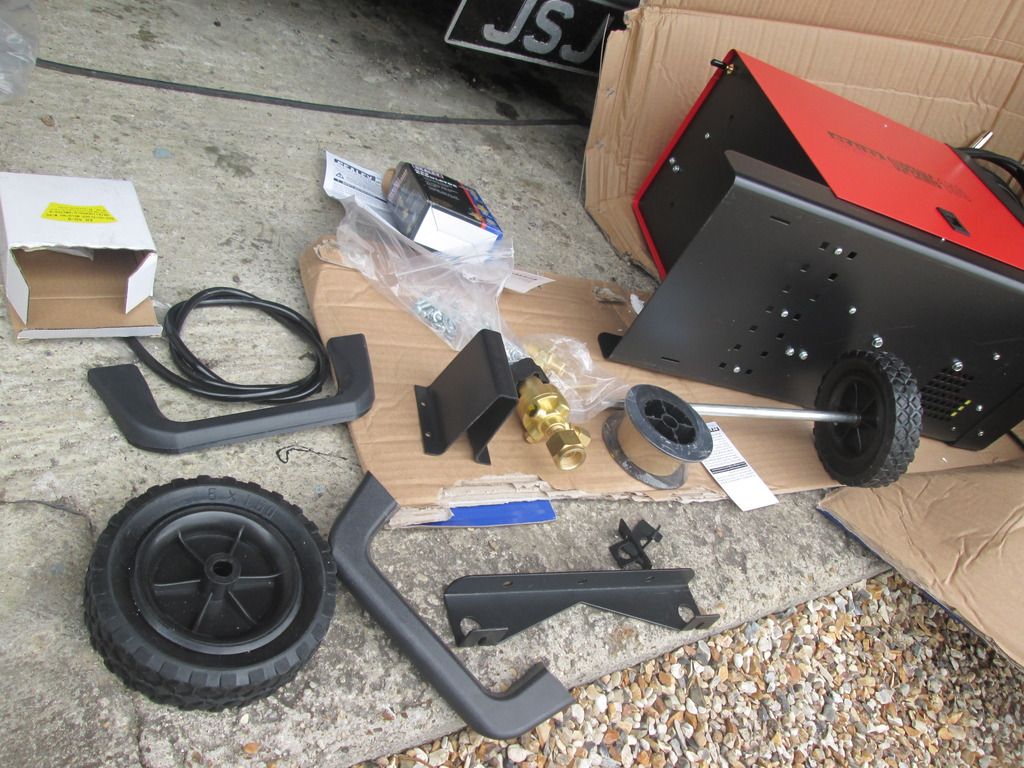
 

IMG_1985_zpsfzgx6uke.jpg


sorted


IMG_1989_zpsnpcipqnx.jpg


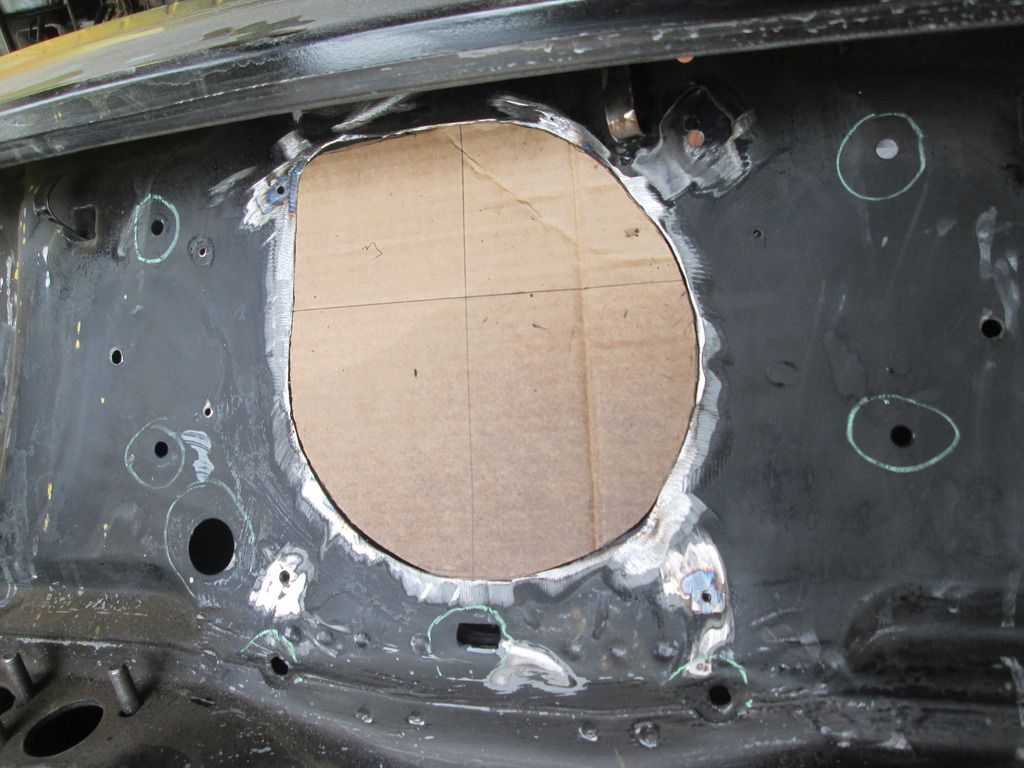
then decided to just dive straight in with it and weld up the hole in the bulkhead.... yeah because that went really well....


started off with a cardboard template
 

IMG_1986_zpscmlnkg4d.jpg


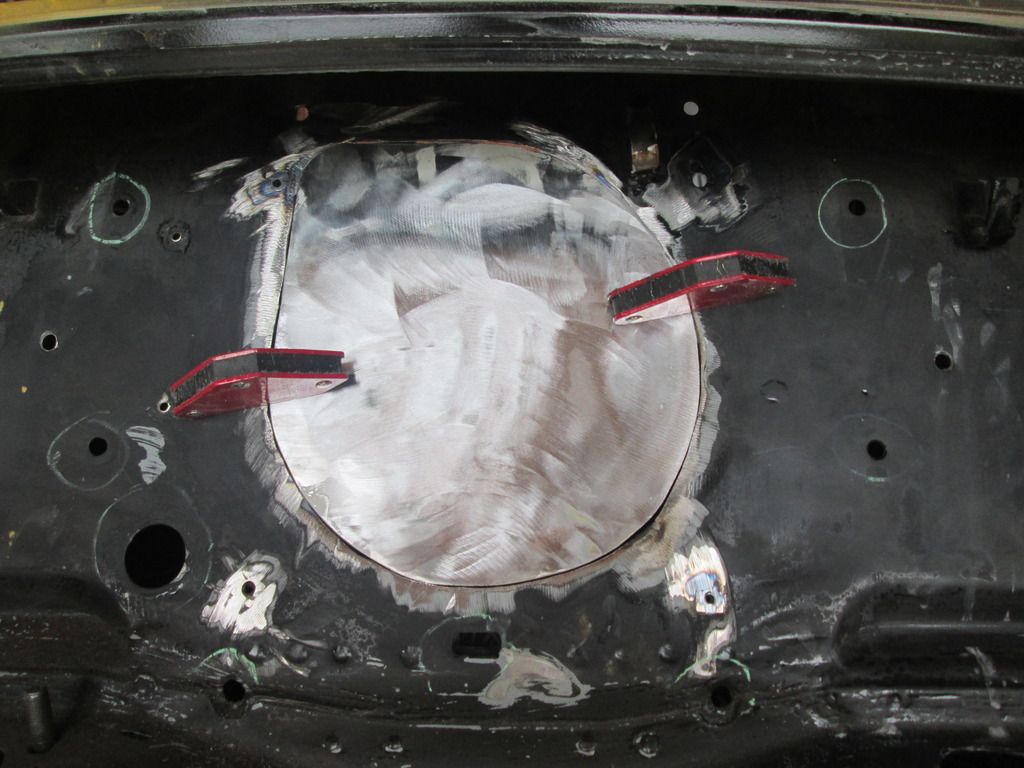
then made a steel patch from the template
 

IMG_1990_zpsda0pz5hj.jpg


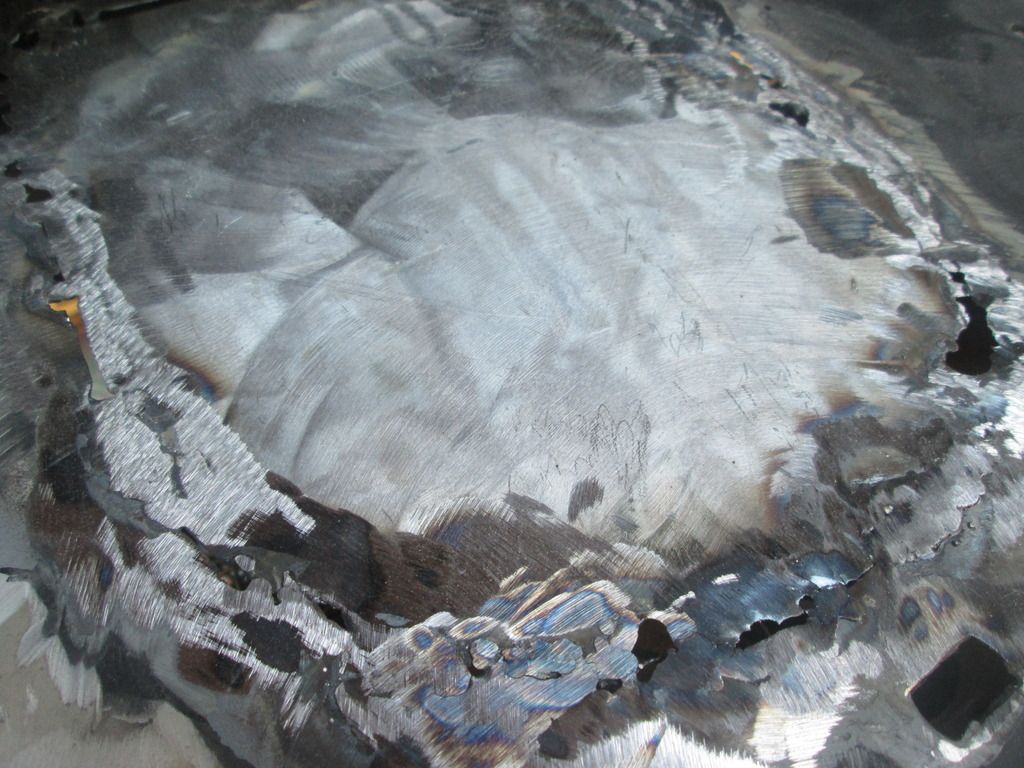
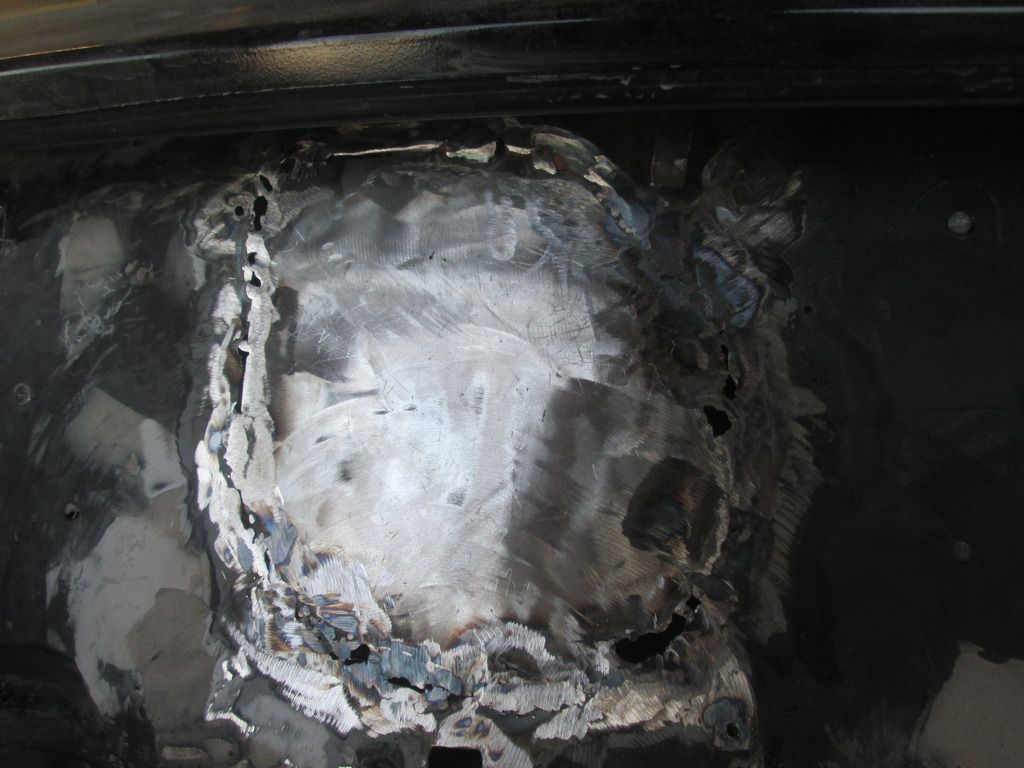
and then successfully completed what is probably the worst welding job man has ever seen...


to all experienced fabricators reading this, i can only apologise


this was after grinding it down
 

IMG_3076_zpsorwrdkjj.jpg


IMG_3077_zpslcq9j5ts.jpg


ah well, the way i see its solid, and its not a structural panel so its nothing a bit of fiberglass matting behind it wont fix.


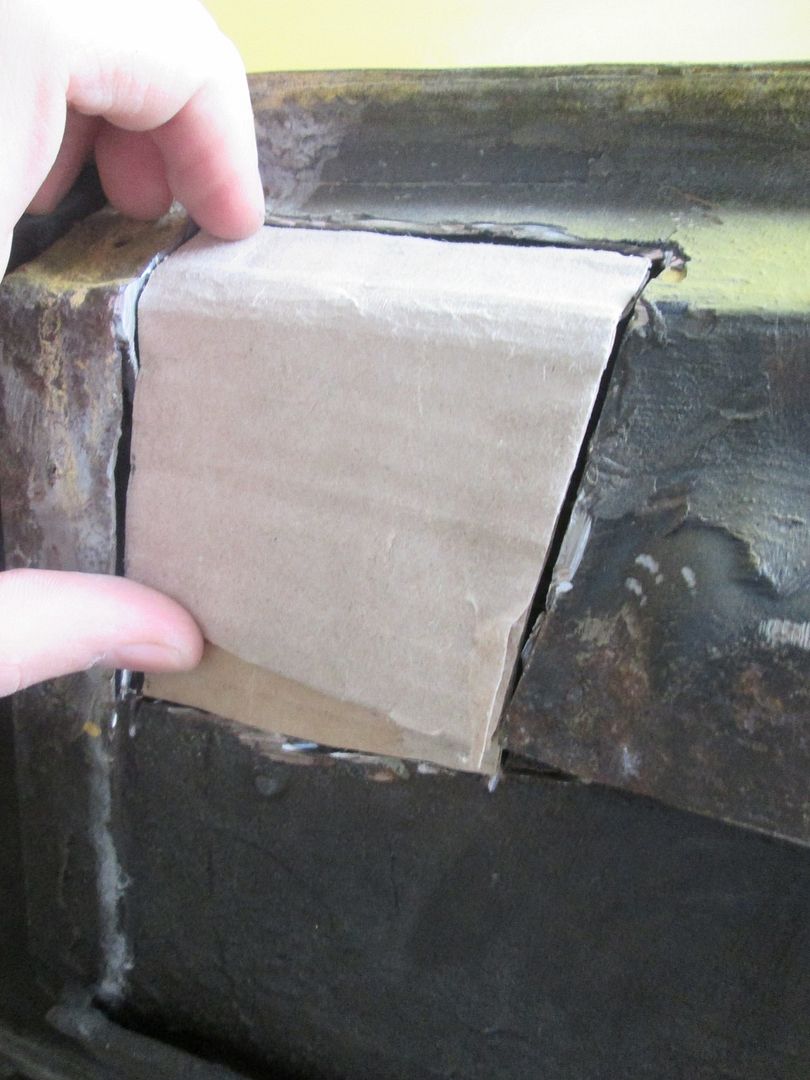
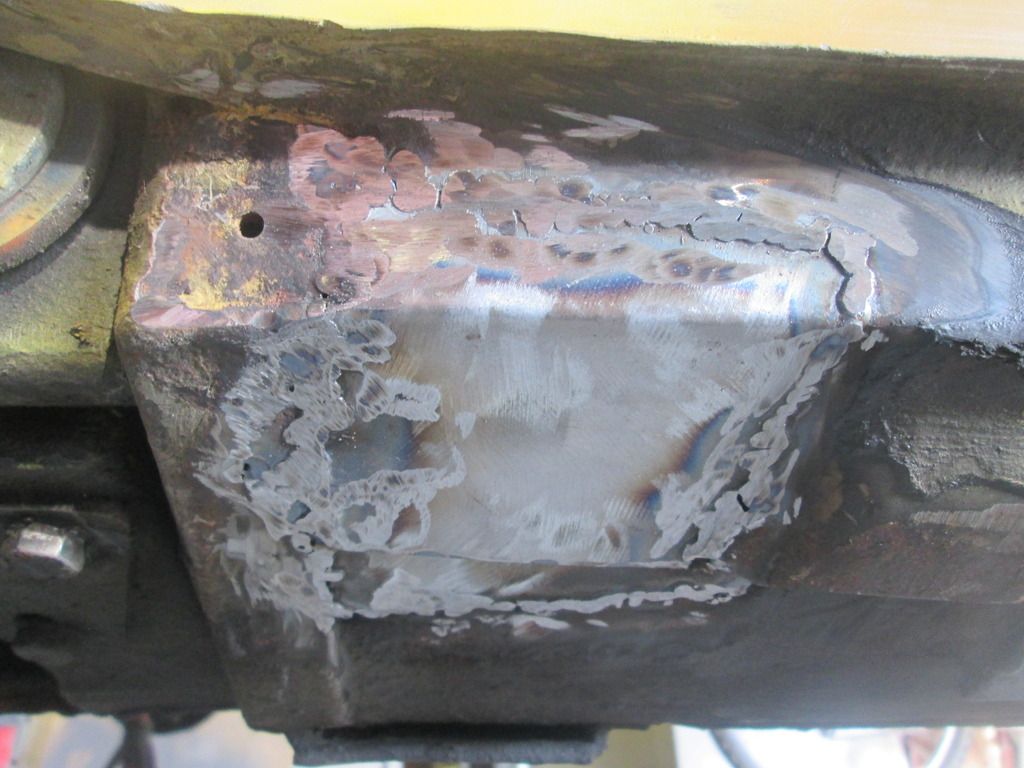
next it was time to address the big hole i made in the sill, so same process again.


cardboard templates
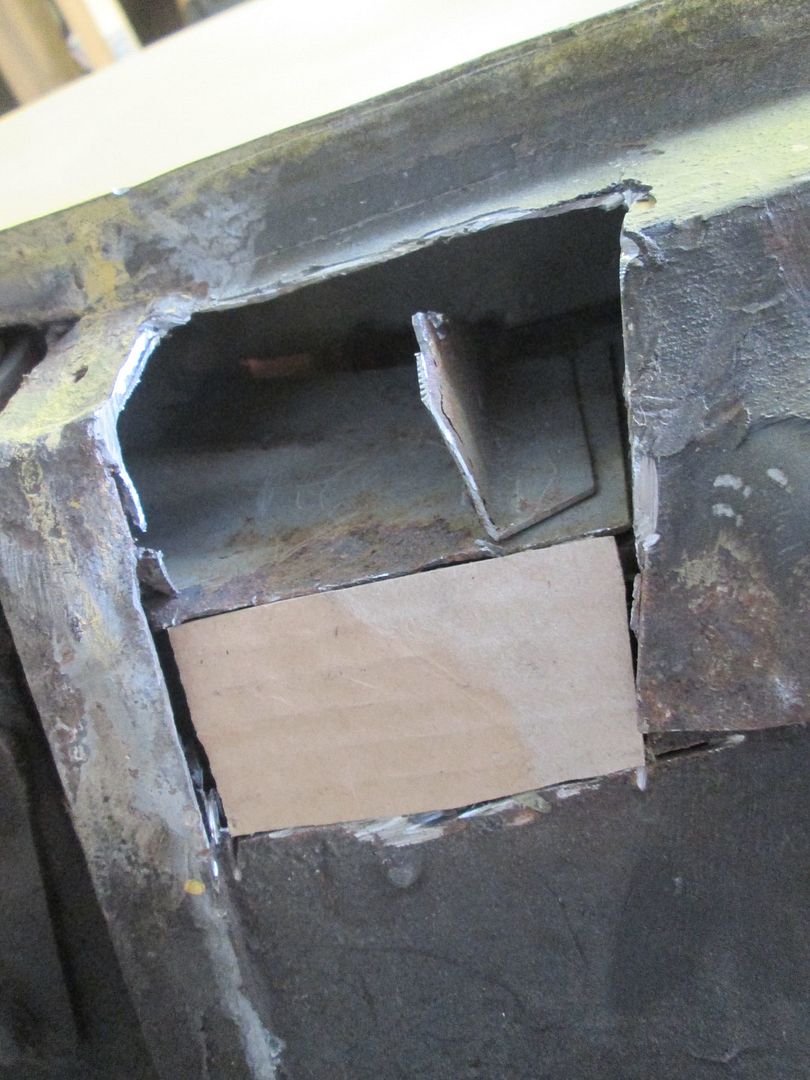
 

IMG_1987_zpsxdrupwlr.jpg

IMG_1988_zpszthaiawx.jpg


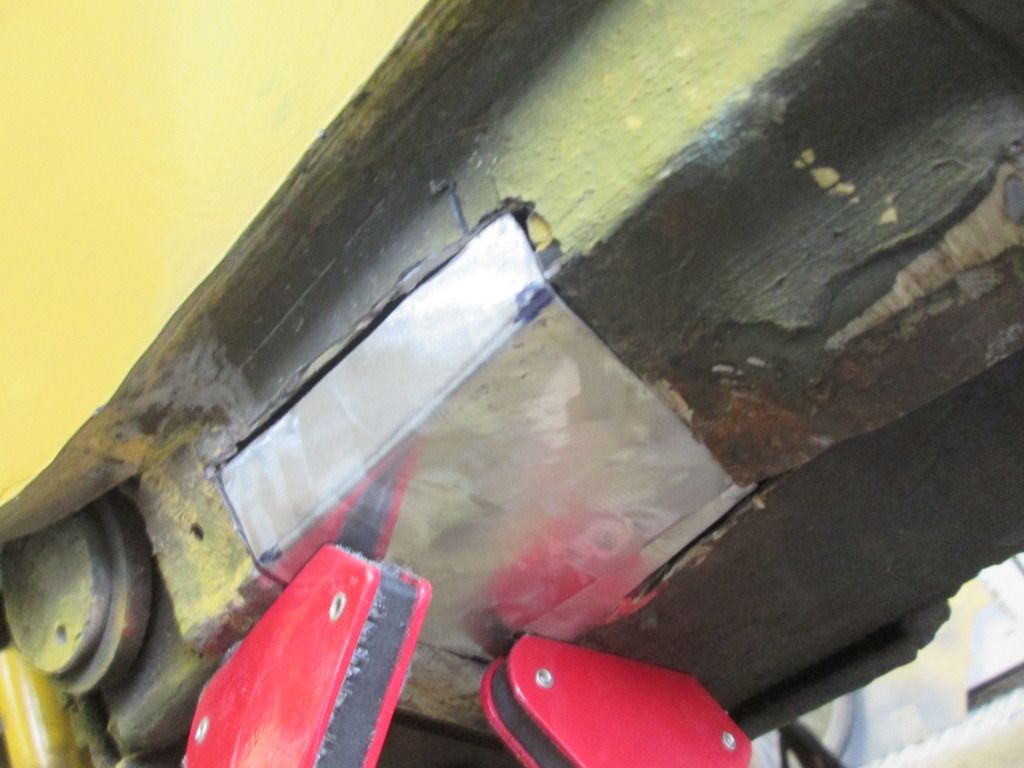
followed by metal patches


IMG_1993_zpsaf8zvicv.jpg


except this time i recruited some professional help, in the form of forum member 'Artful Dodger'.... what a lovely chap


and what a lovely job he did
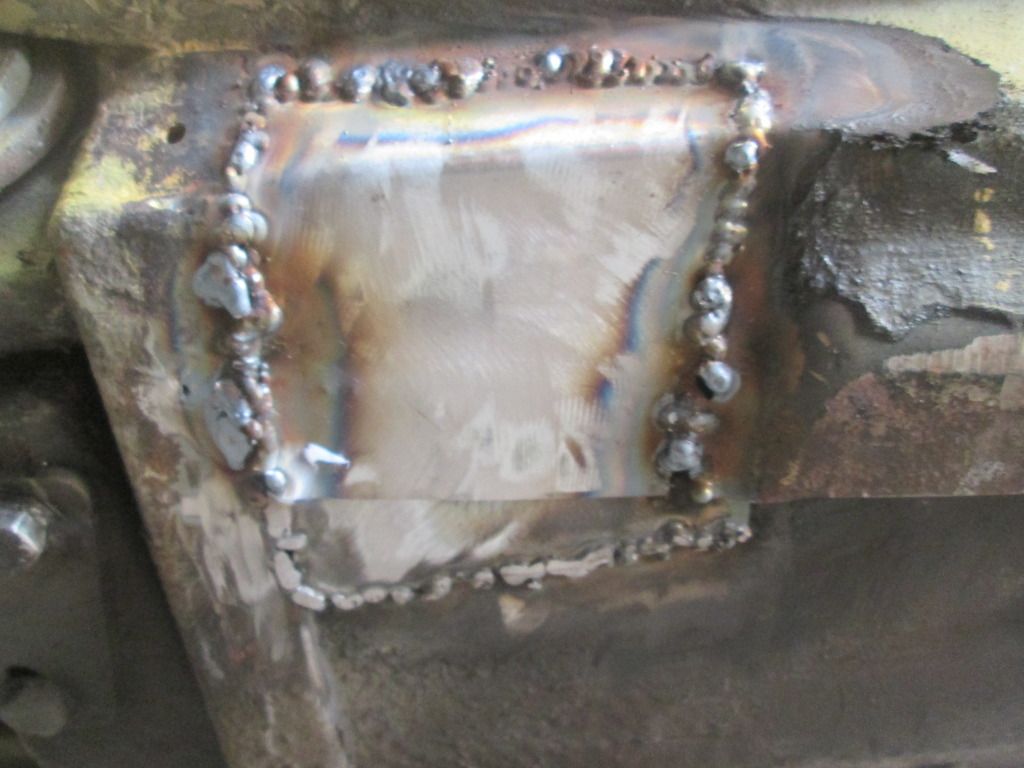
 

IMG_3114_zpsgvj5wmlv.jpg


and after a bit of grinding


IMG_3115_zpse46s8vdi.jpg


bit of stone chip and it'll be lovely jubly


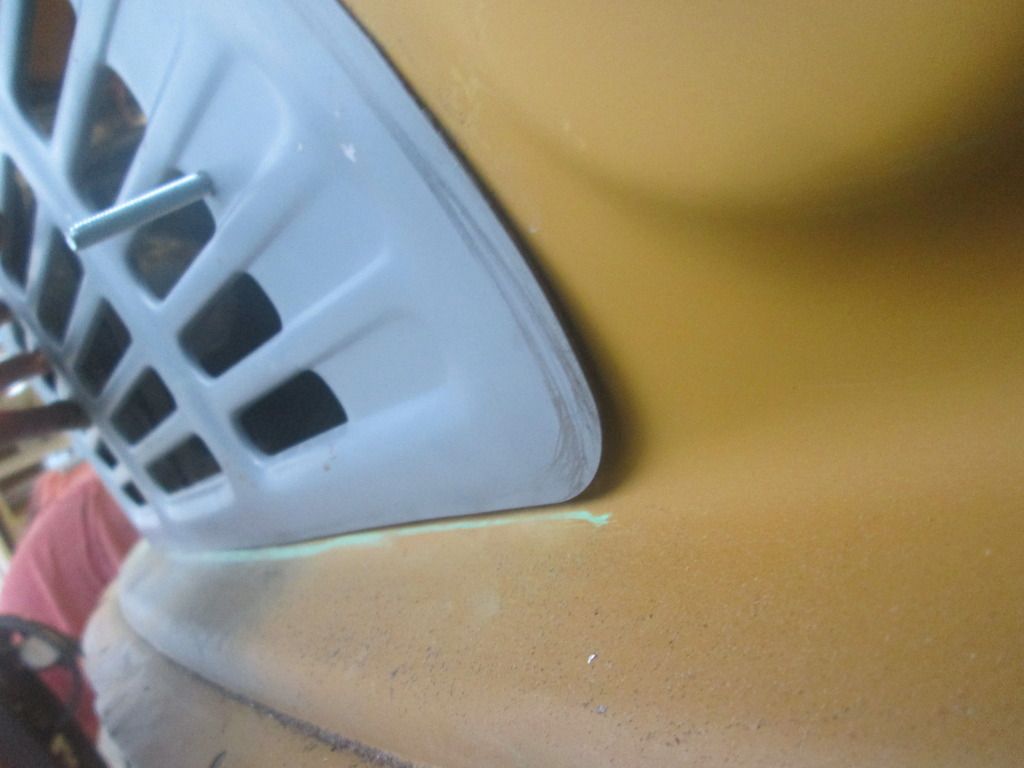
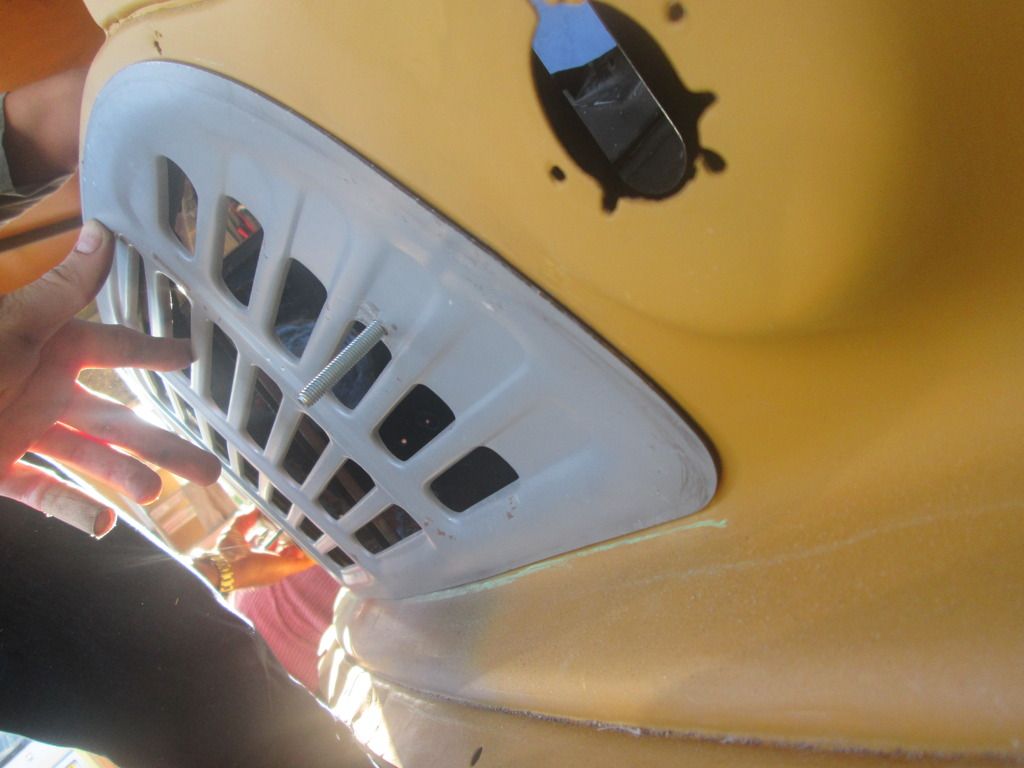
moving on from that, i then did some work on getting the grille to fit


as you can see from the pics it was a bit of a rubbish fit
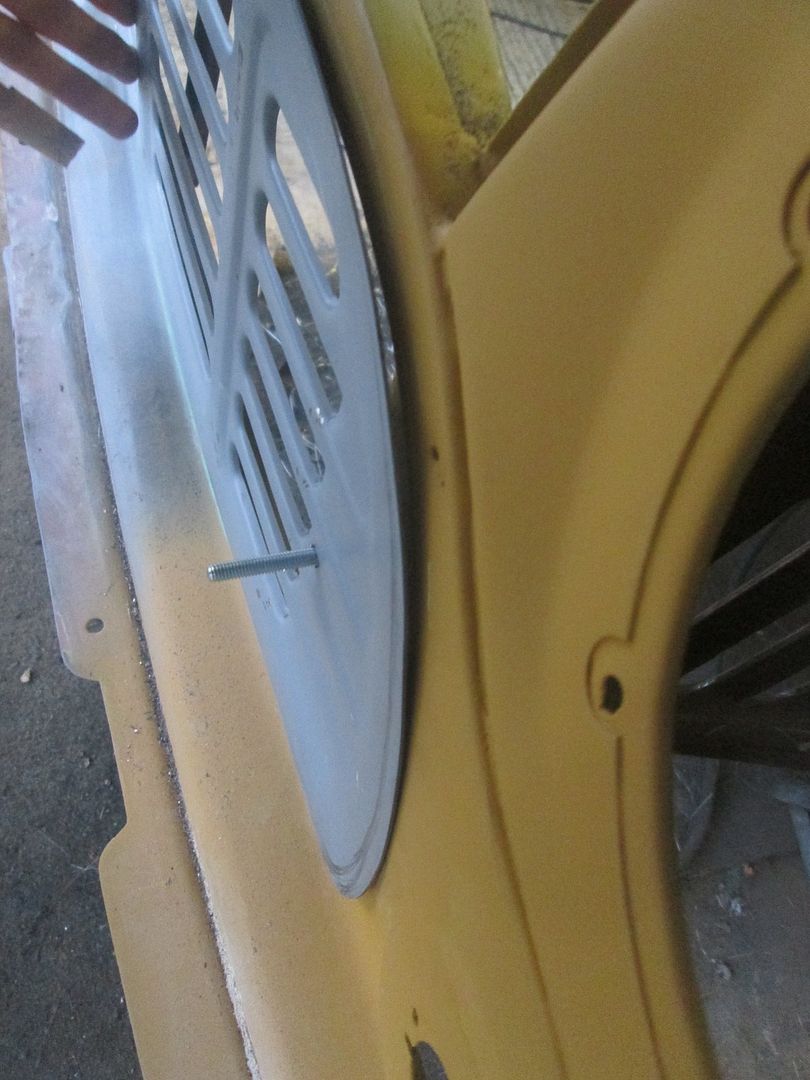
 

IMG_2744_zps0egrh6hn.jpg

IMG_2746_zpshybixq8z.jpg


so armed with some pliers, i went on a bit of a bender. (pun intended)


managed to get it to fit much better, although it needs a dash of filler now 
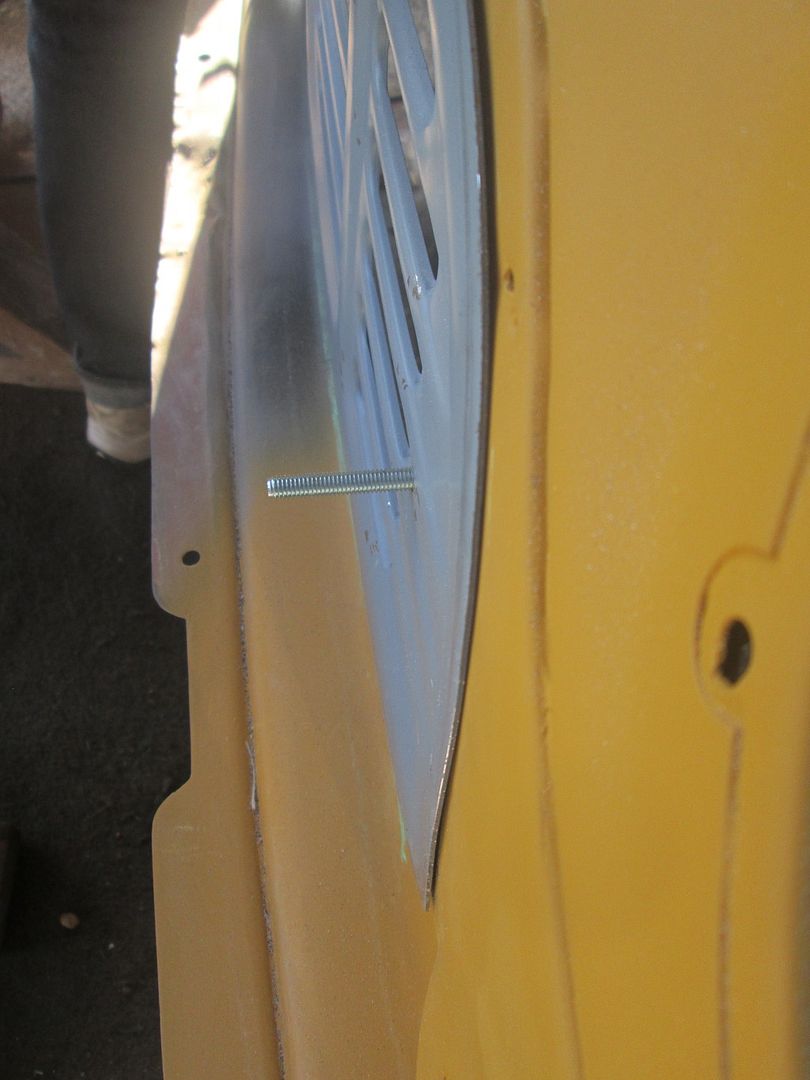
 

IMG_2749_zpskn37qj64.jpg

IMG_2750_zpsfmjs5vyq.jpg


much better


next up was the bonnet. started off by drilling out the spot welds that hold the front lip on so i could convert it to the MK1 style
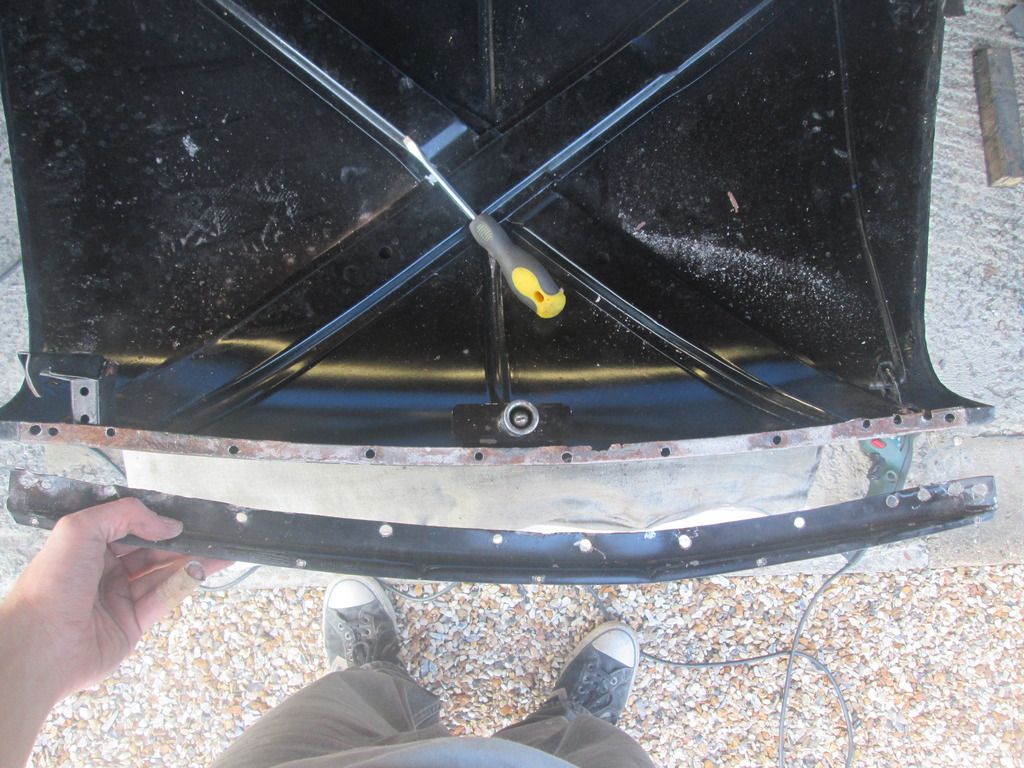
 

IMG_2751_zps1e0ufa5j.jpg


bit crusty, but it cleaned up fine once i went over it with a wire brush
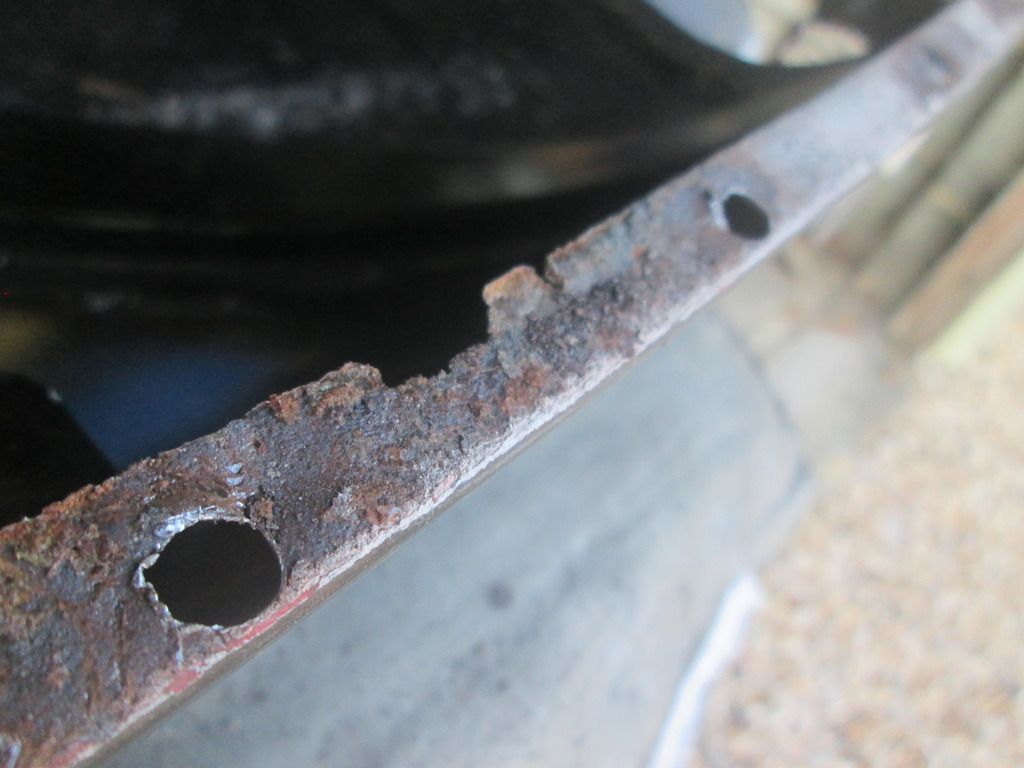
 

IMG_2752_zpsywookybs.jpg


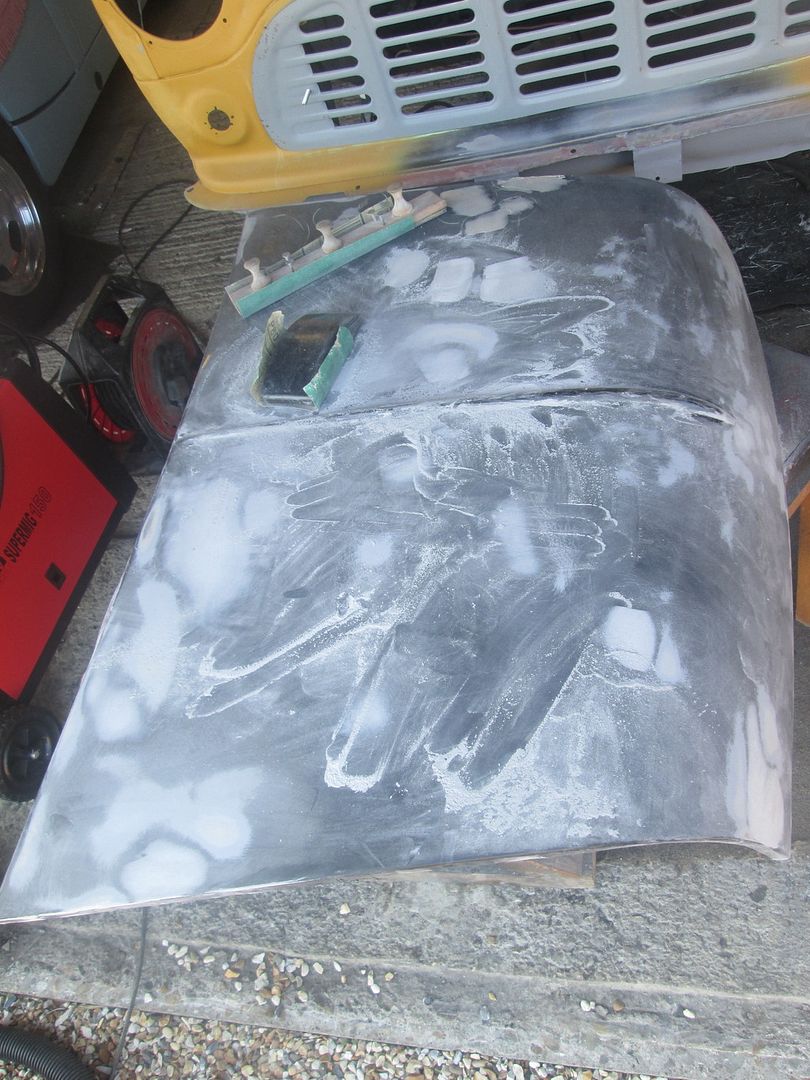
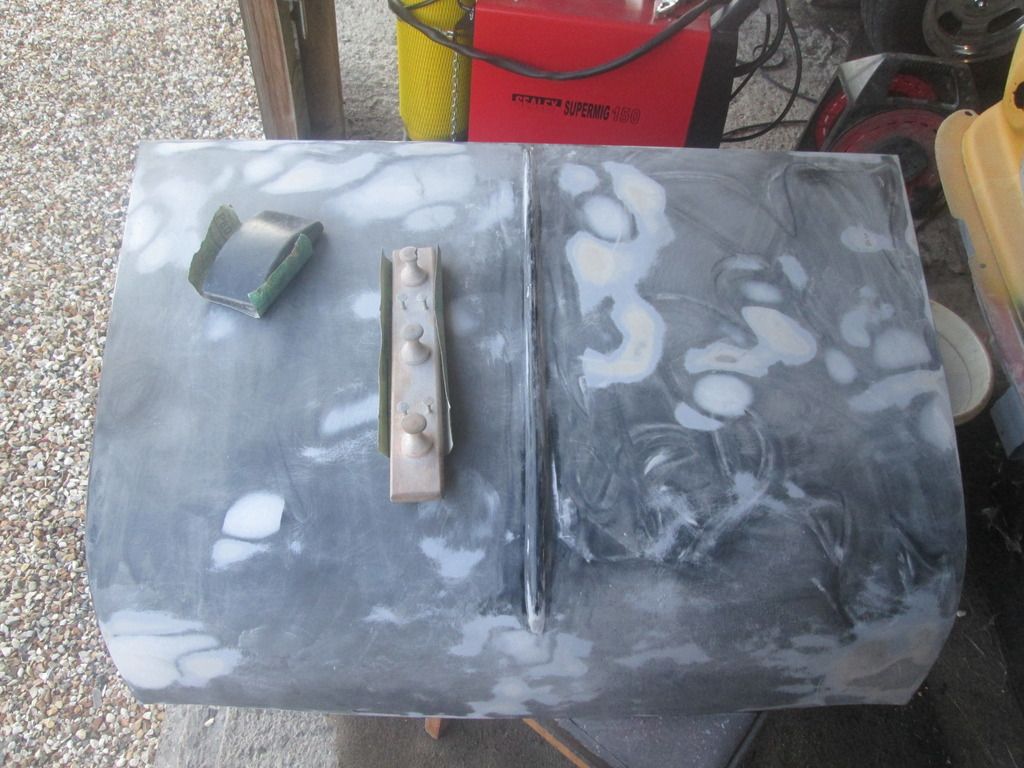
then it was time for more bodywork. initial rub down
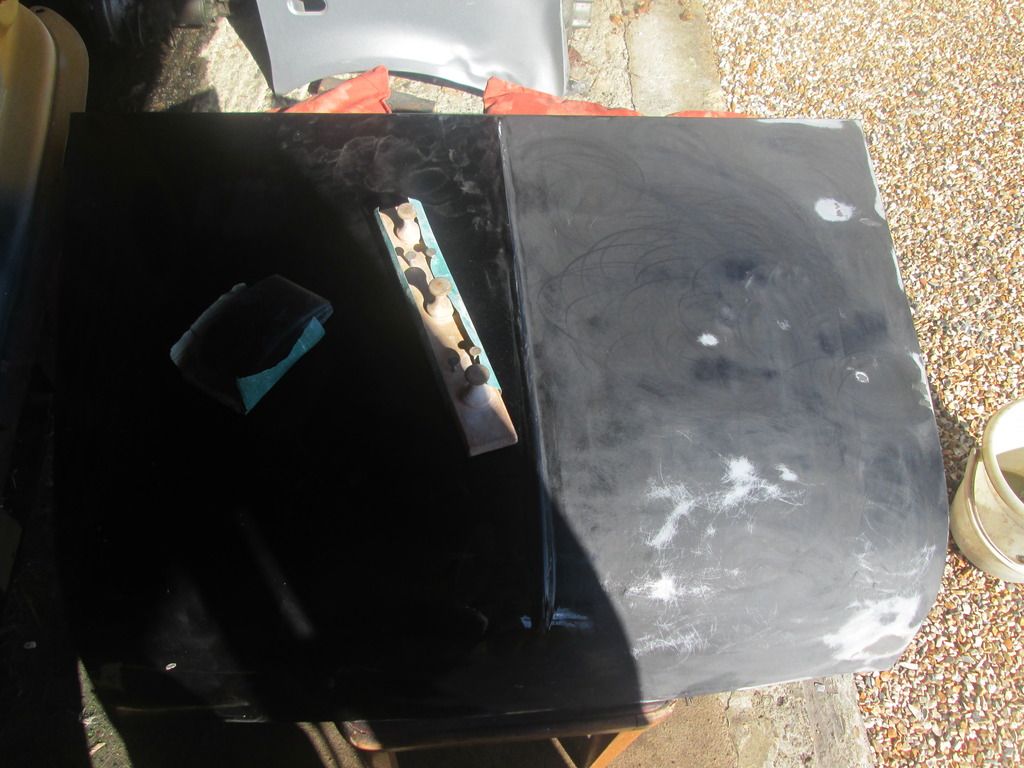
 

IMG_2755_zpsedppnodl.jpg


followed by just the tiiiiiiniest amount of filler...
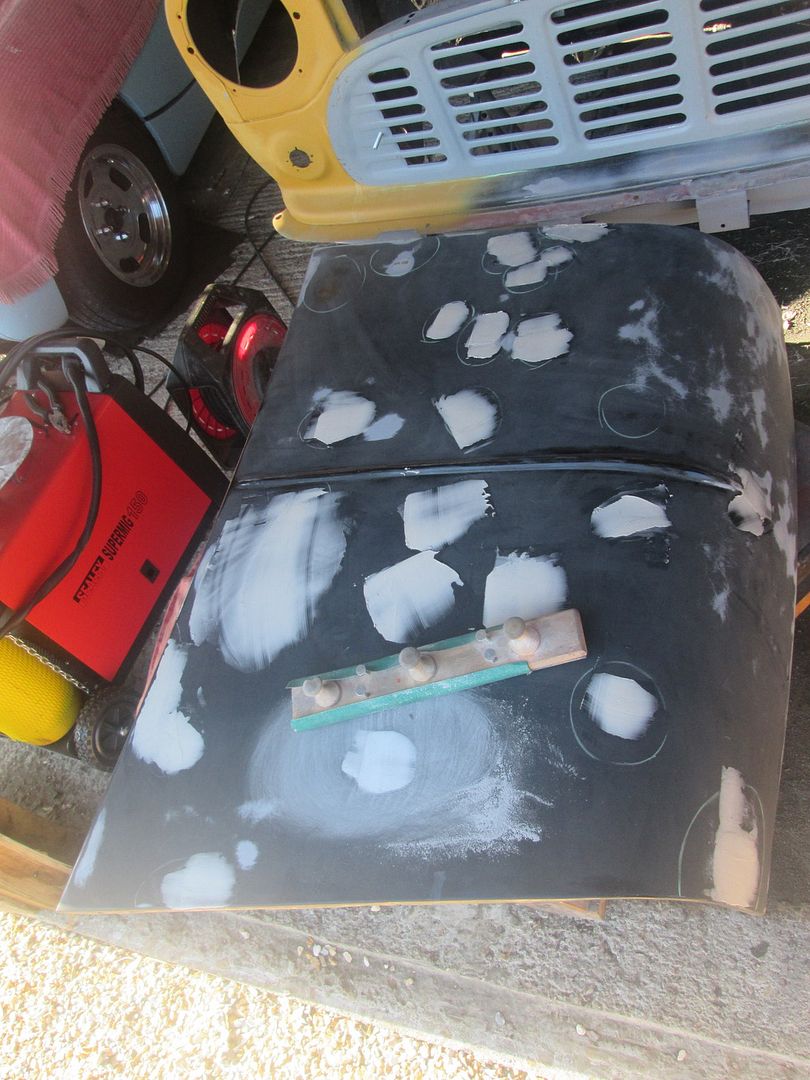
 

IMG_2758_zpsafpg9a1r.jpg


working my way across


IMG_2759_zpsiyztr9qe.jpg


not looking too bad. feels pretty flat so thats good.... back when the car was painted and shiny, the bonnet looked like had been caught in a hail storm...


IMG_2760_zpsqdbtbukn.jpg


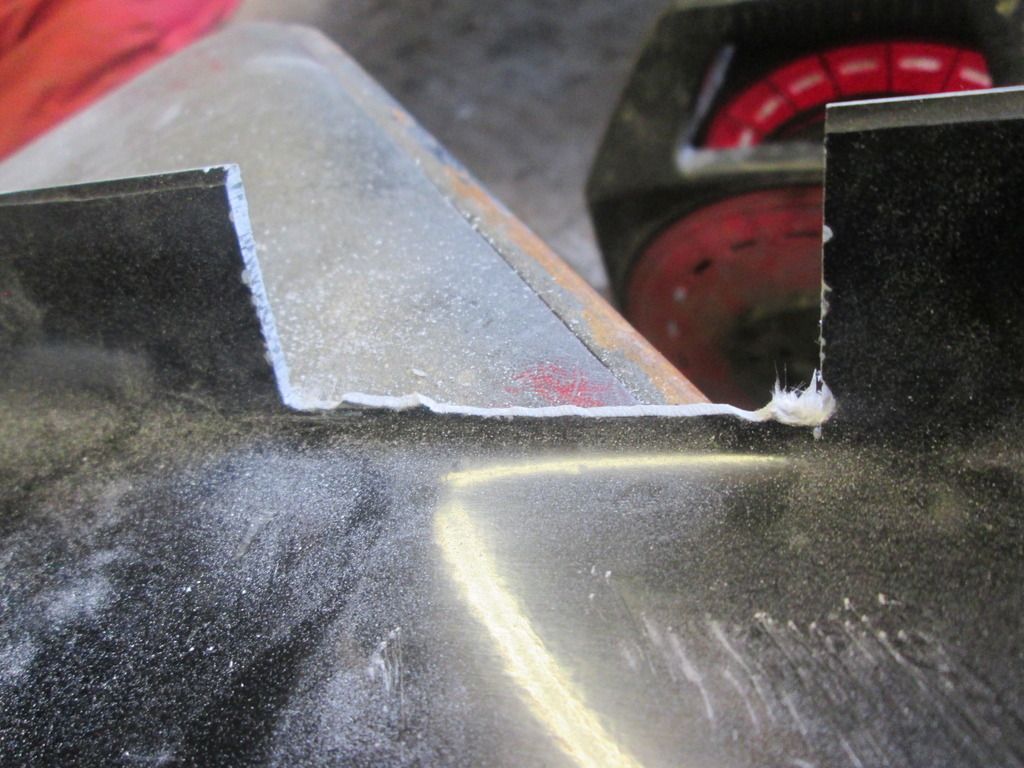
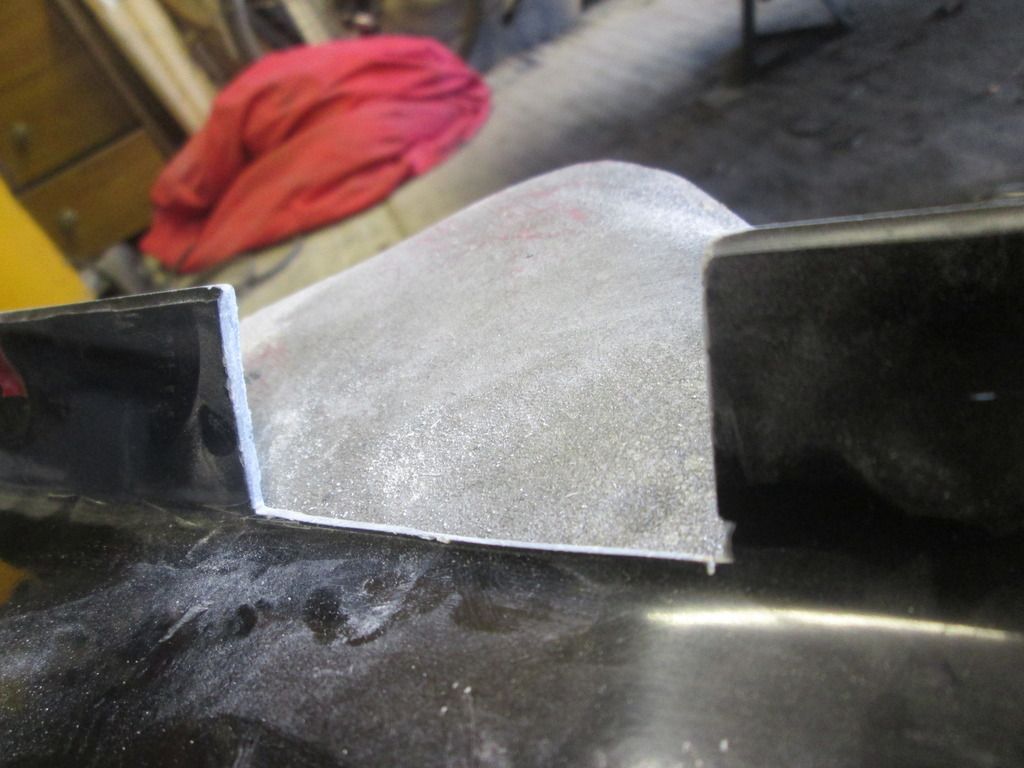
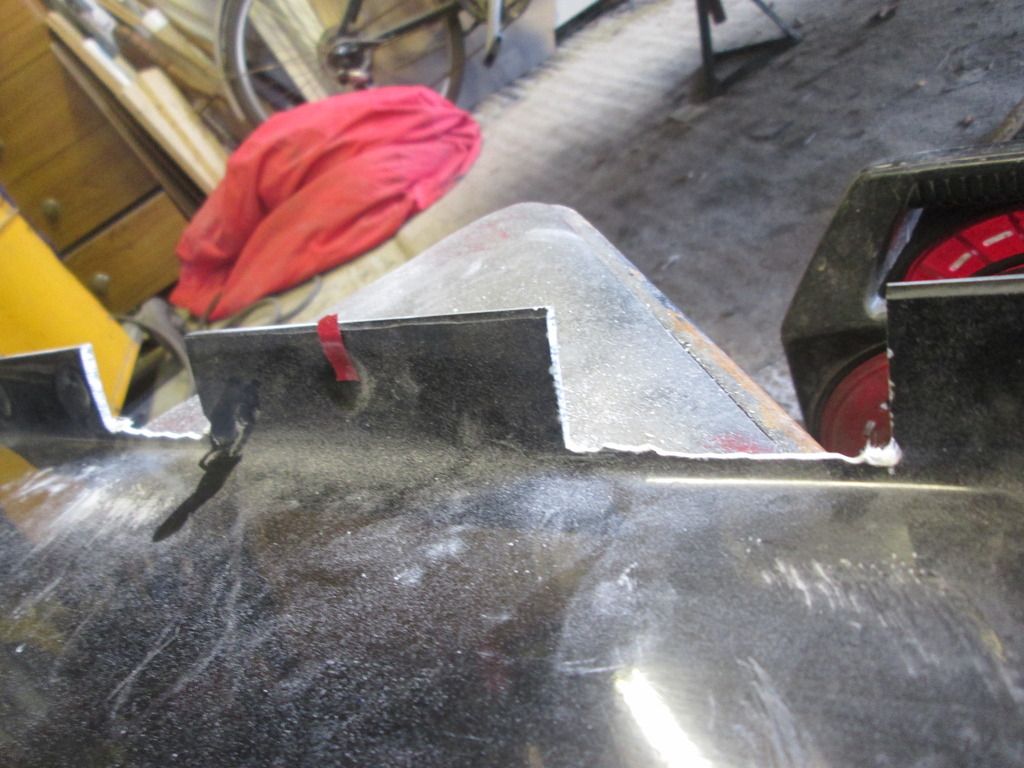
then decided to get the front splitter mounted up


so out with the hack saw
 

IMG_3045_zpswflyrqlc.jpg


rough as nails to begin with


IMG_3046_zpskmvmrcxe.jpg


but it got better... ish


IMG_3047_zps5zsuahrt.jpg


and there you have it


IMG_3056_zpsirjg6jpz.jpg


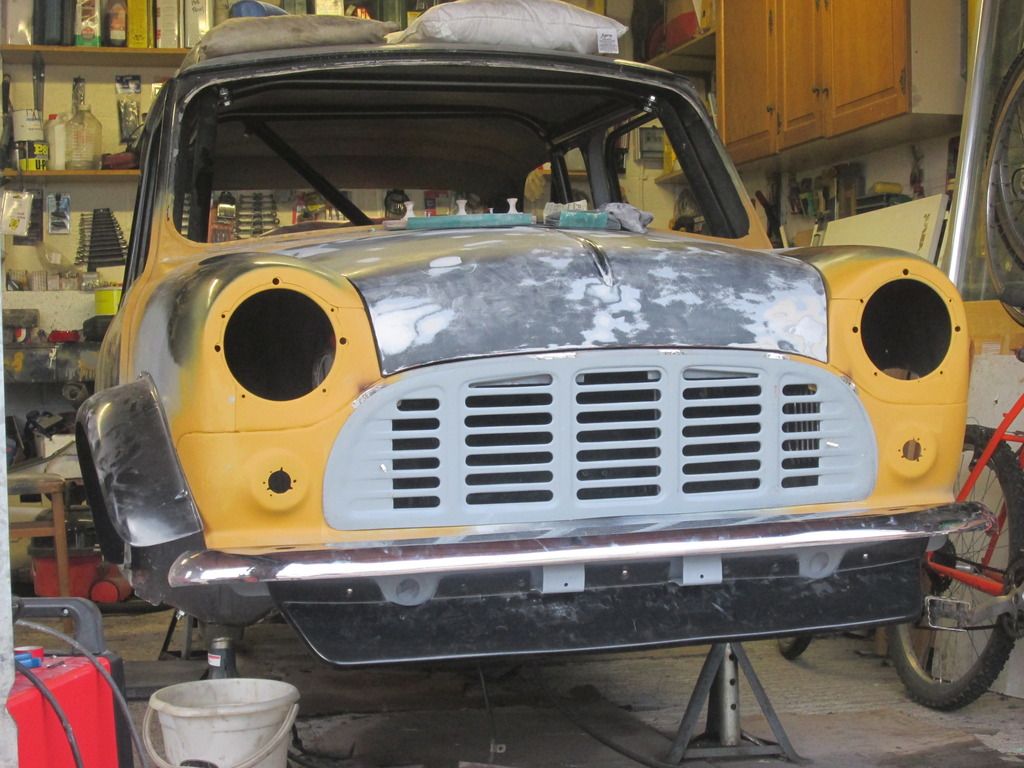
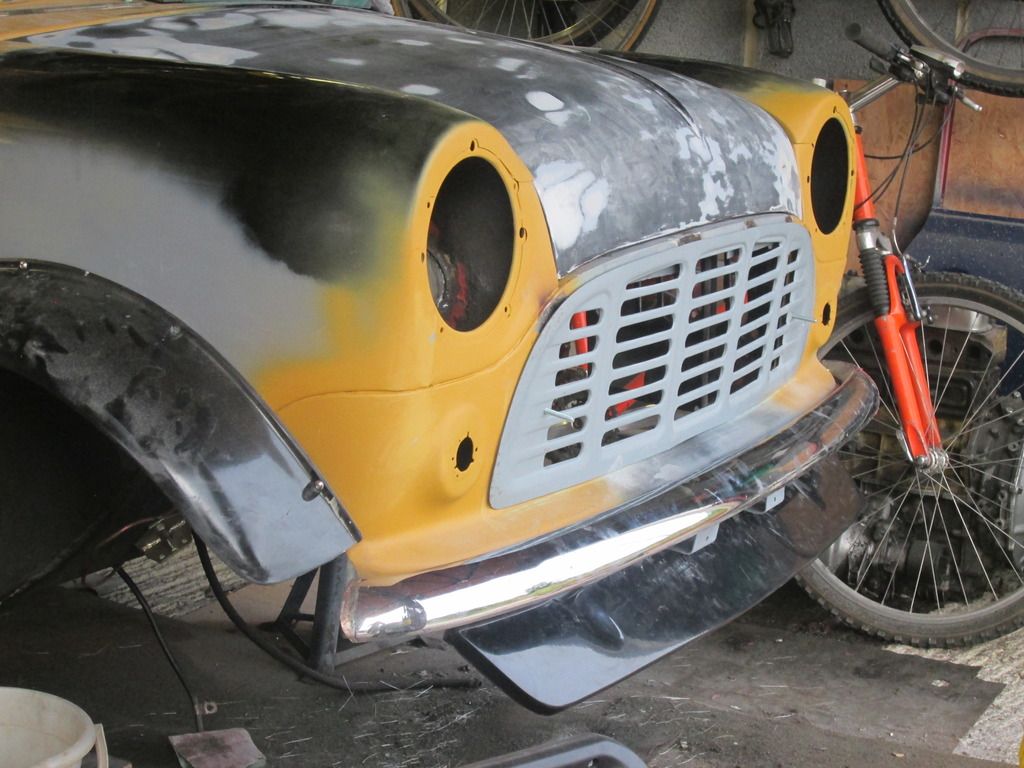
couldnt resist a little mock up with the bonnet, bumper, grille, and arches
 

IMG_3051_zpscpmjkcir.jpg

IMG_3050_zpsfg0uyyzo.jpg


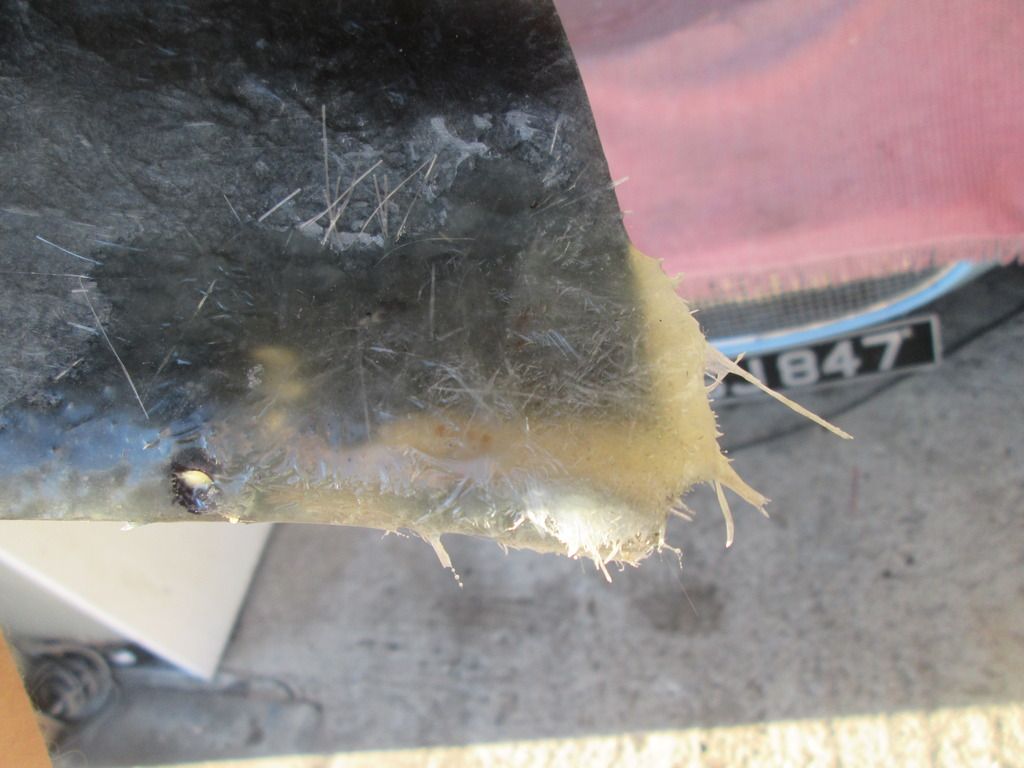
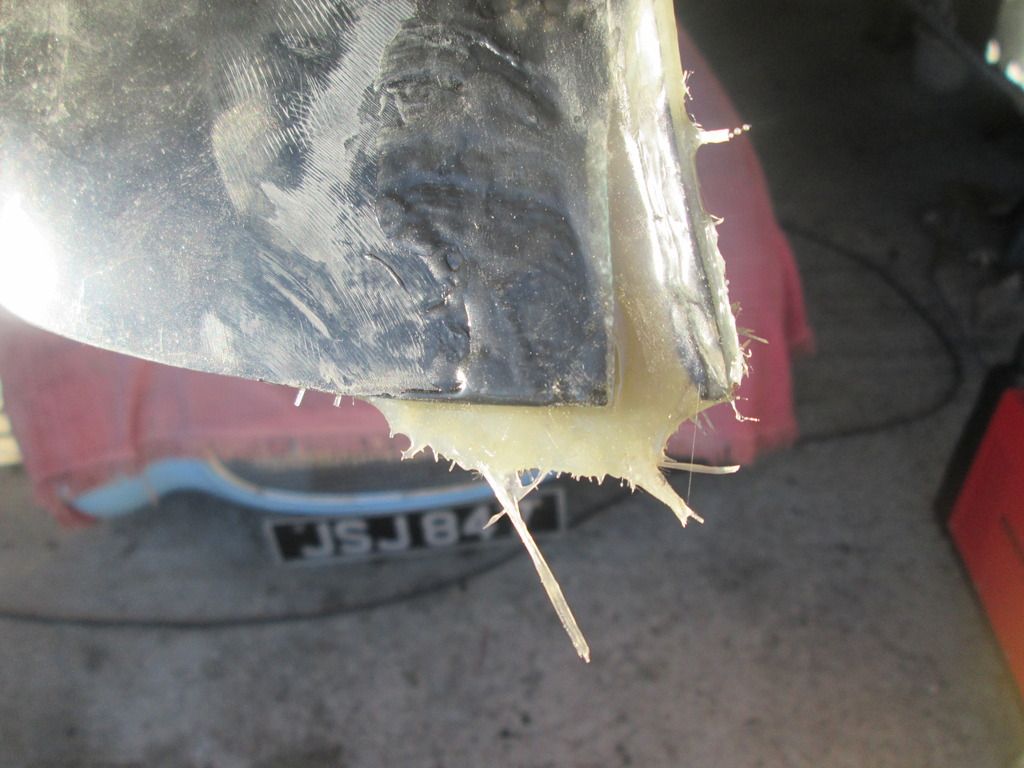
and lastly, i did a bit of fiberglass work to the arches to make them curl round the body at the front a bit better. 
 

IMG_3084_zpsv7ijwkvh.jpg

IMG_3085_zpsectkeuh0.jpg


the arches have actually come a lot further, but didnt have any pics handy, so ill post updates on those next time 


#362 leadly

leadly

    One Carb Or Two?

  • Members
  • PipPipPipPipPipPipPip
  • 779 posts
  • Location: Derby
  • Local Club: [] D.C.M.O.C []

Posted 09 October 2015 - 09:12 PM

Good progress mate.


IMG_3077_zpslcq9j5ts.jpg


With regards to the holes around the bulkhead piece you welded in. I'd get hold of some copper pipe, flatten it and hold / clamp it behind the holes, then you can fill the holes with weld. The weld  wont stick to the copper either. Really handy for welding right at the edge of a panel as well.


#363 Will16

Will16

    Wants a custom member title

  • Members
  • PipPipPipPipPipPipPip
  • 1,090 posts
  • Location: Abingdon, Oxfordshire

Posted 09 October 2015 - 09:22 PM

This is going to be a new breed of awesome when it's done! Love the look of the front mate :lol:

#364 minimissions

minimissions

    Up Into Fourth

  • Members
  • PipPipPipPipPipPipPipPipPip
  • 3,427 posts
  • Location: North West
  • Local Club: M.M.O.C

Posted 10 October 2015 - 07:58 AM

Wow this one has come along nicely keep the pics coming loving the chin spoiler ;)

#365 Jared Mk3

Jared Mk3

    Has a small thing but it does make a difference

  • Members
  • PipPipPipPipPipPipPipPip
  • 1,974 posts
  • Location: Kokstad, South Africa
  • Local Club: MOCKZN

Posted 10 October 2015 - 08:25 AM

Loving the look of that front end!


#366 Rocket.

Rocket.

    One Carb Or Two?

  • Members
  • PipPipPipPipPipPipPip
  • 1,441 posts
  • Location: UK

Posted 10 October 2015 - 10:06 AM

I'm already liking the look of this !


Same colour ?


#367 Ben_O

Ben_O

    Mill Road Garage

  • Paint Doctor
  • PipPipPipPipPipPipPipPipPipPip
  • 9,785 posts
  • Location: Isle of Wight

Posted 10 October 2015 - 12:23 PM

Good progress mate.


IMG_3077_zpslcq9j5ts.jpg


With regards to the holes around the bulkhead piece you welded in. I'd get hold of some copper pipe, flatten it and hold / clamp it behind the holes, then you can fill the holes with weld. The weld  wont stick to the copper either. Really handy for welding right at the edge of a panel as well.

I would cut it out and have another go.


You will regret it if you don't. I think it might be ground down a bit to far around the welds to be able to fill the holes in with the copper pipe trick. i think you will just end up chasing the holes.


That's the great thing about this sort of welding and fabrication, if it goes wrong, it's easy to just have another go


#368 James_eaton_thewholething

James_eaton_thewholething

    One Carb Or Two?

  • Members
  • PipPipPipPipPipPipPip
  • 1,063 posts
  • Location: Manchester

Posted 10 October 2015 - 04:14 PM

I love the grill. I'm not usually a fan of the front splitter but it actually looks really good on this. Going to look goo when it's finished

#369 Chris1992

Chris1992

    Up Into Fourth

  • Members
  • PipPipPipPipPipPipPipPipPip
  • 2,022 posts
  • Location: Essex

Posted 16 October 2015 - 02:46 PM

thanks a lot chaps!! as some of you may have seen in the bodywork section of the forum, ive had a bit of a mare with the filler primer ive used over whether its going to react with 2k or not, but the majority vote seems to be that it'll either be fine, or a few coats of epoxy primer should sort it. 


I'm already liking the look of this !


Same colour ?


thanks mate. yep, it'll be going gloss black again  :proud:


I would cut it out and have another go.


You will regret it if you don't. I think it might be ground down a bit to far around the welds to be able to fill the holes in with the copper pipe trick. i think you will just end up chasing the holes.


That's the great thing about this sort of welding and fabrication, if it goes wrong, it's easy to just have another go


I am toying with it, but in my haste, I've already slapped a load of fiberglass behind it. its solid as a rock now and just needs some filler in the holes, so I may just leave it. I know its not really the correct way of doing things so you will have to forgive me for this!  :lol: luckily this is the only welding that the car needs


#370 JayBox

JayBox

    Mini Mad

  • Members
  • PipPipPipPip
  • 150 posts
  • Location: Bath
  • Local Club: Mendip Minis

Posted 16 October 2015 - 03:14 PM

Wow. Love it. Wish I had my old City E to play with.


#371 Chris1992

Chris1992

    Up Into Fourth

  • Members
  • PipPipPipPipPipPipPipPipPip
  • 2,022 posts
  • Location: Essex

Posted 27 October 2015 - 05:20 PM

Wow. Love it. Wish I had my old City E to play with.


thanks mate! never too late to get another!  ;D


#372 Chris1992

Chris1992

    Up Into Fourth

  • Members
  • PipPipPipPipPipPipPipPipPip
  • 2,022 posts
  • Location: Essex

Posted 24 December 2015 - 12:14 AM

EDIT - 25/09/2020 - If you're currently reading through this project, I humbly apologise for the offensive and reckless amount of filler you're about to see. I was young and stupid, but luckily a few posts later you will see that I cut it all out and welded fresh flat metal in instead, so I evidently came to my senses! Now, where were we...


------------------------------------------------------------------ 


Update time!!! Its been a while, so I should really have got more done than I have, but anyway!... The main news is that I have got it booked in for paint!! 2nd weekend of January is my deadline to have all the prep work done, so I need to get my arse in gear!!


This is part 1 of this update, I've got a bunch more pics but haven't got time to upload them just yet.


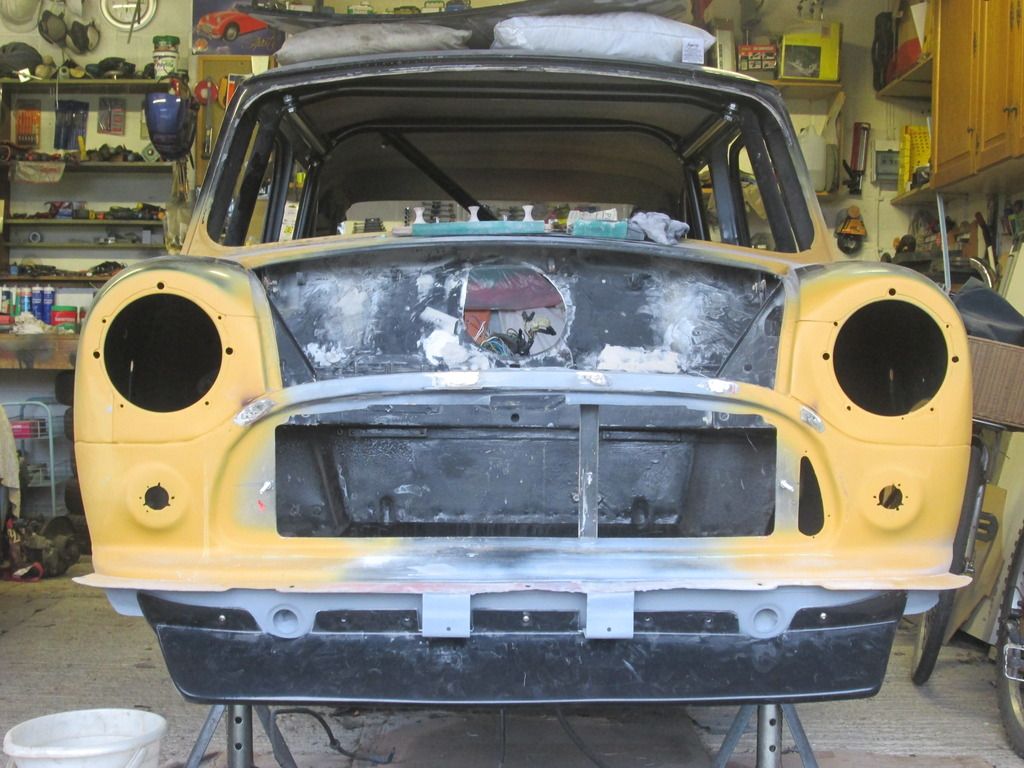
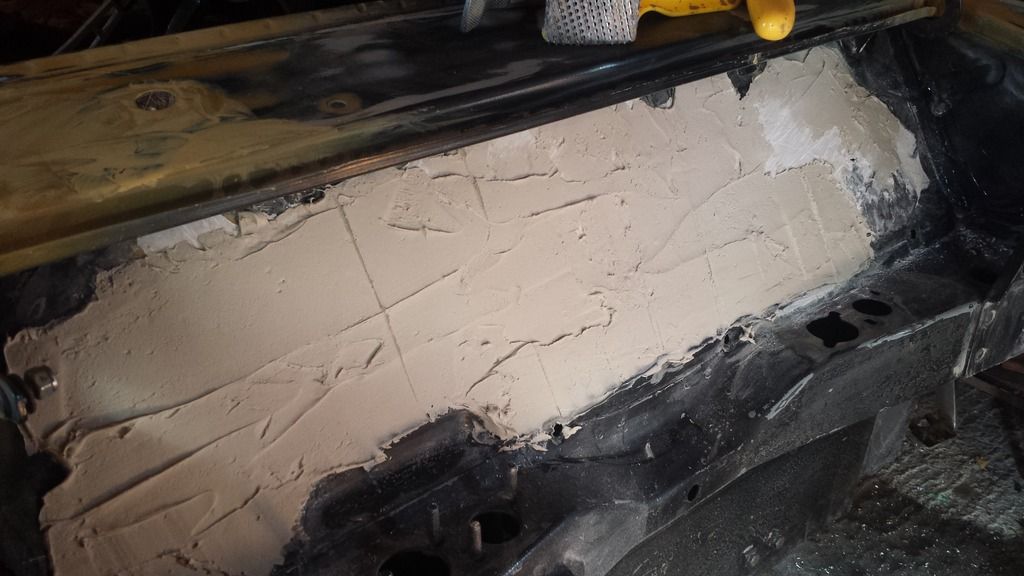
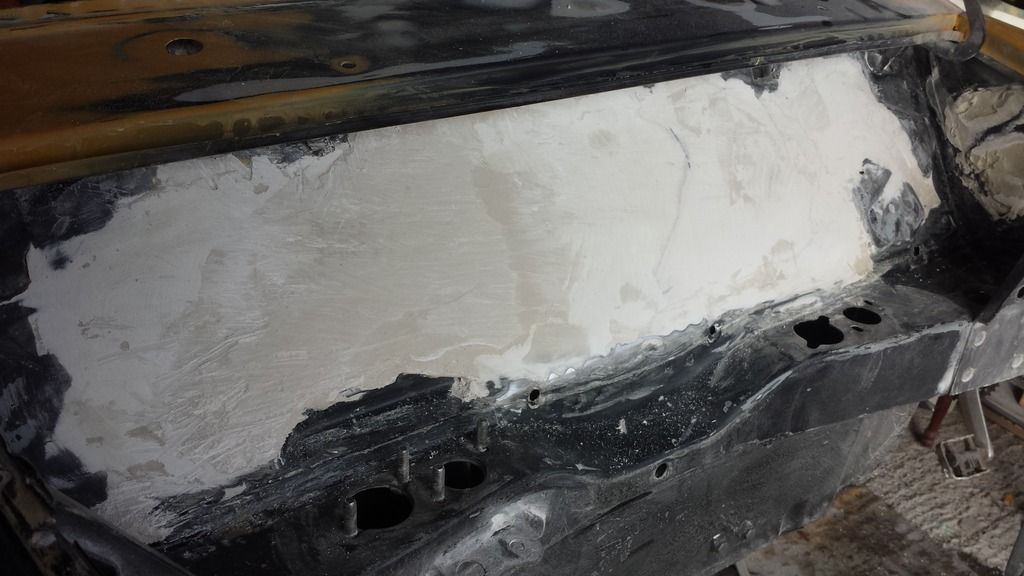
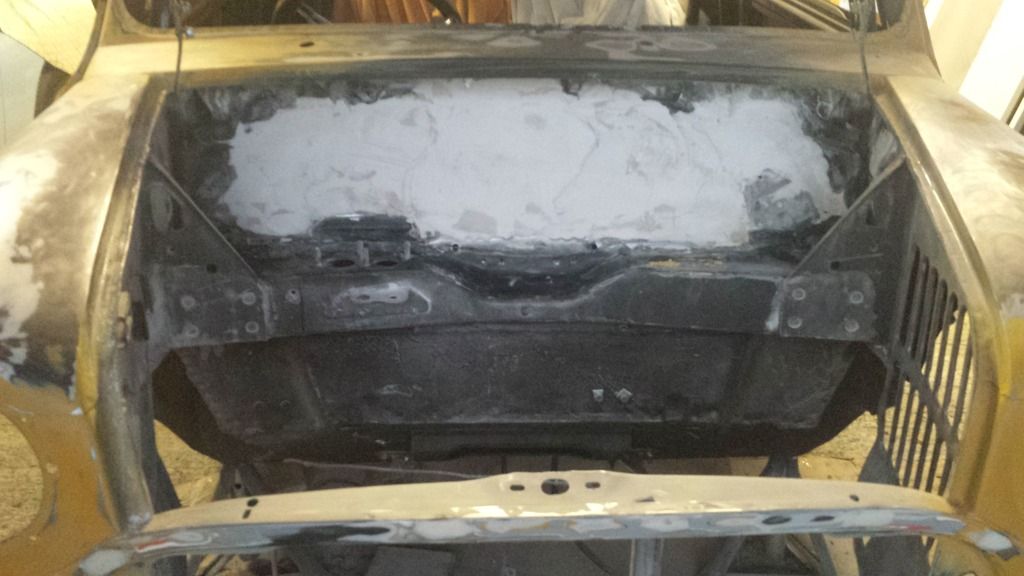
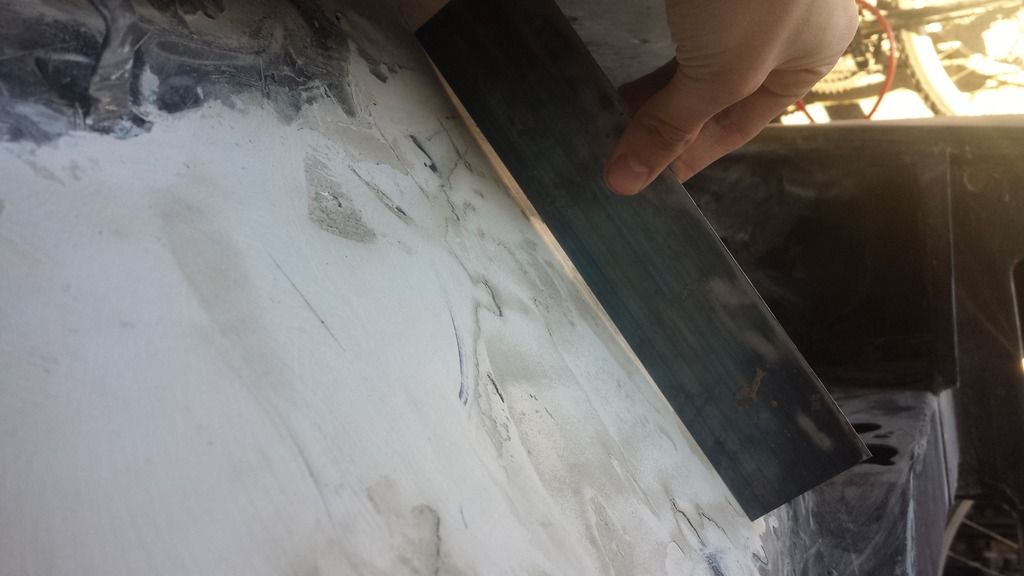
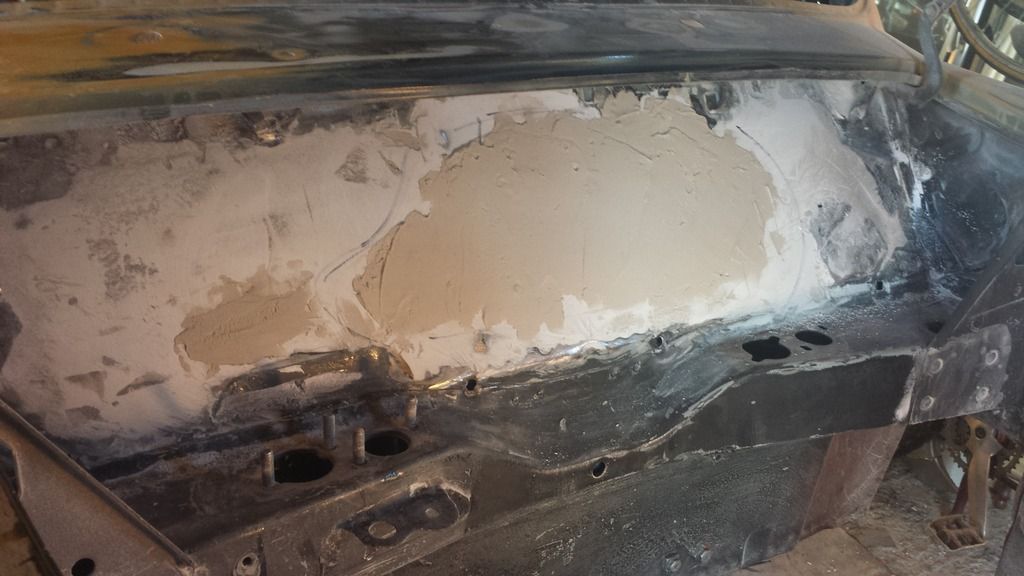
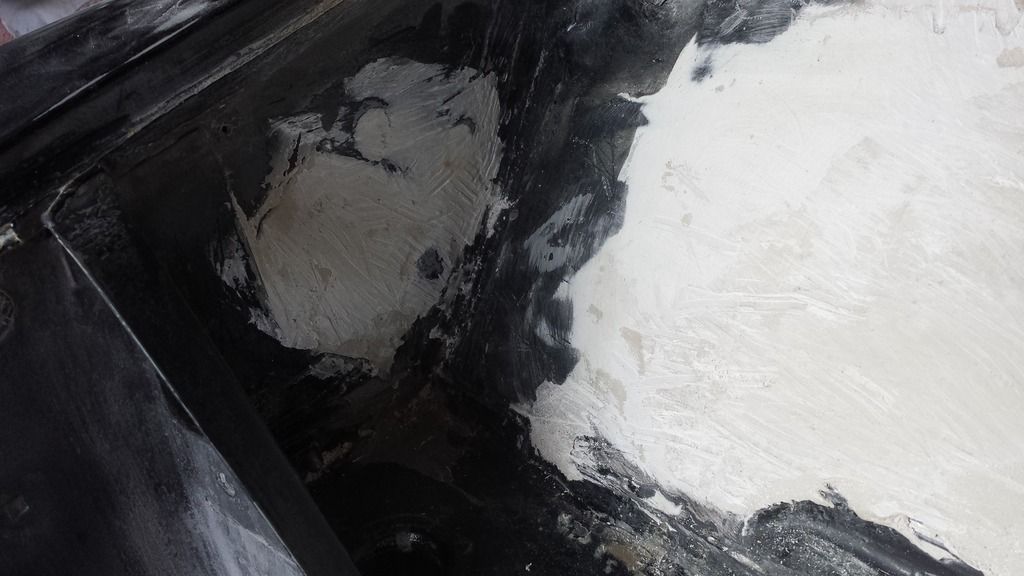
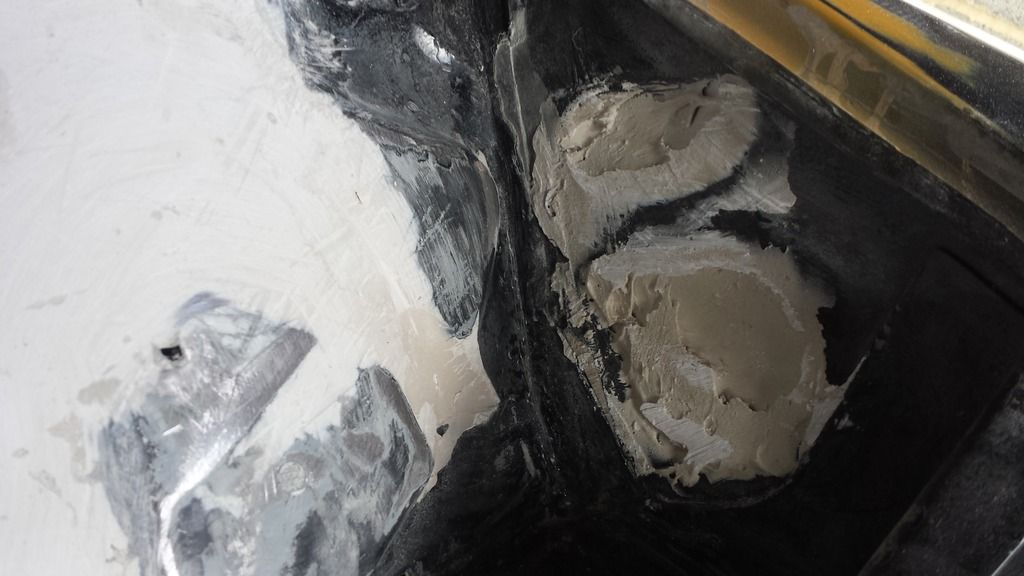
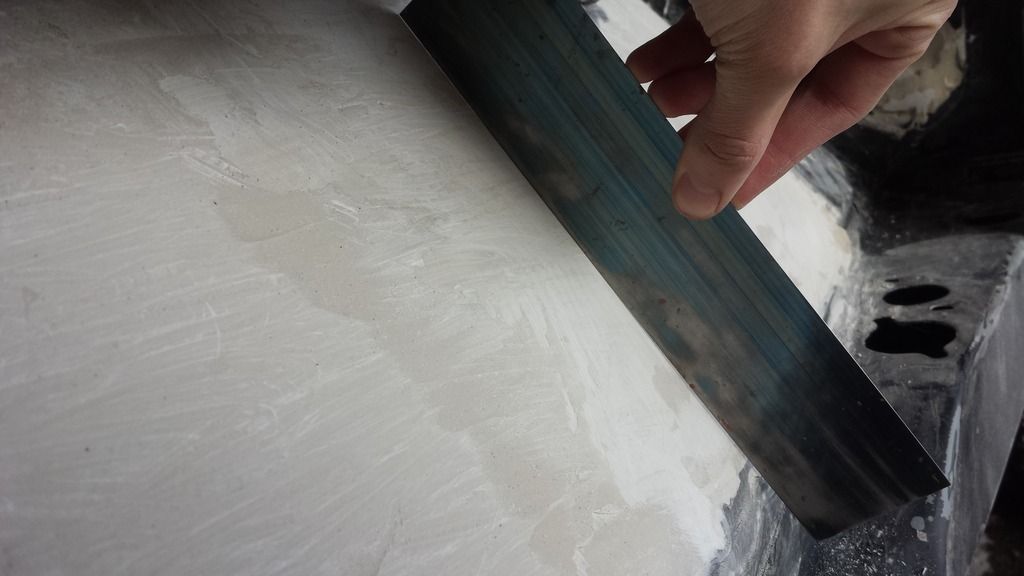
after stuffing a tone of fiberglass matting behind every hole in the bulkhead and inner arches, I went nuts with the filler. I have now committed to doing a completely smoothed bay and tucking the wiring away as much as possible.... Because show car yo!!!


In the beginning, there was much filler, followed by much sanding.... The weird vertical trench things on either side of where the recess for carb was have been packed with fiberglass before the filler went on. 


20151123_113155_zps6m3jqrm2.jpg

20151126_133009_zpsapscx4ib.jpg

20151125_161243_zpstzwags6n.jpg


Trying to get the bulkhead as flat as possible. Still needs to be built up a bit more.


20151125_143042_zpsk6dkke6d.jpg

20151125_141321_zpsk6ovrhvf.jpg

20151126_133025_zpsxzchypr6.jpg

20151126_133031_zpsej3ixmad.jpg


Its getting there!


20151126_133053_zpsawhgmbzo.jpg


I know this is looking rough as hell at the moment, but bare with me on this! Its come a long way since these photos, as you will see in the next update, when I get a chance to upload the pics. 


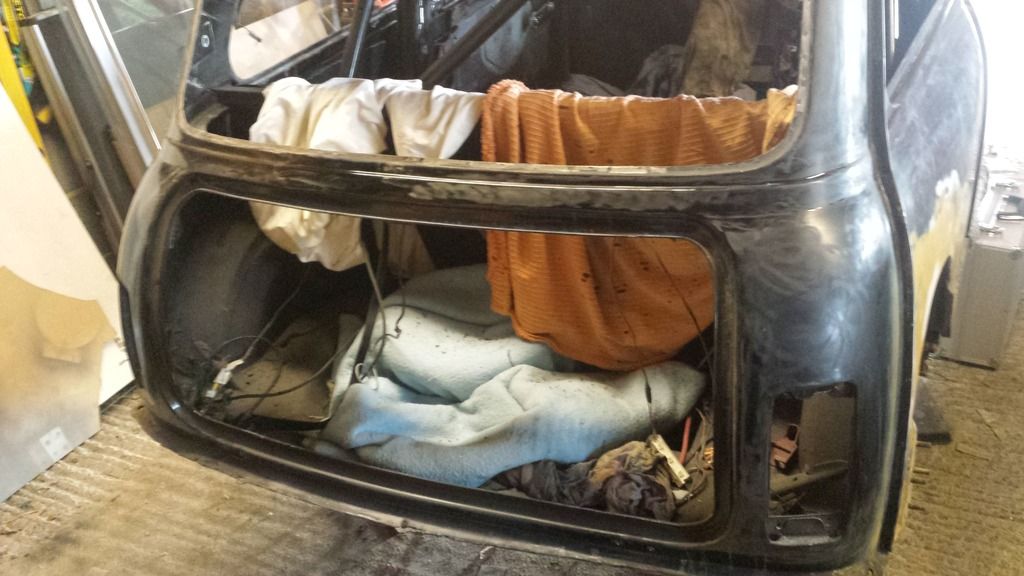
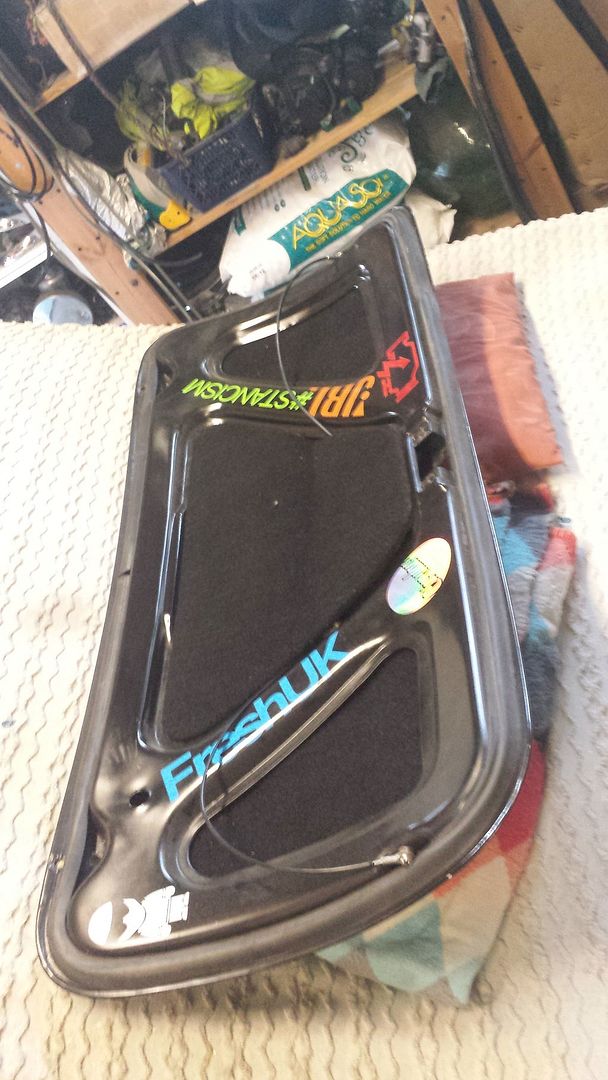
Moving on. the boot lid still needed removing, so got that out the way.


20151123_113219_zpsgbsn8aqf.jpg

20151123_113225_zpswnjgl0ol.jpg


Then it was my birthday at the end of November, and my dad got me the perfect prezzie!!!


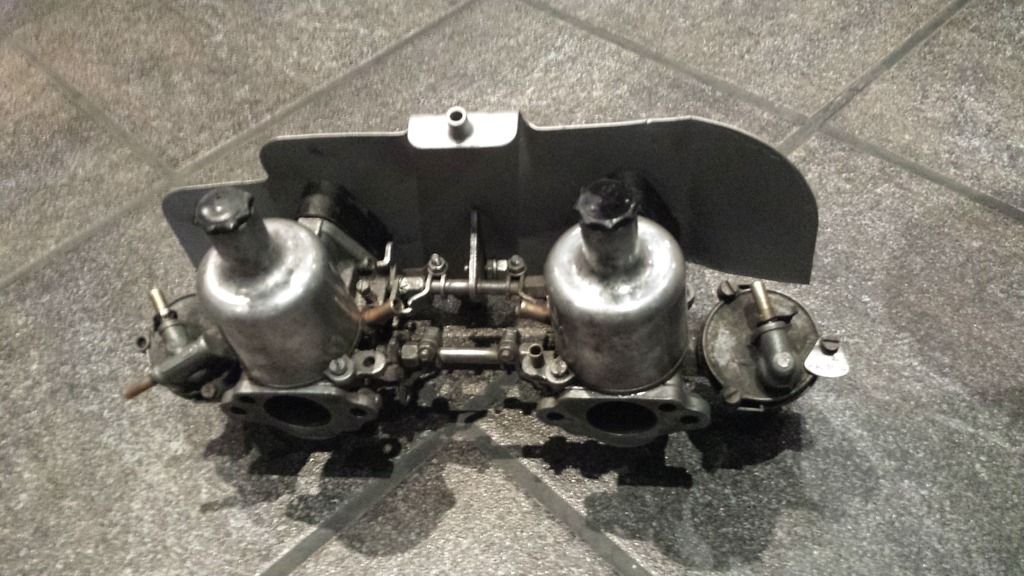
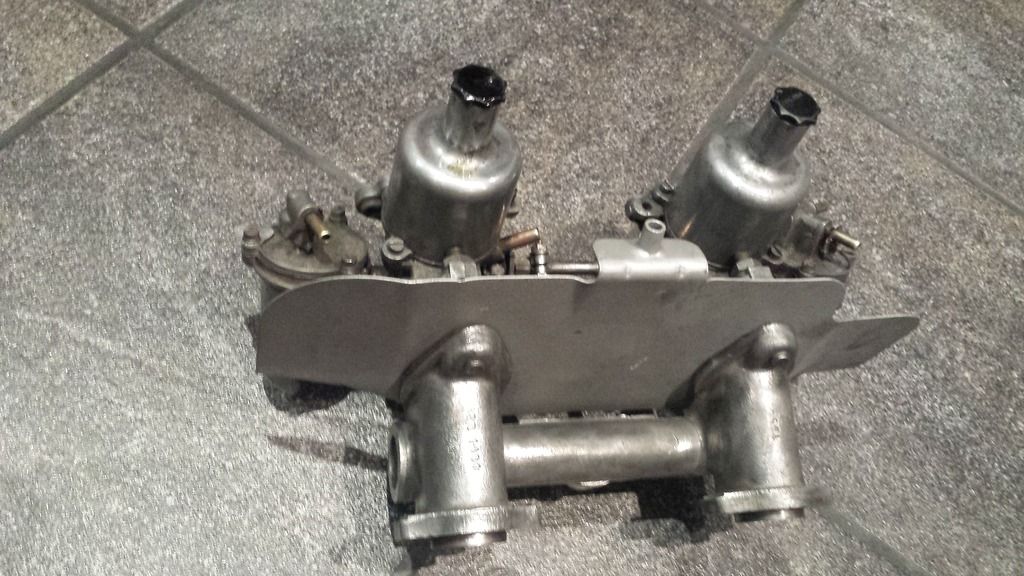
Twin 1 1/2" SU's! all in working order, just need tarting up a bit.


(EDIT: these are 1 1/4" carbs, NOT 1 1/2"... brain fart... my bad!!)


20151129_172614_zpsrkacbdyh.jpg

20151129_172606_zpsbbny6lv0.jpg


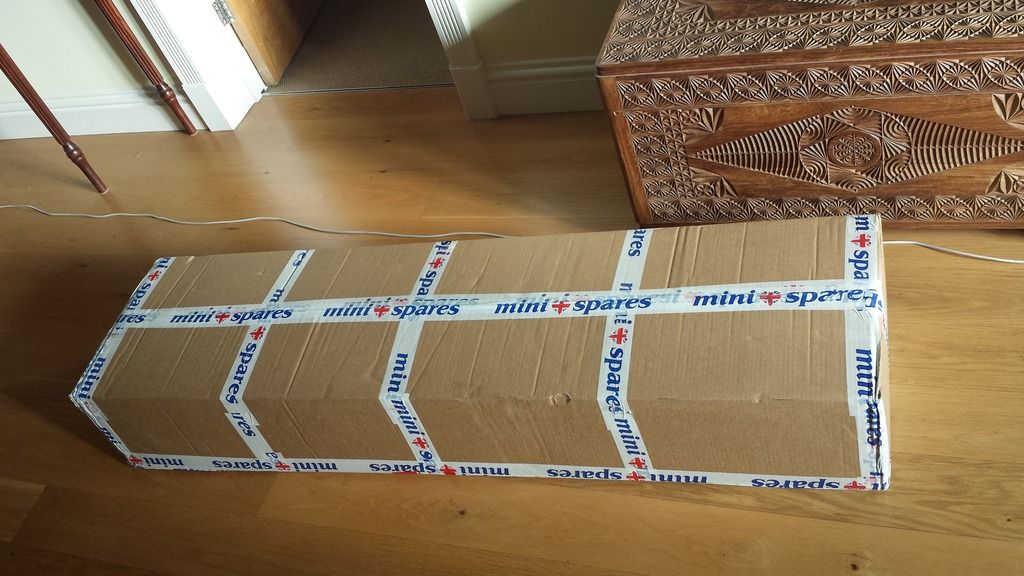
and then to round things off, a nice big box from Minispares  :D


20151204_121654_zpslknj6tba.jpg


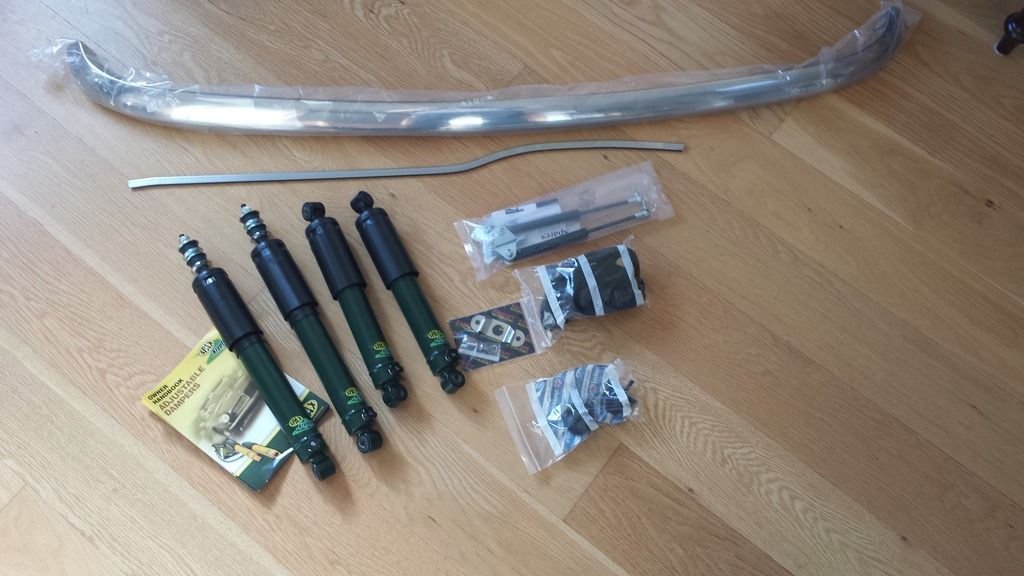
Inside we have.... Spax adjustable lowered shocks (early Christmas prezzie), new front bumper, bump stops, stainless slam panel plate, gas strut kit for the bonnet hinges, front seam cover, and rubber trim to go round the grille.


20151204_122830_zpsm66apsv9.jpg


Hang tight! More coming very soon!! 


(Merry Christmas!!!) 


Edited by Chris1992, 24 September 2020 - 11:58 PM.


#373 Ben_O

Ben_O

    Mill Road Garage

  • Paint Doctor
  • PipPipPipPipPipPipPipPipPipPip
  • 9,785 posts
  • Location: Isle of Wight

Posted 24 December 2015 - 01:55 AM

Looking good but all that filler will crack in no time i'm afraid.


#374 Chris1992

Chris1992

    Up Into Fourth

  • Members
  • PipPipPipPipPipPipPipPipPip
  • 2,022 posts
  • Location: Essex

Posted 24 December 2015 - 05:14 PM

Looking good but all that filler will crack in no time i'm afraid.


I've heard mixed things to be honest   :unsure: some people have said it should be fine, and others have said it'll shatter as soon as I run over a pebble... this maybe a mistake, but I'm a bit too far into it now, how much will the bulkhead flex? Will it really be enough to cause cracking? There is no filler over any panel gaps or joins, not like when I de-seamed it before, and the seams didnt crack (somehow) after a year of daily all weather use. 


Maybe I'm in denial... ah well, I guess I can always vinyl wrap the bulkhead if it does crack slightly. 


#375 1984mini25

1984mini25

    Crazy About Mini's

  • Members
  • PipPipPipPipPipPipPipPipPipPip
  • 8,783 posts
  • Location: -

Posted 24 December 2015 - 05:45 PM


Looking good but all that filler will crack in no time i'm afraid.


I've heard mixed things to be honest   :unsure: some people have said it should be fine, and others have said it'll shatter as soon as I run over a pebble... this maybe a mistake, but I'm a bit too far into it now, how much will the bulkhead flex? Will it really be enough to cause cracking? There is no filler over any panel gaps or joins, not like when I de-seamed it before, and the seams didnt crack (somehow) after a year of daily all weather use. 


Maybe I'm in denial... ah well, I guess I can always vinyl wrap the bulkhead if it does crack slightly. 


Not only that, but all that filler will weigh a ton. You better off getting a large steel sheet the size and shape of the bulkhead and welding it over the top of the existing bulkhead, as one large panel. Ideally it would be better to chop the bulkhead out and then weld in the panel, but plating over it would be easier, neater and take a hell of a lot less filler and tidying up after.


Edited by 1984mini25, 24 December 2015 - 05:45 PM.


1 user(s) are reading this topic

0 members, 1 guests, 0 anonymous users