Really does look neat with those arches.
'88 City E - 'the Purist' - Slammed 16V Show Car'
#241

Posted 21 August 2014 - 11:58 AM
#242

Posted 23 August 2014 - 02:55 PM
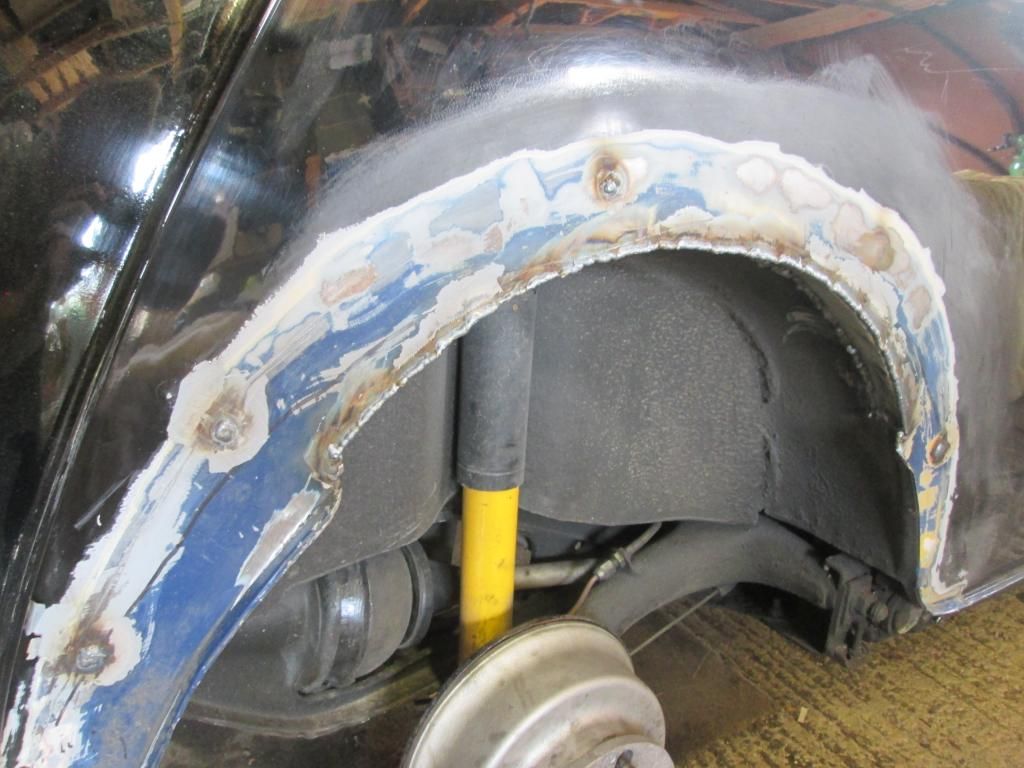
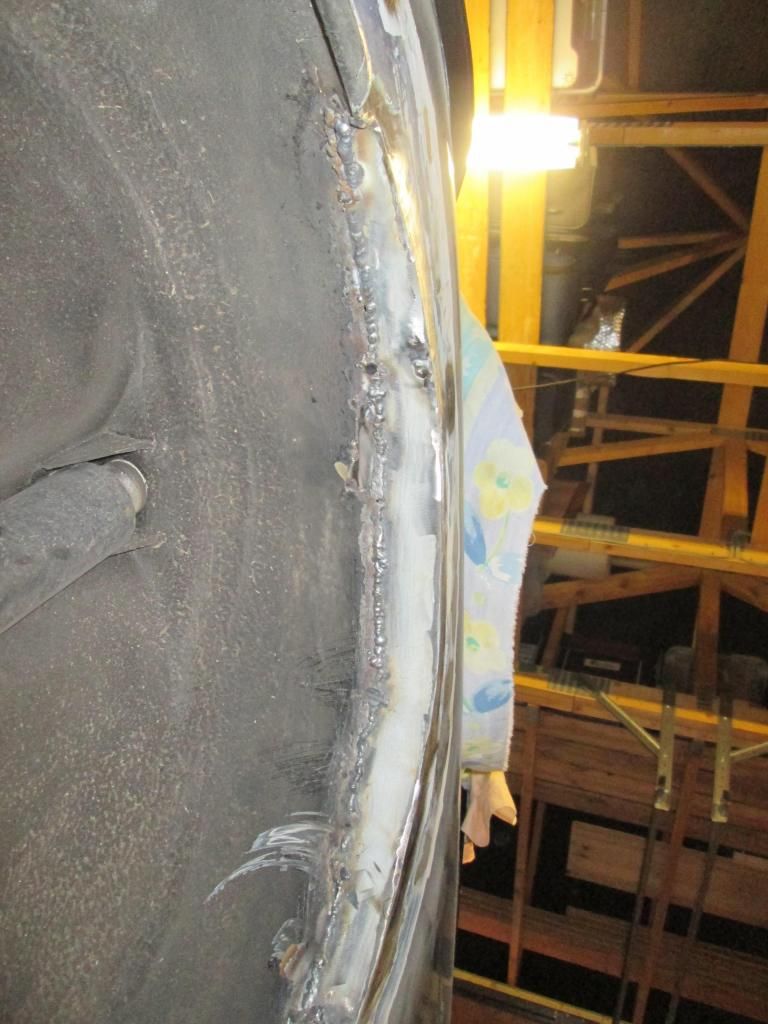
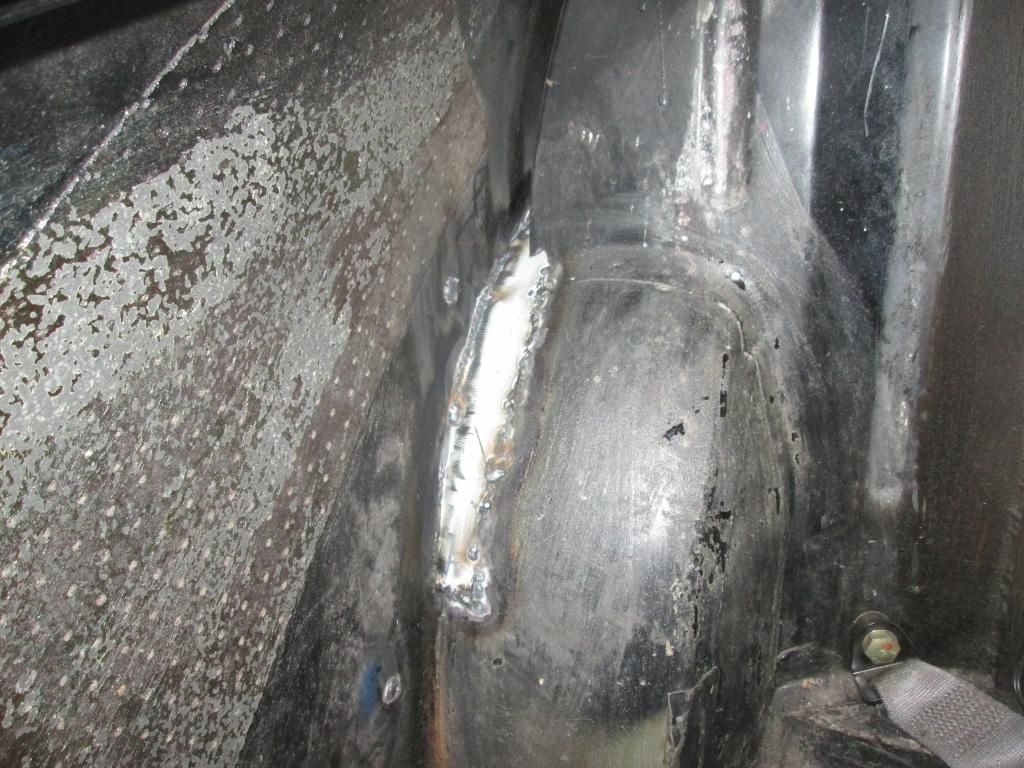
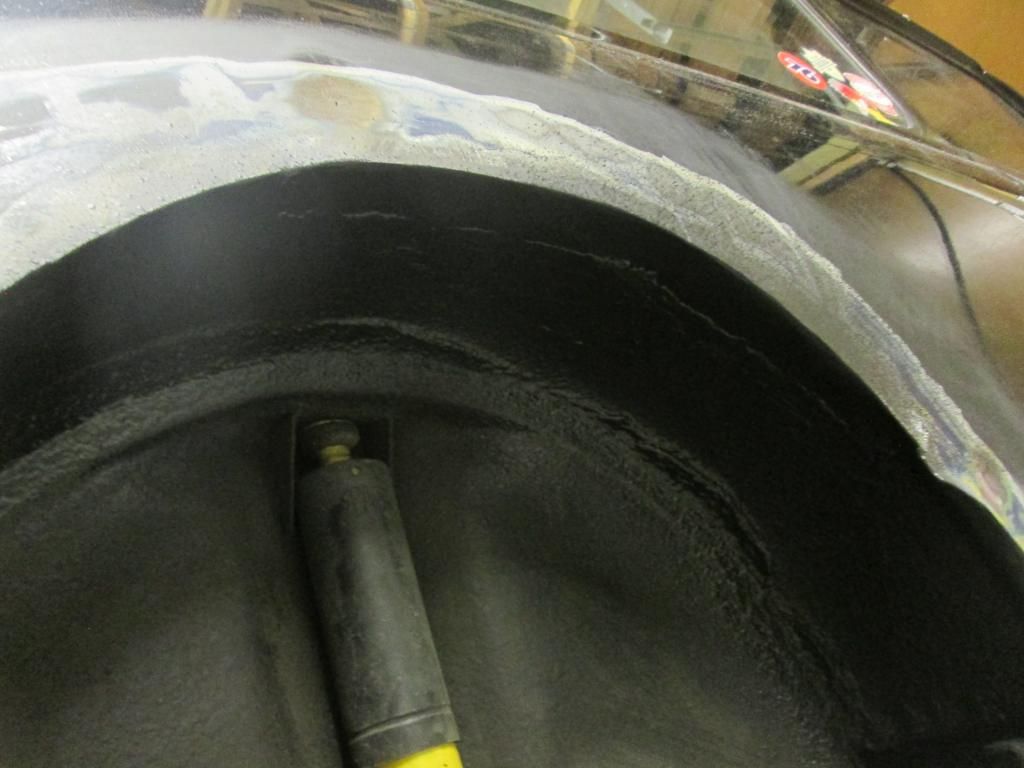
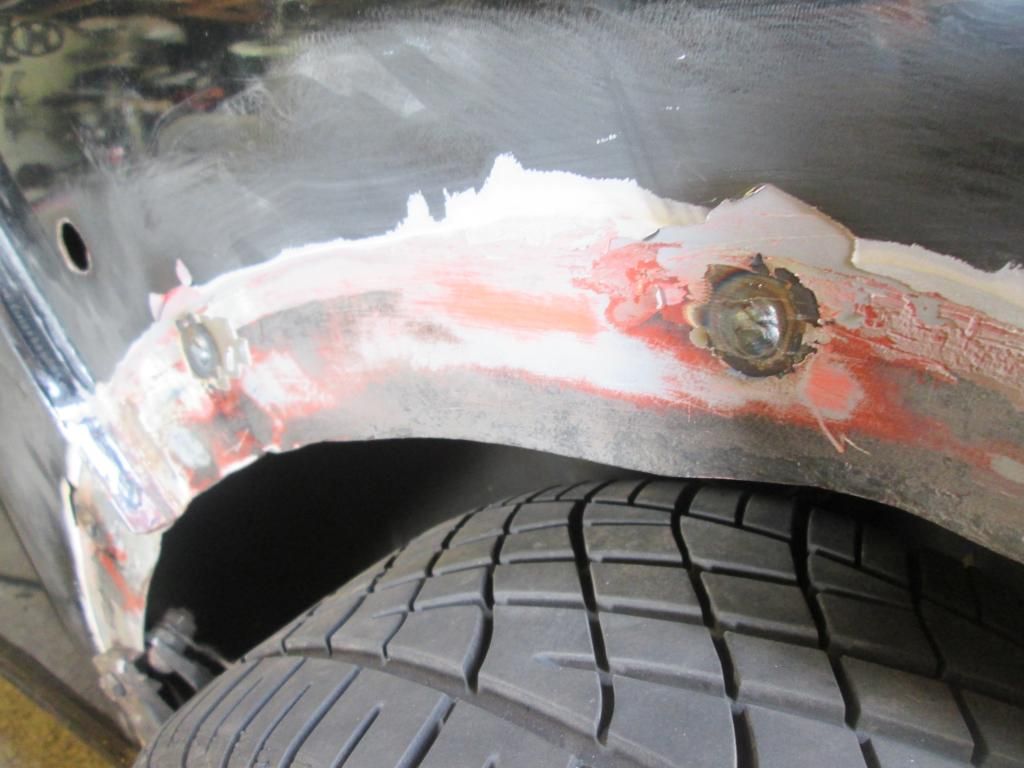
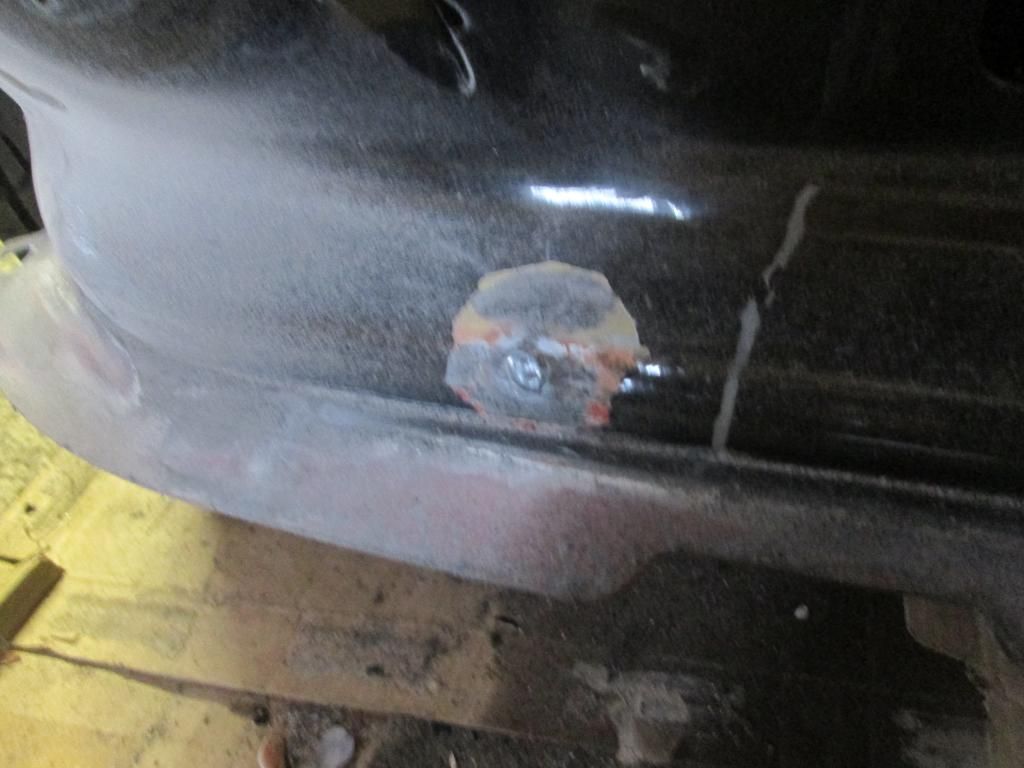
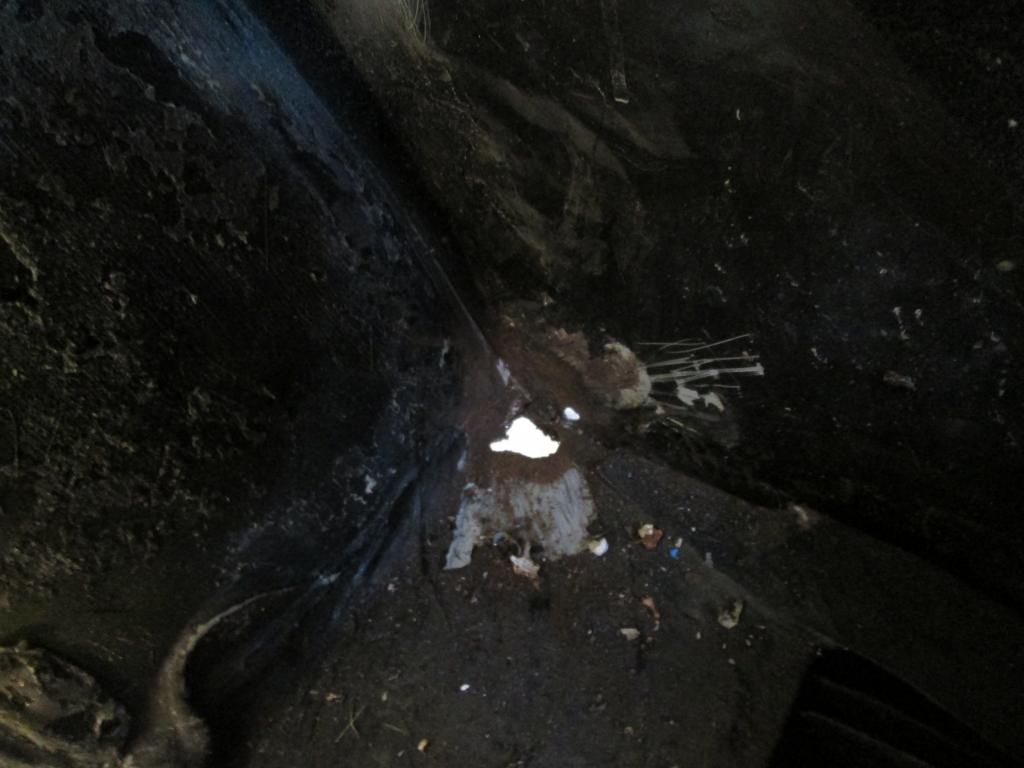
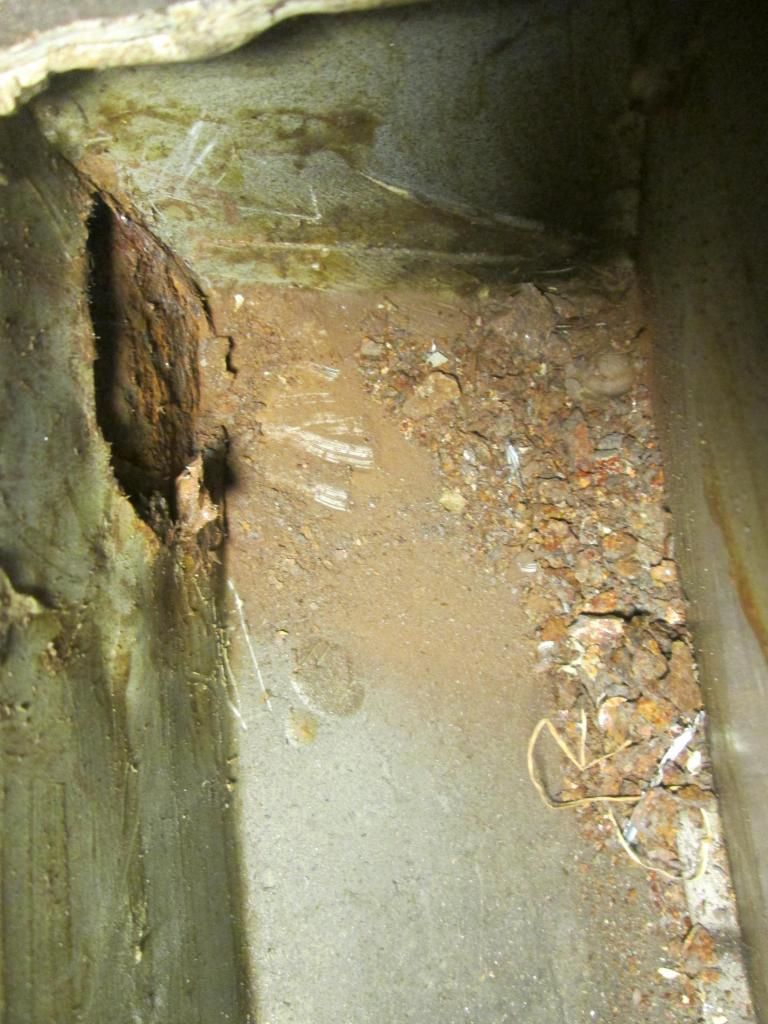
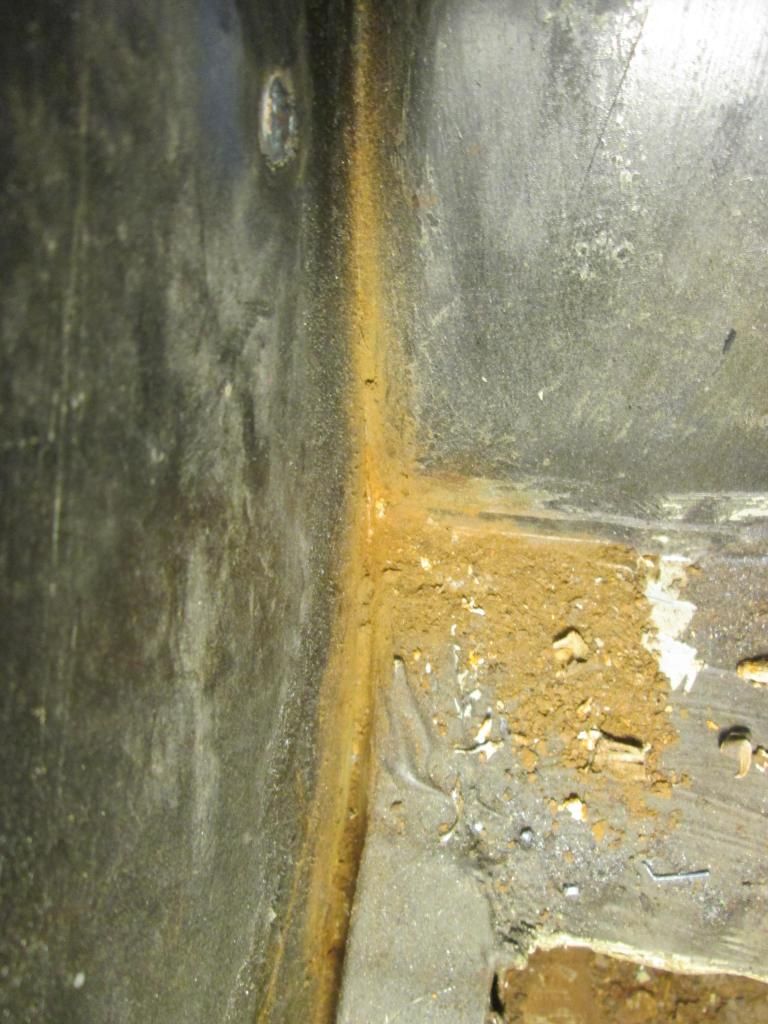
arche are now tubbed ![]() plus got a bit more welding done. its not quite as rust free as i thought....
plus got a bit more welding done. its not quite as rust free as i thought.... ![]()
#243

Posted 23 August 2014 - 02:57 PM
Get those pictures up!
#244

Posted 23 August 2014 - 02:59 PM
Get those pictures up!
haha, i would but my sister has nicked my camera to go to reading festival! ![]() ... cheeky
... cheeky
#245

Posted 23 August 2014 - 03:00 PM
Oh, cheeky indeed! Keen to see what it looks like with wheels and arches fitted again.
#246

Posted 23 August 2014 - 03:02 PM
same here man, need to get it back down on the ground and lowered. but im gunna slap a bit of stone chip under there first ![]()
#247

Posted 23 August 2014 - 03:04 PM
Those wheels are really going to be snug with those arches, that much I know!
#248

Posted 23 August 2014 - 03:07 PM
i hope so... stance yo! ![]()
#249

Posted 23 August 2014 - 03:09 PM
Those wheels are definitely the best decision you made - IMO ![]()
#250

Posted 23 August 2014 - 03:11 PM
cheers man, im so happy decided to splash the cash for them! its something different and also hard to copy since the original sprite steelies are not exactly common ![]()
#251

Posted 23 August 2014 - 03:14 PM
Steelies are the way to go!
#252

Posted 03 September 2014 - 01:13 AM
Ive been slacking with my updates. ![]() i promise ive been busy!
i promise ive been busy! ![]() ill get some pics up when i get some free time. hopefully tomorrow
ill get some pics up when i get some free time. hopefully tomorrow
#253

Posted 03 September 2014 - 06:21 AM
Come on! ![]()
#254

Posted 03 September 2014 - 10:42 AM
GOD DAMMIT I JUST TYPED A MASSIVE UPDATE AND PRESSED BACK IN MY BROWSER BY MISTAKE SO NOW ITS ALL GONE!!! ... RAGE QUIT...
#255

Posted 03 September 2014 - 01:10 PM
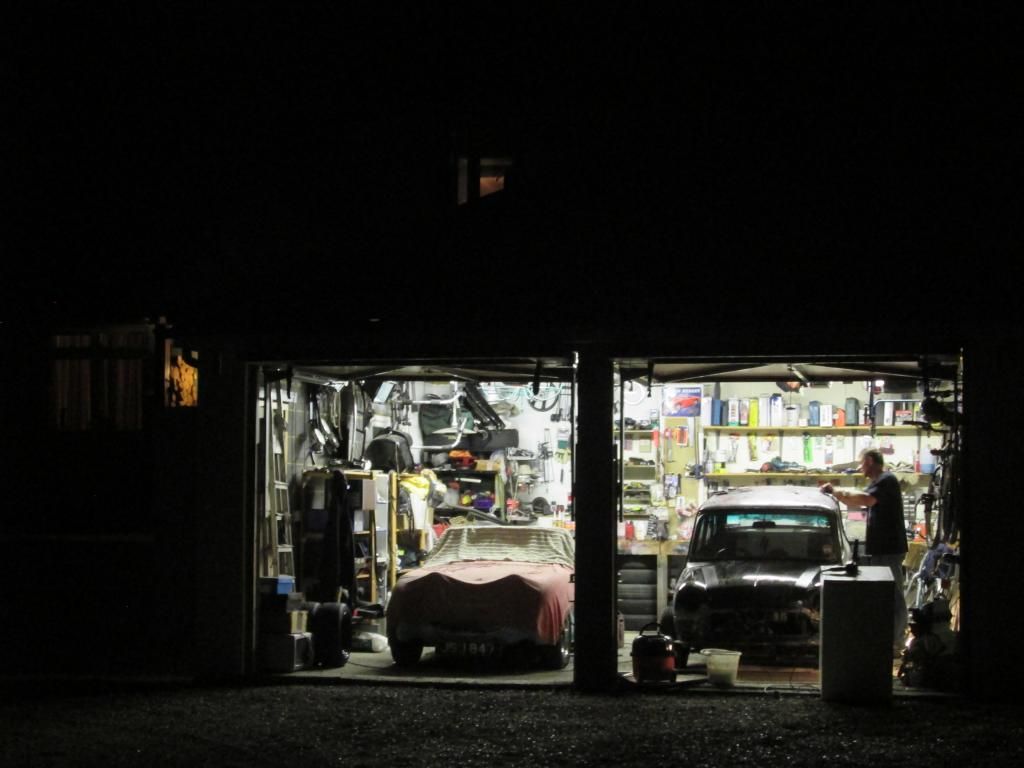
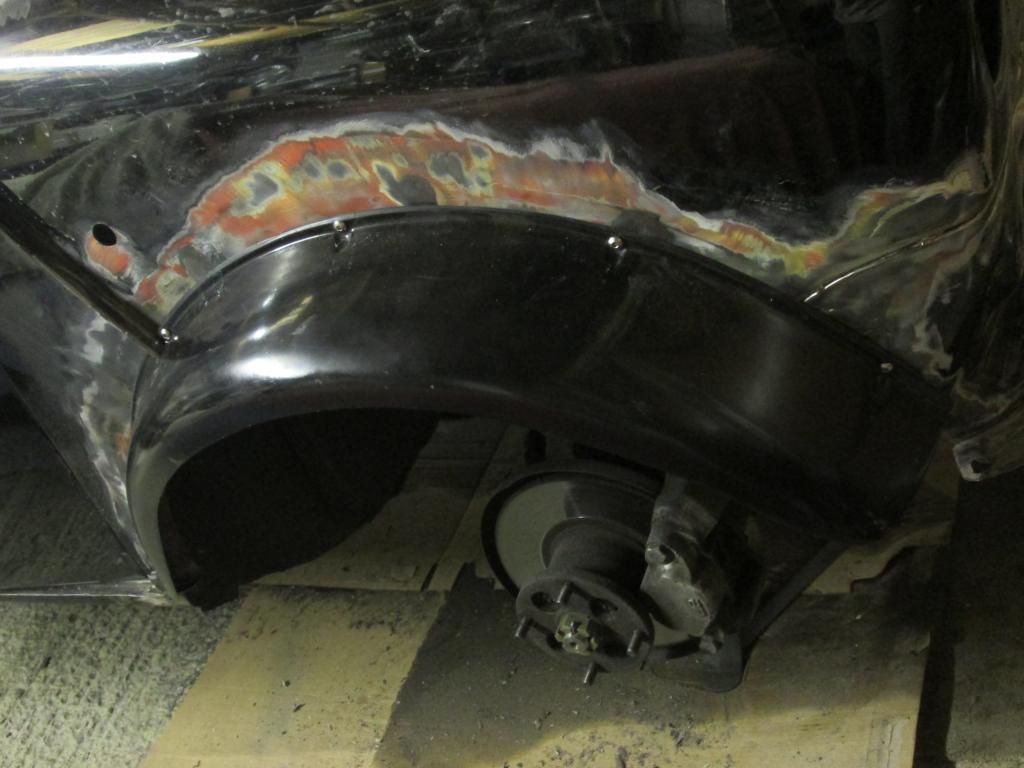
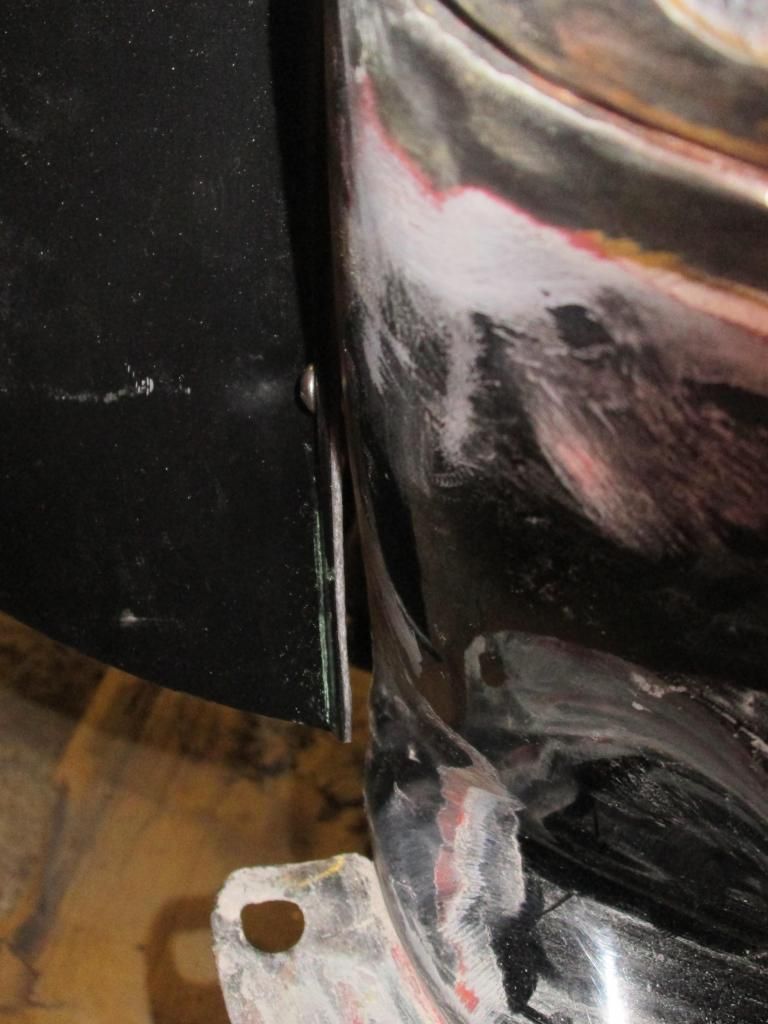
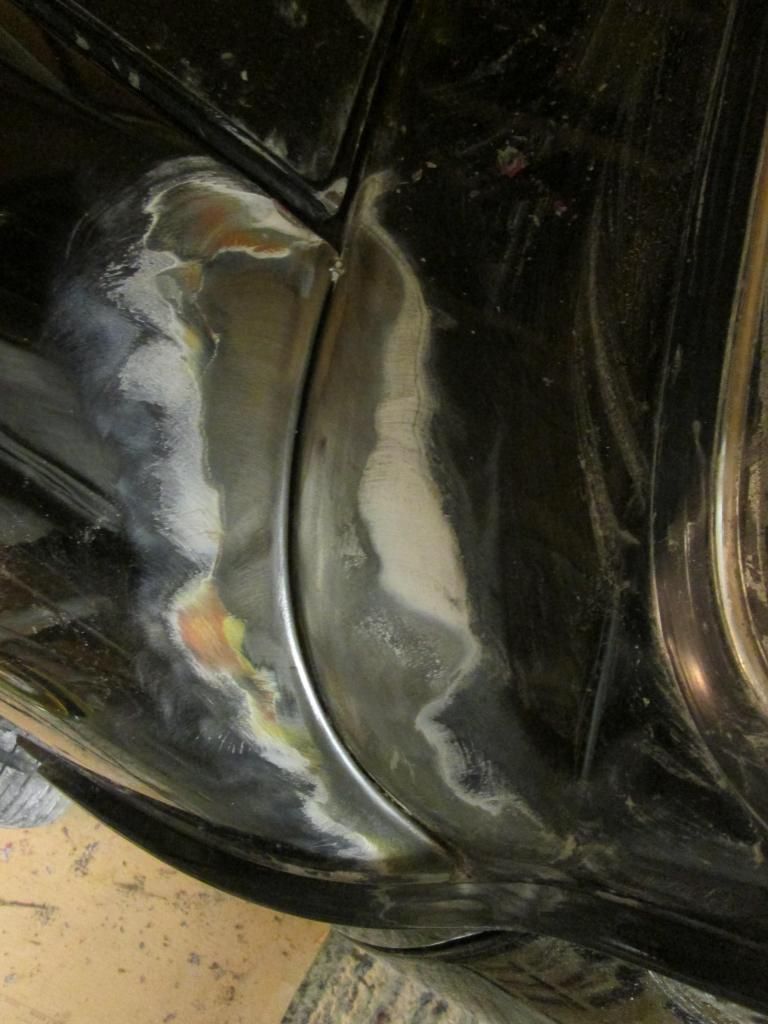
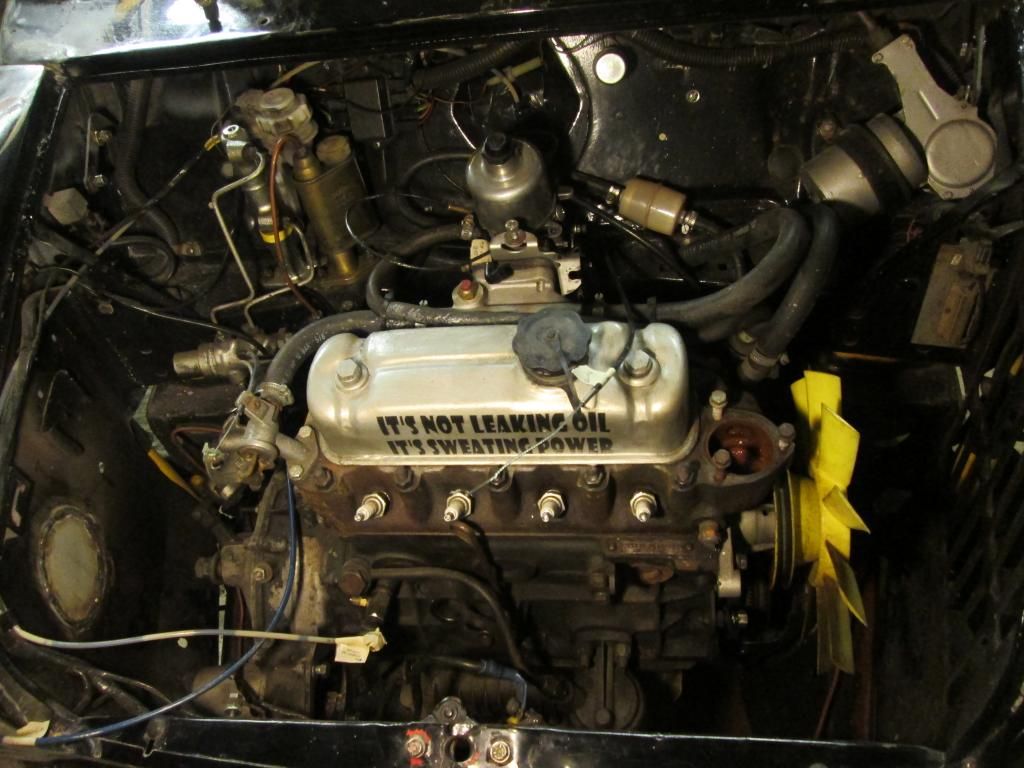
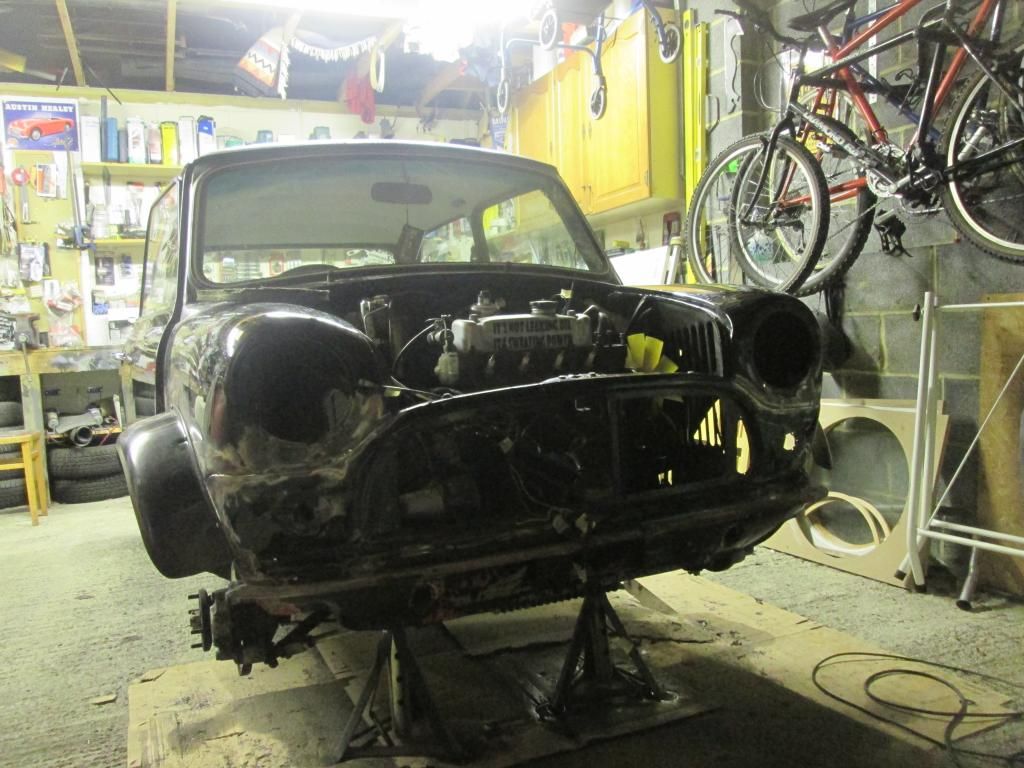
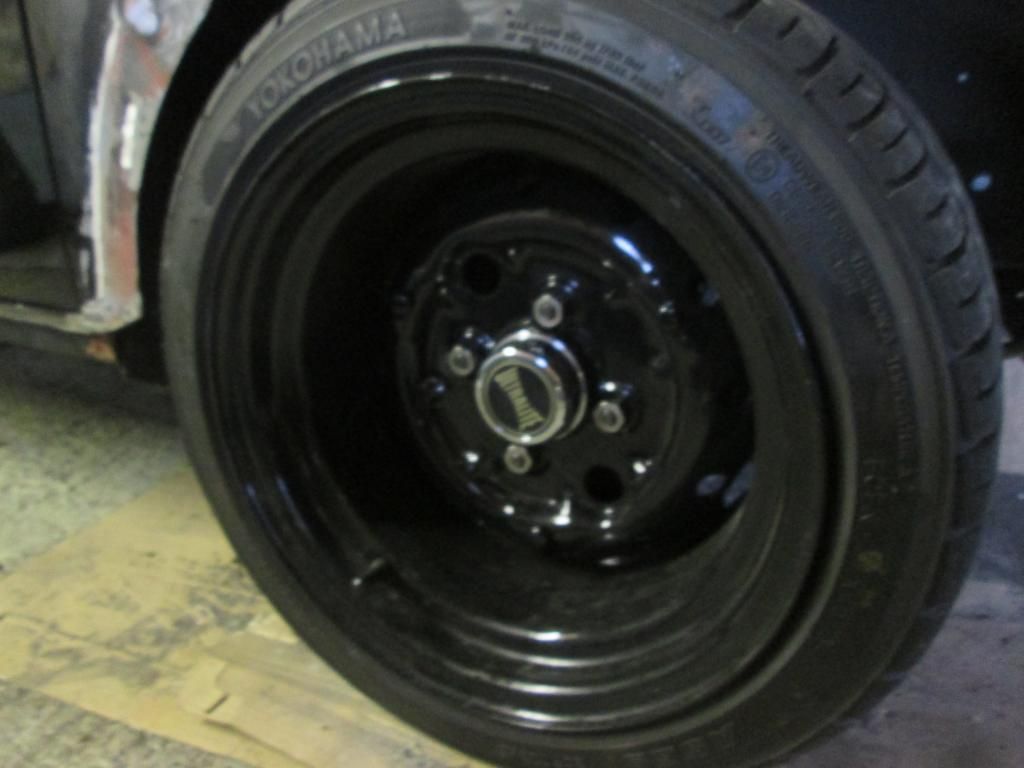
1 user(s) are reading this topic
0 members, 1 guests, 0 anonymous users


