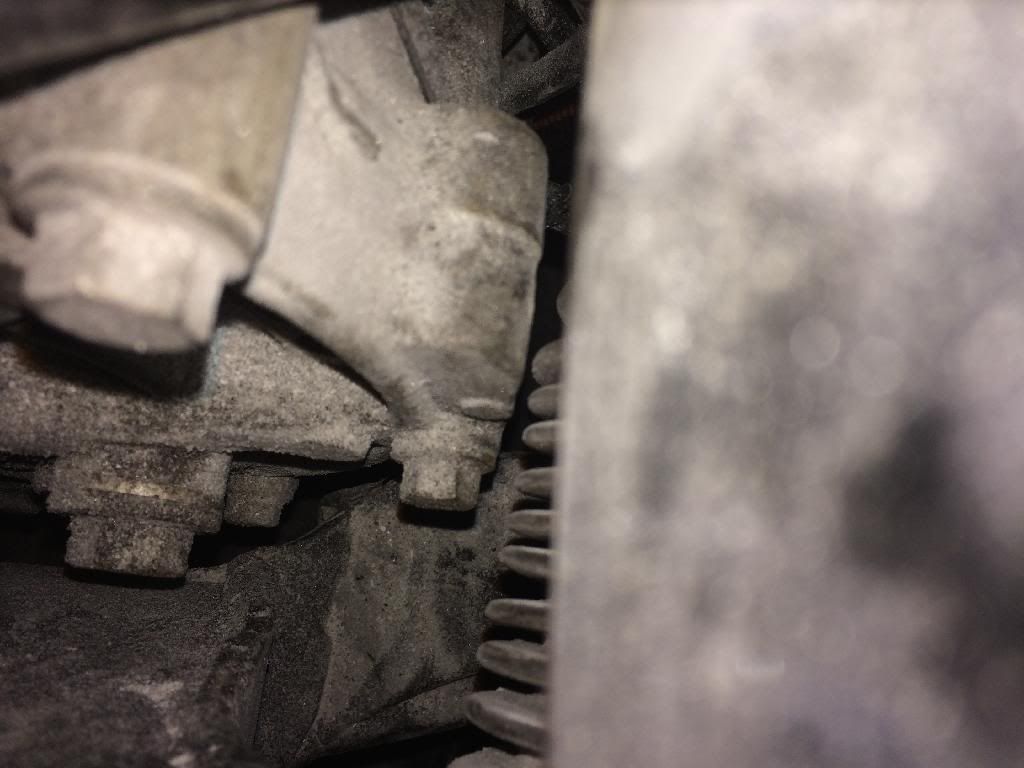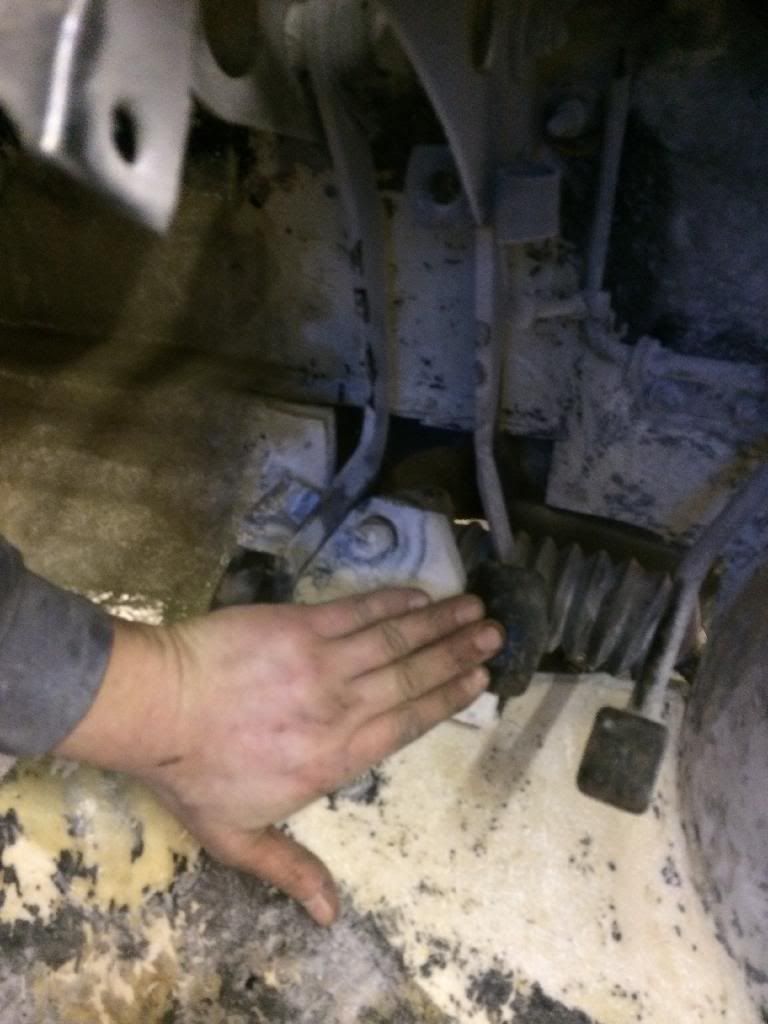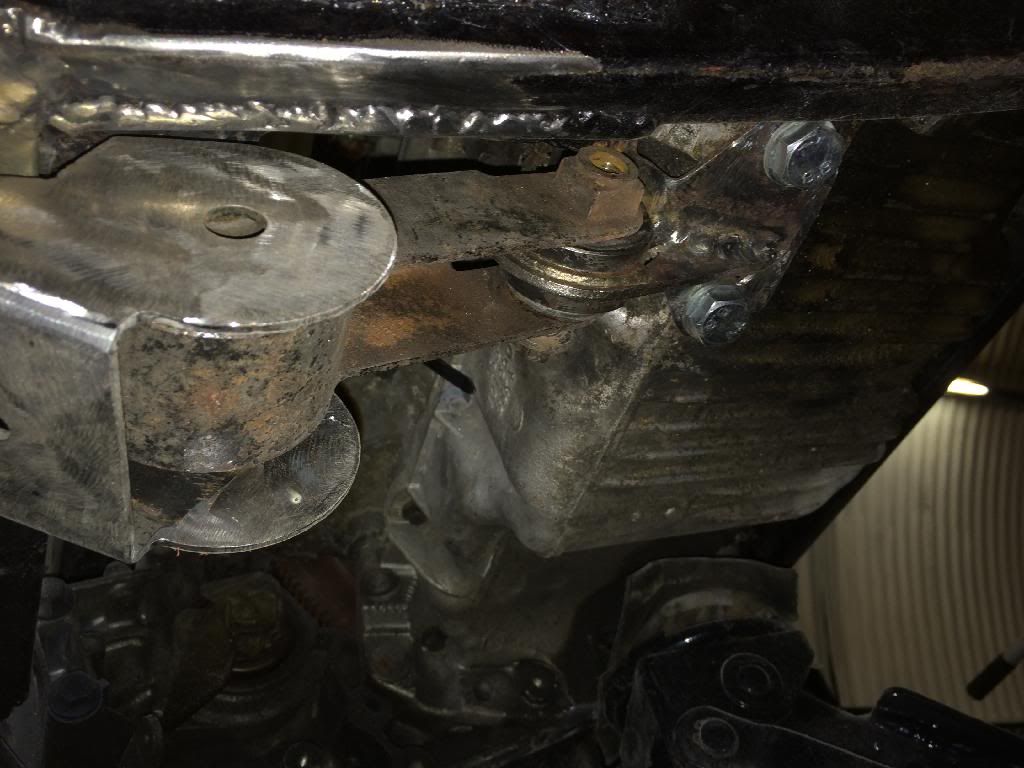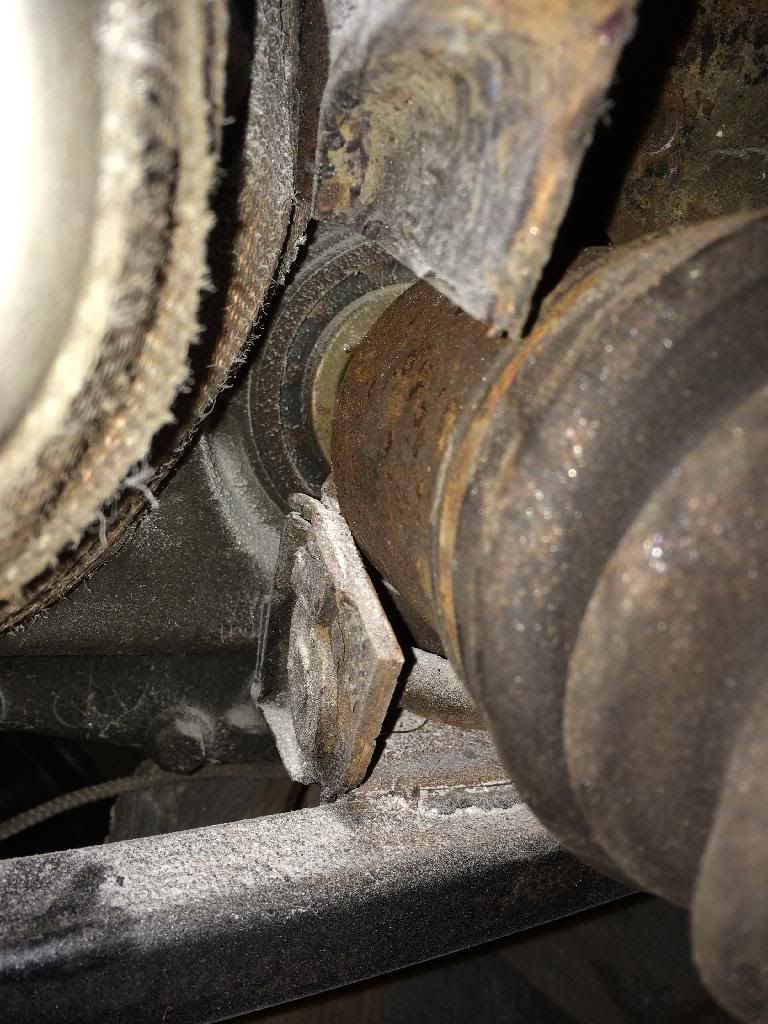
Brake pedal is now ok, but clutch pedal is gonna require some modifying...


Posted 06 March 2014 - 08:07 PM
You seem great with the sticky and strandy stuff!
Do you think it would be possible to roof chop a GRP mini shell? Would you be able to get the strength back into it after its chopped?
Thanks
Posted 07 March 2014 - 01:04 PM
My uncle (now retired) used to run a fibreglass factory and has been involved in making grp for bennetton F1 (when it was new technology), Disney land paris, he's made body kits, kit cars including Ferrari replicas (Google Rawlson 250lm) race cars etc, so I've always had a good source of advice available.
Yes a grp roof chop is entirely possible, as its the same process as putting the components of a grp shell together, in the first place, apart from the fact the outside bits have to look pretty.
but the process will be brutal, time consuming and very dusty prep work!
I would approach it by bracing the pillars, either side of where you are cutting. a basic approach of drilling through the pillar and use a big self taper screw into a bit of baton stretched between the a pillar b pillar and c pillar. then tie those batons together with more baton to stop any front to back movement.
Cut out your 4inch (or whatever) sections on each pillar.
drop the roof onto the remains of the pillars and use a grinder with a sanding pad to sand off a scary amount of material for at least 6inchs either side of the cut. Lay up with generous amounts of resin and woven strand mat, its stronger (instead of chopped strand mat which I have used here).
once cured, remove the interior baton frame and do the same lay up on the inside of the car.
you can then sand the outside to nice shape with the grinder, but leave the inside material alone and nice and thick, apart from the window rims where you'd fit the rubbers.
I doubt you'd need filler over the outside even.
That's how i'd do it, very dirty and time consuming with the sanding, but end result would be perfect.
...watch this space, I may even graft a proper van/ estate roof onto this ugly b@stard...
Edited by Alburglar, 07 March 2014 - 01:11 PM.
Posted 07 March 2014 - 04:42 PM
My uncle (now retired) used to run a fibreglass factory and has been involved in making grp for bennetton F1 (when it was new technology), Disney land paris, he's made body kits, kit cars including Ferrari replicas (Google Rawlson 250lm) race cars etc, so I've always had a good source of advice available.
Yes a grp roof chop is entirely possible, as its the same process as putting the components of a grp shell together, in the first place, apart from the fact the outside bits have to look pretty.
but the process will be brutal, time consuming and very dusty prep work!
I would approach it by bracing the pillars, either side of where you are cutting. a basic approach of drilling through the pillar and use a big self taper screw into a bit of baton stretched between the a pillar b pillar and c pillar. then tie those batons together with more baton to stop any front to back movement.
Cut out your 4inch (or whatever) sections on each pillar.
drop the roof onto the remains of the pillars and use a grinder with a sanding pad to sand off a scary amount of material for at least 6inchs either side of the cut. Lay up with generous amounts of resin and woven strand mat, its stronger (instead of chopped strand mat which I have used here).
once cured, remove the interior baton frame and do the same lay up on the inside of the car.
you can then sand the outside to nice shape with the grinder, but leave the inside material alone and nice and thick, apart from the window rims where you'd fit the rubbers.
I doubt you'd need filler over the outside even.
That's how i'd do it, very dirty and time consuming with the sanding, but end result would be perfect.
...watch this space, I may even graft a proper van/ estate roof onto this ugly b@stard...
Thanks Very much for the reply.
Well I think you have talked me into it! would you mind me picking your brains now and then on a build thread?
All the cutting and modifications on this thread have really inspired me to play with my GRP shell.
Great work!
Posted 07 March 2014 - 04:44 PM
Oh the link on your post has an @ symbol in place of the A. Unfortunately I cant use the link as my computer sees the symbol and opens my emails ![]() lol
lol
Posted 07 March 2014 - 07:05 PM
Posted 07 March 2014 - 07:33 PM
Yup, Sorry had my Beer hat on ![]()
Edited by Elf is a mini, 08 March 2014 - 10:47 AM.
Posted 10 March 2014 - 06:16 PM
I actually don't mind the phoenix shape. Maybe just drop the rear of the roof a touch?
Posted 10 March 2014 - 07:40 PM
Posted 10 March 2014 - 11:23 PM
Posted 11 March 2014 - 02:51 PM
Posted 11 March 2014 - 08:10 PM
That's some brilliant glass work right there. Good skills! ![]()
Posted 11 March 2014 - 08:14 PM
Can't beat a bit of packaging for GRP work!
Posted 19 March 2014 - 09:28 PM


0 members, 1 guests, 0 anonymous users