
Phoenix Estate Vvc K-Series Diy Subframe Conversion
#61

Posted 22 December 2013 - 12:52 AM
#62

Posted 31 December 2013 - 04:57 PM
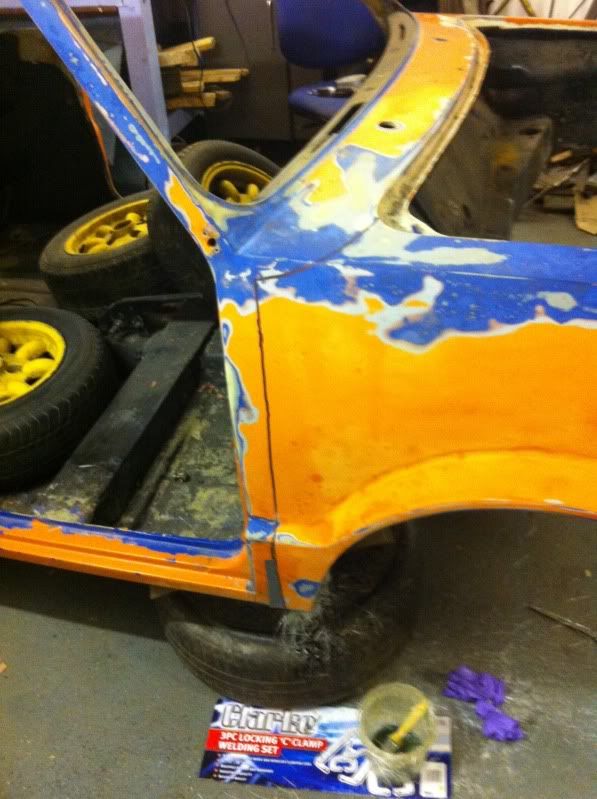
#63

Posted 06 January 2014 - 07:57 PM
I made four of these. 2 for each side of the car.
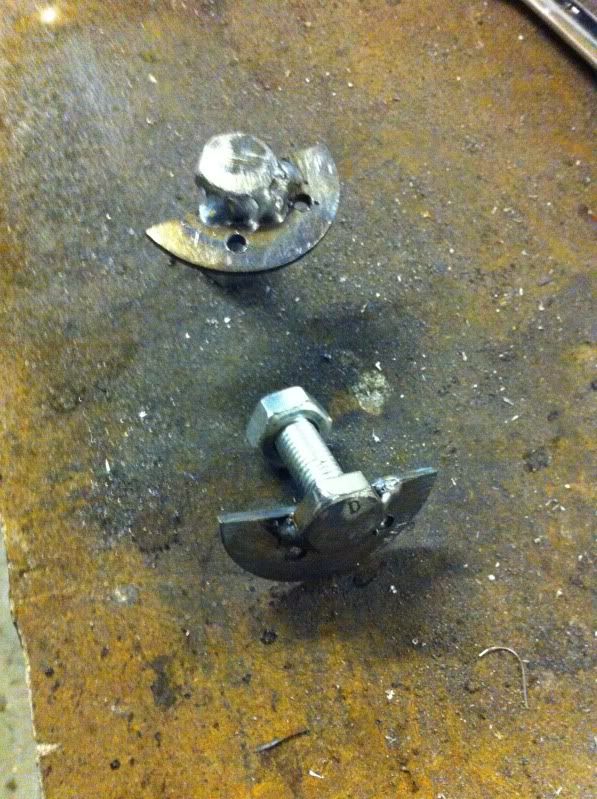
I Drilled through and fitted the bottom stud.
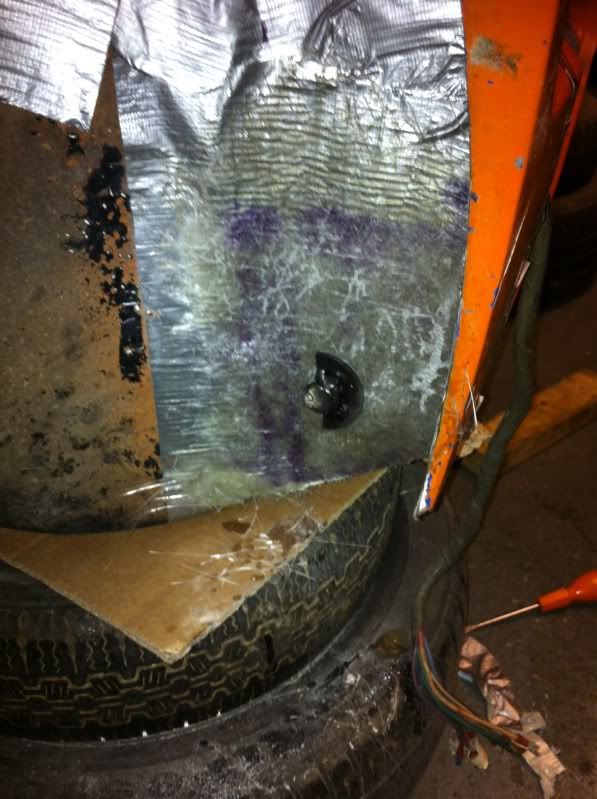
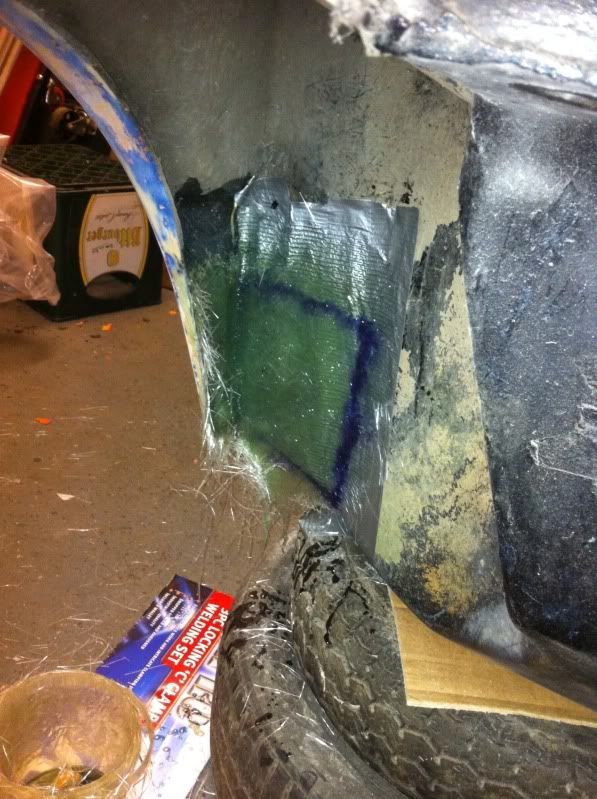
Then I taped up the rest of the bulkhead in the inner arch and fibreglassed up to just below the top door hinge holes.
Then I added the other stud at the top
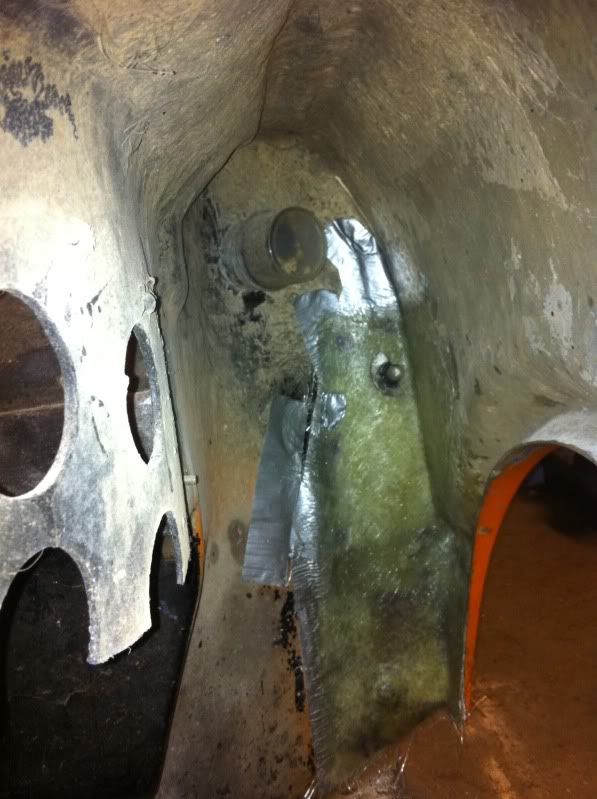
...and finished off fibreglassing over the top stud
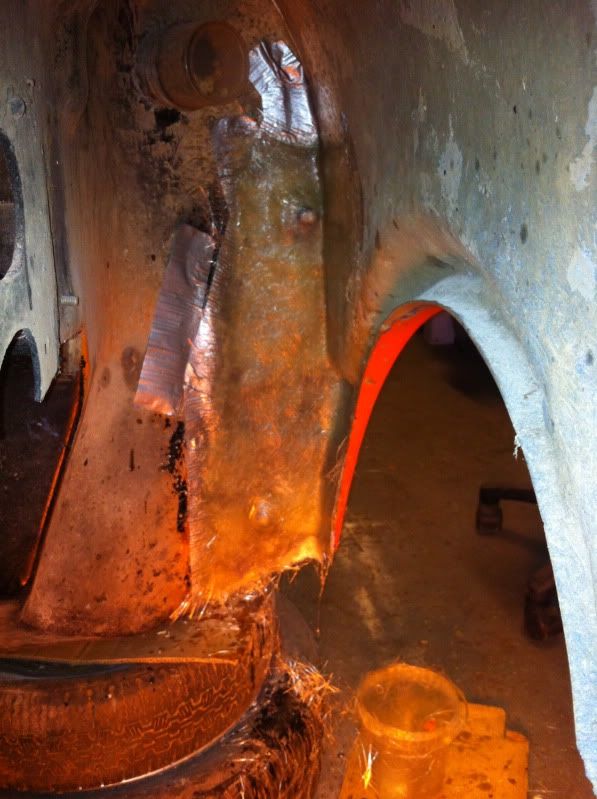
The studs are now 'captive', they pop through in the bottom corner of the bulkhead and the top one is in the door shut.
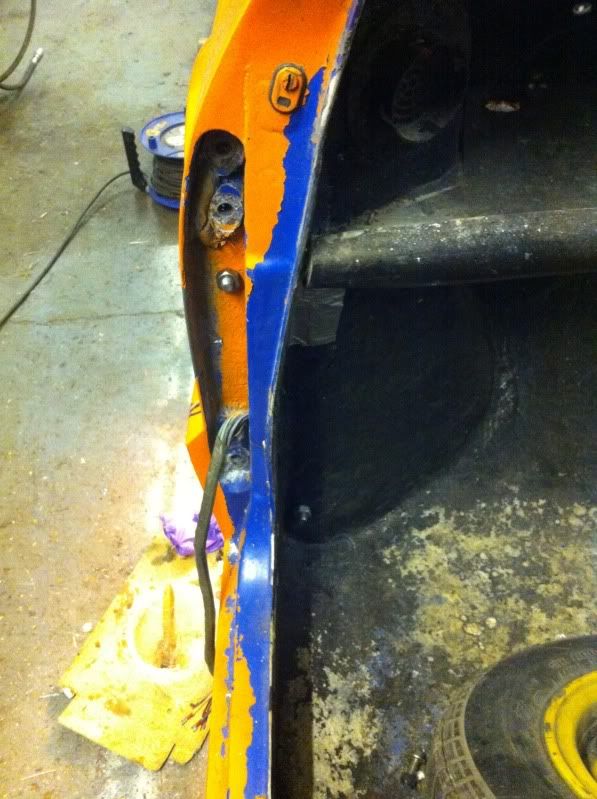
If the door shut one is a pain to get off and on with the doors in situ I'll move them inside the car like the bottom ones.
#64

Posted 06 January 2014 - 08:36 PM
I never intend it to be a particularly quick release front end, but Depending on how the top splits part at the bonnet line, I may be able to bolt that bit together just using a bonnet pin at each side.
#65

Posted 07 January 2014 - 11:54 AM
Edited by Alburglar, 07 January 2014 - 11:59 AM.
#66

Posted 17 January 2014 - 11:05 PM
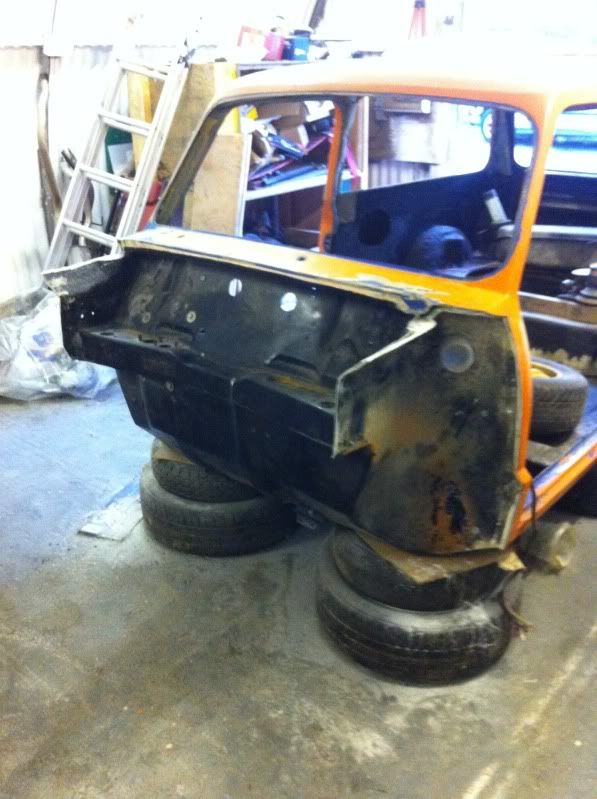
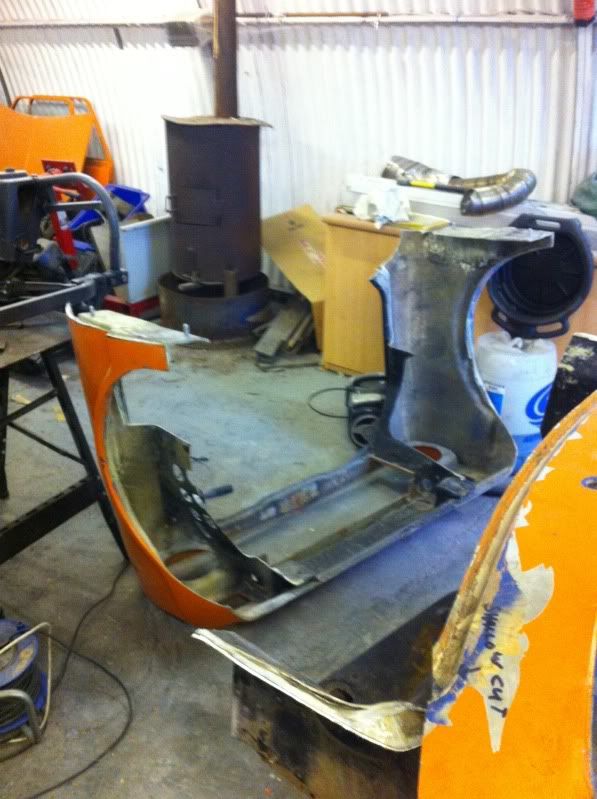
#67

Posted 17 January 2014 - 11:19 PM
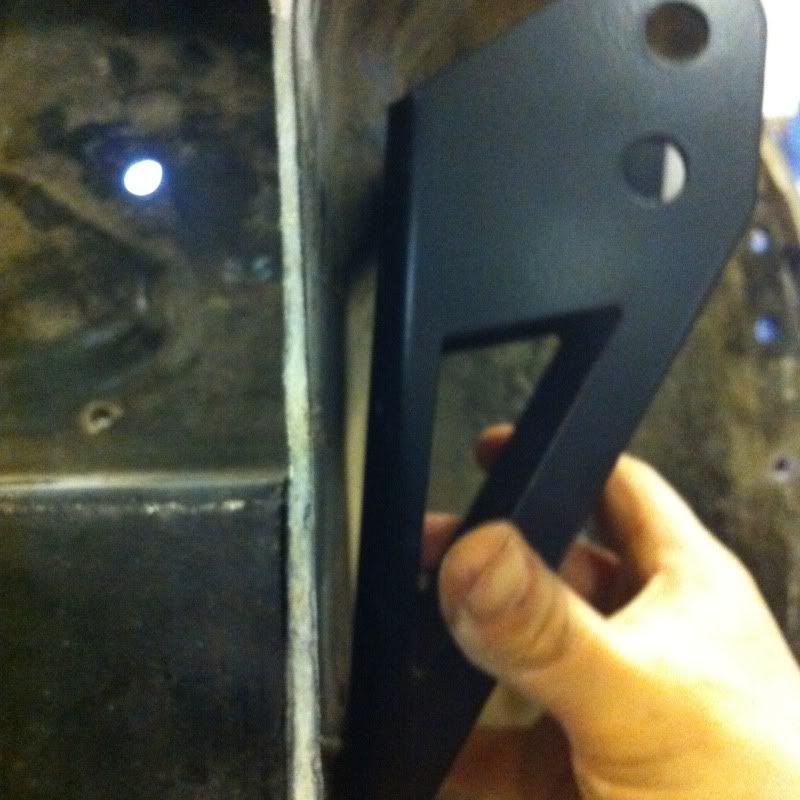
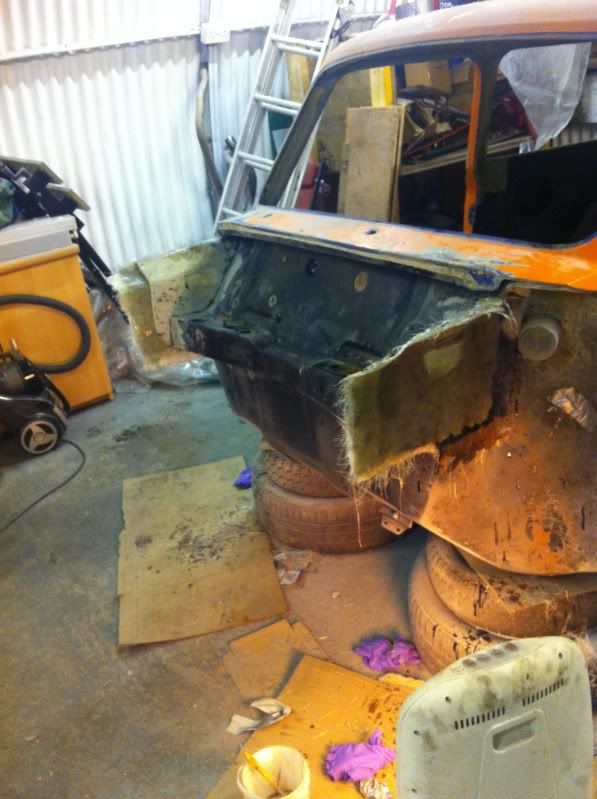
There is a scalloped section on the inner wing, on both sides, which must be a recess for the wiper motor for both right and left hand drive set up.
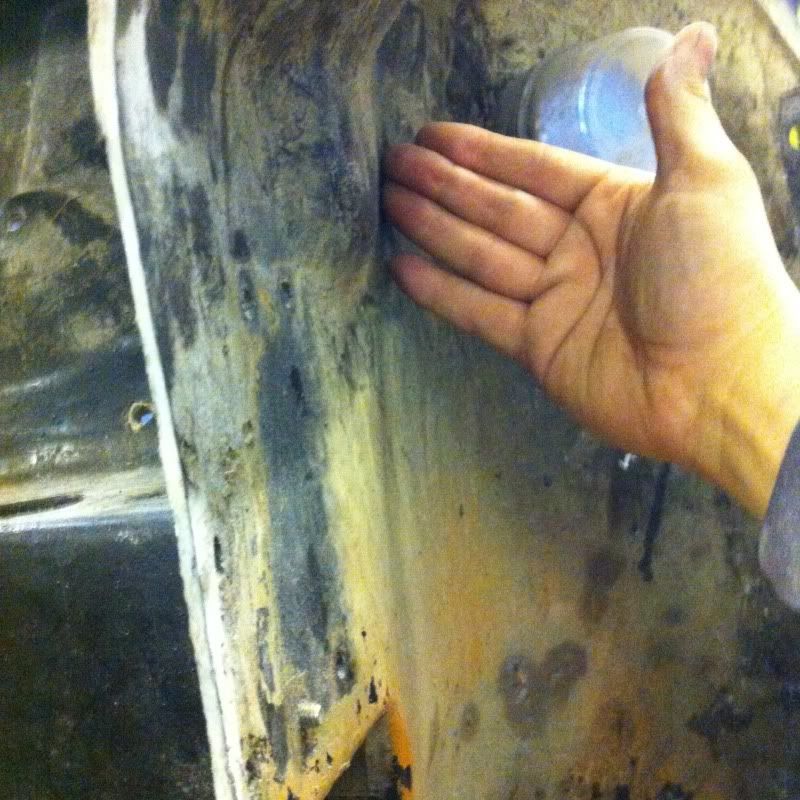
So it had to go. I'll worry about wiper motor fitment later.
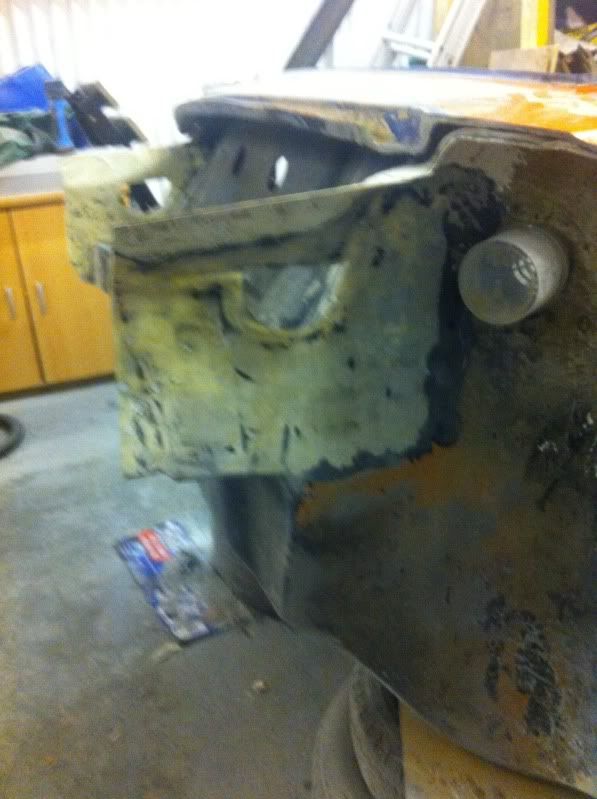
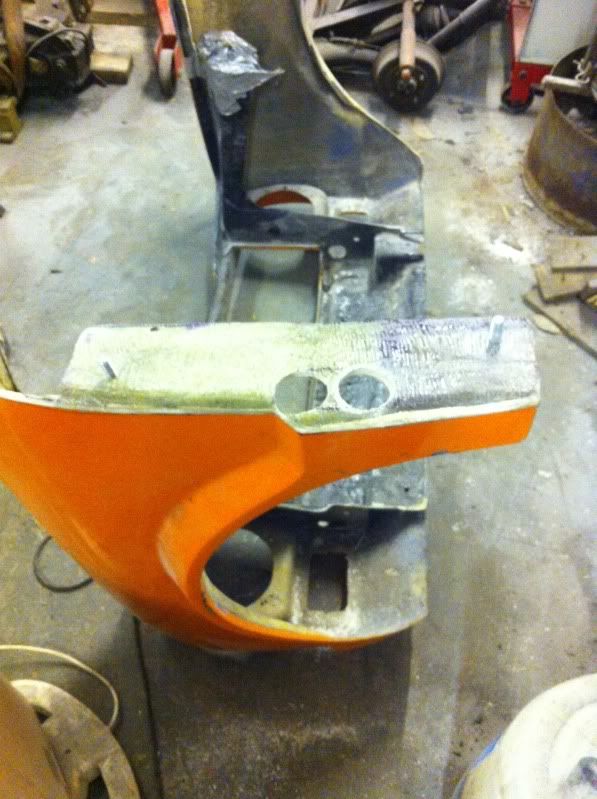
I then grp'd over it, so the panel is flat now. I did it with the front back on so It also made a lip to bolt the removeable bit to.
#68

Posted 17 January 2014 - 11:25 PM
#69

Posted 17 January 2014 - 11:32 PM
#70

Posted 19 January 2014 - 02:38 PM
#71

Posted 21 January 2014 - 02:14 AM
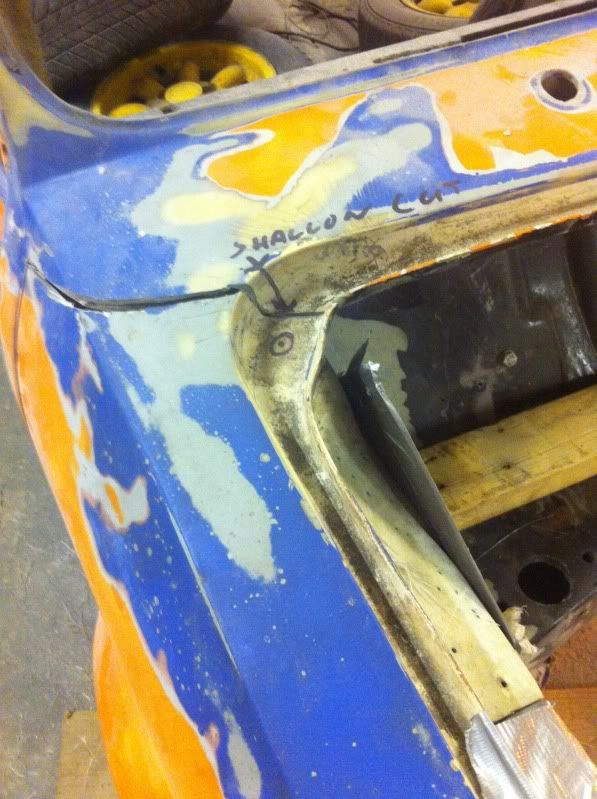
B-pillar repair.
Tidy up the cut off front end and scuttle and A-panel equivalent area.
Re-inforce the scuttle ends where the used to be bonded to the wings/a-panel.
Re-inforce the front bulkhead cross member. It is currently not joined to inner wings and needs strengthening.
Tidy up minor cosmetic damage to lower bulkhead.
Make rear boot hatch match rear body mouldings.
I'll do these jobs at some point, but for now at least I can start bolting the front subframe and components on and mock up the drive shafts....
#72

Posted 21 January 2014 - 02:28 AM
Great work mate, looking awesome
#73

Posted 28 January 2014 - 12:17 AM
Don't know how good this pic will be, but the fibreglass on the inside of the n/s B-pillar is separating from the shell on both edges, at the door and rear window seams. Pretty much the most common type of restoration work on a fibreglass mini with any age to it, (this one is nearly 20years old).
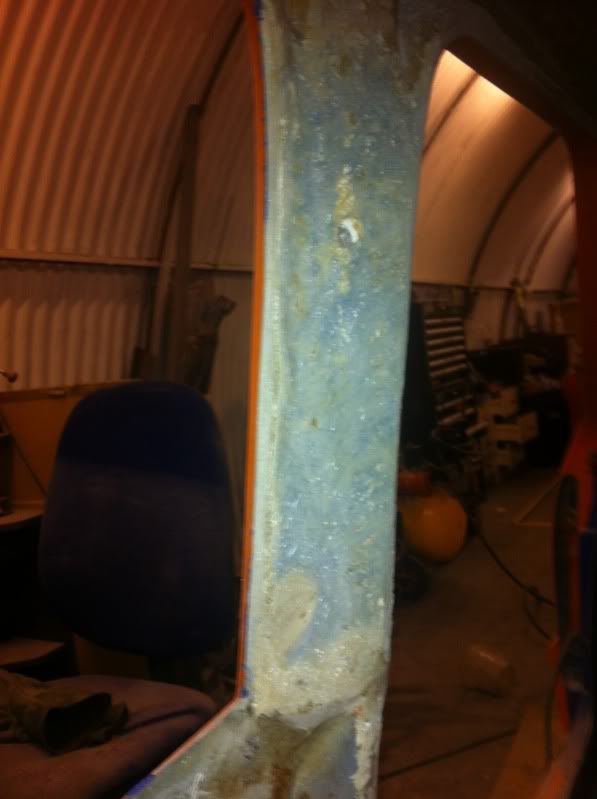
This is it already sanded back, with a grinder with a sanding pad with coarse paper. This should be your weapon of choice when doing any fibreglass body repairs. It strips off loads of material ( which is necessary when adding nice thick layers of chop strand Matt) and leaves the surface keyed ready to start.
But after laying up, the resin soaked csm started to peel away from the edges, so once tacky (not dry) I needed to tape it round lightly, so that the edges layed against the seams and should make a nice bond...
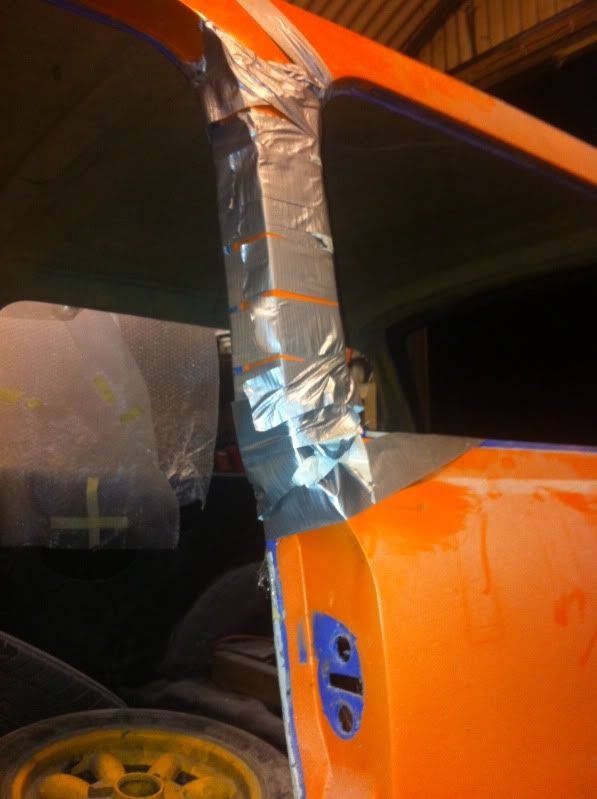
...but I won't know how well it's worked until it's cured.
Edited by Alburglar, 28 January 2014 - 12:20 AM.
#74

Posted 28 January 2014 - 12:35 AM
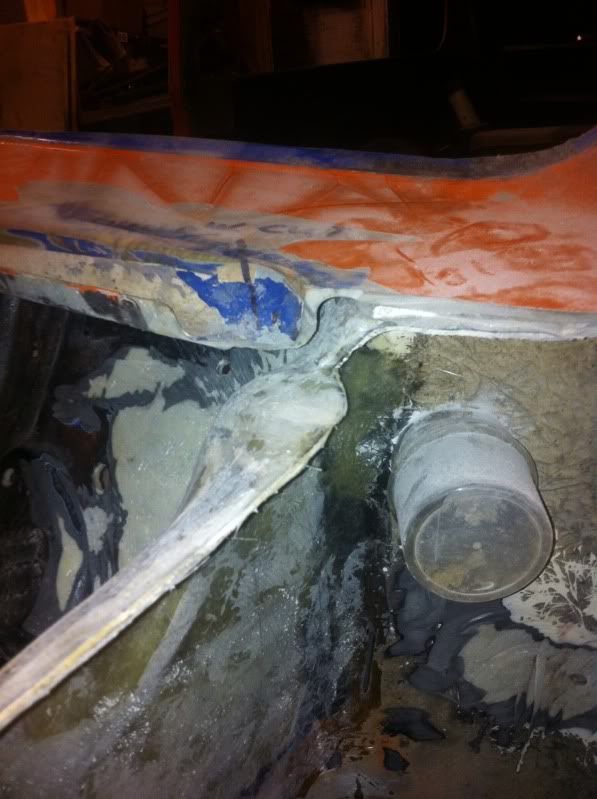
The body work near where the mini exhaust manifold was is frazzled. I always had a heat shield here on the minus. This one was really bad and really brittle. I stripped it back ready for repair.
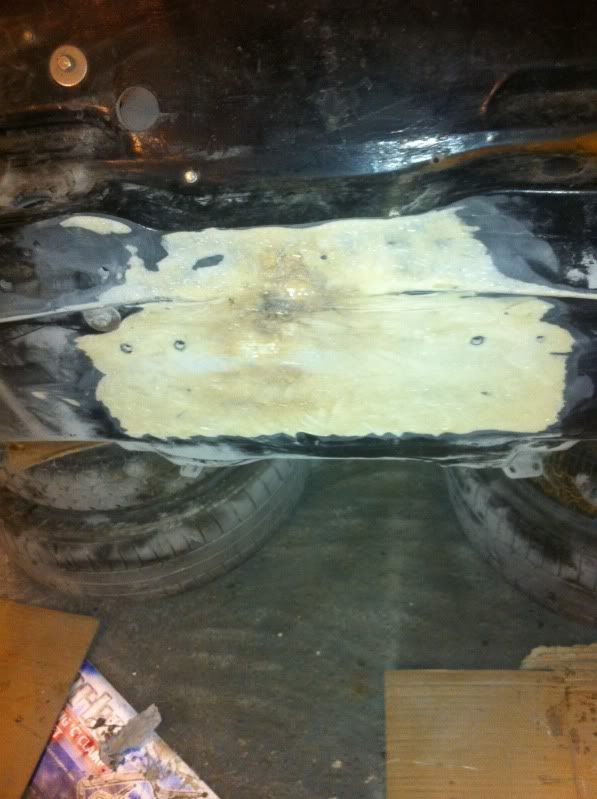
And here it is.
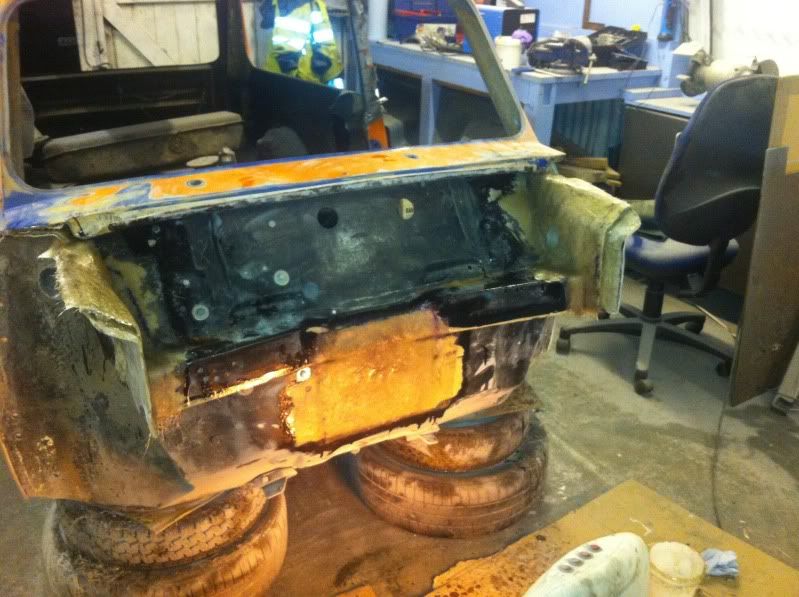
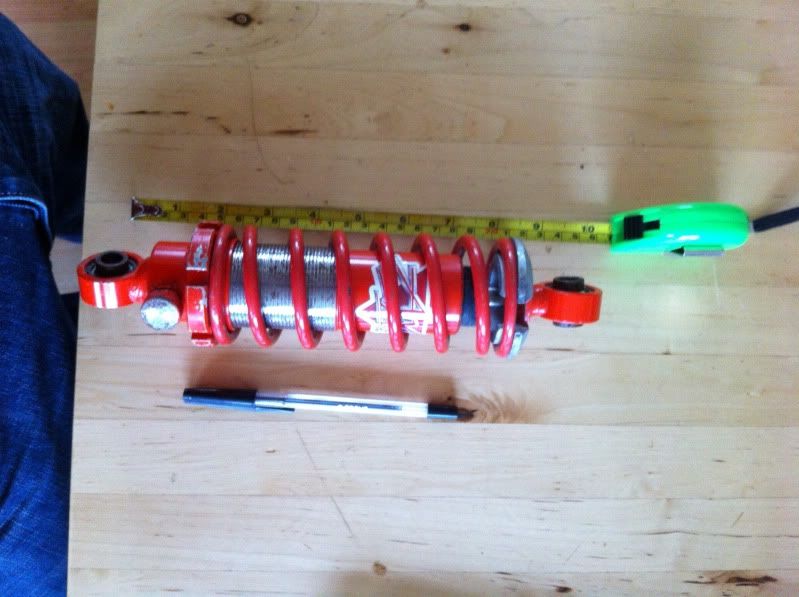
This pic also shows where I made a start fibreglassing over the bulk head and inner wing seam, which were not bonded together at all! This will also re-inforce the coilover mounting points. This spot is now almost 1/4 inch thick, but I still think I will probably tie the coilover brackets in to the subframe by welding something to join them.
Edited by Alburglar, 28 January 2014 - 12:45 AM.
#75

Posted 01 February 2014 - 10:36 PM
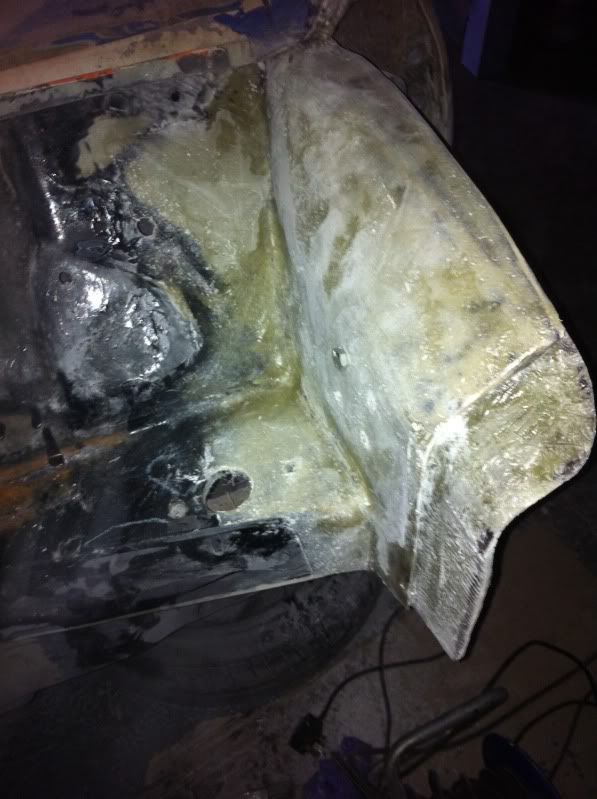
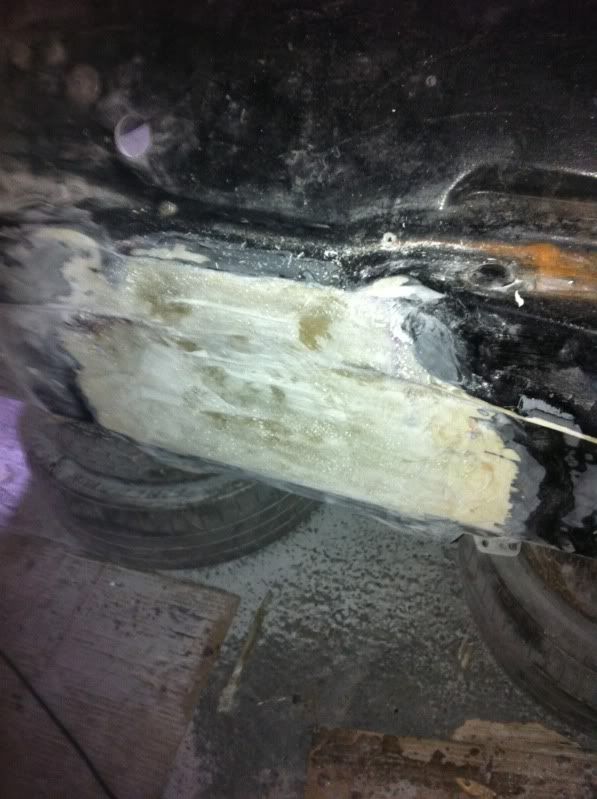
...along with middle bulkhead repair, although it still needs a bit of a tidy up
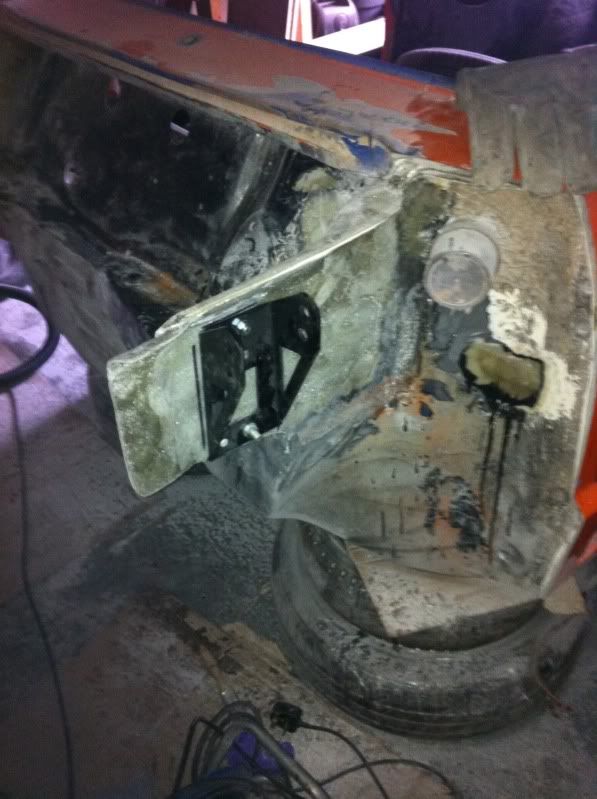
...and coilover brackets now fit.
B-pillar repair worked great too, but needs a proper tidy before it's pic worthy
1 user(s) are reading this topic
0 members, 1 guests, 0 anonymous users


