Jump to content


Photo
- - - - -

My 1991 Rover Mini Neon Project For First Car (^.^) (Photo Heavy)


  • Please log in to reply
28 replies to this topic

#16 sonikk4

sonikk4

    Twisted Paint Polisher!!!

  • Admin
  • PipPipPipPipPipPipPipPipPipPipPip
  • 16,033 posts
  • Name: Neil
  • Location: Oxfordshire

Posted 18 June 2013 - 08:14 PM

If the car is under cover then its nots essential to cover / paint anything straight away. However if its outside or in a potentially damp area then you need to think about using on bare metal some etch primer or zinc rich primer. If its in contact with moisture then as a temporary measure then some cheap topcoat will do the job.


Remember if you use Hammerite then this will cause normal paint to react with it when applied on top. On theunderside personally i would etch prime then stonechip. When that's hardened properly you can then topcoat it. Do remember to seam seal before stone chip. 


#17 phillmoore

phillmoore

    Passed Test

  • Noobies
  • PipPip
  • 25 posts
  • Location: Bexhill, East Sussex

Posted 30 June 2013 - 05:38 PM


If the car is under cover then its nots essential to cover / paint anything straight away. However if its outside or in a potentially damp area then you need to think about using on bare metal some etch primer or zinc rich primer. If its in contact with moisture then as a temporary measure then some cheap topcoat will do the job.


Remember if you use Hammerite then this will cause normal paint to react with it when applied on top. On theunderside personally i would etch prime then stonechip. When that's hardened properly you can then topcoat it. Do remember to seam seal before stone chip. 


well ive got it covered under this :


IMG_20130619_125713.jpg


IMG_20130619_125651.jpg


2013-06-17173934.jpg


2013-06-17173948.jpg


so its protected quite well but it not in a garage (which id prefer as itll be easier to work on)


Ive decided that i'll use >this< to cover the inside floor after ive pulled up all the bitumen etc as its got the usual waxoyl treatment and provides some dampening qualities from road noise etc and doesn't set hard so shouldn't crack :hopefully: :lol:


#18 phillmoore

phillmoore

    Passed Test

  • Noobies
  • PipPip
  • 25 posts
  • Location: Bexhill, East Sussex

Posted 30 June 2013 - 05:58 PM

As said a few photos of the rear companion bins


2013-06-18180958.jpg


2013-06-18181031.jpg


2013-06-18181022.jpg


2013-06-18181026.jpg


IMG_20130618_1812391.jpg


IMG_20130618_1812561.jpg


2013-06-18181306.jpg


and a few of the rear arches


2013-06-18181127.jpg


IMG_20130619_130421.jpg


2013-06-18181213.jpg


2013-06-18181140.jpg


2013-06-18181205.jpg


i thought i d only show the one shot of the shocks as both are as the same condition


2013-06-18181153.jpg


#19 sonikk4

sonikk4

    Twisted Paint Polisher!!!

  • Admin
  • PipPipPipPipPipPipPipPipPipPipPip
  • 16,033 posts
  • Name: Neil
  • Location: Oxfordshire

Posted 30 June 2013 - 06:10 PM

Your cover may be waterproof but the underside of the car is still open to the elements so if there is any moisture under the car and it evaporates it will be trapped under the cover. 


It does look as if you have issues with rust inside the companion bins. With the outer sills off you will see what is going on but to me it looks like you will need some repair sections in there.


#20 phillmoore

phillmoore

    Passed Test

  • Noobies
  • PipPip
  • 25 posts
  • Location: Bexhill, East Sussex

Posted 30 June 2013 - 06:47 PM

well i got a portable compressor for my birthday and had great fun inflating my tires quickly and blowing some dirt from my mini :lol:


2013-06-19131100.jpg


this is the glove boot before :


2013-06-19142231.jpg


2013-06-19142243.jpg


2013-06-19142238.jpg


2013-06-19142249.jpg


most of the dirt was from the mat that was in the glove boot tho after a quick clean :


2013-06-19161825.jpg


2013-06-19161829.jpg


it look's a little more presentable :D


i decide to look into why my side lights and dip beam didnt work so got some acces to the electrics behind the dash after connecting my stereo so it worked :lol:


2013-06-19161910.jpg


this is my brilliant iso connector ( or what i seem to have in place instead of a simple iso connector >_< )


2013-06-19152837.jpg


finnaly connected after a lot of guess work an luckily no blown fuses :lol:


IMG_20130618_1814301.jpg


the hole i found after fitting the stereo ( defo need new metal for that )


2013-06-19161858.jpg


what was left of the dash after i made a bit more access room :lol:


2013-06-19161847.jpg


IMG_20130622_142809.jpg


i noticed that this switch is newer than the rest and added to which it appears to have two wires joined onto one pin so i followed the wires


IMG_20130622_142800.jpg


IMG_20130622_142827.jpg


the black wire joins onto a blue an red wire on the main wiring loom to the engine bay so i checked the engine bay


2013-06-19162037.jpg


which goes to one of the fuses in this pic which had very bad contacts so i cleaned what i could and flipped the fuse round (just test til i replace it ;lol:) which fixed my side lights and dip beams not working :w00t:


2013-06-19162046.jpg


unfortunately i also found this small leak from my carb ( tho its just perished so new hoses an clamps will be orderd with the rest when i have money )


#21 phillmoore

phillmoore

    Passed Test

  • Noobies
  • PipPip
  • 25 posts
  • Location: Bexhill, East Sussex

Posted 30 June 2013 - 06:51 PM

Your cover may be waterproof but the underside of the car is still open to the elements so if there is any moisture under the car and it evaporates it will be trapped under the cover. 


It does look as if you have issues with rust inside the companion bins. With the outer sills off you will see what is going on but to me it looks like you will need some repair sections in there.


yes this was my concern the cover apperantly allows moisture and condensation to get out but it doesnt stop it coming in underneath , thanks for the info its helping alot with my plans of what to do next etc , if you ever go over bexhill hastings way it would be great to get you opinion on a few things ( added that you could see the car in person and point any bits ive missed ) ;D


#22 sonikk4

sonikk4

    Twisted Paint Polisher!!!

  • Admin
  • PipPipPipPipPipPipPipPipPipPipPip
  • 16,033 posts
  • Name: Neil
  • Location: Oxfordshire

Posted 30 June 2013 - 07:46 PM


Your cover may be waterproof but the underside of the car is still open to the elements so if there is any moisture under the car and it evaporates it will be trapped under the cover. 


It does look as if you have issues with rust inside the companion bins. With the outer sills off you will see what is going on but to me it looks like you will need some repair sections in there.


yes this was my concern the cover apperantly allows moisture and condensation to get out but it doesnt stop it coming in underneath , thanks for the info its helping alot with my plans of what to do next etc , if you ever go over bexhill hastings way it would be great to get you opinion on a few things ( added that you could see the car in person and point any bits ive missed ) ;D


No problem, pm me when you get the chance and we can arrange something. Was there yesterday at my mum's as it goes.


#23 phillmoore

phillmoore

    Passed Test

  • Noobies
  • PipPip
  • 25 posts
  • Location: Bexhill, East Sussex

Posted 16 July 2013 - 07:58 PM

well another quick update i got all my parts delivered....can you guess from where? :D


IMG_20130704_144316.jpg


IMG_20130704_151339.jpg


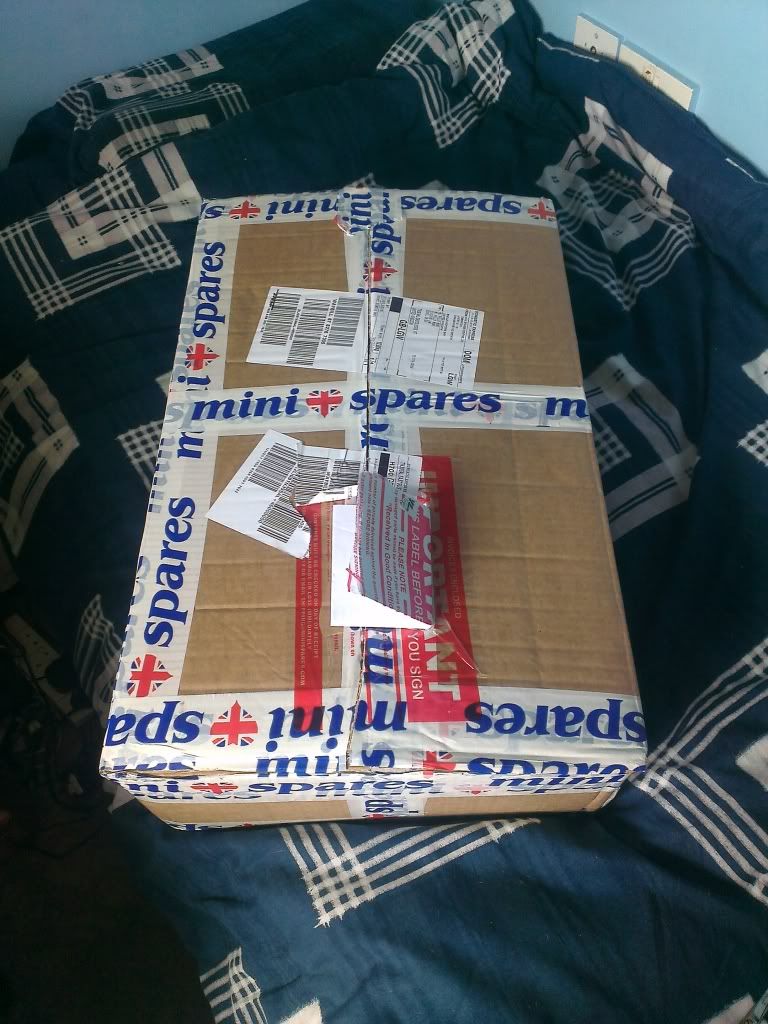
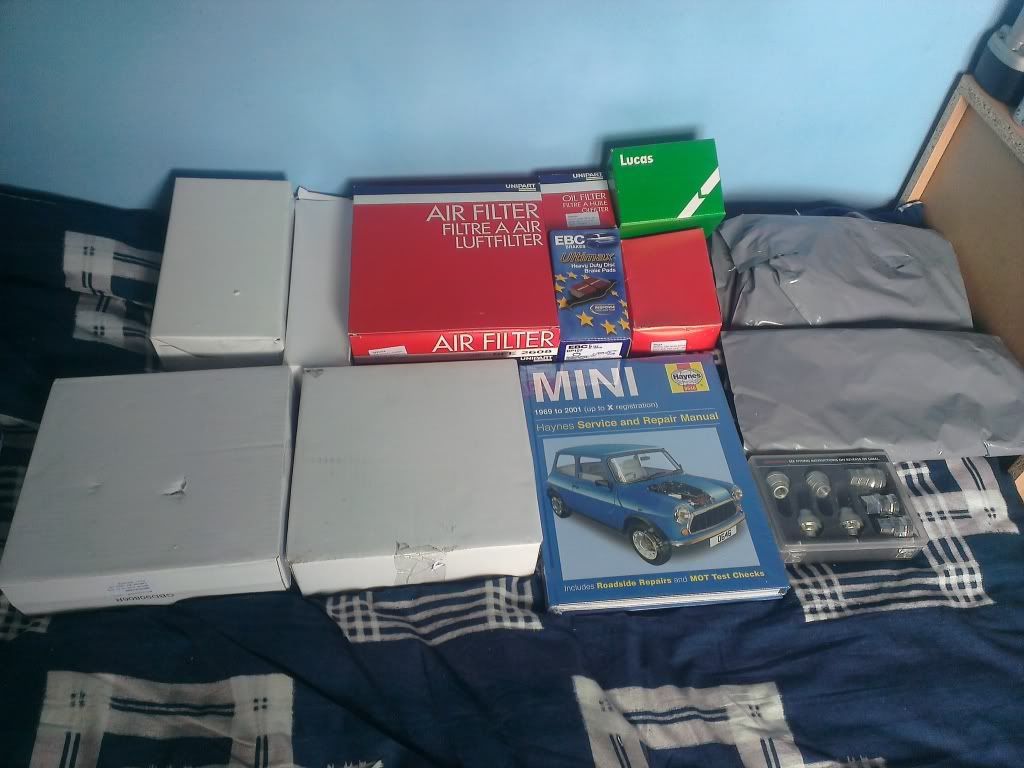
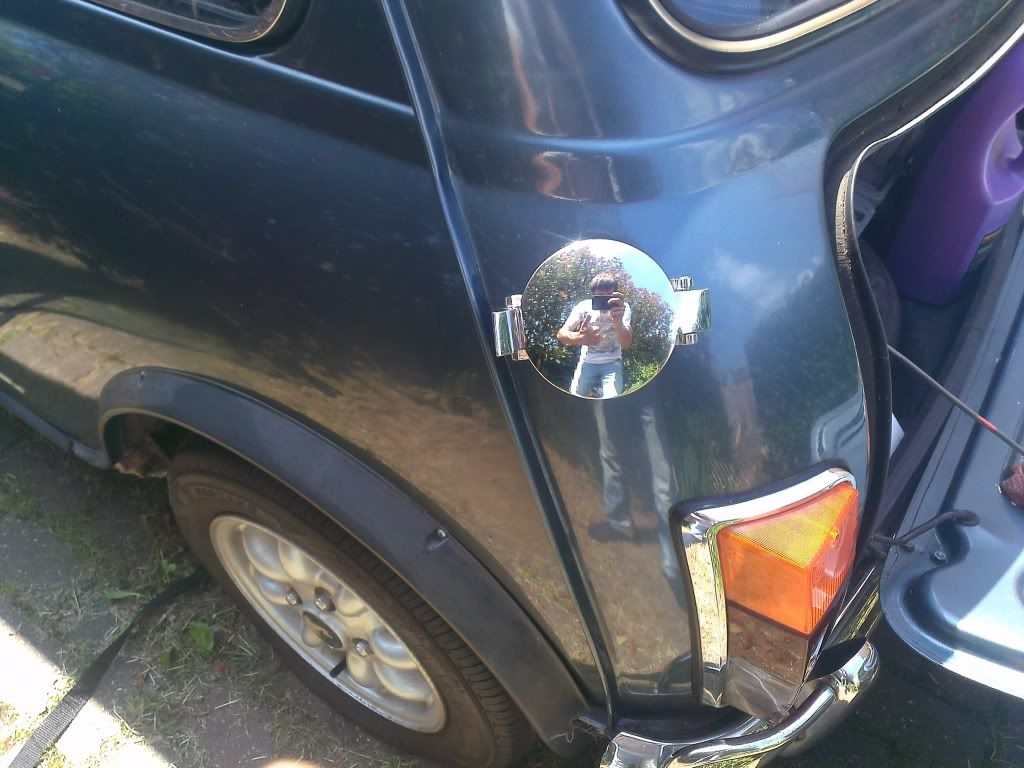
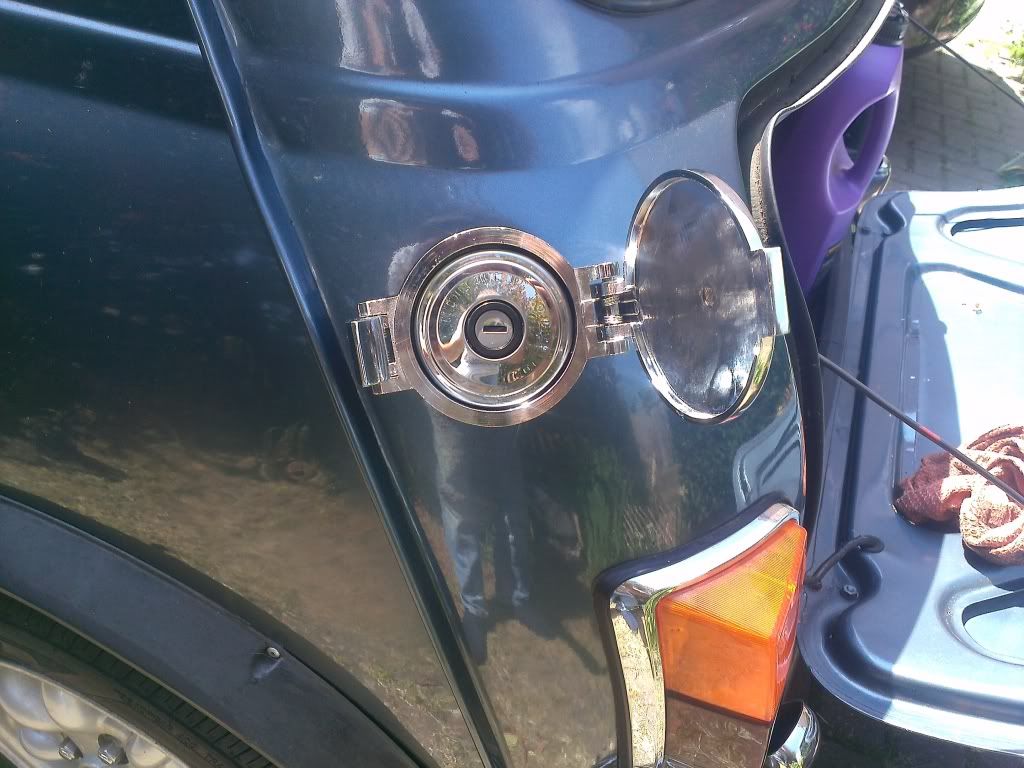
among the many many parts i ordered ( including a haynes manual ) i finally have my fuel cap :proud:


IMG_20130706_140719.jpg


IMG_20130706_140735.jpg


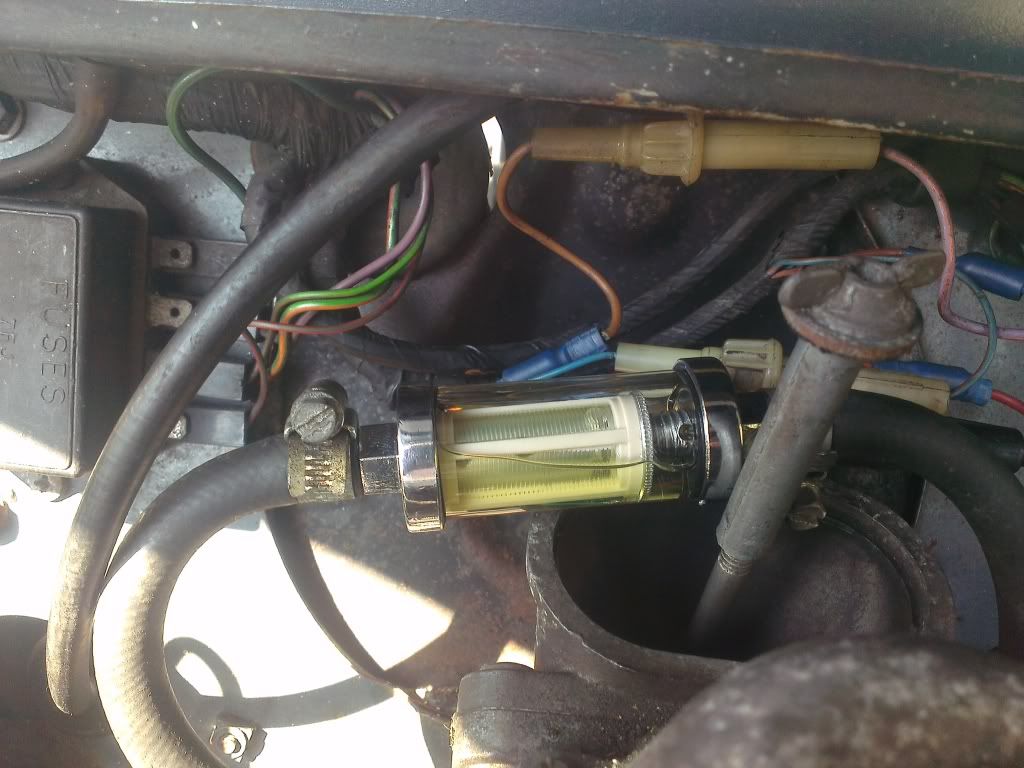
my new fuel filter in place and looking clear :gimme:


IMG_20130706_154657.jpg


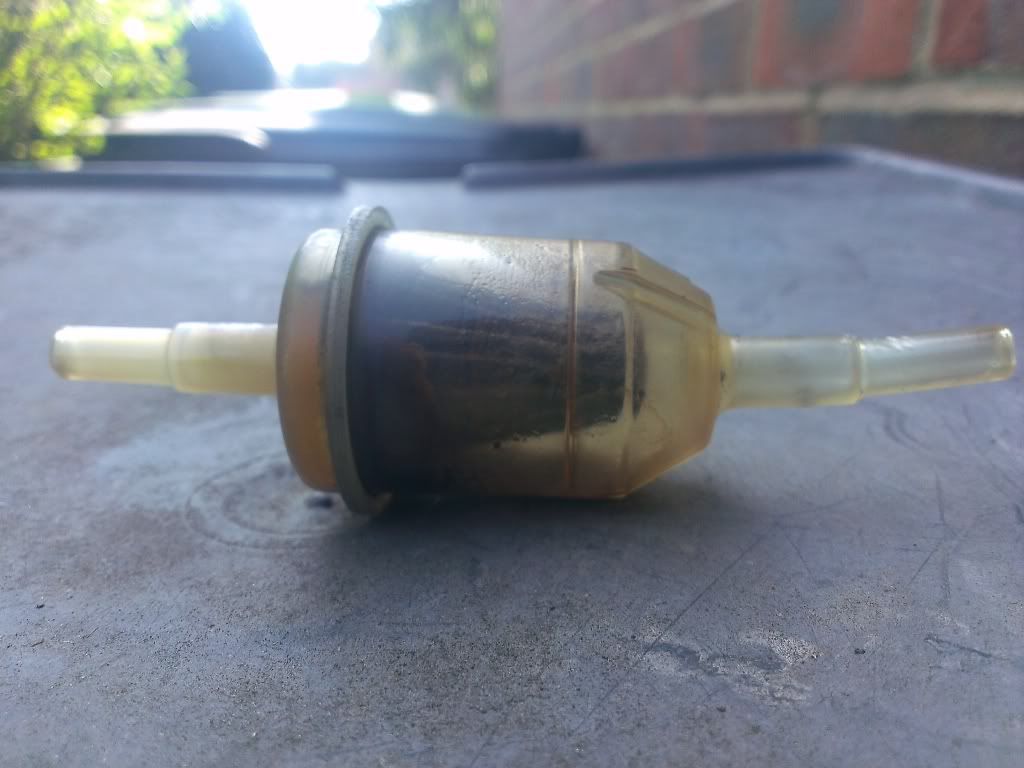
and the lovely condition of the old fuel filter O_O


IMG_20130706_152204.jpg


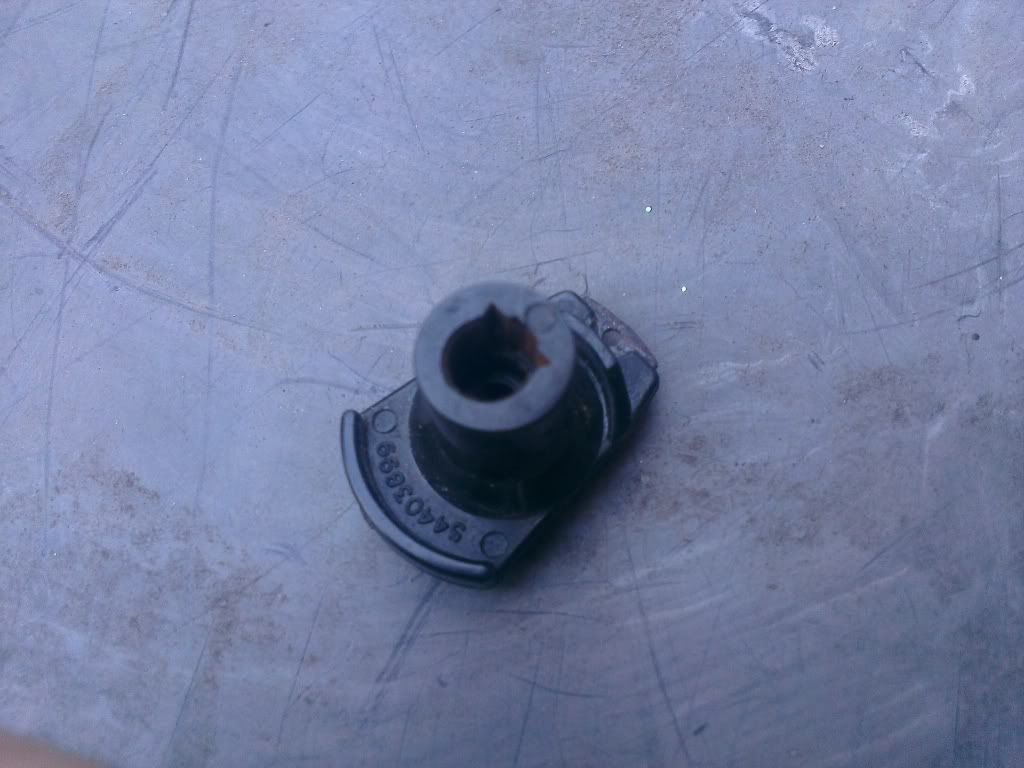
and the old rotary arm in bad condition ( the shiny-er bits are were i scratched it with a screwdriver for better conductivity )


IMG_20130716_203402.jpg


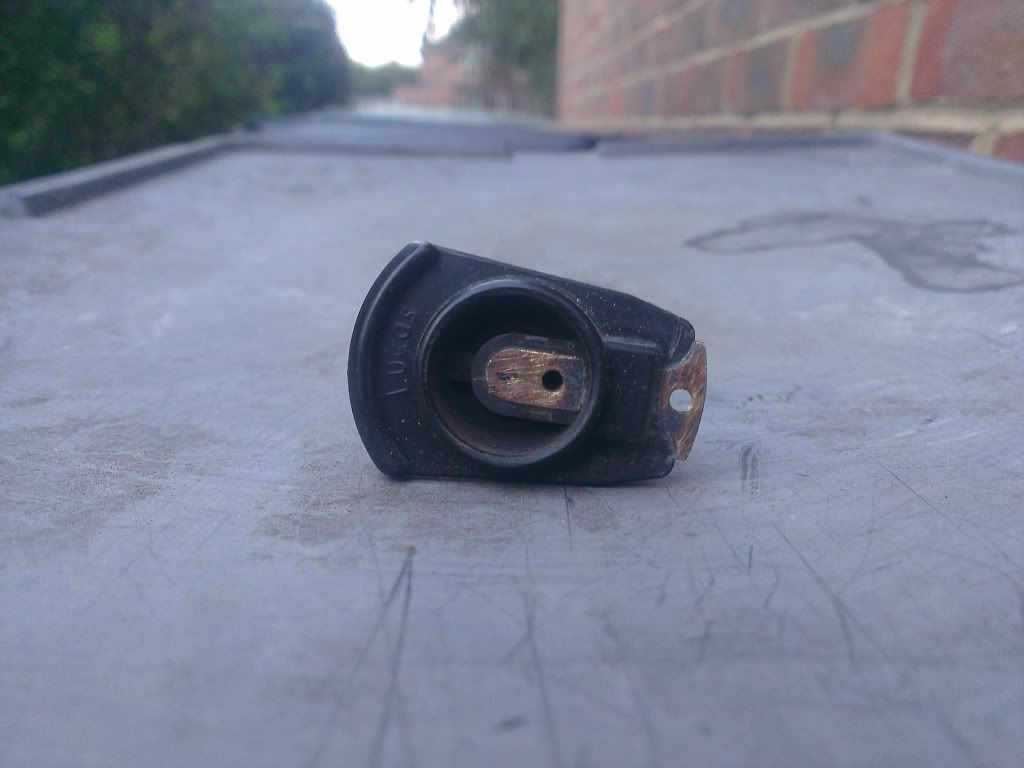
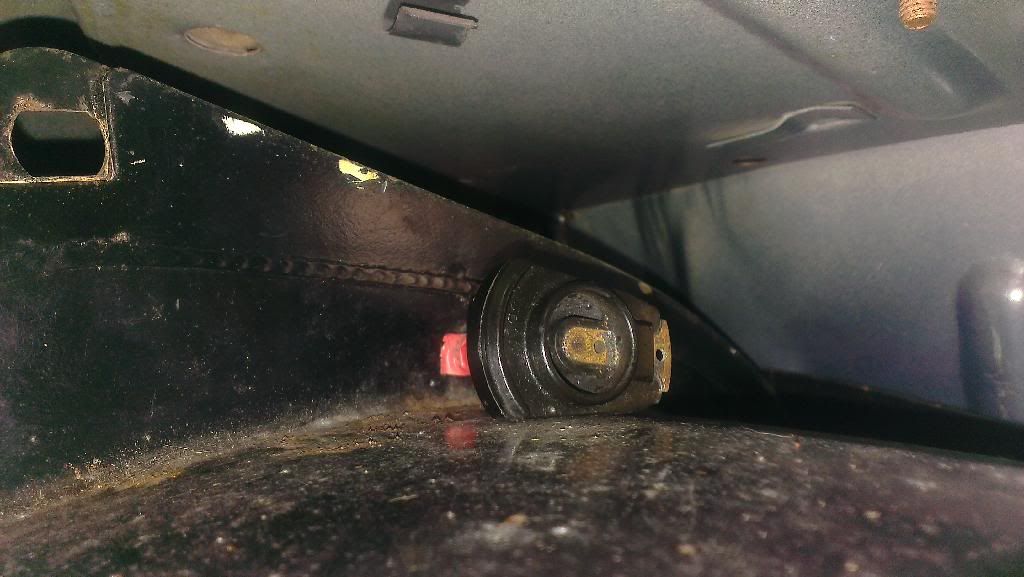
and i swear theres ment to be a bit of metal inside this?


IMG_20130716_203436.jpg


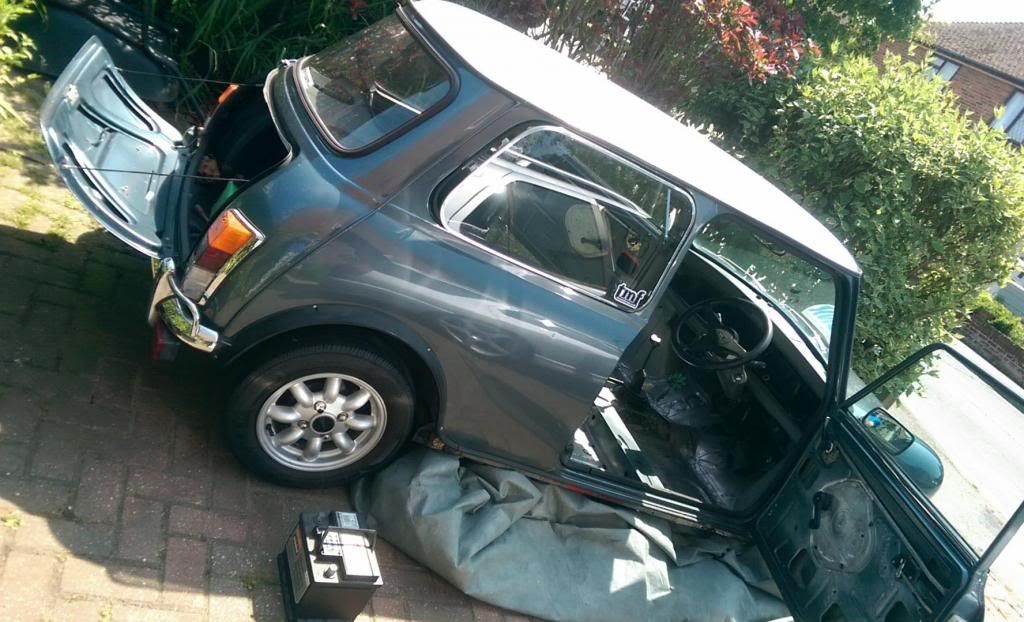
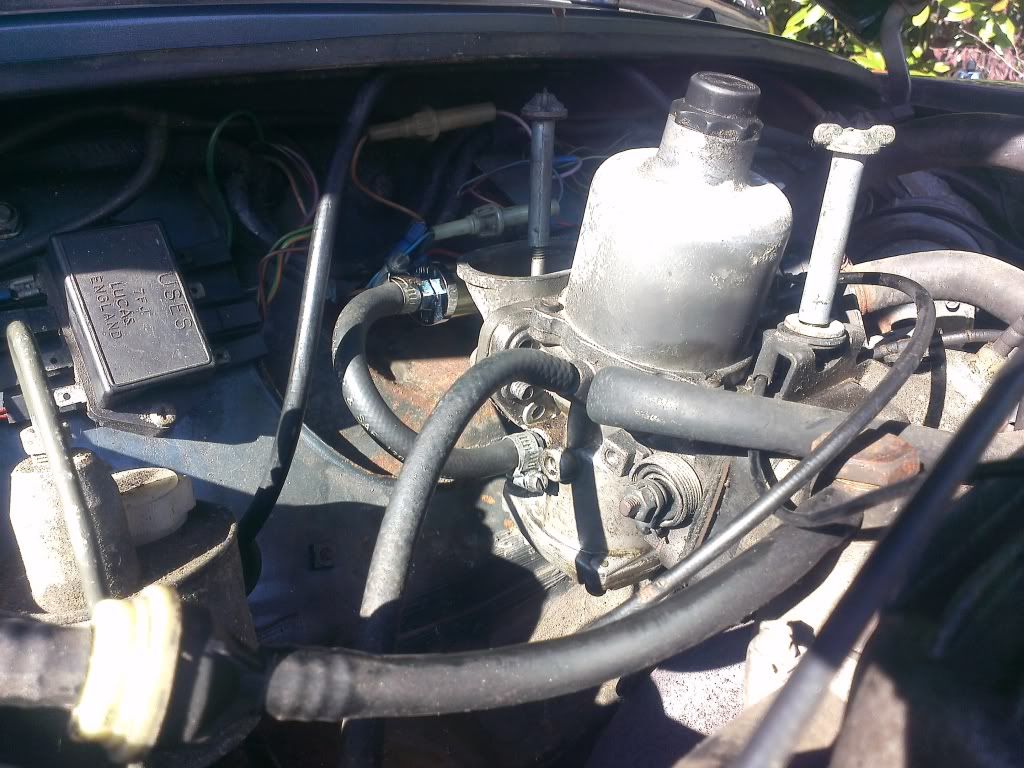
and whilst i was at it i cleaned and stopped the fuel leak from the carb ;D


IMG_20130706_171857.jpg


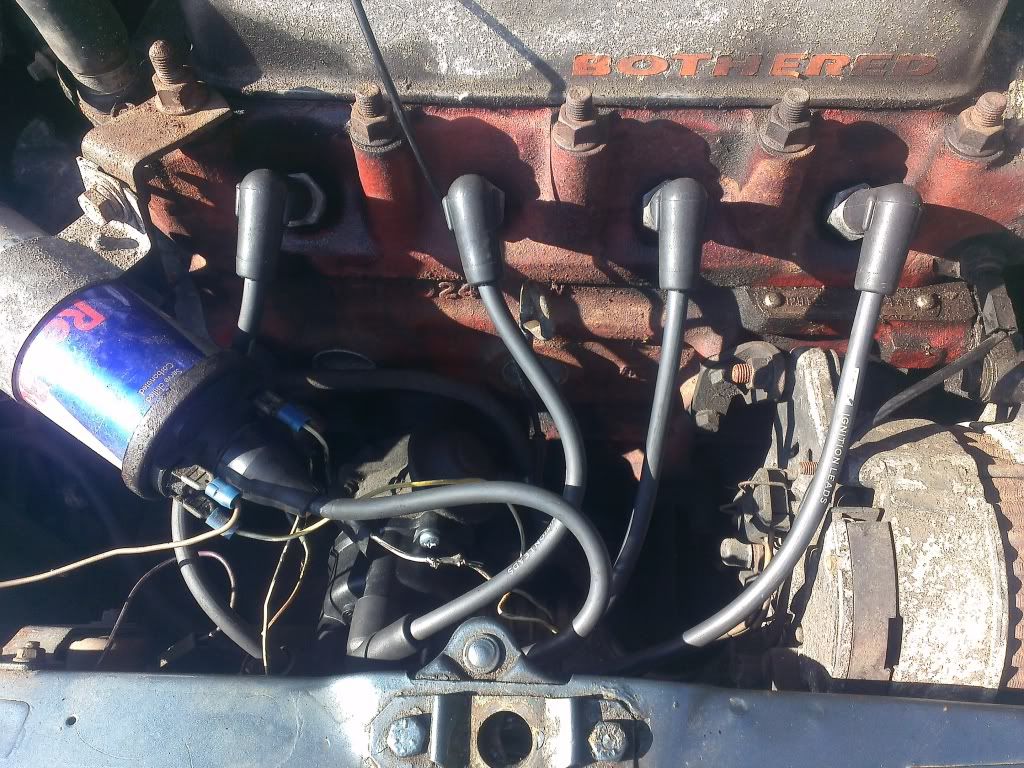
and my new rotary arm, distributer cap and leads already fitted


IMG_20130706_171914.jpg


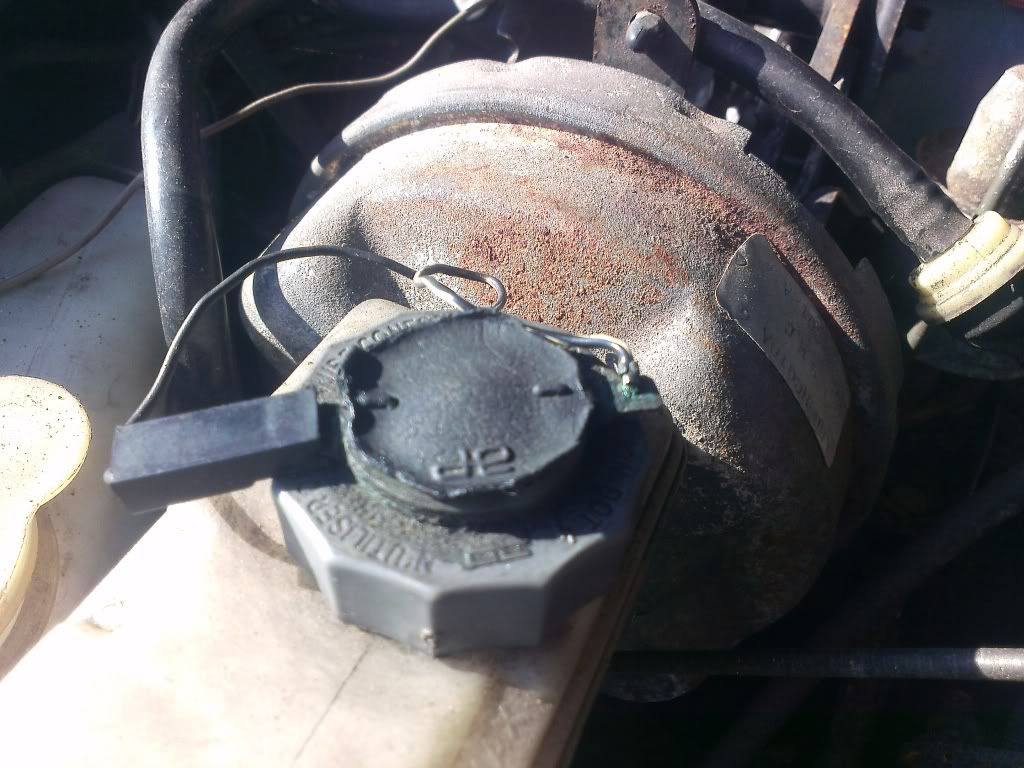
oh and whilst i was changing the fuel filter i accidentally knocked a connector off the brake fluid cap but its tempory fixed :lol:


IMG_20130706_171907.jpg


with the old parts ( R arm and F filter ) i was seriously surprised that it even ran before i replaced them :dontgetit: , i have seen worse before in photos but just not in person :lol:


i also have a few other parts ready to replace :

new air filter

new discs and pads for the front

new shoes and springs for the rear

plus a lovely chrome number plate housing


and i need to order some new spark plugs as shes still running a little ruff ( tho she still needs a good run too but thats a while away yet )


#24 phillmoore

phillmoore

    Passed Test

  • Noobies
  • PipPip
  • 25 posts
  • Location: Bexhill, East Sussex

Posted 18 January 2014 - 10:19 PM

Heyoo i know its been quite some time since i last updated i do have a few pics to upload and im gonna be hitting my project hard again very soon :D


since my last update unfortunately my electrics have gone completely up the creak so if i try to connect the battery the car tries to start with no keys in the ignition O_O


so that'll be my main goal to fix the electrics due to perished grommets and broken/shorting cables etc along with chipping the floor up to see what state it's in and marking where all the rust is :shades: 


bring on some good weather....please :gimme:


#25 phillmoore

phillmoore

    Passed Test

  • Noobies
  • PipPip
  • 25 posts
  • Location: Bexhill, East Sussex

Posted 19 January 2014 - 10:12 PM

heyoo so i spent all day cleaning up the ground connection and also stripping a room in the house and stripping the interior then cleaning and storing it to protect it from mould etc ;D


IMAG0210.jpg


my brilliant idea to seal the top vent on the fuel tank a load of electrical tape and my old rotary arm :genius:


IMAG0211.jpg


my solar panels set up to charge the minis battery :mrcool:


IMAG0212.jpg


side indicator on my solar bag showing input voltage from the panels, it did reach up to 13.8v which the solar charge box regulates and charges the battery accordingly


IMAG0213.jpg


and simple crocodile clips to connect to the battery


IMAG0215_BURST002.jpg


the ground connection bolt hole looking a little worse for wear


IMAG0216.jpg


after sanding back the surface rust and i did coat it in a dab of hammerite paint to tid me over till i sort the rest of the boot just making sure my ground is fine for testing the electrics later


IMAG0217.jpg


removed the seats


IMAG0218_BURST001.jpg


IMAG0219_BURST001.jpg


IMAG0220_BURST001.jpg


IMAG0221_BURST001.jpg


rather poor condition bolt holes for the seats...sorry for the blurred shots >_<


IMAG0222.jpg


the room i cleared 6 desktops 3 laptops 2 ps3's and an assortment of broken junk from to make space for my mini's bits


IMAG0227.jpg


my interior all laid out after being hoovered and sprayed with cleaners and mould protection


IMAG0228.jpg


the once clear room now filled with most of my interior for storage whilst i work on the body and electrics


IMAG0225.jpg


IMAG0224.jpg


how i left the mini after clearing up with fading light :lol:


i hope to get more done and update again soon


thankyou for reading :thumbsup:


#26 megamini_jb

megamini_jb

    Crazy About Mini's

  • Members
  • PipPipPipPipPipPipPipPipPipPip
  • 5,491 posts
  • Name: Jamie
  • Location: -

Posted 19 January 2014 - 10:17 PM

Cool, will be watching your progress

#27 phillmoore

phillmoore

    Passed Test

  • Noobies
  • PipPip
  • 25 posts
  • Location: Bexhill, East Sussex

Posted 23 May 2014 - 06:17 PM

hello all again ive been meaning to get back on here an update my thread i just havent managed to get all my photos uploaded an in order >_< so heres a quick update


unfortunately ive had some damage as my mum decided to reverse into to my mini after misjudging her angle and clipped the wheel arch O_O


IMAG0337.jpg


IMAG0338.jpg


IMAG0340.jpg


IMAG0341.jpg


IMAG0342.jpg


luckily its just popped a rivet out an bent the front wing a little so it was easy to sort out :D


ive also chipped out all the bitumen from the floor ill add photos soon ;D


#28 phillmoore

phillmoore

    Passed Test

  • Noobies
  • PipPip
  • 25 posts
  • Location: Bexhill, East Sussex

Posted 24 May 2014 - 05:13 PM

after taking the seats out ive found my new driving position to be a bit worrying :lol:


IMAG0344.jpg


what my floor actually looks like after removing the bitumen


IMAG0351.jpg


and photos of all the rust i could find starting with the x beam on the drivers side...lots of rust an yes thats the driveway an outside you can see through the holes O_O


IMAG0352.jpg


closer view of above


IMAG0358.jpg


drivers side seal from inside with x beam on the right


IMAG0354.jpg


close up of above


IMAG0357.jpg


drivers footwell


IMAG0355.jpg


close up of the corner of the drivers footwell


IMAG0356.jpg


the drivers side seal under the seatbelt anchor point


IMAG0361.jpg


the drivers side under the rear seats


IMAG0362.jpg


IMAG0363.jpg


the drivers side seat rests


IMAG0365.jpg


IMAG0366.jpg


IMAG0367.jpg


and a quick spray over with a cheap spray paint just to protect it til i can get the new parts an welding done


IMAG0368.jpg


IMAG0369.jpg


IMAG0370.jpg


IMAG0371.jpg


IMAG0372.jpg


IMAG0373.jpg


after doing all this i went to go an do the other side on the same day an stood up quickly from crouched straight into my brothers rear door which was open (as he was parked next to me an was working on it) right on the base of my spine and had a small but painful puncture wound so i had to wait for my back to stop aching til i could do the other side ill add those photos soon ;D


thanks for reading :D


#29 phillmoore

phillmoore

    Passed Test

  • Noobies
  • PipPip
  • 25 posts
  • Location: Bexhill, East Sussex

Posted 26 June 2014 - 02:09 PM

and the other side of the bitumen removal :)

it looks like there was a repair made by the factory when they removed the seal again...i guess :lol:

IMAG0443.jpg

the front passenger foot well

IMAG0444.jpg

an close ups

IMAG0445.jpg

IMAG0446.jpg

IMAG0447.jpg

the rear passenger foot well

IMAG0450.jpg

some rust beginning to form along the x member

IMAG0451.jpg

underneath the rear seats

IMAG0452.jpg

the pile of bitumen from just the left side :lol:

IMAG0453.jpg

the front passenger seat belt anchor point

IMAG0454.jpg

the rust on the x member to sill ( no where near as bad as the right side :lol: but will still be replaced )

IMAG0455.jpg

IMAG0456.jpg

an id noticed paw prints on the bonnet of my car... finally found the culprit :lol:

IMAG0461.jpg

IMAG0464.jpg

an looking nice an shiny after a lovely clean ;)

IMAG0467.jpg

IMAG0468.jpg

IMAG0469.jpg

and whats left inside the car

IMAG0523.jpg

an the most recent photos of me reconnecting the battery - amazingly it didn't start by itself :lol: an started after some loving with a lil choke then let the choke off an it ran ok by itself ( needs advancing a tiny bit and the new loom will help with the sparks as it occasionally misses a cylinder but the state of the wires going to the coil look very shoddy :dodgy: )

2014-06-23_11-45-08.jpg

an my bro steve (WiNgNuTz) working on his car at the same time lol tho i think he died in this picture as he was there for a long time without moving :P

Snapchat-20140623114527.jpg

an that's my project thread finally updated to the present :lmao: an i look forward to updating it when Ive done some more work ;)


1 user(s) are reading this topic

0 members, 1 guests, 0 anonymous users