Nice 1.
Cheers
Ben

Posted 28 November 2013 - 09:20 PM
Nice 1.
Cheers
Ben
Posted 16 December 2013 - 06:41 PM
Another small update today.
I decided to carry on with the work on the toe board and started by removing the crusty steering rack mounting panel so I could clean up the rust from behind and refit.
While I was at it, I made up some new tags for holding on the brake and fuel pipes to the top of the toe board.
Posted 16 December 2013 - 07:52 PM
Posted 19 December 2013 - 05:52 PM
Evening,
I managed to get in a few hours today to finish welding in the new floor section.
Before I started I made and welded on two new brake pipe tags to the underside of the new floor copying their position from the old floor.
I also noticed that I needed to do I bit more welding on the new front x member section I made so I did this before I put the mini back on its belly.
So next I manhandled the shell back the right way up so I could do the plug welds on the floor to toeboard from inside and tidy up a few welds.
Here is the holes drilled and cleaned up ready for welding.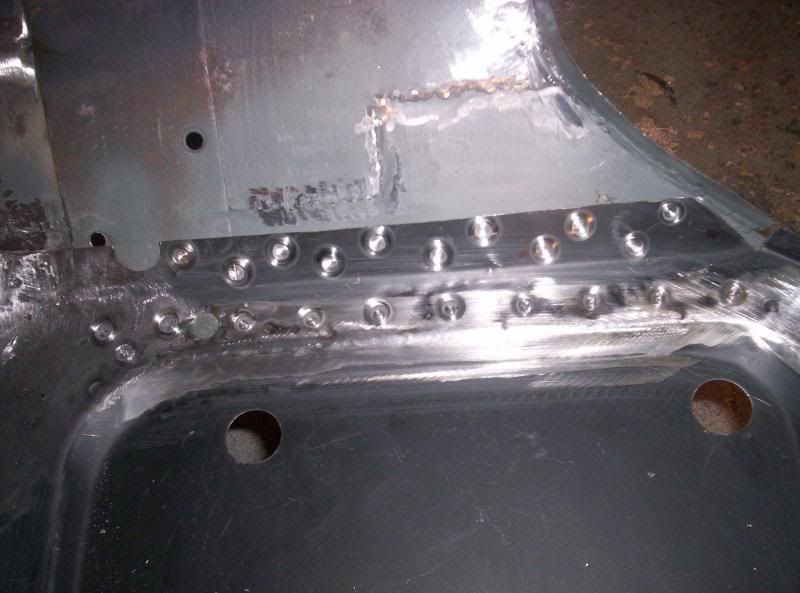
Next I plug welded up and then dressed the toeboard slightly with the hammer and dolly where it had distorted slightly.
No need to worry about penetration from my plug welds!!
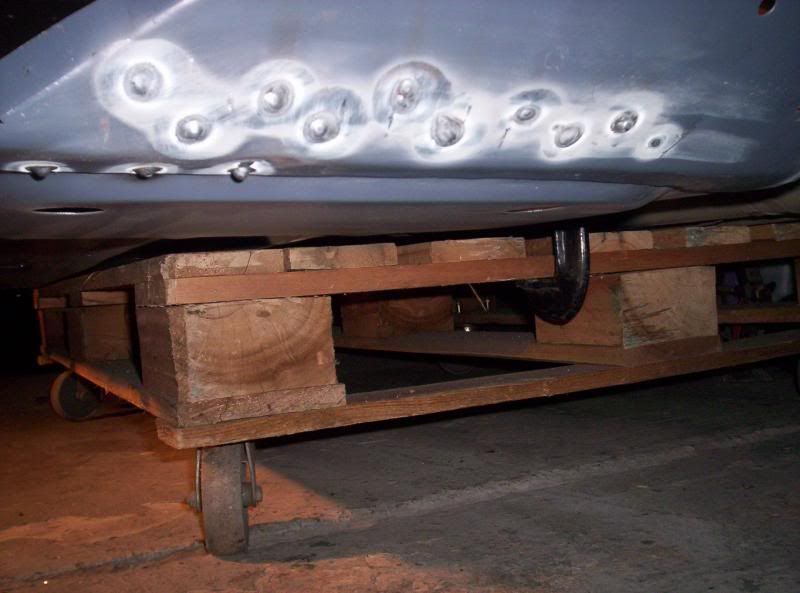
I will grind these back a bit so its tidier when I get the shell in a suitable position to reach them.
And here it is ground down and cleaned up.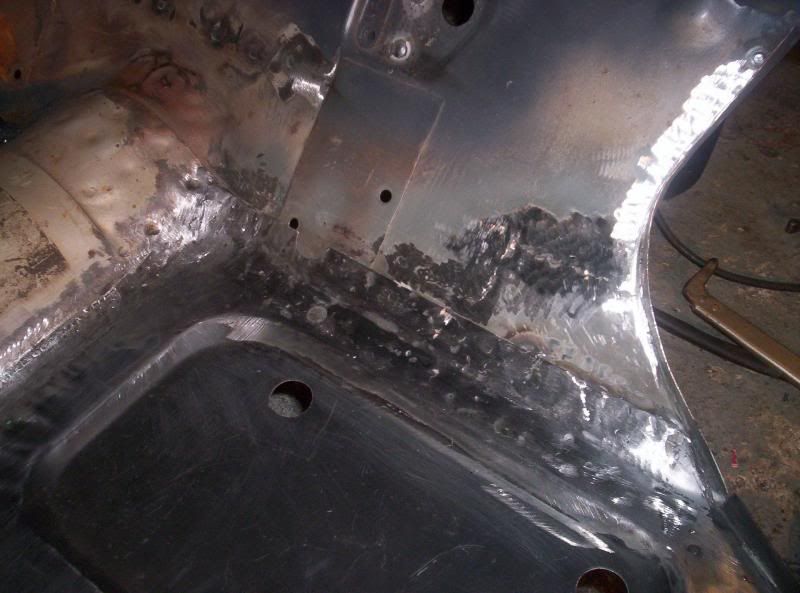
I will be tidying these welds up further when it comes to prep.
I decided to take a picture of the cross-member end I made and pictured the old one with it so you can see why I replaced it!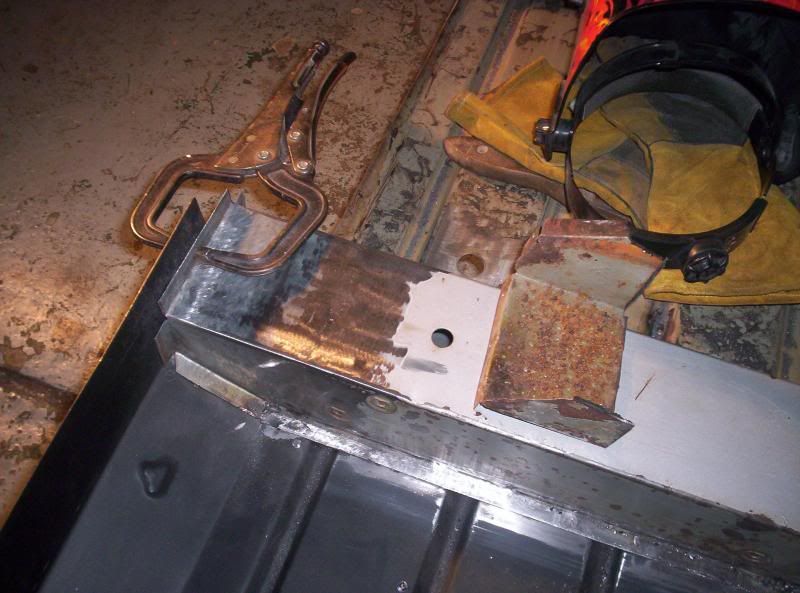
I mentioned previously in the thread that I had repaired the big hole in the front corner of the roof and now had the chance to take a photo. (the before shot is earlier in the thread.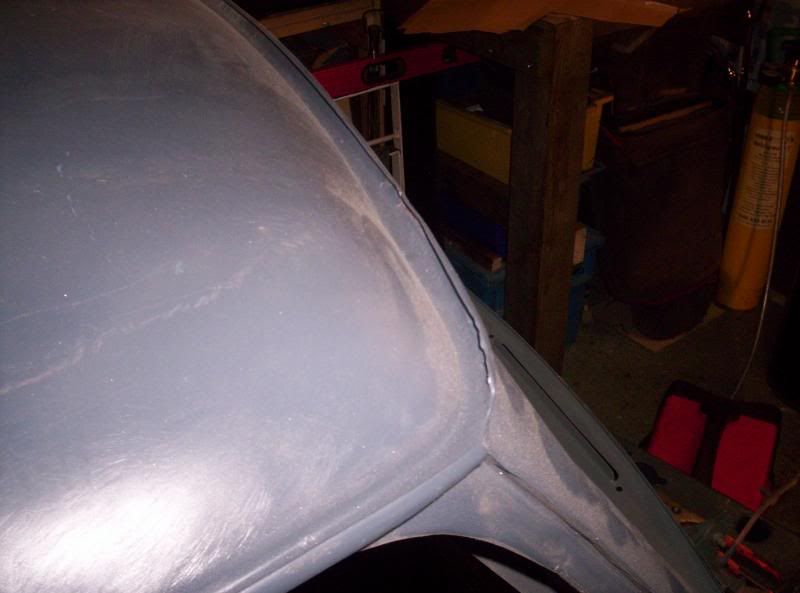
This is only roughly ground up for now, I will go back to it later and tidy it up further before fill and prep.
And here is the overall of where I am now.
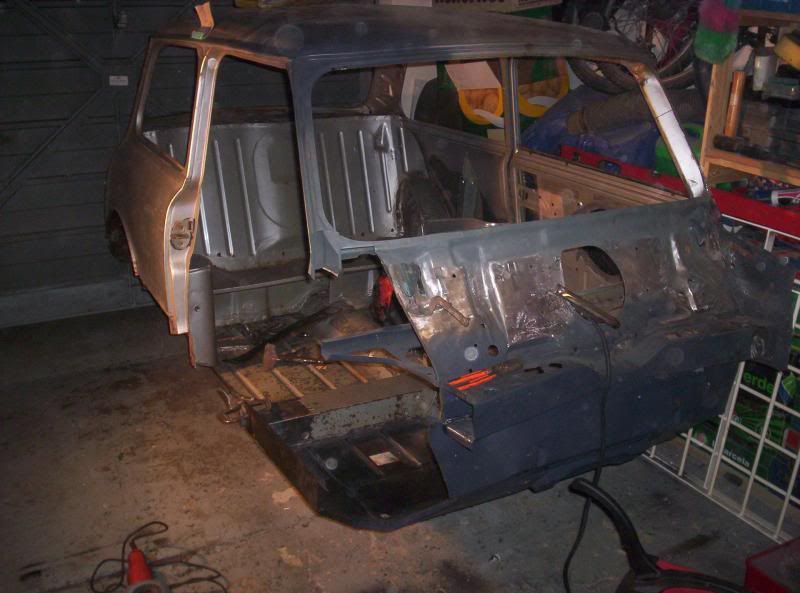
More tomorrow hopefully.
As always, fell free to comment or ask q's
Cheers
Ben
Edited by Ben_O, 18 June 2014 - 12:31 PM.
Posted 19 December 2013 - 10:29 PM
wow!! going all out on this mate takes me back to where i was with mine in the last picture. great work keep going dude.
Posted 19 December 2013 - 10:53 PM
Cheers Tom.
It has been coming on nicely lately, especially with the addition of a new decent welder that actually consistently produces nice strong welds!!
In the new year, i will be ordering lots of panels to get the O/S finished, so quarter panel, door aperture frame, full inner wing, inner and outer sill etc. I want to have a fully working opening and closing door on that drivers side by the end of Jan.
keep watching!
Ben
Posted 30 January 2014 - 09:38 PM
hello readers.
I'm sure alot of you will have heard that my house and garage got flooded on new years eve. Unfortunately, the Mini got submerged in water and mud and was in a pretty bad way.
Today i managed to get a couple of hours in the garage to attend to the mounting surface rust that had come up after drying off the Mini.
Anyway, going back a few weeks, I got the Mini out of the garage and jet washed the shell of inside and out to get rid of the slop that was left and then it was thoroughly dried and spent the next few weeks in the garage drying out beside the radiator.
I had a chat on the phone with Pete (petrol) about the best way to get rid of the surface rust without loosing any metal and he recommended some wheels on eBay that go in the drill to get the rust off which i promptly ordered.
Anyway, here are some photos for those who haven't seen of the Min after cleaning the mud out.
And some of the Bulkhead.
After a quick going over with the wheel in the drill, i ended up with some surprising results.
Floor
And the Bulkhead
So I'm well happy with the turnout. I need to get some primer now to cover the bare metal but that will have to be tomorrow.
While i was at it, i also when round the gutters and a few other areas where old grinding swarf and dust had settled and then gone crusty.
So the project is back on and now i can move on with it and return to the plans for this year.
Thanks all
Ben
Posted 30 January 2014 - 09:43 PM
Ben before putting primer on it i would give it a coat of krust or something similar. If there is any spider trails in there the Krust etc will help to keep it at bay.
Posted 30 January 2014 - 09:44 PM
Well done Ben!
It looks spot on!
Posted 30 January 2014 - 09:49 PM
Ben before putting primer on it i would give it a coat of krust or something similar. If there is any spider trails in there the Krust etc will help to keep it at bay.
Good thinking, I will get some ordered up along with the primer. Just incase.
Cheers
Ben
Posted 30 January 2014 - 09:50 PM
Well done Ben!
It looks spot on!
Cheers Carlos. Still a way to go yet. But for a quick go over im pretty chuffed.
Ben
Posted 30 January 2014 - 10:16 PM
Glad to see it's back on track Ben ![]()
Posted 31 January 2014 - 03:56 PM
Really has come up lovely with that once over Ben, never used krust stuff so let us know how it does and how much surface are you can do with one tinm bottle or can haa
Cheers,
cLIFF
Posted 04 February 2014 - 11:24 PM
Hello all.
Well the floors are nicely taking shape now! i managed to get the remaining bitumen sound proofing from the floors on the N/S of the car and cleaned up. Took half a can of thinners and around 2 hours. I'm glad i did though as the water and mud from the flood had got underneath it and started to rust the floor.
With all that gone, i cleaned off all the rust and rubbed down the floor to bare metal making sure i got all of the rust out and everything nicely smoothed down and gave it a couple of coats of zinc marine primer so its ready for its stay out on the driveway.
I have a pic of the floor when i first got the car.
And a pic of the floor after the flood
And lots of it now it's all cleaned up, de-rusted and primed ![]()
I also finished cleaning up the bulkhead and popped some zinc on there too.
And i managed to find my A post stiffener in a box of water and it was thick with crust so i jet washed it off and got this
Then cleaned off the remaining rust and primed it to get this
So this is how it stands now.
I'm bloody knackard now but it was a good evenings work and it's done now.
I'm pretty much back up to speed from before the flood now and that feels pretty great.
So quick cuppa then back out to the garage to continue with the instrument cluster.
Cheers
Ben
Posted 04 February 2014 - 11:31 PM
Hello all.
I'm pretty much back up to speed from before the flood now and that feels pretty great.
Cheers
Ben
That's great to hear Ben, Shell is looking good ![]()
Pete
0 members, 2 guests, 0 anonymous users