Jump to content


Photo
* * - - - 3 votes

Mini 25 Full Rebuild


  • Please log in to reply
1498 replies to this topic

#931 Ben_O

Ben_O

    Mill Road Garage

  • Paint Doctor
  • PipPipPipPipPipPipPipPipPipPip
  • 9,785 posts
  • Location: Isle of Wight

Posted 05 May 2015 - 12:31 PM

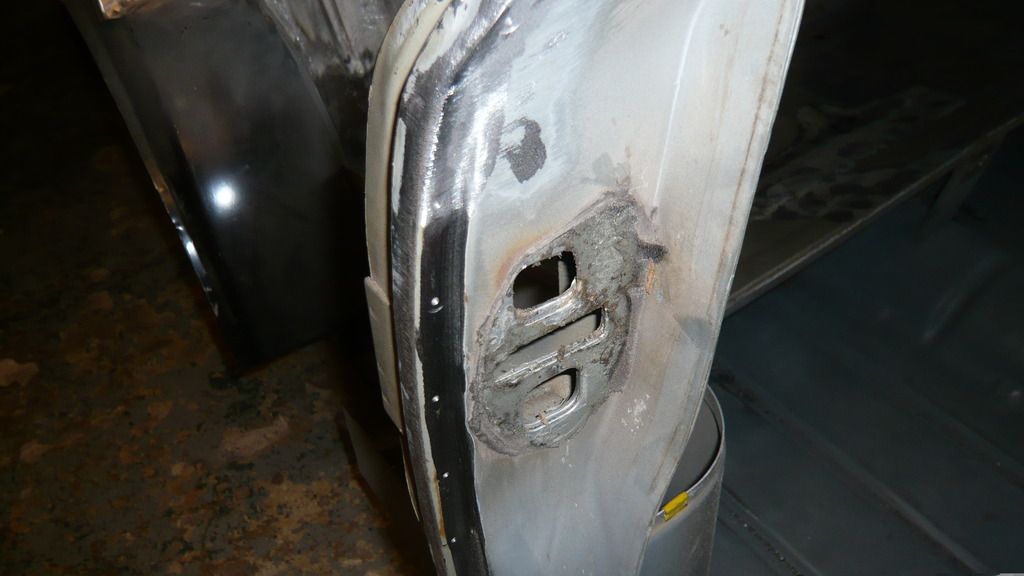
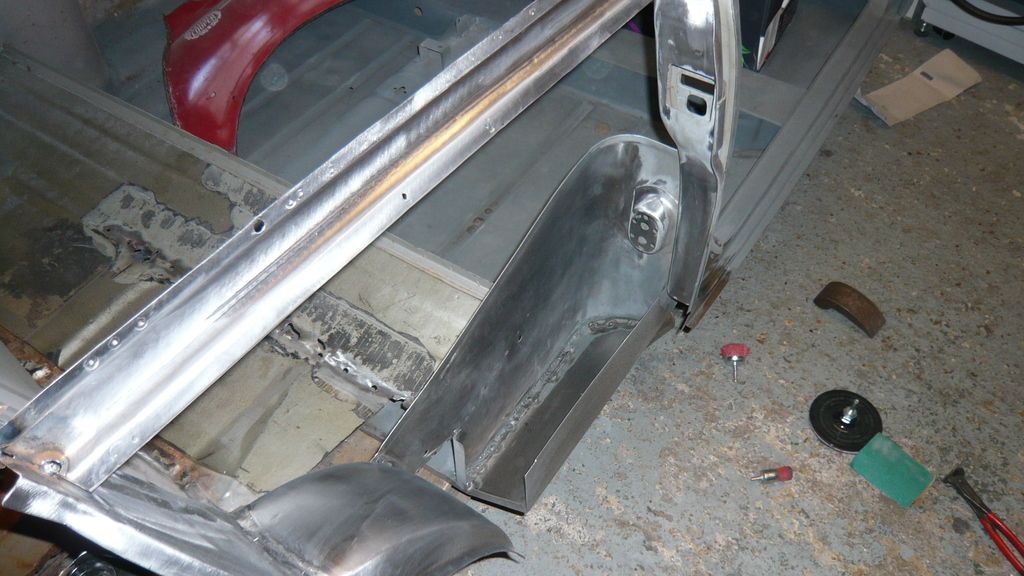
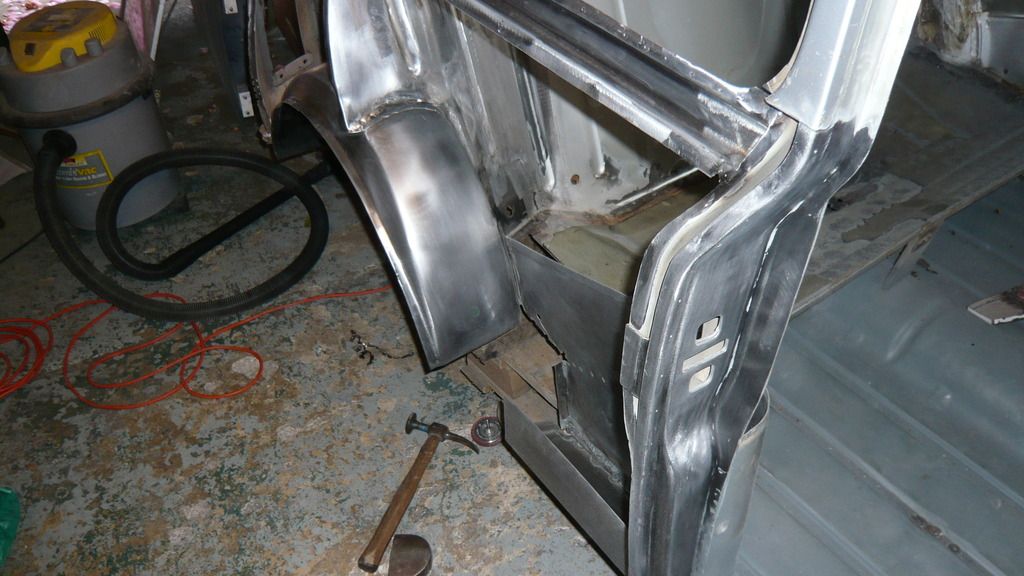
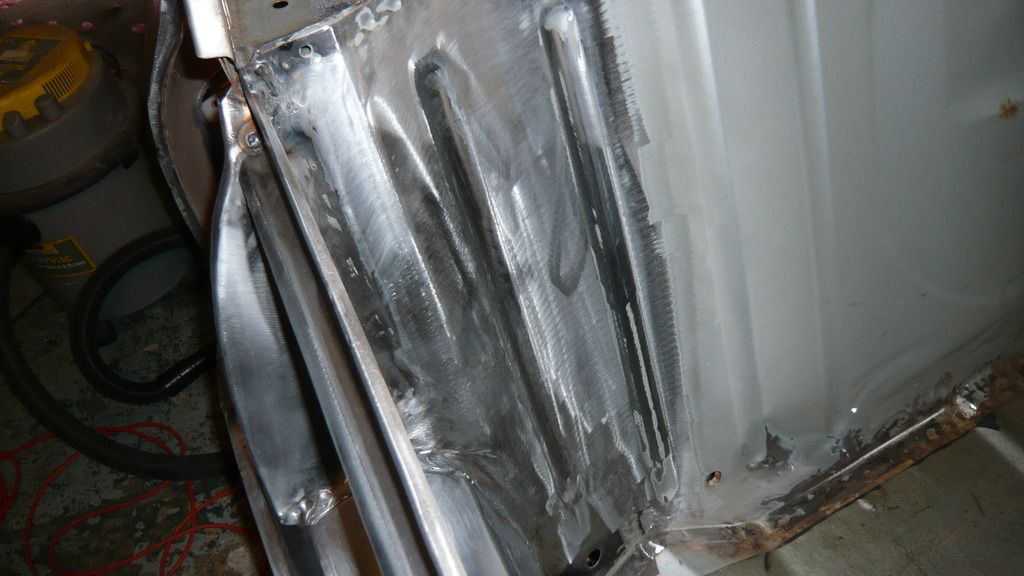
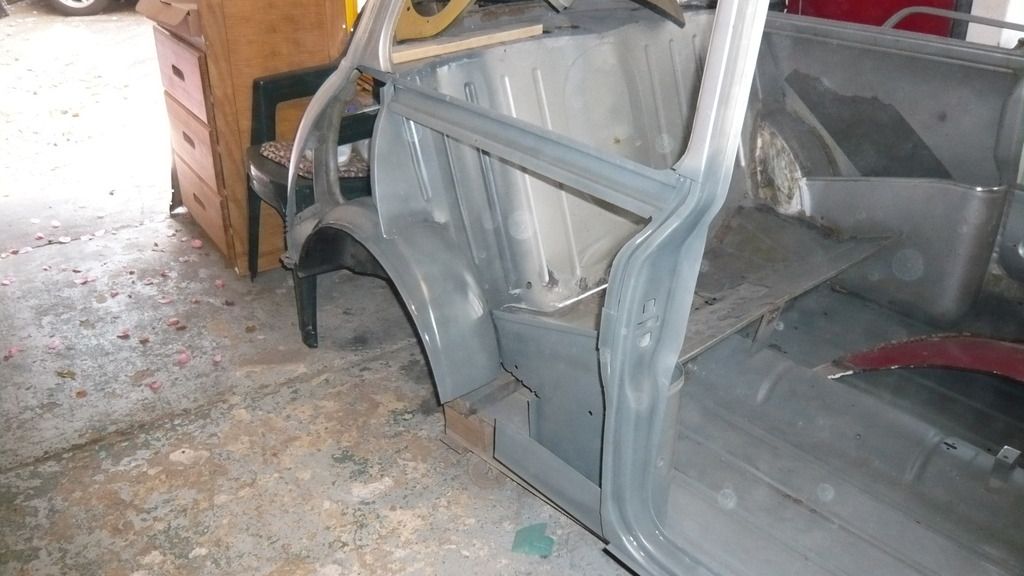
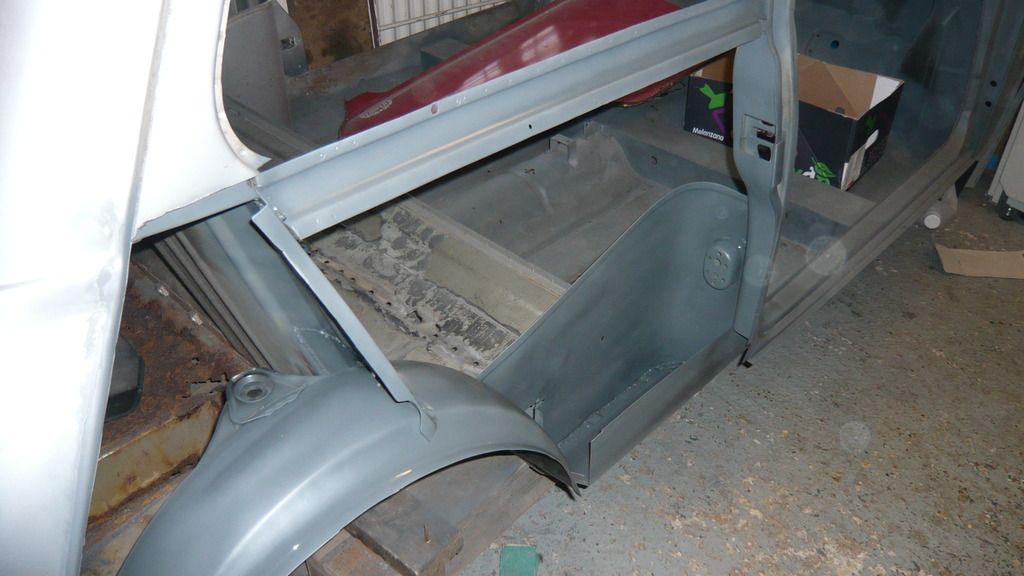
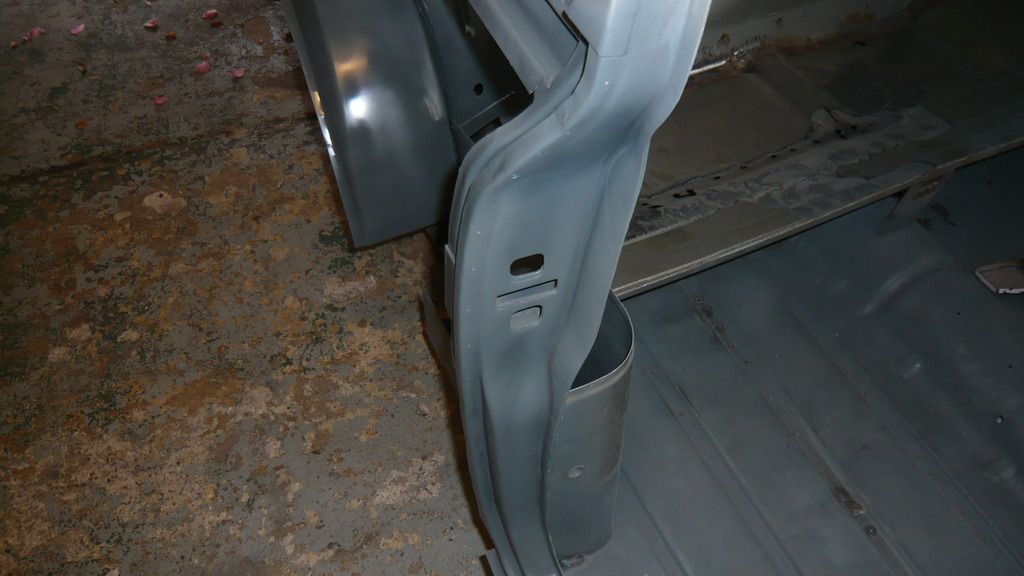
Continuing on from last time, i thought it was the best time to get the whole of the bones of this side of the car stripped back to bare metal and primed up.


As you can see, it's a cross between old paint, e-coat, zinc primer and spider tracks of rust here and there. also, there was quite alot of burnishing to the paint and previous zinc primer from welding which has to be cleaned back as you should never prime over burnt paint.


A few before shots of the areas to tackle


P1070414_zpsr44fibi7.jpg


P1070415_zps7suftonf.jpg


P1070416_zpsyznqzu8t.jpg


P1070417_zps7l7lizfx.jpg


P1070418_zpse9jailub.jpg


I knew this was going to take forever and i wasn't looking forward to it because of all the tight places that needed attention. I just wish it was possible to leave everything bare metal so i don't have to keep zinc priming after each session. That way i wouldn't have to keep removing paint again and again and it also seems a bit of a waste.


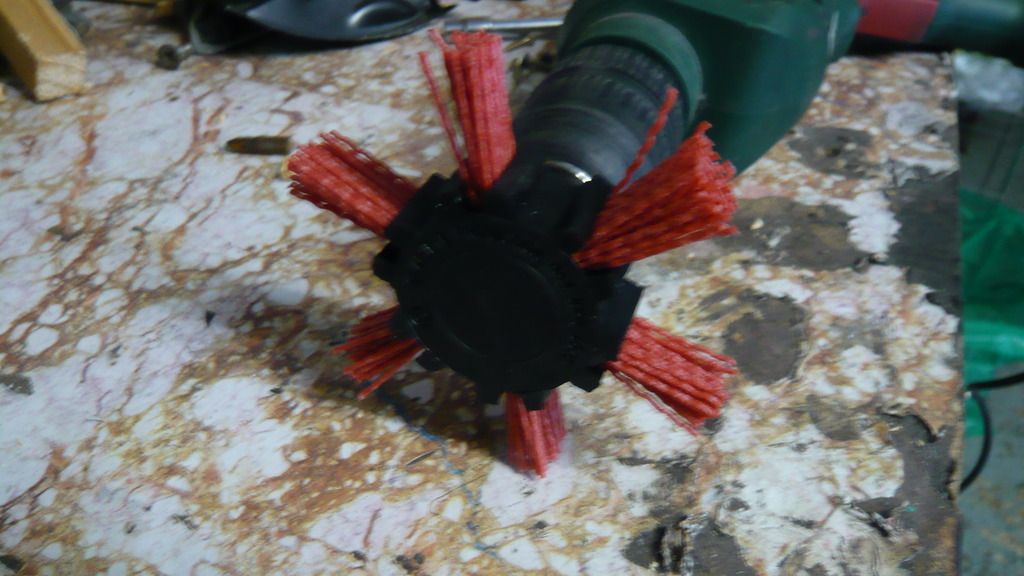
Anyway, my first weapon of choice


P1070420_zpsccpq3jsm.jpg


This will be used for the larger areas and the smaller filament wheels, cups and wire brushes will be used where necessary.


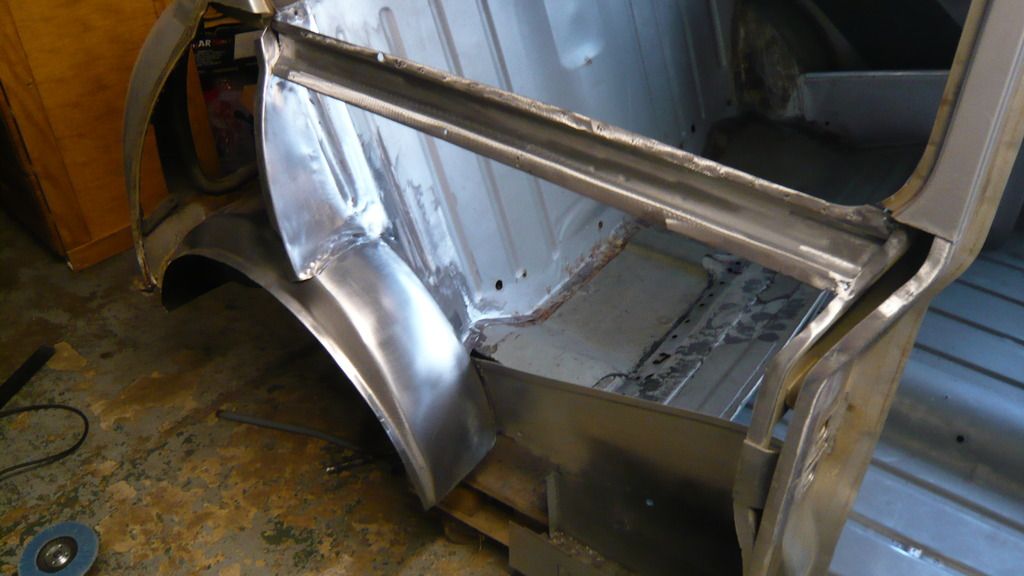
so after several hours of boredom, i had it back to bare metal and all cleaned up nicely.


P1070421_zpsagkiq3z9.jpg


P1070423_zpsliqrib3q.jpg


P1070439_zps1admr8r4.jpg


P1070440_zpshbpiehf3.jpg


P1070444_zpsib9jkamm.jpg


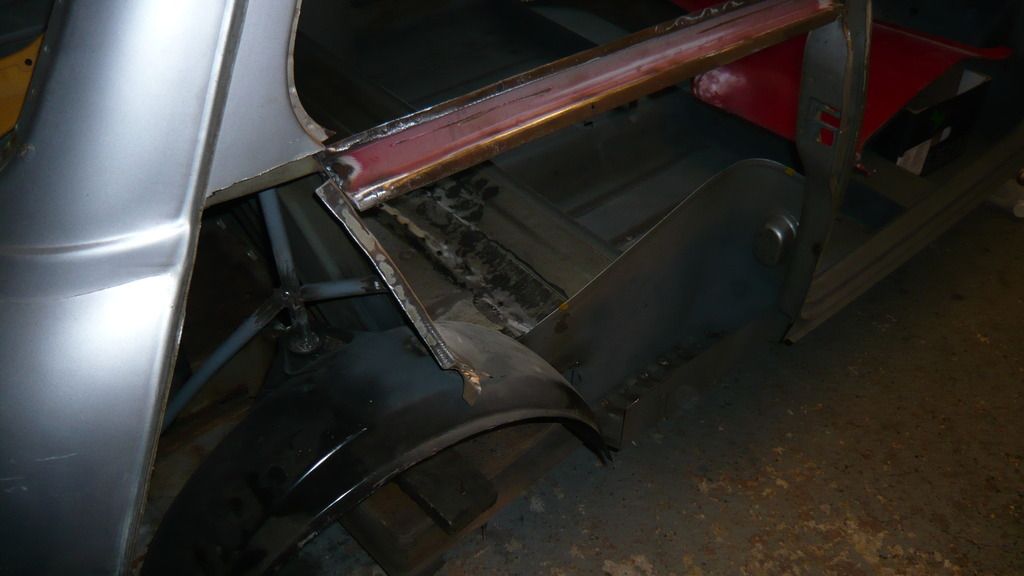
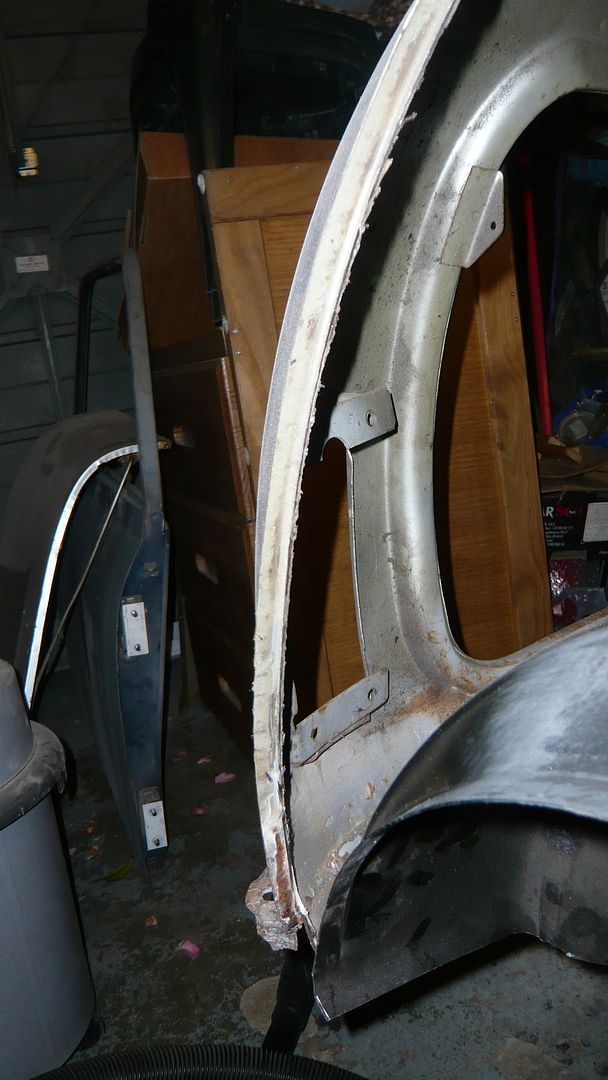
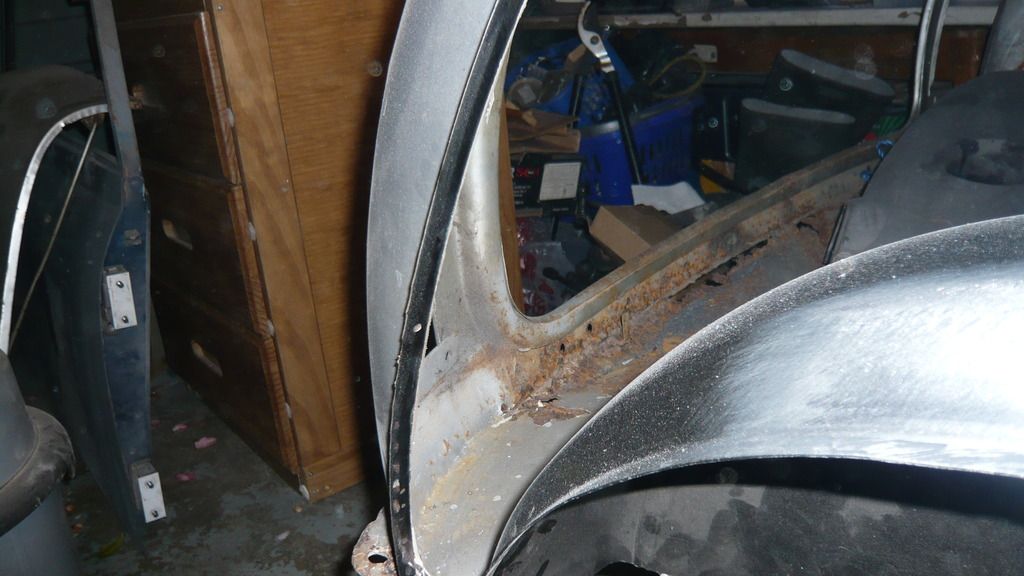
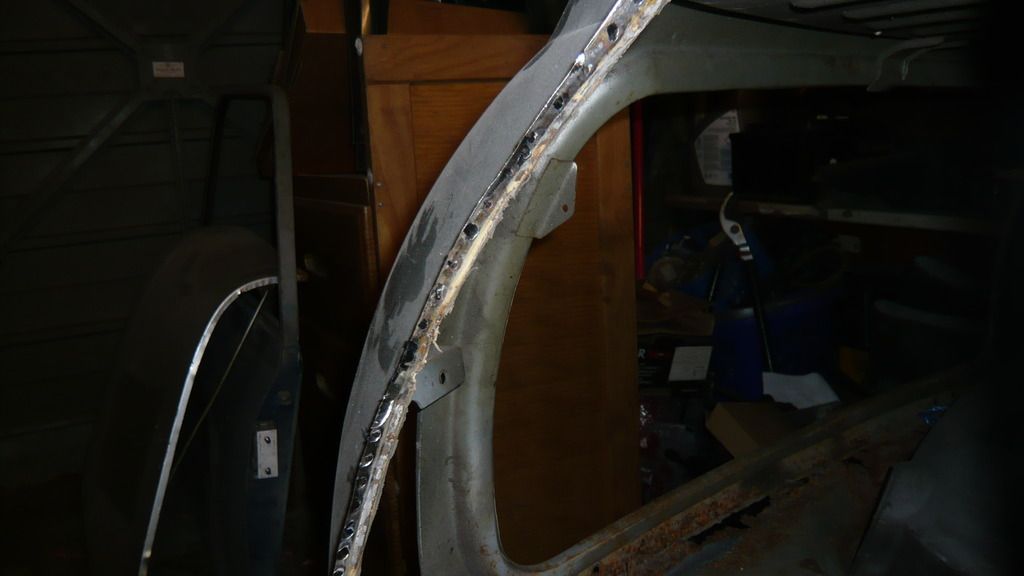
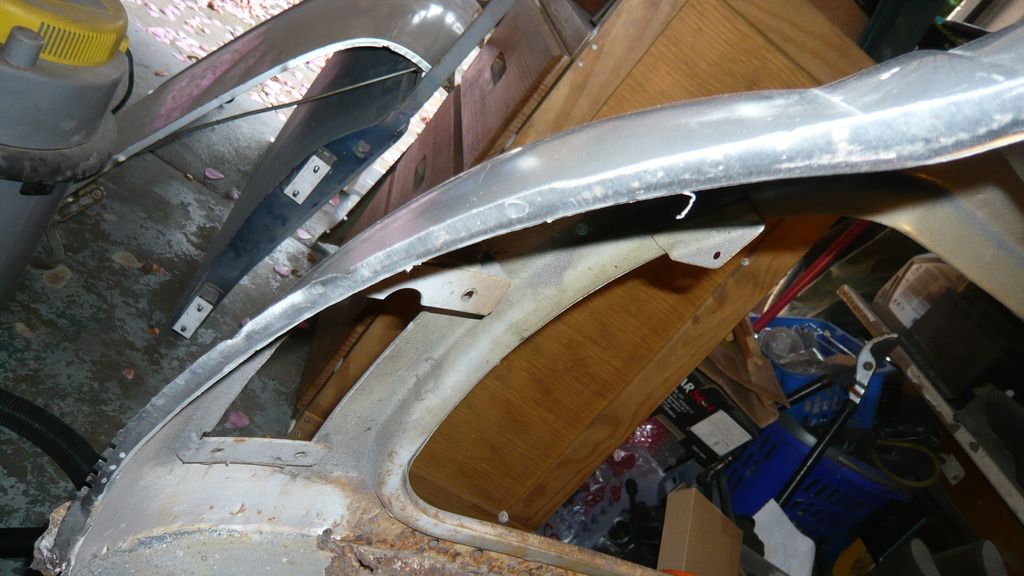
Next i returned back to removing what was left of the back flange of the quarter panel from the back panel.

started off with this


P1070425_zpsn01i5zoi.jpg


I knew the bottom of the back panel was beyond saving so i have a new one. Just as well as it was full of filler.


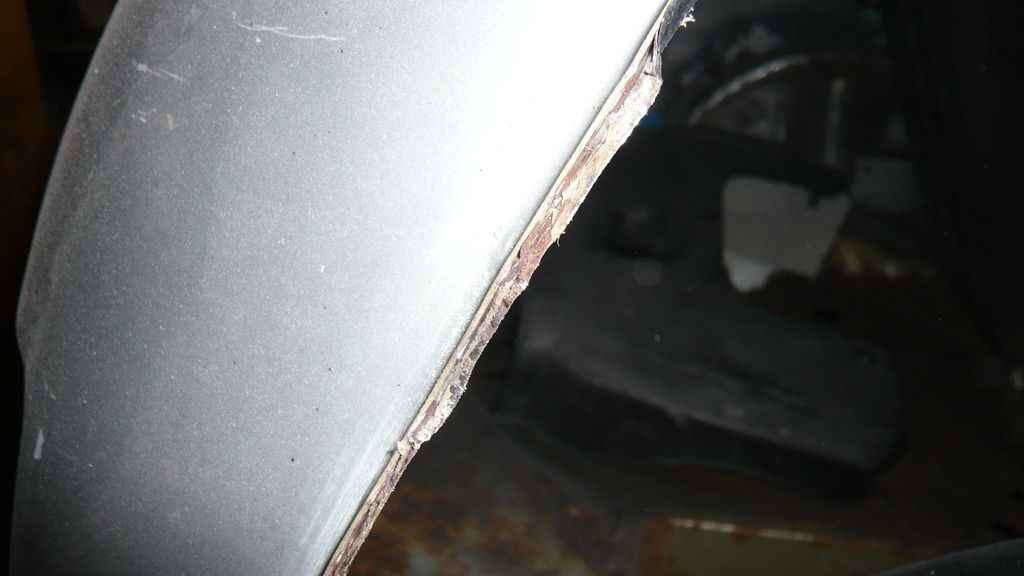
So the first stage is to use the flap disc to take off most of the remaining panel to get this


P1070428_zpsemp5caff.jpg


There is no point trying to find and drill the spot welds as there are many and they are small, close together and most are right on the edge of the lip making it very hard to drill them.

I like to grind them.


So the next stage is to find an edge of the flange with a small screwdriver and bend it round


P1070429_zpsk5j9iiij.jpg


Then i use a thin grinding disc in just that section to thin the flange out until it goes blue.

Then you can break it and get a pair of cutters on the edge and tear it off gently breaking the welds as you go. If you grind far enough, they should pop easily.


P1070434_zps8duuswn0.jpg


If you don't go far enough, you will bend or tear the flange you want to keep.


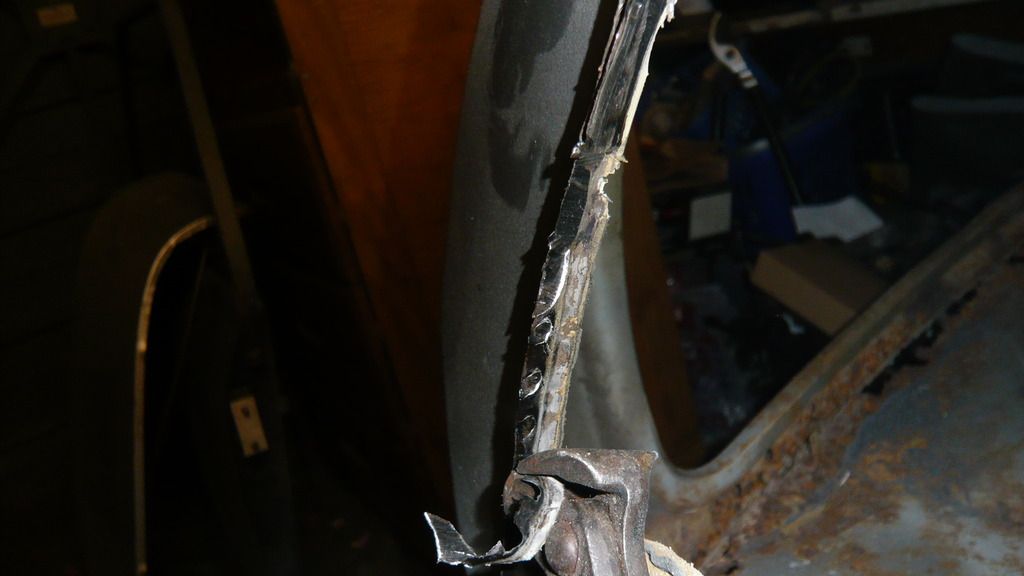
Here you can see the bottom half peeled off and it coiled up towards the bottom of the picture.


P1070435_zps9lkkyr7q.jpg


I won't worry too much about removing it carefully at the bottom as that section will be renewed anyway.


And here is the top section peeled off too


P1070436_zpsjruwgz9i.jpg


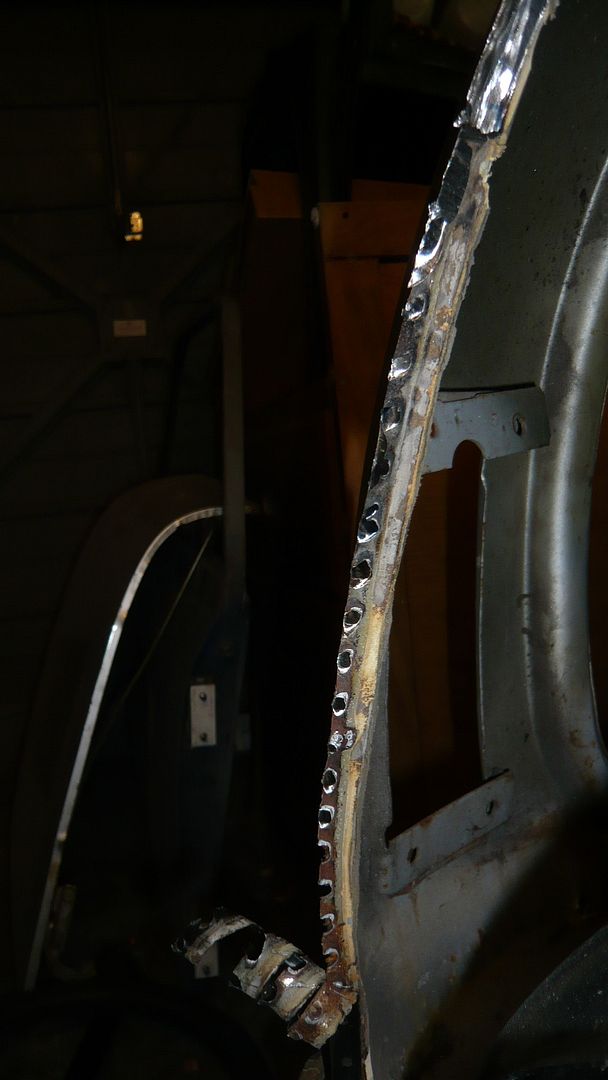
Then just a whiz over with the flap disc again to remove the heads of the spot welds


P1070446_zpsbwibqkiu.jpg


You can see at the bottom of that picture some holes in the flange which is a perfect example of how the flange will go if the welds are not ground back far enough in the first place.


Then i just ran the filament brush down the back of the flange to remove rust and paint


P1070447_zpsiwd5v9yy.jpg


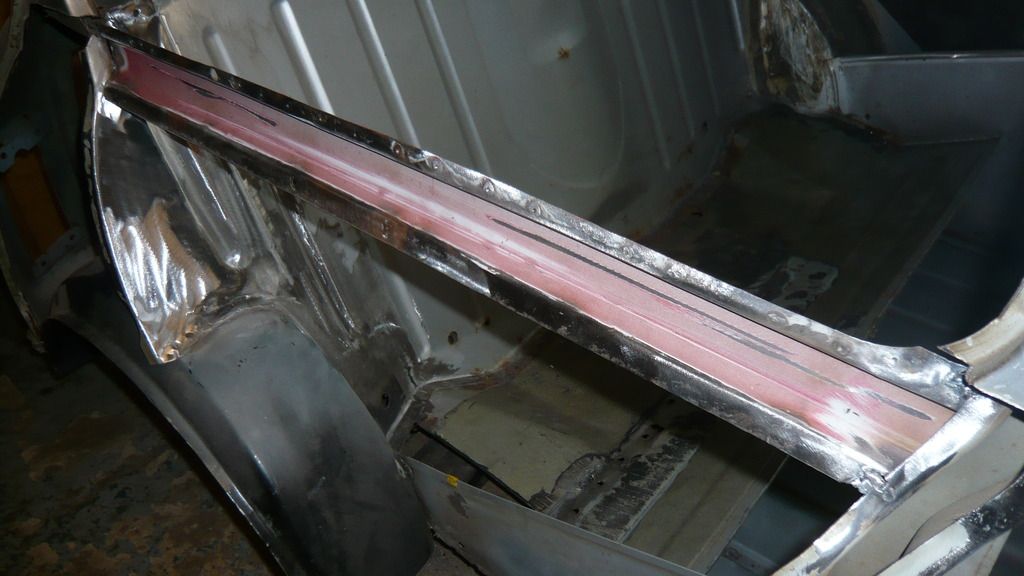
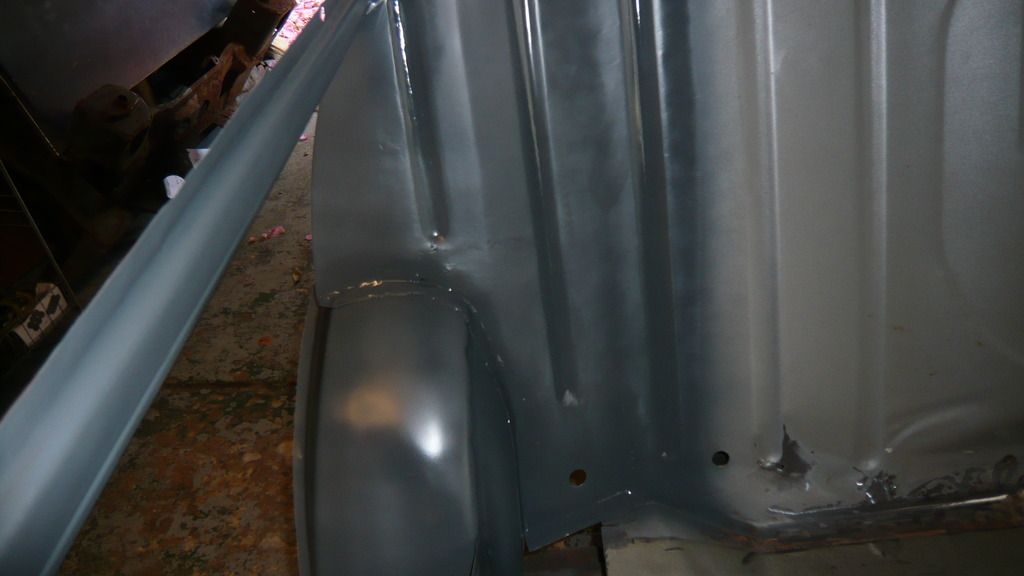
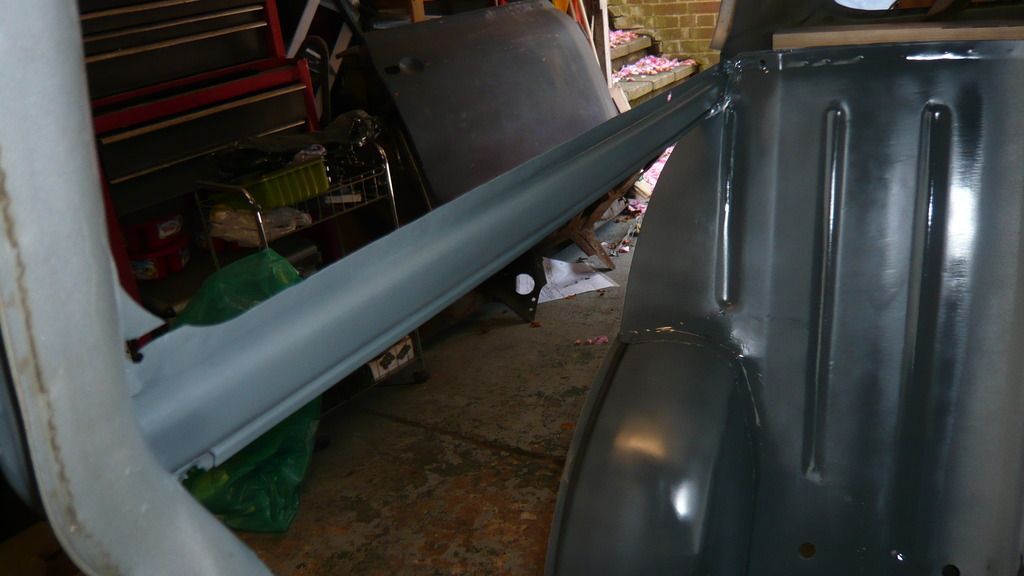
And here is everything primed up


P1070448_zpskumfaxmg.jpg


P1070449_zpsauvkaky2.jpg


P1070450_zpsgzj4ur6t.jpg


P1070452_zpsngzetcon.jpg


P1070453_zpsvgwxeejo.jpg


P1070454_zpsr218ihxj.jpg


P1070456_zpsk6ffjg7j.jpg


P1070455_zpsaie3kiqj.jpg


By no means an exciting update but non the less, a job that needed to be done.


Cheers


Ben


#932 Carlos W

Carlos W

    Mine is purple, but I have been told that's normal

  • TMF+ Member
  • PipPipPipPipPipPipPipPipPipPipPip
  • 10,114 posts
  • Location: Sittingbourne, Kent

Posted 05 May 2015 - 12:38 PM

Excellent as ever Ben (apart from the dirt on your camera lens)


#933 Ben_O

Ben_O

    Mill Road Garage

  • Paint Doctor
  • PipPipPipPipPipPipPipPipPipPip
  • 9,785 posts
  • Location: Isle of Wight

Posted 05 May 2015 - 12:39 PM

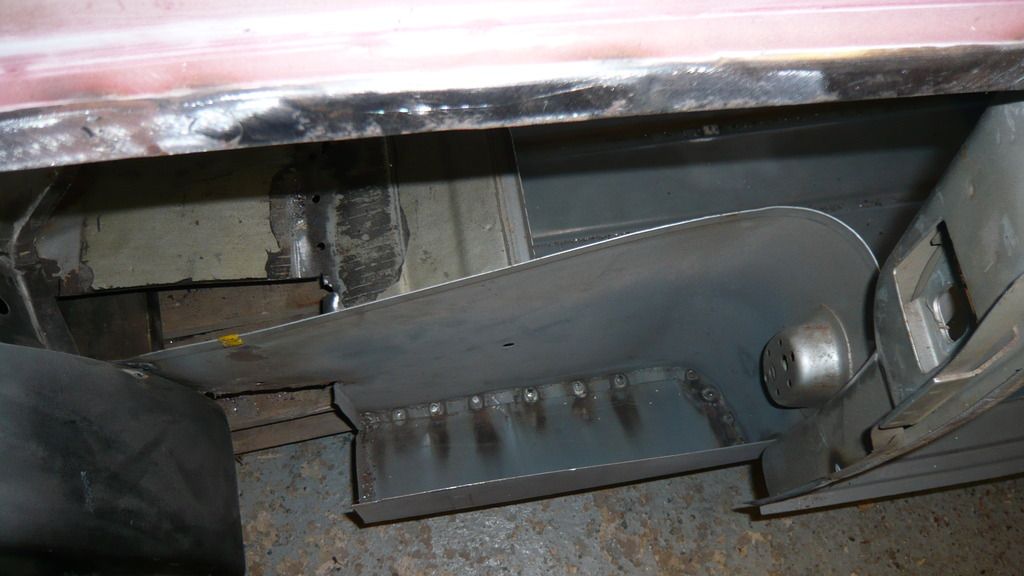
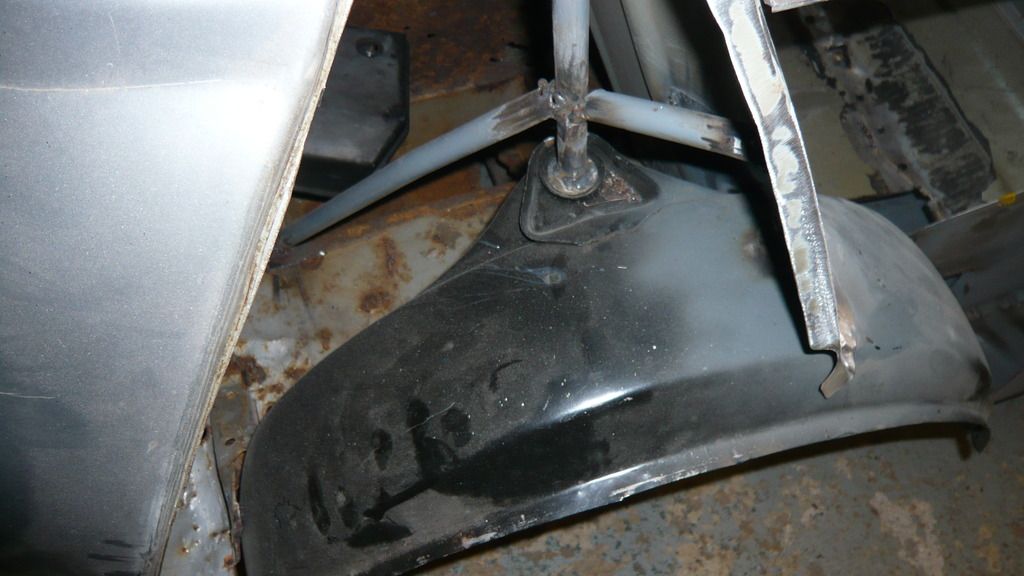
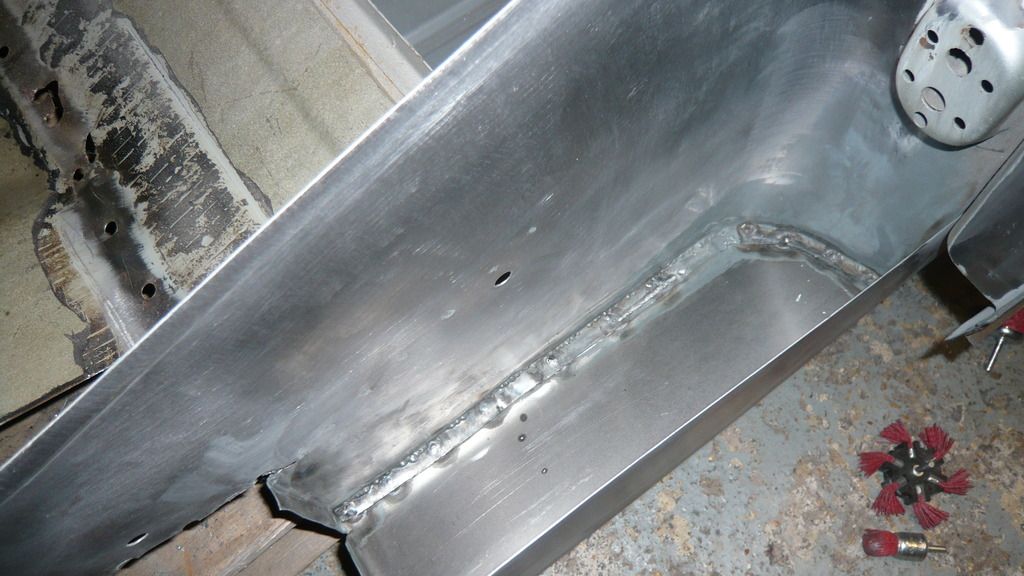
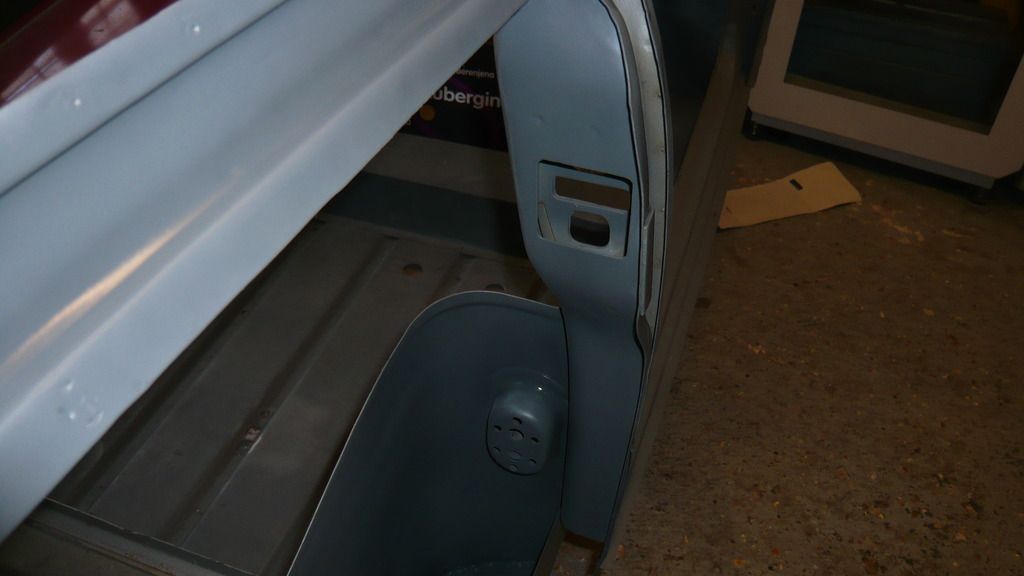
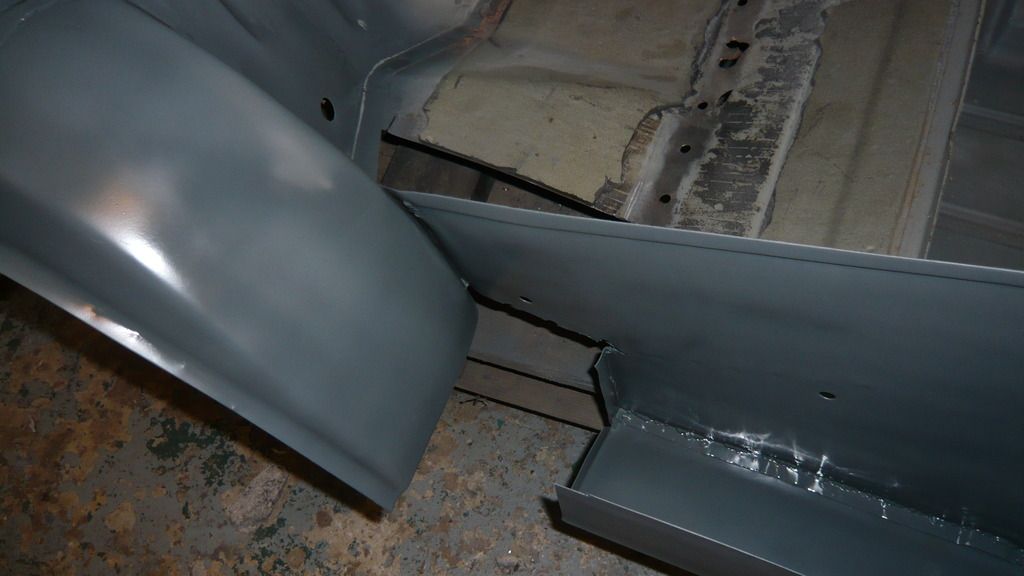
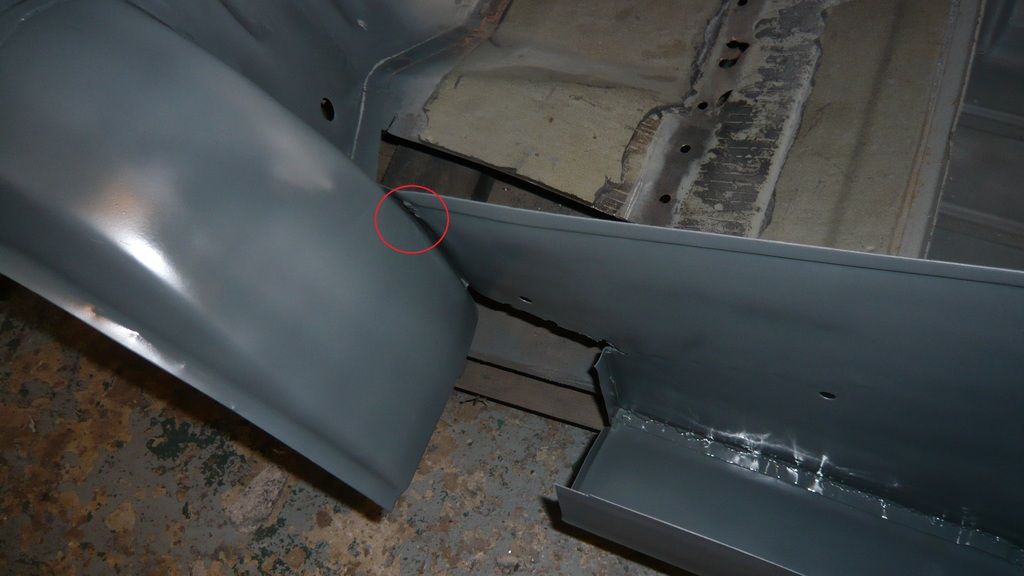
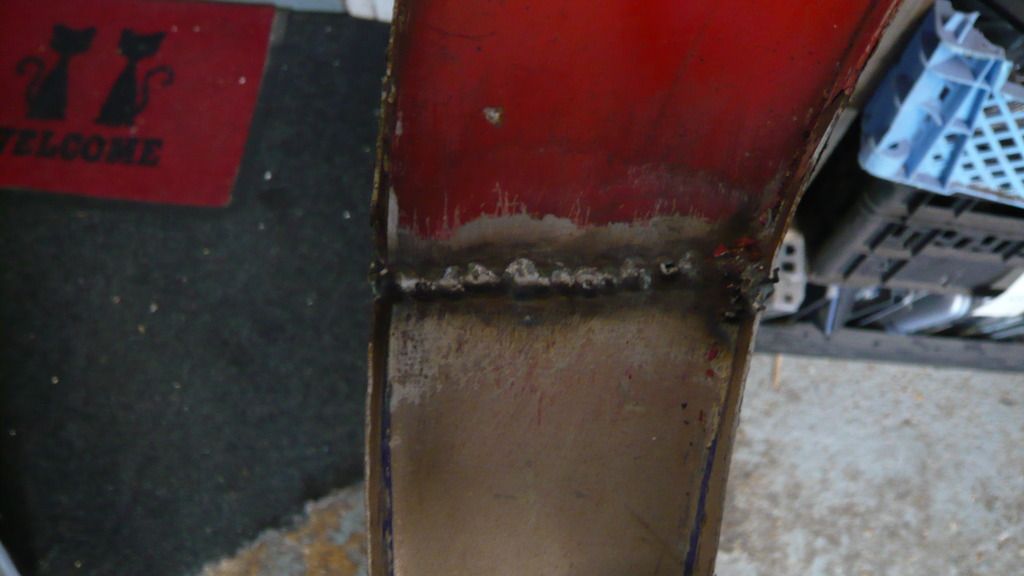
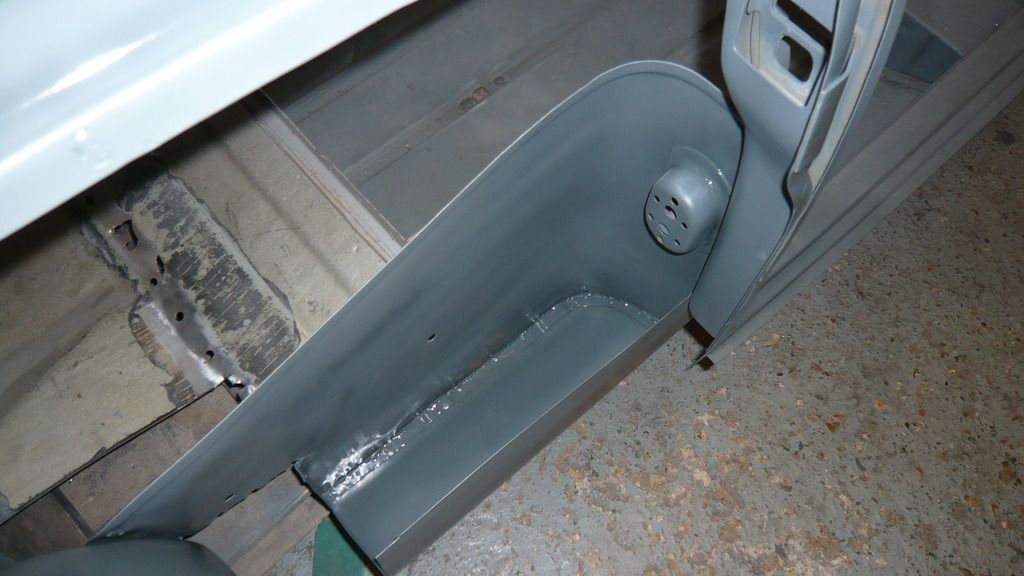
Oh bugger, i just noticed that i didn't put the stitch weld in the inside of the companion bin where it meets the arch.


Now ill have to remove the paint again to do it. AARGGHH! And it was a pain to remove it the first time...


:xxx:  :crazy:


#934 Ben_O

Ben_O

    Mill Road Garage

  • Paint Doctor
  • PipPipPipPipPipPipPipPipPipPip
  • 9,785 posts
  • Location: Isle of Wight

Posted 05 May 2015 - 12:39 PM

Excellent as ever Ben (apart from the dirt on your camera lens)

Ill have to give it a clean


Cheers


#935 Hendred

Hendred

    Speeding Along Now

  • Members
  • PipPipPipPipPip
  • 484 posts
  • Location: Cleobury Mortimer Nr Ludlow, Shropshire Name: John

Posted 05 May 2015 - 12:46 PM

Loving the cleaning attachment (weapons as you call them!)


#936 Ben_O

Ben_O

    Mill Road Garage

  • Paint Doctor
  • PipPipPipPipPipPipPipPipPipPip
  • 9,785 posts
  • Location: Isle of Wight

Posted 05 May 2015 - 12:51 PM

Loving the cleaning attachment (weapons as you call them!)

They are really good.


I still prefer the plain flat one though, the one in the picture attached to the drill is ok, but not as good as i was expecting it to be.


The filament cup brush and stick? brush shown in one of the pictures on the floor are USELESS!!


#937 Hendred

Hendred

    Speeding Along Now

  • Members
  • PipPipPipPipPip
  • 484 posts
  • Location: Cleobury Mortimer Nr Ludlow, Shropshire Name: John

Posted 05 May 2015 - 12:54 PM

Just trial and error with attachments


#938 deepee71

deepee71

    Mini Mad

  • Noobies
  • PipPipPipPip
  • 101 posts
  • Location: Ruskington Lincolnshire

Posted 05 May 2015 - 09:17 PM

Hi Ben, I never noticed the stitch weld where the rear wheelarch meets the inside of the companion bin when I removed them on mine?

#939 Ben_O

Ben_O

    Mill Road Garage

  • Paint Doctor
  • PipPipPipPipPipPipPipPipPipPip
  • 9,785 posts
  • Location: Isle of Wight

Posted 06 May 2015 - 06:59 AM


Hi Ben, I never noticed the stitch weld where the rear wheelarch meets the inside of the companion bin when I removed them on mine?

There was one on mine. I left part of the old one on the companion bin to remind me. Lot of good that did :lol:


Goes here


P1070455_zpskapztw9b.jpg


Cheers


Ben


#940 CBJ805T

CBJ805T

    Speeding Along Now

  • Members
  • PipPipPipPipPip
  • 434 posts
  • Location: Kenilworth

Posted 06 May 2015 - 12:05 PM


Loving the cleaning attachment (weapons as you call them!)

They are really good.


I still prefer the plain flat one though, the one in the picture attached to the drill is ok, but not as good as i was expecting it to be.


The filament cup brush and stick? brush shown in one of the pictures on the floor are USELESS!!


Hi Ben, 


Which filament cup / brush / sticks would you recommend? not sure which one you are saying is useless, but I'm thinking of getting myself some


Also, just wondered if you ever found that spare spot tip dresser - if so, send me a PM if you would be interested in selling it?


Cheers


Chris 


#941 Ben_O

Ben_O

    Mill Road Garage

  • Paint Doctor
  • PipPipPipPipPipPipPipPipPipPip
  • 9,785 posts
  • Location: Isle of Wight

Posted 06 May 2015 - 12:24 PM

Hi Ben, 


Which filament cup / brush / sticks would you recommend? not sure which one you are saying is useless, but I'm thinking of getting myself some


Also, just wondered if you ever found that spare spot tip dresser - if so, send me a PM if you would be interested in selling it?


Cheers


Chris 


Hi Chris.


I started off by buying the 100mm flat brushes which are excellent


http://www.ebay.co.u...=item27c84efa57


Then i bought this set


http://www.ebay.co.u...=item43ad3b0971


But the cup brush and end brush don virtually nothing so i wouldn't buy that set again although the free set of wire brushes were very good.

The flap brush was ok but not as effective as the flat one either


Just stick to the flat 100mm ones, they are great.


Ill PM you about the tip cutter


Ben


#942 Stu.

Stu.

    One Carb Or Two?

  • Members
  • PipPipPipPipPipPipPip
  • 912 posts
  • Location: My workshop.

Posted 06 May 2015 - 02:32 PM

Good work there Ben. Right in the middle of it now eh :gimme:


#943 Ben_O

Ben_O

    Mill Road Garage

  • Paint Doctor
  • PipPipPipPipPipPipPipPipPipPip
  • 9,785 posts
  • Location: Isle of Wight

Posted 06 May 2015 - 03:42 PM

I'm a bit disheartened today :( But ill get to that in a bit....


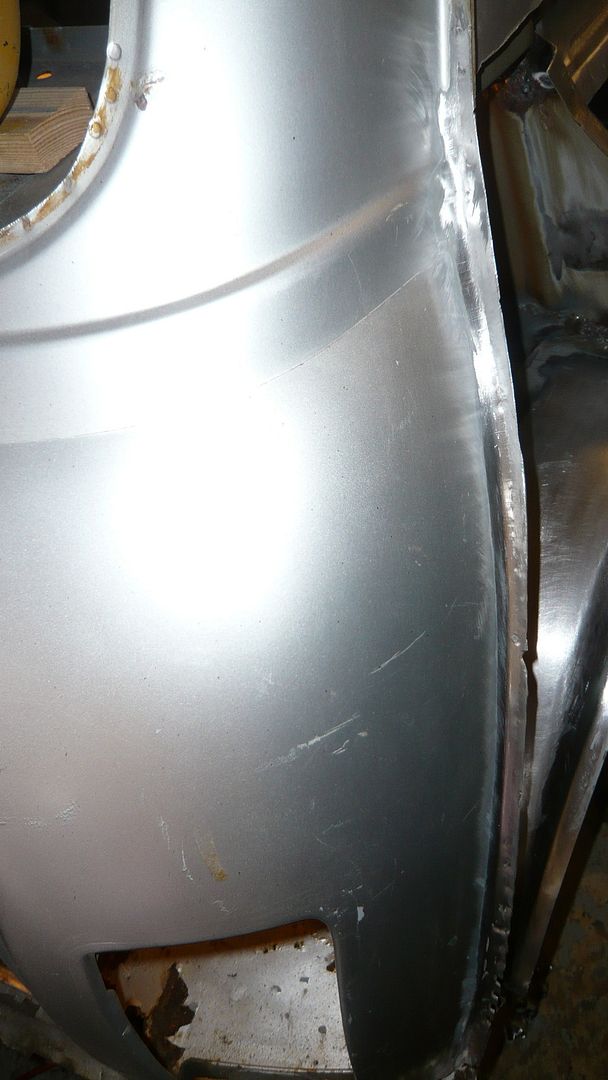
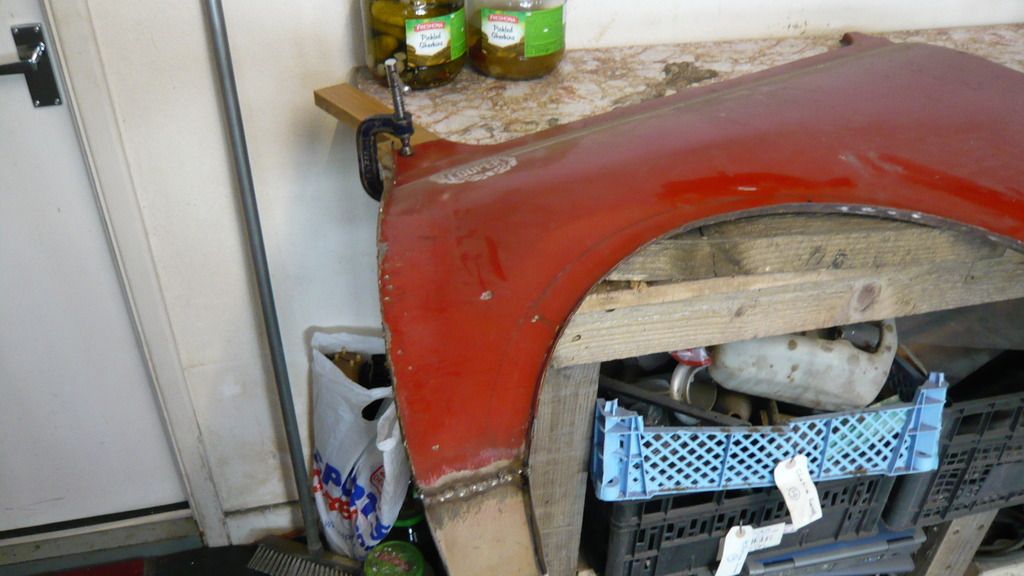
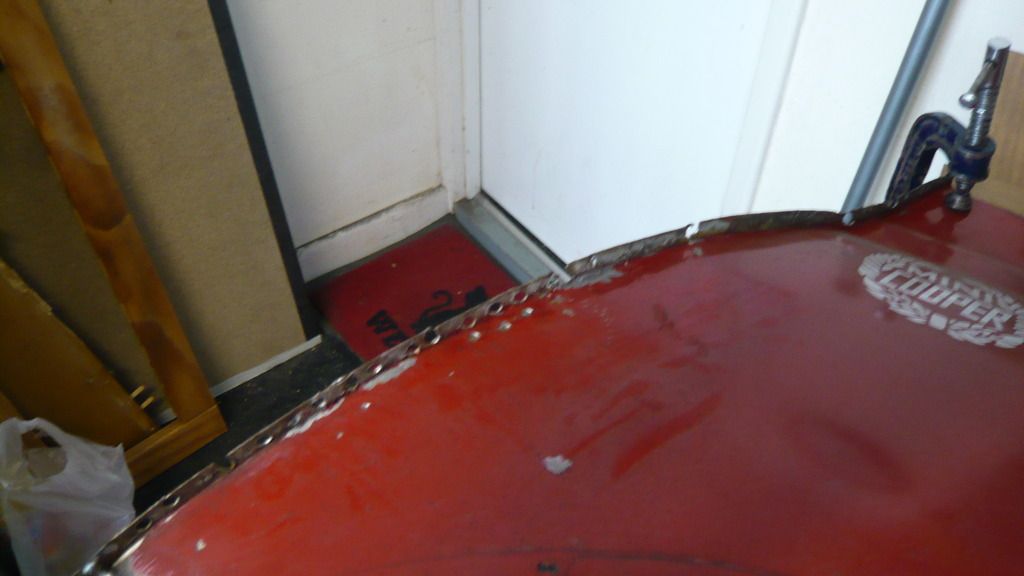
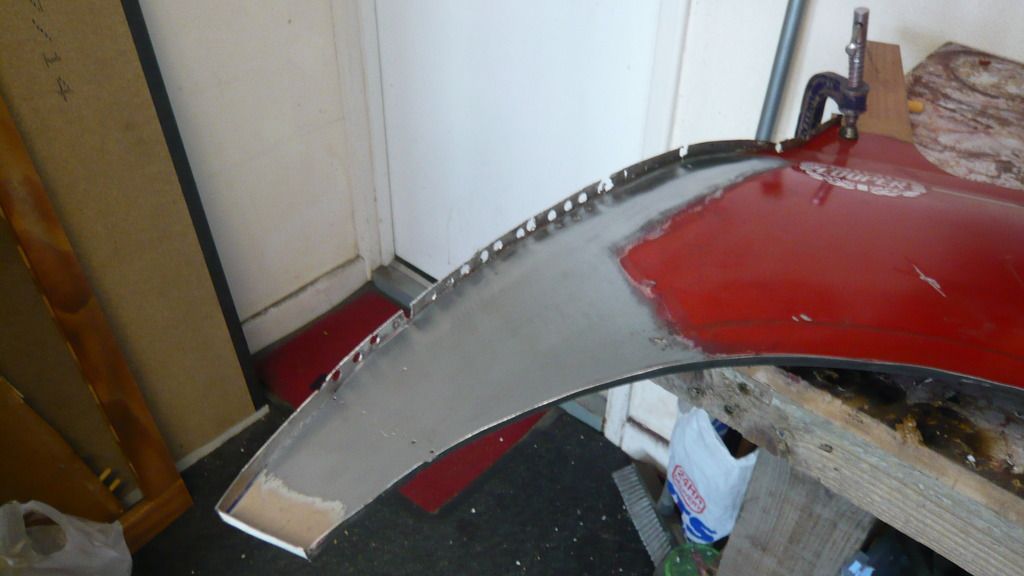
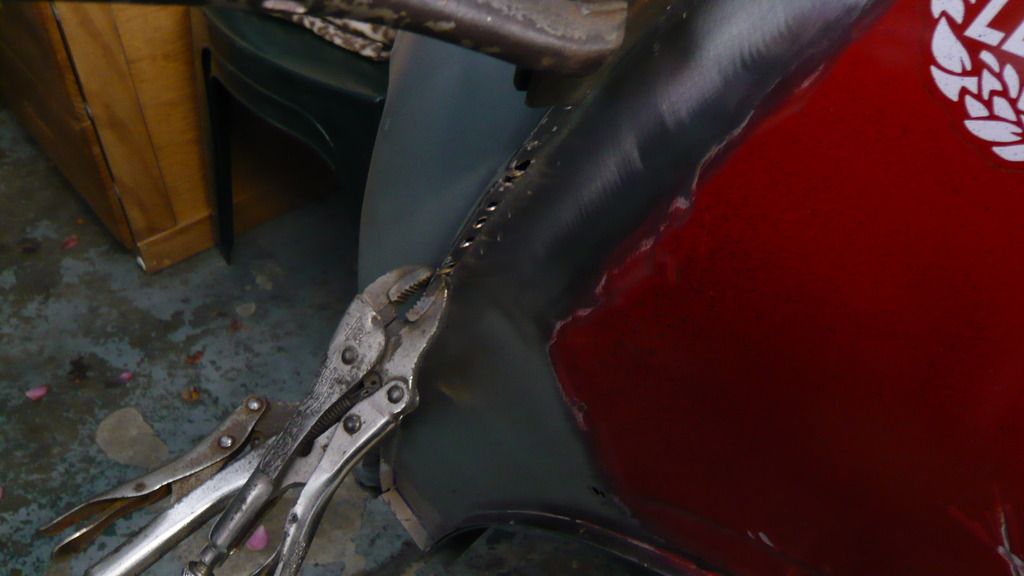
First on the agenda was to have a good look over this reclaimed quarter panel. It was a bit bent at the back along the seam where it meets the back panel so i decided to start there and straighten it out.

at this point, im still debating over whether to use it or not...


Anyway, clamped to the bench


P1070461_zpsofspvmu1.jpg


P1070462_zpsuyvpozcp.jpg


and here is the piece i added many moons ago


P1070463_zpsv6dr4tbq.jpg


You can't see too well in the pictures but it is pretty buckled up the back edge from removal and storage ( i tripped over it on the garage floor last year and put my boot right on it  :shy: )


So i ground the welds back and straightened out the bent bits with a hammer and dolly. I will give it a go over with the bodyfile once the panel is fitted to pick up any highs and lows and sort those out then. I can't file it now as i can't keep it still enough on the bench.

I want to try and avoid using body filler on it so it needs to be spot on.


P1070464_zpsmqwzuxnm.jpg


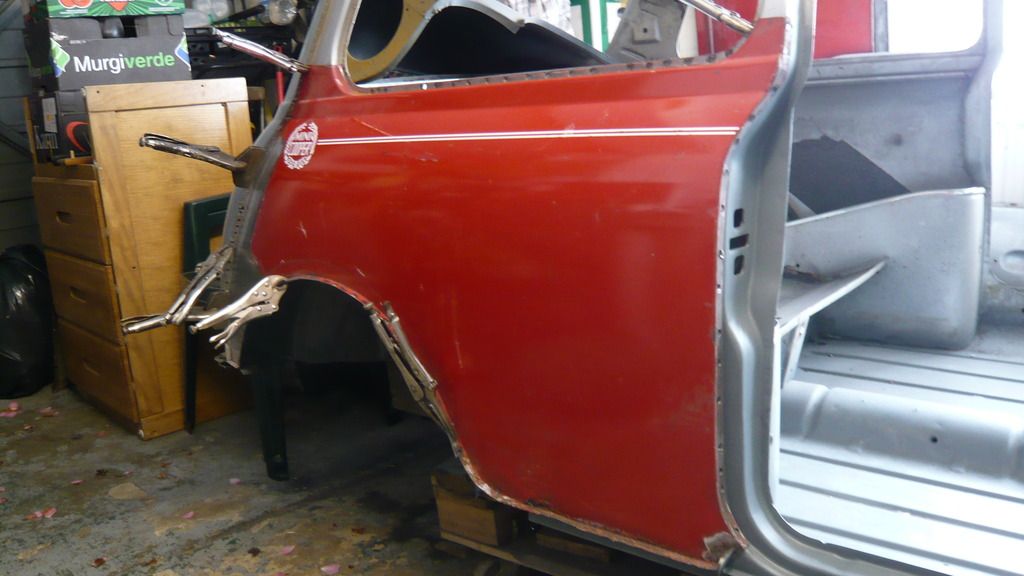
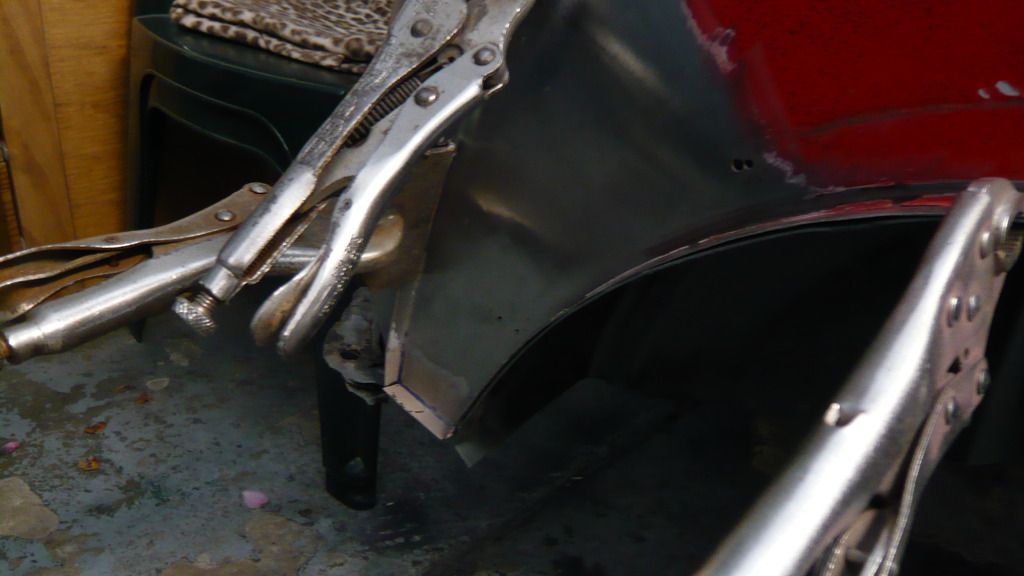
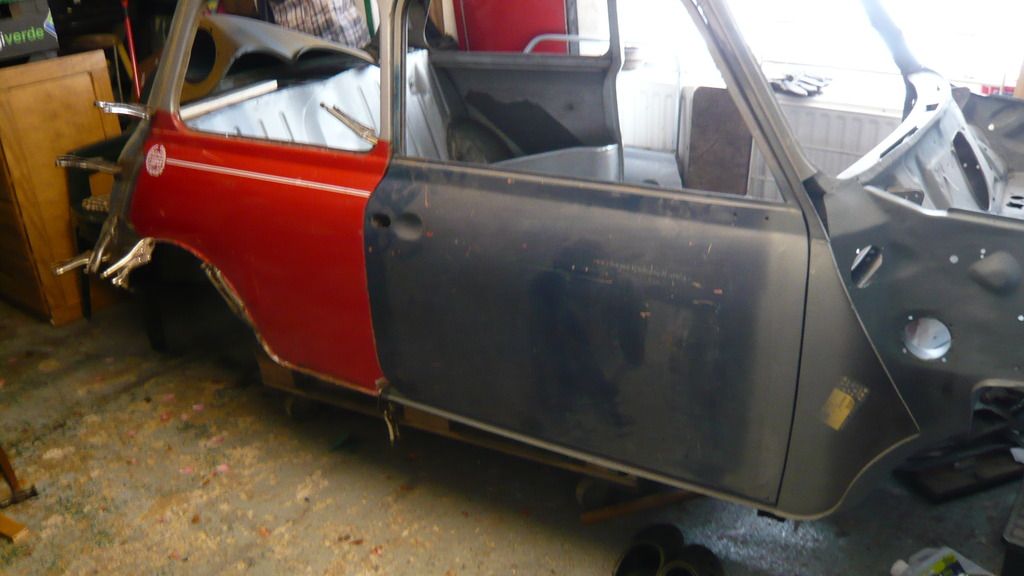
Now time to clamp it back on the car...


P1070466_zpsequ0thki.jpg


It fits lovely everywhere. The drilled spot weld holes along the top of the panel even line up with the corresponding drill marks on the waist rail.


and the back edge which looks and feels lovely and straight again


P1070467_zpskbxxpnu8.jpg


P1070468_zpshjxu8s9s.jpg


I'm not worried about the drill holes in the flange as ill just use them to weld it to the back panel and linish it all up lovely after.


Door back on...


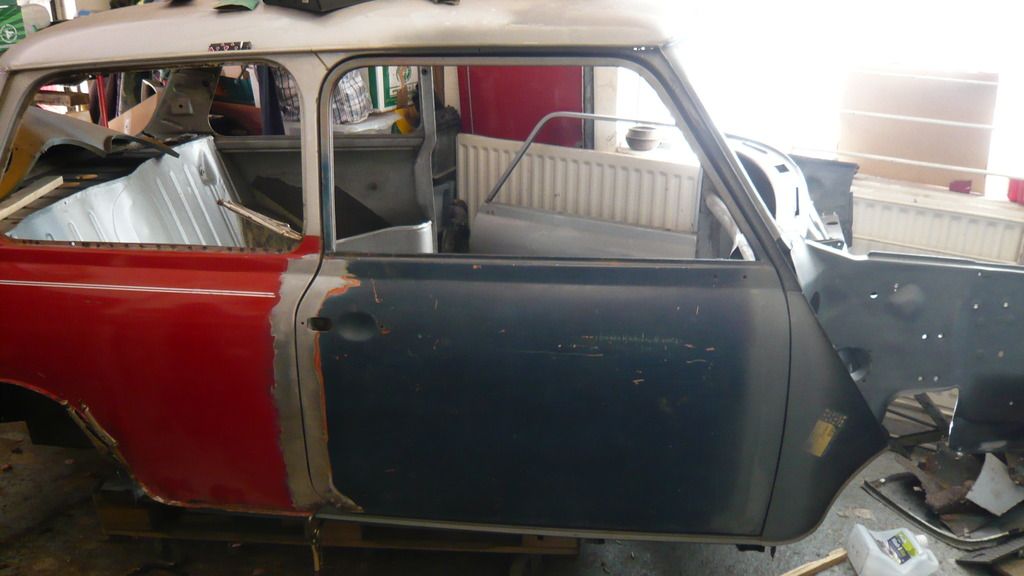
P1070469_zpsv8lfxkyx.jpg


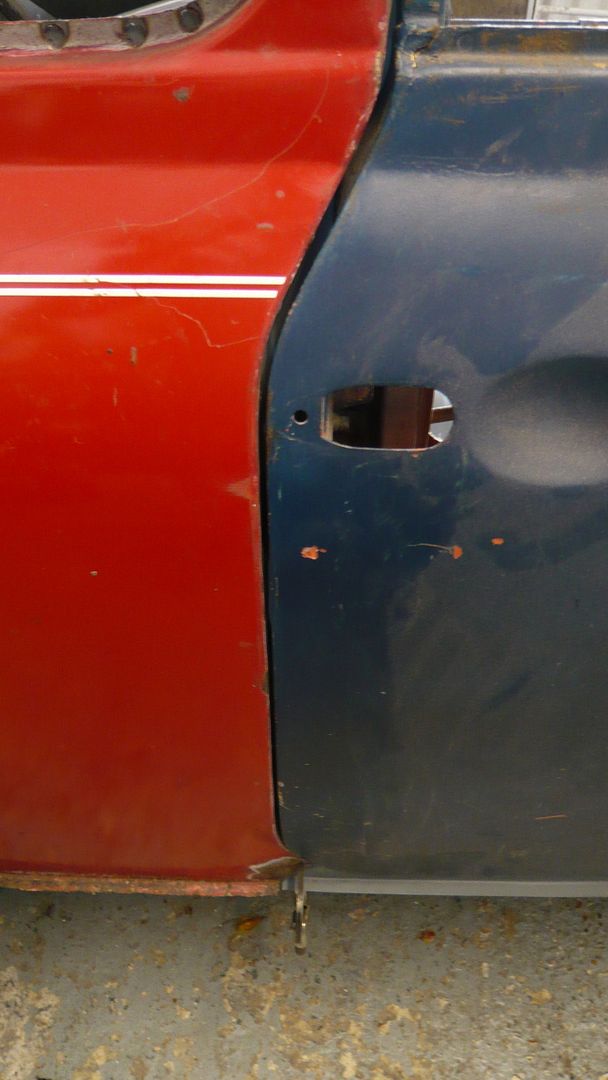
The rear gap is really tight but that is fantastic news for me because i can now get away with fitting the door with NO SHIMS!!!  :D


Here it is with no shims


P1070473_zpst1f3lk2q.jpg


and bare metalled on the edges to get a better idea


P1070474_zpsdw3ve8f8.jpg


An overall shot


P1070476_zps21eyrqim.jpg


And now for the problem.....


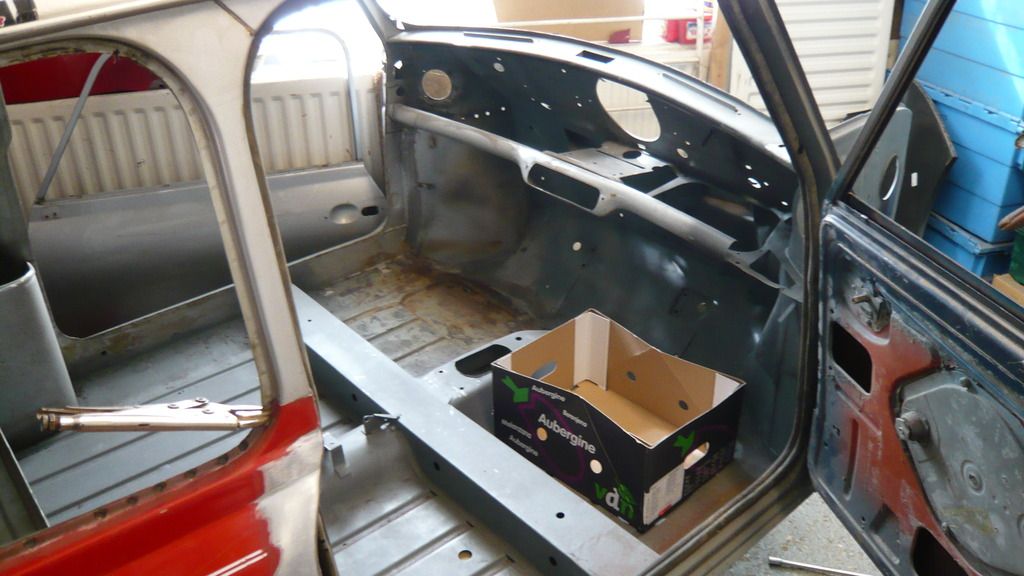
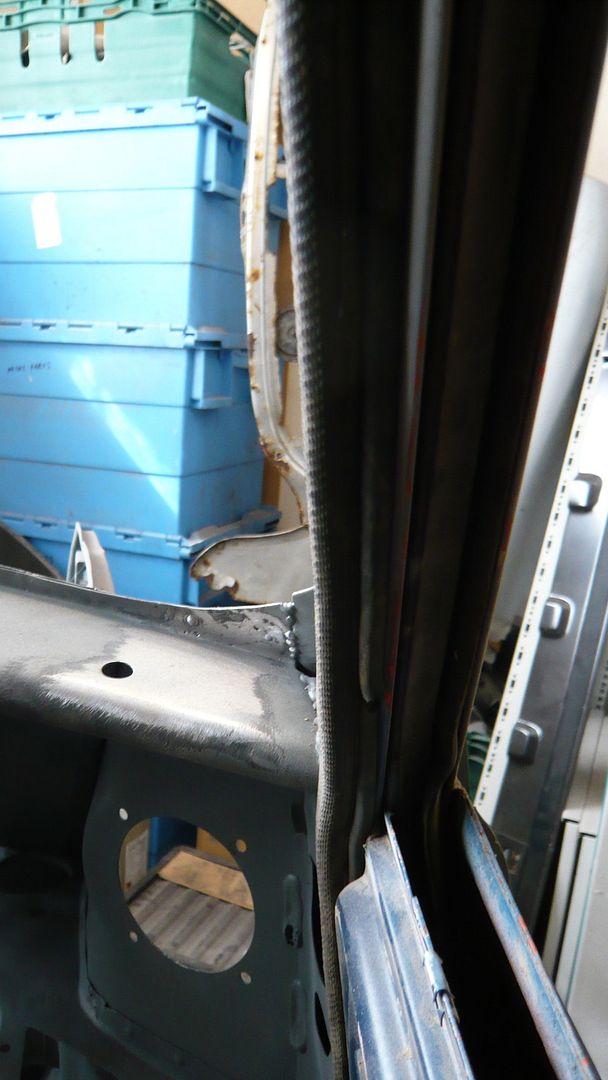
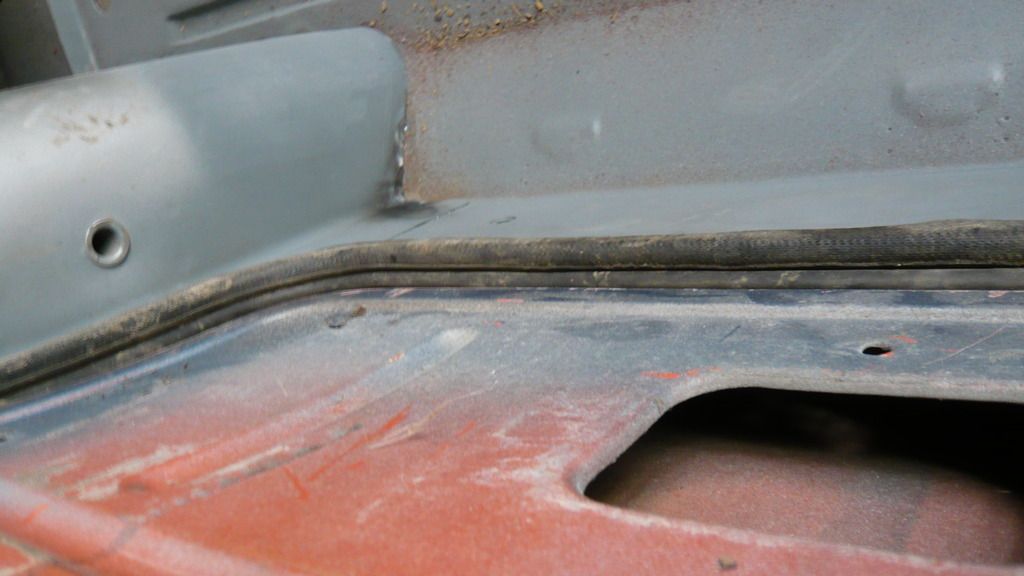
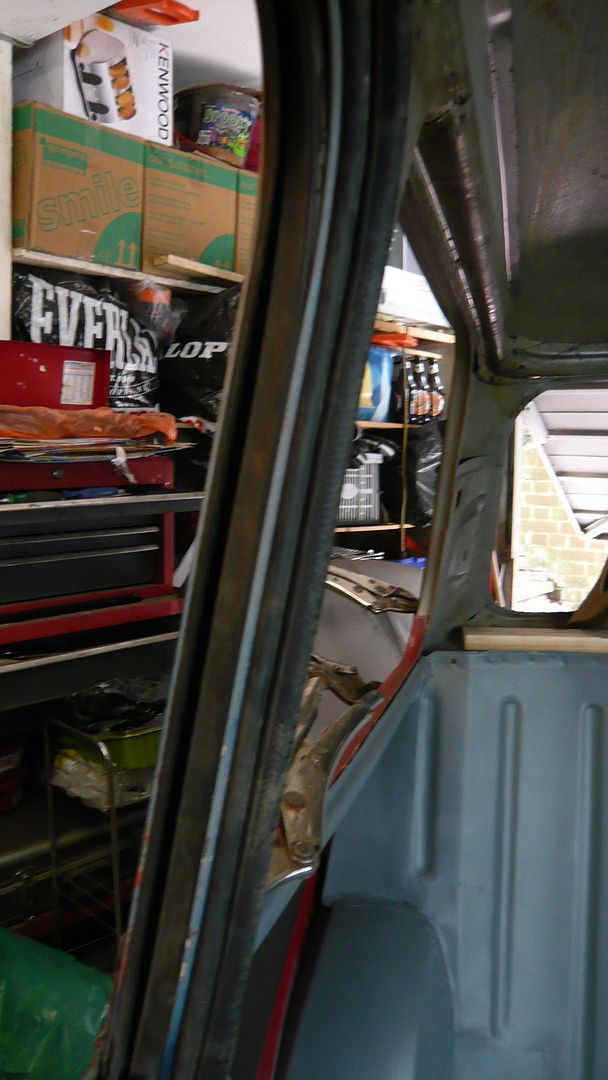
I decided at this stage to try the door rubber and even with the old worn out one, the door doesn't close right up unless I slam it with all my weight.


Bummer...


Here are a few shots of the rubber fitted


P1070482_zpsd7xe2lca.jpg


P1070481_zpsk8z4gkl3.jpg


P1070479_zpsaf8magcy.jpg


P1070478_zpspt3mn5b5.jpg


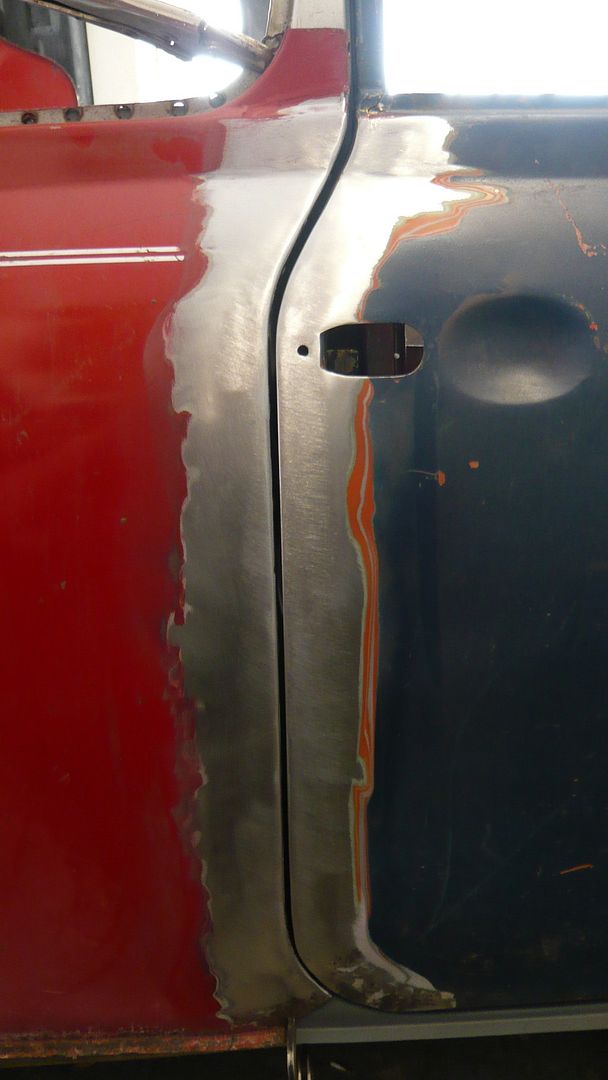
Now as to the solution, i think the problem lies with the front of the door frame below where the window frame starts. It looks a funny shape and someone has defiantly been there before because the welds look a bit rubbish.

If i slip the rubber back off around that area, it closes easier.


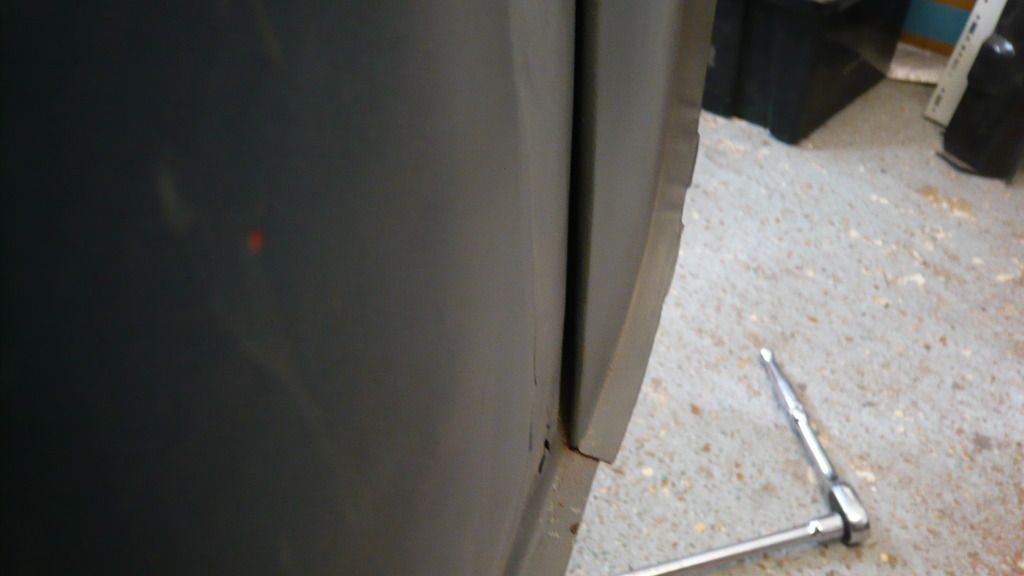
For the sake of interest, i slackened the bottom hinge nuts off which caused the door to spring out. I then tightened the nuts again and tried the door.....


Better.


But this has left me with this...


P1070484_zpsvohh1v1r.jpg


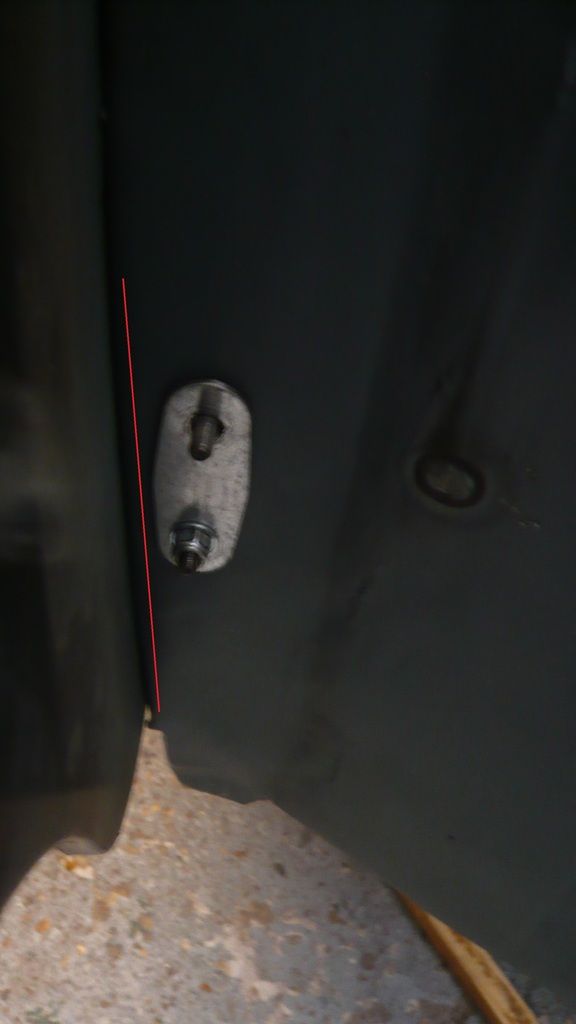
But as you can see, the arch lip on the A panel looks like it needs to go in anyway to match the one on the step so what i am thinking of doing is this.....


P1070485_zpsg53qtwbe.jpg


Cut along the red line with a cutting disc and then let the bottom in to match the lips together and also fix the door to a panel gap. It will work but it's still daunting cutting this expensive panel again.


More later...


Ben


Edited by Ben_O, 06 May 2015 - 03:53 PM.


#944 Stu.

Stu.

    One Carb Or Two?

  • Members
  • PipPipPipPipPipPipPip
  • 912 posts
  • Location: My workshop.

Posted 06 May 2015 - 04:23 PM

That's a bugger Ben. Will you have to cut the edge of the door check post too or is there a bit of a gap to move the a panel over a bit once you've cut the inner wing? 


#945 Ben_O

Ben_O

    Mill Road Garage

  • Paint Doctor
  • PipPipPipPipPipPipPipPipPipPip
  • 9,785 posts
  • Location: Isle of Wight

Posted 06 May 2015 - 04:27 PM

That's a bugger Ben. Will you have to cut the edge of the door check post too or is there a bit of a gap to move the a panel over a bit once you've cut the inner wing? 

There is a gap between the flange where the a panel folds round the hinge panel and it looks to be about the right width to allow it over the perfect amount. 


I'm thinking now that it should have gone right over in the first place but there was no physical way of it going over any more because the toe board and the hinge holes wouldn't have lined up.


Cheers


Ben


1 user(s) are reading this topic

0 members, 1 guests, 0 anonymous users