Jump to content


Photo
* * - - - 3 votes

Mini 25 Full Rebuild


  • Please log in to reply
1498 replies to this topic

#901 Ben_O

Ben_O

    Mill Road Garage

  • Paint Doctor
  • PipPipPipPipPipPipPipPipPipPip
  • 9,785 posts
  • Location: Isle of Wight

Posted 20 April 2015 - 07:15 PM

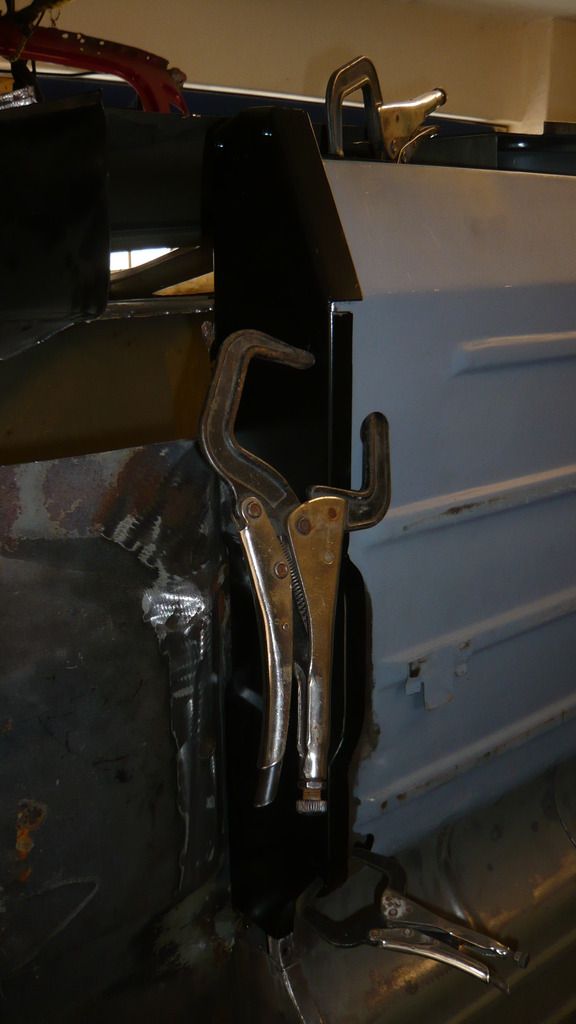
What is the slinging bracket for and is it necessary if not bothered by it not being original?

It was used to attach the slings in the factory to assist with moving the shells around.


It's not needed and personally, i would leave them off but as i am going for originality, i had to reinstate them.


#902 Hendred

Hendred

    Speeding Along Now

  • Members
  • PipPipPipPipPip
  • 484 posts
  • Location: Cleobury Mortimer Nr Ludlow, Shropshire Name: John

Posted 20 April 2015 - 07:31 PM


What is the slinging bracket for and is it necessary if not bothered by it not being original?

It was used to attach the slings in the factory to assist with moving the shells around.


It's not needed and personally, i would leave them off but as i am going for originality, i had to reinstate them.


Totally agree you have to on yours, thanks Ben for the reply.


#903 SAL 821X

SAL 821X

    Camshaft & Stage Two Head

  • Members
  • PipPipPipPipPipPipPipPip
  • 1,890 posts
  • Location: Hinckley
  • Local Club: Leicester Mini Owners Club

Posted 21 April 2015 - 10:32 AM

Wowee just catching up with the last 4 or 5 pages after being on Holidays. Your going great guns Ben, wish my panel gaps looked as good as that straight off! 


#904 Ben_O

Ben_O

    Mill Road Garage

  • Paint Doctor
  • PipPipPipPipPipPipPipPipPipPip
  • 9,785 posts
  • Location: Isle of Wight

Posted 21 April 2015 - 01:03 PM

Wowee just catching up with the last 4 or 5 pages after being on Holidays. Your going great guns Ben, wish my panel gaps looked as good as that straight off! 

Cheers mate :-)


#905 Ben_O

Ben_O

    Mill Road Garage

  • Paint Doctor
  • PipPipPipPipPipPipPipPipPipPip
  • 9,785 posts
  • Location: Isle of Wight

Posted 25 April 2015 - 02:49 PM

Not much at all done today but a little progress i thought i would share anyway.


I turned my attention to removing the remains of the heel board which meant removing some of the tar pad from the seat base


P1070343_zps5hjxw36i.jpg


With that chipped away, i marked out the position of the spot welds


P1070345_zpsuuch6hof.jpg


And then drilled them out.


Next after removing the remains of the heel board, i set about removing the remains of the fillet piece that sits in front of the arch tub. It is spot welded through the companion bin to the boot floor behind.

I drilled the spot welds right through and this is it halfway through the wiggling, tugging and bashing to get it off.


P1070347_zpszyigy5uo.jpg


And here it is removed and the bin straightened back out.


P1070351_zpsfezmclh7.jpg


Then i cleaned the area up ready to try the heel board.


P1070353_zpsdaumhgoa.jpg


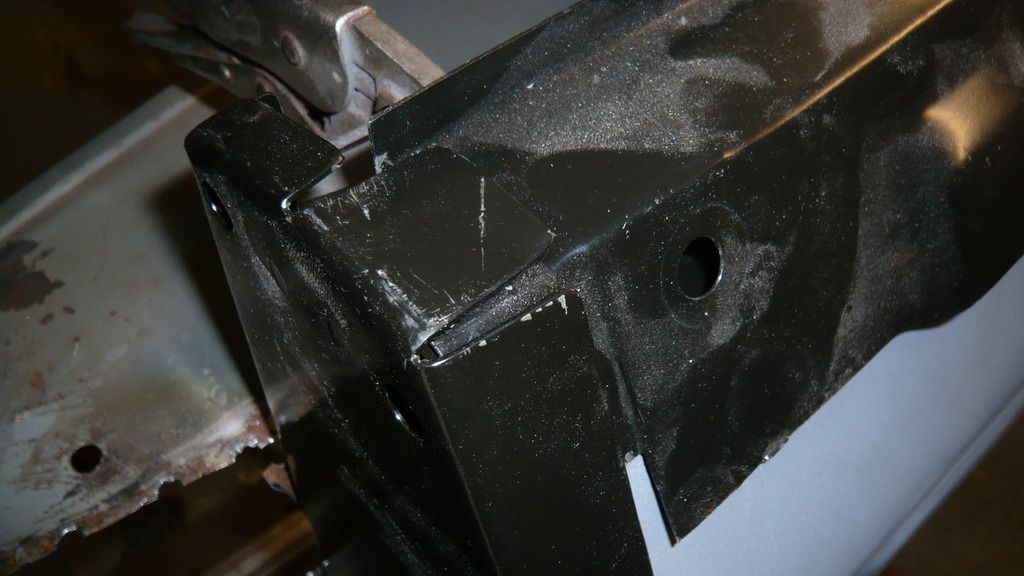
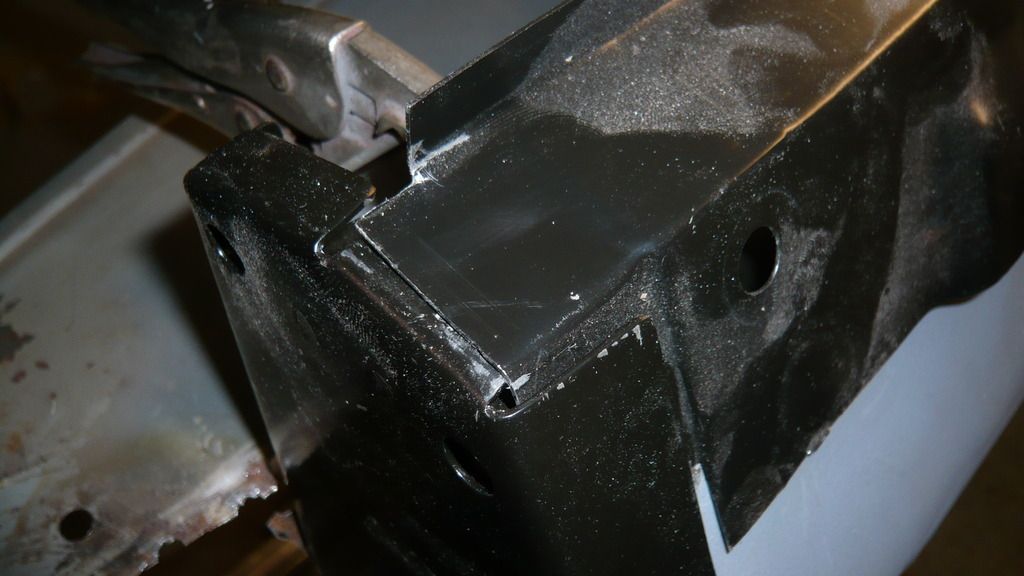
Then popped the heelboard in place with some clamps. It looks ok but i'm a bit confused about how the outer sill fits to the heelboard.


P1070354_zpsehr4mvbm.jpg


Is it like this?


P1070355_zpskmuvh7ax.jpg


Or like this??


P1070356_zpsjmi9wwds.jpg


Any help with that would be great.


Cheers


Ben


#906 cookie4343

cookie4343

    **Caution: Do Not Feed Alcohol**

  • Traders
  • PipPipPipPipPipPipPipPipPip
  • 2,257 posts
  • Local Club: CV1 Mini's

Posted 25 April 2015 - 02:53 PM

Looking good Ben, sill is fitted right in first picture.

#907 Ben_O

Ben_O

    Mill Road Garage

  • Paint Doctor
  • PipPipPipPipPipPipPipPipPipPip
  • 9,785 posts
  • Location: Isle of Wight

Posted 25 April 2015 - 03:41 PM

Looking good Ben, sill is fitted right in first picture.

Cheers, i thought so.


Ben


#908 Stu.

Stu.

    One Carb Or Two?

  • Members
  • PipPipPipPipPipPipPip
  • 912 posts
  • Location: My workshop.

Posted 25 April 2015 - 09:10 PM

Coming along nicely there Ben. Is that a half heelboard or have you cut a full one? Are you doing it half at a time?


#909 1984mini25

1984mini25

    Crazy About Mini's

  • Members
  • PipPipPipPipPipPipPipPipPipPip
  • 8,784 posts
  • Location: -

Posted 25 April 2015 - 09:17 PM


Looking good Ben, sill is fitted right in first picture.

Cheers, i thought so.


Ben


The first one is correct, but personally I'd do the second as it would look neater once welded.


#910 Ben_O

Ben_O

    Mill Road Garage

  • Paint Doctor
  • PipPipPipPipPipPipPipPipPipPip
  • 9,785 posts
  • Location: Isle of Wight

Posted 26 April 2015 - 03:46 AM

Coming along nicely there Ben. Is that a half heelboard or have you cut a full one? Are you doing it half at a time?

It's a half heelboard.


I wanted to get one side of the car fully welded up before starting the other. To fit a full heelboard, i would have had to repair the other side before fitting.

I can't see the issue with fitting halves as long as the subframe is used to make sure the two halves are correctly aligned.


Cheers


Ben


#911 Ben_O

Ben_O

    Mill Road Garage

  • Paint Doctor
  • PipPipPipPipPipPipPipPipPipPip
  • 9,785 posts
  • Location: Isle of Wight

Posted 26 April 2015 - 03:47 AM


Looking good Ben, sill is fitted right in first picture.

Cheers, i thought so.


Ben


The first one is correct, but personally I'd do the second as it would look neater once welded.


I tend to agree.

I think it would look neater plus i intend to weld up the heelboard seems and grind flat anyway.


Cheers


Ben


#912 Ben_O

Ben_O

    Mill Road Garage

  • Paint Doctor
  • PipPipPipPipPipPipPipPipPipPip
  • 9,785 posts
  • Location: Isle of Wight

Posted 28 April 2015 - 06:21 PM

another small update today as i managed to get in the garage for a couple of hours.


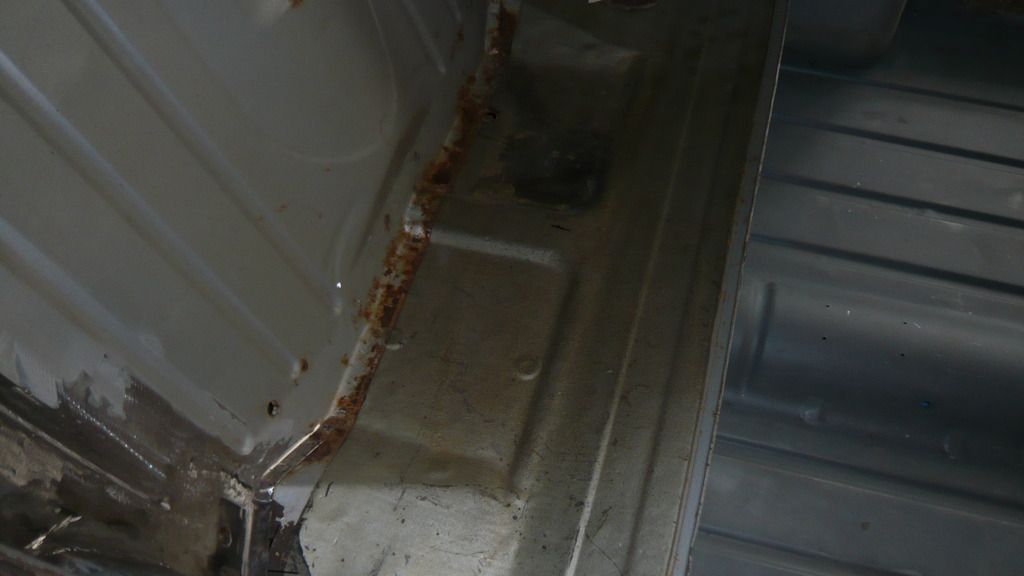
I put the shell back down the right way up and started by removing the sealer from the back edge of the floor.
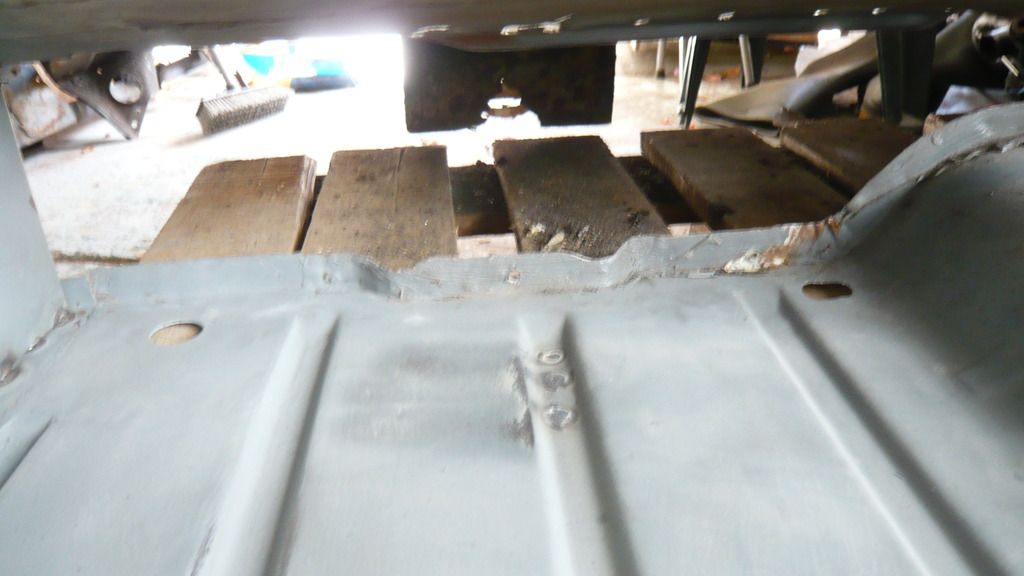
 

P1070367_zpsnhrcb5da.jpg


I prefer to burn it off so i set it on fire
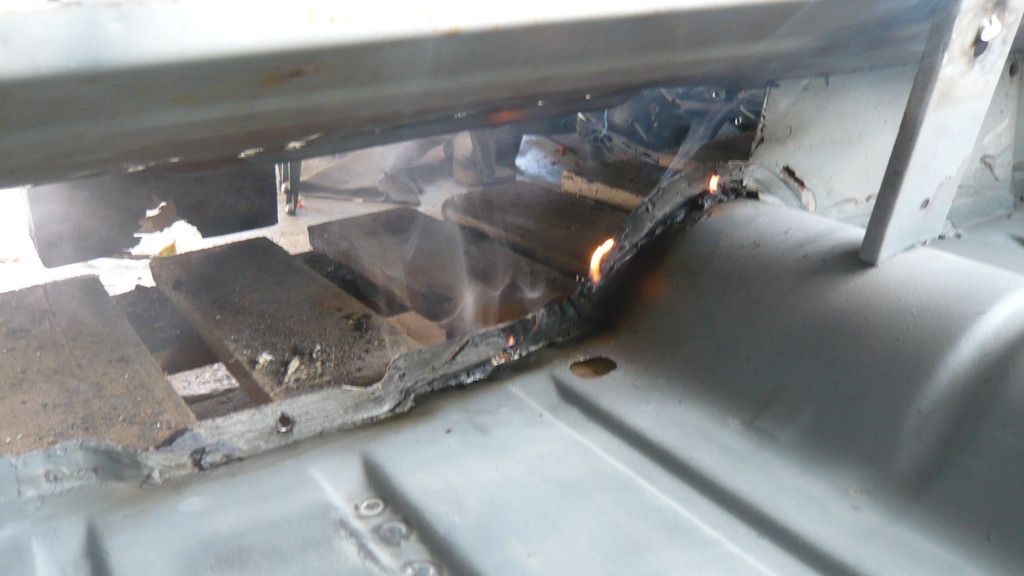
 

P1070368_zpscnfcn5nw.jpg


And then gave it a scrape and a wire brush and that's done
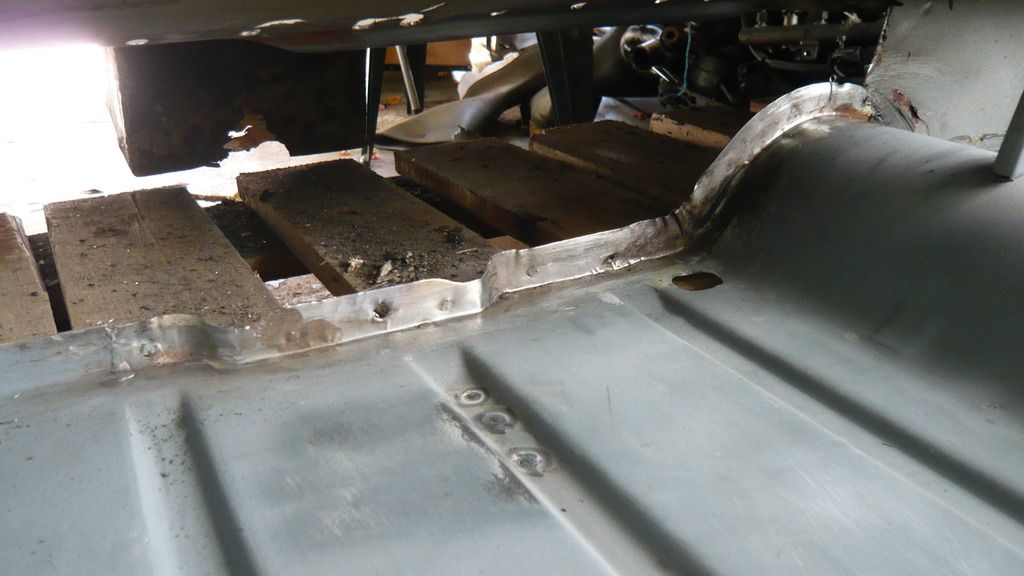
 

P1070370_zpsxngys1pb.jpg


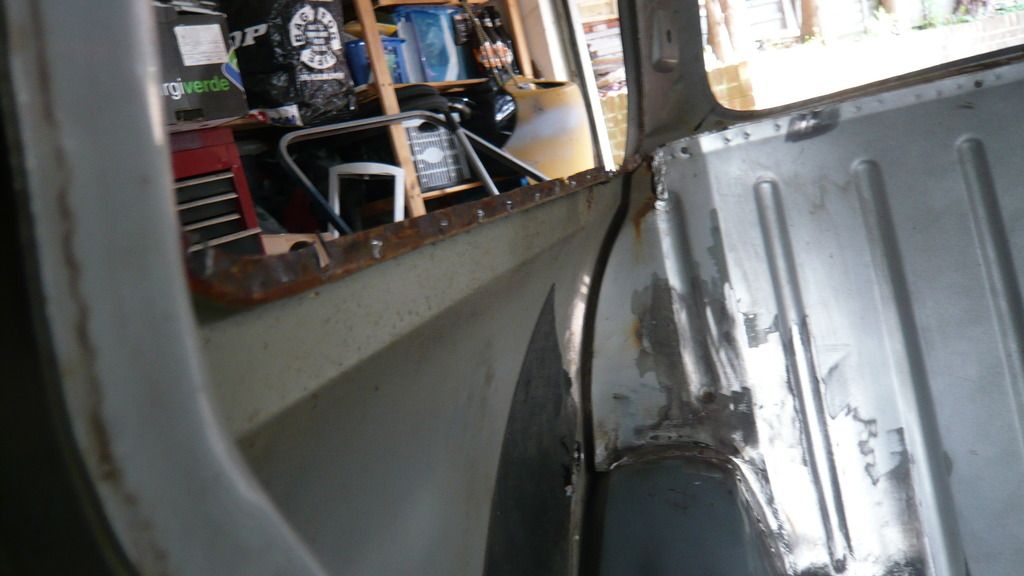
I wanted to get the quarter panel off today so i though it might be a good idea to replace the waist rail first. It needed changing as there was significant rust on the top flange
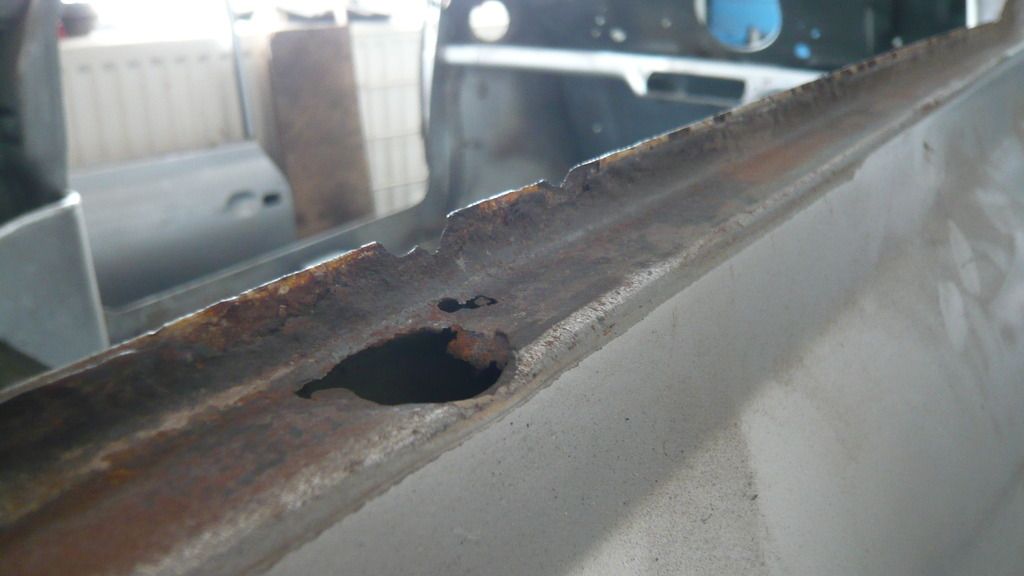
 

P1070372_zpsfiy4xu7y.jpg


First job was to mark out all of the spot welds from the inside
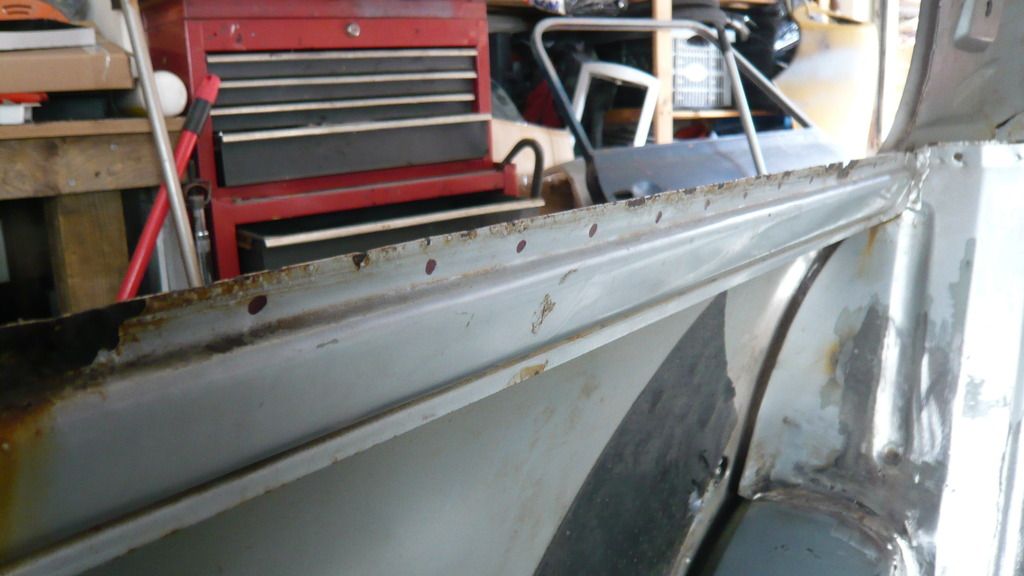
 

P1070373_zpsk19mz16i.jpg


The reason being the spot welds are very faint on this car so hard to see from behind a face shield

So next, i drilled them
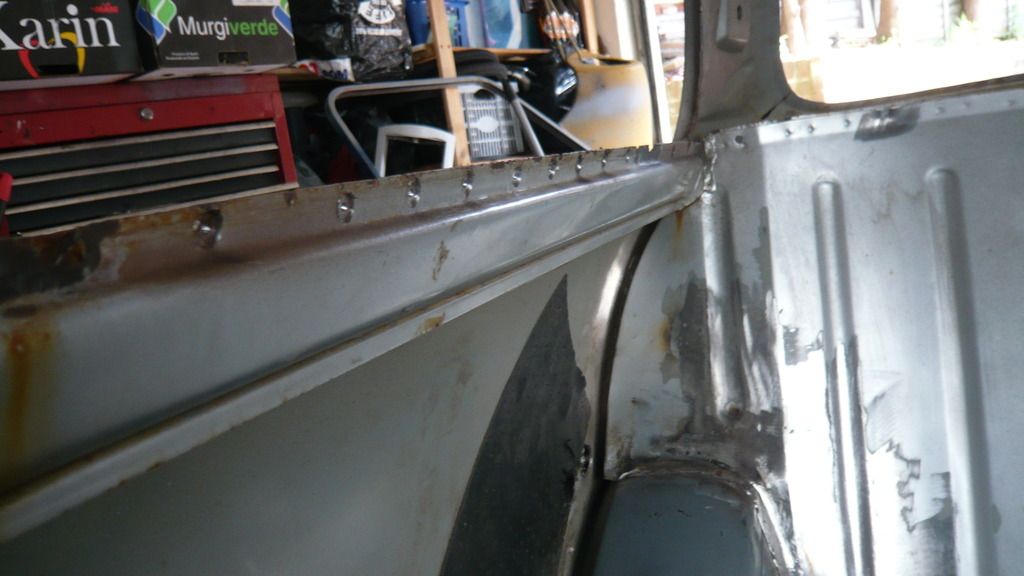
 

P1070374_zpswqinsqlm.jpg


And then carefully split them. It was prudent to do this carefully as i needed to keep the top egde of the quarter panel straight and intact to line the new waist rail up to.

Once the spot welds were split, it was then just a case of bending the waist rail back and forth to break the seam weld that holds the back edge to the rear bulkhead.


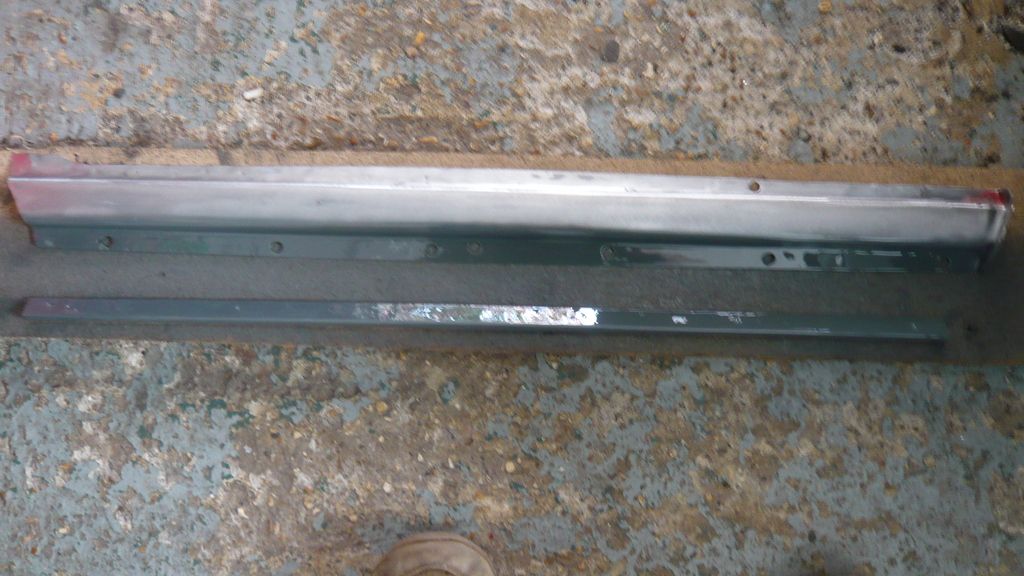
here it is removed
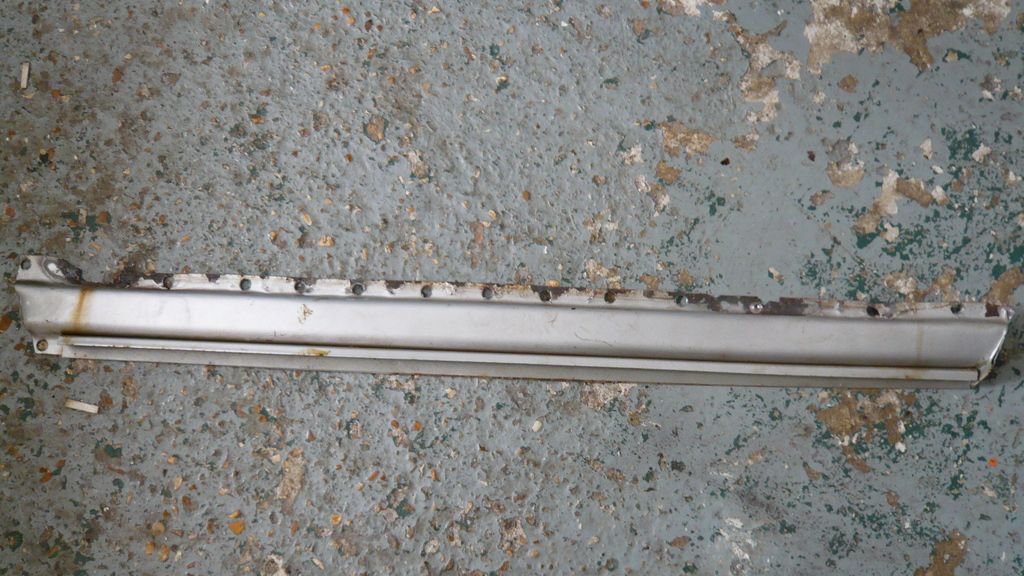
 

P1070375_zps4k8kmb1s.jpg


P1070376_zpsdtm6g42t.jpg


and the new one. (well used actually)
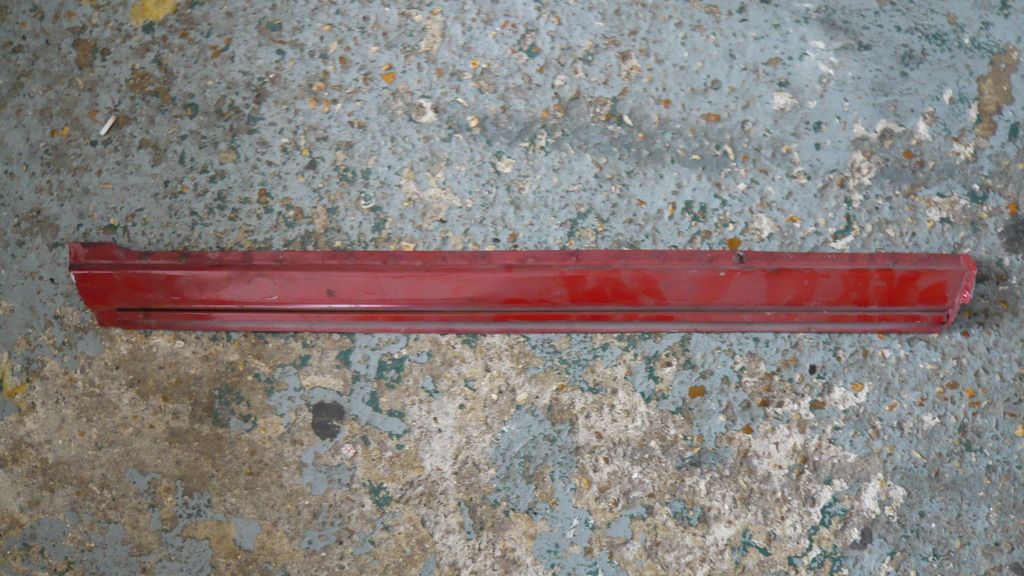
 

P1070377_zpsulnjdtk3.jpg


I gave it a good look over and even though it looked great, i imagined there would be rust between the waist rail and the trim retainer so i drilled the spot welds holding it on and i wasn't wrong.
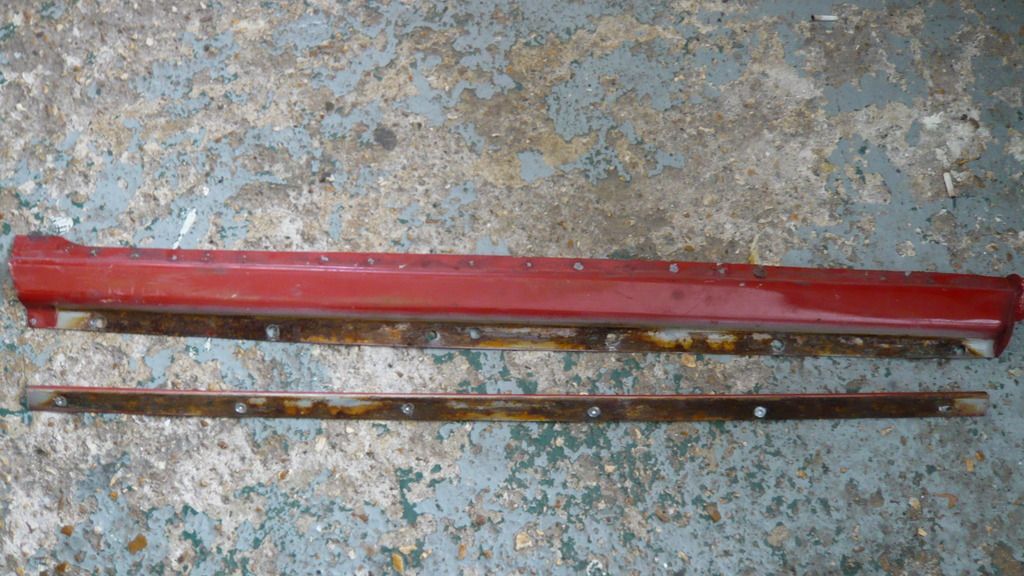
 

P1070378_zpsa5uaglfd.jpg


Pretty nasty but salvageable. I gave it a good clean up removing all of the rust from the pitting
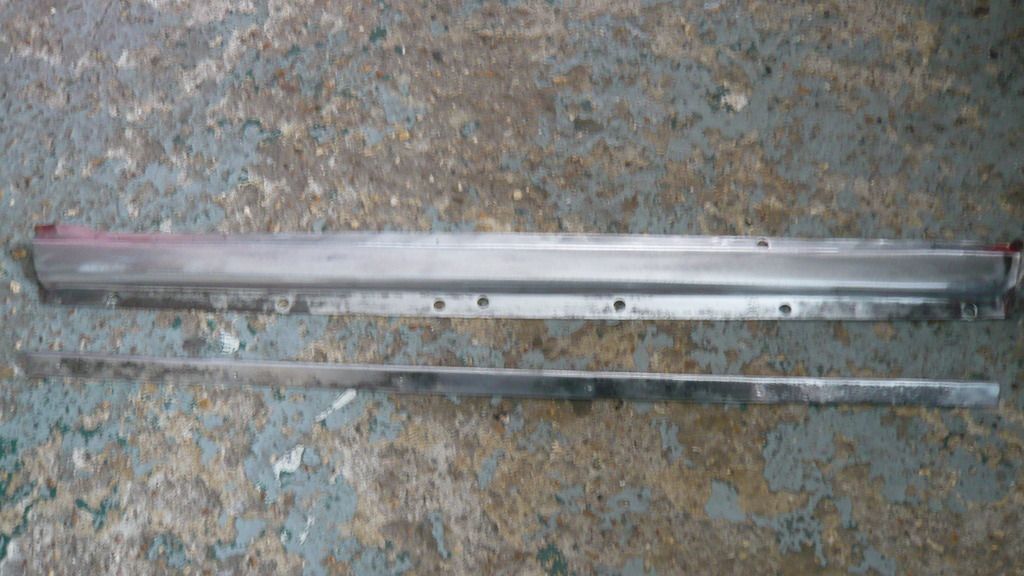
 

 P1070379_zpsxw8xjs5t.jpg


zinc primed


P1070380_zpsb3ilbvtf.jpg


and then clamped the two pieces back together
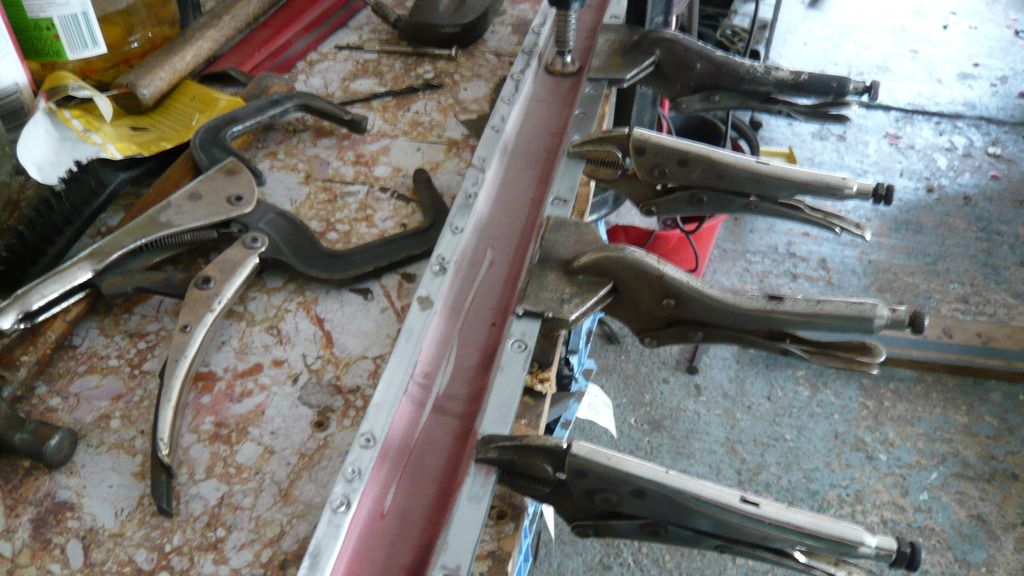
 

P1070381_zpsagjj1lgz.jpg


After welding them up and cleaning them back it looked like this
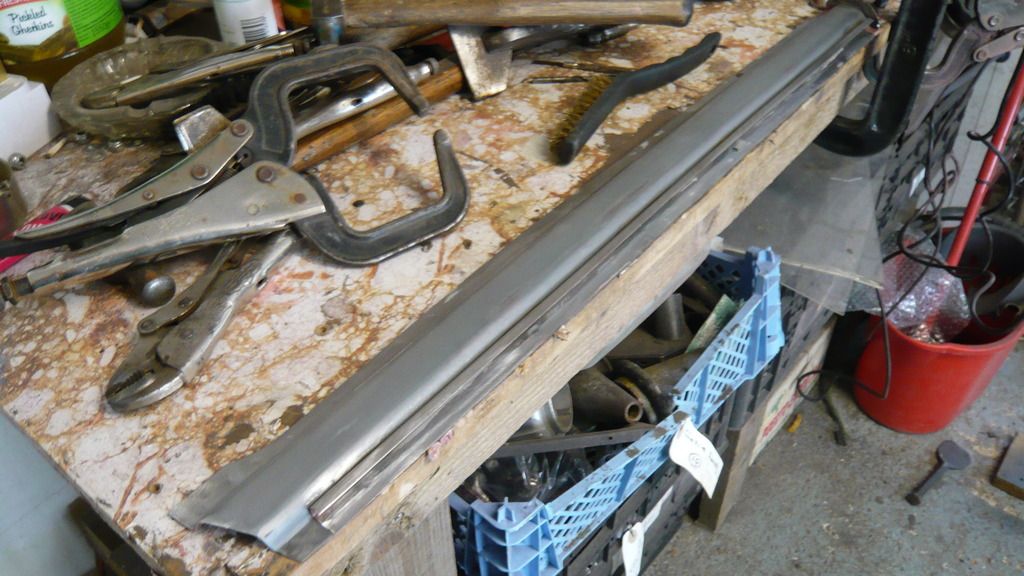
 

P1070382_zpsyrshksfs.jpg


As good as a new one and didn't cost me a penny

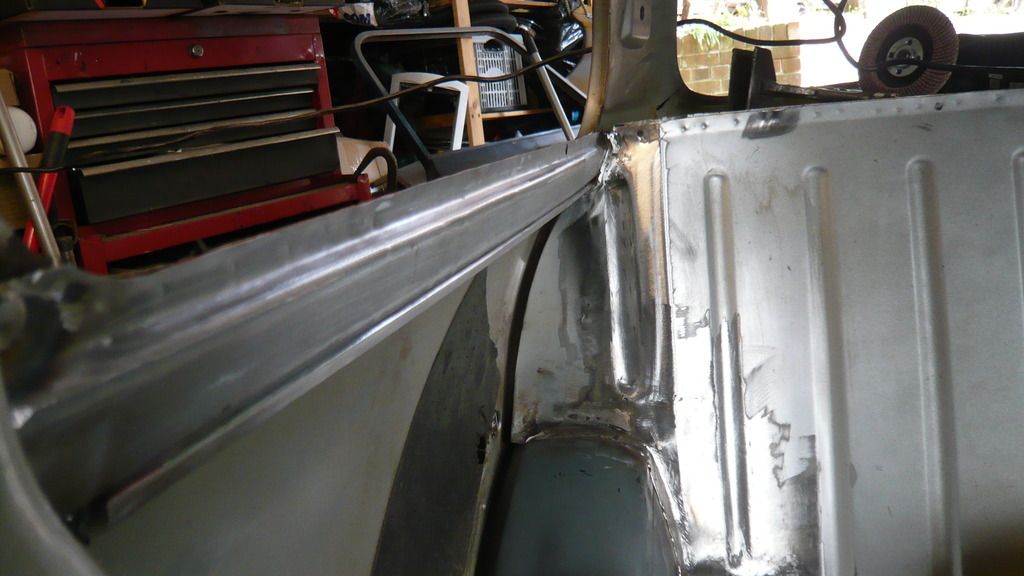
Anyway, i clamped it onto the car using the old quarter panel to help align it
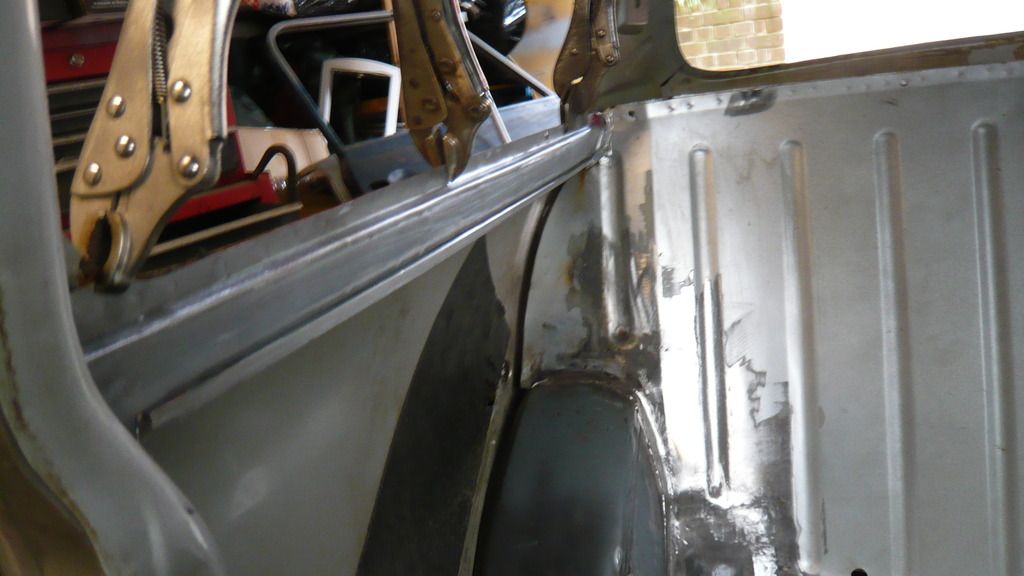
 

P1070383_zpsw2hvrb2p.jpg


and then welded it in


P1070385_zpsmuxf2r0q.jpg


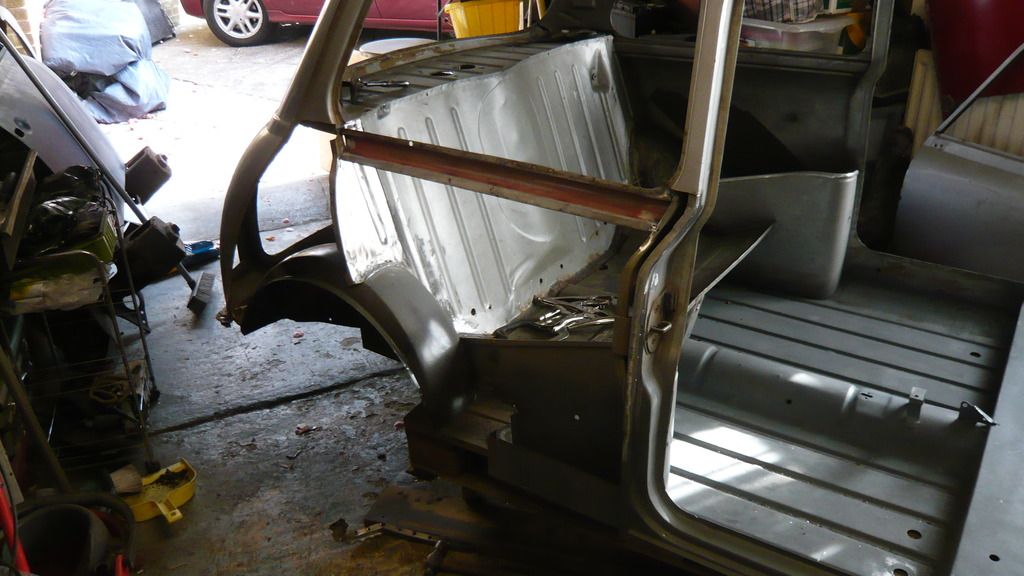
Once that was done, i finally lopped the quarter panel off
 

P1070386_zpscpwajyvq.jpg


It didn't put up much of a fight but there was alot of filler down the back edge which made a mess whilst i was cutting through it.


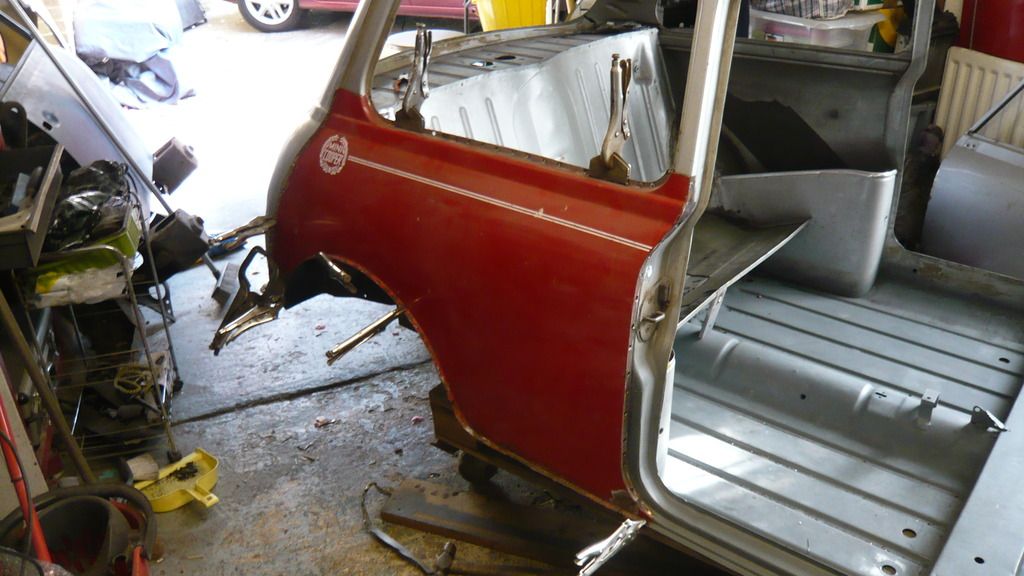
And then i clamped the new second hand quarter on just to check it all fits. Which it does!
 

P1070387_zpsh3kjljmn.jpg


and that was it for today.


Cheers


Ben


#913 Carlos W

Carlos W

    Mine is purple, but I have been told that's normal

  • TMF+ Member
  • PipPipPipPipPipPipPipPipPipPipPip
  • 10,114 posts
  • Location: Sittingbourne, Kent

Posted 28 April 2015 - 06:23 PM

That looks a lot better fit than my new (non-genuine) one


#914 Ben_O

Ben_O

    Mill Road Garage

  • Paint Doctor
  • PipPipPipPipPipPipPipPipPipPip
  • 9,785 posts
  • Location: Isle of Wight

Posted 28 April 2015 - 06:47 PM

That looks a lot better fit than my new (non-genuine) one

It needs a bit of repair work but nothing much really and it saved on a new panel


#915 Steve8274

Steve8274

    Super Mini Mad

  • Members
  • PipPipPipPipPipPip
  • 580 posts
  • Location: Wigan (north west)

Posted 28 April 2015 - 06:52 PM

Great work as usual. Can I ask what you used to remove paint of the waist rail. Looks thorough and I can never remove all the paint.
Thanks


4 user(s) are reading this topic

0 members, 4 guests, 0 anonymous users