Jump to content


Photo
* * - - - 3 votes

Mini 25 Full Rebuild


  • Please log in to reply
1498 replies to this topic

#886 Ben_O

Ben_O

    Mill Road Garage

  • Paint Doctor
  • PipPipPipPipPipPipPipPipPipPip
  • 9,785 posts
  • Location: Isle of Wight

Posted 17 April 2015 - 11:39 AM


I don't suppose you have any pics of the actual process of folding over the a-panel around the stiffner.


Ger

I don't but i will explain it tomorrow when i have more time.


Ill post up here about it :-)


Ben


Ok, a brief 'how to' on folding the apex panel.


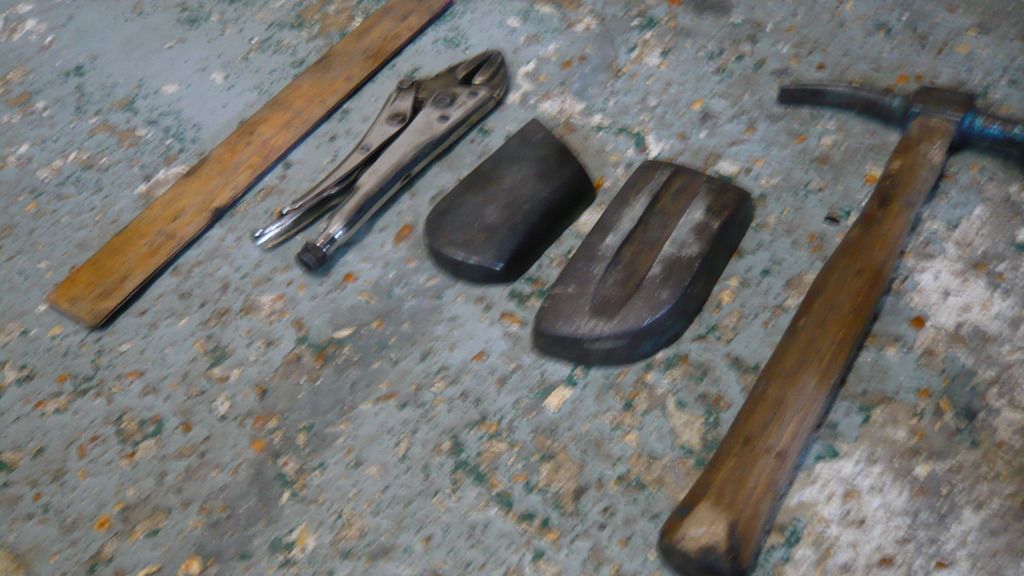
Here is the tools i use


P1070282_zpsznfqi6kh.jpg


from left to right

wooden ruler, mole grips, slim flat face dolly, a heavier flat face dolly and a bumping and pecking hammer.


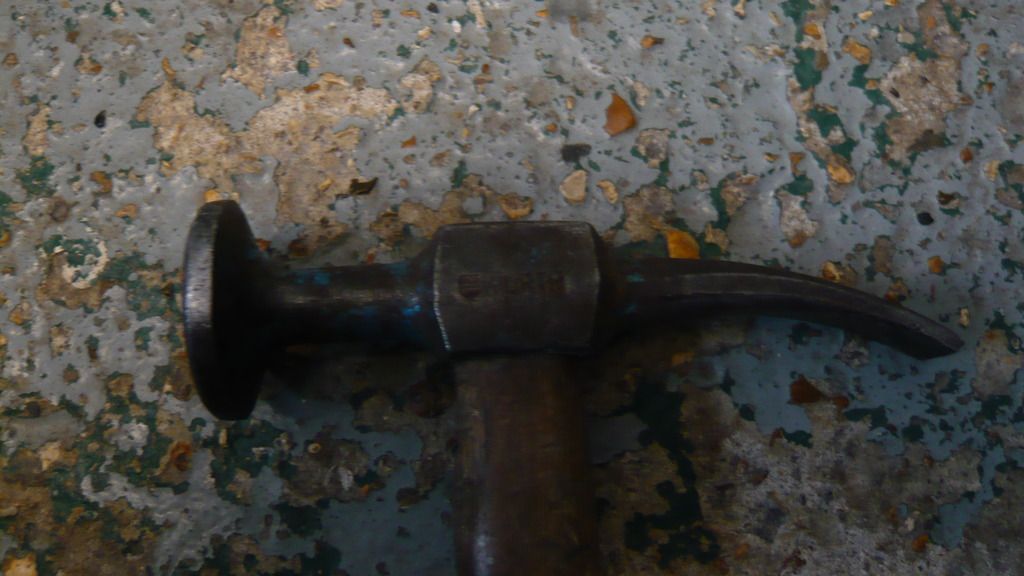
A close up of my hammer of choice


P1070283_zpsboqowgo6.jpg


Right, so first up i prepared the a panel by cleaning back the paint and drilling 3 6mm holes at the top, middle and bottom (you can see it in one of the pictures in my latest update)

Then i clamped it in place, fitted the door and got the gaps set before plug welding the 3 holes through to the flange behind. This will fix it permanently in place so that it cannot move whilst you are folding the lip.


As we know, the a panel lip comes pre folded to 90 degrees so it only needs folding the rest of the way. At the top and pottom of the a panel, space is too tight to use the bumping head of the hammer so you have to use the pecking end.

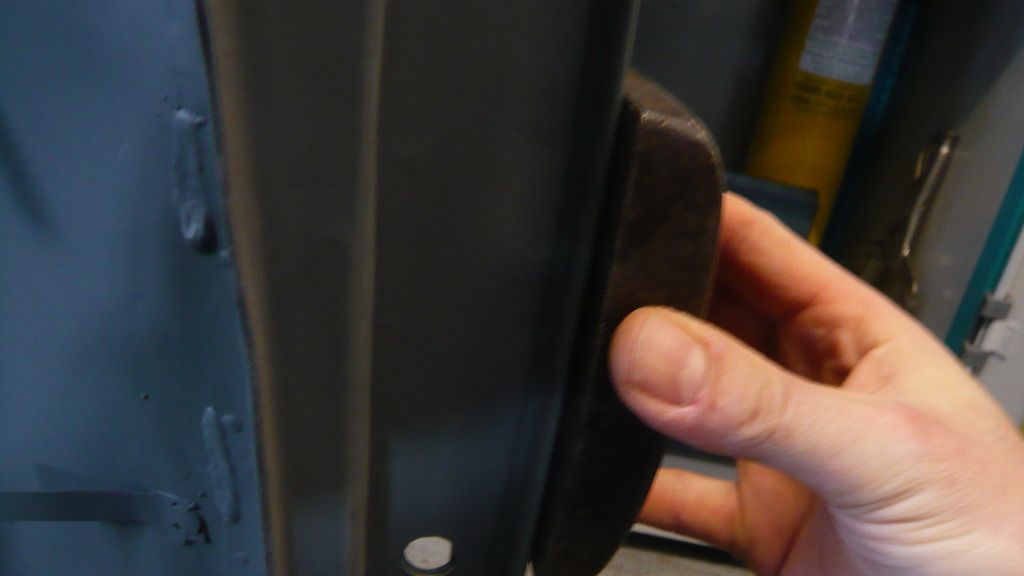
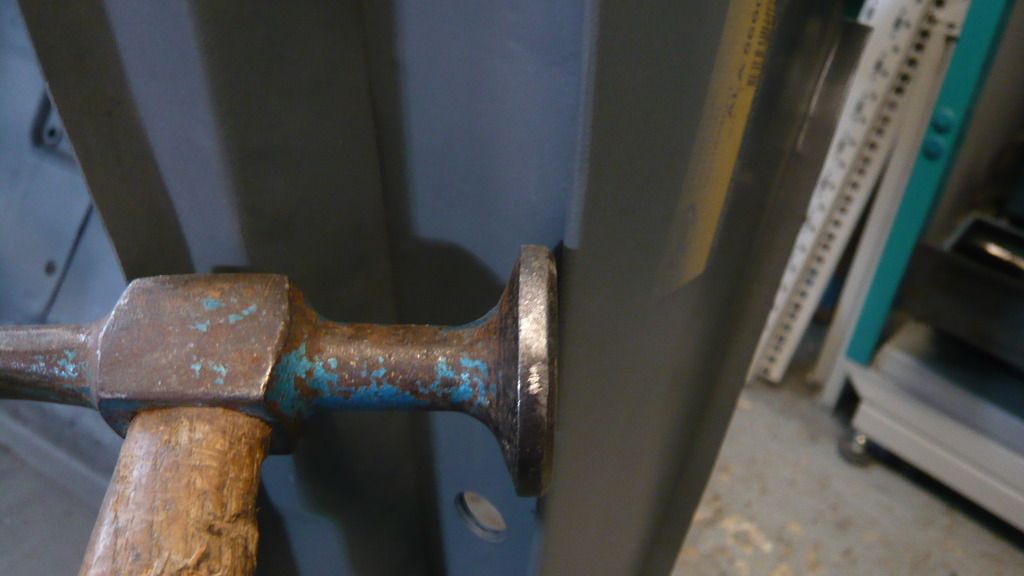
When you are using the pecking end, you want to hold the dolly so it just overhangs the edge of the panel


P1070284_zpshc2svz3e.jpg


that way, if you miss with the hammer, you won't damage the edge of the panel, it will just hit the dolly.


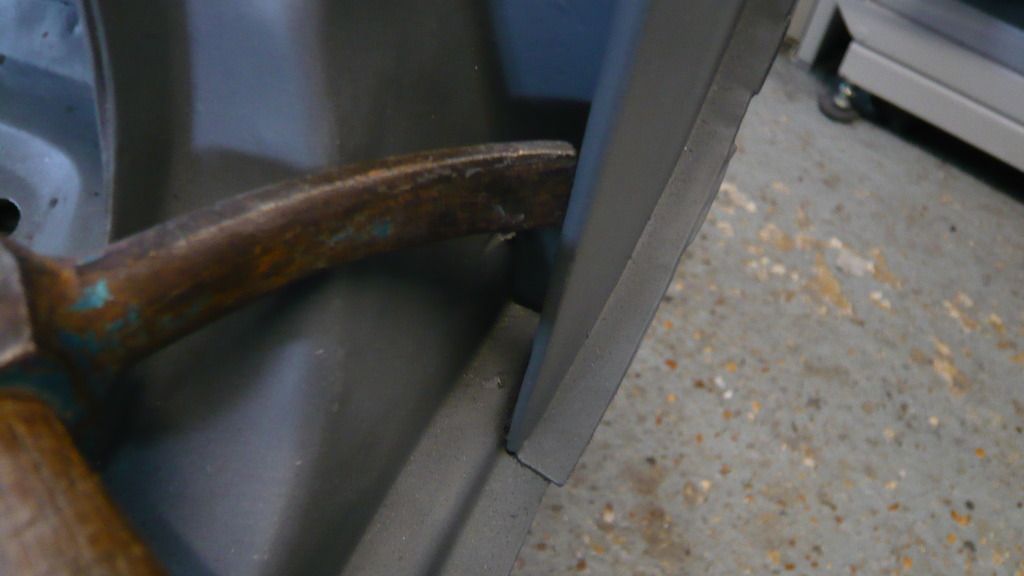
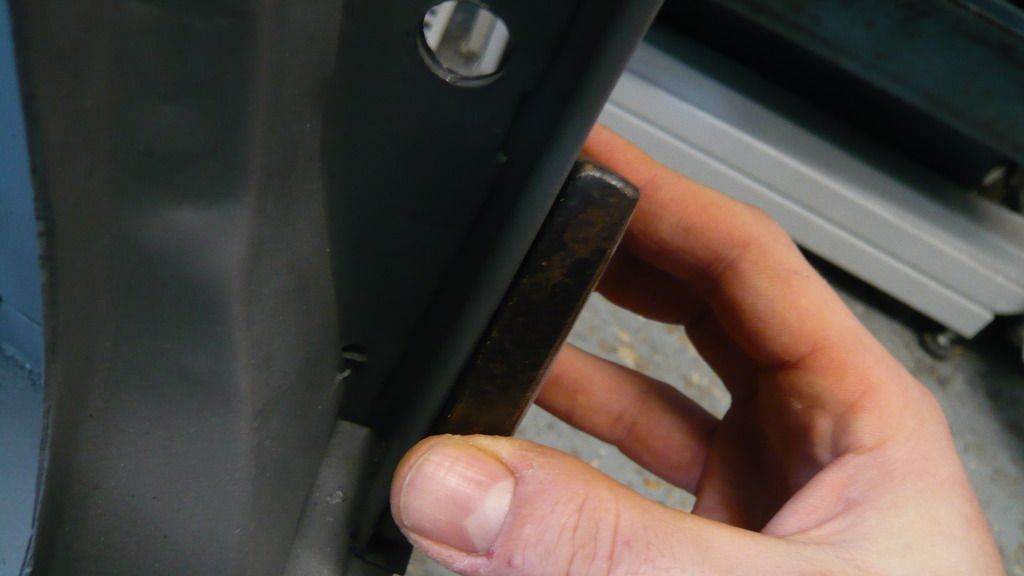
You need to come in at this angle when using the pecking end


P1070290_zpsouxwlfrw.jpg


Obviously you will have the dolly in the other hand at the same time but i can't take a photo whilst holding the hammer and dolly!

You need to hold the dolly firmly against the outside of the panel and only hammer on the flat of the dolly because the panel is curved and you want the dolly to remain flat in contact with where you are hitting.


Then towards the middle of the panel where access is better, you can use the flat head of the hammer


P1070285_zps2vpyloo4.jpg


The slim dolly comes in handy towards the bottom where it is flat because i find it easier to hold in place, especially when i am hammering with my left hand


P1070291_zpswryeupek.jpg


when folding, you want to start by folding the entire length over about a third of the way. Don't be tempted to go further than that at this point as you could buckle the edge.

Once you have done that, start again but this time, fold the lip over top to bottom another third and then repeat again folding it the rest of the way.


Once it is all the way over, you can work it some more to tighten it right up but remember to only hit where the flat of the dolly is to avoid a ripply edge.


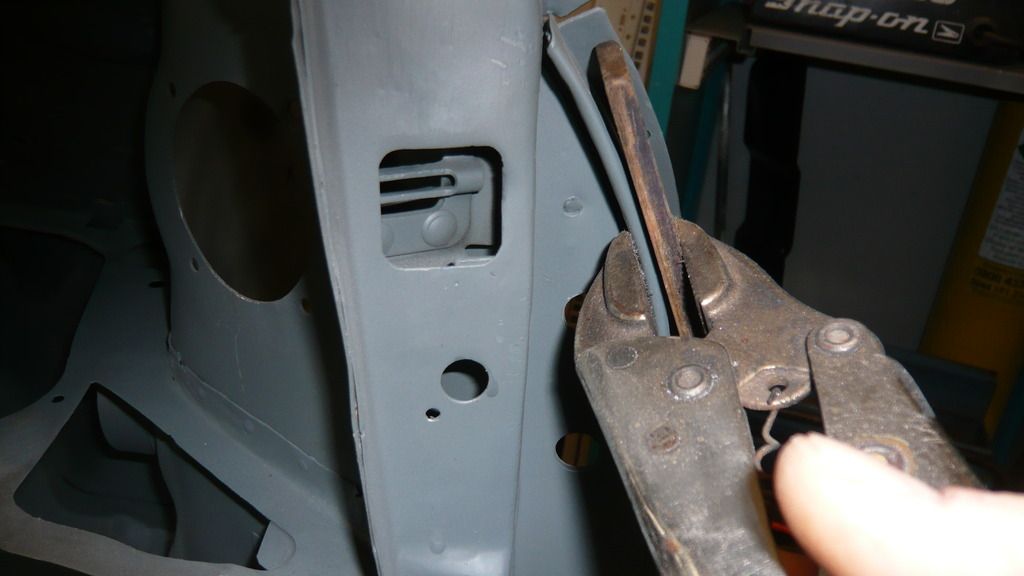
Last of all, you can tighten it up further if necessary by using the wooden ruler and a pair of mole grips. I like the wooden ruler but and slim flat peice of wood would do.

You want you mole grips set so they *just* tighten the lip against the ruler. Again, you only want to clamp flat against the ruler to avoid bending anything


P1070293_zpsf2efotri.jpg


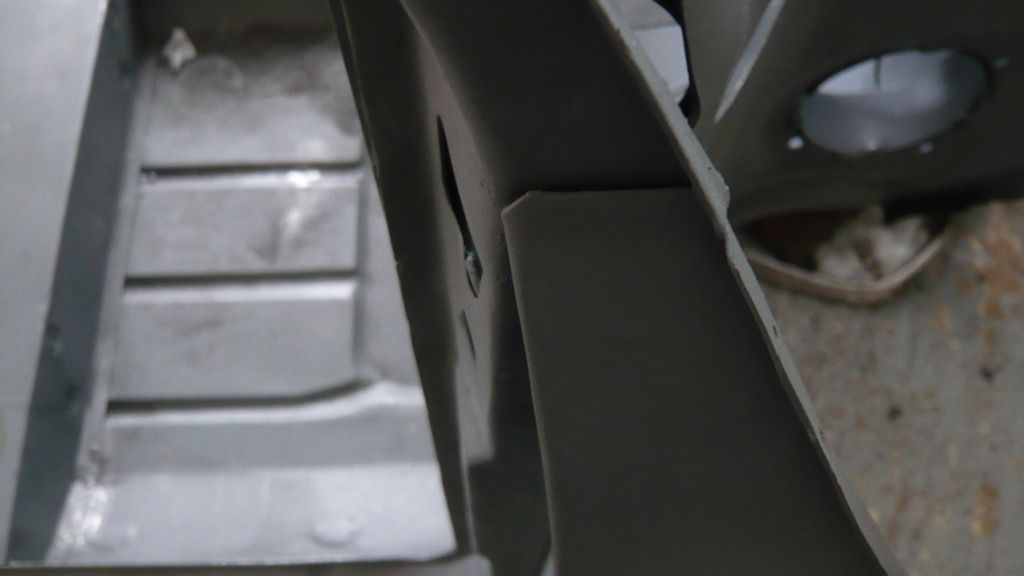
I only needed to use this trick at the very top and the very bottom where i couldn't get the hammer in properly to get it tight.


only use the ruler and mole grip trick at the very very end and don't be tempted to use it sooner unless you want a wobbly edge that will need filler in it to make it straight.


And that's it!.

I hope i explained it ok but if you have any questions, just ask.


Ben


Edited by Ben_O, 17 April 2015 - 11:42 AM.


#887 Carlos W

Carlos W

    Mine is purple, but I have been told that's normal

  • TMF+ Member
  • PipPipPipPipPipPipPipPipPipPipPip
  • 10,114 posts
  • Location: Sittingbourne, Kent

Posted 17 April 2015 - 12:16 PM

I like the use of the wooden ruler Ben. Nice and soft and forgiving. It'll take the harshness of the serrated mole grips away. 


I had a history teacher when I was at school who used to smash wooden rulers off the desk until they splintered. 


#888 Ben_O

Ben_O

    Mill Road Garage

  • Paint Doctor
  • PipPipPipPipPipPipPipPipPipPip
  • 9,785 posts
  • Location: Isle of Wight

Posted 17 April 2015 - 12:33 PM

I like the use of the wooden ruler Ben. Nice and soft and forgiving. It'll take the harshness of the serrated mole grips away. 


I had a history teacher when I was at school who used to smash wooden rulers off the desk until they splintered. 

It's thin and also has a smooth machined edge. Plus it's hard and won't squash or splinter when you apply the pressure with the grips.

A block of wood works ok but it's hard to find a bit thin enough as a thicker piece changes the angle of the mole grip jaws too much so it won't fold perfectly flat.


I used to have a door skinning tool which was good but i won't bother getting another because i just don't need it.


I had an English teacher that threw a board rubber at my head because i fell asleep at the desk.


ouch!


i picked it up and lobbed it back at him, nice quick easy way to earn a detention. :lol:


#889 ryan22_lgm

ryan22_lgm

    One Carb Or Two?

  • Traders
  • PipPipPipPipPipPipPip
  • 1,478 posts
  • Location: woolacombe, north devon
  • Local Club: north devon mini register

Posted 17 April 2015 - 12:48 PM

Loving the attention to detail on this project ! Good work buddy ! You got a deadline to finish?

#890 Ben_O

Ben_O

    Mill Road Garage

  • Paint Doctor
  • PipPipPipPipPipPipPipPipPipPip
  • 9,785 posts
  • Location: Isle of Wight

Posted 17 April 2015 - 12:58 PM

Loving the attention to detail on this project ! Good work buddy ! You got a deadline to finish?

Cheers.


I wanted to take it to IMM 2016 but it's not going to be ready. I could get it done but i'm not going to rush it so it will be done when it's done.


I would love to get the body finished this year and painted early next year which is certainly possible. The problem is, i go through stages where i dn't want to work on it so it sit's untouched for sometimes weeks.

I only work on it when i'm in the mood to as when i work on it when not in the mood, i rush stuff and end up re-doing it!


Ben


#891 Ben_O

Ben_O

    Mill Road Garage

  • Paint Doctor
  • PipPipPipPipPipPipPipPipPipPip
  • 9,785 posts
  • Location: Isle of Wight

Posted 17 April 2015 - 01:08 PM

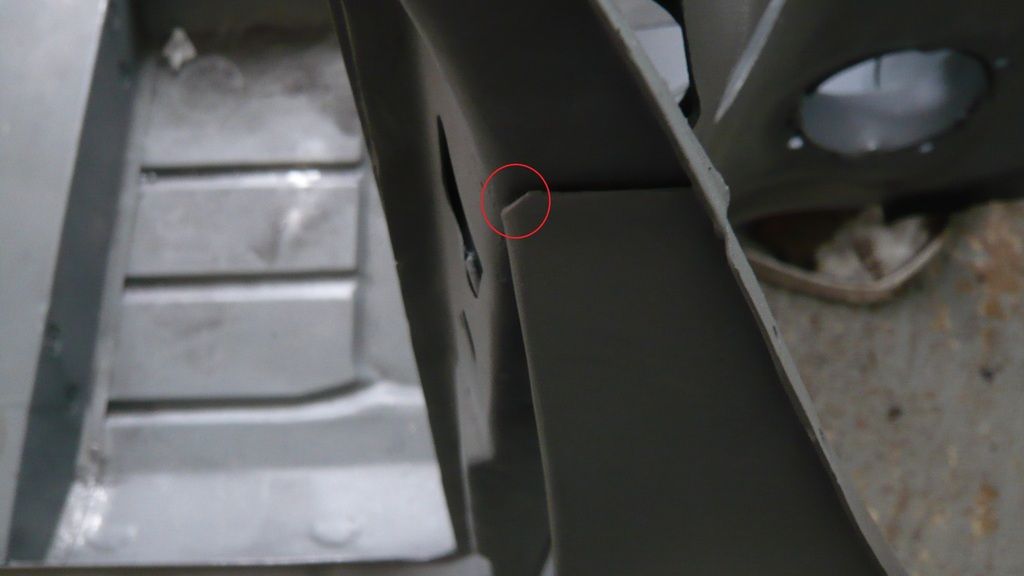
What do you guys do with the top of the Apex panel seam?


P1070295_zpsnuhmlkqp.jpg


I have seen it welded up all the way across the top before but i'm not sure i want to do that.


Obviously i want to keep water out from there so i was thinking about just welding the end (shown in the red circle below) grind that flush and then seam seal the rest of the way


P1070295_zpsy62admj0.jpg


The seam the other end will be welded flush to the seam on the windscreen frame.


Cheers


Ben


#892 Minidarren83

Minidarren83

    One Carb Or Two?

  • Members
  • PipPipPipPipPipPipPip
  • 1,207 posts
  • Location: Stanford Le hope

Posted 17 April 2015 - 06:25 PM

I welded the top then blended it in best I could with a flap disc then filled to fully blend at paint prep stage

#893 Ben_O

Ben_O

    Mill Road Garage

  • Paint Doctor
  • PipPipPipPipPipPipPipPipPipPip
  • 9,785 posts
  • Location: Isle of Wight

Posted 17 April 2015 - 08:15 PM

I welded the top then blended it in best I could with a flap disc then filled to fully blend at paint prep stage

Interesting, how did it look?


I thought about it but thought it might look funny


#894 JonnyAlpha

JonnyAlpha

    Up Into Fourth

  • Members
  • PipPipPipPipPipPipPipPipPip
  • 2,748 posts
  • Location: North Devon
  • Local Club: Exmoor Minis

Posted 17 April 2015 - 09:02 PM

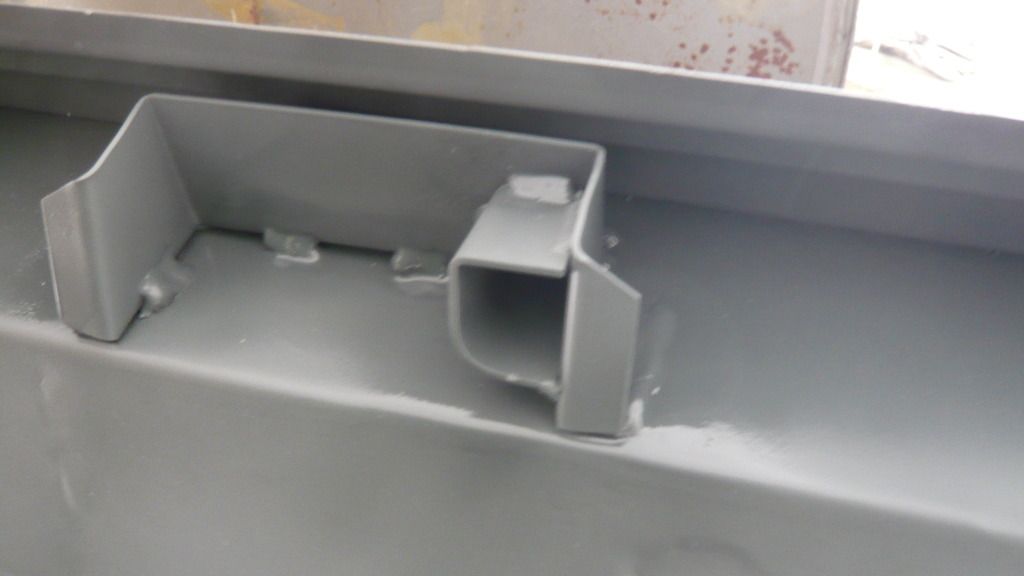
Ben just looked over your latest entries, man oh man this build is impeccable in both detail and workmanship. Once finished it will be better than BMC pushed out when it was new. I also love the way you have maintained the authenticity even down to those horrid cable holderS :-)

#895 Ben_O

Ben_O

    Mill Road Garage

  • Paint Doctor
  • PipPipPipPipPipPipPipPipPipPip
  • 9,785 posts
  • Location: Isle of Wight

Posted 18 April 2015 - 09:26 AM

Ben just looked over your latest entries, man oh man this build is impeccable in both detail and workmanship. Once finished it will be better than BMC pushed out when it was new. I also love the way you have maintained the authenticity even down to those horrid cable holderS :-)

Cheers Jonny!


some of the things i am reinstating, i really don't like but i want all the details to be correct.

There is only one thing that is going to be unoriginal and that is the flutes in the new flitches. Mine would have originally been flat, but i don't fancy cutting and welding that panel because it would be difficult to get it looking smooth and flat both sides whilst retaining enough strength.


Ben


#896 ger

ger

    Mini Mad

  • Just Joined
  • PipPipPipPip
  • 233 posts
  • Location: The Land Of Song
  • Local Club: M4 Minis

Posted 20 April 2015 - 06:34 AM

Thanks for shareing the method for folding the a-panel


Ger


#897 Ben_O

Ben_O

    Mill Road Garage

  • Paint Doctor
  • PipPipPipPipPipPipPipPipPipPip
  • 9,785 posts
  • Location: Isle of Wight

Posted 20 April 2015 - 06:09 PM

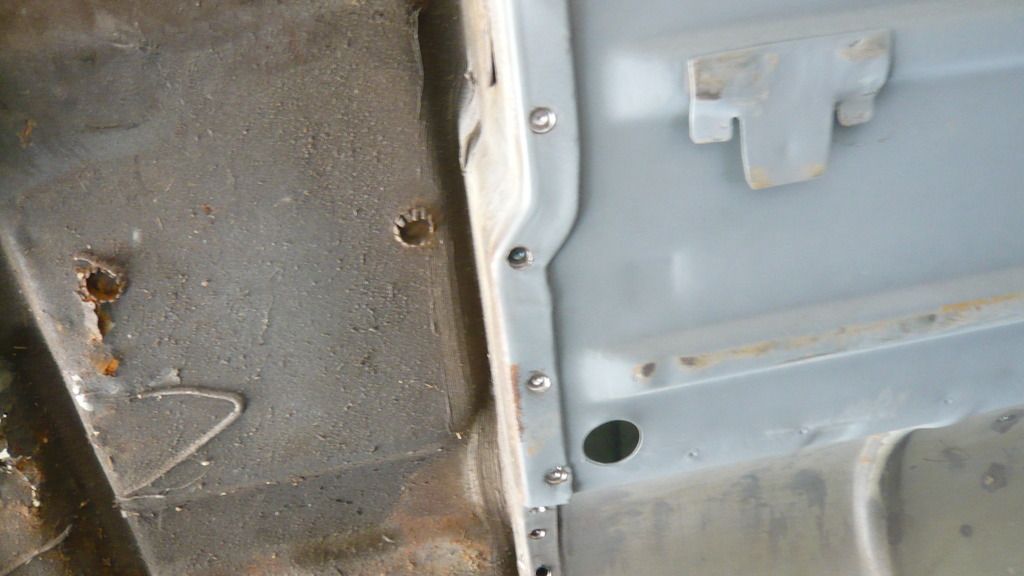
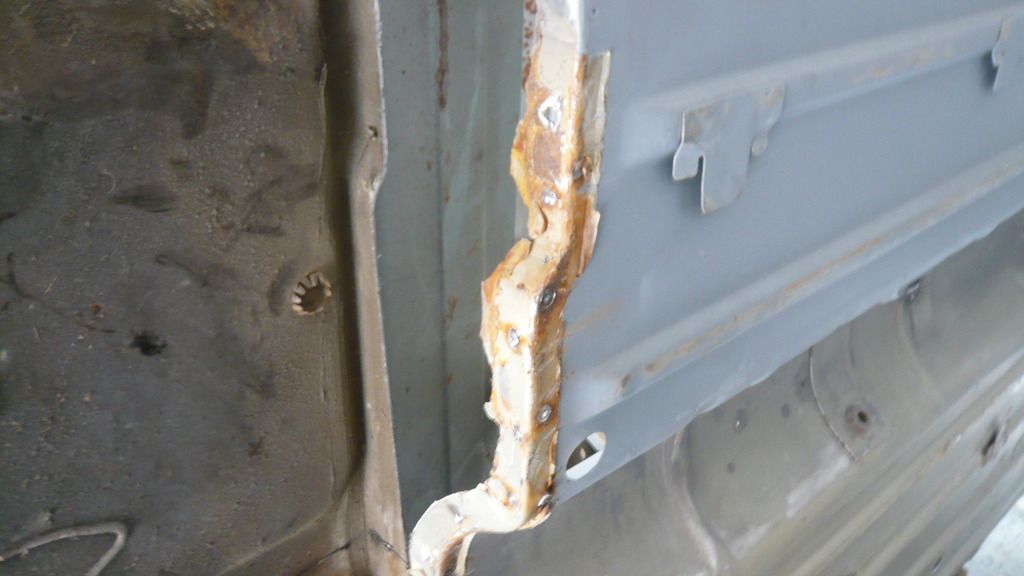
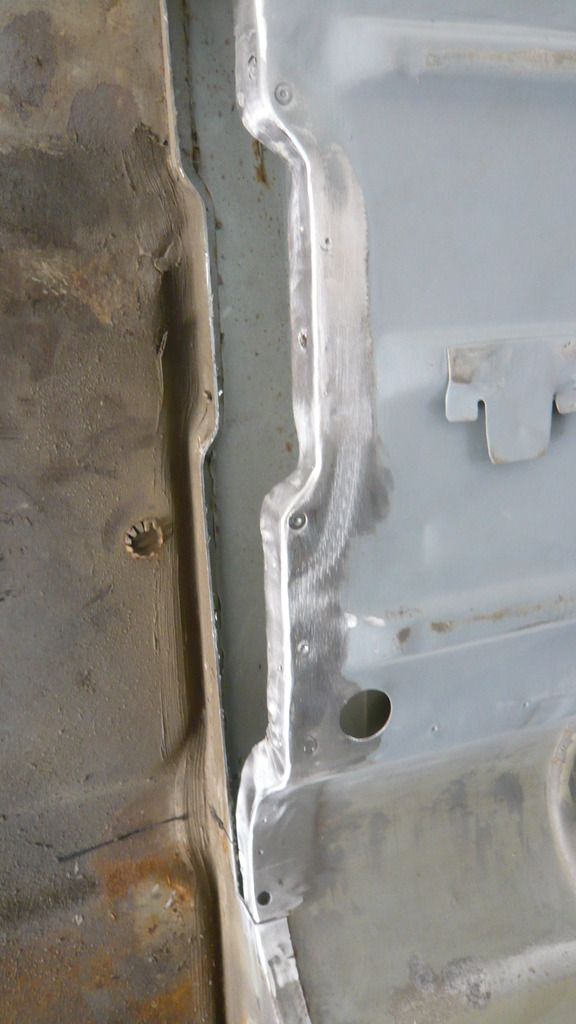
Git a very small amount done today as it's been hectic and i could only find an hour and a half for the Mini.


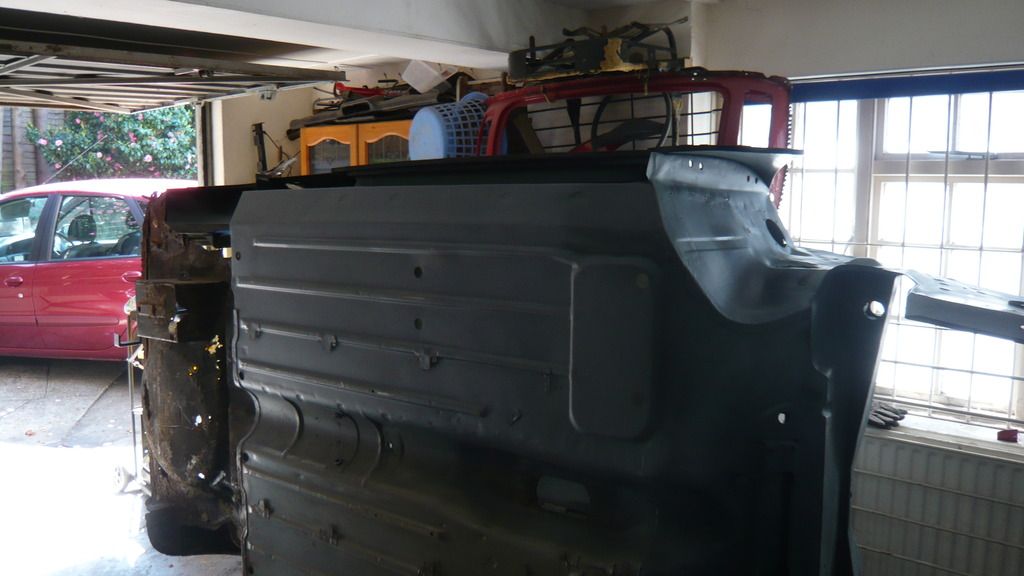
I started off today by removing the bonnet and tipping the car back on its side.


P1070298_zpsoh8jpr3j.jpg


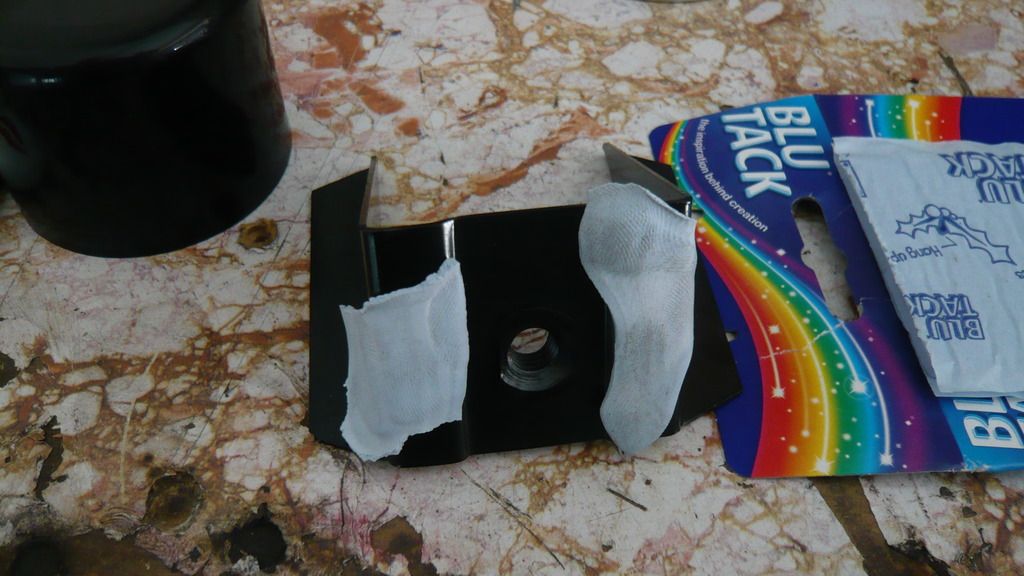
Then got out the blu tack 


P1070299_zpsl9sjwyvb.jpg


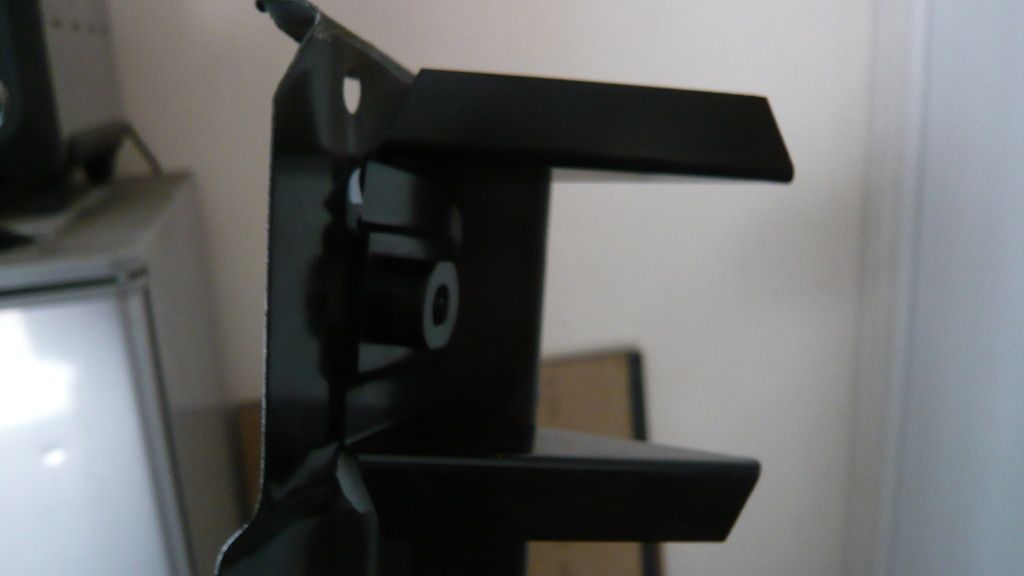
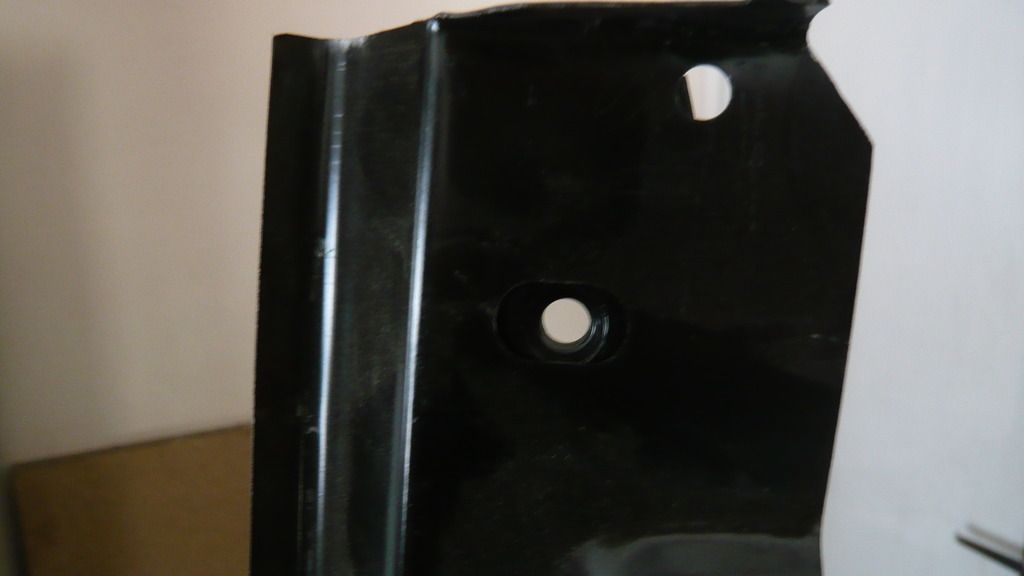
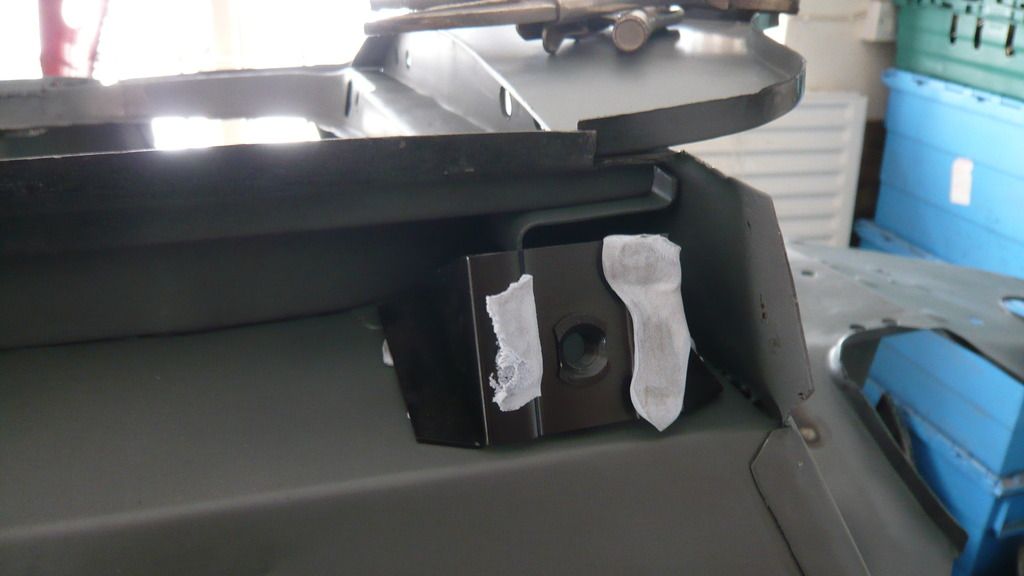
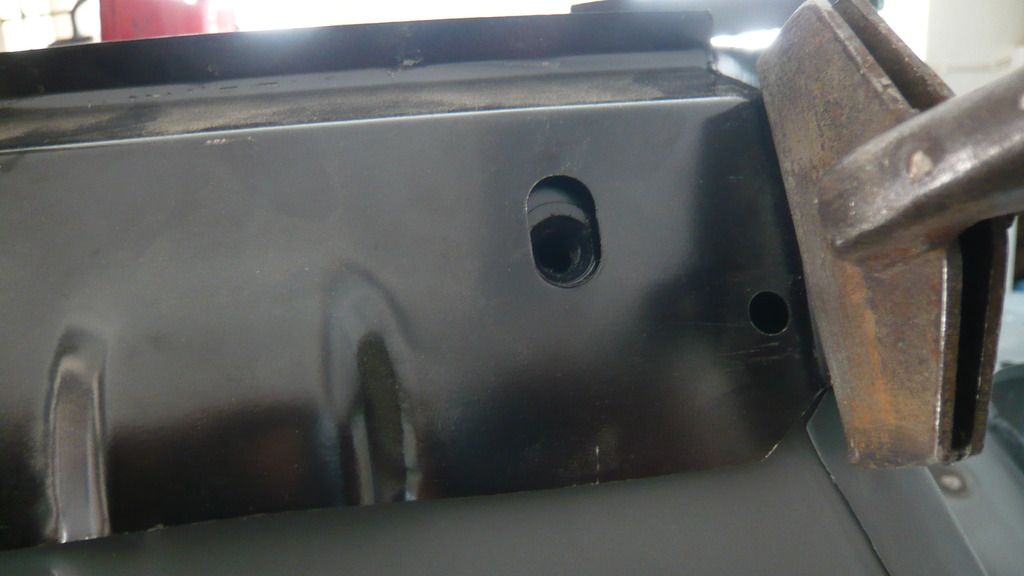
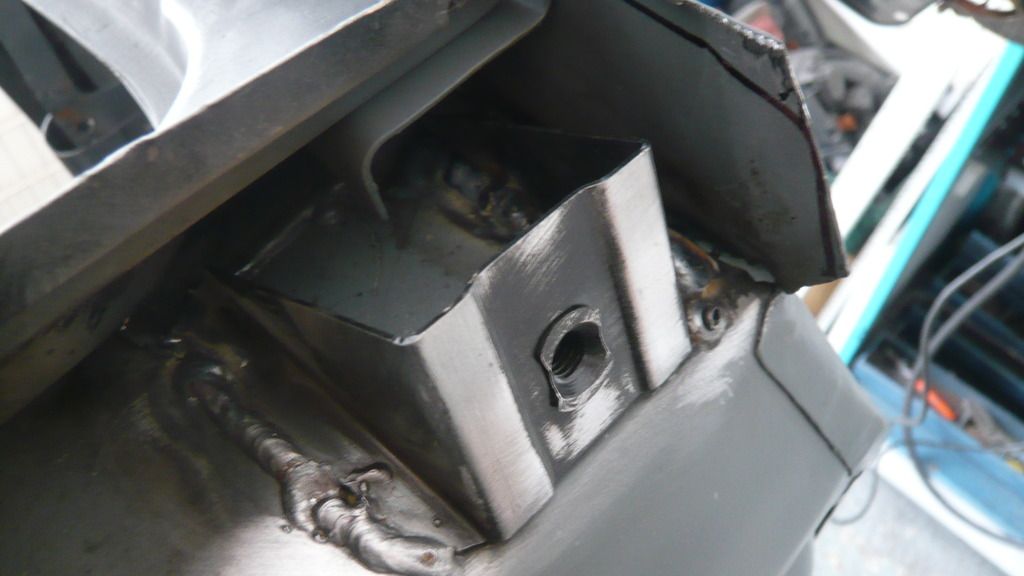
The reason behind the blu tack was to aid with the fitting of the front slinging bracket. I stuck some on the face of the slinging bracket so i could stick it to the outer sill like this.


P1070300_zpswvnulonv.jpg


P1070301_zpswfqt1r4o.jpg


P1070302_zpsapibg0p3.jpg


So with the bolt hole lined up with the threaded part of the slinging bracket, i clamped the sill onto the car. once in position, i pushed down on the slinging bracket area firmly to stick the bracket to the inner sill and then carefully removed the outer sill


P1070305_zpsshklud76.jpg


Its not an exact science because of the thickness of the blu tack but at least i could get it roughly in place before marking its position


P1070306_zpskyhhf1vv.jpg


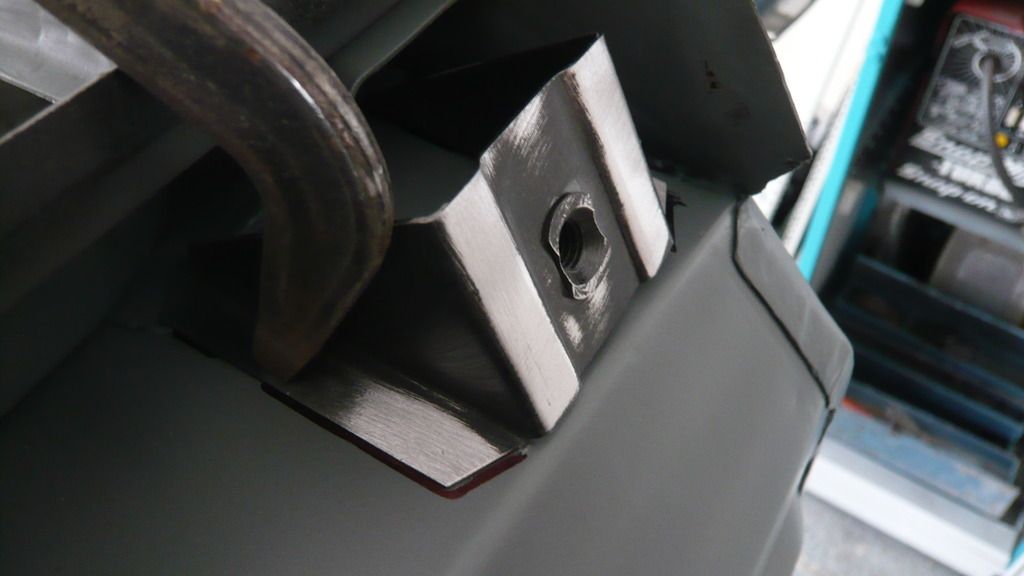
So all cleaned up and positioned on the marks, i clamped it down


P1070308_zps1lnnm2j9.jpg


I then tacked it in position and tried the outer sill on for fit


P1070304_zpsben1ueok.jpg


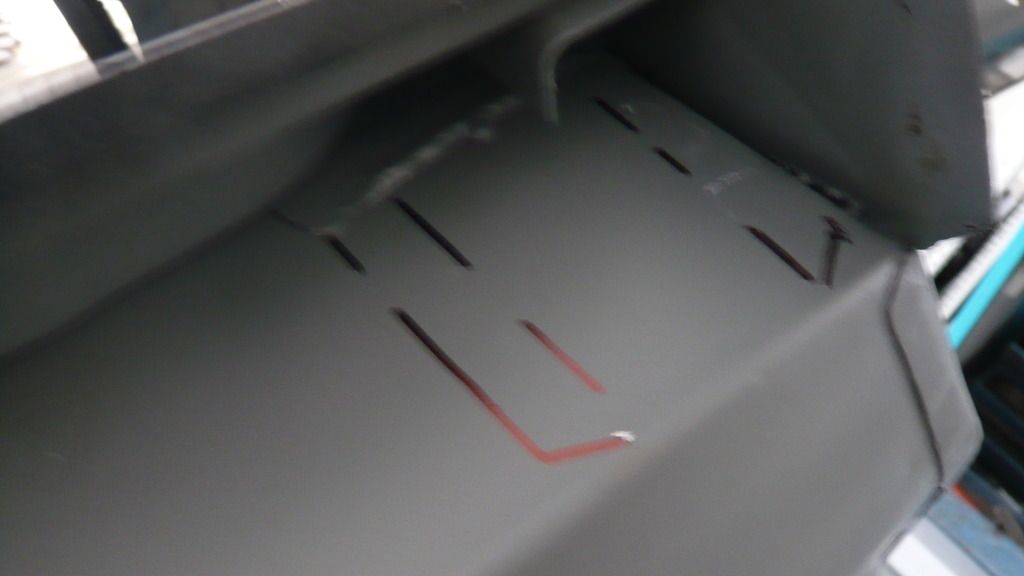
It's a little towards the bottom of the slot rather than in the middle but the only way to get it in the middle right now would be to space the bracket away from the sill which won't be any good. I might modify the outer sill before final fitting so it's bang on centre.

Anyway, I took the ill back off and seam welded it fully. Not my neatest welding but it's good and strong


P1070315_zpstxiwrblq.jpg


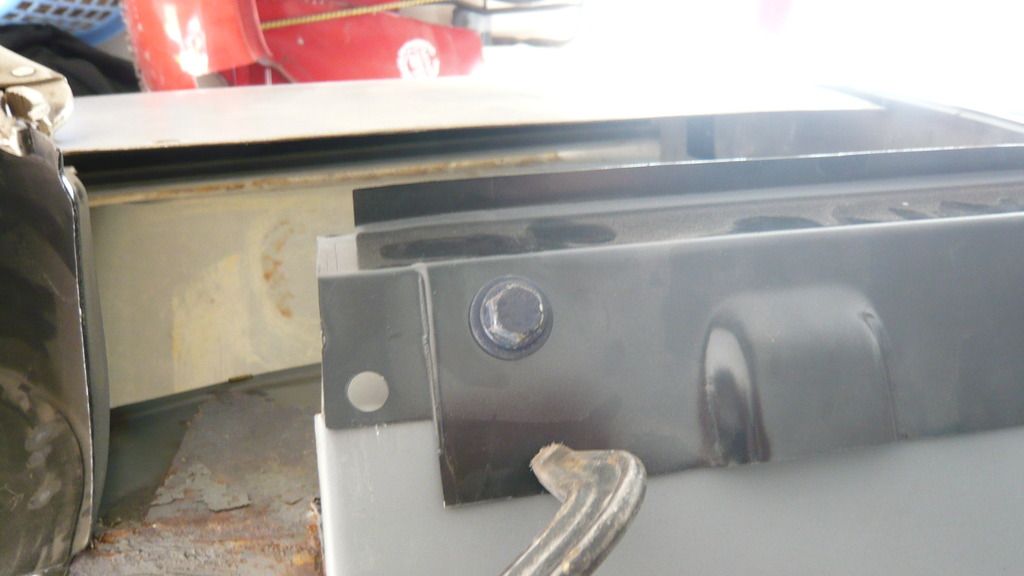
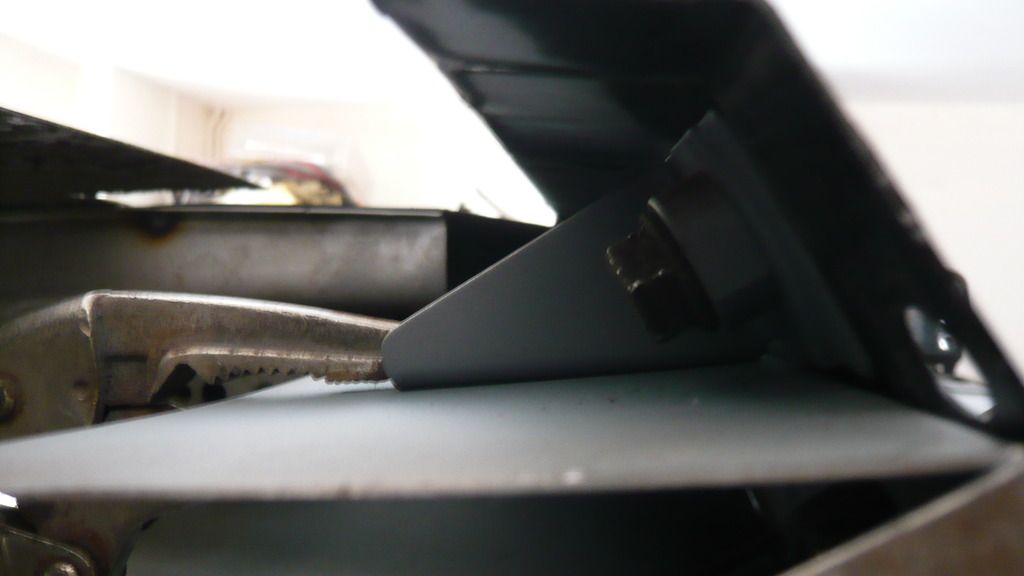
Then i started on lining up the rear bracket. this was easier because the heel board is out on that side so i could use a nut and bolt to fit it to the sill and then just clamp the bracket to the inner sill


P1070317_zpsucxehr4b.jpg


P1070319_zpsp3fqvq7d.jpg


I was just about to weld it and then i had a thought...


The brace for the heelboard sits about there so if i weld the bracket on, the heelboard won't go on.

I checked and sure enough, i was right so i had to turn my attention to removing the remains of that side of the heelboard so i can get the new one fitted before fitting the slinging bracket which will go on top of the heelboard brace.


Drilled the spotwelds


P1070320_zpsb8saqlka.jpg


And bashed that sucker off


P1070321_zpstiqu7jxv.jpg


Ill have to get the remains of it where it welds to the seat base tomorrow once i can get it back the right way up so i just cleaned back the area for now


P1070330_zpsjumlynkg.jpg


I had just enough time left to get the jacking point fitted. I used the blu tack method again to fit it in place and then clamped the sill back on again to check the fit.


P1070324_zpsonvzhmwg.jpg


Its not outstanding but i think that's a combination of a heritage outer sill and a non-genuine jacking point. I'm sure i can make it look pretty once the outer sill goes on.


With the sill removed, and the jacking point marked up, i set about welding it on. I chose to seam weld it both sides of the flange rather than plug weld it. It came out ok and should be more than strong enough.


P1070325_zpsog0nrhfm.jpg


And that's about it for today. I need to get it back the right way up to remove the remains of the heel board so i might tackle that tomorrow.


Thanks for looking in


Ben


#898 Stu.

Stu.

    One Carb Or Two?

  • Members
  • PipPipPipPipPipPipPip
  • 912 posts
  • Location: My workshop.

Posted 20 April 2015 - 06:31 PM

Cracking on with it now Ben. Looking great pal ;)

#899 Ben_O

Ben_O

    Mill Road Garage

  • Paint Doctor
  • PipPipPipPipPipPipPipPipPipPip
  • 9,785 posts
  • Location: Isle of Wight

Posted 20 April 2015 - 06:32 PM

Cracking on with it now Ben. Looking great pal ;)

Cheers, i'm leading up to a bit of a break i think. I'm starting to get a bit fed up with it for now.


Ill see how it goes


#900 Hendred

Hendred

    Speeding Along Now

  • Members
  • PipPipPipPipPip
  • 484 posts
  • Location: Cleobury Mortimer Nr Ludlow, Shropshire Name: John

Posted 20 April 2015 - 06:49 PM

What is the slinging bracket for and is it necessary if not bothered by it not being original?


3 user(s) are reading this topic

0 members, 3 guests, 0 anonymous users