Mini 25 Full Rebuild
#871

Posted 13 April 2015 - 08:11 PM
#872

Posted 13 April 2015 - 08:20 PM
Thanks everyone!
Ben
#873

Posted 14 April 2015 - 01:42 AM
Andy
#874

Posted 14 April 2015 - 06:48 AM
![]()
#875

Posted 14 April 2015 - 12:21 PM
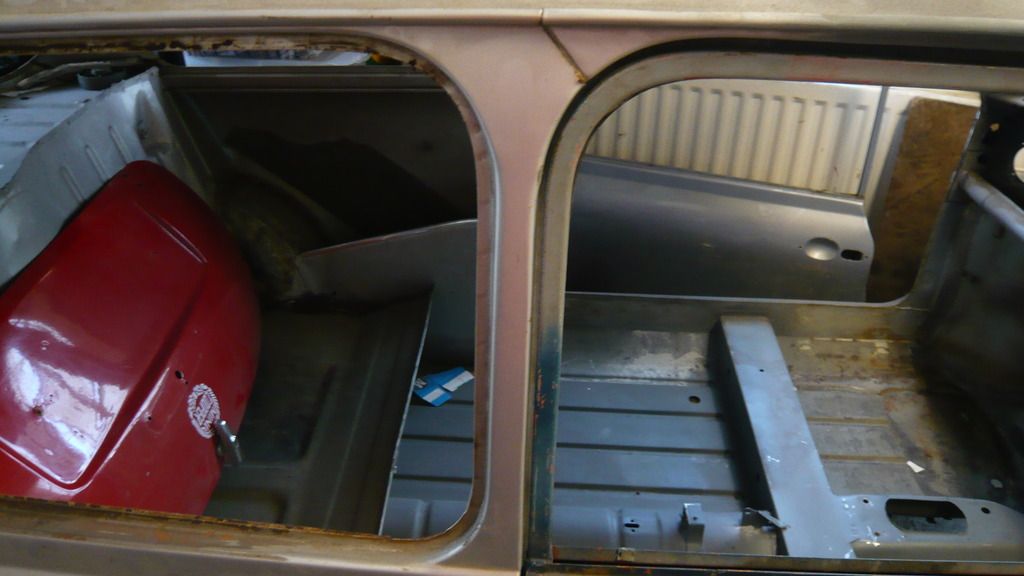
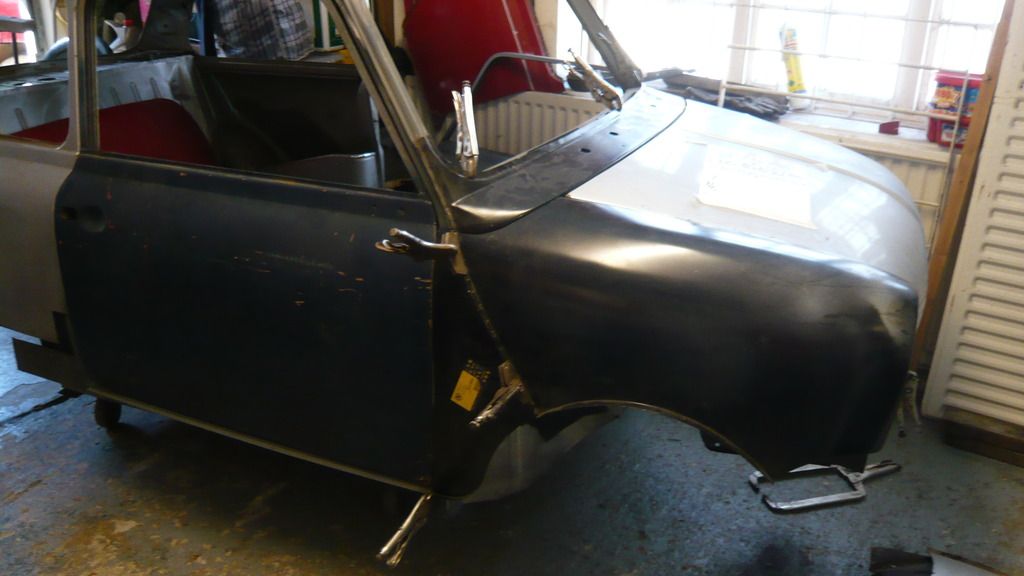
I put the panels back on today to check the gaps so i can start perfecting them.
I do have a couple of questions if anyone can shed any light.
The main question is about the bonnet gap.
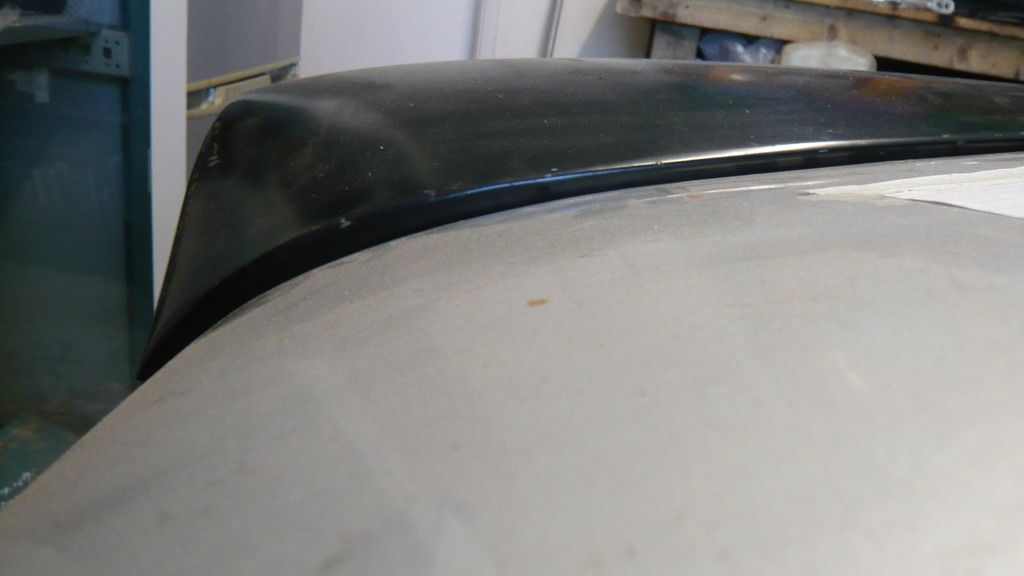
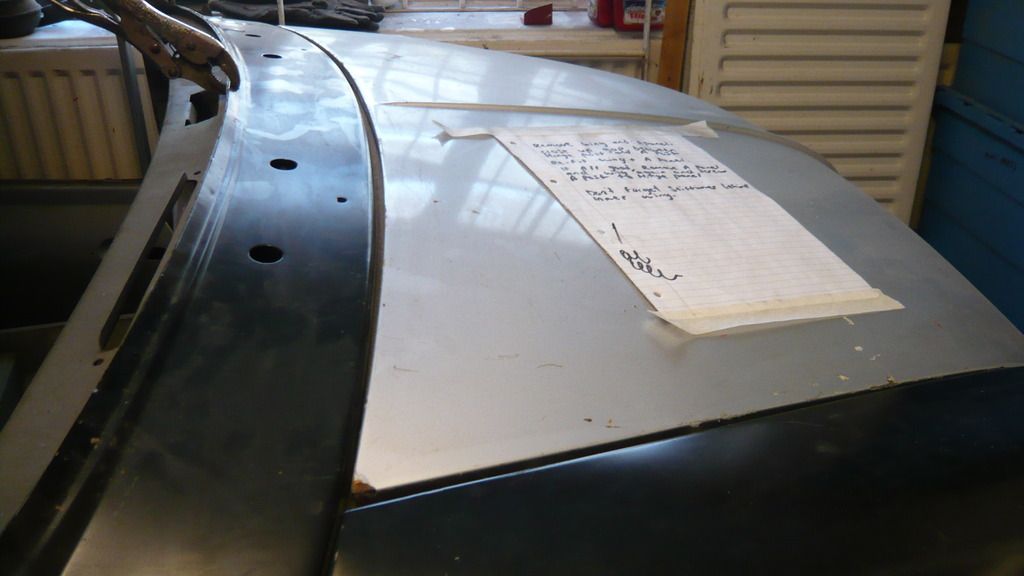
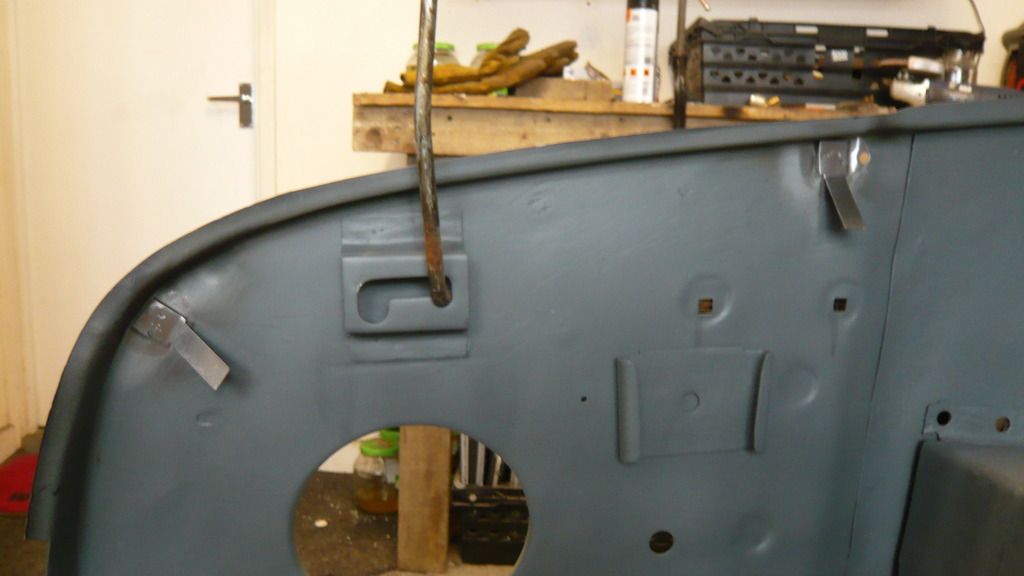
Here is what i have towards the front. The Wing appears to be too tall at the front. It is a magnum panel so i know that could be the reason.
So, is this right or do i need to modify the wing tobring the edge down more in line with the height of the bonnet?
I can, raise the bonnet to compensate because the gap on the front edge is pretty much ok
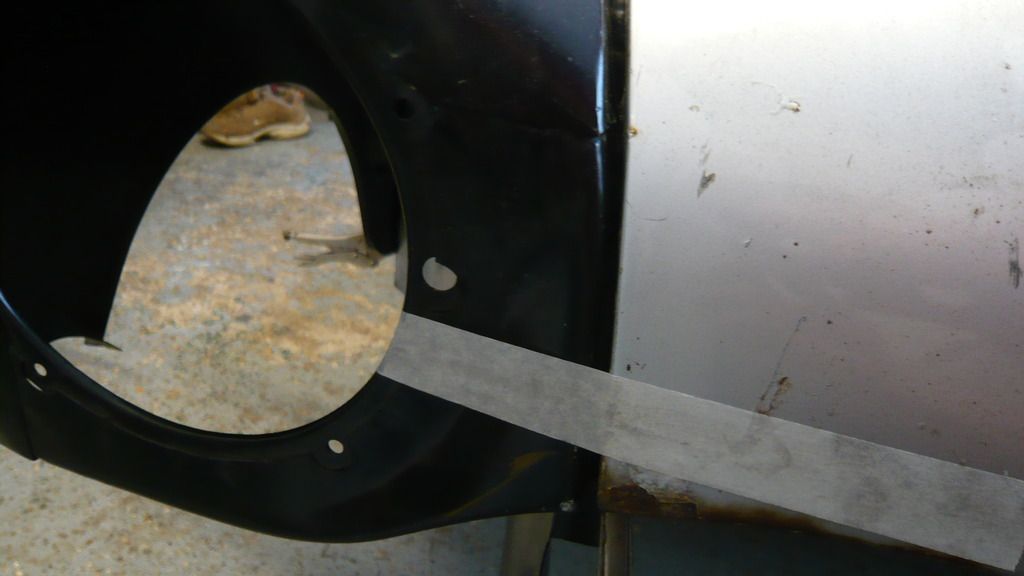
The tape is there to hold the front edge of the bonnet over. It moves easily (as you can see, it holds perfectly well with cheap masking tape)
The gap down between the bonnet and wing is even if not a tad wide. I'm not worried about the width yet as once the other wing can be put on, i can move the bonnet over if the other side is too narrow
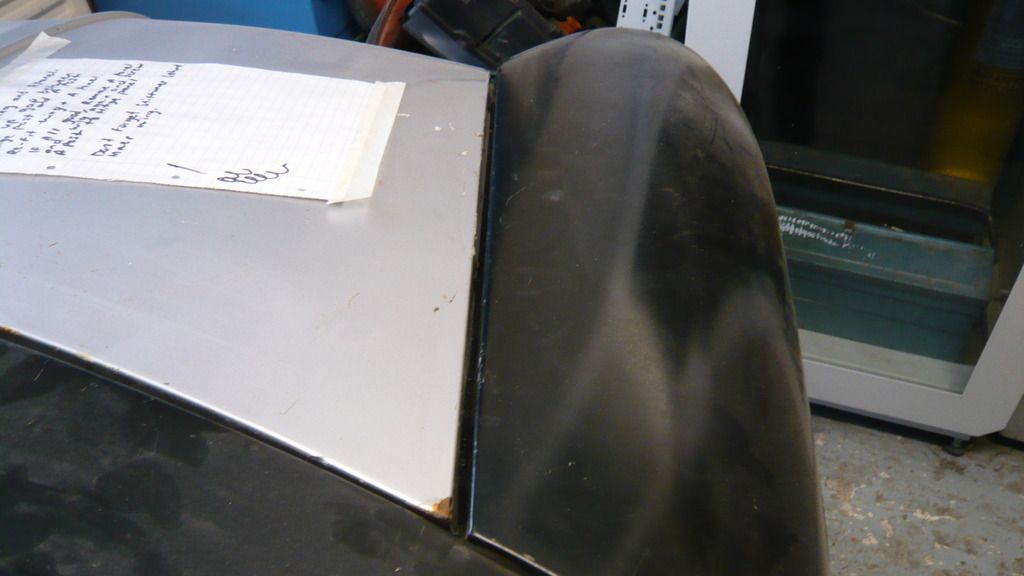
The gap across the back of the bonnet looks ok. It seems too wide but i think it needs to be that width so that the back corners of the bonnet clear the scuttle when opening and closing the bonnet?? (it just clears with it in this position)
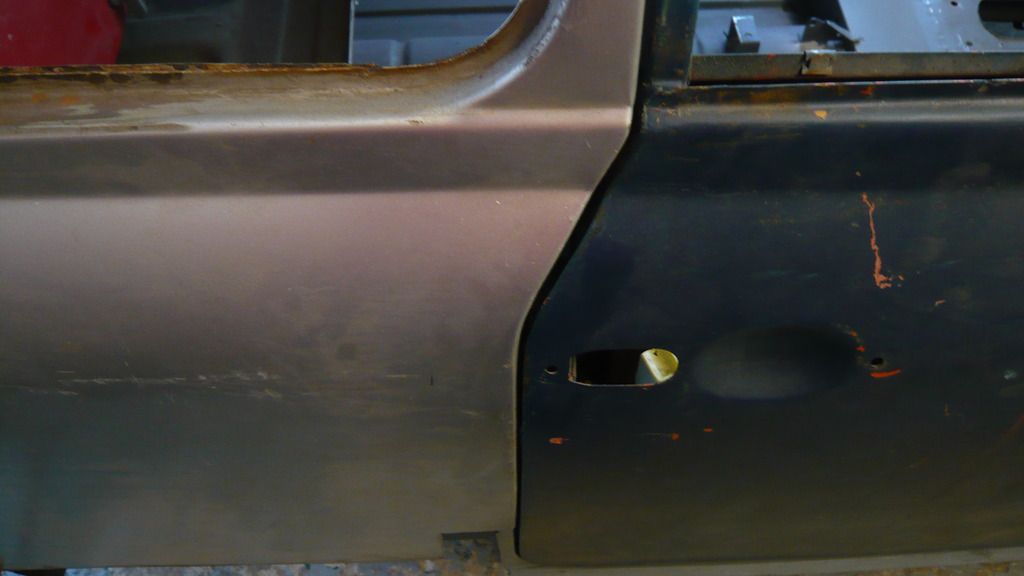
The back edge of the door looks ok. It's about the right width at the window frame
And the body of the door too but looks too wide above where the handle goes. Ill see what this is like once i have re-sinned the door.
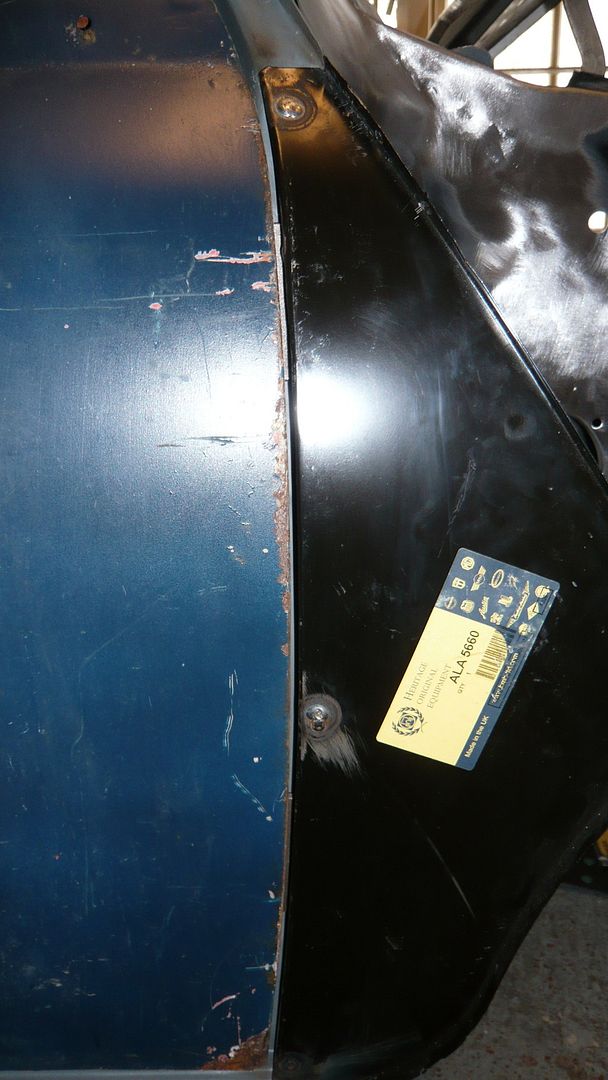
I currently have one spacer on each hinge. I tried it with 2 on the top and it improved the gap above the handle but made the rest too tight and opened the gap up too much at the front of the door to the apex panel.
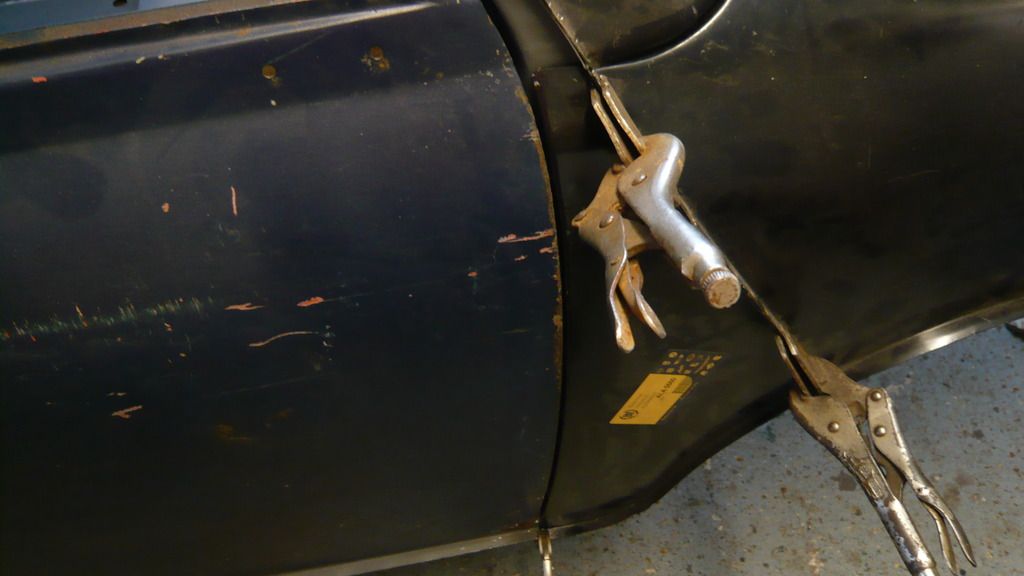
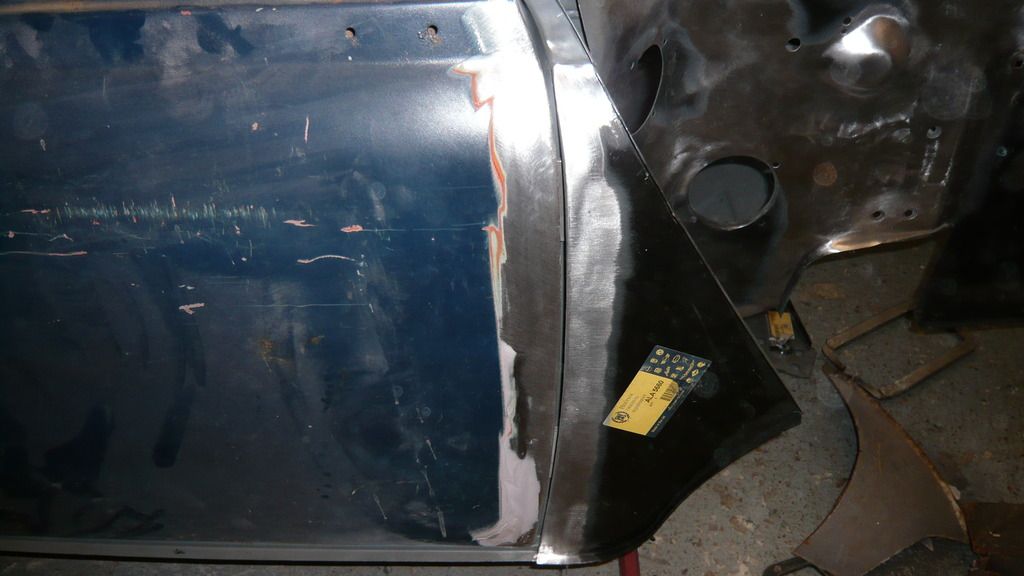
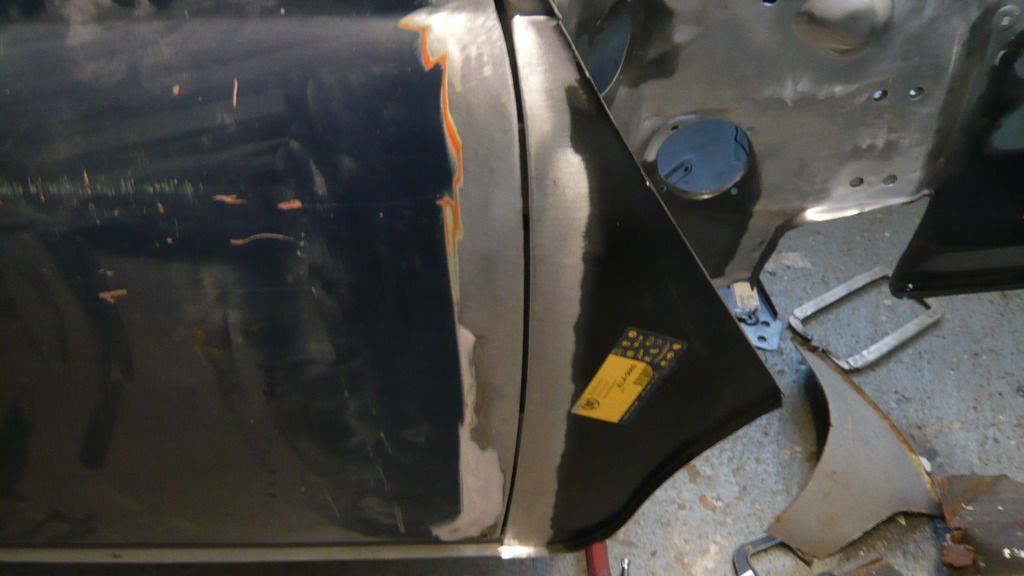
The width of the apex panel to door gap is about right
I need to take the top in slightly and there is room to move the flange over so that will be fine.
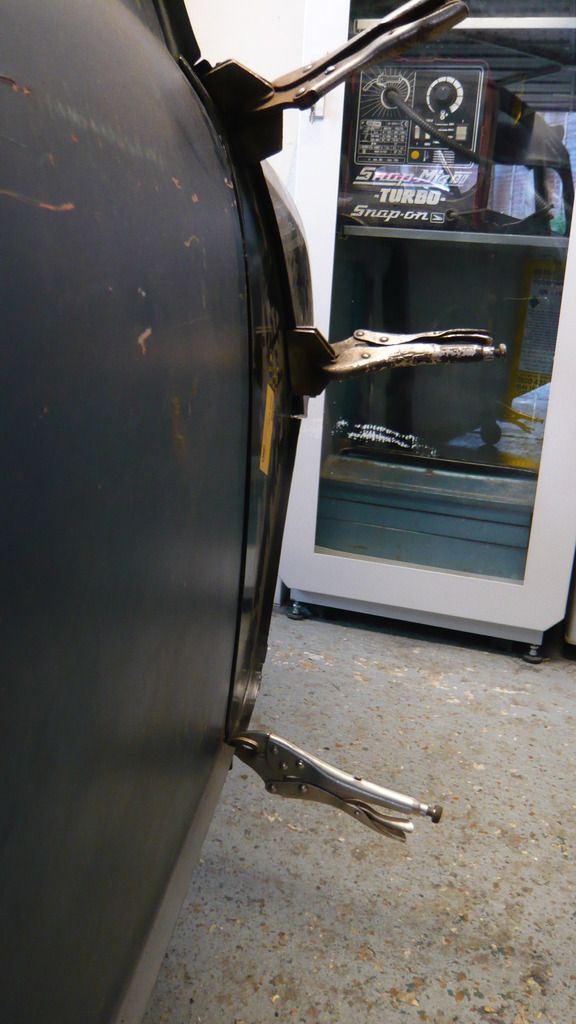
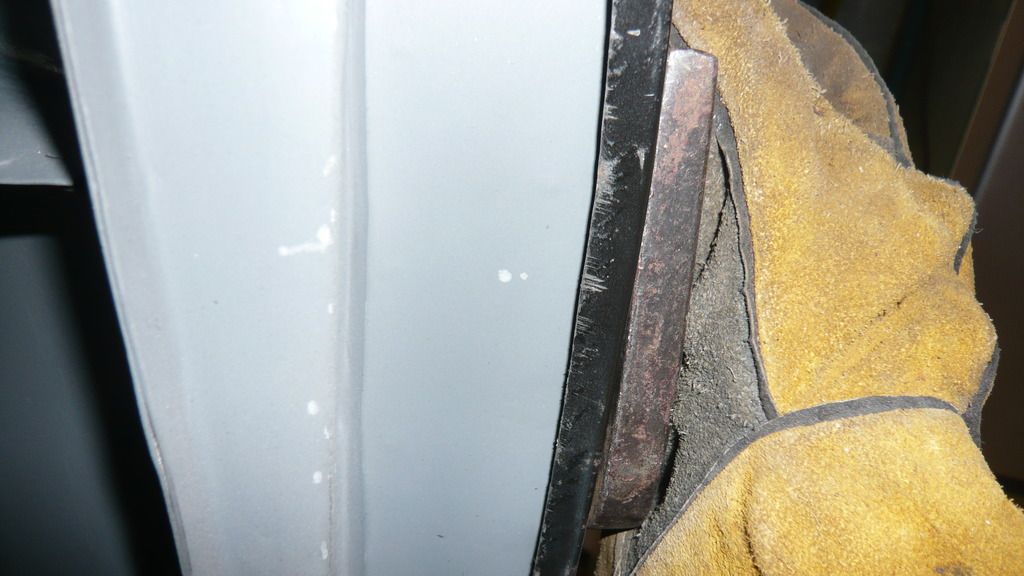
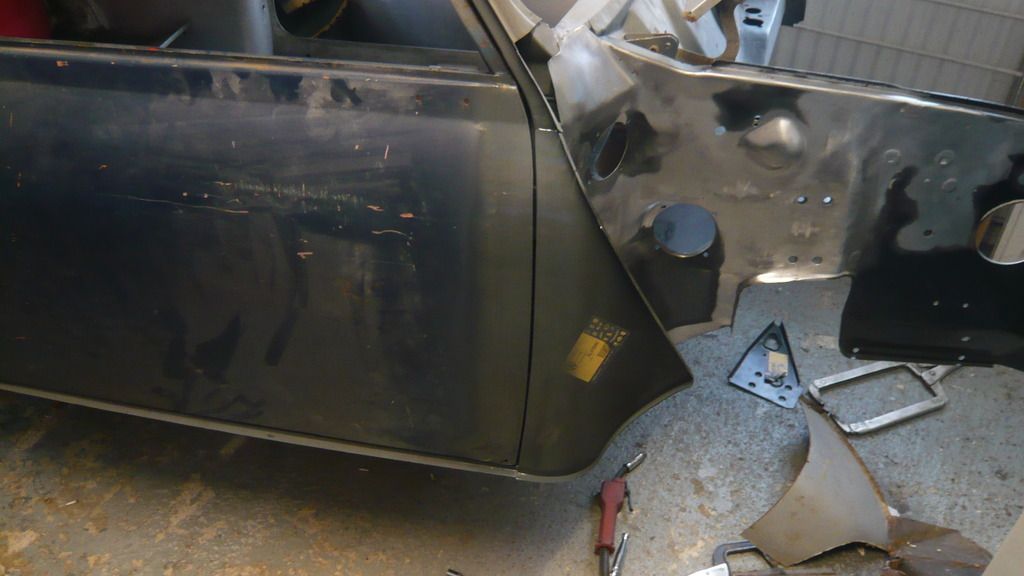
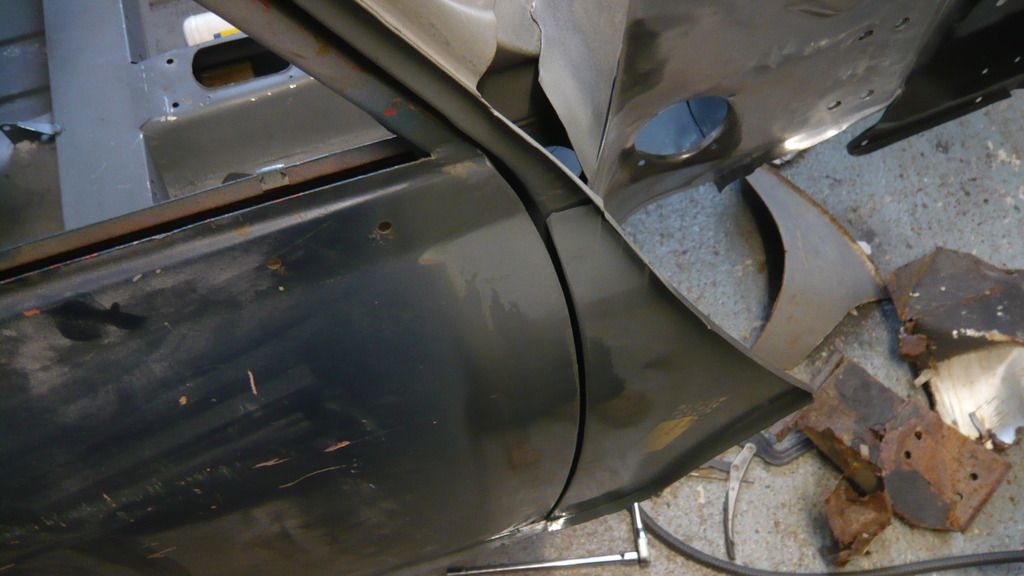
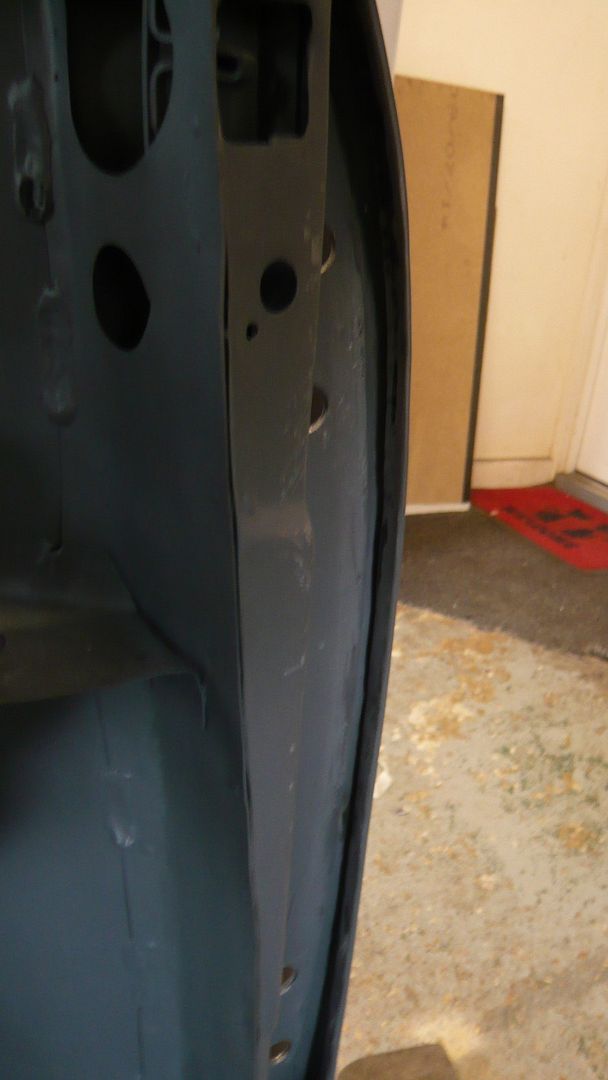
The door however does not sit evenly flush from to to bottom as in this picture
It is ok towards the top but the bottom needs adjusting. I don't really want to start making the hinge holes bigger so i will probably slit the bottom 8"of the flange with the apex panel off and move it in. I can't see it affecting anything else and it would bring it in lovely and flush.
This is where i left it today
So if anyone can shed any light on particularly the bonnet height issue, i would appreciate it. perhaps someone wouldn't mind checking their own to see what it's like?
Cheers
Ben
#876

Posted 16 April 2015 - 01:47 PM
Today was spent doing little bits and pieces.
I started by cleaning the back edge of the Apex panel and the flange that it folds around. And then sprayed them both up with zinc primer.
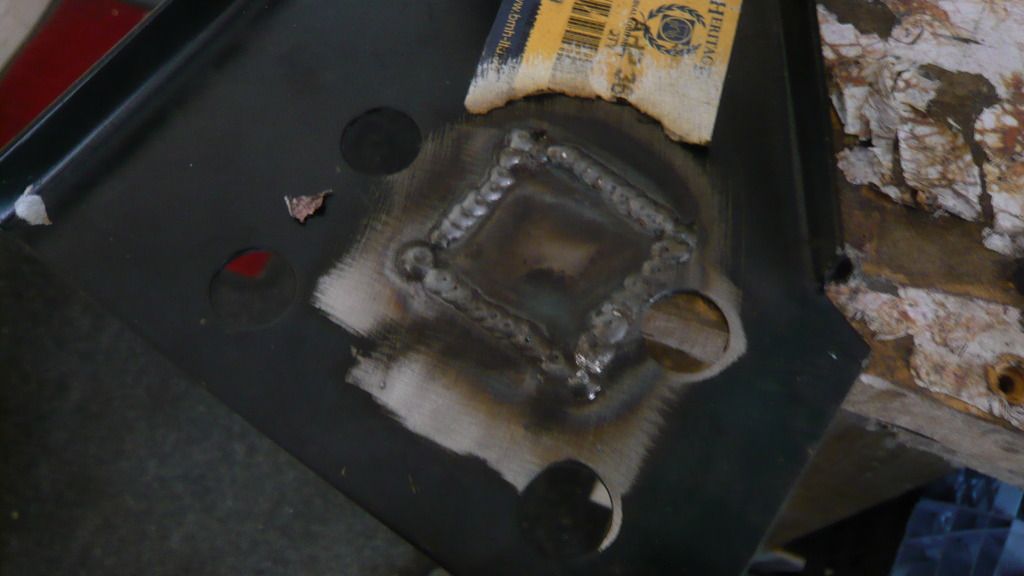
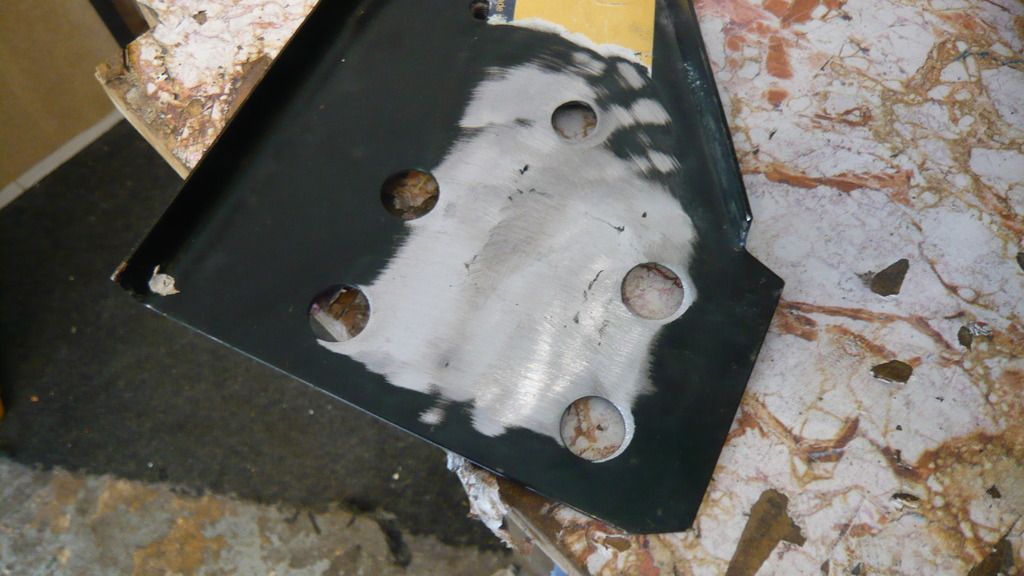
You can see in the last photo that i put 3 6mm holes in the back edge of the Apex panel as i have decided to plug weld it to the flitch.
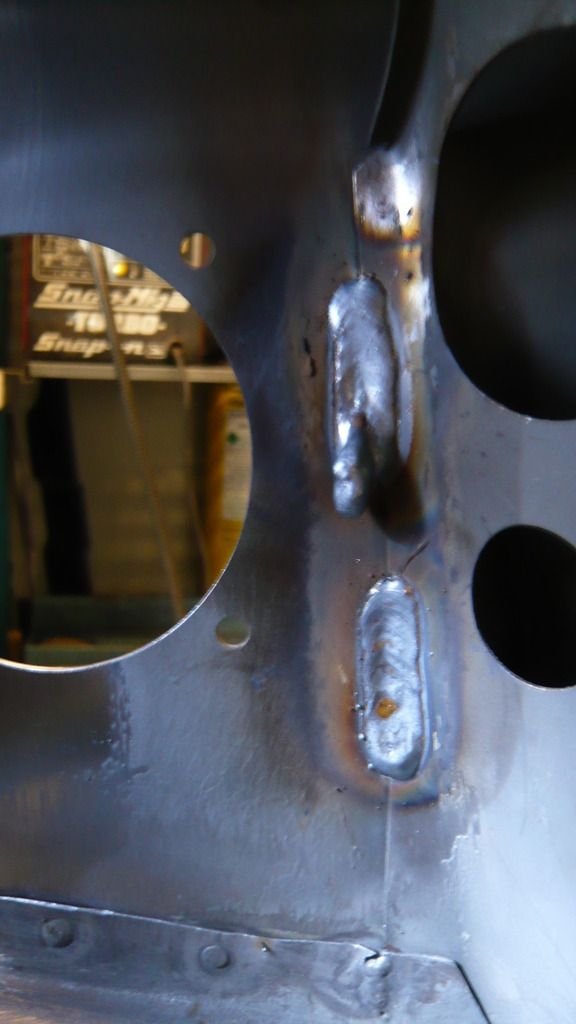
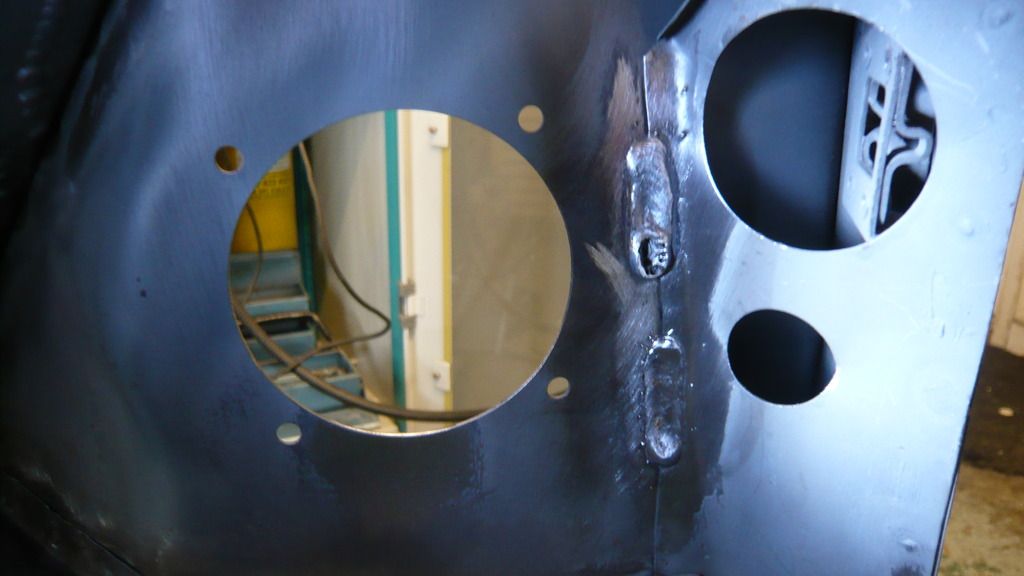
While that was drying, I decided to add some seam welds to between the flitch and the A post stiffener.
Here are the top two
I don't quite know what happened to the bottom one but it went a bit funny. I just knocked the blobby bit off with the grinder.
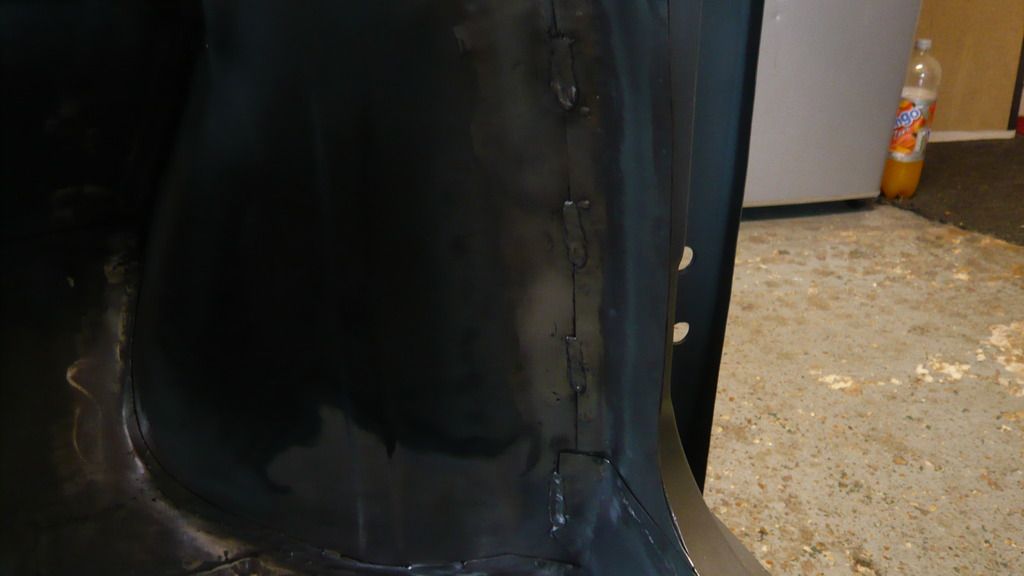
Then i did another 4 on the bottom half.
I plan to do more of this around the car to stiffen it all up a bit.
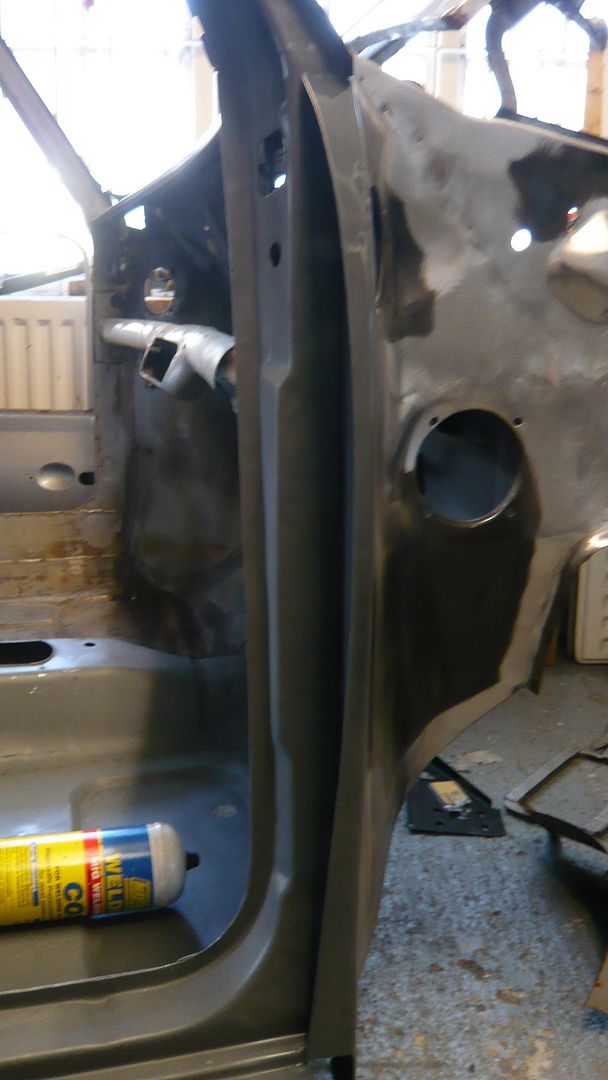
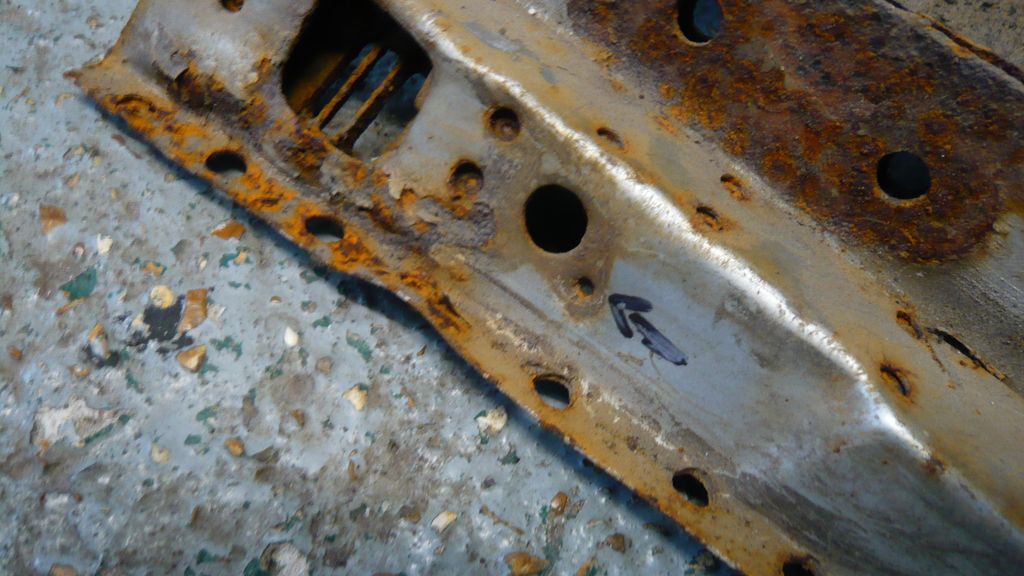
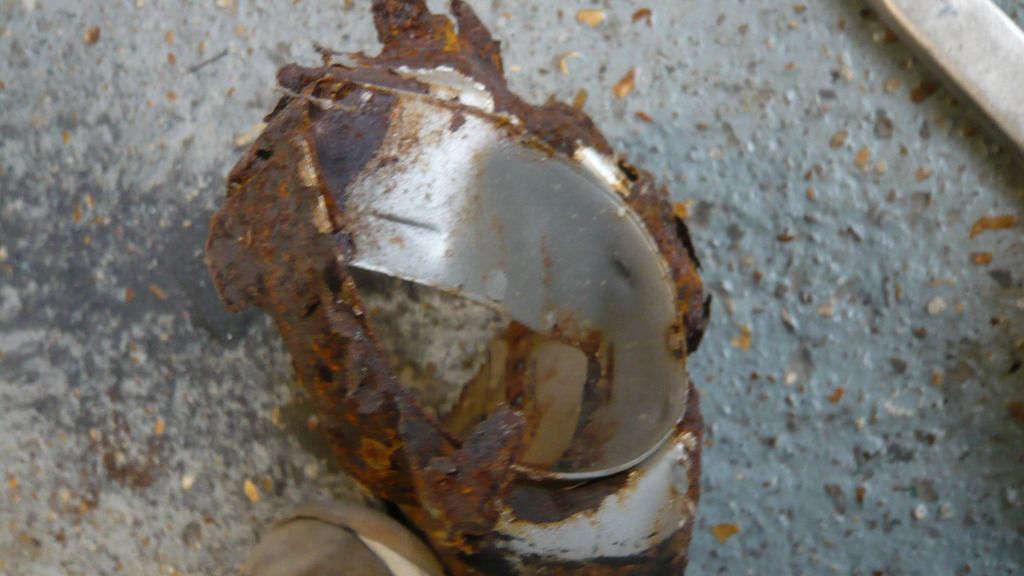
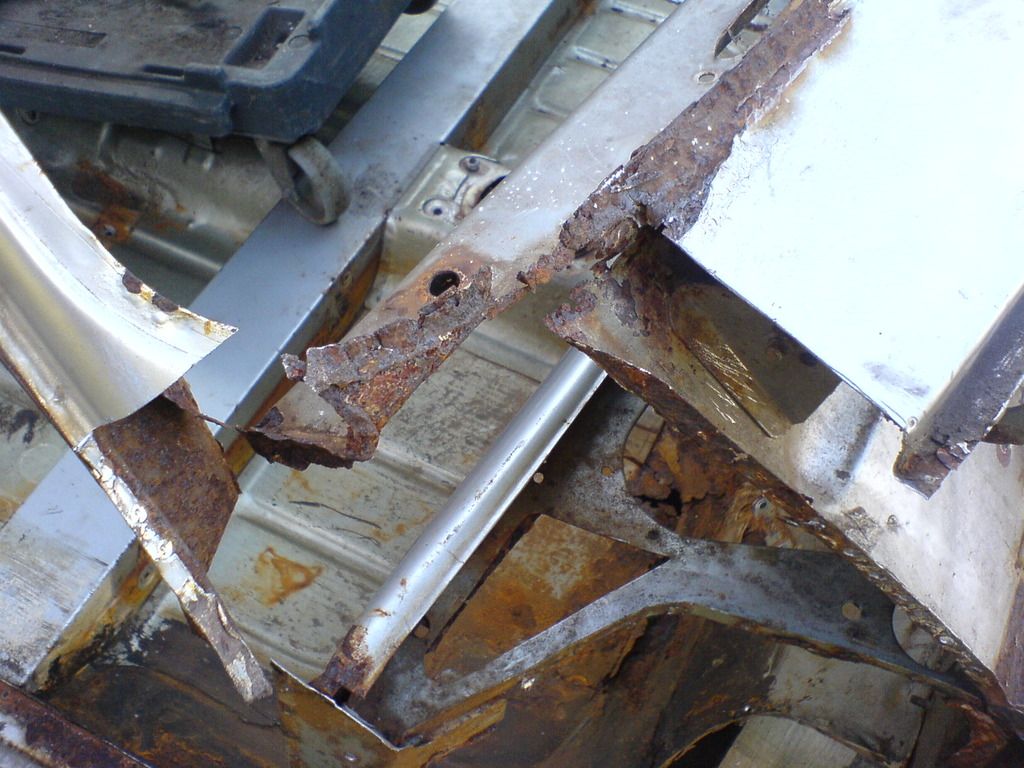
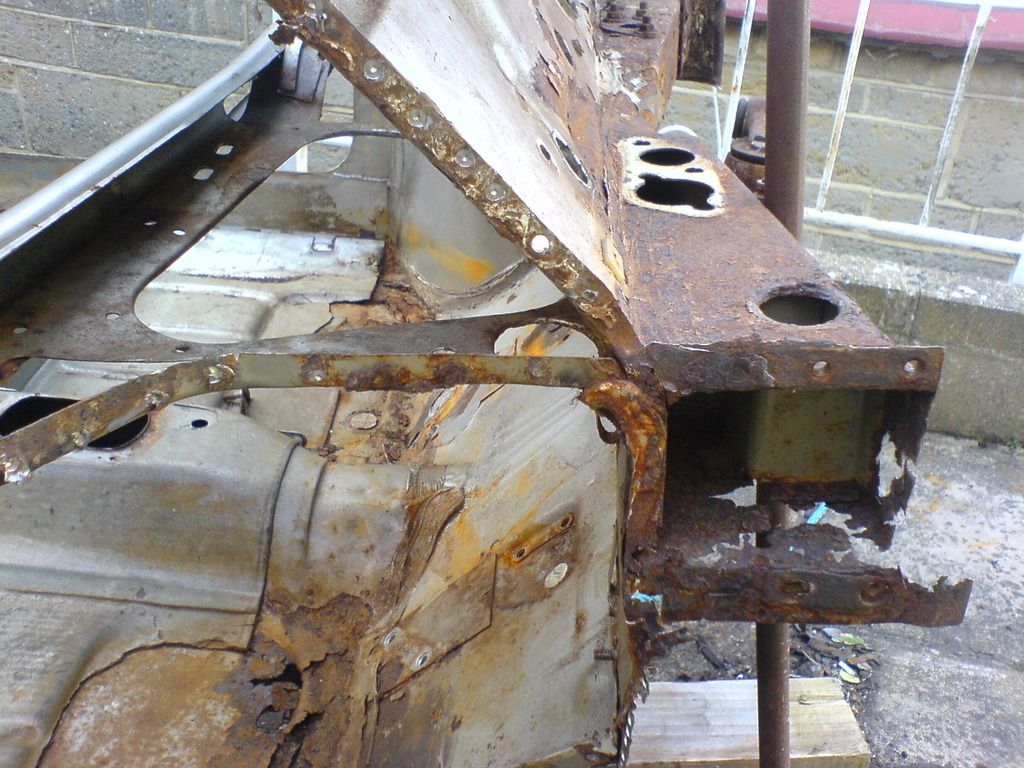
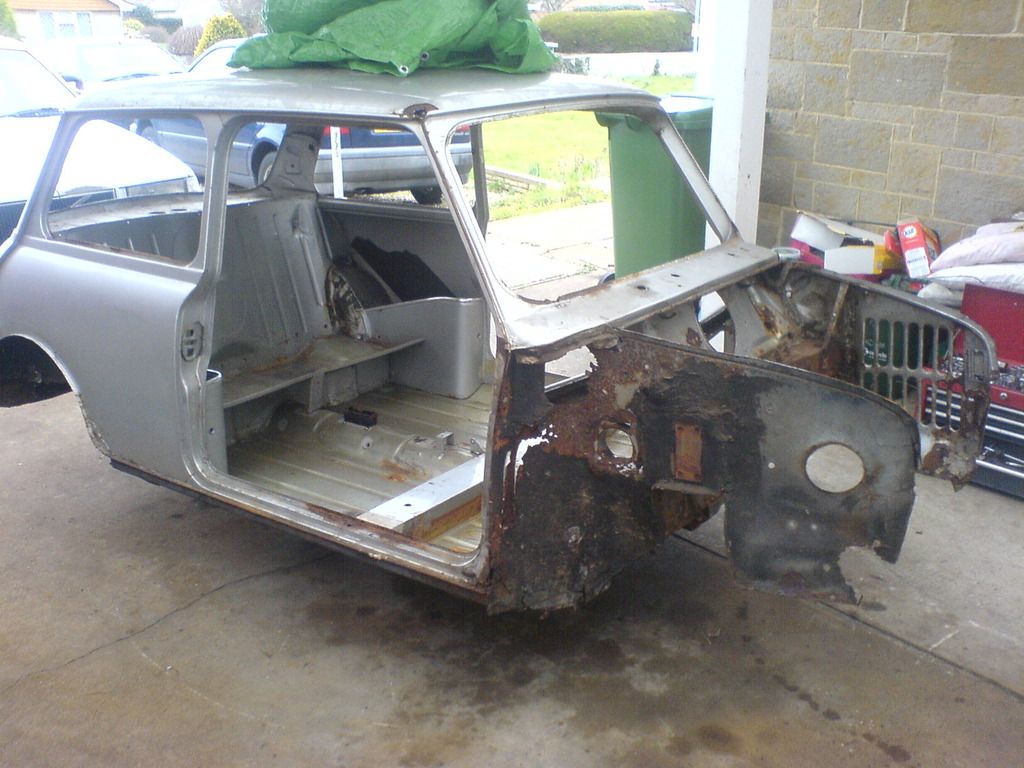
I kicked the old A post across the floor by accident and noticed something in the process.
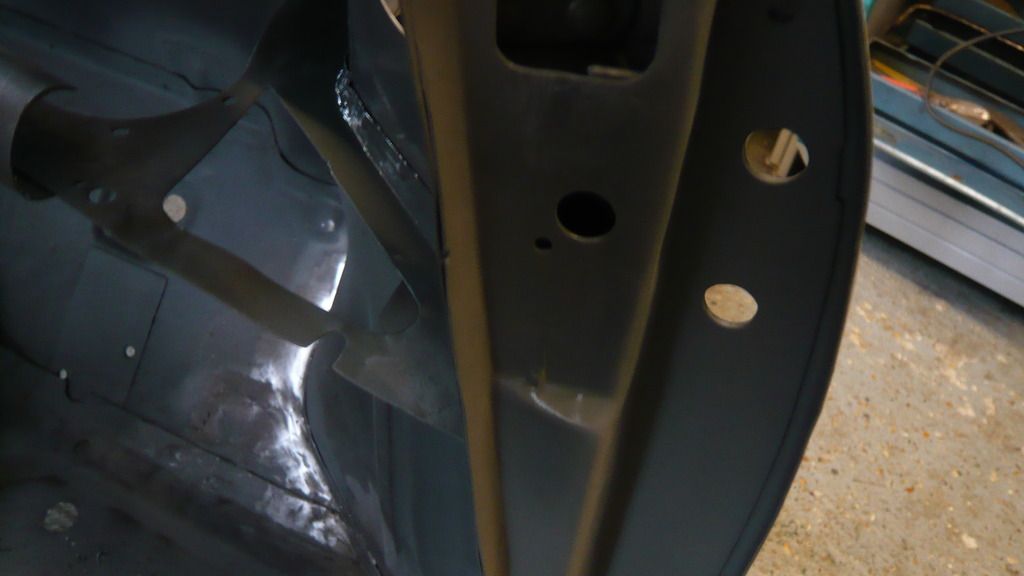
I need to drill a small hole in the new one for the courtesy light switch screw so i promptly did
I'm glad i noticed that now rather than once it's painted!
I then sprayed a little Zinc on the inside of the flitch
Whilst that was drying, i turned my attention back to the apex panel
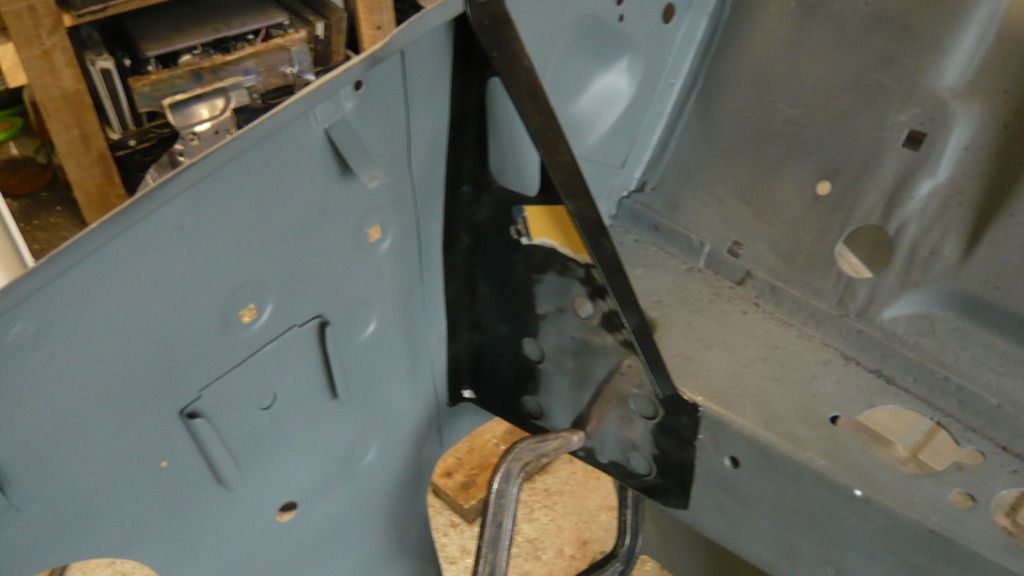
Here it is clamped back up
The bolster was to pry gently against the door so that the Apex panel would sit tight to the flitch whilst welding
And then plug welded
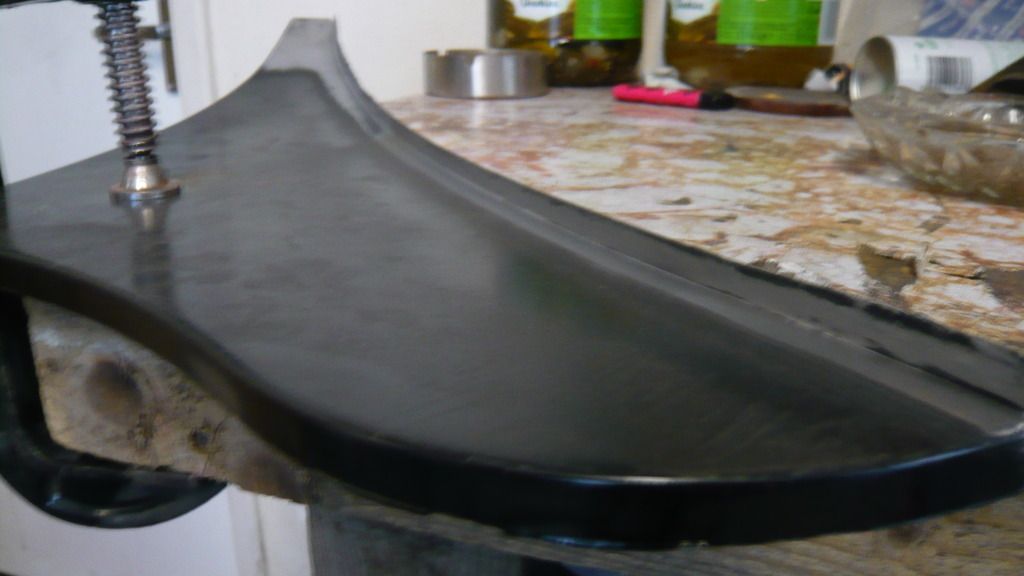
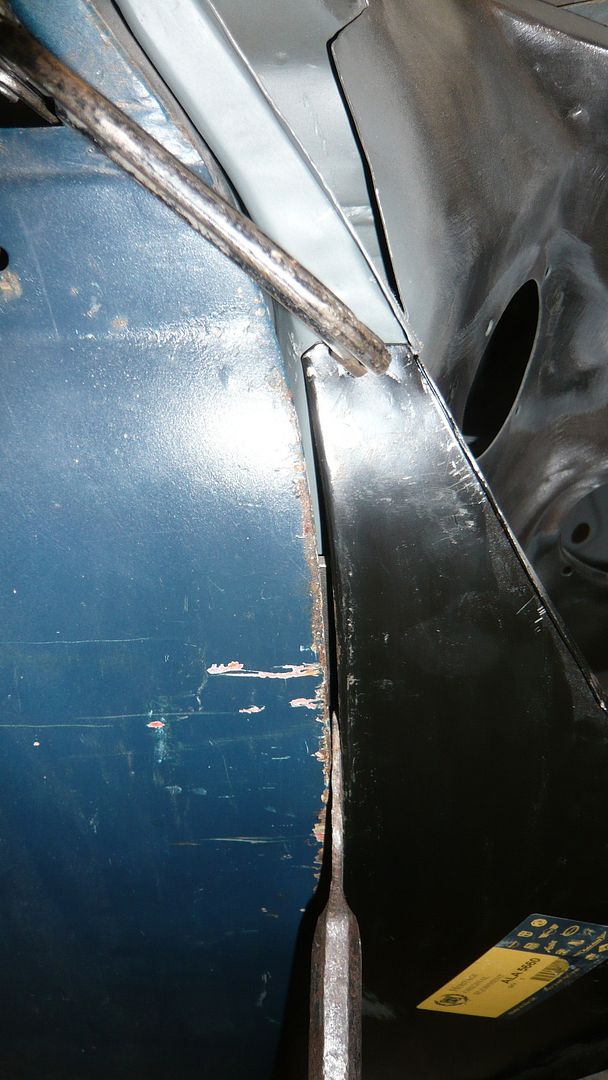
I took the door back off and started folding the edge of the Apex panel over. It's exactly the same process as skinning a door and it is important to take your time, hold the dolly tight against the face of the panel and fold the lip over in sections.
Fold the whole thing over about a 1/4 top to bottom, then repeat taking it over to about 1/2 way and then repeat taking it back all the way.
My pecking hammer came in handy here as i could use the pecking end to get right in there
Here is where i hold my dolly, right on the edge with a fairly firm grip
Then once finished, i cleaned the edge of the Apex panel back and also the front edge of the door before bolting it back on to check the gaps
Note all the filler in the bottom of the door, there is tonnes. Oh well, a new skin will go on later.
I then put on some primer on the edges just to get a better view of the gaps
It will still need some fettling later but it's close enough for this stage in the game
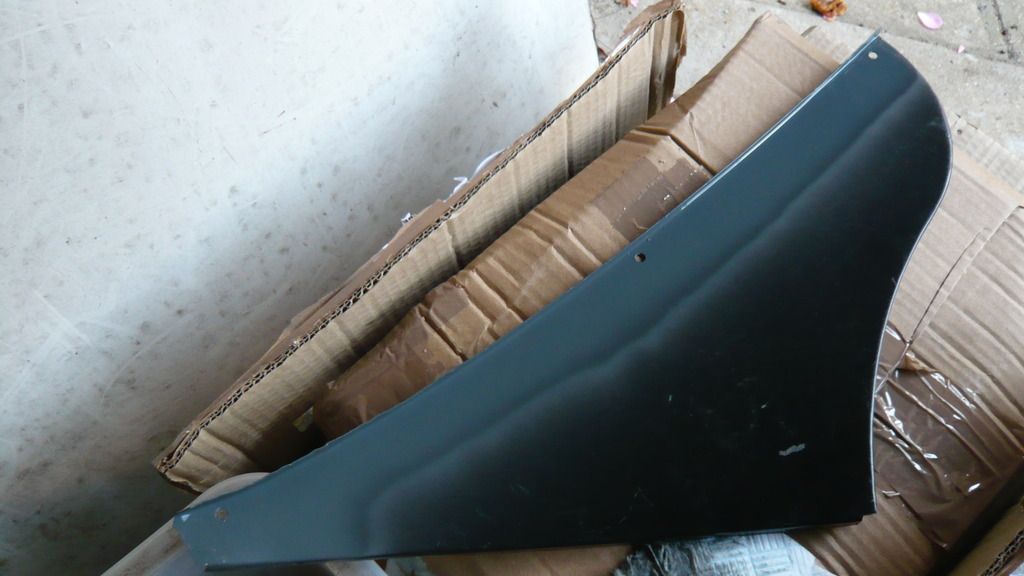
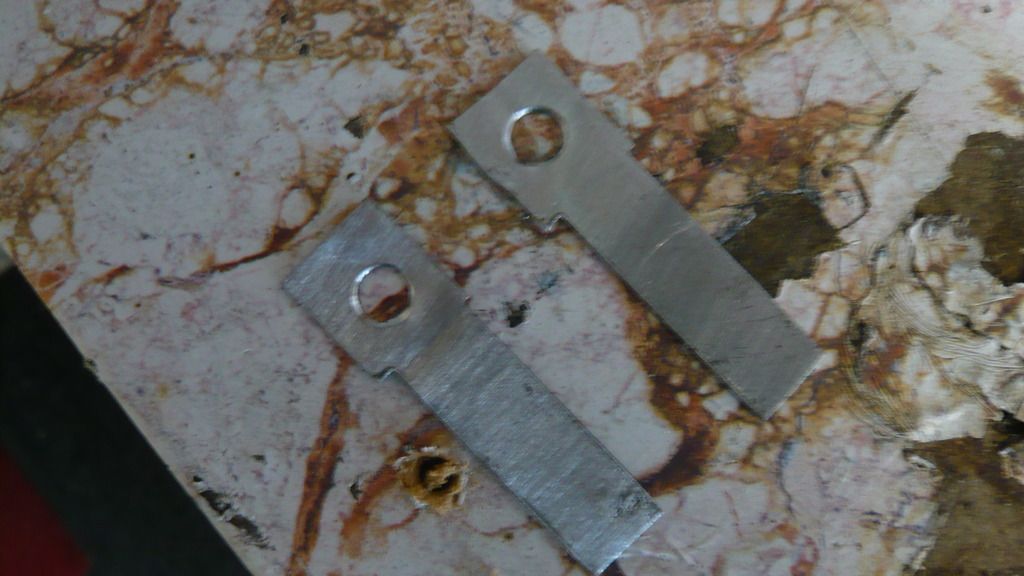
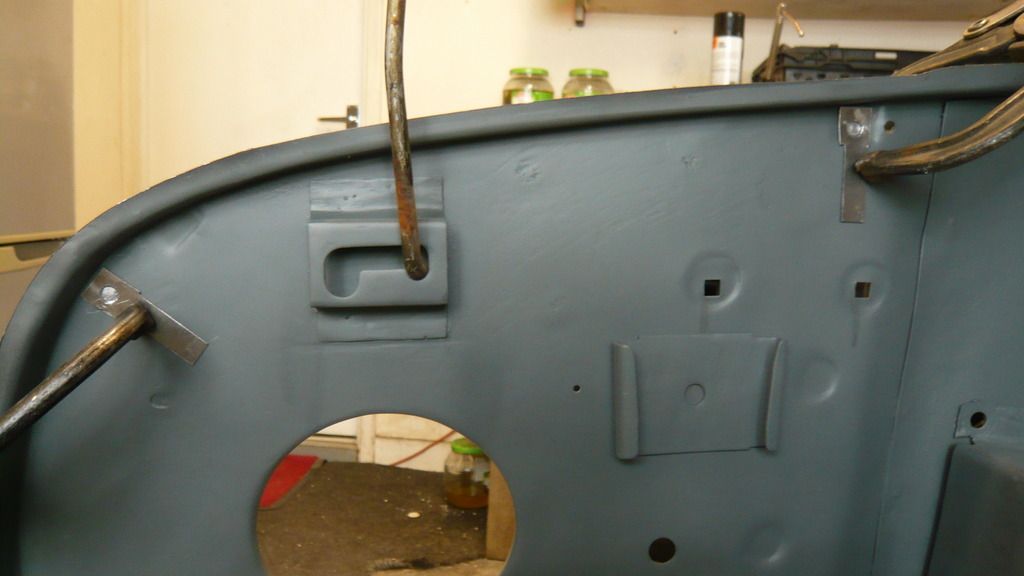
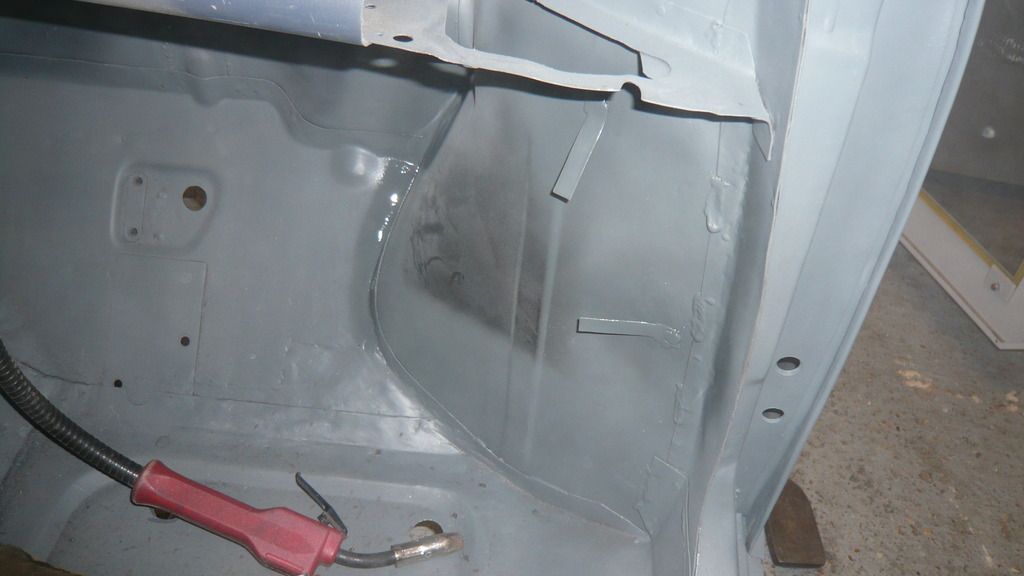
Whilst that dried, i made these up
Which go here
Then i cleaned the back edge of the a panel up
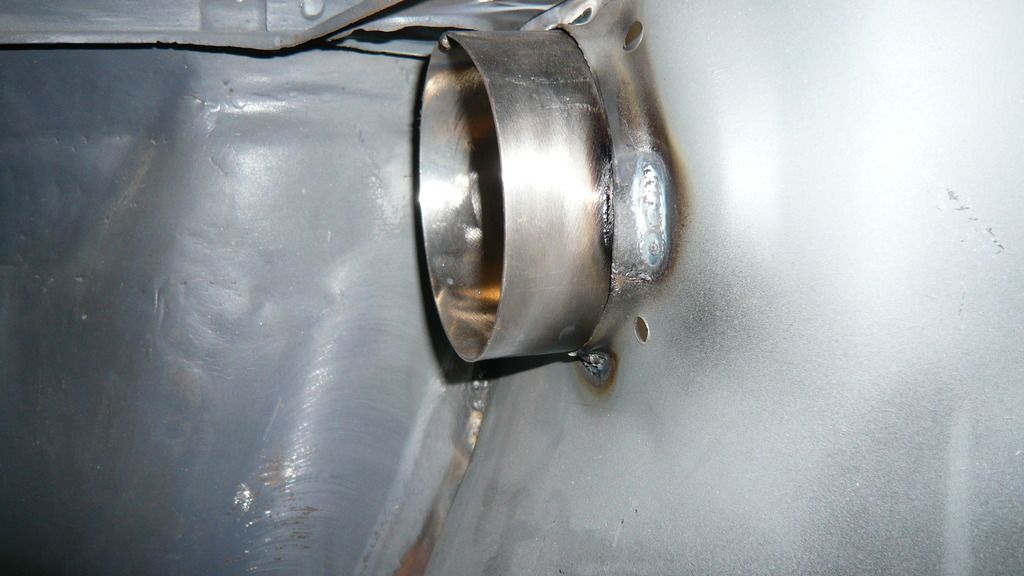
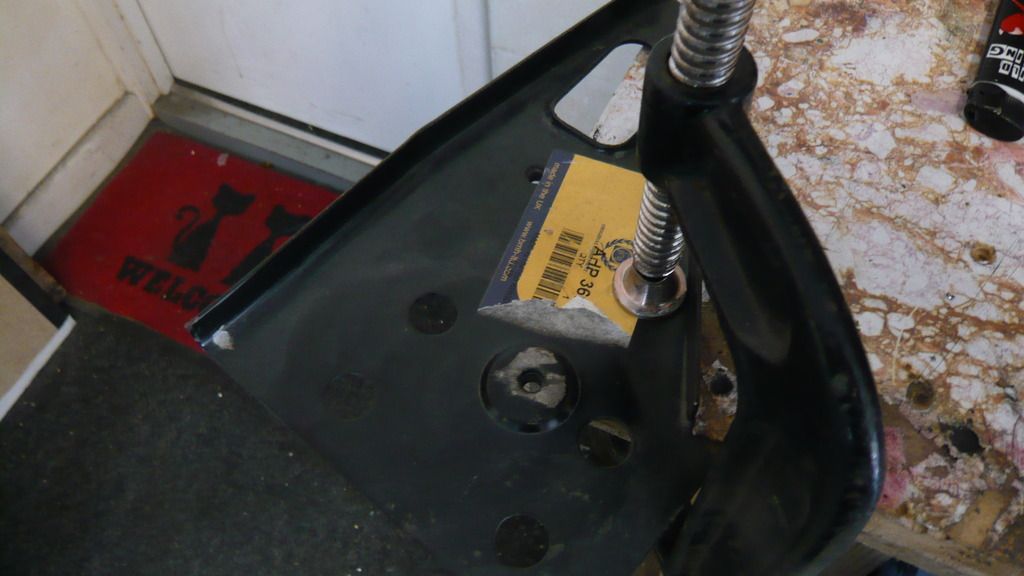
Then set about making one of these
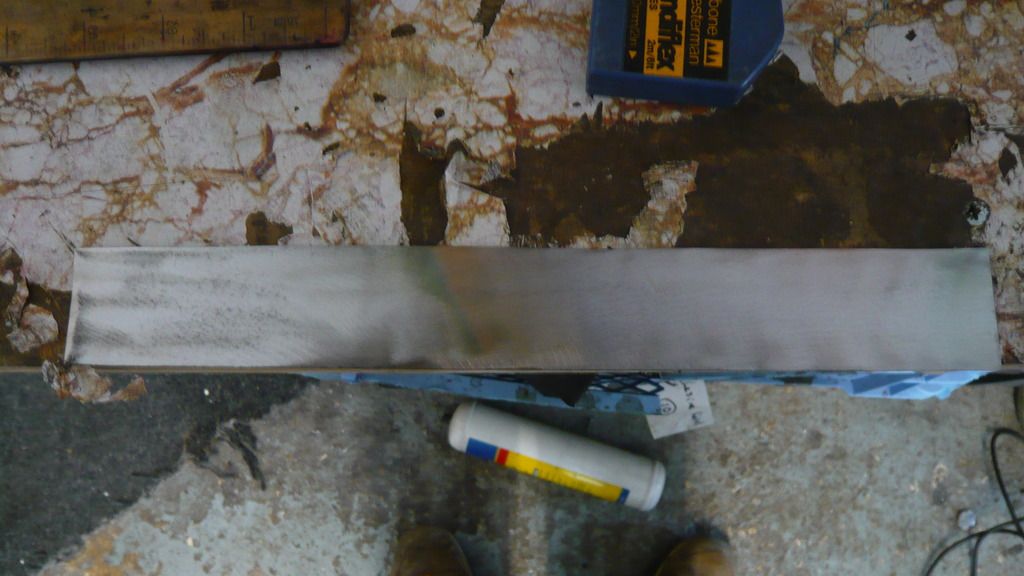
So started off with a flat piece of steel
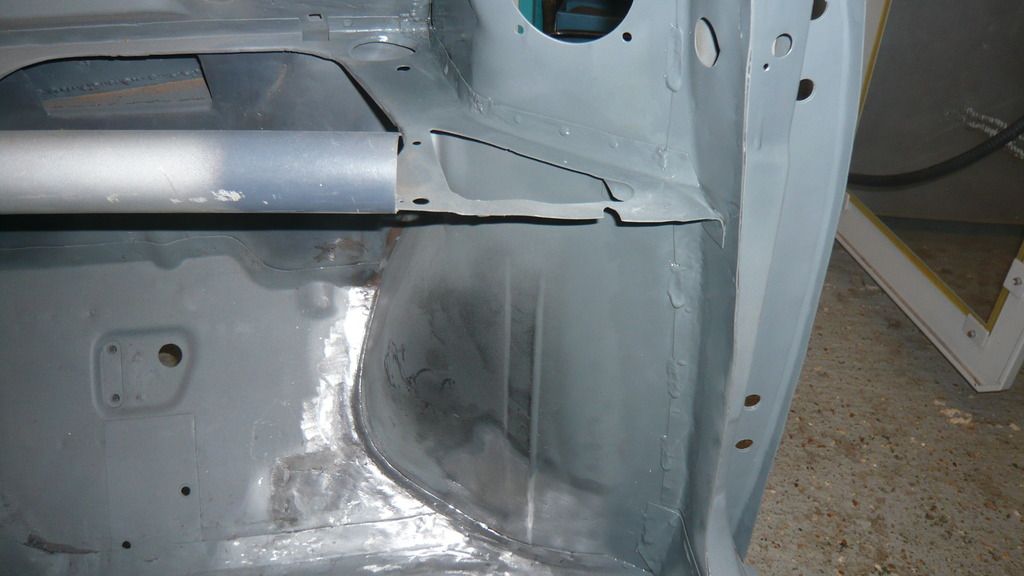
Then wrapped it round an old gas bottle to form a cylinder which goes in here
And welded
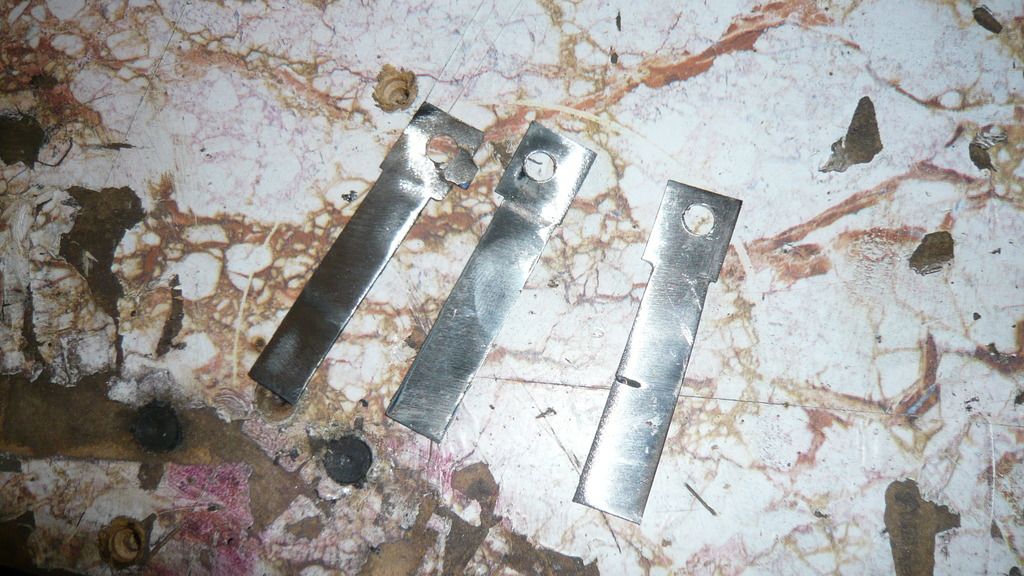
Then made these
Which go here
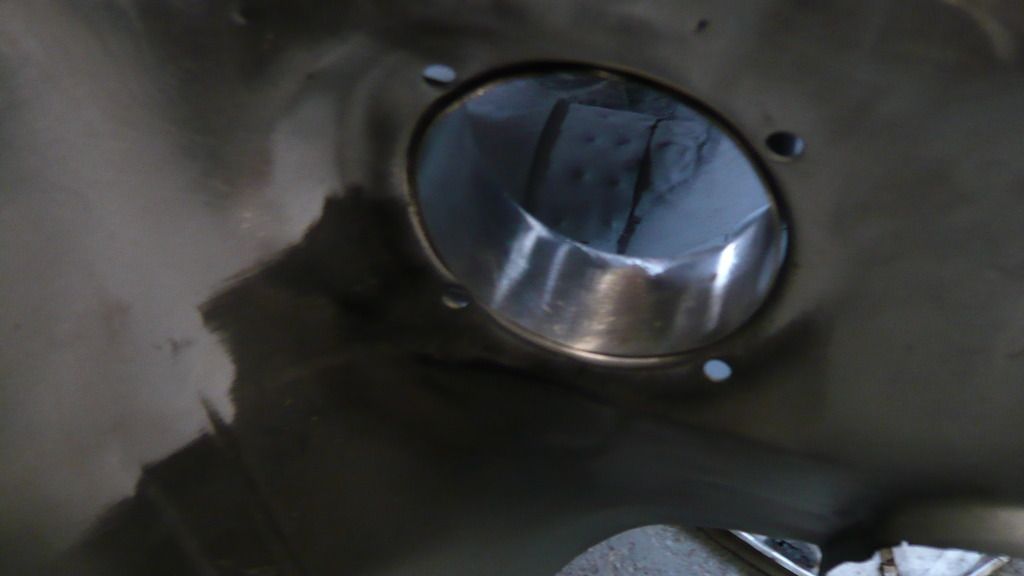
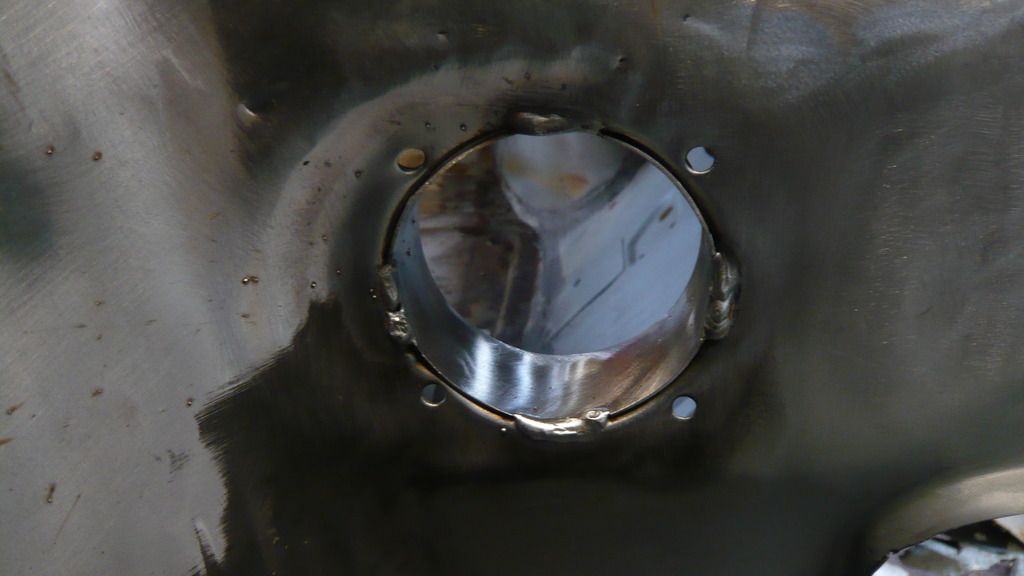
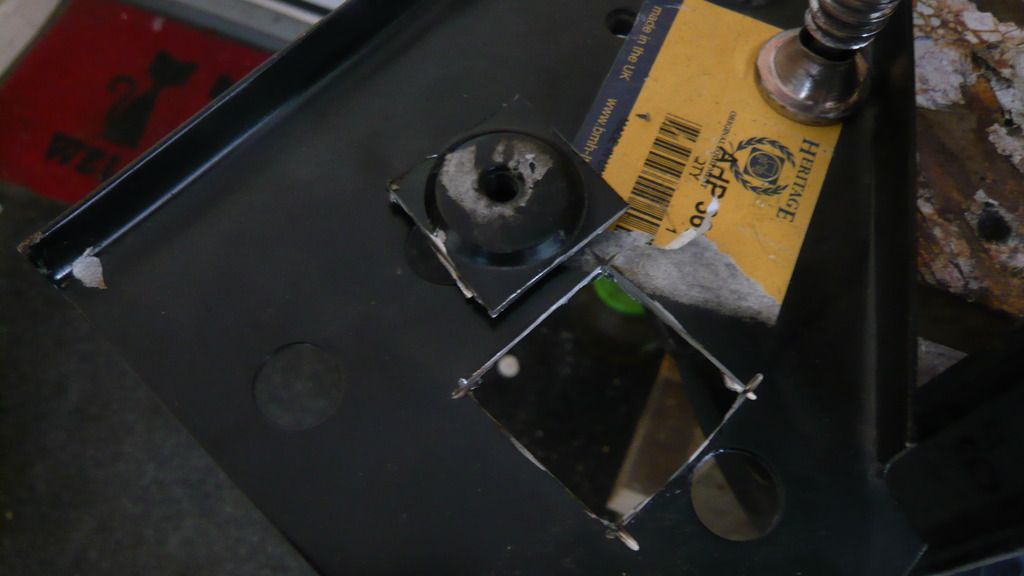
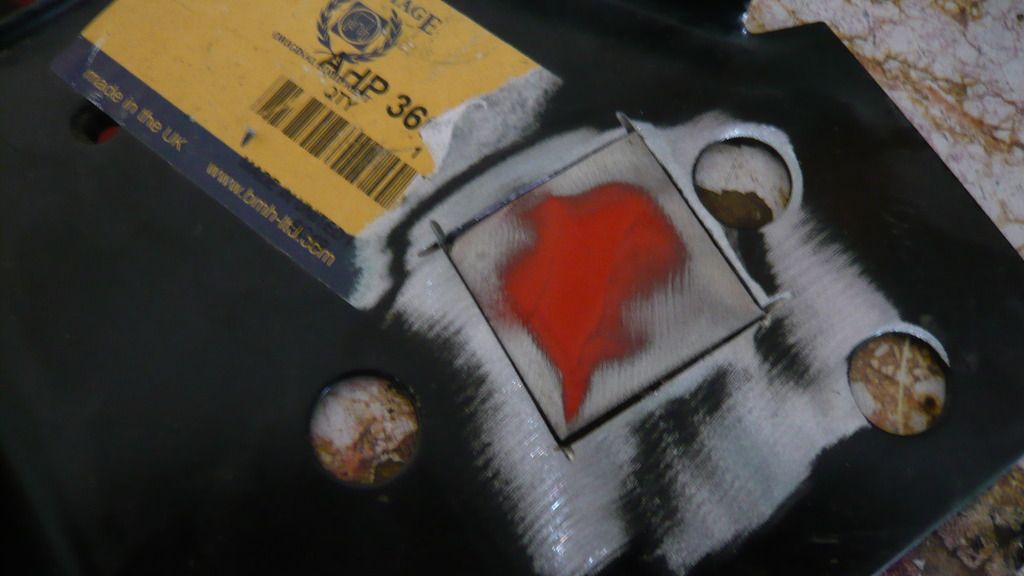
Next job was to mod this
By removing this
And then weld this in it's place
Which goes here
And that was it for today!
Comments welcome as usual
Cheers
Ben
#877

Posted 16 April 2015 - 02:04 PM
Wow, that is all
#878

Posted 16 April 2015 - 02:07 PM
Wow, that is all
Cheers mate!
It's only little bits and bobs but it's progress and those few bits took me 6 hours! But it's always the small bits that take the time.
#880

Posted 16 April 2015 - 02:27 PM
I bet there was a hole behind the shock mount.
I had to trim the lip on the outer wings to get the bonnet gap correct
#882

Posted 16 April 2015 - 04:01 PM
I don't suppose you have any pics of the actual process of folding over the a-panel around the stiffner.
Ger
#883

Posted 16 April 2015 - 04:13 PM
I don't suppose you have any pics of the actual process of folding over the a-panel around the stiffner.
Ger
I don't but i will explain it tomorrow when i have more time.
Ill post up here about it ![]()
Ben
#884

Posted 16 April 2015 - 04:37 PM
Wicked as always Ben
#885

Posted 16 April 2015 - 11:25 PM
It's pretty cool to be able to compare before and after. :) Slight difference in strength and condition! Great job Ben.
1 user(s) are reading this topic
0 members, 1 guests, 0 anonymous users


