Jump to content


Photo
* * - - - 3 votes

Mini 25 Full Rebuild


  • Please log in to reply
1498 replies to this topic

#826 CBJ805T

CBJ805T

    Speeding Along Now

  • Members
  • PipPipPipPipPip
  • 434 posts
  • Location: Kenilworth

Posted 26 March 2015 - 01:05 PM

Looking good Ben!


this is a job I'm going to have to tackle at some point. I was just wondering how you ensure you've got the inner wing level etc to ensure that it'll match up with the other side when the outer wings / front panel go on - if that makes sense. 


Cheers Chris


#827 Ben_O

Ben_O

    Mill Road Garage

  • Paint Doctor
  • PipPipPipPipPipPipPipPipPipPip
  • 9,785 posts
  • Location: Isle of Wight

Posted 26 March 2015 - 03:06 PM

Looking good Ben!


this is a job I'm going to have to tackle at some point. I was just wondering how you ensure you've got the inner wing level etc to ensure that it'll match up with the other side when the outer wings / front panel go on - if that makes sense. 


Cheers Chris

Hi mate.


It is reasonable straightforward. The main problems i have had were getting the inner wing to actually fit in the hole.


The height of the inner wing can be determined simply by lining up the holes for the top shock mount with those on the end of the crossmember. That will sort the height at the front out.


The height of the flitch area can be determined by lining up the door hinge holes, especially if you are retaining the original hinge panel. It is also worth mentioning that the top of the lip where the A panel folds round sits tight up against the external seam for the windscreen frame.


And of course the final way to tell is to trial fit the scuttle, wings and bonnet as i did a few pages back. I guessed the position of my inner wing based on the way it fitted to the surrounding panels and it worked out fine with even panel gaps either side and nice and even across the top.


Hope that helps.


Ben


#828 Ben_O

Ben_O

    Mill Road Garage

  • Paint Doctor
  • PipPipPipPipPipPipPipPipPipPip
  • 9,785 posts
  • Location: Isle of Wight

Posted 28 March 2015 - 02:57 PM

Pathetic update today. I just wasn't in the mood after i got my tools out and started.


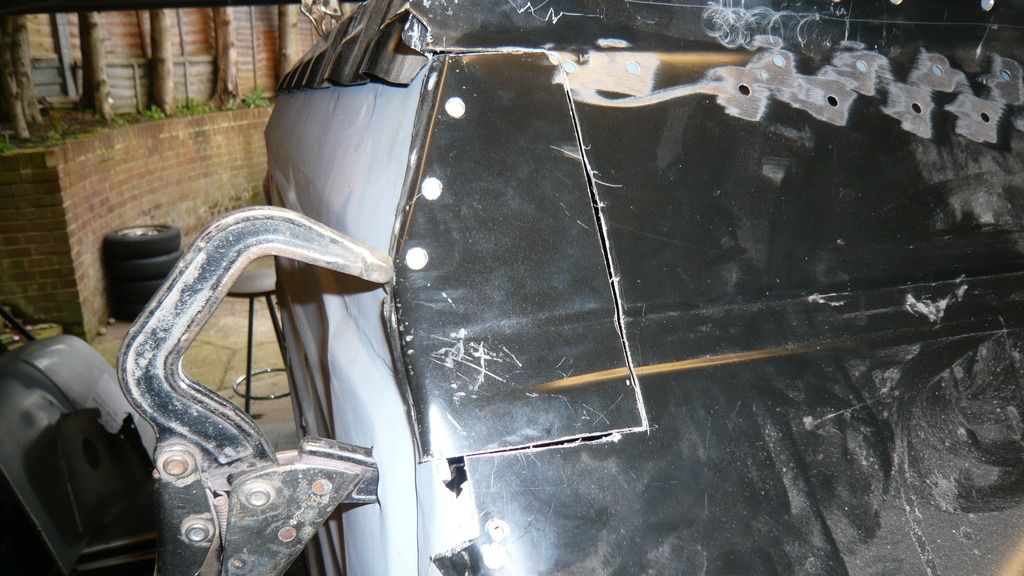
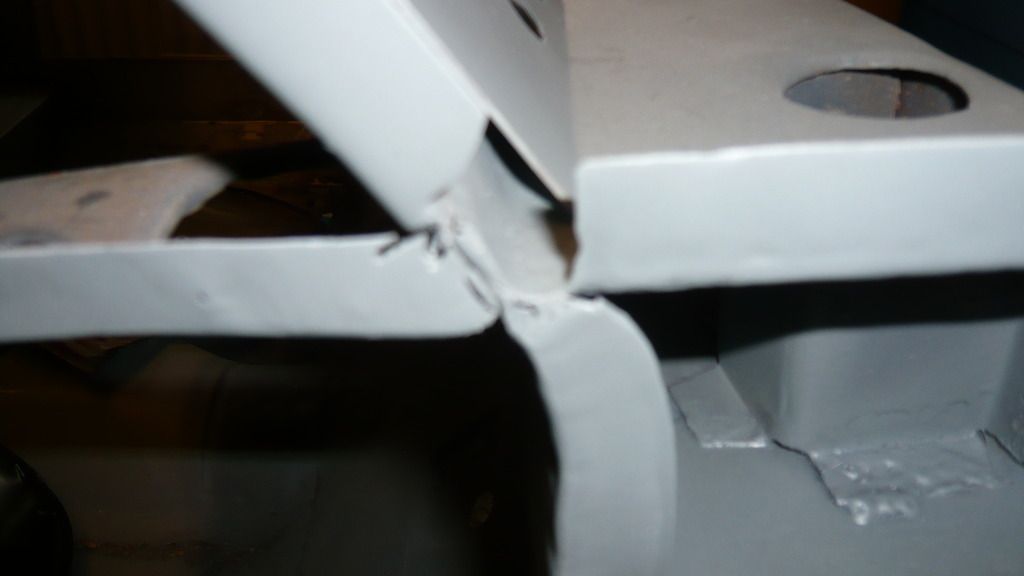
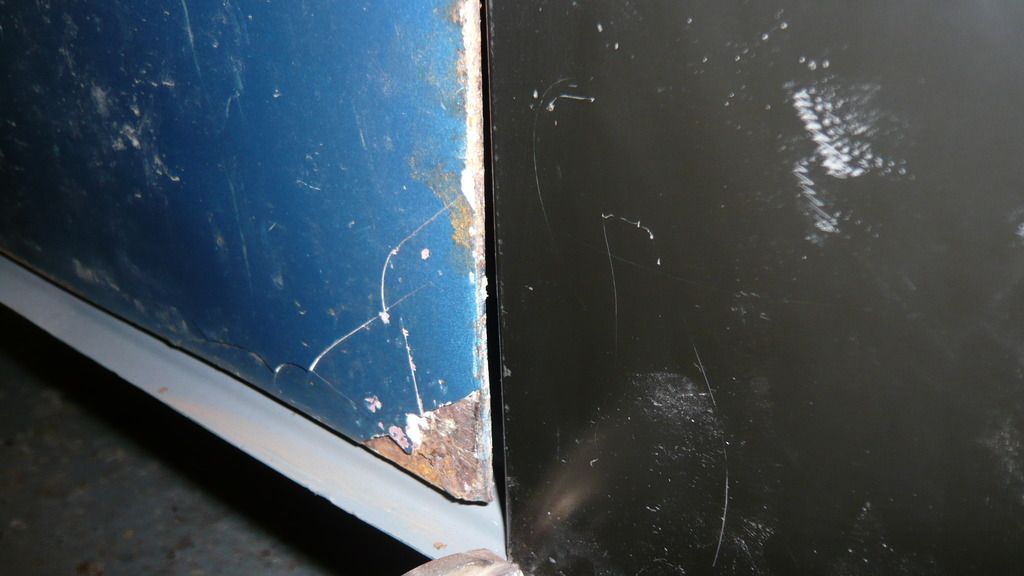
First up, attend to this gap


P1060982_zpsjge7upyr.jpg


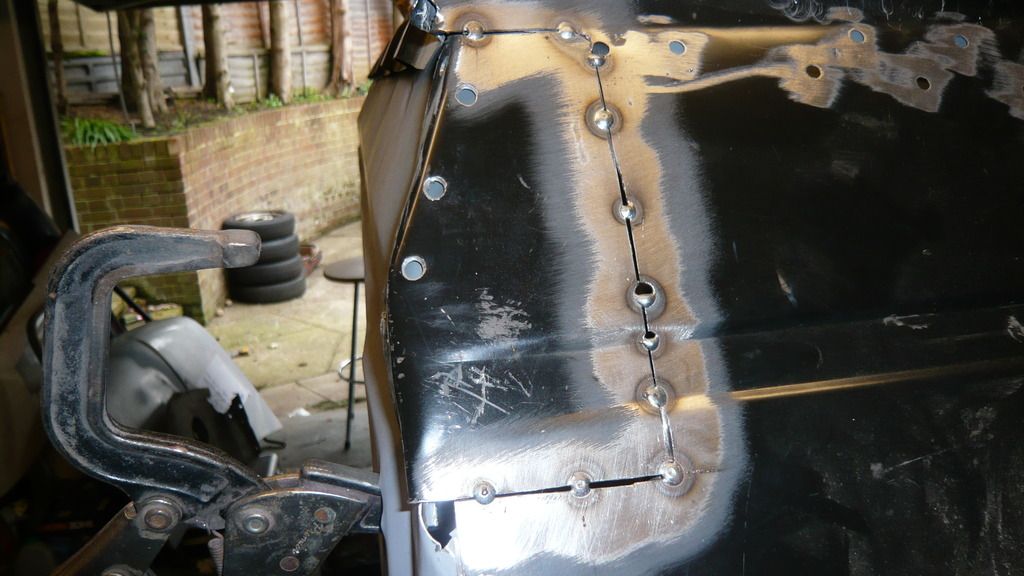
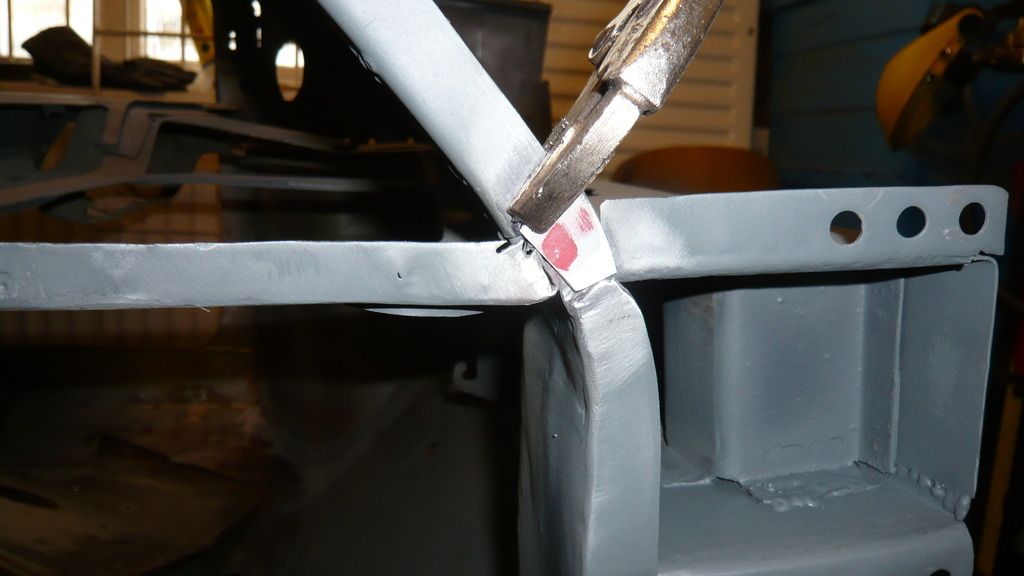
Made up a small piece to go in


P1060983_zpsqxbooq9i.jpg


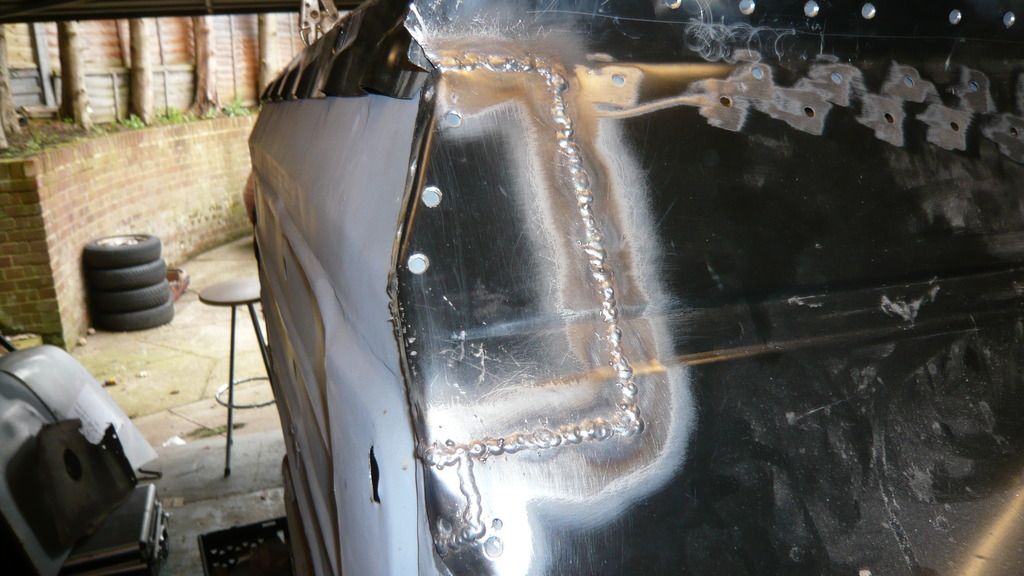
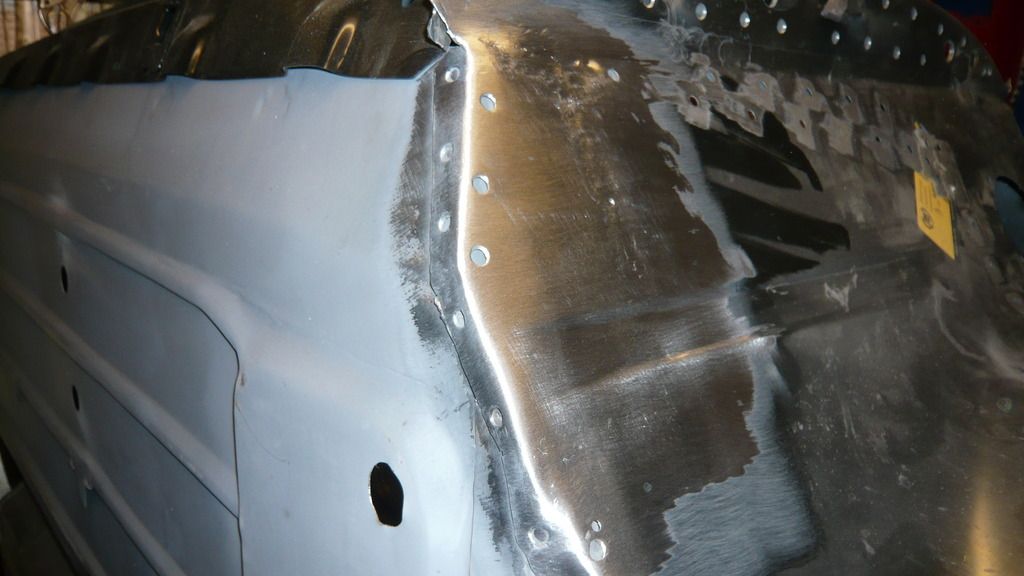
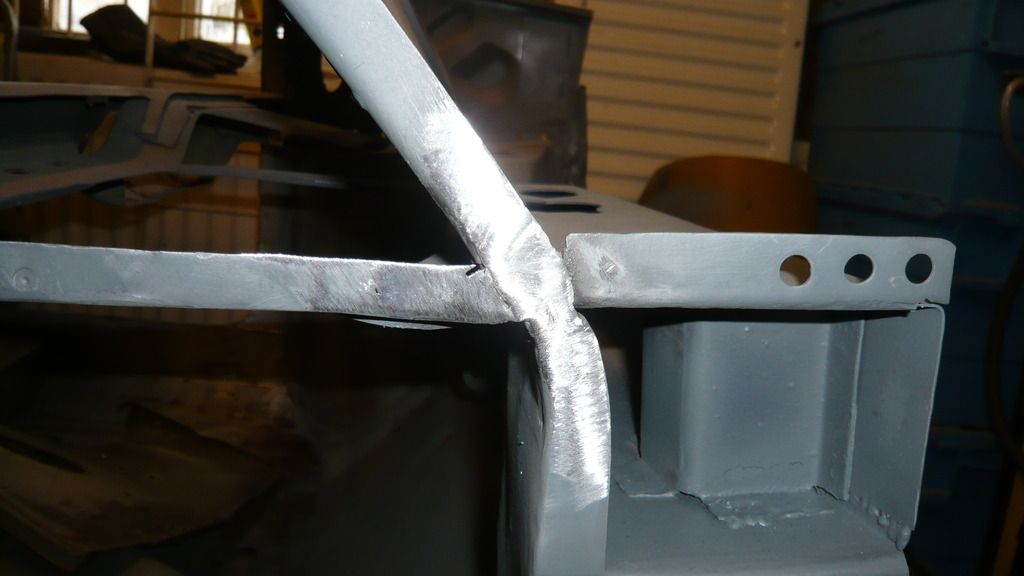
And then welded up and ground down


P1060984_zpswcnyjk9p.jpg


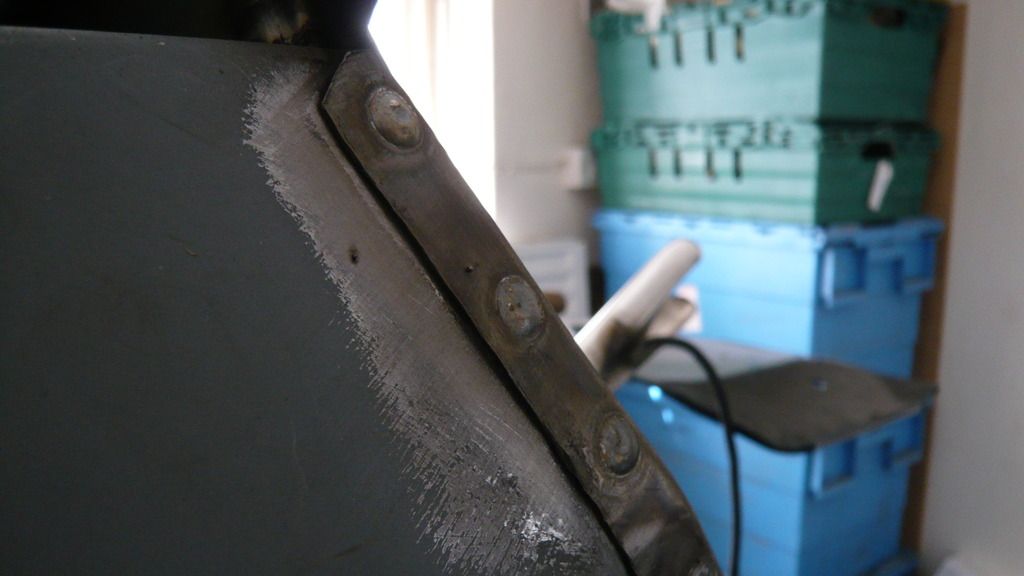
Next job was to fit the stiffener which meant fitting it along with the inner wing again to get it squared up and then i scribed onto the stiffener the correct position before taking it all off again.


Here it is in position and drilled ready for plug welding


P1060985_zpswmrhvidw.jpg


Then welded and ground down


P1060986_zpsowy0xflz.jpg


Followed by a splash of zinc


P1060987_zpsc2pnurv9.jpg


P1060988_zps2miukfed.jpg


Then time to check all the panel alignment again by clamping the inner wing on AGAIN... yawn


Shock mount holes all lined up nicely


P1060990_zpsudgzf5xa.jpg


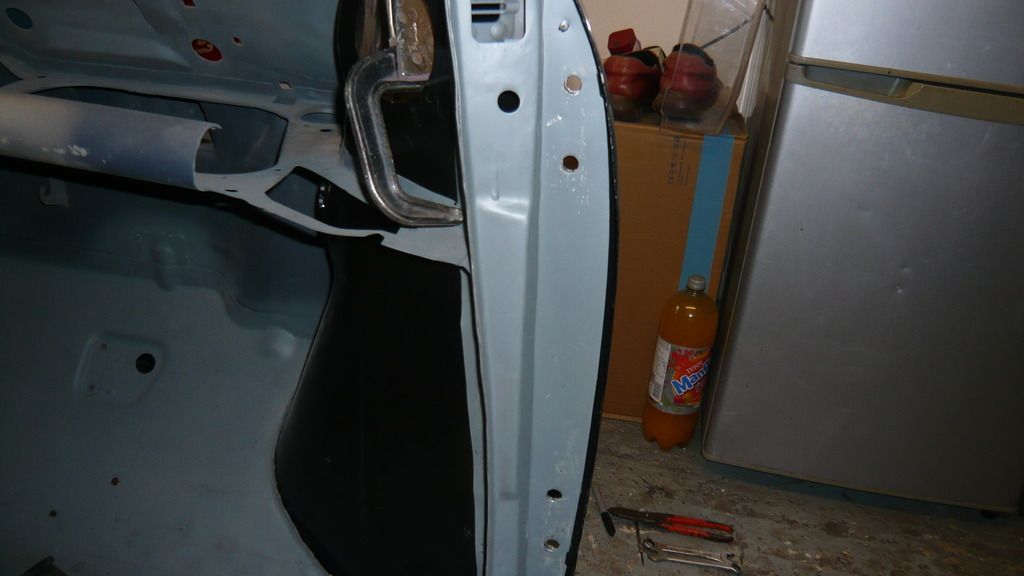
The same goes for the hinge holes


P1060991_zpsixlvtjv3.jpg


All clamped perfectly in place


P1060992_zpskktp74lt.jpg


P1060993_zpsjerxxplb.jpg


And then on with the door and apex panel to check alignment again


I wont bore you with more panel gap pictures, just imagine nice even gaps :lol:


I was having trouble getting the bottom front edge of the door to sit nice with the A panel, it seemed to sit back a bit too far so i belted it with a hammer and some filler fell off!

But it now fits much better without the lump of filler


P1060998_zpsnhbisn1d.jpg


It doesn't look great in that picture but in reality, it's pretty much spot on.


Then i got bored.......


#829 Hendred

Hendred

    Speeding Along Now

  • Members
  • PipPipPipPipPip
  • 484 posts
  • Location: Cleobury Mortimer Nr Ludlow, Shropshire Name: John

Posted 29 March 2015 - 03:18 AM

You did well to do what you did when not being in the mood!  I just go and chop logs or something when I can't be bothered lol


#830 Ben_O

Ben_O

    Mill Road Garage

  • Paint Doctor
  • PipPipPipPipPipPipPipPipPipPip
  • 9,785 posts
  • Location: Isle of Wight

Posted 02 April 2015 - 07:25 PM

A bit more done today.


started by drilling all the holes in preparation for plug welding the inner wing on
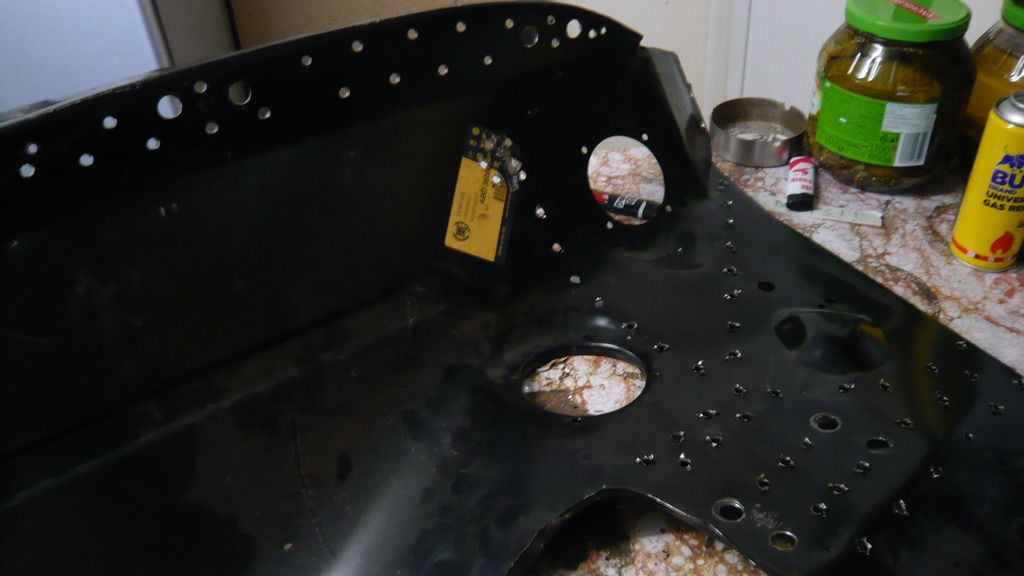
 

P1070056_zpsaz8ki8vn.jpg


P1070055_zpsdyq4ercp.jpg


Then i linished the burrs and removed the paint from the areas that are to be welded
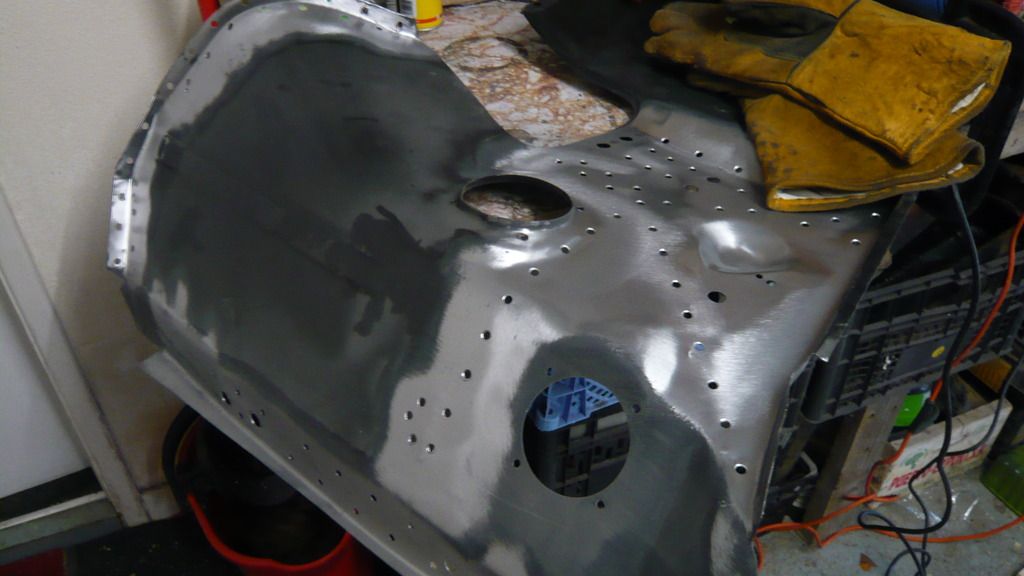
 

P1070057_zpskmwjkyhc.jpg


And applied some Zinc primer


P1070058_zpstbjbvcg7.jpg


P1070059_zpsewanz1ta.jpg


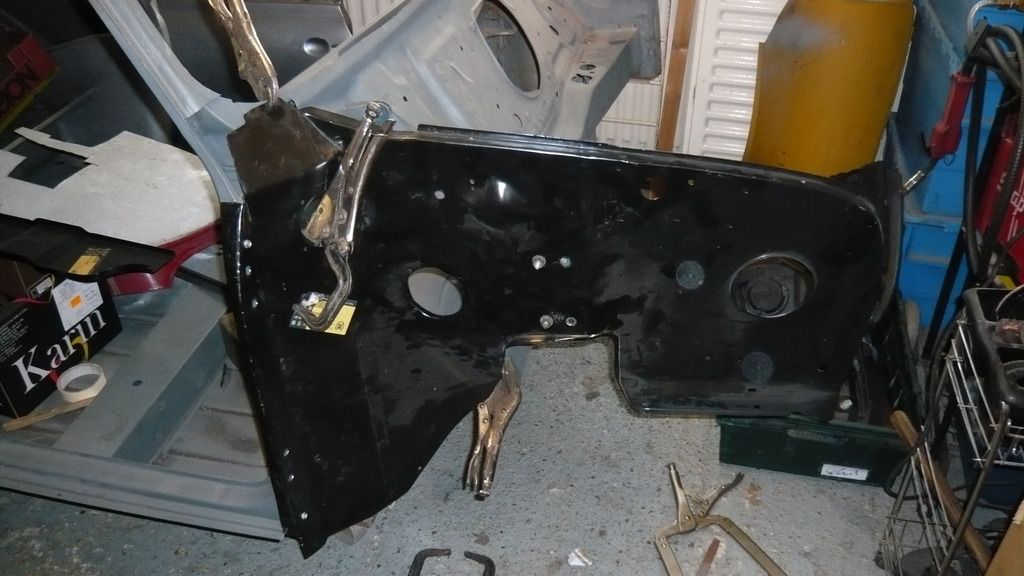
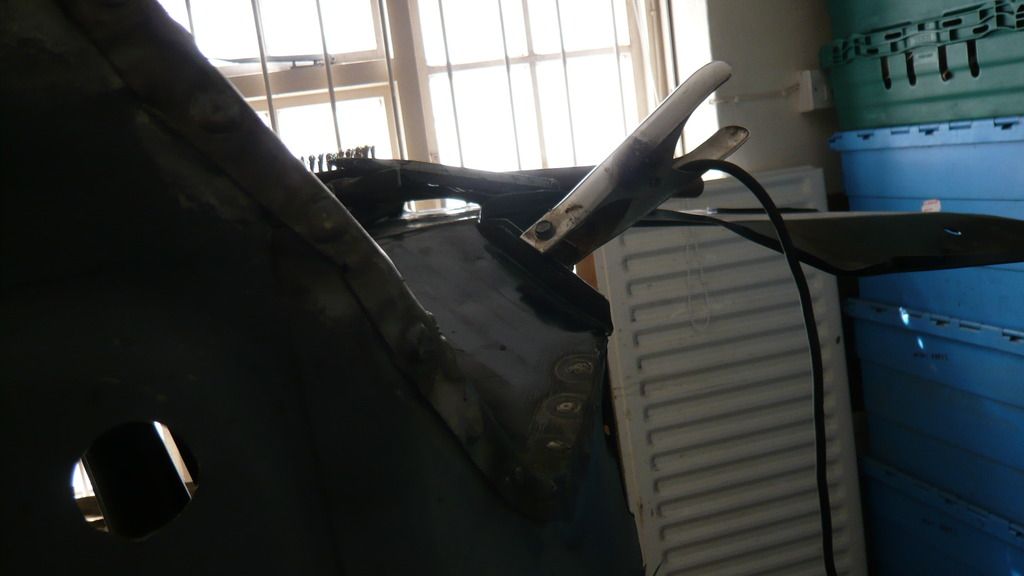
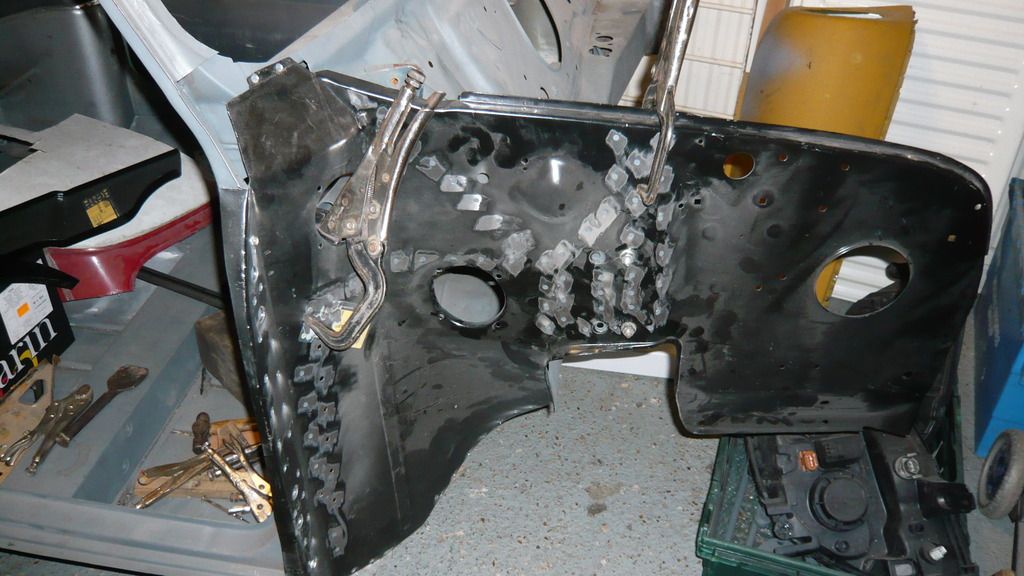
Here it is clamped back into position. There was no need to refit the door, Apex panel and Wing to check panel gaps as i can now position the inner wing in exactly the same place everytime i put it in so that saved some time.
 

P1070060_zpsvlwl3wwa.jpg


The first few of many plug welds.


P1070063_zpsjbu5pvka.jpg


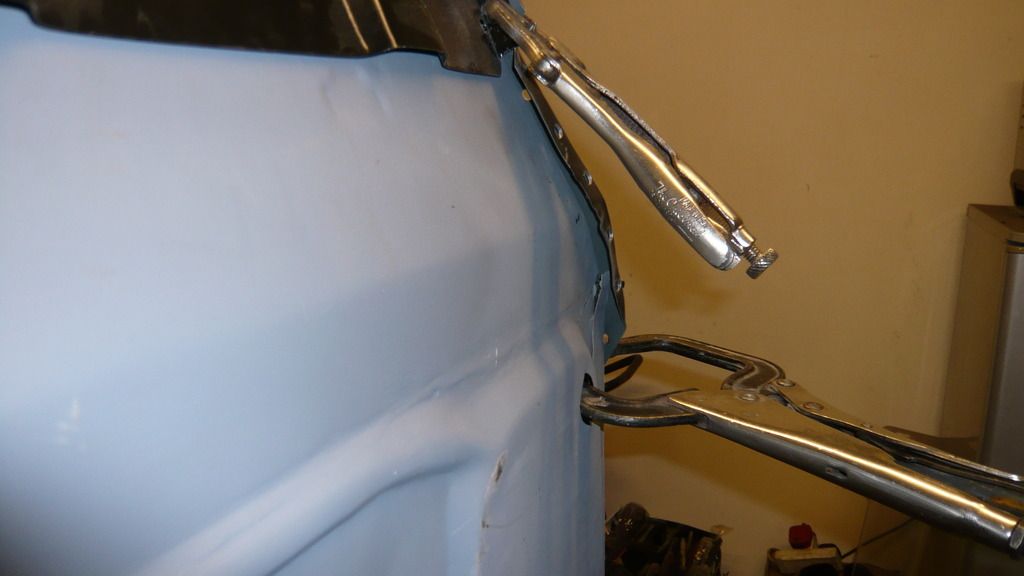
At this point, i only plugged up a select few of the holes to keep the inner wing into position because i had a bit of a problem to sort out.

This meant tipping the shell back on it's side to reveal the problem.
 

P1070065_zpskag6ebzh.jpg


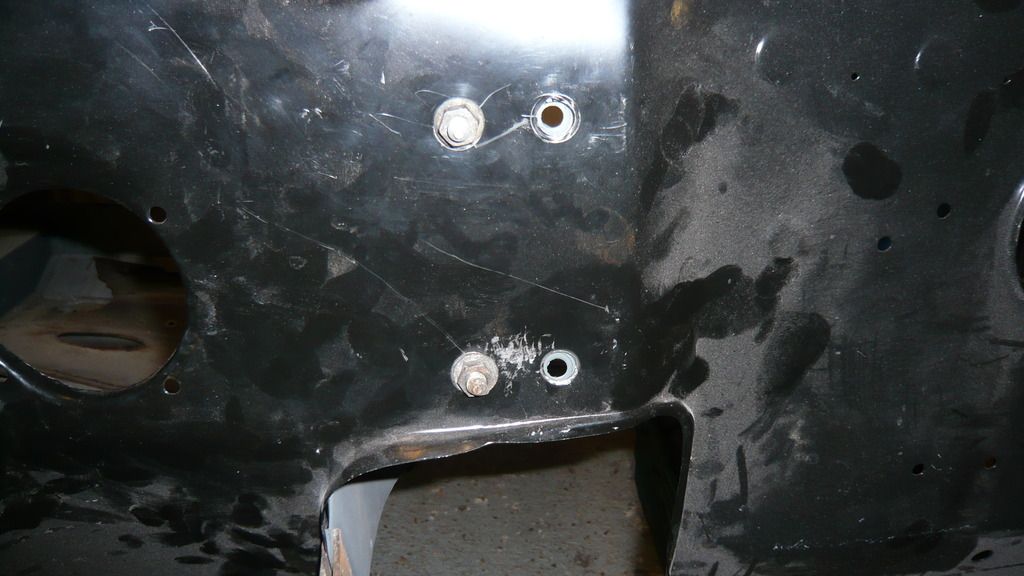
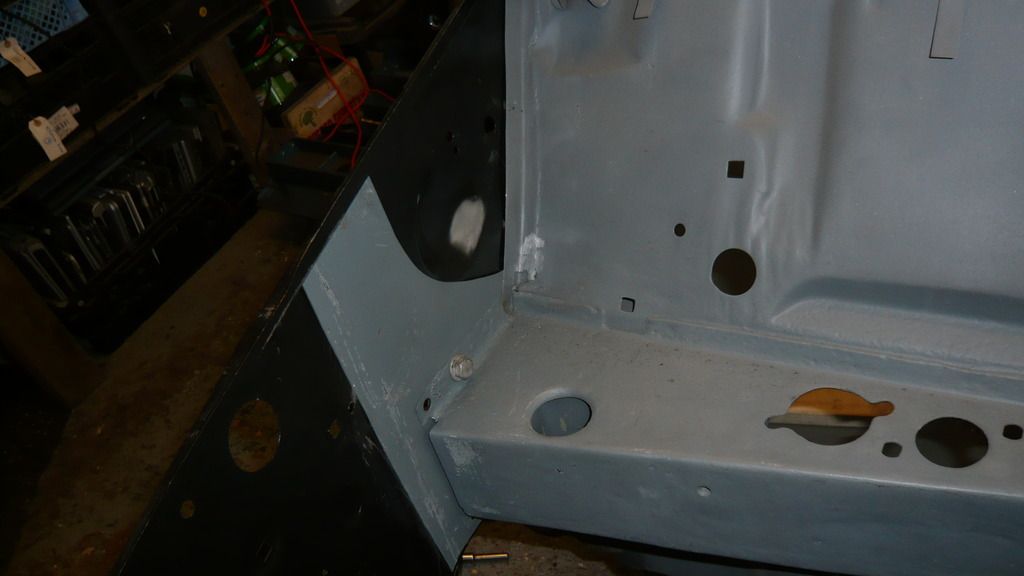
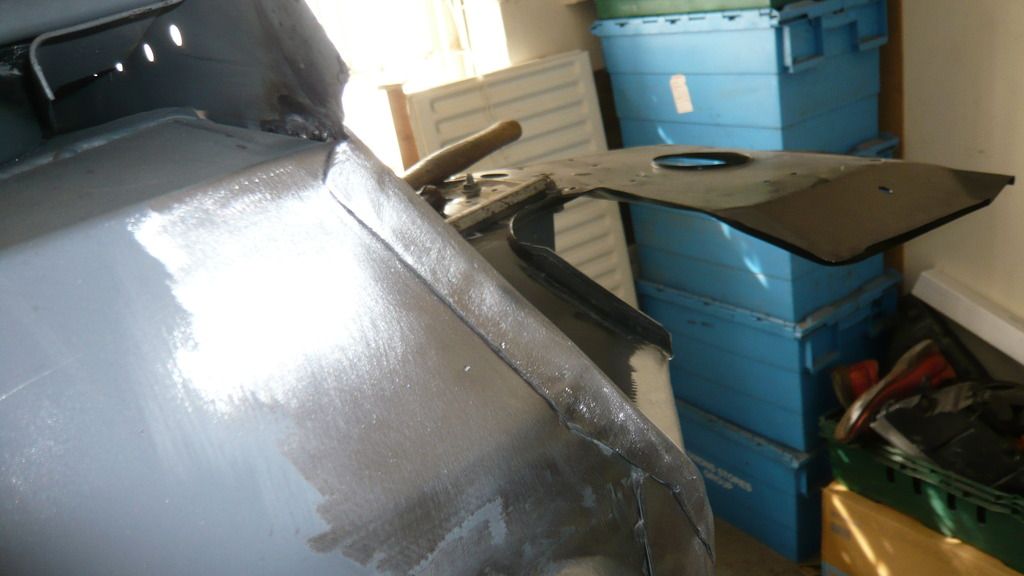
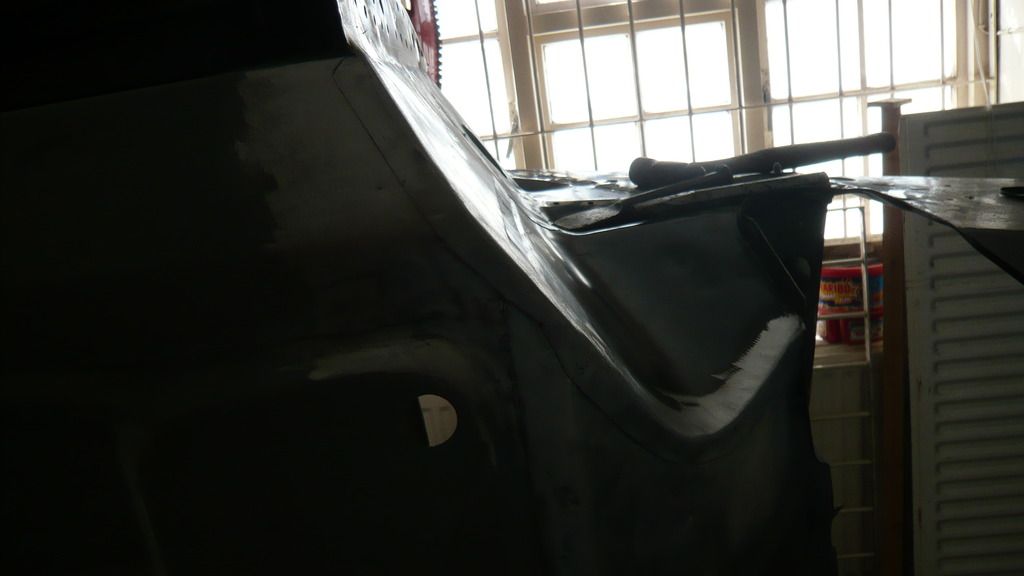
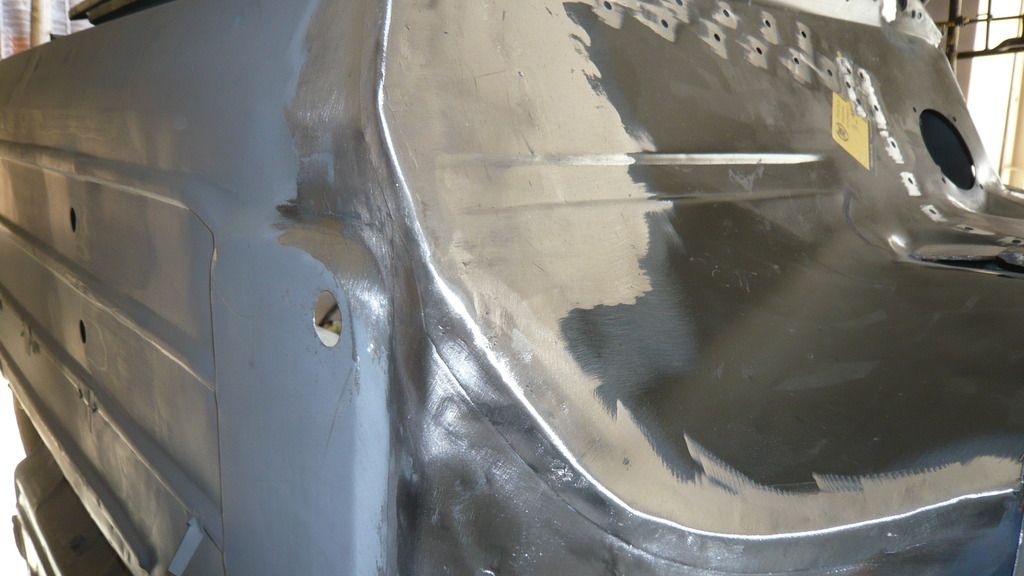
It's not brilliantly clear but there is a half inch gap between the bottom of the inner wing and the floor/inner sill. The toe board fits perfectly to the inner wing and the inner wing is definitely at the correct height and fits well everywhere else so i don't know how this has happened??

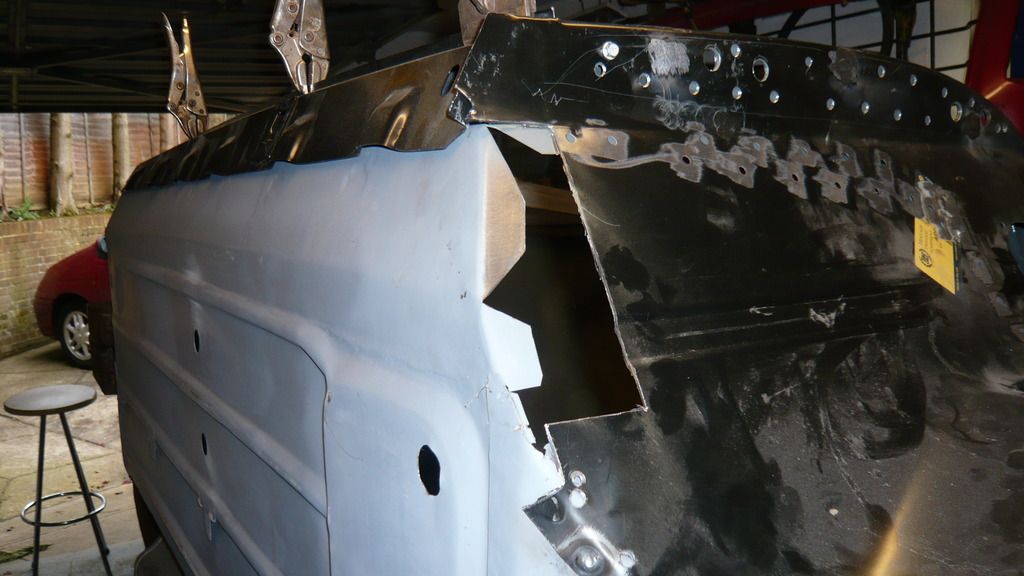
My plan A was to use a block of wood and a club hammer to bring the floor down to meet it but this didn't work so i had to take Plan B
 

P1070067_zpsldlcevkn.jpg


Thats right, i had to cut a lump out of my £100 panel.


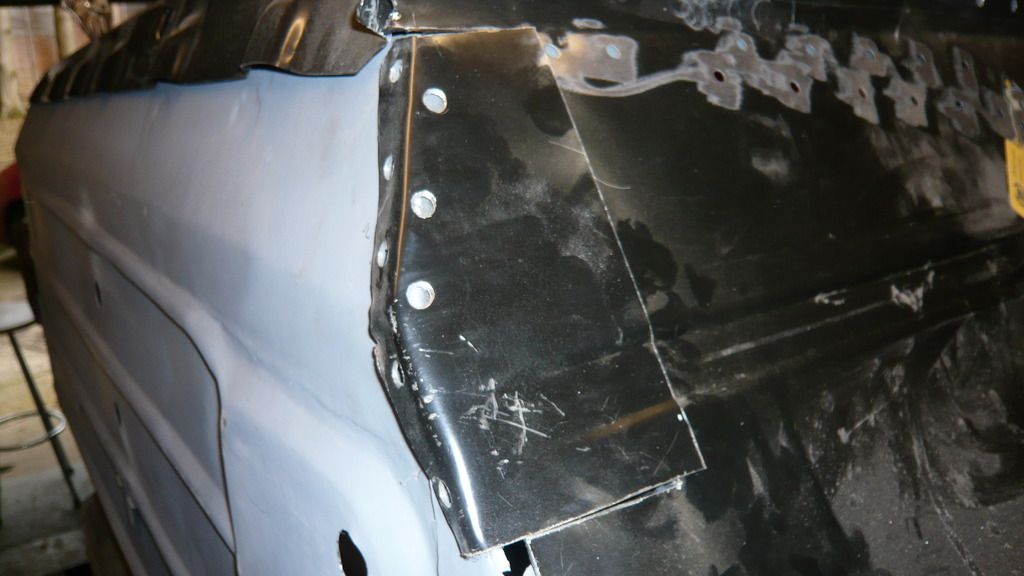
anyway, needs must and all that so i repositioned it for a better fit
 

P1070068_zpsjiwgeocv.jpg


Then scribed it, cut it and laid it back into position
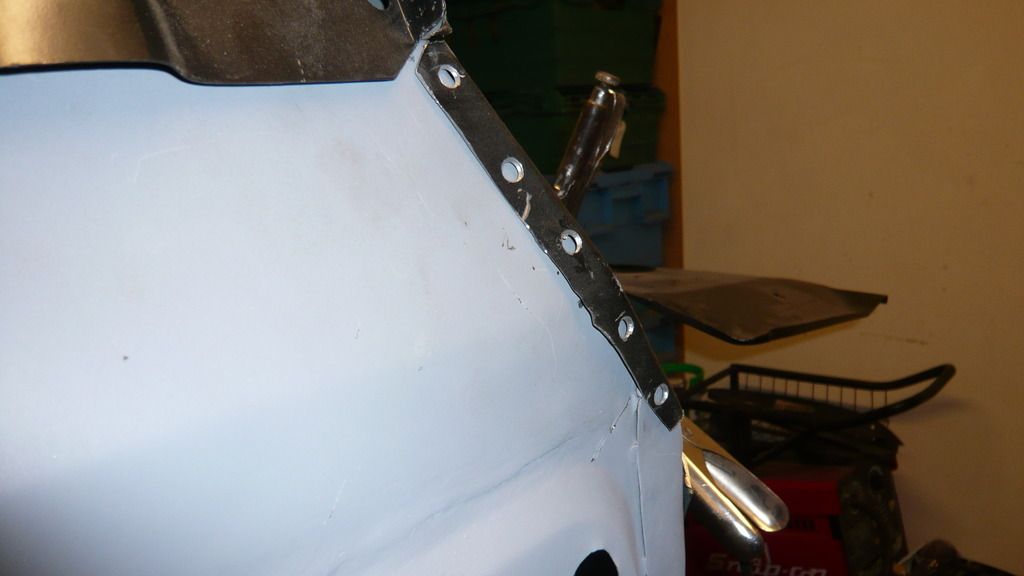
 

P1070069_zpsnusbroph.jpg


P1070070_zpsxrrrblvf.jpg


Tacked it in


P1070071_zpswxox99az.jpg


And readjusted another piece which you can see towards the bottom of this picture
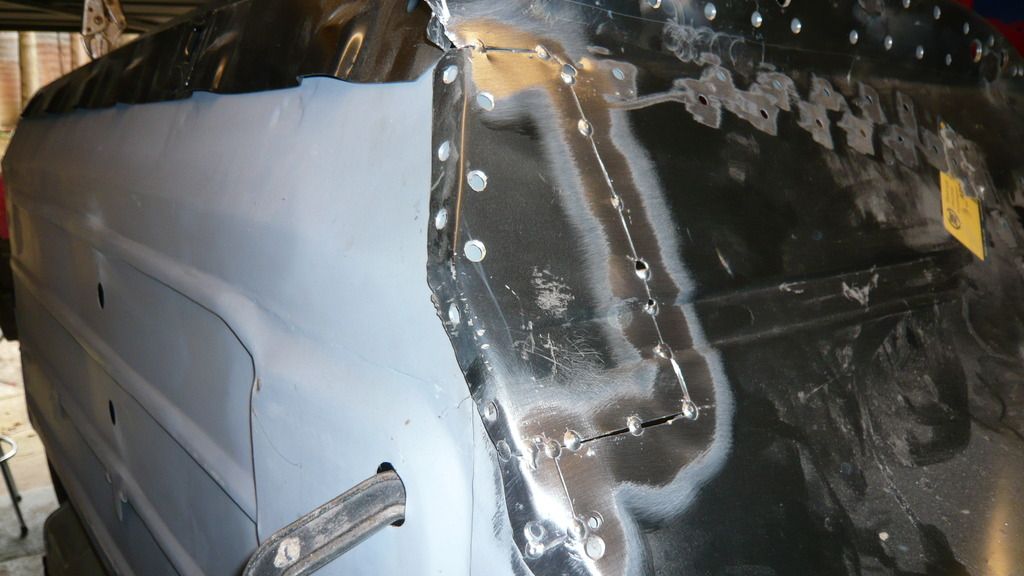
 

P1070073_zpsclpbxebb.jpg


Then welded it up fully


P1070074_zpsw0gs364n.jpg


And ground it back


P1070075_zpslxok3ron.jpg


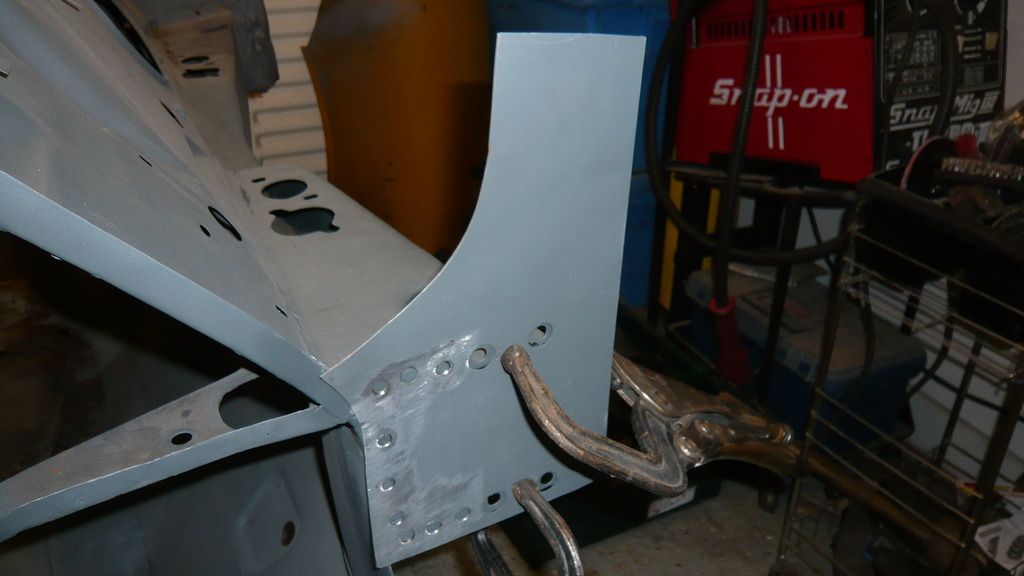
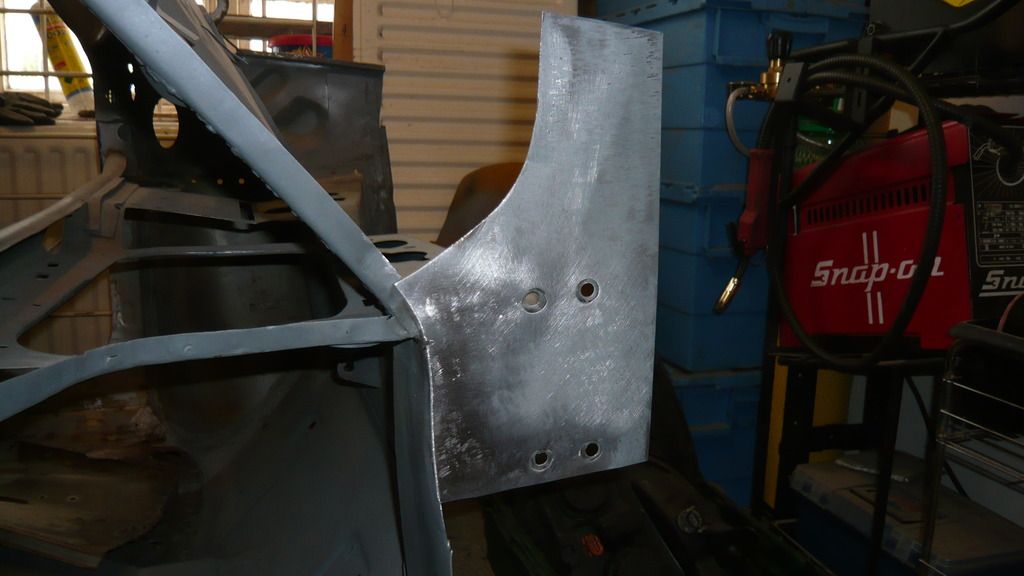
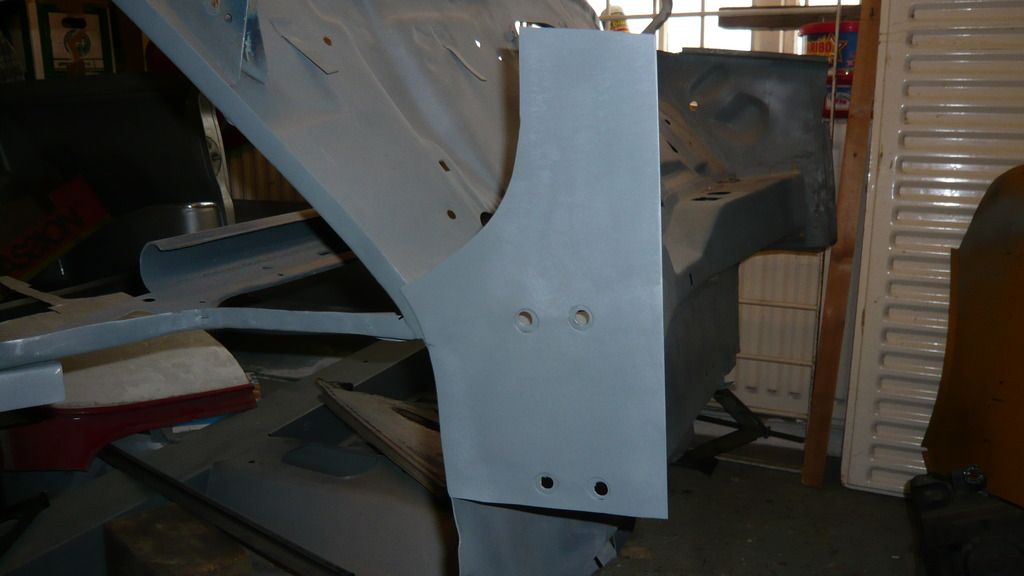
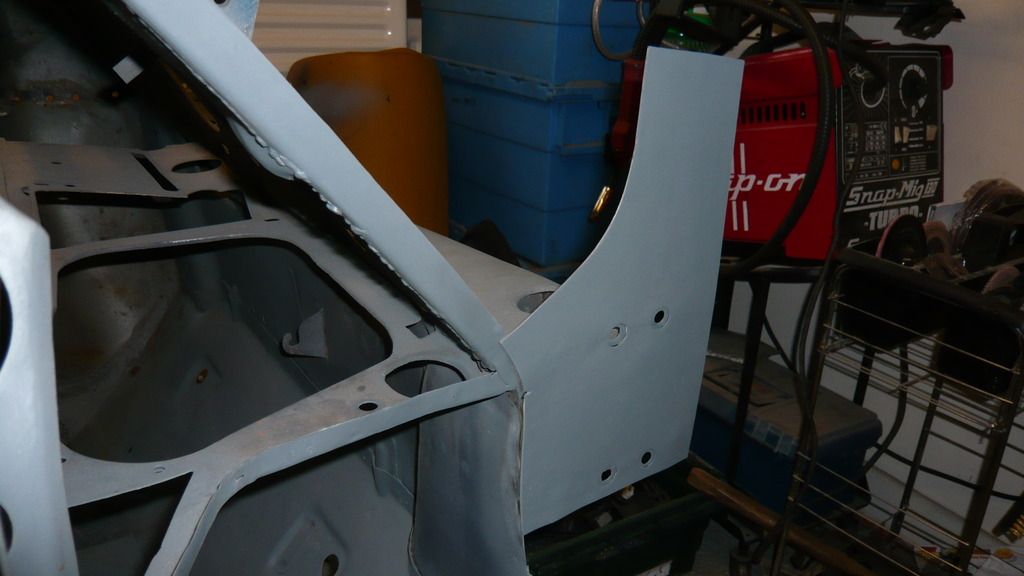
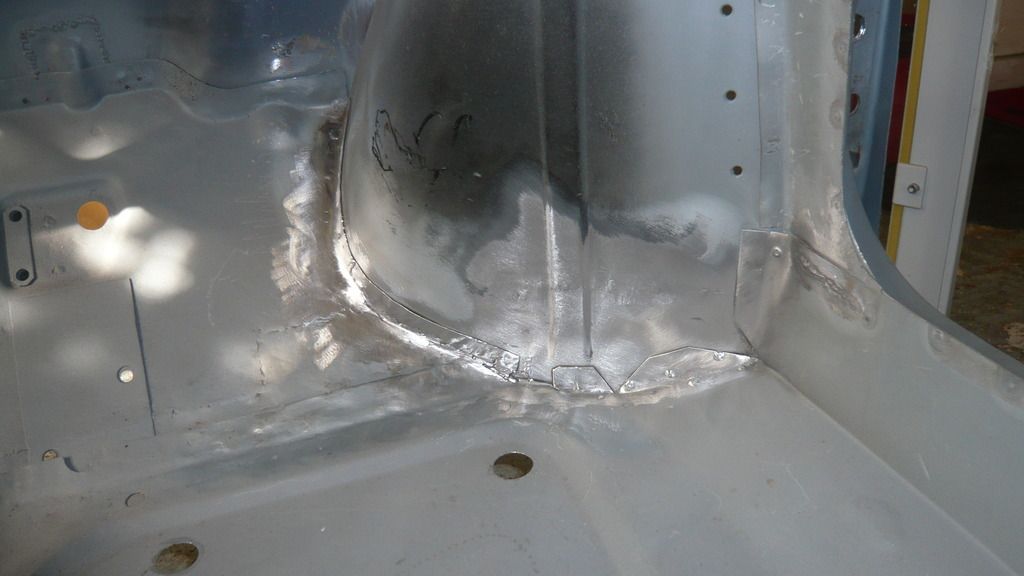
Once it was all sorted, i ended up with an odd shaped part where it wraps under the floor so i have made up a piece to go in. Not strictly needed but i felt it would look neater
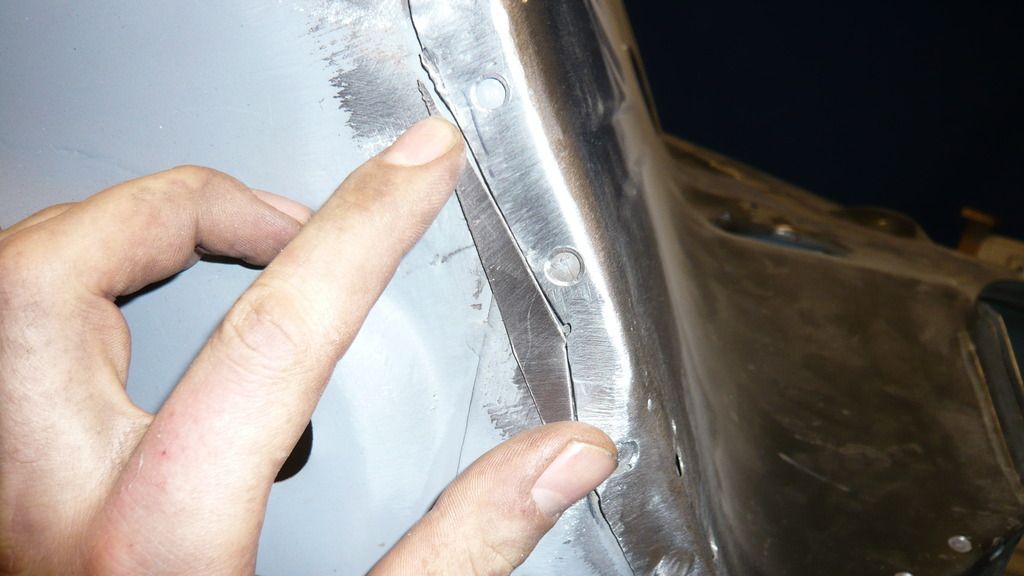
 

P1070077_zps1vjuavd9.jpg


That will be welded in tomorrow along with the rest of the plug welds on the inner wing. Other than that, i need to trim the bottom of the inner wing where it meets the front of the outer sill as the profile is wrong.


Cheers


Ben


#831 Carlos W

Carlos W

    Mine is purple, but I have been told that's normal

  • TMF+ Member
  • PipPipPipPipPipPipPipPipPipPipPip
  • 10,114 posts
  • Location: Sittingbourne, Kent

Posted 02 April 2015 - 08:04 PM

Excellent work as always mate.

When is the rest of the front end going on?

#832 Jared Mk3

Jared Mk3

    Has a small thing but it does make a difference

  • Members
  • PipPipPipPipPipPipPipPip
  • 1,974 posts
  • Location: Kokstad, South Africa
  • Local Club: MOCKZN

Posted 02 April 2015 - 08:12 PM

The attention to detail on this build is superb.


#833 SAL 821X

SAL 821X

    Camshaft & Stage Two Head

  • Members
  • PipPipPipPipPipPipPipPip
  • 1,890 posts
  • Location: Hinckley
  • Local Club: Leicester Mini Owners Club

Posted 02 April 2015 - 08:58 PM

Fantastic fabrication as ever Ben.

#834 Ben_O

Ben_O

    Mill Road Garage

  • Paint Doctor
  • PipPipPipPipPipPipPipPipPipPip
  • 9,785 posts
  • Location: Isle of Wight

Posted 03 April 2015 - 08:16 AM

Excellent work as always mate.

When is the rest of the front end going on?

Cheers Carl


The rest of the front end will go on last once the rest of the body is done.

Once the inner wing is complete, the a panel will go on then i will move back to doing the quarter panel and outer sill etc.


#835 Ben_O

Ben_O

    Mill Road Garage

  • Paint Doctor
  • PipPipPipPipPipPipPipPipPipPip
  • 9,785 posts
  • Location: Isle of Wight

Posted 03 April 2015 - 08:17 AM

The attention to detail on this build is superb.

Thanks Mate :-)


#836 Ben_O

Ben_O

    Mill Road Garage

  • Paint Doctor
  • PipPipPipPipPipPipPipPipPipPip
  • 9,785 posts
  • Location: Isle of Wight

Posted 03 April 2015 - 08:17 AM

Fantastic fabrication as ever Ben.

Cheers Mate.


I just can't understand why that bit didn't fit right?? Oh well, i guess these things happen


Ben


#837 Ben_O

Ben_O

    Mill Road Garage

  • Paint Doctor
  • PipPipPipPipPipPipPipPipPipPip
  • 9,785 posts
  • Location: Isle of Wight

Posted 12 April 2015 - 07:14 AM

Right, yesterdays progress.


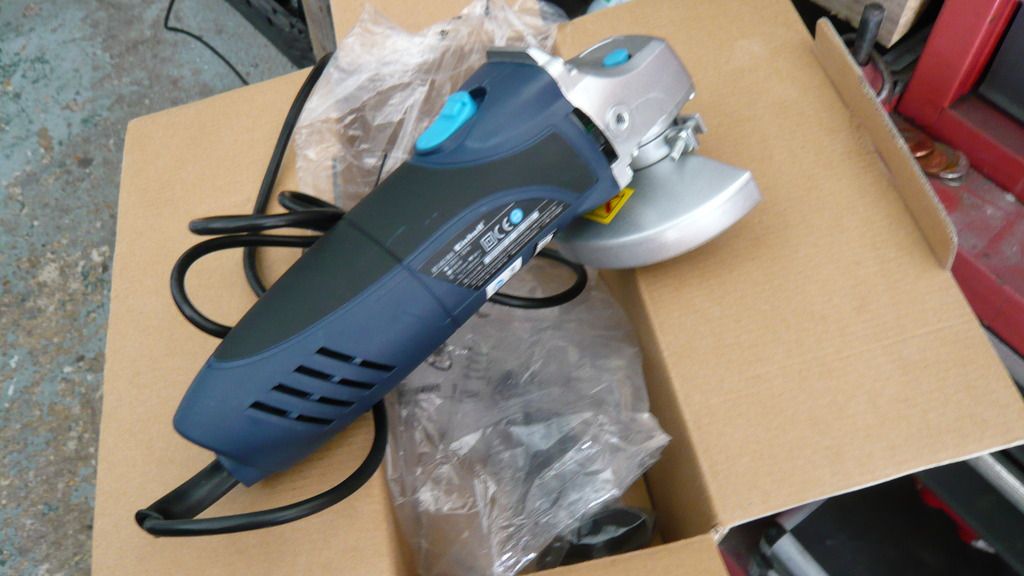
First up, i needed to go and buy yet another grinder as the crappy silverline one packed up for the second time. I bought an Einhell one which is the best grinder i have ever owned!


P1070147_zps9eenabu8.jpg


The motor is so smooth and it really is much quieter in operation than the others i have owned. I would recommend it to anyone.


So i started by plug welding the bottom of the inner wing to the floor and inner sill


P1070150_zpsz0lmgxc7.jpg


P1070149_zpstmh3mkgw.jpg


Ground those down


P1070154_zpshlq0rsbd.jpg


P1070152_zpsllurmnpq.jpg


P1070153_zps5yhspym5.jpg


Back on it's belly, i cleaned the inside up


P1070156_zpssjdj1hin.jpg


And made up some filler pieces


P1070157_zpsbu0xtu2p.jpg


Then welded them and ground them down


P1070158_zpszyyrhzda.jpg


I did run out of time so ill tidy them some more today and also get the rest of the plug welding done on the inner wing.


Cheers


Ben


#838 Hendred

Hendred

    Speeding Along Now

  • Members
  • PipPipPipPipPip
  • 484 posts
  • Location: Cleobury Mortimer Nr Ludlow, Shropshire Name: John

Posted 12 April 2015 - 07:41 AM

Looking so good Ben, it actually motivates me reading your thread to keep going with mine so thank you!


#839 minimissions

minimissions

    Up Into Fourth

  • Members
  • PipPipPipPipPipPipPipPipPip
  • 3,427 posts
  • Location: North West
  • Local Club: M.M.O.C

Posted 12 April 2015 - 12:12 PM

Just looked at a small part of thi build and wow what tidy work I love the attention to detail that you have taken the time to do. Top work, going to go back and have a proper look through now ;)

#840 myredmini

myredmini

    My Mummy Says It's OK

  • Members
  • PipPipPipPipPipPipPipPipPip
  • 3,211 posts
  • Name: Dan
  • Location: Teesside
  • Local Club: BOG MOG

Posted 12 April 2015 - 12:23 PM

All these small touches make a big difference! :thumbsup:  top work Ben. 


1 user(s) are reading this topic

0 members, 1 guests, 0 anonymous users