To be honest it looks pretty sh*tting AMAZING!

Mini 25 Full Rebuild
#811

Posted 25 March 2015 - 10:37 AM
#812

Posted 25 March 2015 - 12:37 PM
To be honest it looks pretty sh*tting AMAZING!
Thanks for the compliment!
#813

Posted 25 March 2015 - 08:29 PM
A small ish update today.
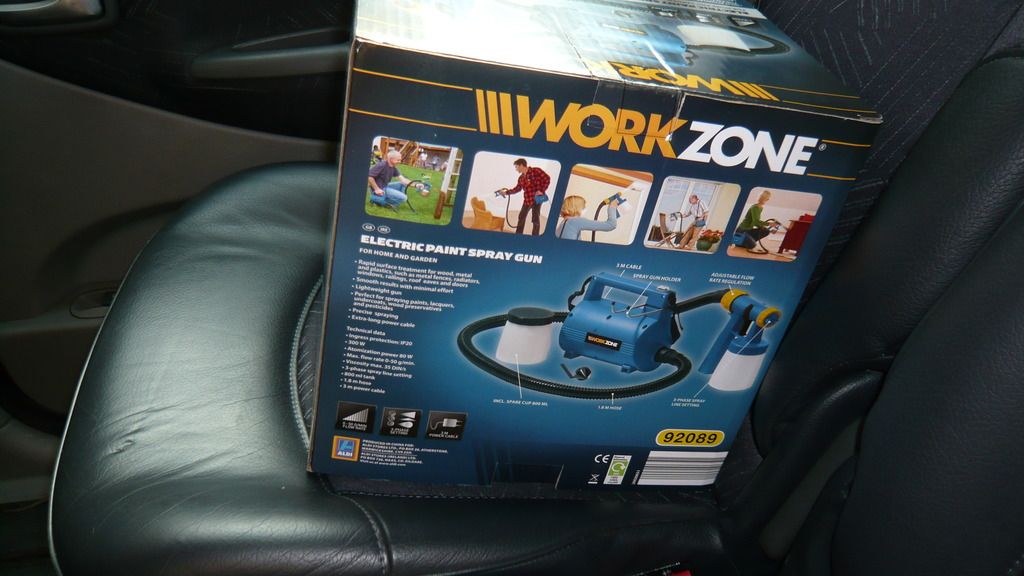
First off i went shopping and picked up this
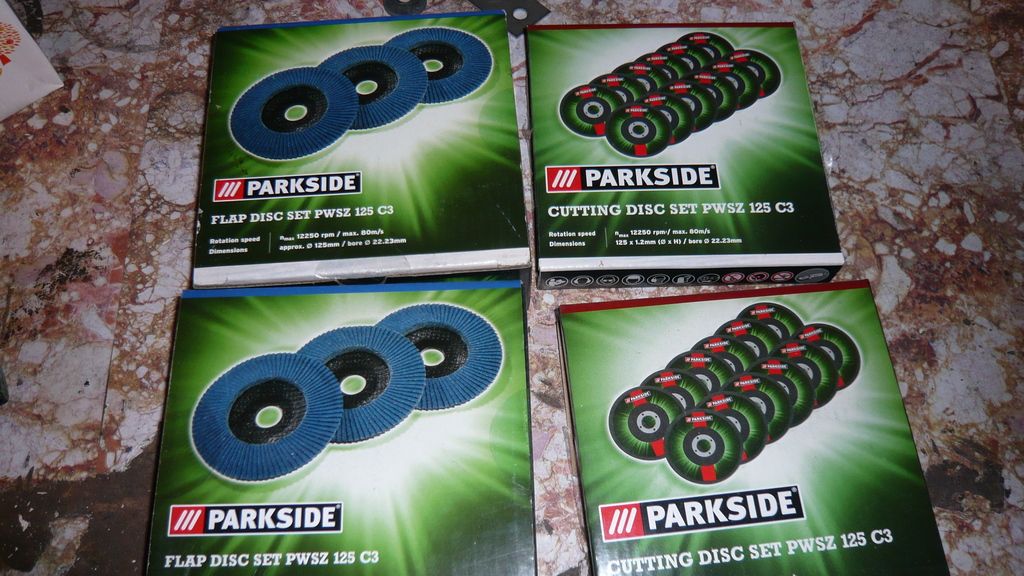
And these
I plan to use the electric spray gun to apply the primer. I used one before to spray a couple of cars and it worked ok.
Now onto the work.
Today was all about making preparations for the inner wing which involved rebuilding flanges and drilling holes.
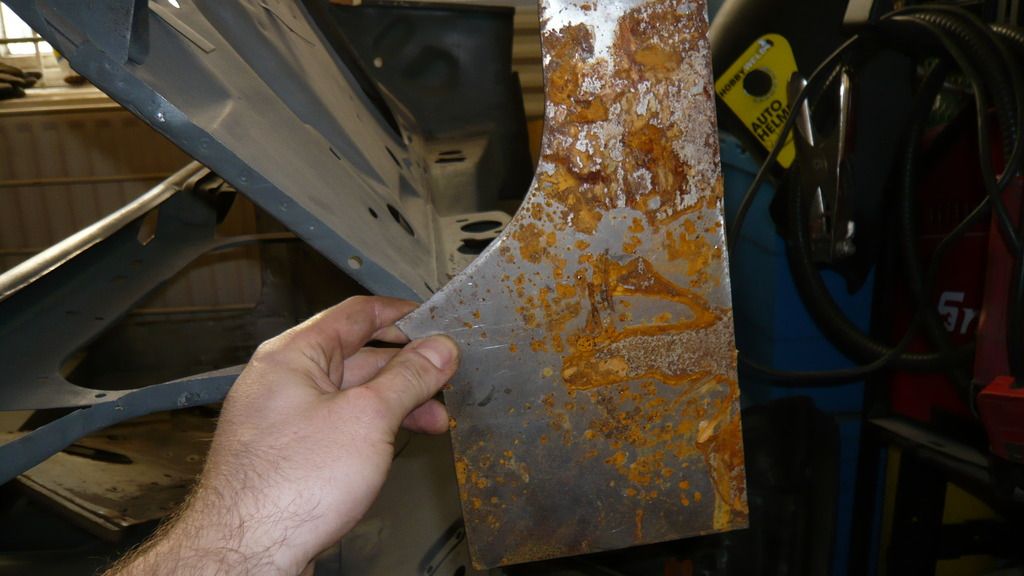
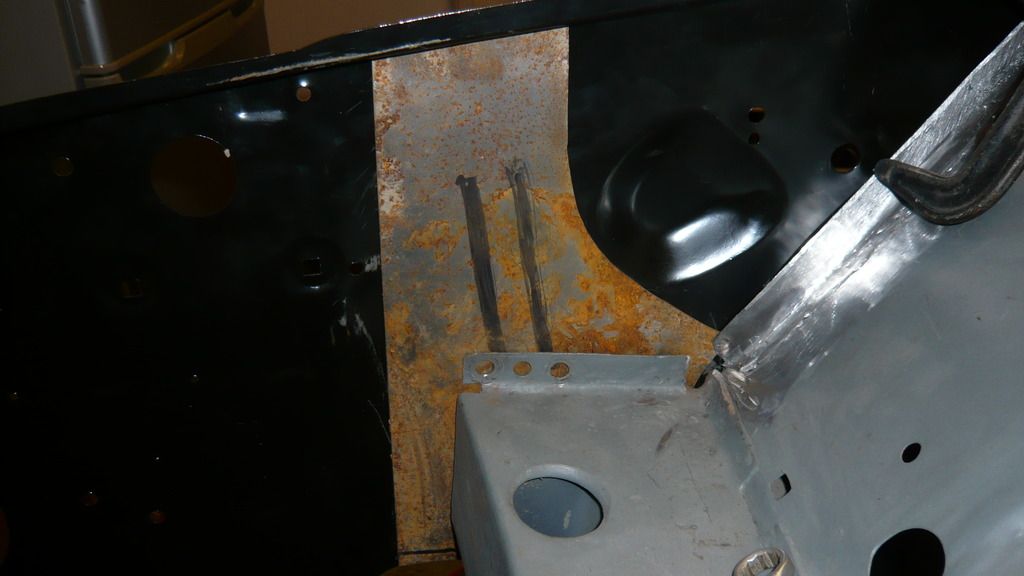
I also needed to dig out the inner wing stiffener that i made many moons ago to get it cleaned up.
Here it is in all it's rusty flood damaged goodness
But before i could start, i had to refit the inner wing to mark out the holes for the bottom of the top shock mount in the end of the crossmember
Here it is all bolted up ready
And then after i marked it up, i removed the inner wing again and drilled the holes in the crossmember
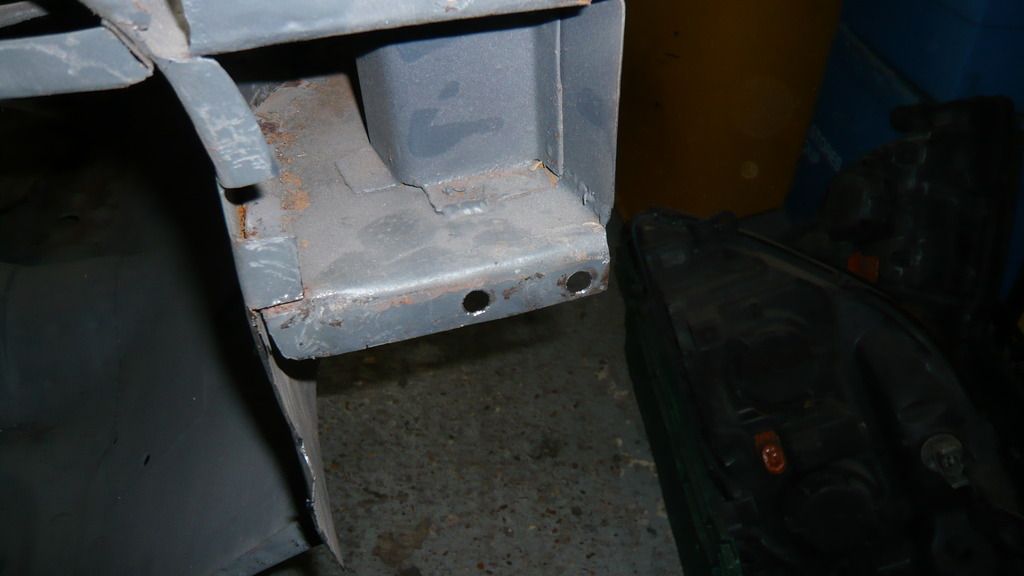
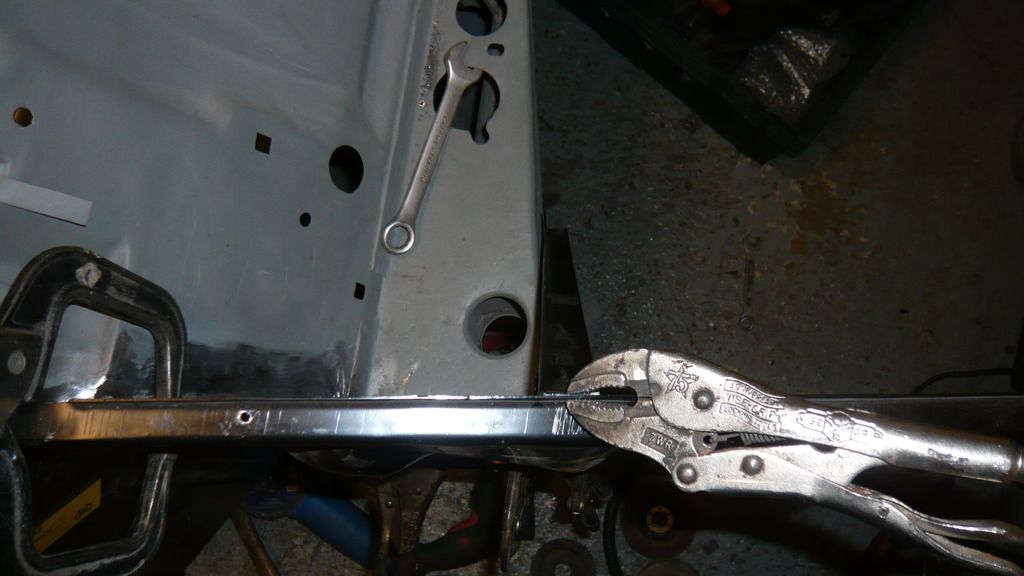
Then i could set about rebuilding the flanges.
This was the first one
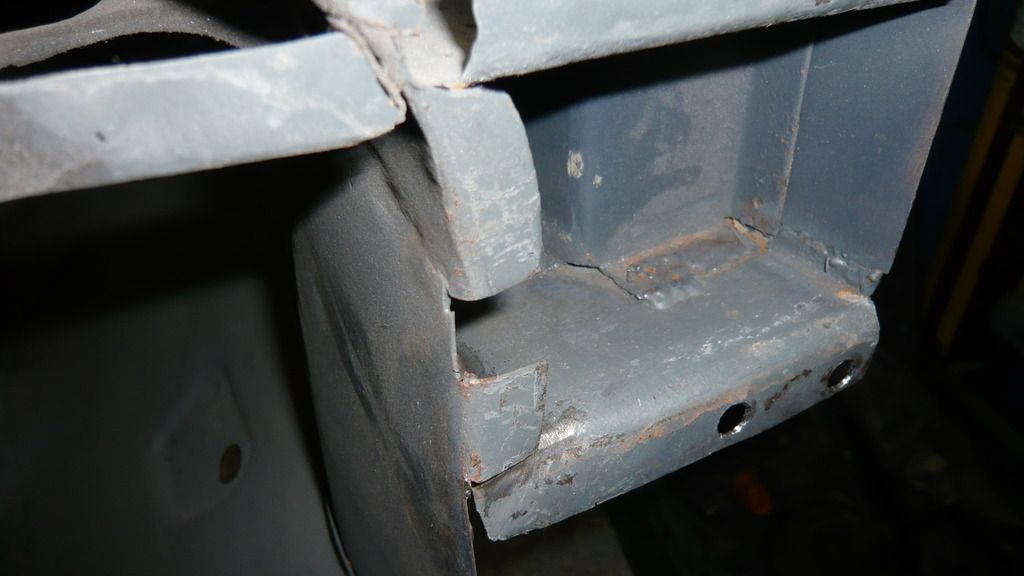
The second one was the one on the edge of the top section of bulkhead where it welds to the inner wing but more on that in a minute
I cut off the old flange and started cleaning up inside the crossmember as there were light traces of rust from the flood we had.
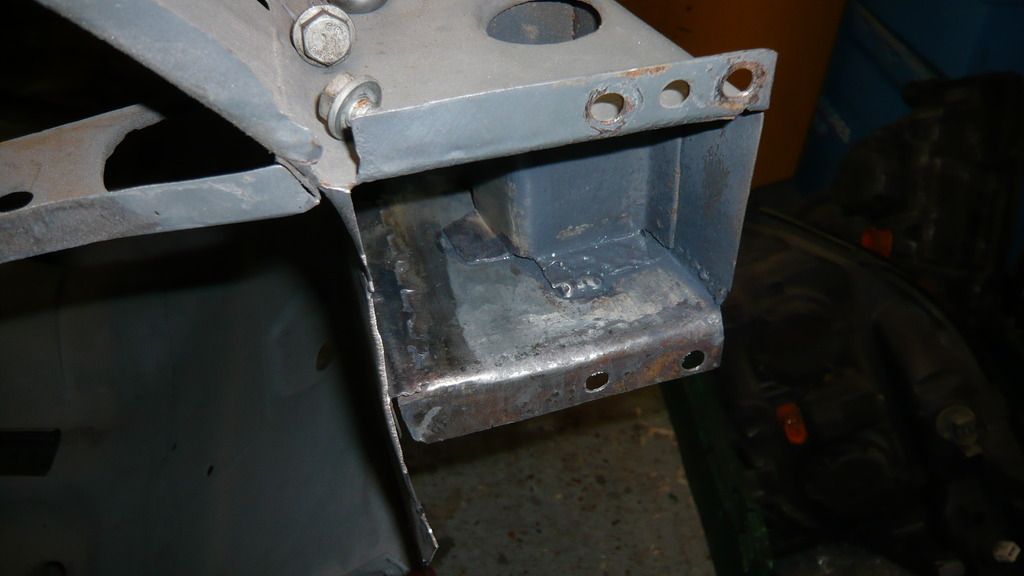
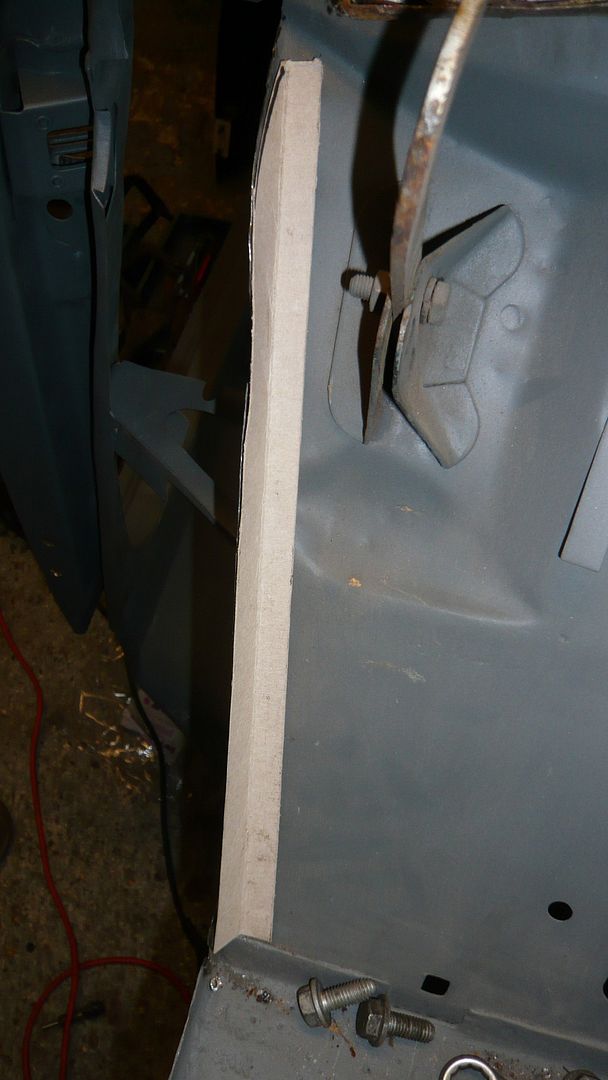
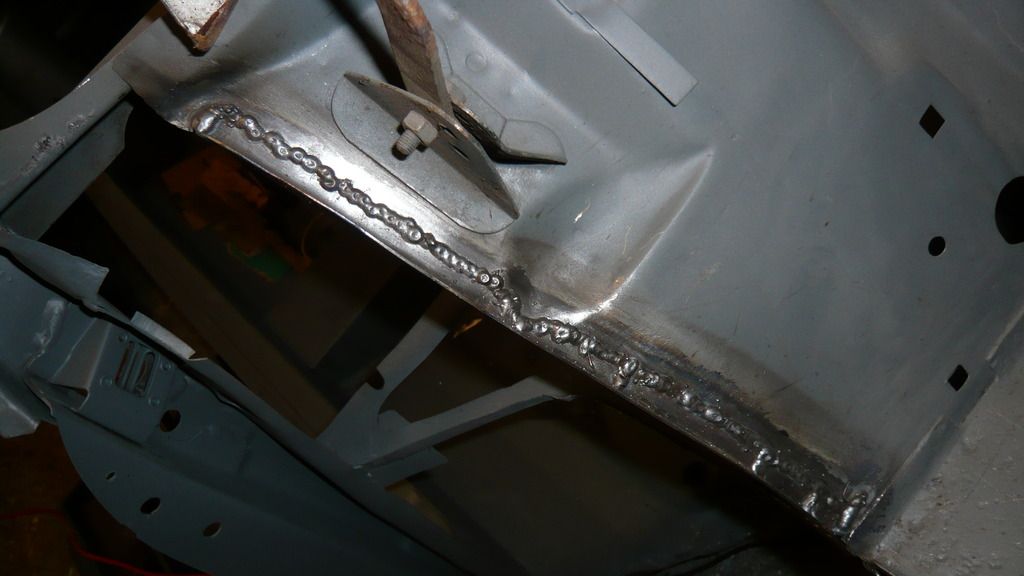
Then i made up a new piece using a card template and welded it in
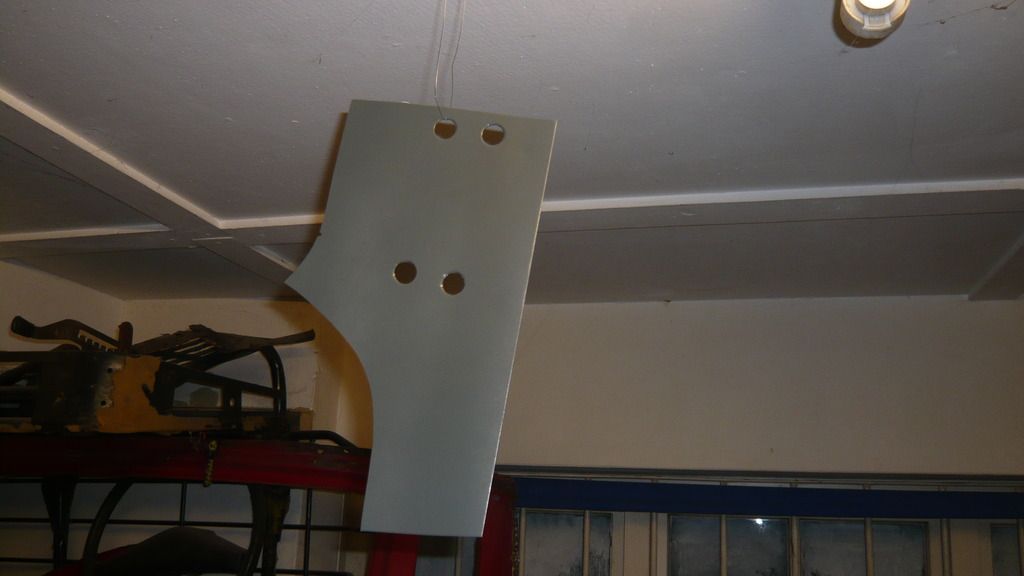
With that done I started making a template for the other flange. The reason behind replacing it was that it was too thin in places, the flange was not broad enough and there were gaps and tears most of the way along.
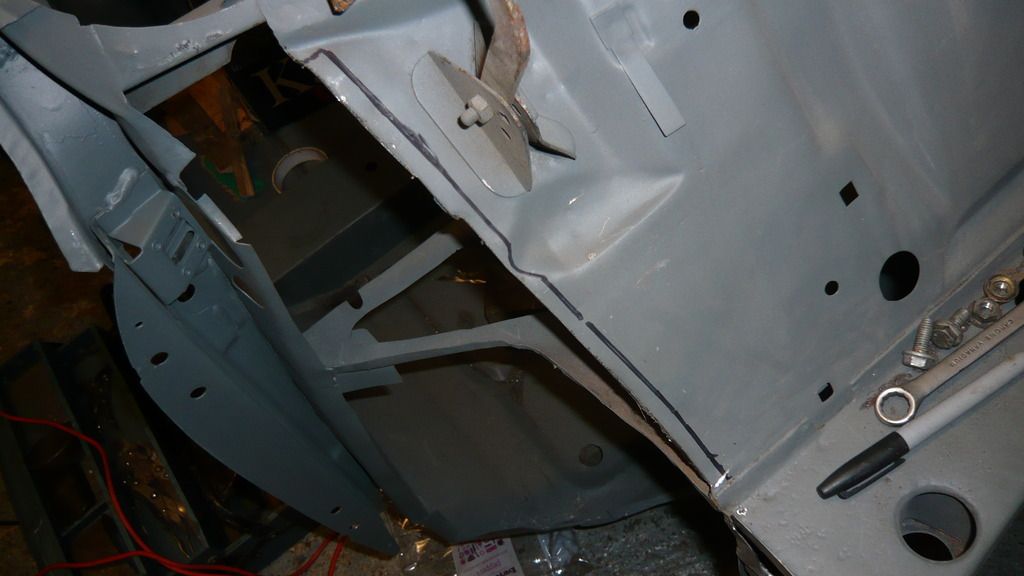
Then after making up the plate in steel, i cut the edge off and marked out the position of the new one ready to cut.
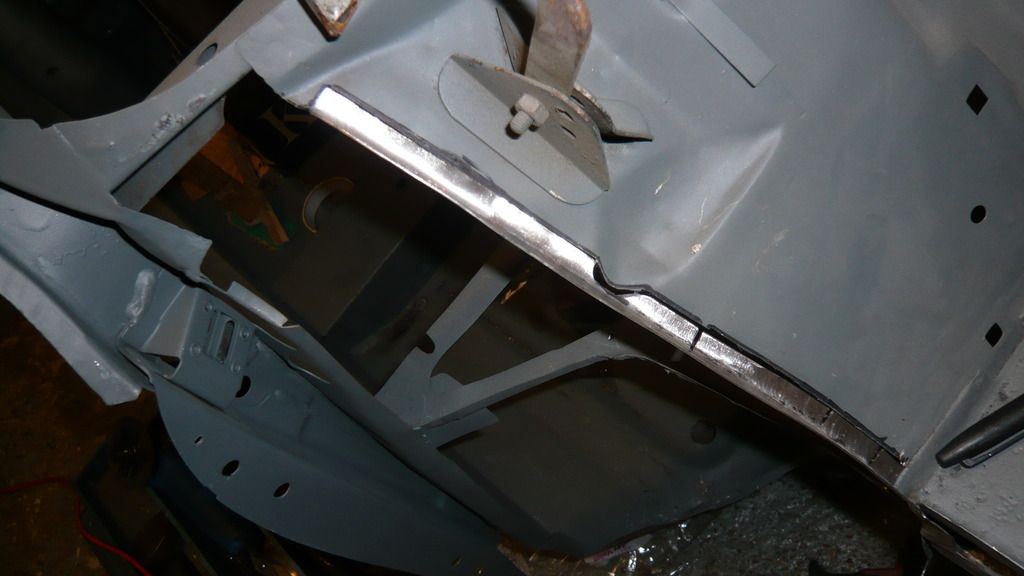
and once cut, i laid the new piece in. I made a slight mistake in the middle but ill just fill it with weld
Then i tacked it in place making sure it was even and flat to the bulkhead as the shape changes at various points up the bulkhead
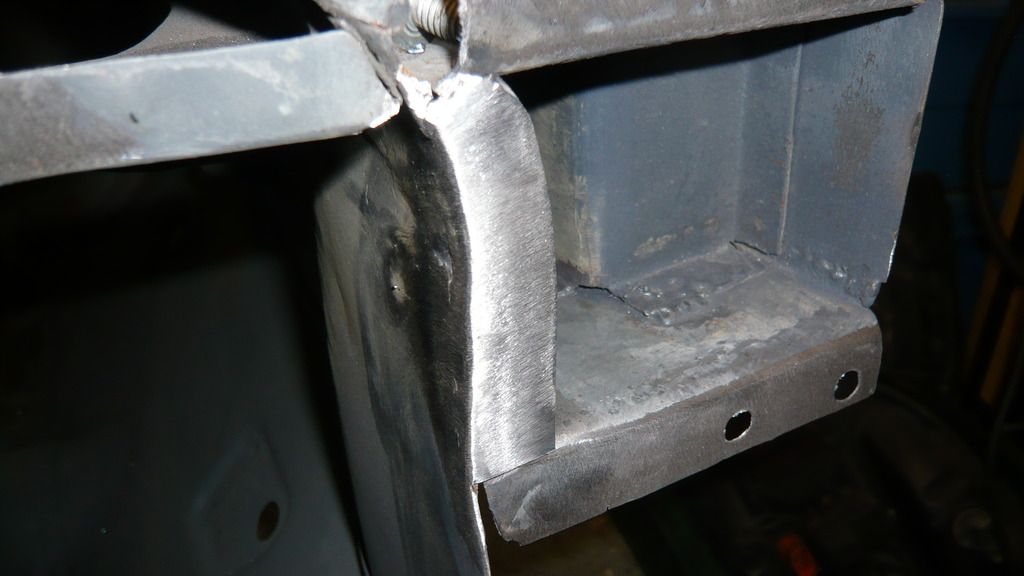
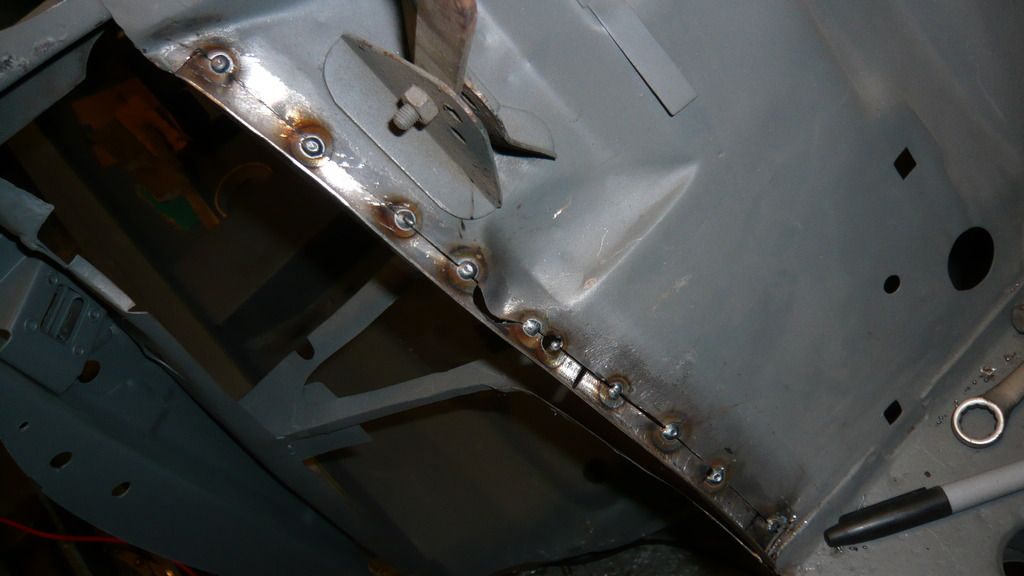
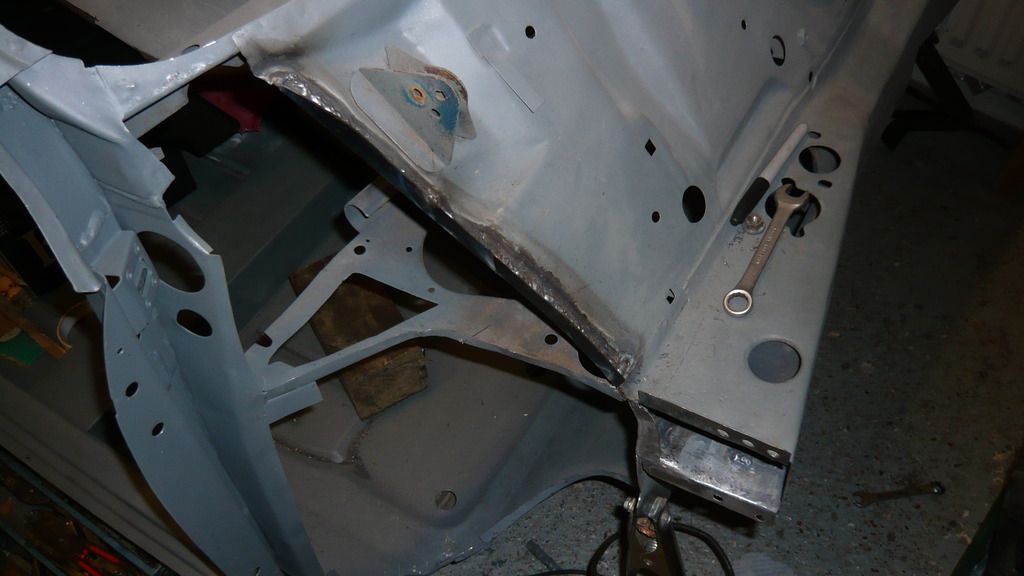
Then i welded it up fully
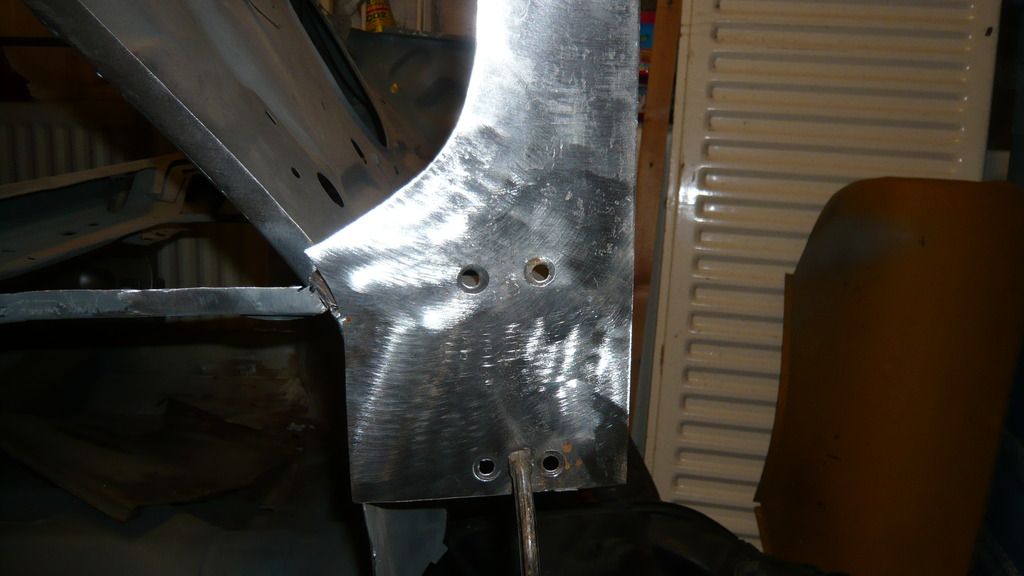
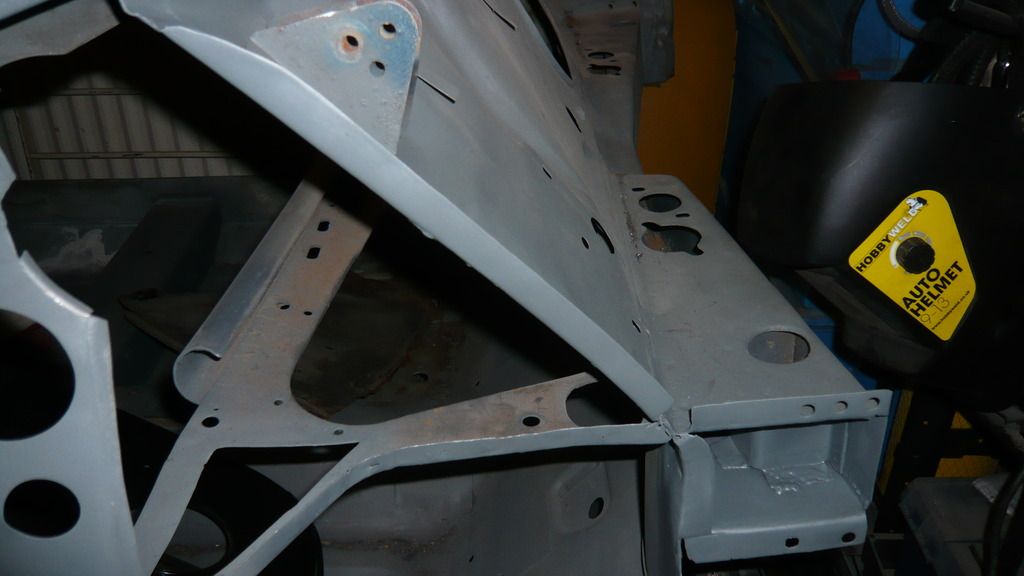
Here it is fully fitted
And then roughly ground up for now, ill give it a bit ore of a tickle later as it would be better to use a burr which i don't have right now (lost it)
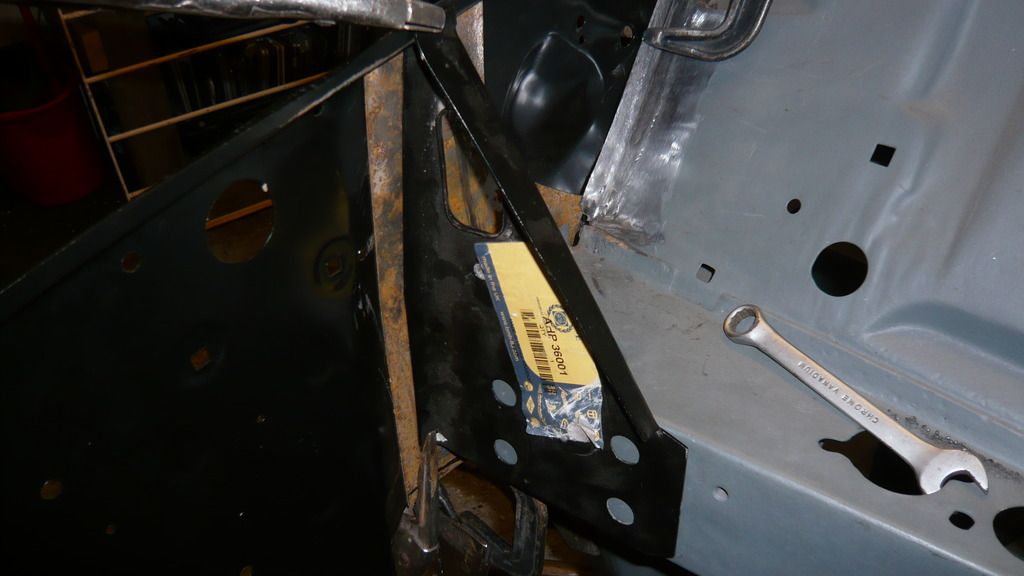
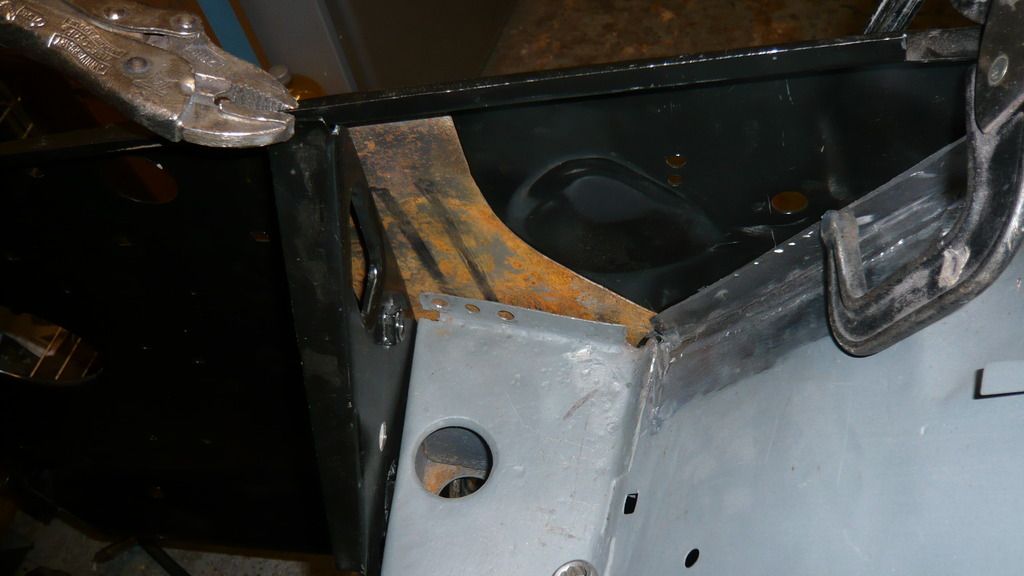
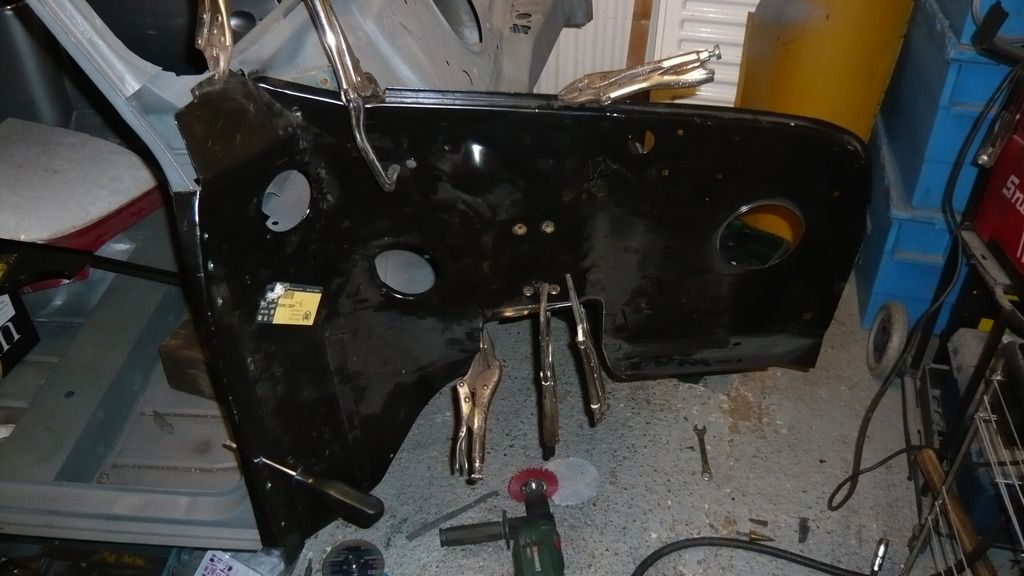
Next job was to pop the inner wing back on so i could mark the top shock mount holes in the reinforcer panel. I had to line up the holes in the inner wing with the holes in the crossmember and then clamp it elsewhere to leave the area clear to slip the reinforcer in/
Here it is all clamped up and slid into place.
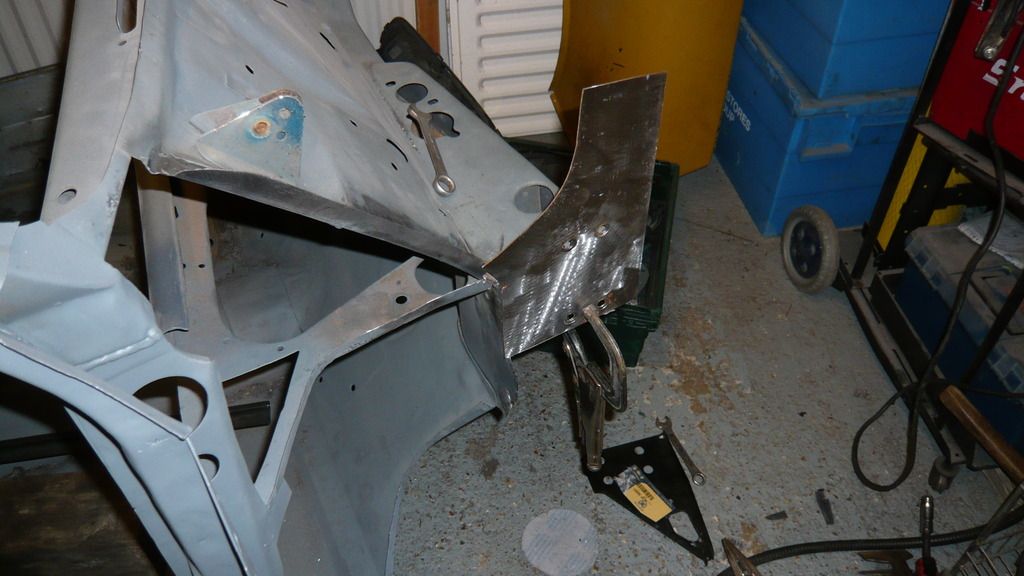
Then i tried the other reinforcer in place to check i had enough meat at the front to stitch weld the reinforcers together
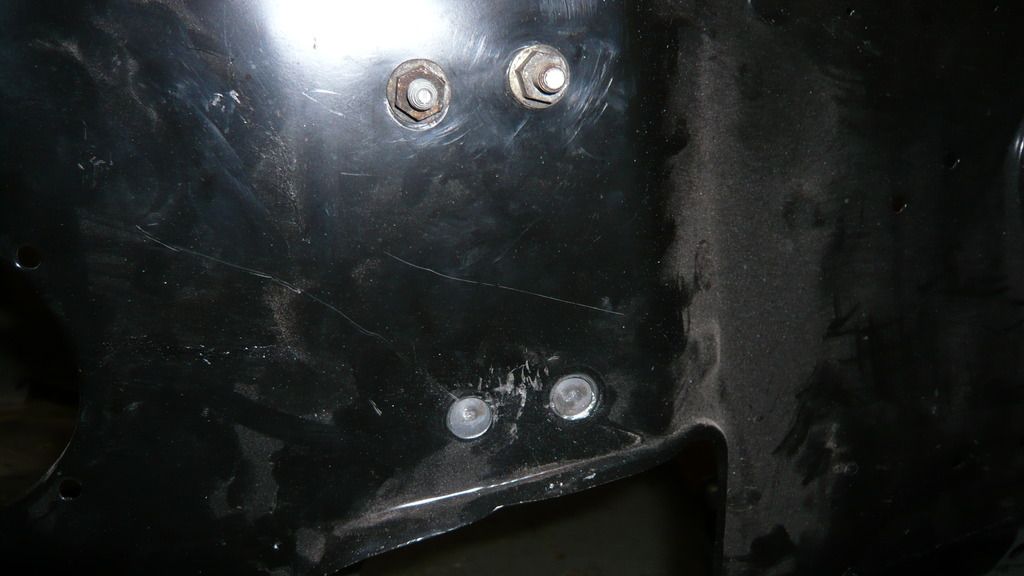
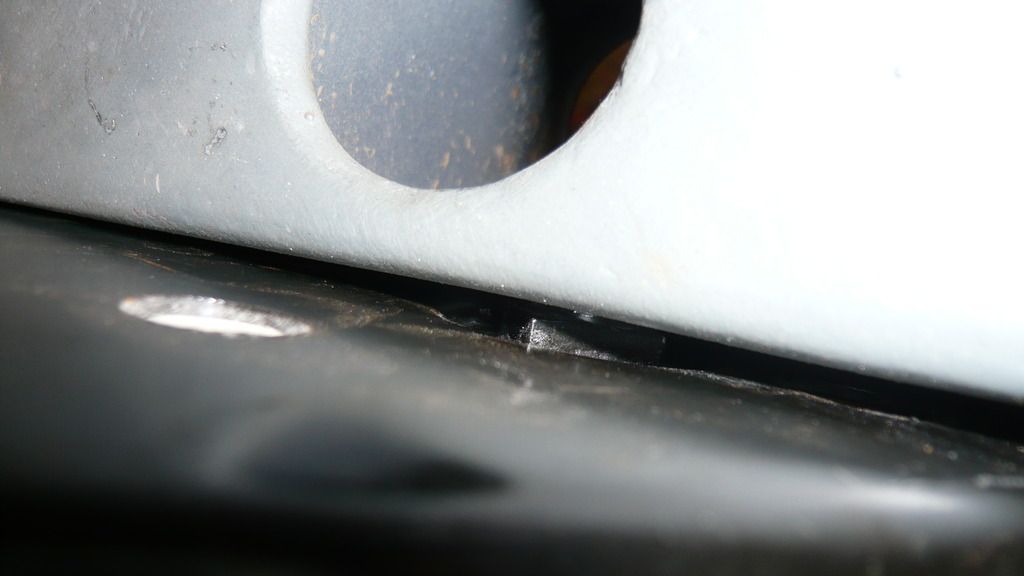
Looking ok but you will notice in the last picture that the reinforcer (black one) won't sit flush to the crossmember. This is because it has a captive nut on the back of it
I guess they must have changed things slightly on later cars. Ill chop the nut off before i fit it
So with everything in the right place, i marked the holes for the top mount
Just a couple of progress shots
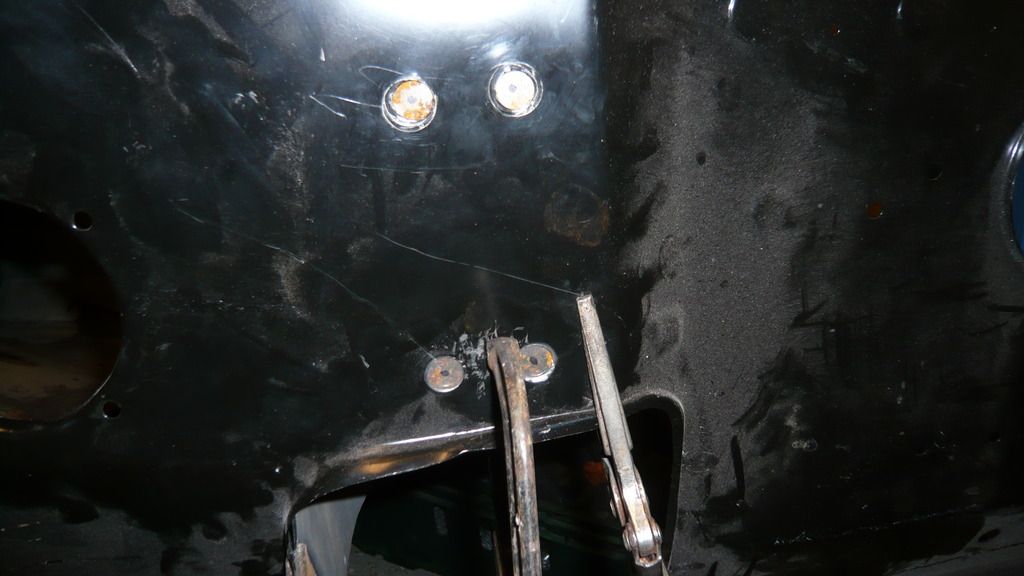
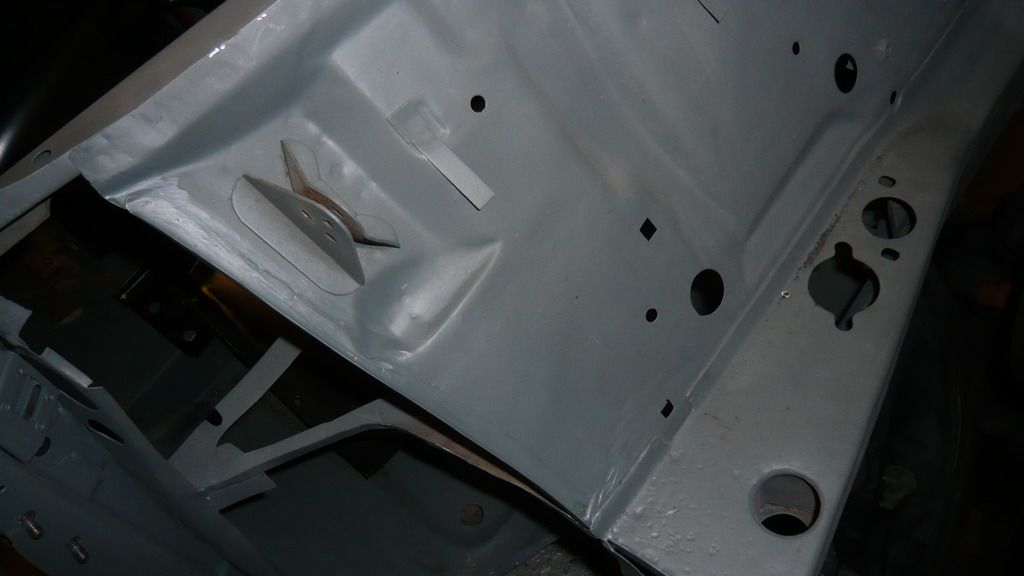
And then back off with the inner wing and i drilled the reinforcer and scaled the rust off of it.
Here it is clamped in place
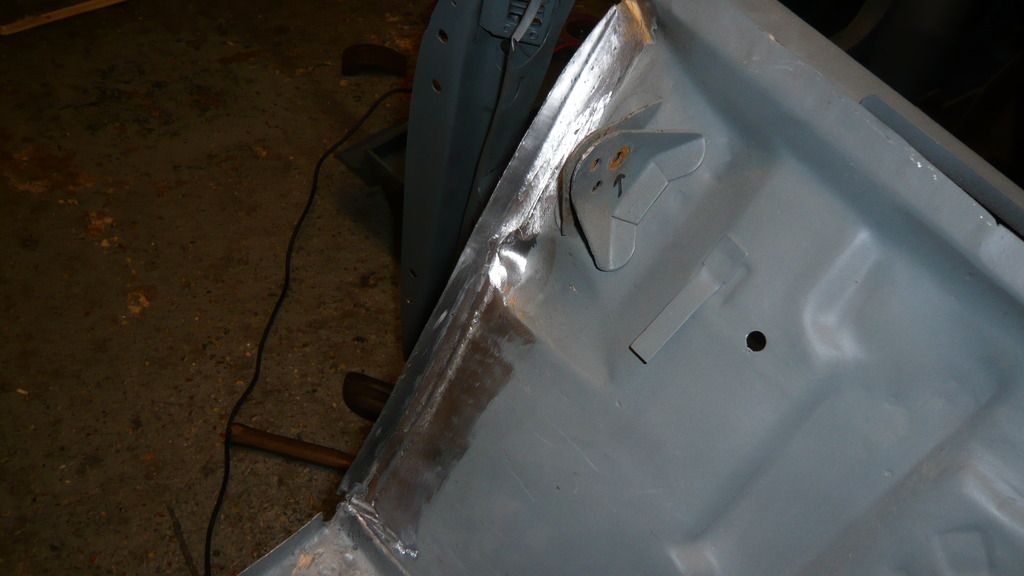
And then hung up and primed
And then i primed the new flanges and the inside of the crossmember
Tomorrow, i will get that reinforcer welded on and see where i go from there. I can't decide whether to get the inner wing fitted or get the quarter panel and that done.
If i fit the inner wing now, the car will take up more space......
Decisions decisions
Cheers
Ben
#814

Posted 25 March 2015 - 08:37 PM
Coming along well!
If you fancy it, you can always borrow my big 150 litre air compressor, and my paint gear for when you come to painting etc, the offer is there ![]()
#815

Posted 25 March 2015 - 08:38 PM
Coming along well!
If you fancy it, you can always borrow my big 150 litre air compressor, and my paint gear for when you come to painting etc, the offer is there
That's very kind of you Ross. Ill give you a shout if i need it.
![]()
Cheers!
#816

Posted 25 March 2015 - 08:42 PM
glad you solved that problem you had,Its coming together nicely..................... ![]() andy
andy
#817

Posted 25 March 2015 - 08:47 PM
glad you solved that problem you had,Its coming together nicely.....................
andy
Cheers Andy
#818

Posted 25 March 2015 - 08:56 PM
#819

Posted 25 March 2015 - 08:58 PM
Ben, Didnt your new inner wing come with a reinforcing plate attached. Mine was from M Machine which did. I didnt know you could get them without.
No mate, it didn't. Mine also came from M machine.
Did yours have the Apex panel on?
#820

Posted 25 March 2015 - 09:40 PM
#821

Posted 25 March 2015 - 09:44 PM
definatly.
Oh well, i made my plate before i even ordered the inner wing so it's no bother. Only took 5 mins!
Ben
#822

Posted 25 March 2015 - 09:45 PM
I need some new ones.
#823

Posted 25 March 2015 - 10:19 PM
Aldi or lidl discs?
I need some new ones.
Lidl mate. Any 2 for £7
#824

Posted 25 March 2015 - 11:29 PM
Great work, keep the updates comming can't wait to see the finished result.
#825

Posted 26 March 2015 - 12:17 PM
Aldi or lidl discs?
I need some new ones.Lidl mate. Any 2 for £7
Wicked I'll have to drop in on the way home. cheers
2 user(s) are reading this topic
0 members, 2 guests, 0 anonymous users


