Jump to content


Photo
* * - - - 3 votes

Mini 25 Full Rebuild


  • Please log in to reply
1498 replies to this topic

#796 Ben_O

Ben_O

    Mill Road Garage

  • Paint Doctor
  • PipPipPipPipPipPipPipPipPipPip
  • 9,785 posts
  • Location: Isle of Wight

Posted 22 March 2015 - 03:46 PM

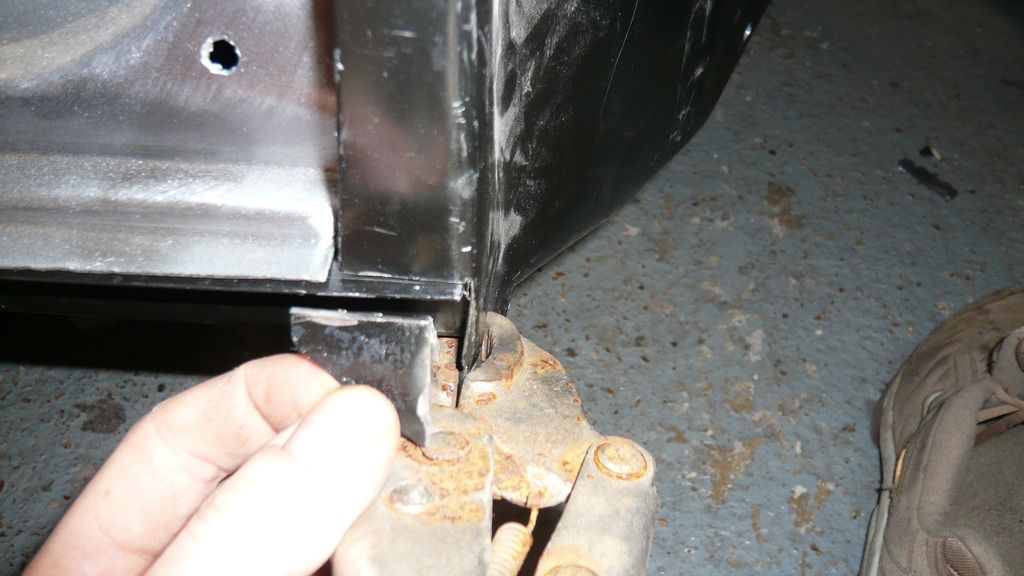
I have just had another play with the inner wing. I started by chopping the bottom bit off.


P1060879_zps5ozldwve.jpg


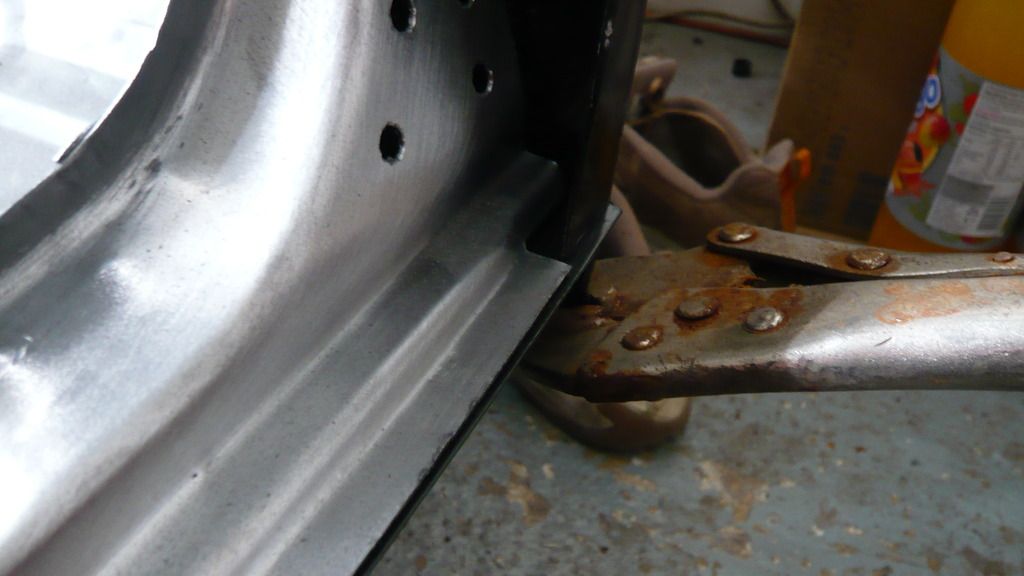
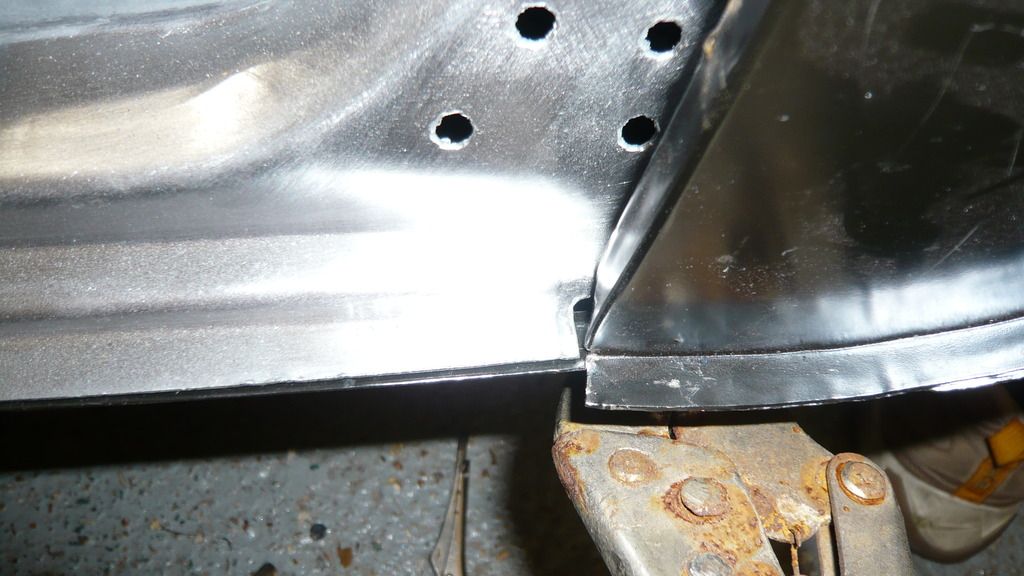
Which has allowed me to move the flitch in more


P1060876_zpsqt22mgvw.jpg


But it still needs to go over as you can see by me holding the A panel in place


P1060878_zpskrb9kudc.jpg


I'm not sure if it needs to go in or if the sill/step needs to come out or both??


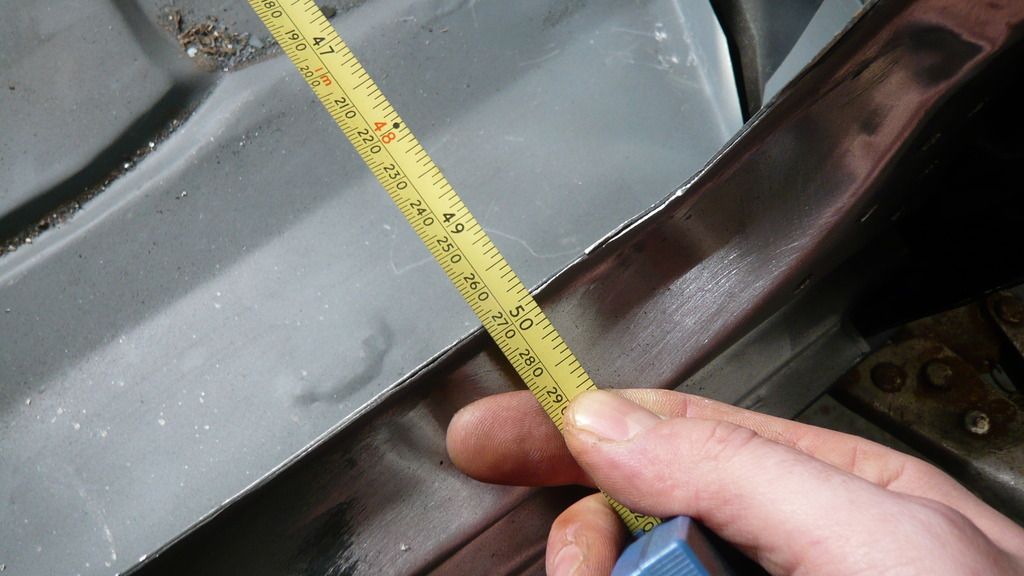
I took this measurement from seal lip to seal lip. Can anyone confirm that it's right please?


P1060875_zpssubmqksv.jpg


Cheers


Ben


#797 Petrol

Petrol

    One Carb Or Two?

  • Members
  • PipPipPipPipPipPipPip
  • 967 posts

Posted 22 March 2015 - 04:05 PM

Mine is exactly 50" Ben


Pete


#798 Ben_O

Ben_O

    Mill Road Garage

  • Paint Doctor
  • PipPipPipPipPipPipPipPipPipPip
  • 9,785 posts
  • Location: Isle of Wight

Posted 22 March 2015 - 04:11 PM

Mine is exactly 50" Ben


Pete

Ah so it's pretty damn close for a guess!

That means that the inner wing has got to go over more.


That's excellent!


Thanks Pete.


Ben


#799 Ben_O

Ben_O

    Mill Road Garage

  • Paint Doctor
  • PipPipPipPipPipPipPipPipPipPip
  • 9,785 posts
  • Location: Isle of Wight

Posted 24 March 2015 - 01:38 PM

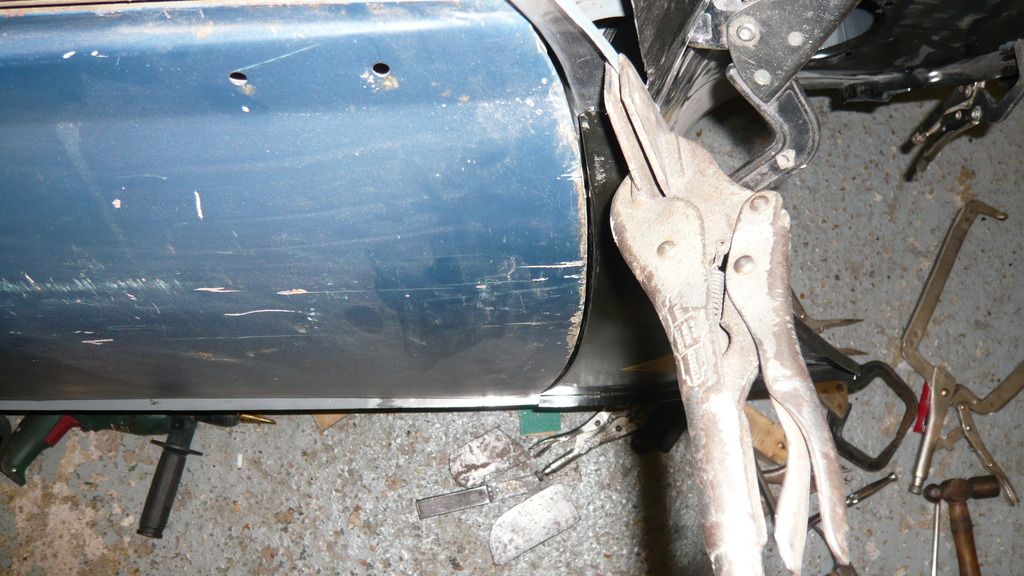
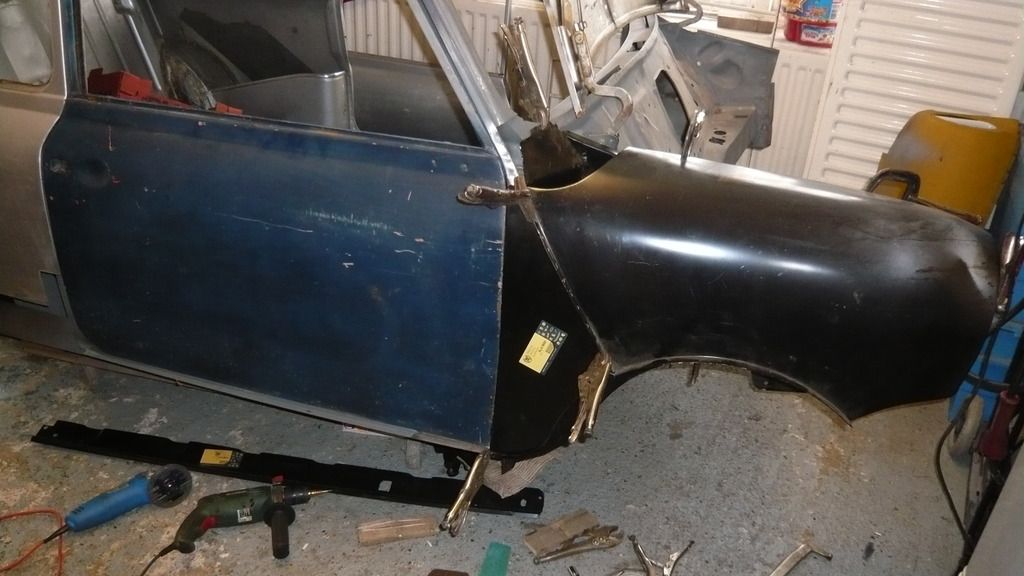
I decided i'm finally going to weld on the hinge post today but i needed to build it up more times to be certain i was happy with the positioning.


I started by putting the hinge post, inner wing and door back on along with the Apex panel to gauge the door height and position.


Hinge holes all lined up
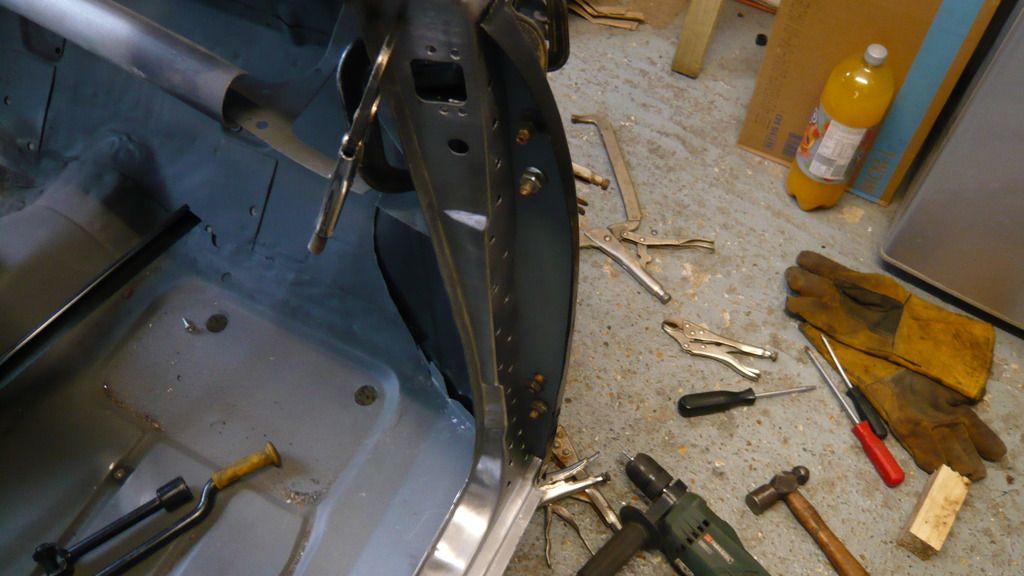
 

P1060905_zpsnwcg04mw.jpg


And door on


This gap is a tad wide so i will have to attend to that later
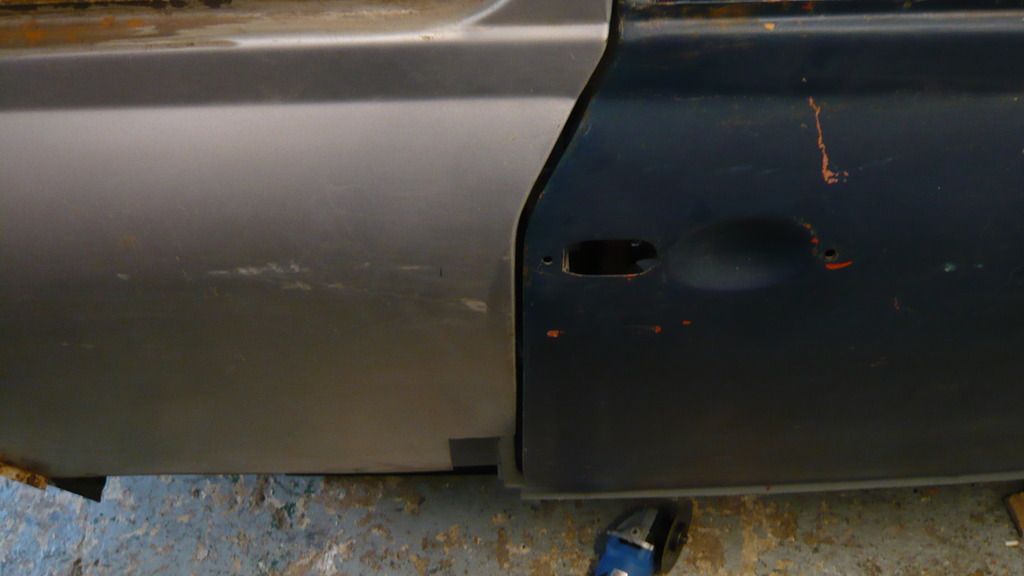
 

P1060906_zpsyxwa8rmc.jpg


This one is ok though. pretty close anyway. I might reduce it slightly later
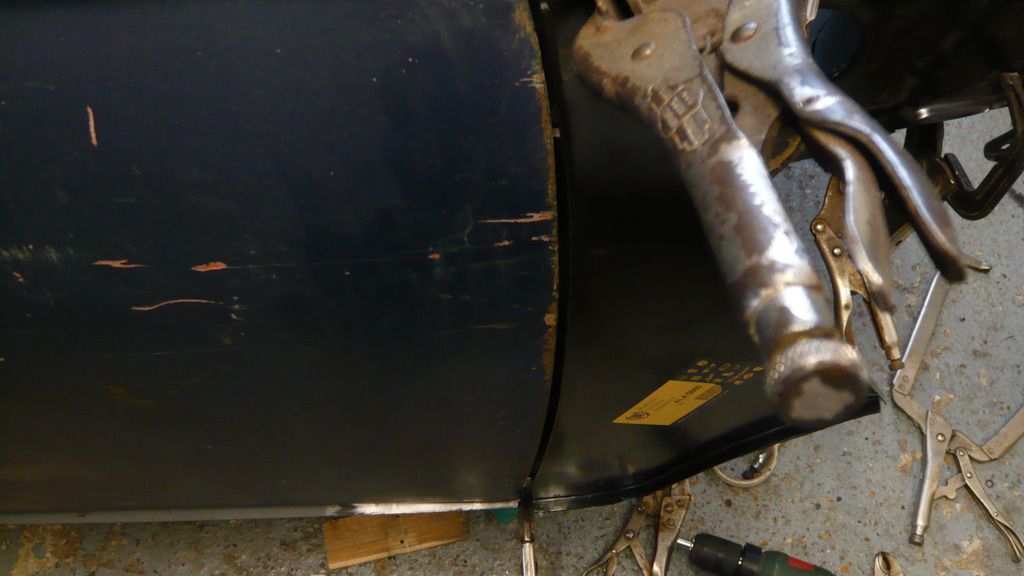
 

P1060907_zps6feko8lw.jpg


So happy with that, i screwed the inner wing to the hinge post to keep it all in place and removed the panels.


Then i popped a plug weld in the top
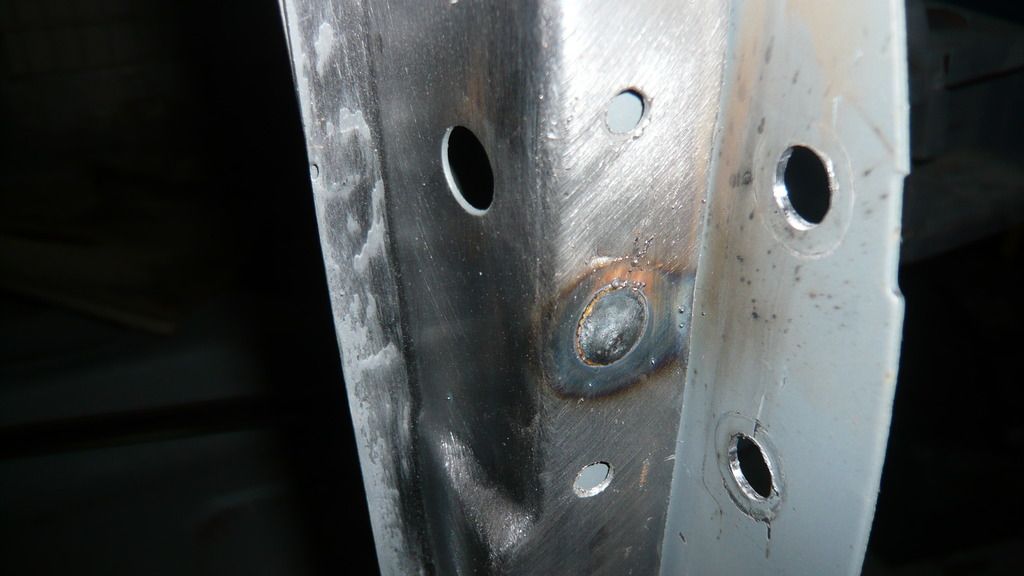
 

P1060925_zpsdmslshbi.jpg


And then one in the bottom


P1060926_zpsciaab7on.jpg


Followed by a slug here


P1060912_zpszu8scpke.jpg


Then i built it all up again to check everything was still good before i finish the welding here.


The hinge holes line up spot on now
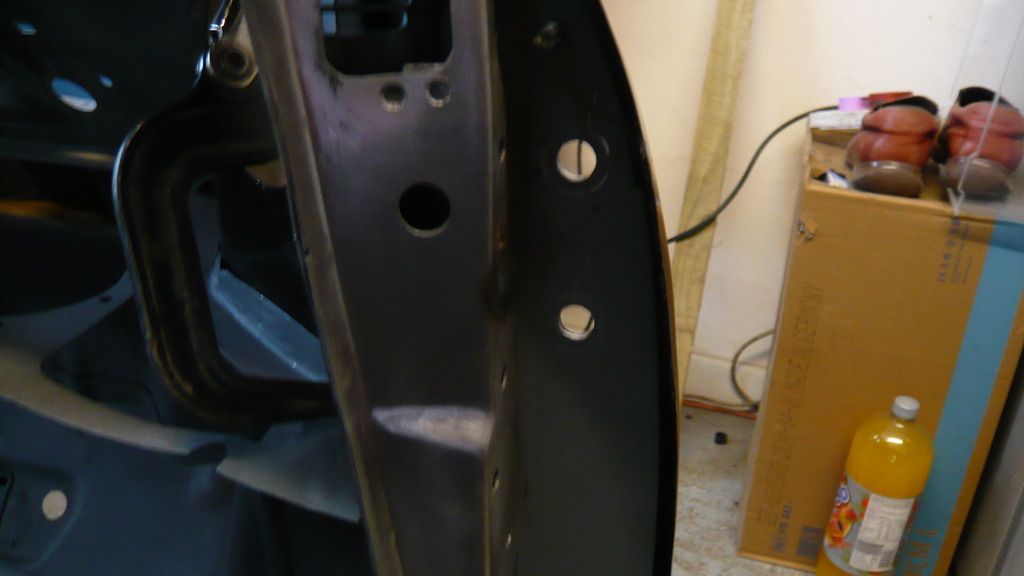
 

P1060916_zps2jmkdcqh.jpg


P1060917_zps5jul5krm.jpg


And this is the gaps.


P1060918_zpshl7plywa.jpg


P1060922_zpsczm2ubve.jpg


I'm quite pleased with that. 


It's all stripped back down now and i plan to go back out there later and finish the plug welding on the Hinge post.


Ben


#800 Carlos W

Carlos W

    Mine is purple, but I have been told that's normal

  • TMF+ Member
  • PipPipPipPipPipPipPipPipPipPipPip
  • 10,114 posts
  • Location: Sittingbourne, Kent

Posted 24 March 2015 - 04:22 PM

Loving your work Ben
#801 Ben_O

Ben_O

    Mill Road Garage

  • Paint Doctor
  • PipPipPipPipPipPipPipPipPipPip
  • 9,785 posts
  • Location: Isle of Wight

Posted 24 March 2015 - 05:02 PM

Loving your work Ben

Thankyou mate!


#802 Ben_O

Ben_O

    Mill Road Garage

  • Paint Doctor
  • PipPipPipPipPipPipPipPipPipPip
  • 9,785 posts
  • Location: Isle of Wight

Posted 24 March 2015 - 05:11 PM

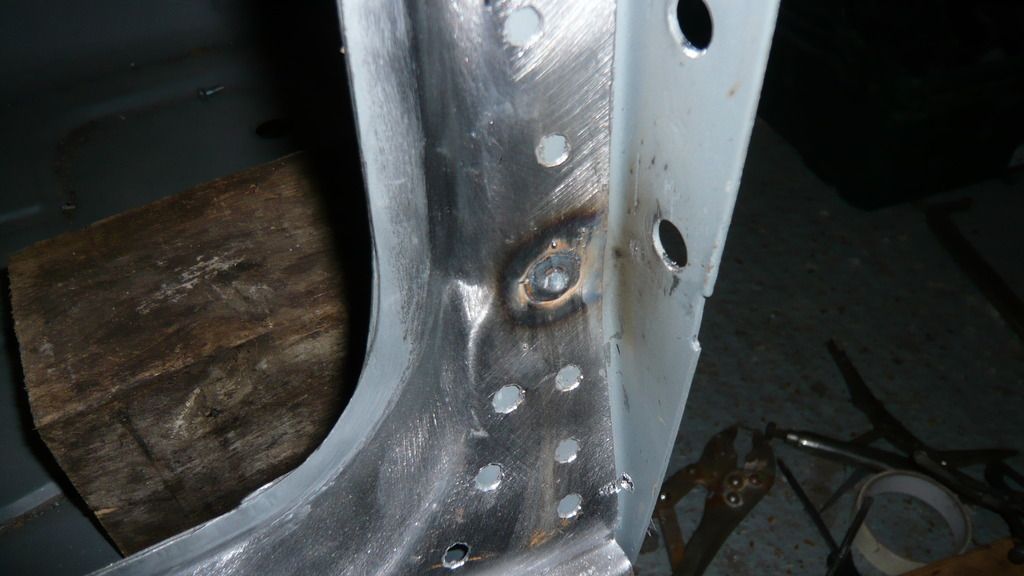
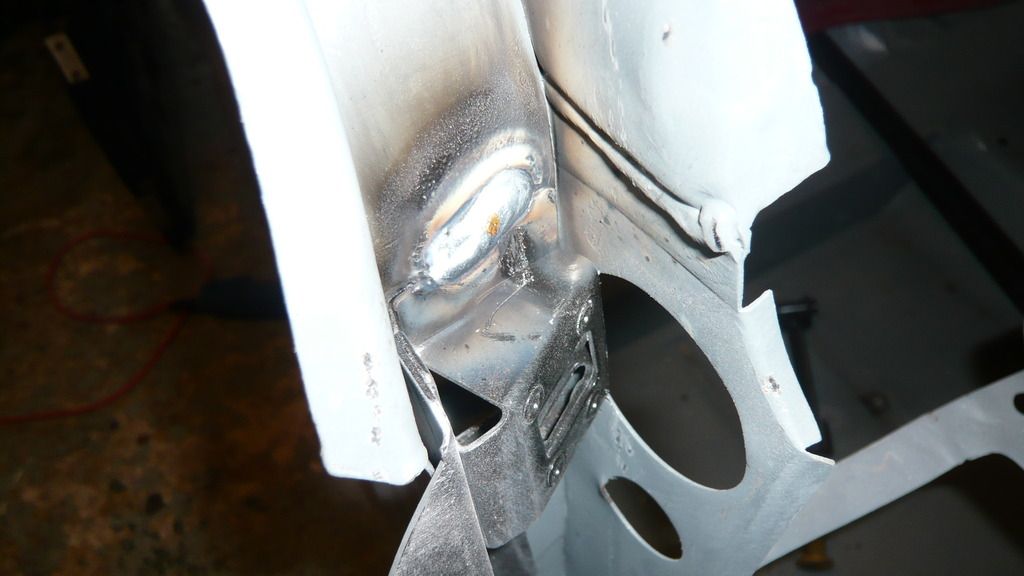
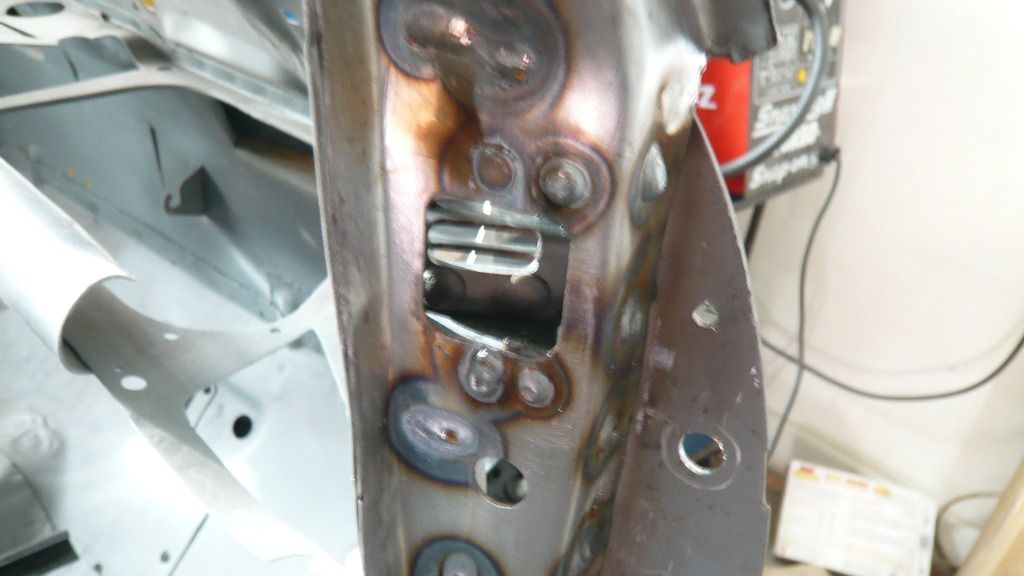
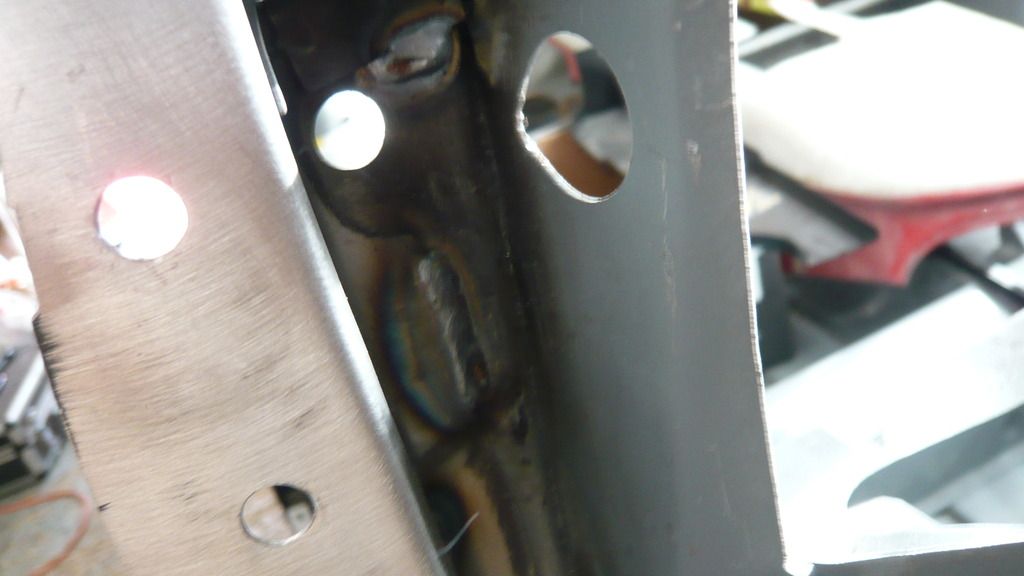
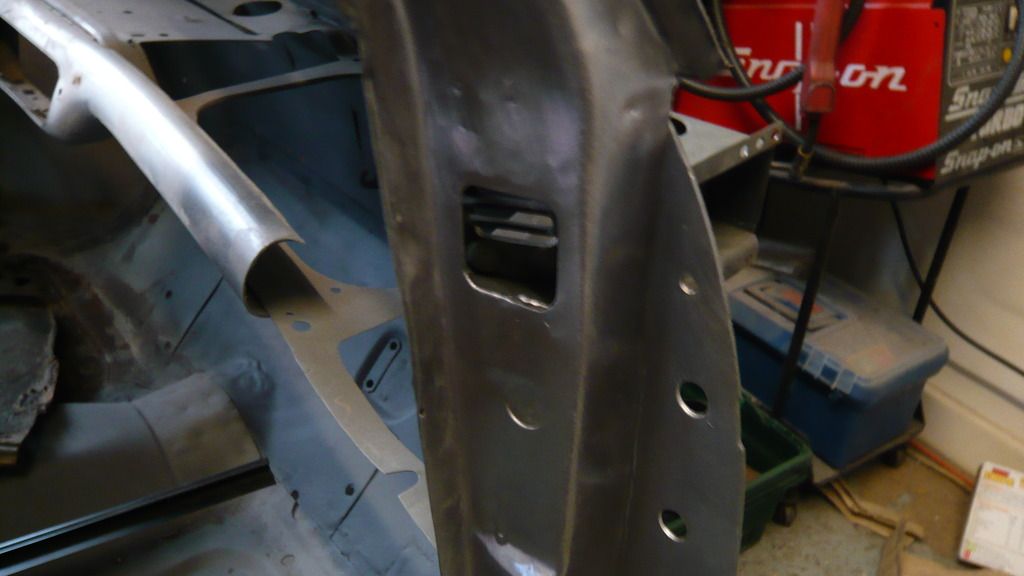
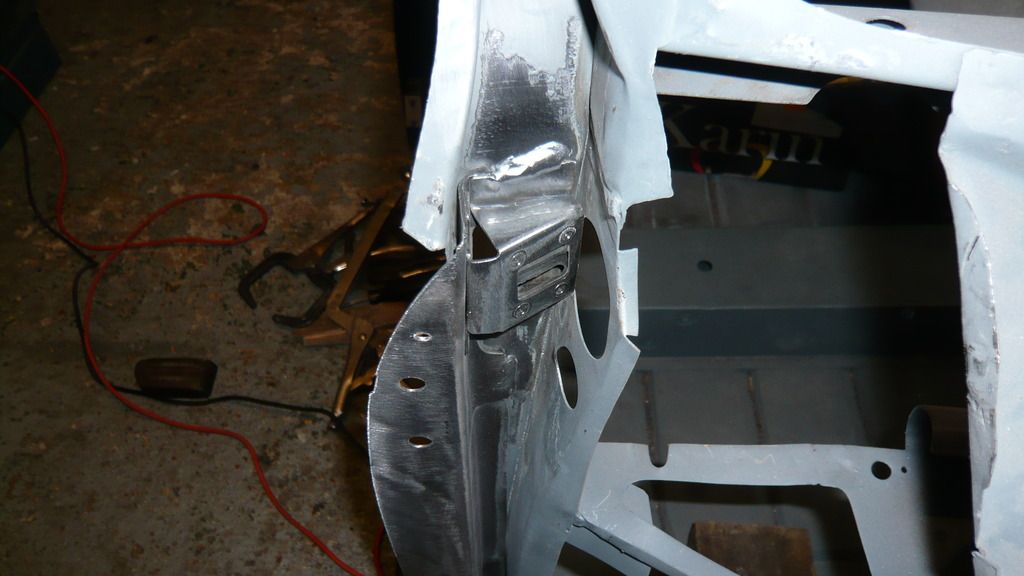
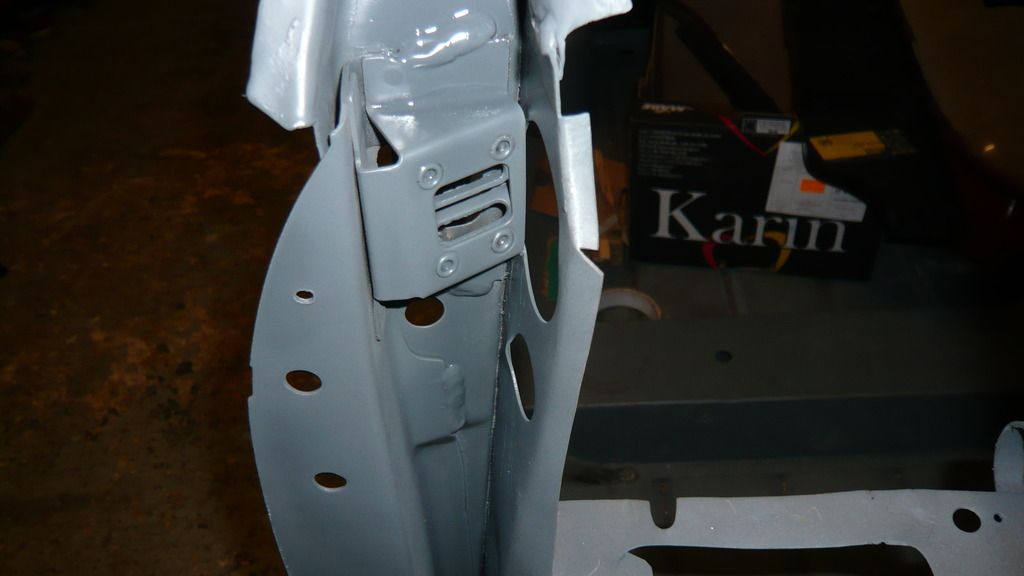
well the hinge post is in and finished now. didn't take long at all.


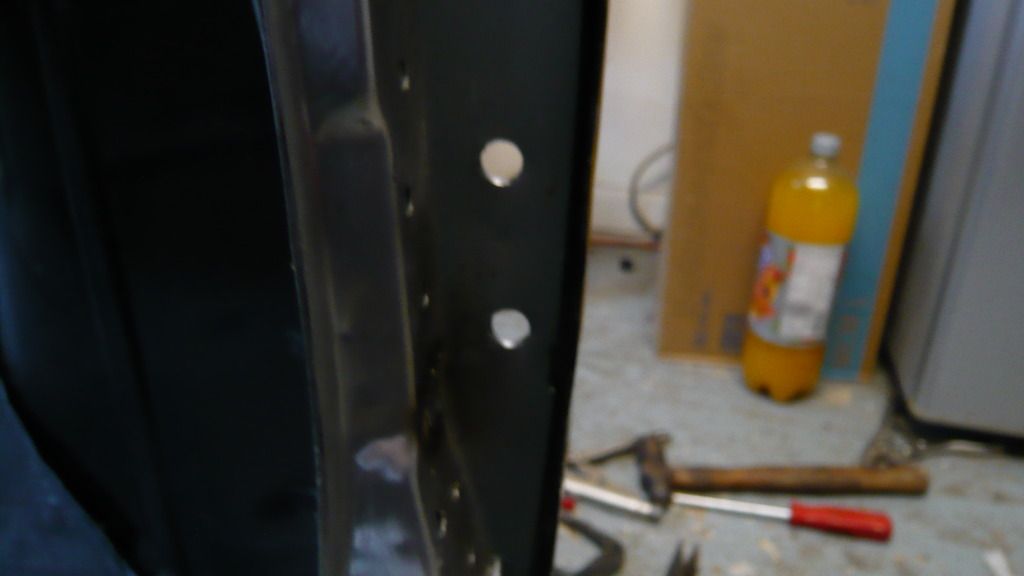
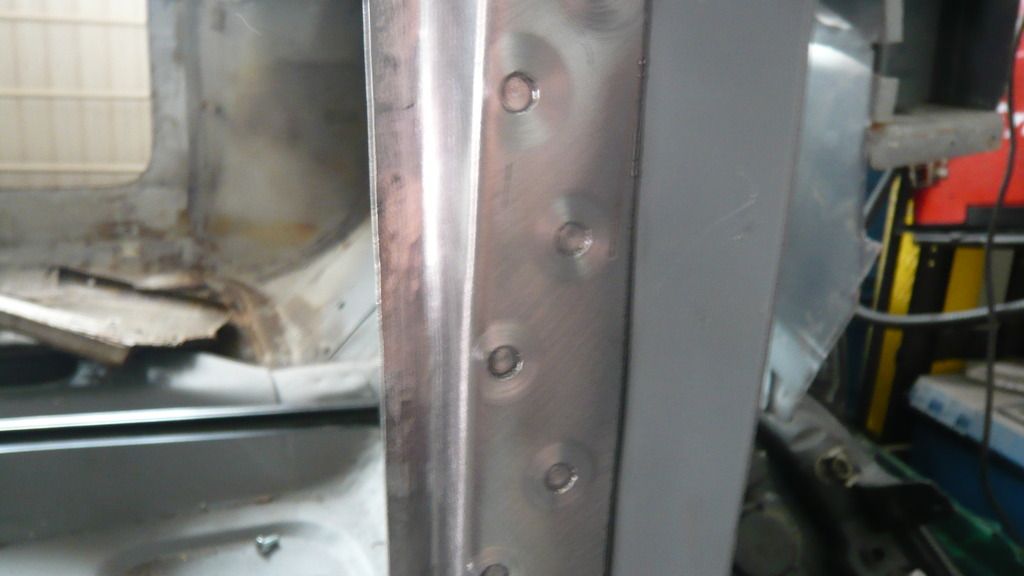
I began by cleaning the zinc primer off of the plug holes to get a better weld


P1060928_zpssbjkuphc.jpg


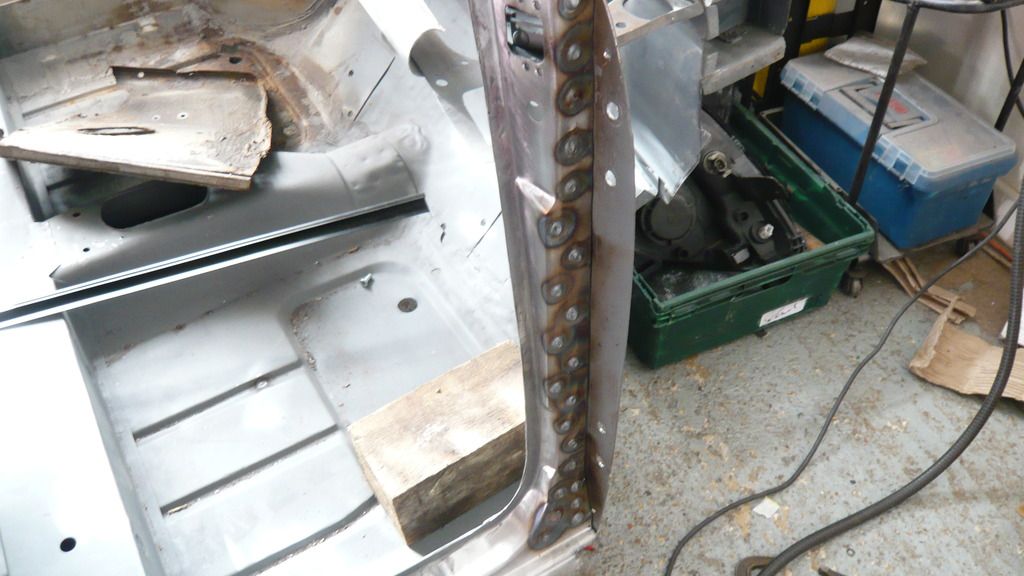
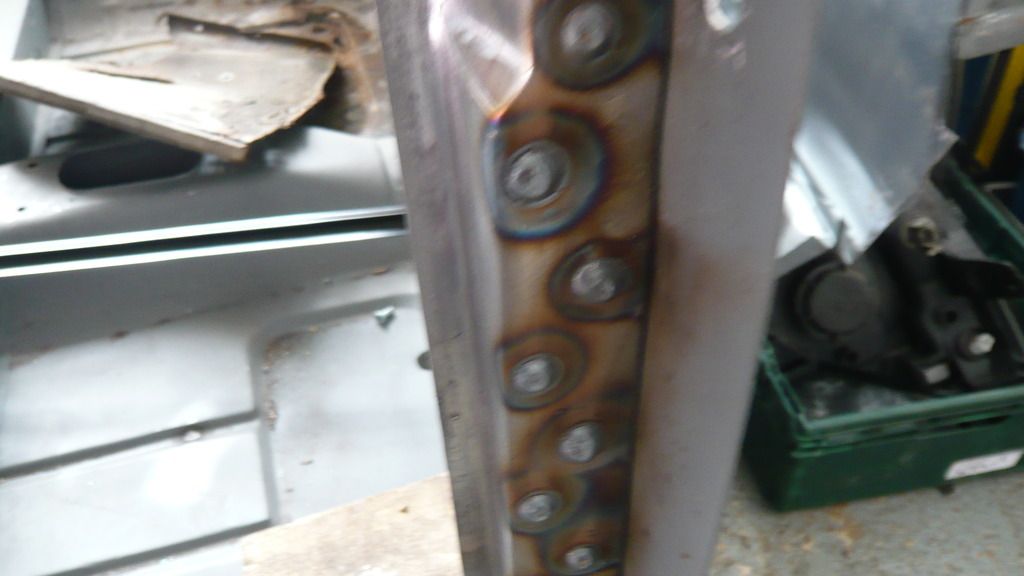
And then started the task of plugging them all up
 

P1060929_zpsi79ucrsq.jpg


P1060930_zpsvcrrvbdi.jpg


P1060933_zpsexyirjdd.jpg


Then a few more slugs inside the post


P1060931_zpszkqvelnu.jpg


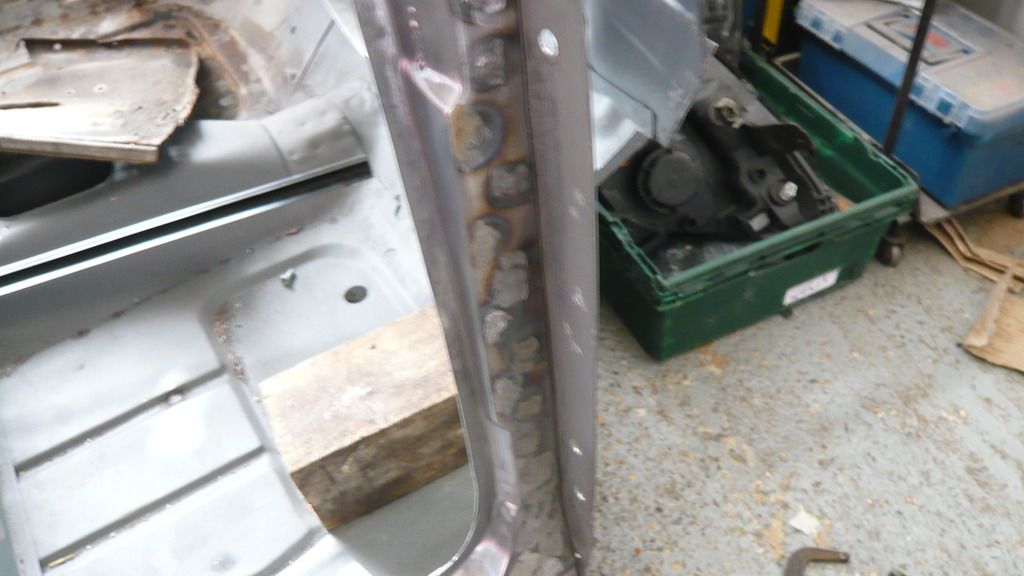
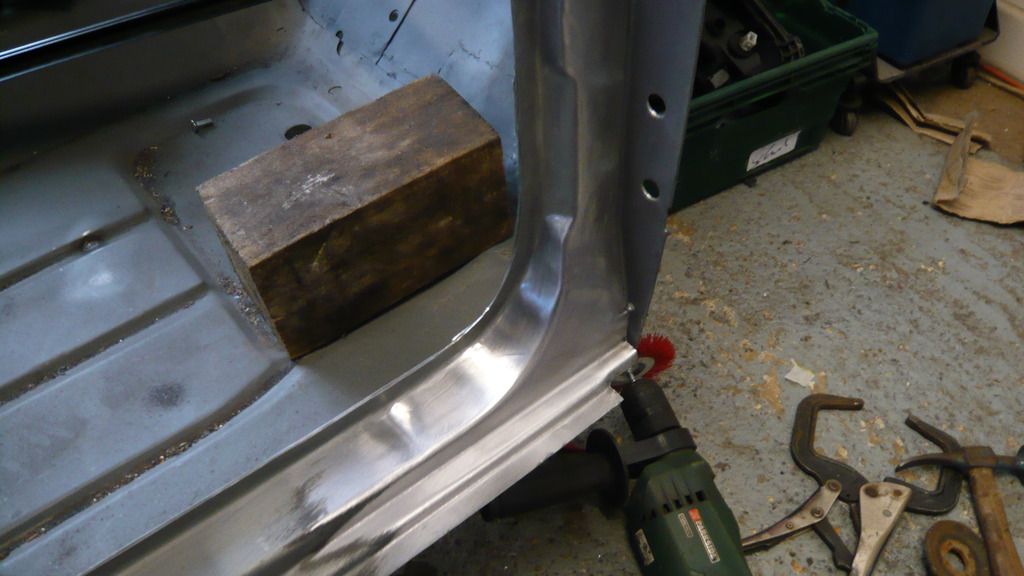
Then a tickle with the grinder. I had a thick grinding stone in for this


P1060934_zpsvgflfqws.jpg


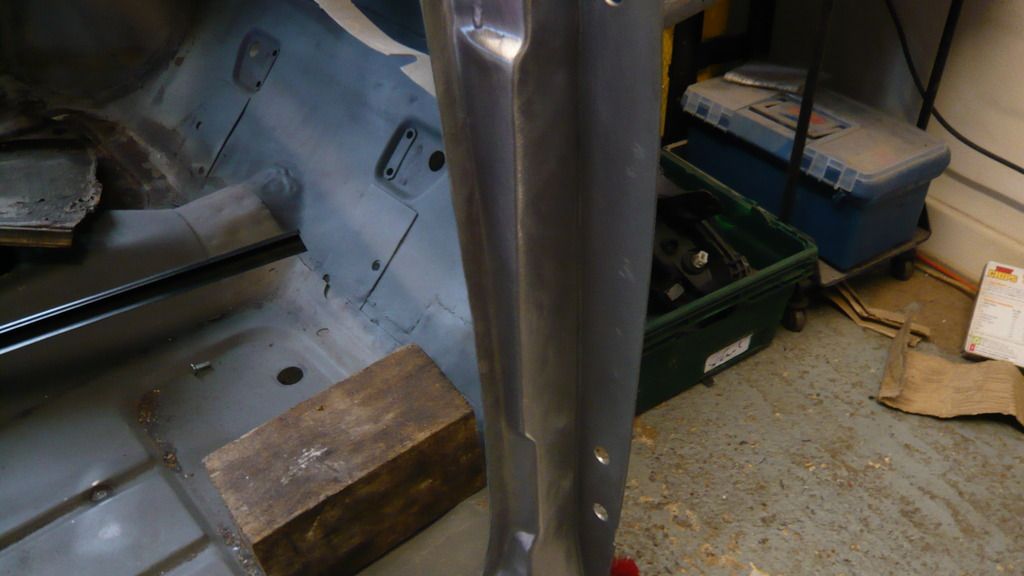
With the bulk removed, i went over it with a cutting disc as this gives greater control and then went over the whole lot with a fine flap disc followed by a quick polish with a filment brush


P1060936_zpszfrip9vm.jpg


P1060937_zpsds9jspx6.jpg


P1060935_zpsfx70pa0g.jpg


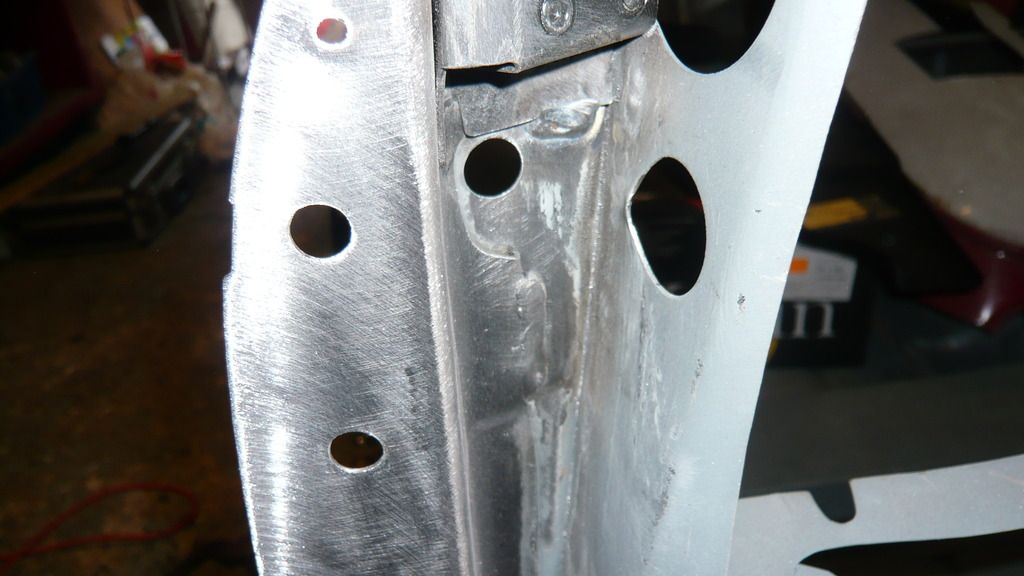
And the same goes for inside the post. It is important to remove any burnt paint from welding before going over with more.


P1060940_zpsrpfqxmkf.jpg


P1060941_zpsz6l3ose2.jpg


P1060942_zpsn8kjcigb.jpg


And then a splash of Zinc


P1060944_zpskge9xjn4.jpg


P1060946_zpscf7ru520.jpg


And finished!


Cheers


Ben


#803 RossKnight

RossKnight

    One heck of a member

  • Members
  • PipPipPipPipPipPipPipPipPip
  • 2,539 posts
  • Location: Hampshire or Surrey
  • Local Club: JKSA MOC

Posted 24 March 2015 - 05:24 PM

Really impressed benjo

#804 Ben_O

Ben_O

    Mill Road Garage

  • Paint Doctor
  • PipPipPipPipPipPipPipPipPipPip
  • 9,785 posts
  • Location: Isle of Wight

Posted 24 March 2015 - 05:27 PM

Really impressed benjo

Thankyou matey. It is going quite well at the mo.


There is just so much more work involved in sorting just that corner, far more than i imagined that's for sure!


#805 alchall

alchall

    Super Mini Mad

  • Just Joined
  • PipPipPipPipPipPip
  • 604 posts
  • Location: Chorley

Posted 24 March 2015 - 05:30 PM

Looks spot on!

I've taken a lesson from this and ordered wings and front panel so I can clamp everything up before committing to welding the inner wings in place!

#806 Jared Mk3

Jared Mk3

    Has a small thing but it does make a difference

  • Members
  • PipPipPipPipPipPipPipPip
  • 1,974 posts
  • Location: Kokstad, South Africa
  • Local Club: MOCKZN

Posted 24 March 2015 - 05:57 PM

Awesome job of that. I really like threads like this - they give one an opportunity to do a job properly.


#807 Minidarren83

Minidarren83

    One Carb Or Two?

  • Members
  • PipPipPipPipPipPipPip
  • 1,207 posts
  • Location: Stanford Le hope

Posted 24 March 2015 - 07:19 PM

Looking good Ben same repairs as I did makes me wish I had welding left to do

#808 carthorse

carthorse

    Mini Mad

  • Members
  • PipPipPipPip
  • 257 posts
  • Location: Cheshire

Posted 24 March 2015 - 10:29 PM

After Reading the whole thread from start to finish over the last couple of nights I think it's a massive credit to you that your only a few mm out after the amount of metal you've replaced! That door / A panel gaps as good as anything that came out of the factory apart from one little section.
I aspire to have the both the skill and patience to finish welds to your standard

#809 big-jay

big-jay

    Super Mini Mad

  • Members
  • PipPipPipPipPipPip
  • 518 posts
  • Location: Birmingham
  • Local Club: British Mini Club

Posted 24 March 2015 - 10:53 PM

Brilliant Ben,

Your welding looks spot on, such a tidy repair !

#810 Ben_O

Ben_O

    Mill Road Garage

  • Paint Doctor
  • PipPipPipPipPipPipPipPipPipPip
  • 9,785 posts
  • Location: Isle of Wight

Posted 25 March 2015 - 08:23 AM

Cheers Guys. Much appreciated. I'm hoping to do all the prep today so i can get the inner wing on.


And Carthorse, the measurement Pete helped me with is now exactly 50" after some fettling  :D


Ill not worry about the door gaps too much right now as i need to replace the door skin so ill get them spot on once the new skin is on.


Cheers


Ben


1 user(s) are reading this topic

0 members, 1 guests, 0 anonymous users