Mini 25 Full Rebuild
#676

Posted 31 January 2015 - 03:54 AM
Andy
#677

Posted 02 February 2015 - 06:06 PM
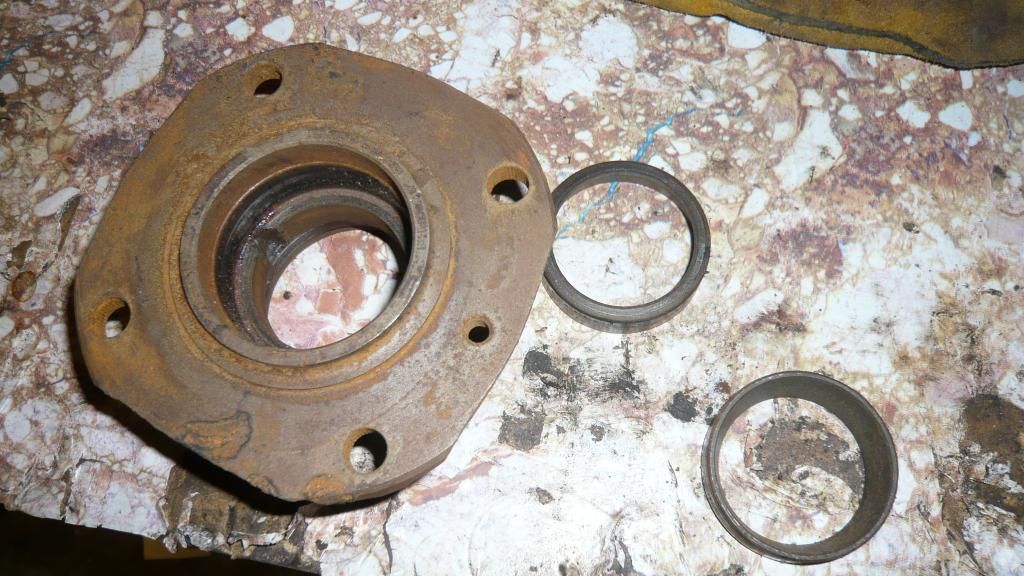
I had a quick session in the garage today so i turned my attention to the other rear hub. I had previously cleaned it up and bare metalled it but it seems it didn't like sitting in a box or flood water for 6 months so it was a bit worse for wear.
After sorting out the confusion with the old outer races of the bearing, i drifted them out using nothing more than a hammer and an old flat screwdriver which fitted the grooves inside perfectly
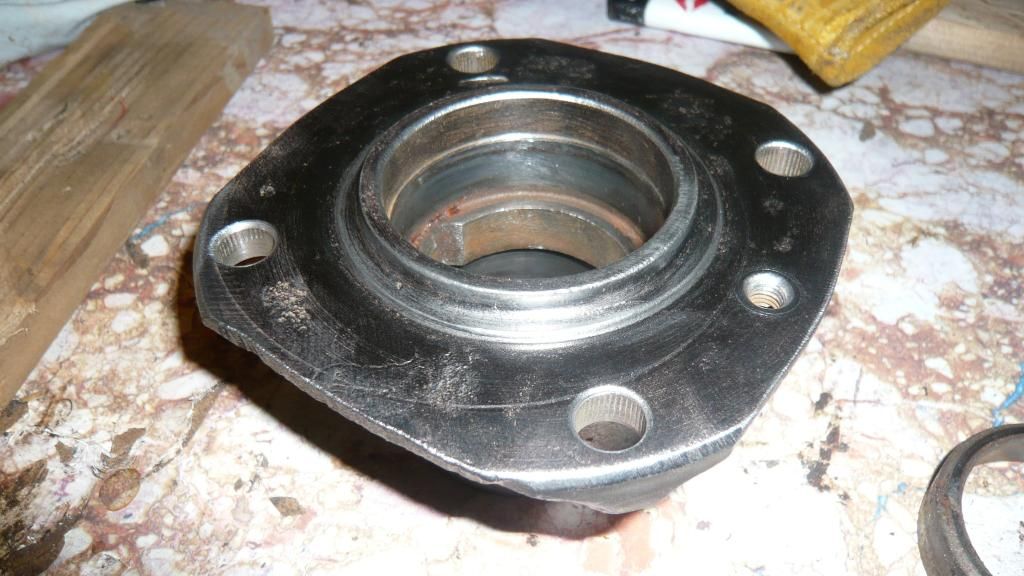
With that out, i scoured the rust off using the twisted wire brust in the grinder and then the small wire brush in the drill to get in the holes for the studs.
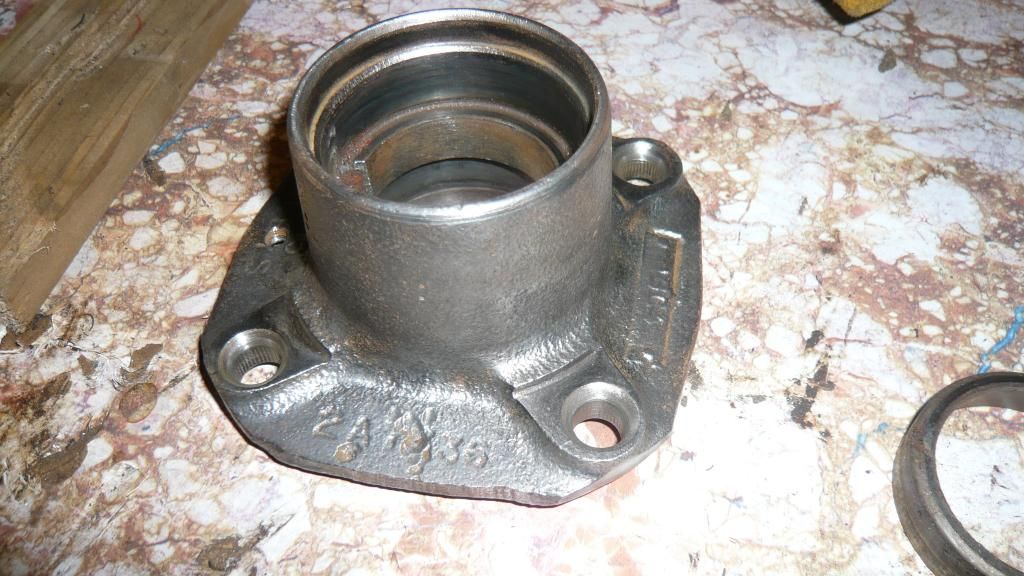
Came up pretty well considering
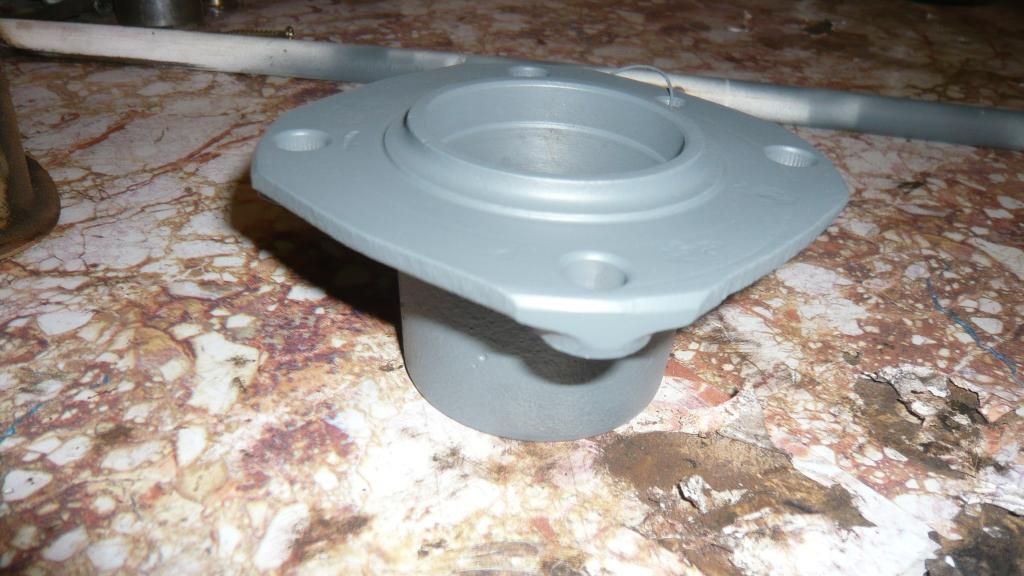
Then primed it up
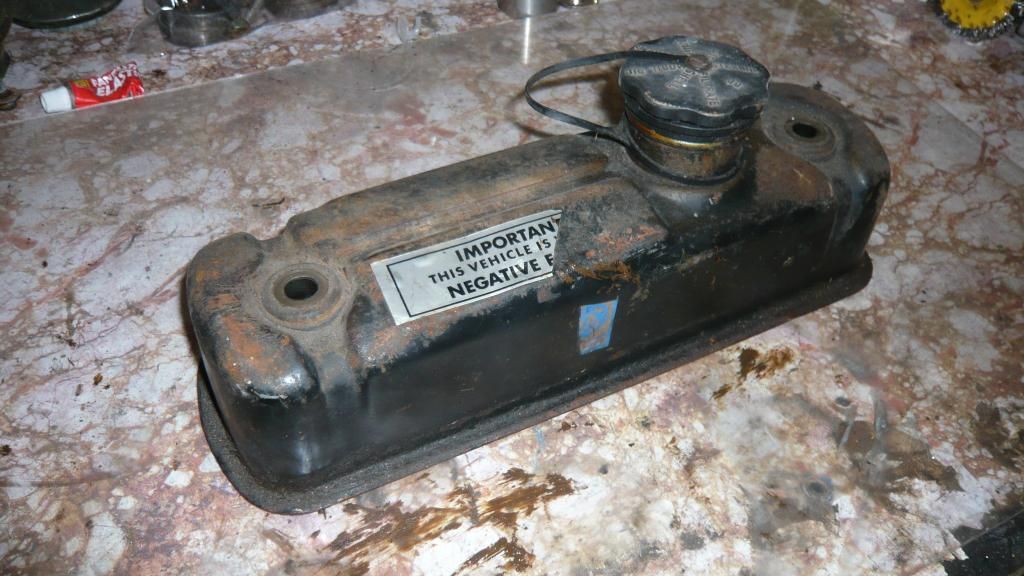
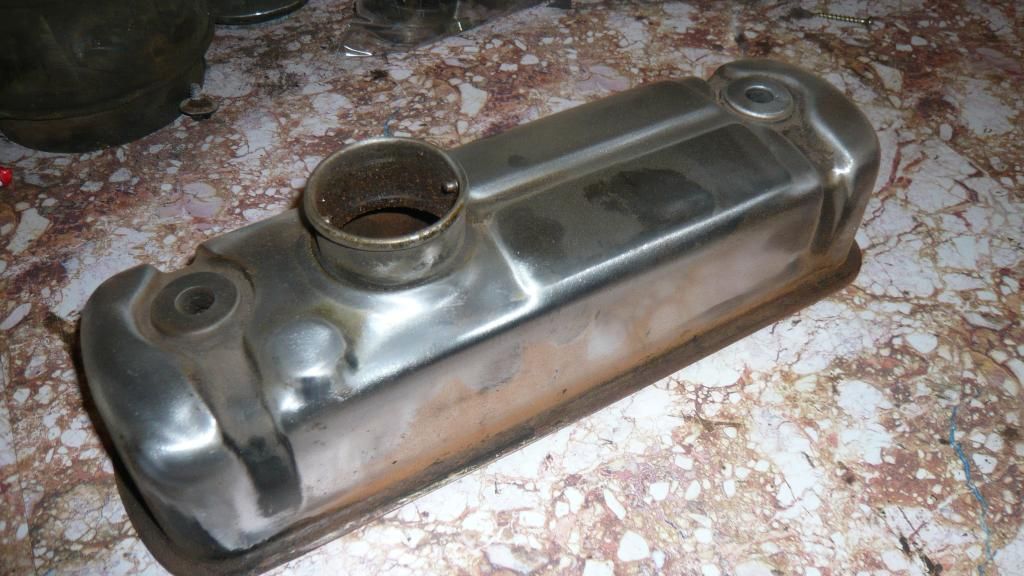
I had a little time left so i grabbed the next part from the top of the box which happened to be the rocker cover.
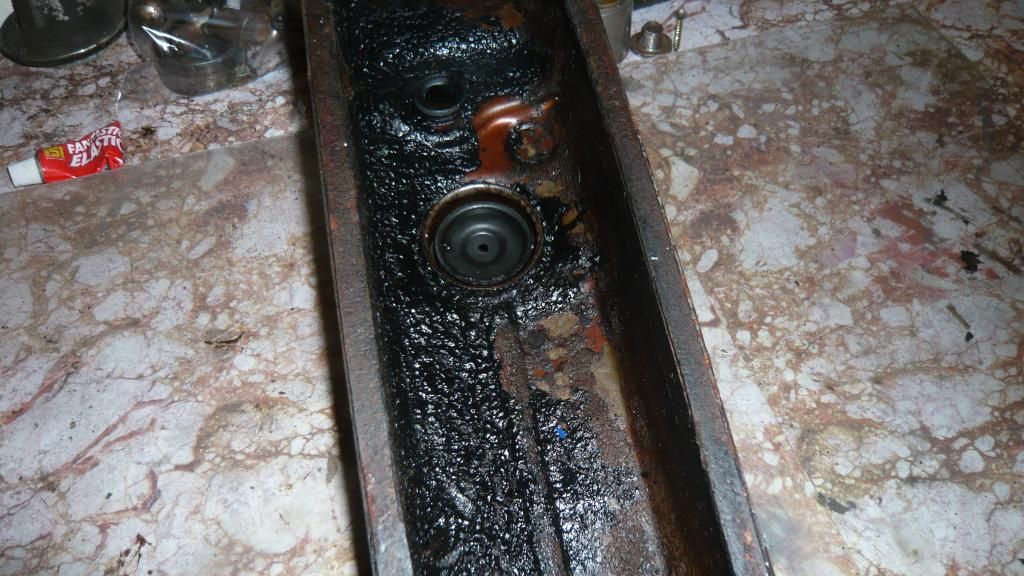
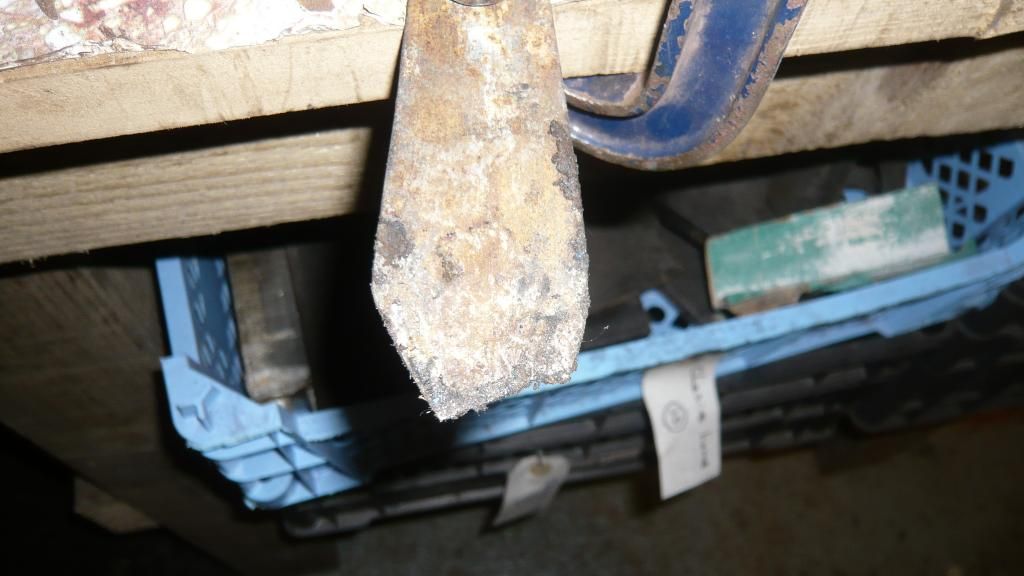
I decided to use a scraper to get the gunge out but typically couldn't find even one so i had a rummage through some real old tools and found this crappy one
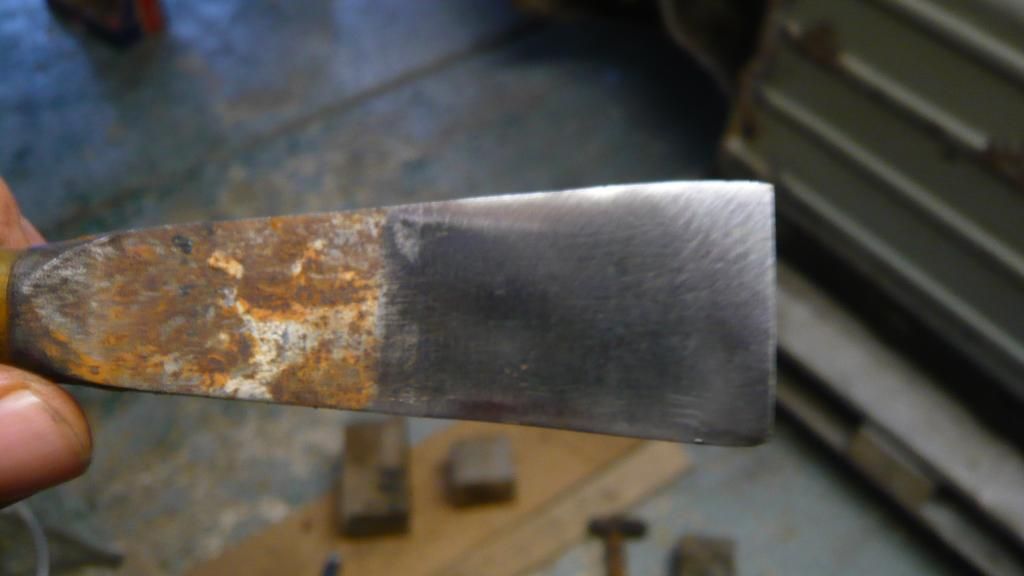
After a nip and tuck
Started to clean it up and soon became very bored so called it a day
Cheers
Ben
#678

Posted 02 February 2015 - 06:38 PM
#679

Posted 02 February 2015 - 06:44 PM
Nice work !
Cheers!
Back to the shell soon i think. Getting bored of doing parts now
#680

Posted 02 February 2015 - 08:58 PM
Ben, Take a break... come do mine whilst you do... change of scenery n all that ;) hehe.
Or - get a blumming move on and bring it this side of the pond!
#681

Posted 02 February 2015 - 09:40 PM
Ben, Take a break... come do mine whilst you do... change of scenery n all that ;) hehe.
Or - get a blumming move on and bring it this side of the pond!
Calm down!
I have made a list of panels. I am going to order them by the end of the week!
I did say i would do ours didn't i..
#682

Posted 02 February 2015 - 09:43 PM
Calm down!Ben, Take a break... come do mine whilst you do... change of scenery n all that ;) hehe.
Or - get a blumming move on and bring it this side of the pond!
I have made a list of panels. I am going to order them by the end of the week!
I did say i would do ours didn't i..
Ours? ;) wasn't part of the deal, Mr Oliver.
#683

Posted 02 February 2015 - 09:49 PM
Calm down!Ben, Take a break... come do mine whilst you do... change of scenery n all that ;) hehe.
Or - get a blumming move on and bring it this side of the pond!
I have made a list of panels. I am going to order them by the end of the week!
I did say i would do ours didn't i..
Ours? ;) wasn't part of the deal, Mr Oliver.
oops ![]()
#684

Posted 04 February 2015 - 04:55 PM
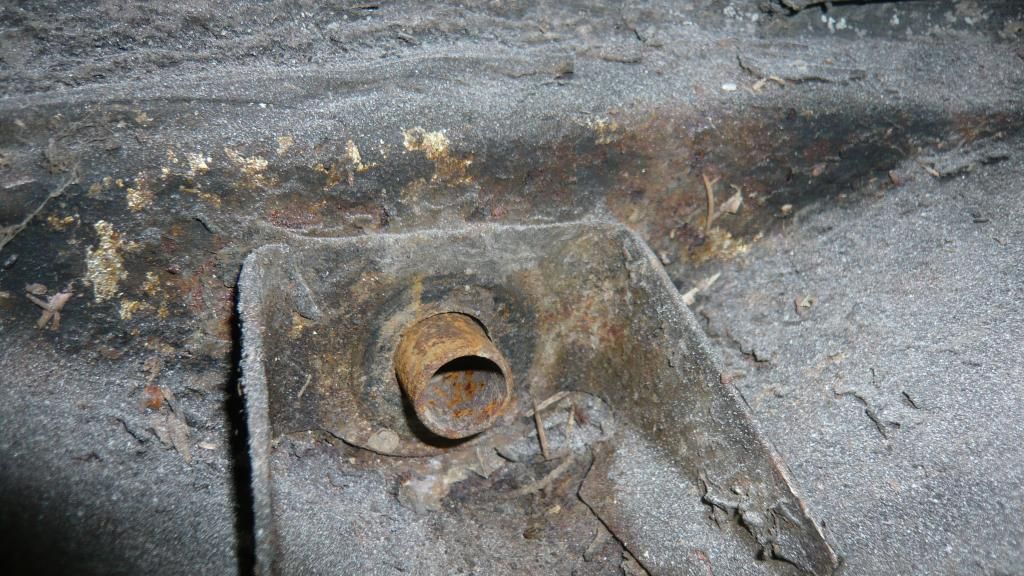
Been having a play around trying to knock something up to mount inside the shock mount in the rear arch tub to mark it's position accurately for when i cut it out.
Here is what i have come up with.
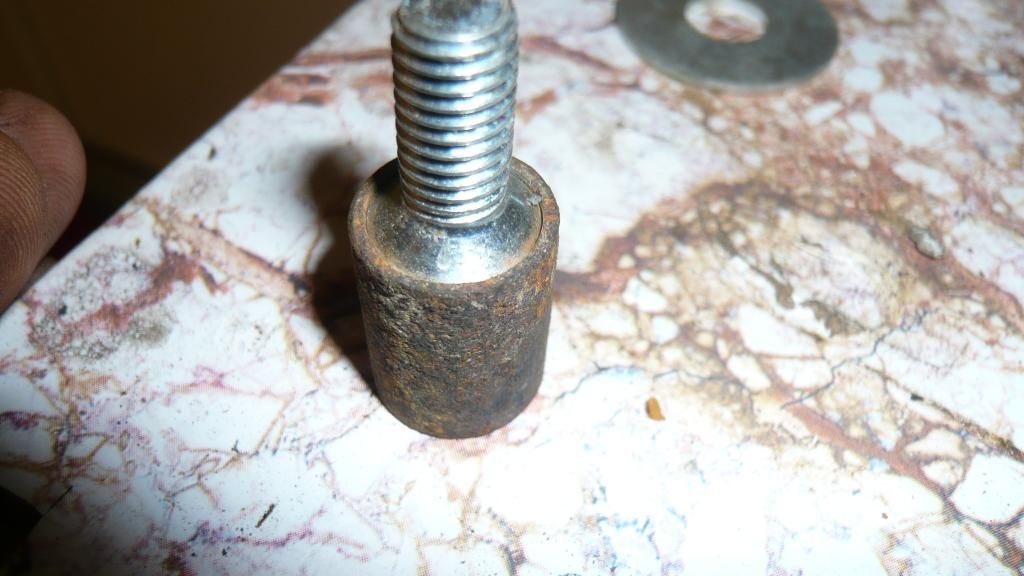
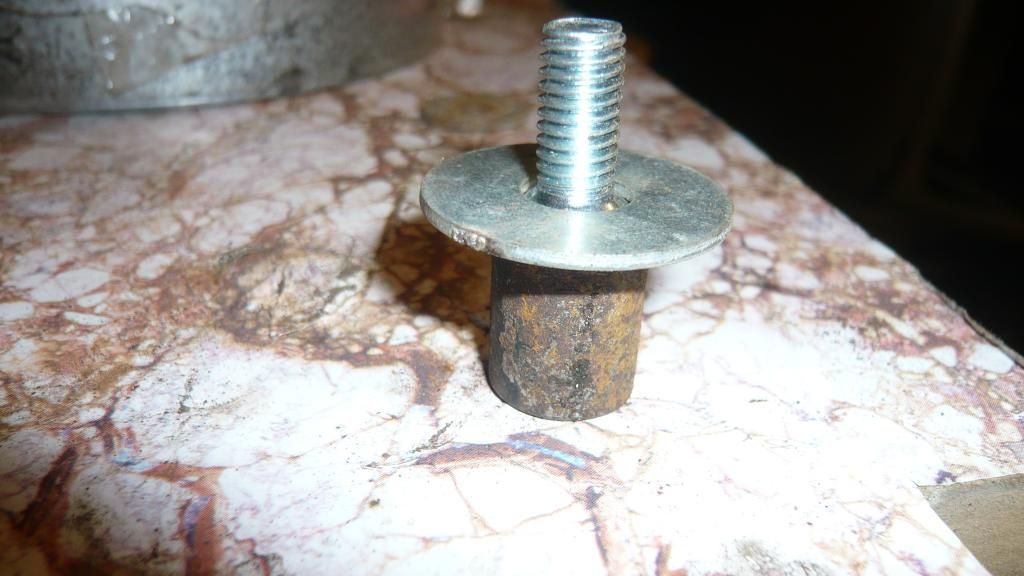
I have found a small piece of tube that fits tightly into the shock mount hole and onto that, i will weld this short bolt like so
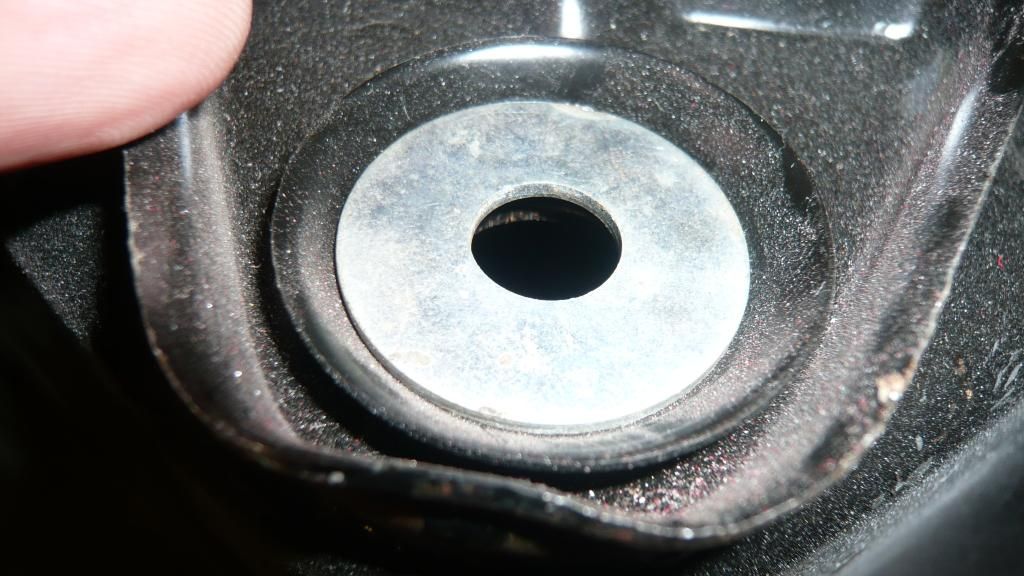
Then i found a washer to fit inside the top of the shock mounting perfectly, like so
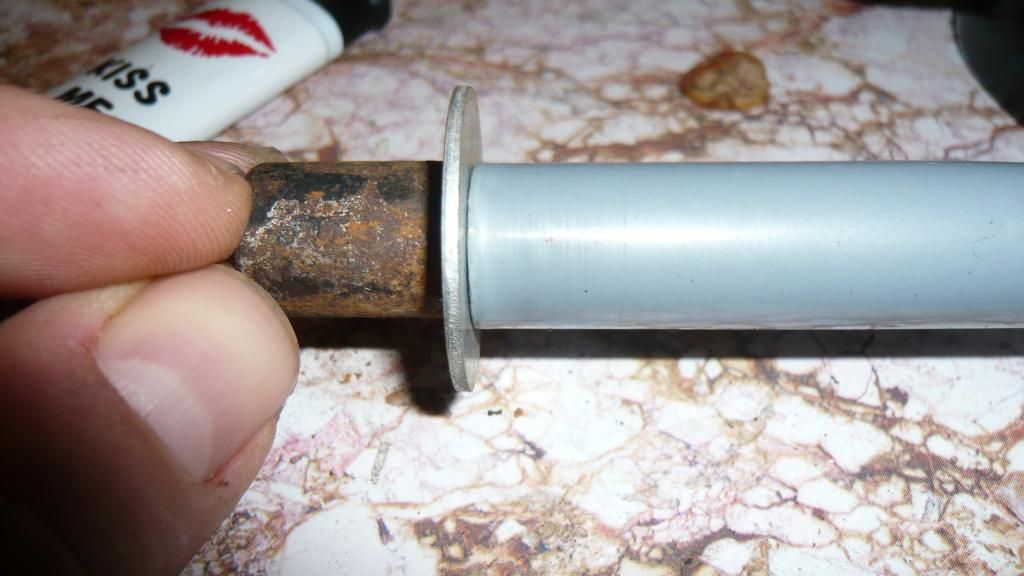
Then that will be welded to the short tube
Which will then be welded to a longer tube
Then the longer grey tube will be cut to size and welded or bolted to the underside of the parcel shelf and then braced with another section of tube or two to the side to keep it rigid.
The all being well, i can fit it in place, cut out the arch tub and then simply slide the new one in place over the tube until it hits the washer stop snugly.
Fingers crossed eh!
#685

Posted 04 February 2015 - 09:24 PM
nice little invention
#686

Posted 04 February 2015 - 09:25 PM
Hopefully it works. Im going to brace the pole from the side to the seat back and then from beneath to the boot floor. should be nice and steady.
#687

Posted 06 February 2015 - 06:28 PM
Back to the shell today.
First i needed to finish my little jig to weld into the boot to keep the location of the top shock mount hopefully aiding the fitting of the new arch tub.
First i welded the washer, bolt and tube together

Which now fits nicely into the top shock mount. The washer stops any sideways slop and the tube locates nicely.


And then using some lengths of tube i set it into position on the old arch tub.

It looks like its going in at an angle in that last photo but i have put a slight bend in the tube where it welds to the washer to make it possible to get it in place.
So with that all nice and solid, i made a start removing the old arch tub. I knew it was going to be tricky as there is a lot of rot in this area and a very bad old repair consisting of filler and all kinds of metal plates shoved in.
Anyway, i cut round the circumference of the wheel arch leaving an inch or so of the old tub which i will remove later.
I also cut along the bottom of the arch tub just above where it welds to the boot floor as there is no way i would be able to locate the spot welds as it was so crusty Besides, i am replacing the entire boot floor.

So after the first half was out, i located the rough position of the spot welds where it welds to the rear bulkhead and the stiffeners and ground the area down on the wheel arch side enough to thin the metal around the spot welds and then removed the other half.

Next i wanted to remove the remains of the tub from the arch lip. I want to keep the arch lip on the quarter panel intact for now although i will be replacing the quarter panel too. The reason for that is so i can have the arch lip to get the height and radial position of the arch tub correct.

This is the bodge i was talking about. It's hard to see what is what but there was ALOT of filler over everything


So i cut out roughly what had been added trying to leave as much as the rear brace in as possible to aid alignment.
At this point, i decided to get rid of the edge of the boot floor where it welds to the bottom of the arch tub as it was jagged, twisted and generally serving no purpose. I just pulled it away and twisted it with my hands back and forth and it came off.
So i slotted the new tub into place and it fits in very nicely although needs a bit of fettling/re-positioning here and there to make it perfect.


But i am unsure about the back edge of the arch tub. i know the corner of the boot floor is a mess but i wasn't expecting it to sit like this.

Can anyone tell me if that is about right as i can't compare it to the other side as that too is badly corroded and it's not clear to see how it should look.
Cheers
Ben
#688

Posted 06 February 2015 - 07:13 PM
Fairly sure there is supposed to be a lip Ben. This is Felix's off side arch

and the near side (ignore the filler ![]() )
)

Edited by Stu., 06 February 2015 - 07:24 PM.
#689

Posted 06 February 2015 - 07:25 PM
Thanks stu.
That's a great help and relief
#690

Posted 06 February 2015 - 07:47 PM
When you fit your new boot floor there will be a lip that follows around the arch, spot/plug weld them together and job done !
Edited by big-jay, 06 February 2015 - 07:47 PM.
1 user(s) are reading this topic
0 members, 1 guests, 0 anonymous users


