Jump to content


Photo
* * - - - 3 votes

Mini 25 Full Rebuild


  • Please log in to reply
1498 replies to this topic

#616 MINIMADrt

MINIMADrt

    Speeding Along Now

  • Members
  • PipPipPipPipPip
  • 465 posts
  • Location: oxford
  • Local Club: none at mo

Posted 20 January 2015 - 06:36 PM


An old push rod is put through and tapped removes them nicely if they move or a small shape chisel to split them. Carefully

Do you mean a Valve?
I can't imagine a pushrod would work??

An old push dos I use one from an old landrover I think is was (longer). Ball head one end and a funnel shape the other I put this end on the edge of the race and tap/hit the ball end worked wonders on all of mine and no marking or scoring at all. I will tri and get a picture when I'm back at the garage.

#617 Ben_O

Ben_O

    Mill Road Garage

  • Paint Doctor
  • PipPipPipPipPipPipPipPipPipPip
  • 9,785 posts
  • Location: Isle of Wight

Posted 20 January 2015 - 06:42 PM

 I will tri and get a picture when I'm back at the garage.


Cheers!


#618 MINIMADrt

MINIMADrt

    Speeding Along Now

  • Members
  • PipPipPipPipPip
  • 465 posts
  • Location: oxford
  • Local Club: none at mo

Posted 20 January 2015 - 08:20 PM

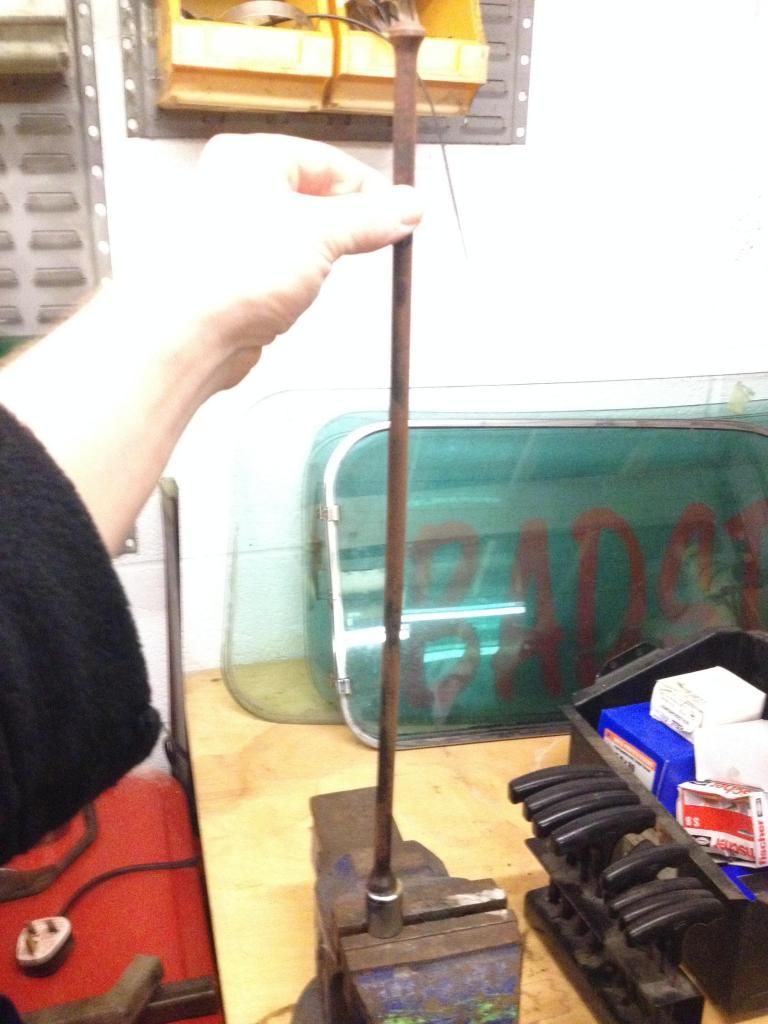
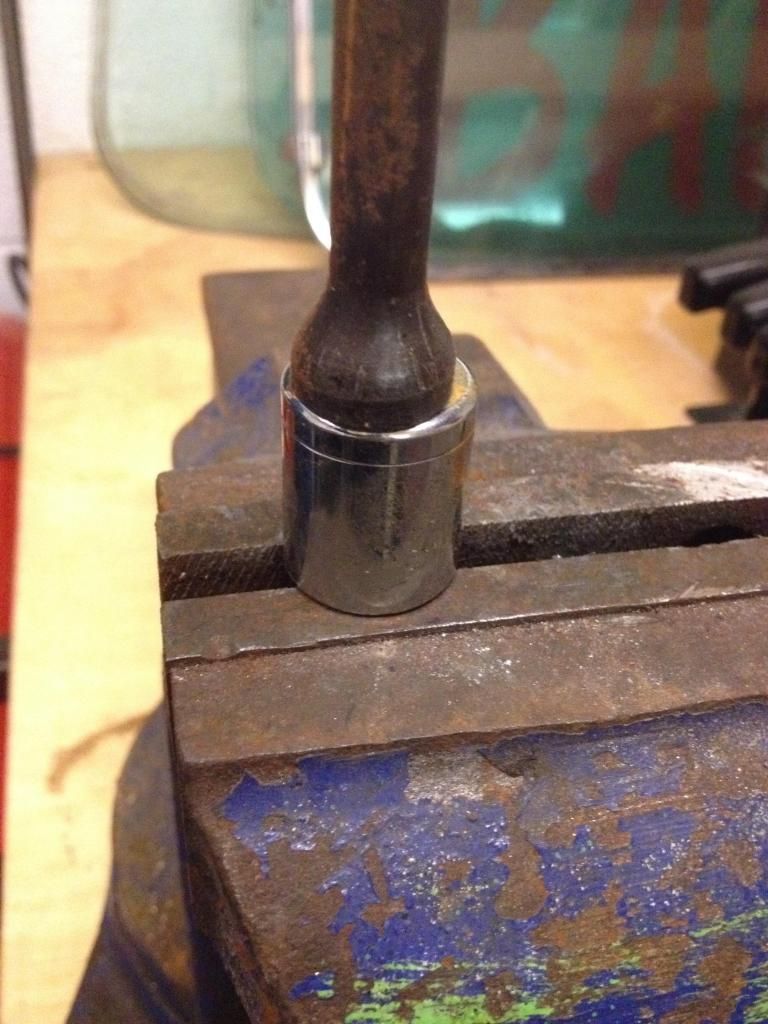
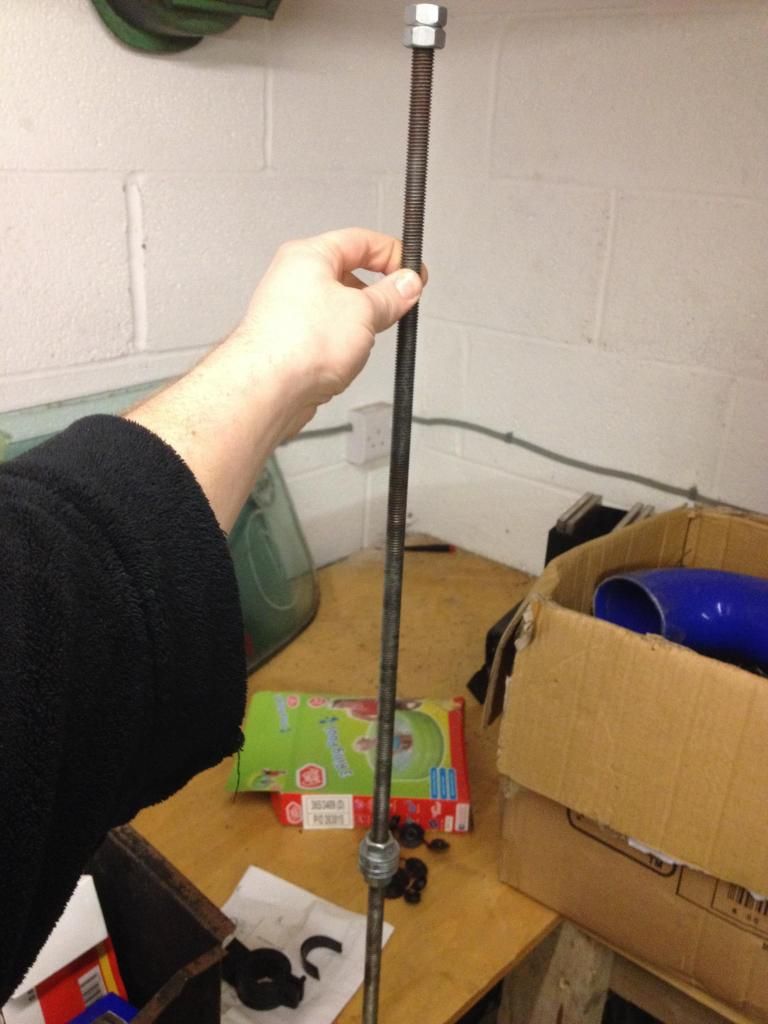
right had a look down the shed and turns out i havent taken that box up there yet so here are a few pictures of what i mean 


IMG_2524.jpg


this is the push rod i use the socket resembels the bearing 


IMG_2525.jpg


and here is the threaded bar i use to do the other way


IMG_2527.jpg


i have done all mine this way and these aswell which will be going on mine 


IMG_2528.jpg


#619 Ben_O

Ben_O

    Mill Road Garage

  • Paint Doctor
  • PipPipPipPipPipPipPipPipPipPip
  • 9,785 posts
  • Location: Isle of Wight

Posted 20 January 2015 - 09:23 PM

Cheers mate.


Those arms look great!


#620 MINIMADrt

MINIMADrt

    Speeding Along Now

  • Members
  • PipPipPipPipPip
  • 465 posts
  • Location: oxford
  • Local Club: none at mo

Posted 21 January 2015 - 07:44 AM

Cheers mate.
 
Those arms look great!


Thank you

#621 MINIMADrt

MINIMADrt

    Speeding Along Now

  • Members
  • PipPipPipPipPip
  • 465 posts
  • Location: oxford
  • Local Club: none at mo

Posted 21 January 2015 - 08:07 AM

double post

Edited by MINIMADrt, 21 January 2015 - 08:07 AM.


#622 Ben_O

Ben_O

    Mill Road Garage

  • Paint Doctor
  • PipPipPipPipPipPipPipPipPipPip
  • 9,785 posts
  • Location: Isle of Wight

Posted 21 January 2015 - 08:55 PM

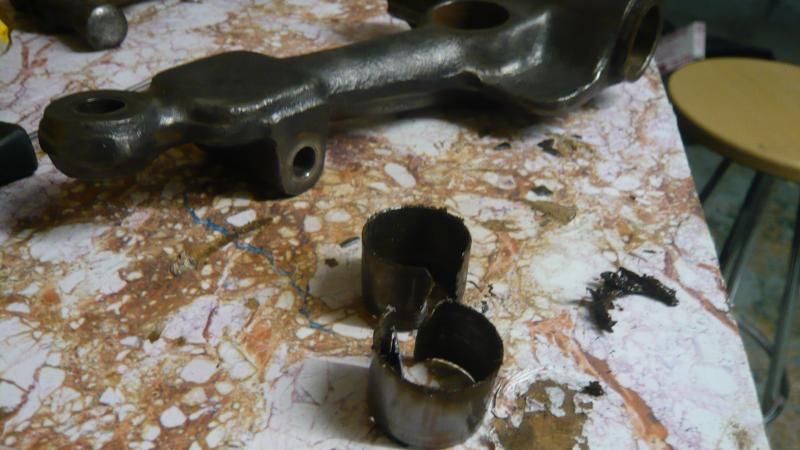
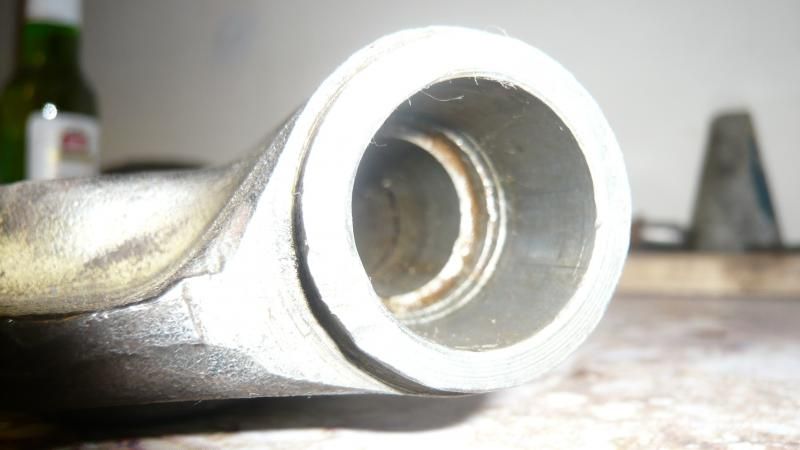
I managed to use a precision screwdriver and gently hammer it down one side of the bearing shell and it has split it treat without damaging the casting.


I need to do it on the opposite side to get it out but the screwdriver i was using has gone blunt (cheap rubbish) so i am going to have to sharpen it with the grinder tomorrow as i don't think i would get away with it now.


Im pleased about that, i thought it was going to be a nightmare


#623 Covert

Covert

    Super Mini Mad

  • Members
  • PipPipPipPipPipPip
  • 526 posts
  • Location: Northampton

Posted 21 January 2015 - 09:02 PM

Easy when you know how , glad you got it sorted ben .

#624 Ben_O

Ben_O

    Mill Road Garage

  • Paint Doctor
  • PipPipPipPipPipPipPipPipPipPip
  • 9,785 posts
  • Location: Isle of Wight

Posted 21 January 2015 - 10:12 PM

Success!


P1060387_zps550e7c39.jpg


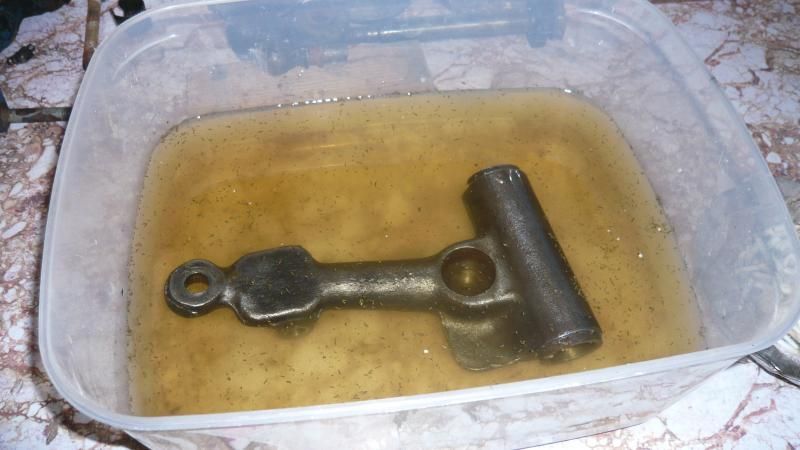
And now the top arm can have a soak in some vinegar overnight.


P1060389_zpsa658dc9a.jpg


#625 alex-95

alex-95

    I am THE CLAMP MAKER

  • Members
  • PipPipPipPipPipPipPipPipPipPip
  • 6,019 posts
  • Location: l

Posted 21 January 2015 - 10:31 PM

Good work Ben, I think this is the way stu meant, although you've got it out now :lol: http://www.theminifo...earing-removal/


#626 Stu.

Stu.

    One Carb Or Two?

  • Members
  • PipPipPipPipPipPipPip
  • 912 posts
  • Location: My workshop.

Posted 21 January 2015 - 10:54 PM

Yeah similar. Bens shown theres more than one way to skin a top arm though eh :)

#627 Ben_O

Ben_O

    Mill Road Garage

  • Paint Doctor
  • PipPipPipPipPipPipPipPipPipPip
  • 9,785 posts
  • Location: Isle of Wight

Posted 21 January 2015 - 11:02 PM

I was going to try the M10 bolt idea on the other arm but to be honest, the way i ended up doing this arm was easy.


I was worried about damaging the arm itself but it hasn't so i might just do it this way with the other one.


I think i have already done the rear arms but i can't remember if i did both.


I want to get all of the suspension stripped, cleaned and then get the arms primed then reamed for the new bearings and then paint them after so the machine shop don't damage the paint finish.


Then ill build them up, wrap them and then put them away.


#628 Ben_O

Ben_O

    Mill Road Garage

  • Paint Doctor
  • PipPipPipPipPipPipPipPipPipPip
  • 9,785 posts
  • Location: Isle of Wight

Posted 22 January 2015 - 08:16 AM

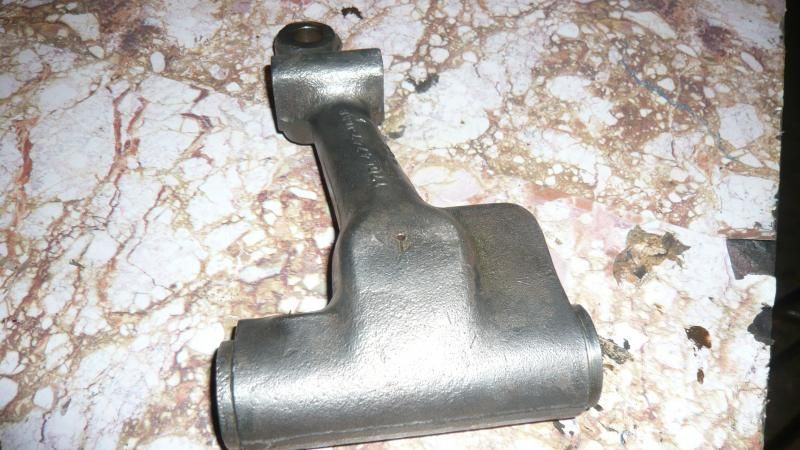
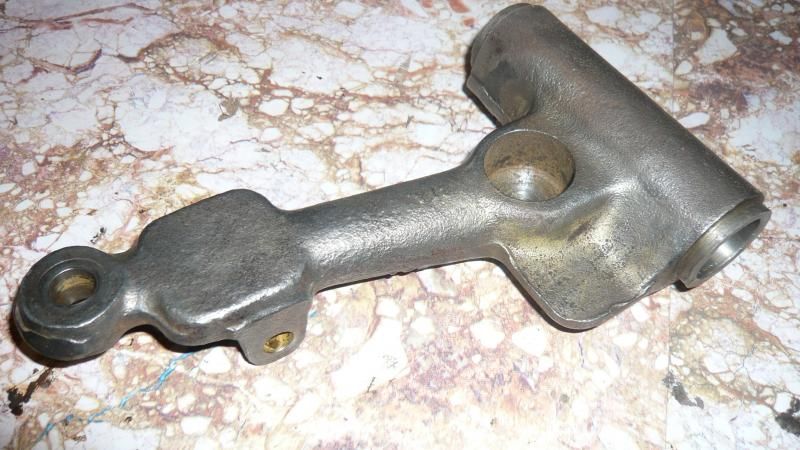
Took it out of the vinegar this morning.


It's not come up too badly. It will look fine with a lick of paint.


P1060391_zps02754023.jpg


P1060392_zps1ba08f8f.jpg


P1060393_zps5bfef1de.jpg


Ben


#629 Jared Mk3

Jared Mk3

    Has a small thing but it does make a difference

  • Members
  • PipPipPipPipPipPipPipPip
  • 1,974 posts
  • Location: Kokstad, South Africa
  • Local Club: MOCKZN

Posted 22 January 2015 - 08:22 AM

Cleaned up quite nicely  =]


#630 Ben_O

Ben_O

    Mill Road Garage

  • Paint Doctor
  • PipPipPipPipPipPipPipPipPipPip
  • 9,785 posts
  • Location: Isle of Wight

Posted 22 January 2015 - 08:28 AM

Just got to find another one for the other side and do the same to that...


1 user(s) are reading this topic

0 members, 1 guests, 0 anonymous users