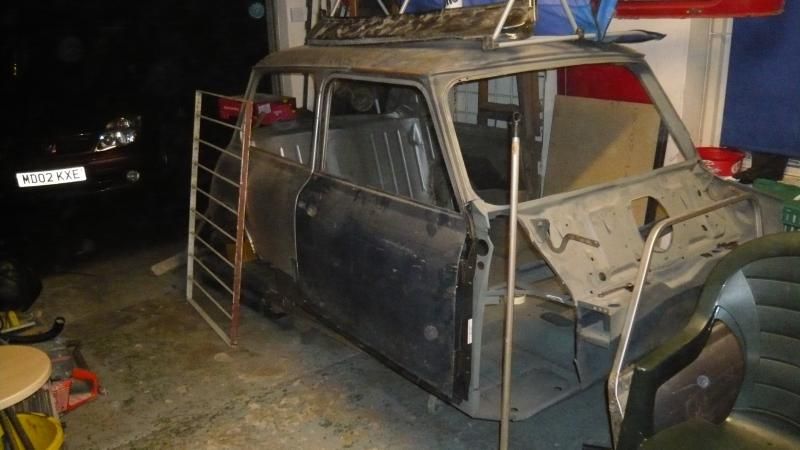
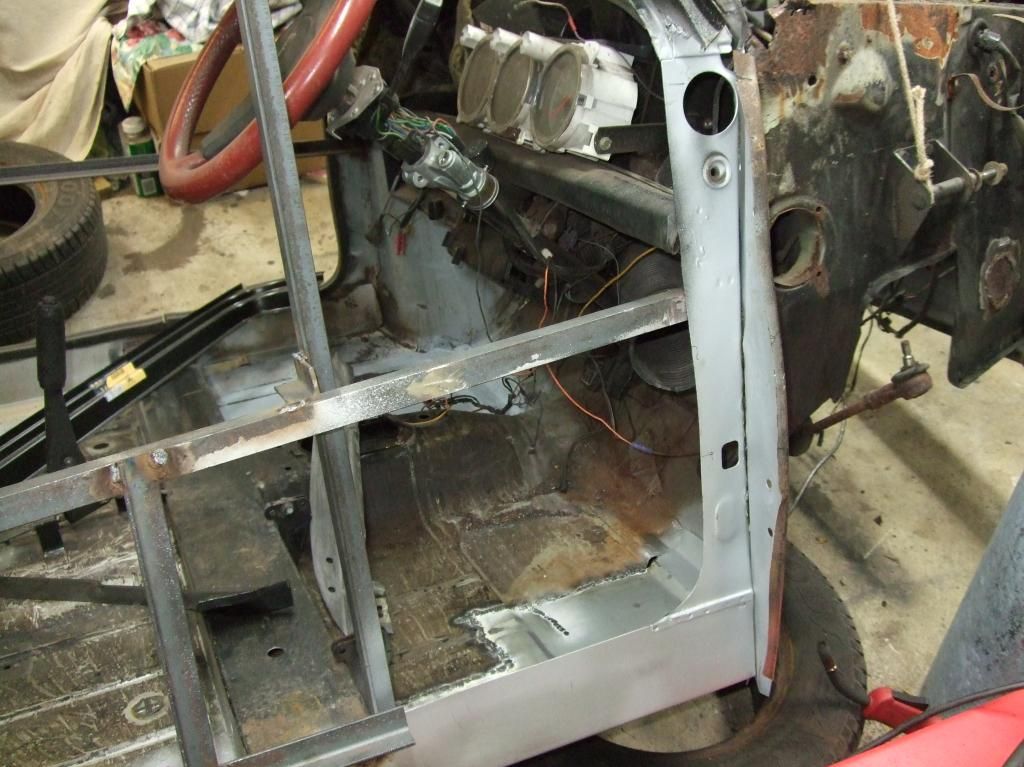
Right so i had all afternoon on the Mini today which was good as it has allowed me to make quite a bit of progress.
First on the agenda was fitting the A post reinforcer but before i could do this i had to get rid of my terrible attempt at the lower dash rail repair that i did last year.
Lopped that off out the way
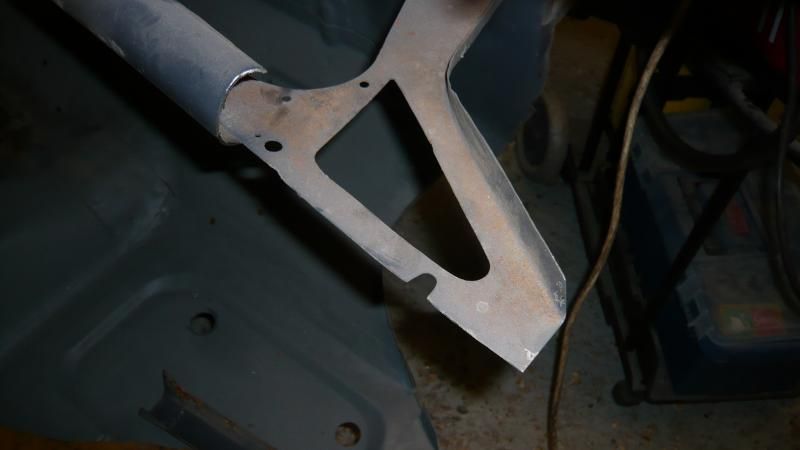
And then remembered that there is a reinforcer that goes between the front parcel shelf and the A post reinforcer so i dug through my scrap and found the old one.
This is why i never throw away any panels until the welding is complete!
So this is it
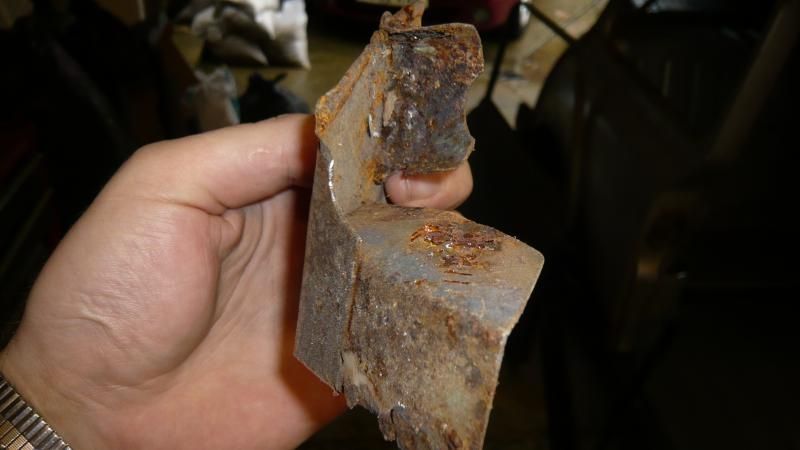
And it goes in here
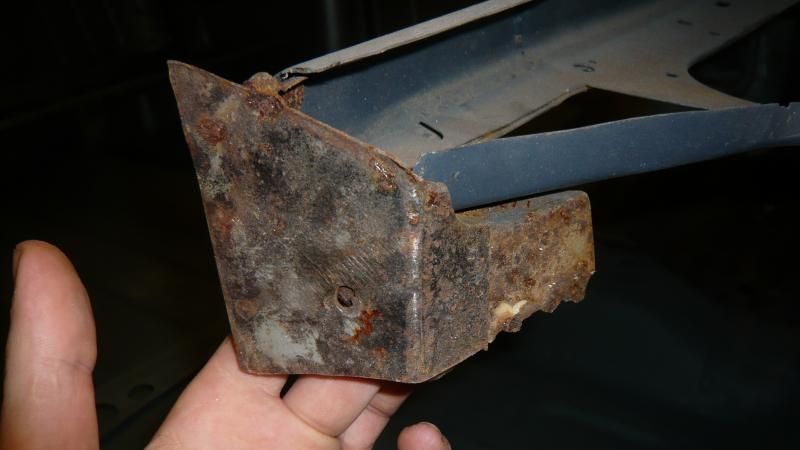
That other bit on it is the remains of the old a post reinforcer which i obviously don't need so i removed it and ended up with this
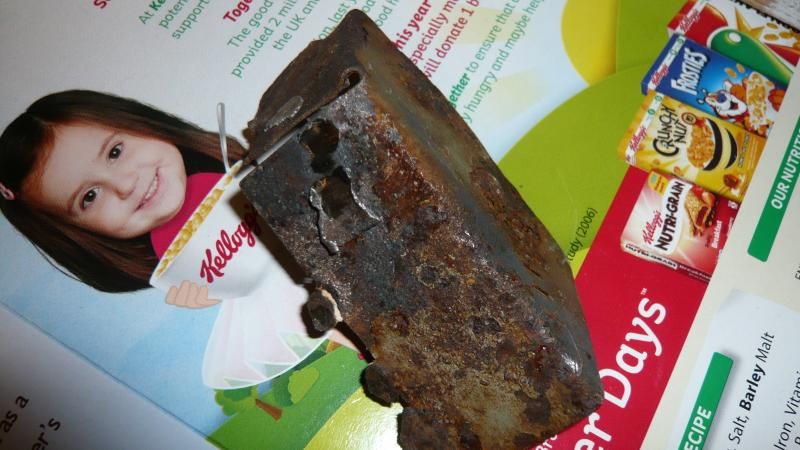
And yes that is my reflection in the cardboard 
So i found a piece of nice thick steel (1.2mm) and set about making a new one
So flattened the old one
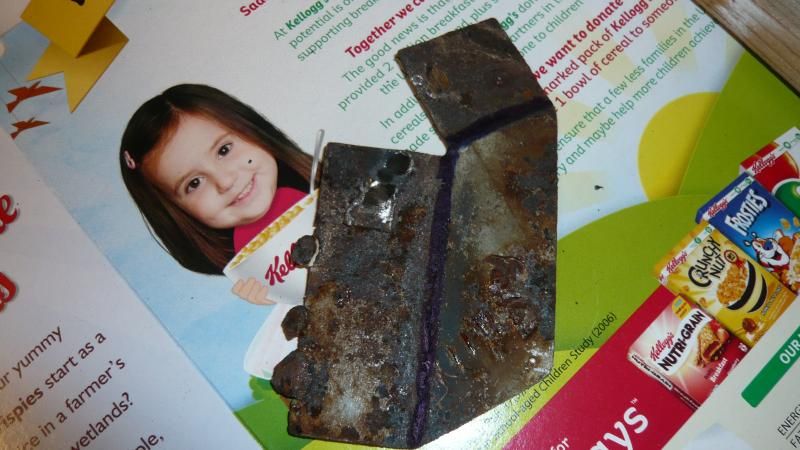
Notice that i drew on it with marker so i would know where the folds should be
And then transferred it onto card
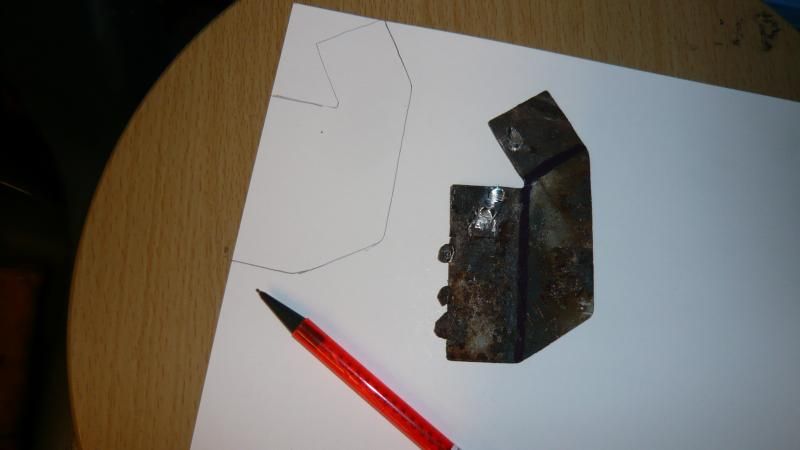
Then onto steel, cut it out and folded the folds and this is it compared to the old one
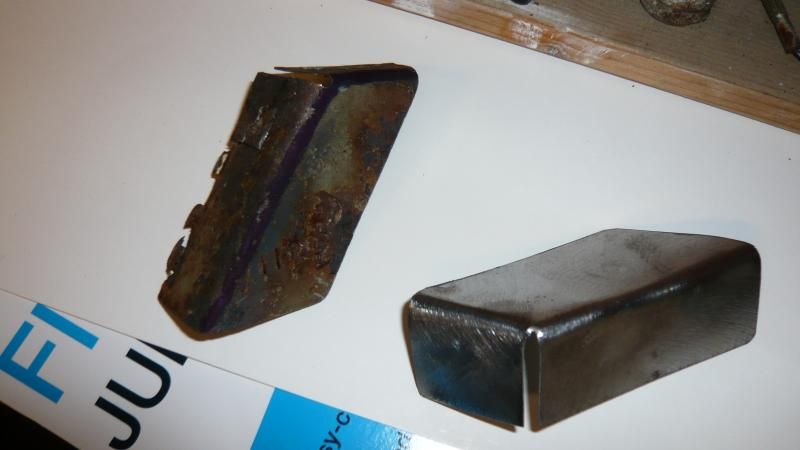
So that got a good dose of zinc and while it was drying, i offered up the new A post reinforcer
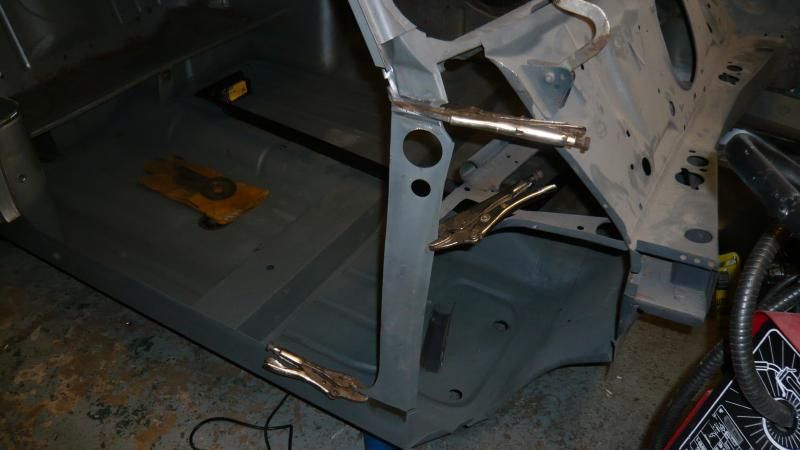
With it clamped roughly in place i took some measurements. The good thing about clamping it like this is that i can tap it back and forth until the measurements are spot the dog without having to keep undoing it and removing everytime.
So once the measurements were mm perfect, i marked it all up, removed it, cleaned the edges and then clamped it back before tacking it in place top and bottom and then one on the front parcel shelf edge for good luck
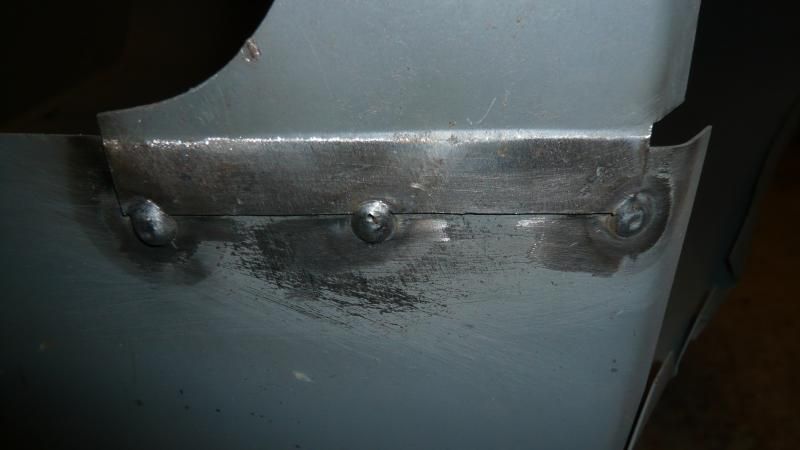
Then i offered up the step/A post panel to check the fit but before that, i lopped off a bit of the old A post and a bit of the old Quarter panel.
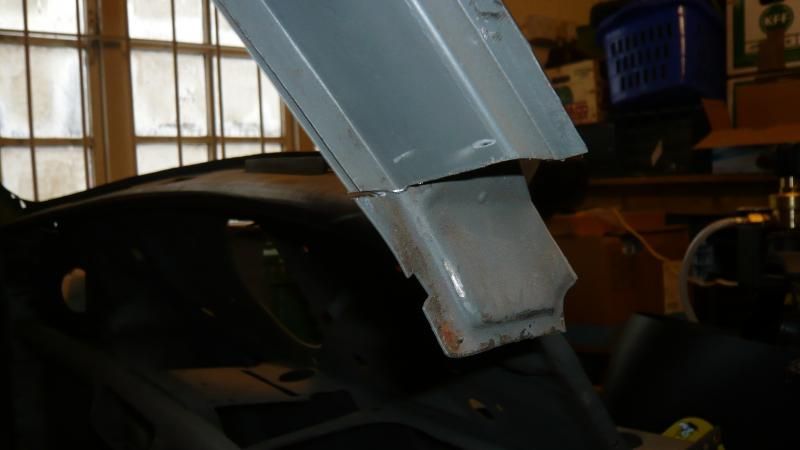
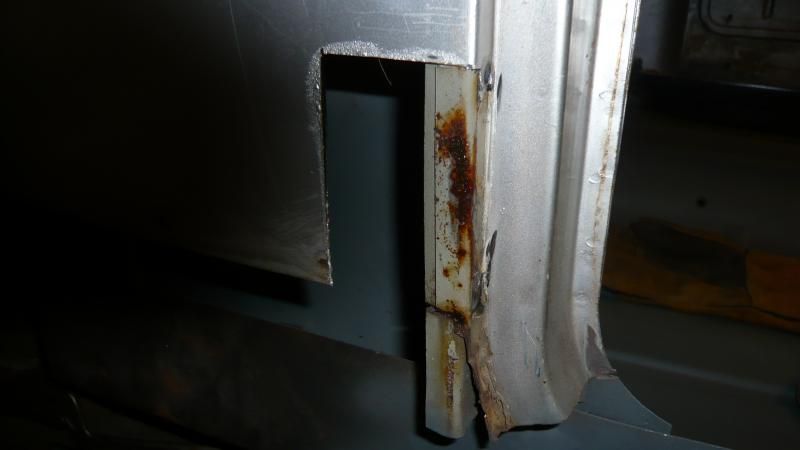
The reason i have left most of the Quarter panel on instead of just tearing the whole thing off is so that i can use it when lining up the door. Notice that i only cut the minimum off.
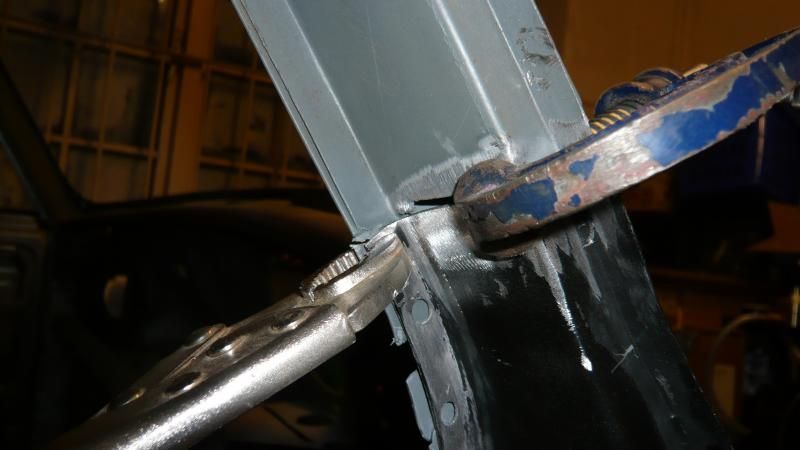
Anyway, back to the step panel, I clamped it all up
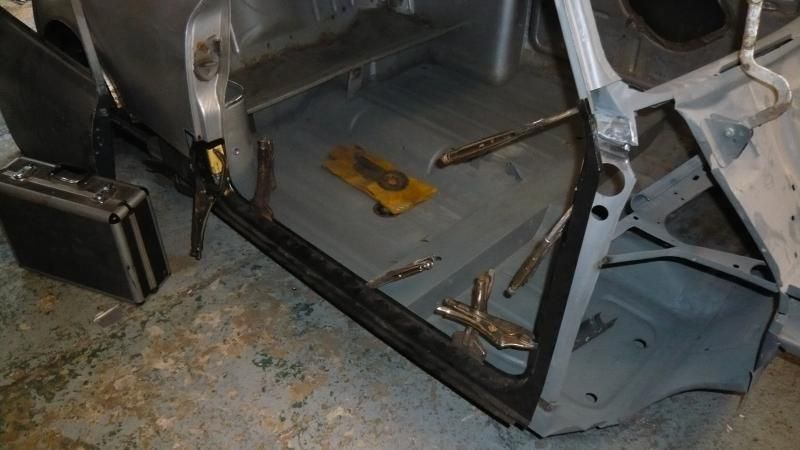
measured once, twice, three times a lady until i was happy with the height and width of the door aperture.
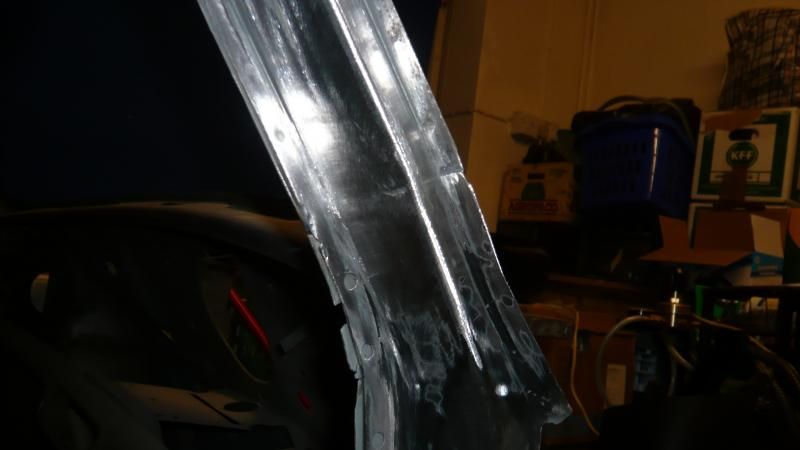
Then i removed it all again and seam welded the A panel reinforcer top middle and bottom, like this
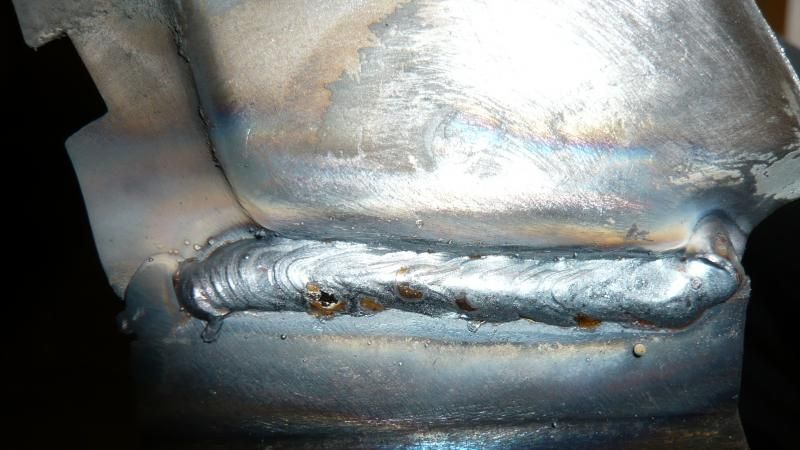
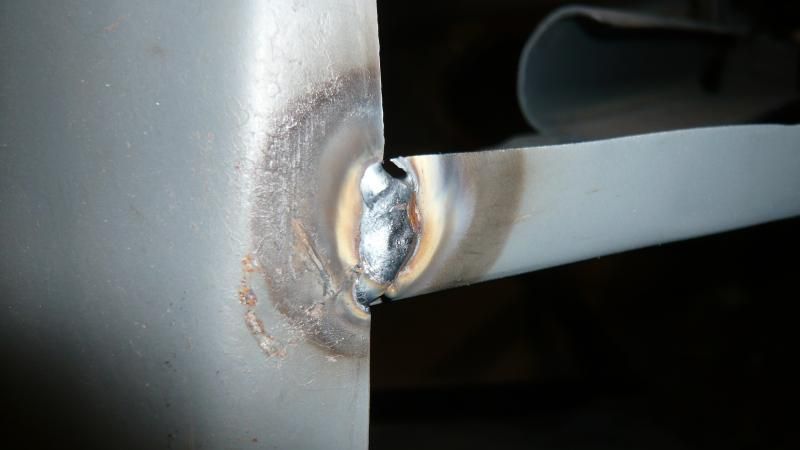
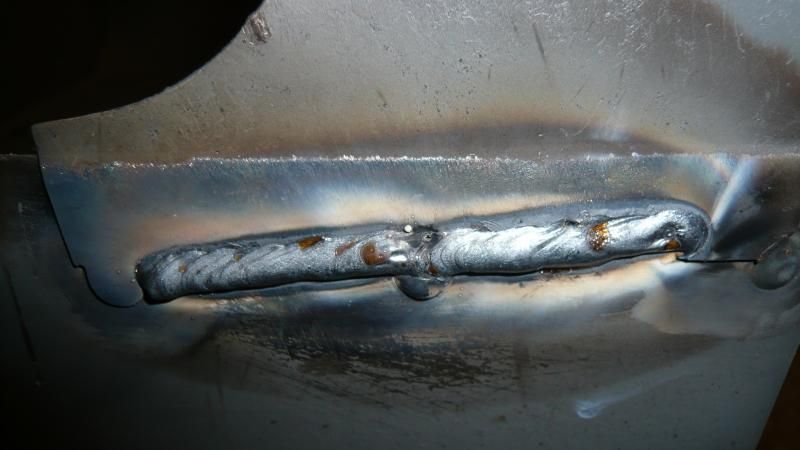
That aint going nowhere!
So back to the little reinforcer i made earlier
Clamped it in place to mark the plug weld holes and then drilled them and re-clamped it
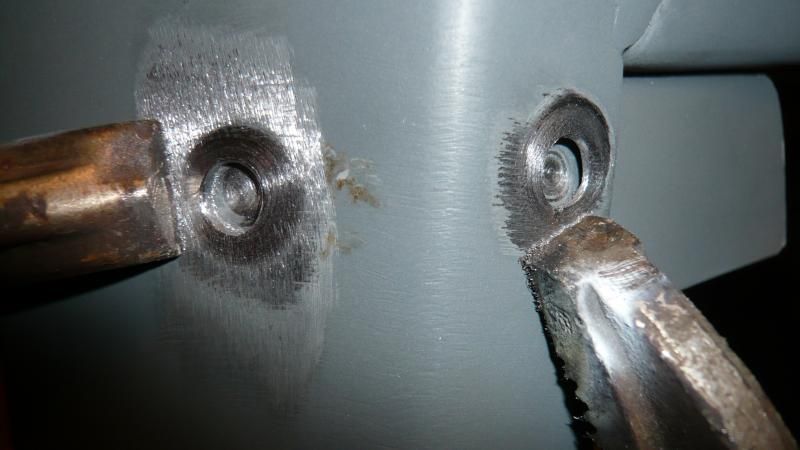
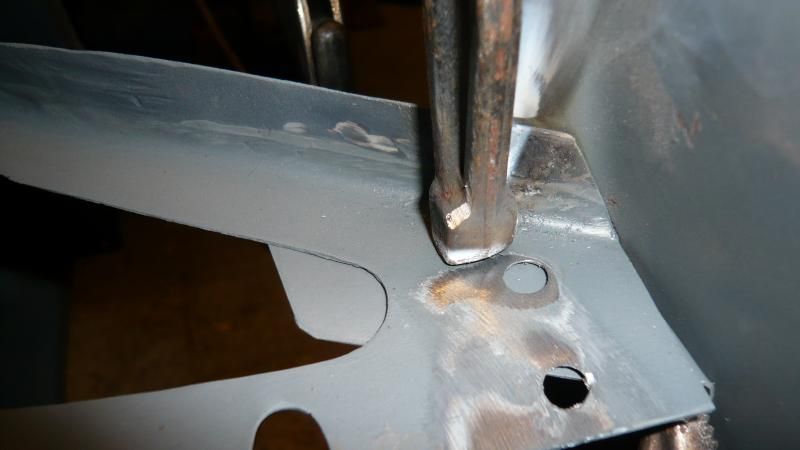
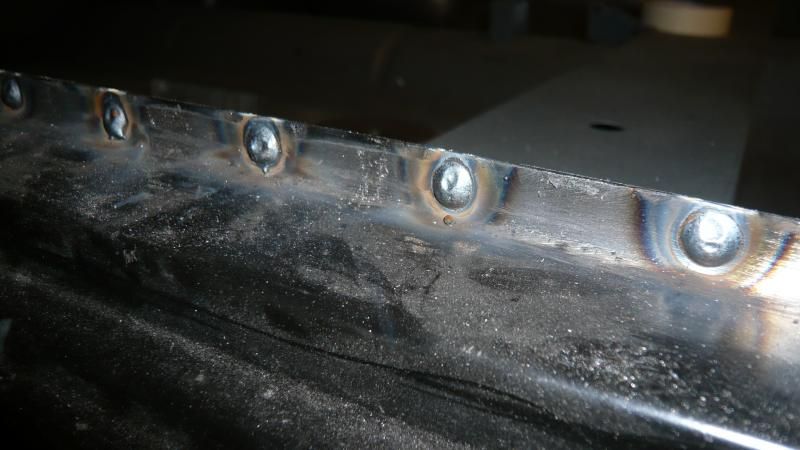
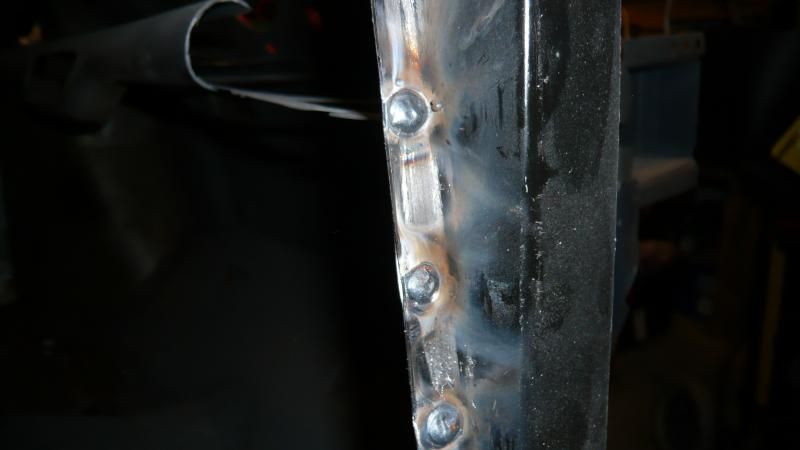
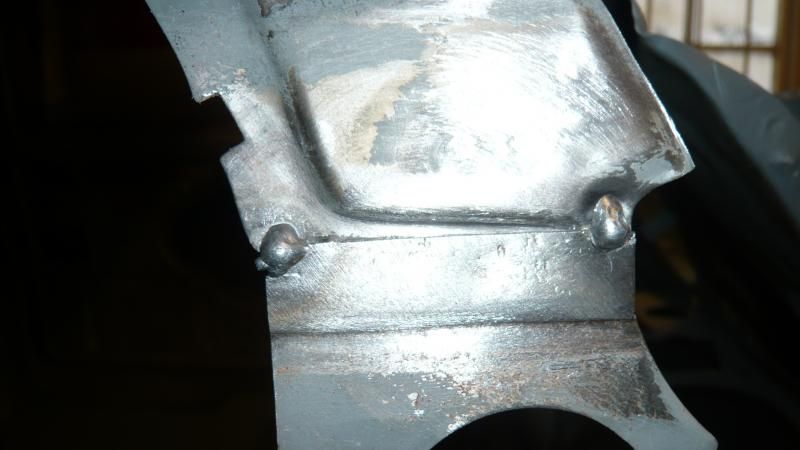
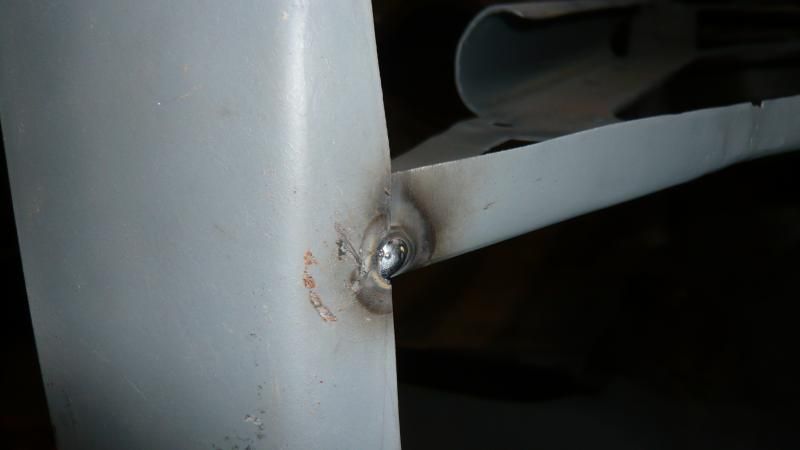
Then plug welded it all up
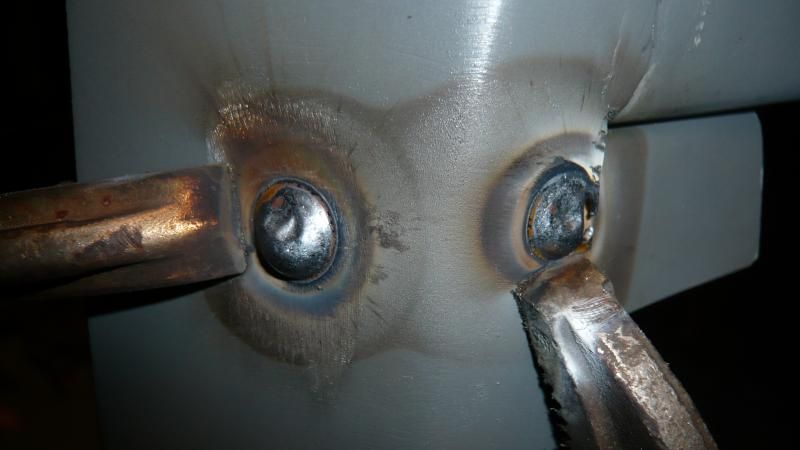
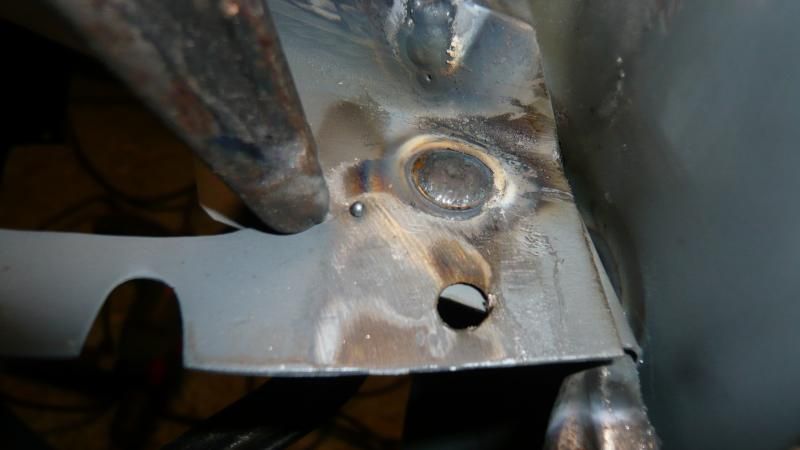
Followed by a quick wizz with the stone
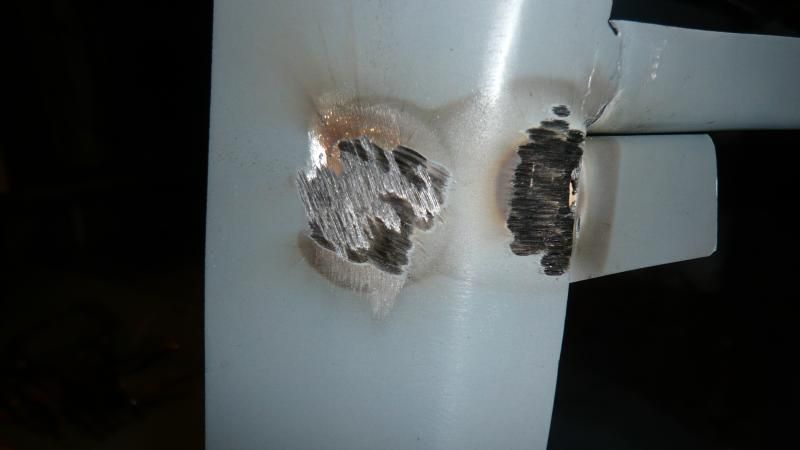
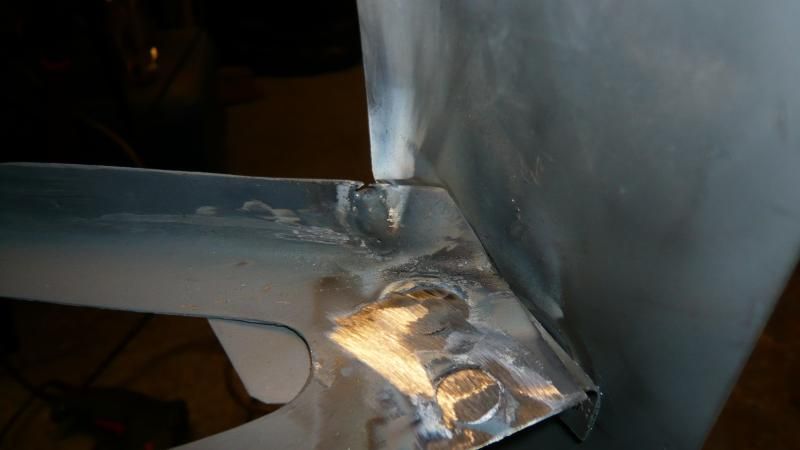
I left the ones on the shelf slightly proud as it's all out of eyes sight
so with that done
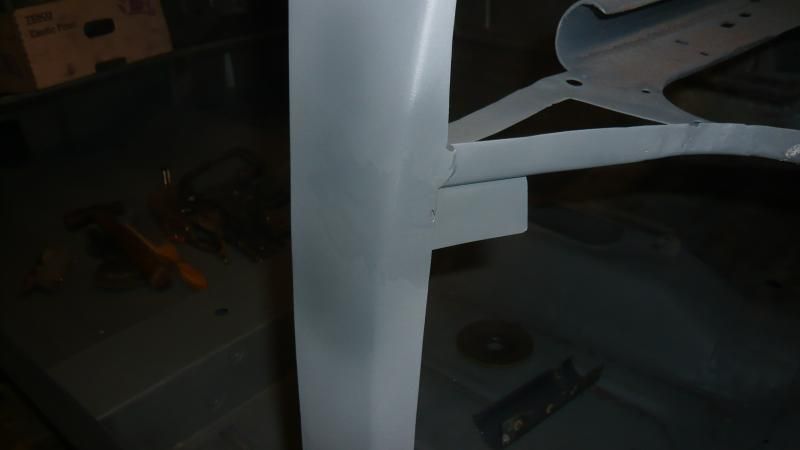
i moved back to the step, Clamped it all back on again, measured again and again and again before scribbling on the car with a pencil to mark the cut lines
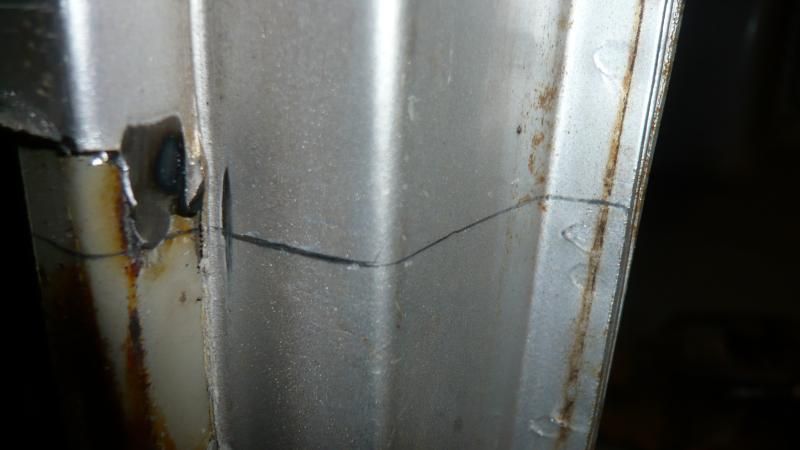
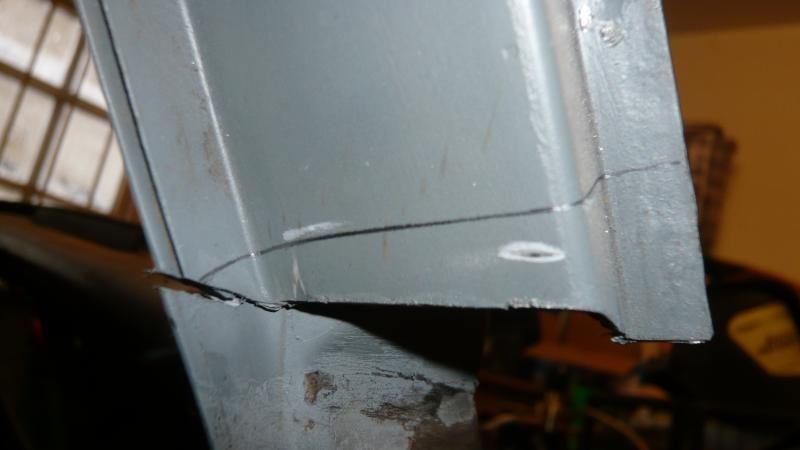
Chopped them out of the way and gave everything a good dose of Zinc
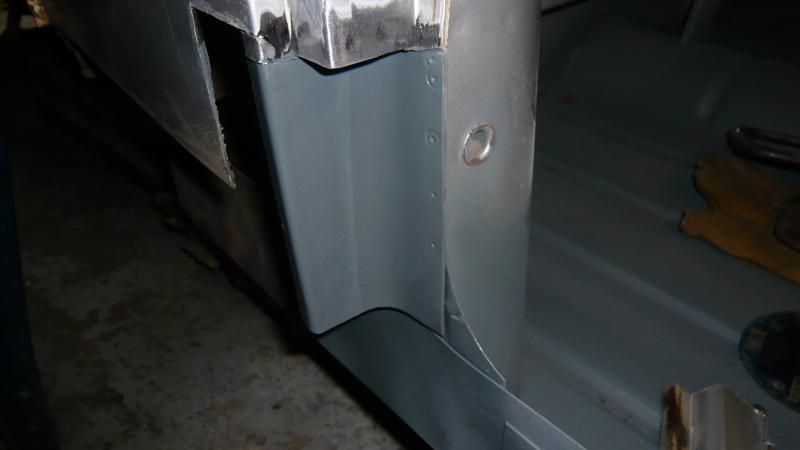
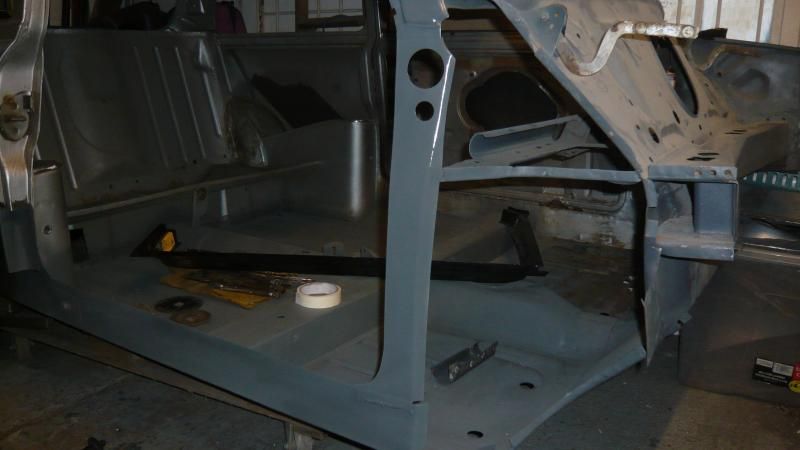
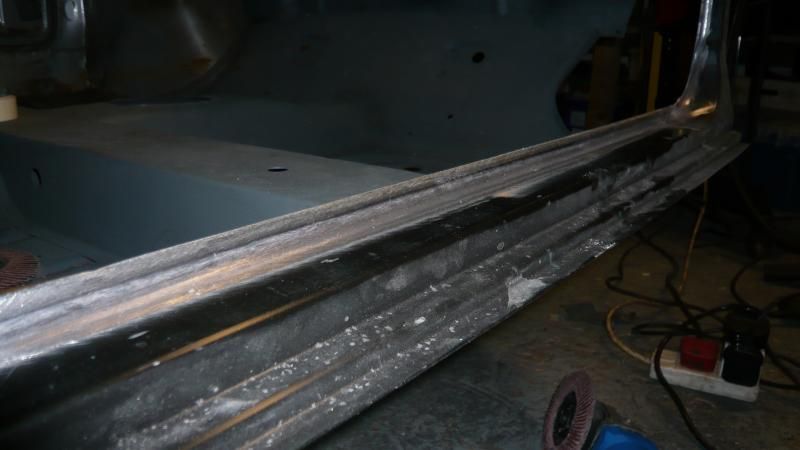
While i was waiting for that to dry, I drilled a kazillion holes in the step panel about 1" apart ready for plug welding
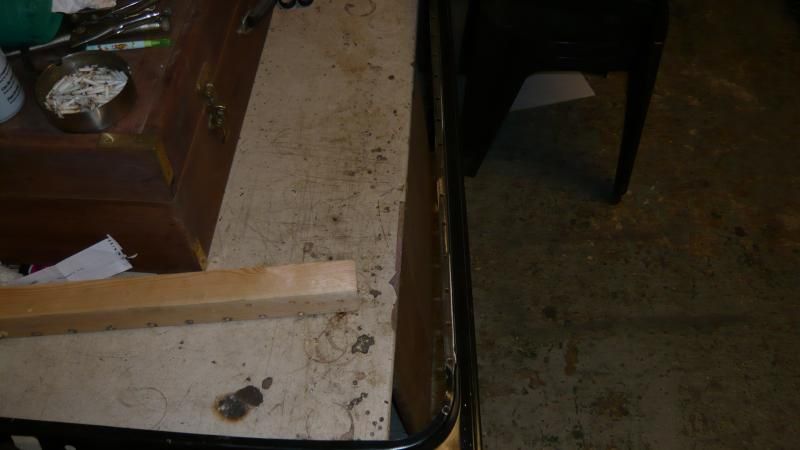
Linished that back and then put zinc on the mating surfaces.
At this point, i decided it would be a good idea to try the scuttle on as i was a little unsure if the A post was in the right place so i put the step/A post back on followed by the scuttle
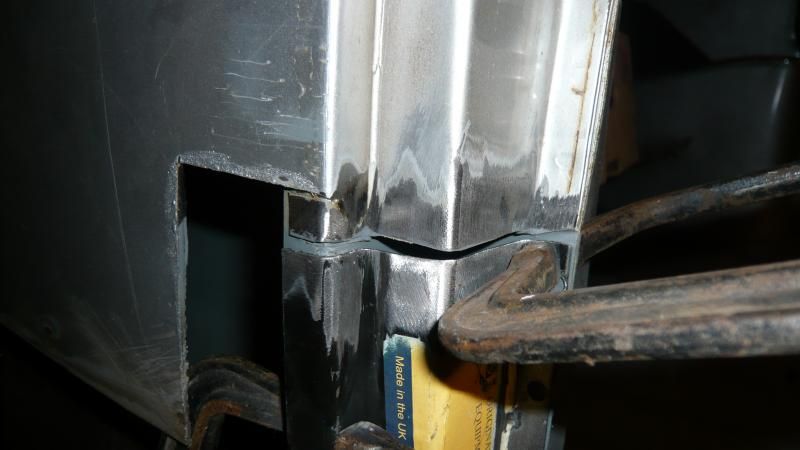
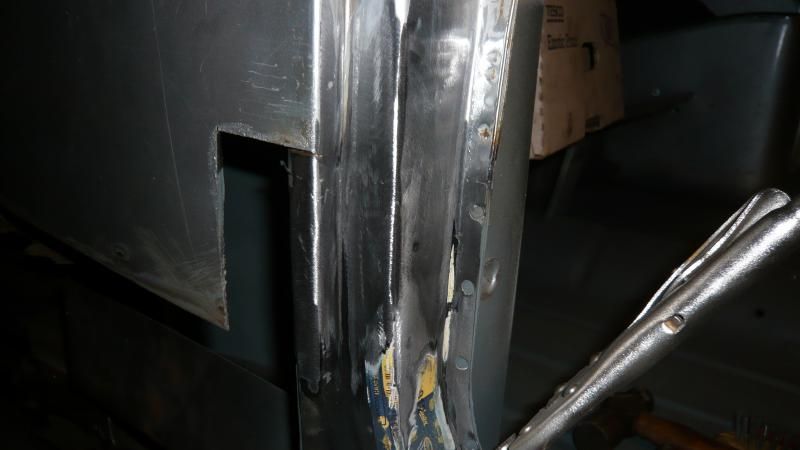
To determine the height, i just needed to compare the overhang of the external seam on the scuttle to the A post external seam. This is what i found
Drivers side
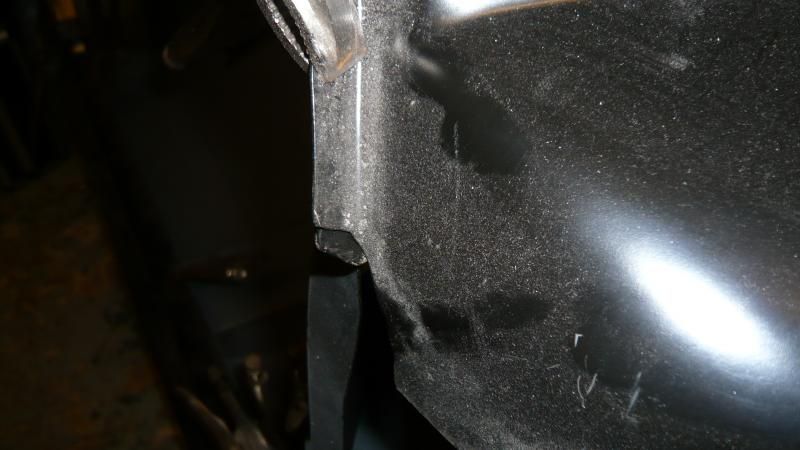
Passenger side
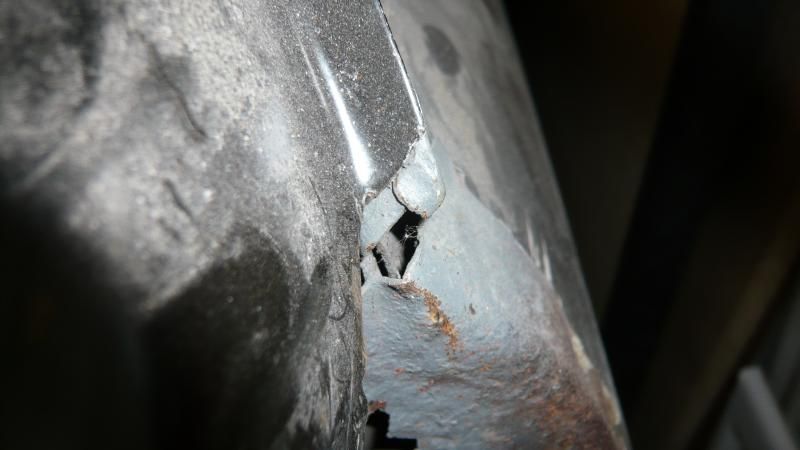
Both the same.. Phew!
![]()
![]()


