Jump to content


Photo
* * - - - 3 votes

Mini 25 Full Rebuild


  • Please log in to reply
1498 replies to this topic

#406 Ben_O

Ben_O

    Mill Road Garage

  • Paint Doctor
  • PipPipPipPipPipPipPipPipPipPip
  • 9,793 posts
  • Location: Isle of Wight

Posted 12 November 2014 - 10:04 PM


Superb.


It's all coming together nicely.

It really is!


I can't wait to get a working opening door on it. When i got the project, it didn't even have a door!


or anywhere to bolt one too....


O_O


Is it MOT'd yet?


Do you have a door?


lol.


I have a door mate. Bought it 2 years ago and it's been gathering dust ever since!


#407 Ben_O

Ben_O

    Mill Road Garage

  • Paint Doctor
  • PipPipPipPipPipPipPipPipPipPip
  • 9,793 posts
  • Location: Isle of Wight

Posted 13 November 2014 - 01:35 AM

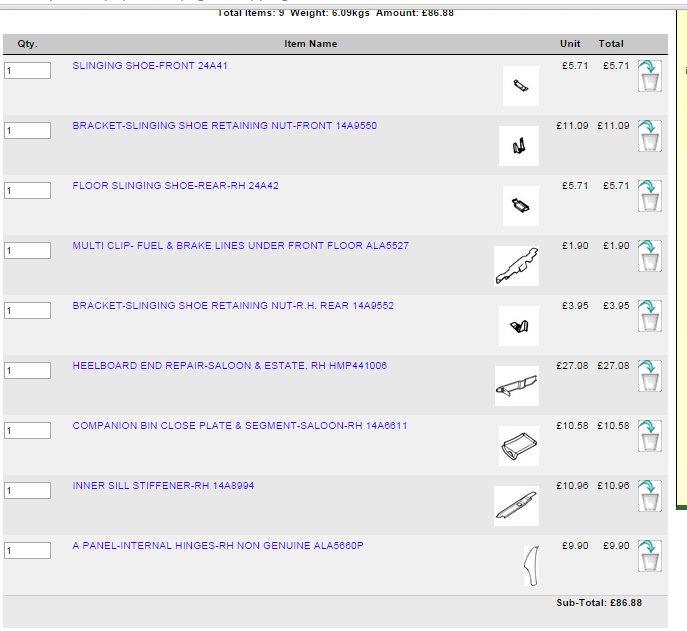
well i just popped on to somerfords website to price up the next few little bits.


I only need odds and sods and it's almost £90! That's eye watering for what i need!


minishoppinglist_zps46192391.png


Oh well, they got my by the danglies i guess, Needs must and all that.


#408 Hendred

Hendred

    Speeding Along Now

  • Members
  • PipPipPipPipPip
  • 484 posts
  • Location: Cleobury Mortimer Nr Ludlow, Shropshire Name: John

Posted 13 November 2014 - 07:35 AM

What and where is an inner sill stiffener Ben?  


#409 Ben_O

Ben_O

    Mill Road Garage

  • Paint Doctor
  • PipPipPipPipPipPipPipPipPipPip
  • 9,793 posts
  • Location: Isle of Wight

Posted 13 November 2014 - 08:33 AM

What and where is an inner sill stiffener Ben?  

It goes behind the bottom of the quarter panel and spot welds to the top edge of the inner sill.


#410 Hendred

Hendred

    Speeding Along Now

  • Members
  • PipPipPipPipPip
  • 484 posts
  • Location: Cleobury Mortimer Nr Ludlow, Shropshire Name: John

Posted 13 November 2014 - 08:59 AM

Oh dear, I never put that on mine!  Behind the subframe mounting you mean don't you?


#411 Carlos W

Carlos W

    Mine is purple, but I have been told that's normal

  • TMF+ Member
  • PipPipPipPipPipPipPipPipPipPipPip
  • 10,114 posts
  • Location: Sittingbourne, Kent

Posted 13 November 2014 - 09:00 AM

Just miss off the slinging brackets

#412 Hendred

Hendred

    Speeding Along Now

  • Members
  • PipPipPipPipPip
  • 484 posts
  • Location: Cleobury Mortimer Nr Ludlow, Shropshire Name: John

Posted 13 November 2014 - 09:07 AM

Actually thinking about it I put the old one back on, it has flanged edges all the way along and you can see it inside rear seat pockets?


Sorry Ben I shouldn't be asking questions on your thread


Edited by Hendred, 13 November 2014 - 09:18 AM.


#413 Ben_O

Ben_O

    Mill Road Garage

  • Paint Doctor
  • PipPipPipPipPipPipPipPipPipPip
  • 9,793 posts
  • Location: Isle of Wight

Posted 13 November 2014 - 06:05 PM

Just miss off the slinging brackets

No way man!


#414 Ben_O

Ben_O

    Mill Road Garage

  • Paint Doctor
  • PipPipPipPipPipPipPipPipPipPip
  • 9,793 posts
  • Location: Isle of Wight

Posted 13 November 2014 - 06:08 PM


Actually thinking about it I put the old one back on, it has flanged edges all the way along and you can see it inside rear seat pockets?


Sorry Ben I shouldn't be asking questions on your thread

Ask away mate!


I want my thread to be of use to people so if anyone has any questions, then fire away!


Yeah, sounds like what it is.


it can be seen in this photo/


Attached File  IMG_2344_zps1ec80dde.jpg   51.54K   34 downloads


Ben


#415 ToM 2012

ToM 2012

    Up Into Fourth

  • Members
  • PipPipPipPipPipPipPipPipPip
  • 4,066 posts
  • Location: halesowen

Posted 13 November 2014 - 07:19 PM

Looking nice Ben keep up the good work mate cheers tom

#416 Hendred

Hendred

    Speeding Along Now

  • Members
  • PipPipPipPipPip
  • 484 posts
  • Location: Cleobury Mortimer Nr Ludlow, Shropshire Name: John

Posted 13 November 2014 - 09:02 PM

Thanks Ben, yep that's the kiddie I put back in, for a minute I thought I had forgotton the stiffener!


#417 Ben_O

Ben_O

    Mill Road Garage

  • Paint Doctor
  • PipPipPipPipPipPipPipPipPipPip
  • 9,793 posts
  • Location: Isle of Wight

Posted 14 November 2014 - 07:01 PM

Not much to report from today's progress.


I have fully seam welded the inner sill on and started the laborious task of grinding and shaping the welds.


So to start with i took back off the step panel and other bits that i clamped in place on the last update and put them to one side.


So this is the inner sill tacked on as before
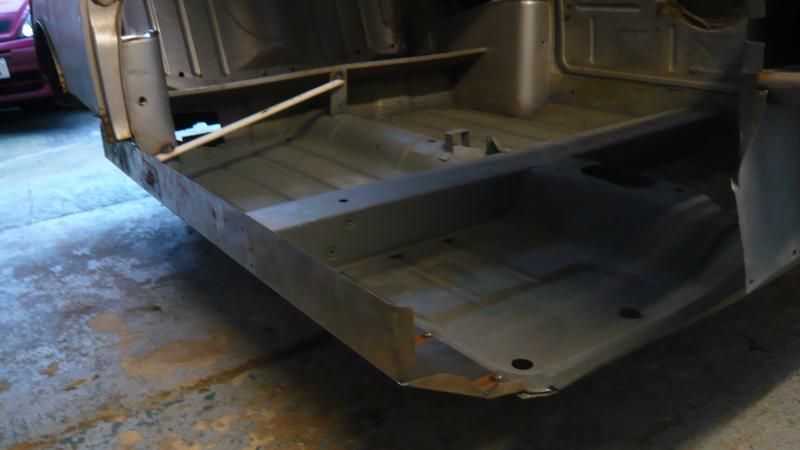
 

P1050947_zps0cc74cea.jpg


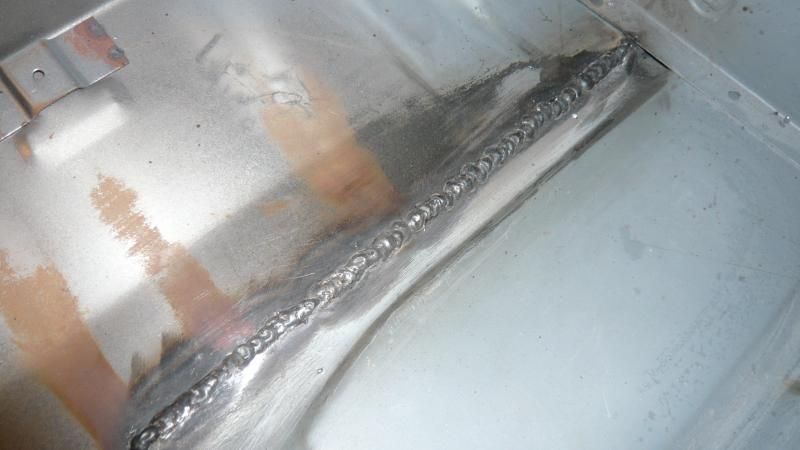
Soi started off by seam welding the front half of the floor to inner sill join. I decided to weld it from the inside and once i have finished, i will roll the shell back on its side and tidy the welds up from underneath as well.


So this is how i started off..
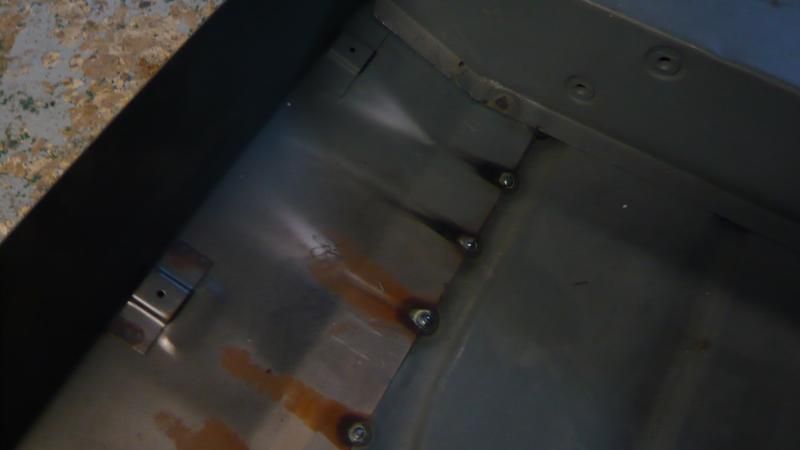
 

P1050948_zpsba8a3cca.jpg


So on with the welding and i had this
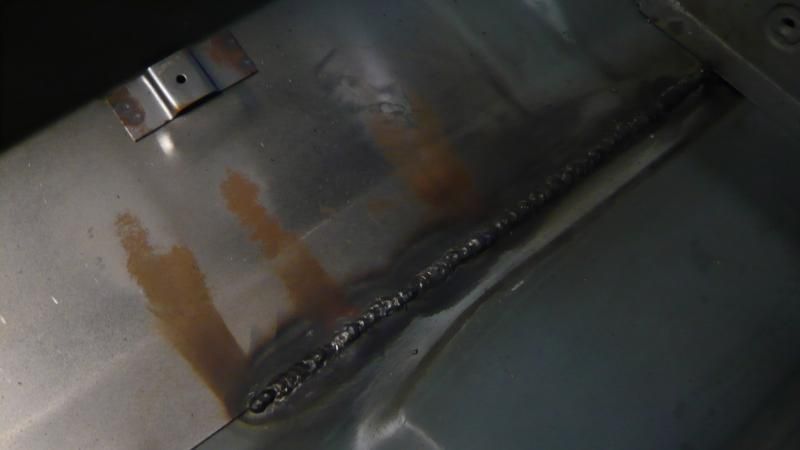
 

P1050949_zps2bf6bdd5.jpg


Had to do a bit of trimming at the very front as the inner sill was overlapping the floor by a few thou so i didn't have a gap in which to get the weld in
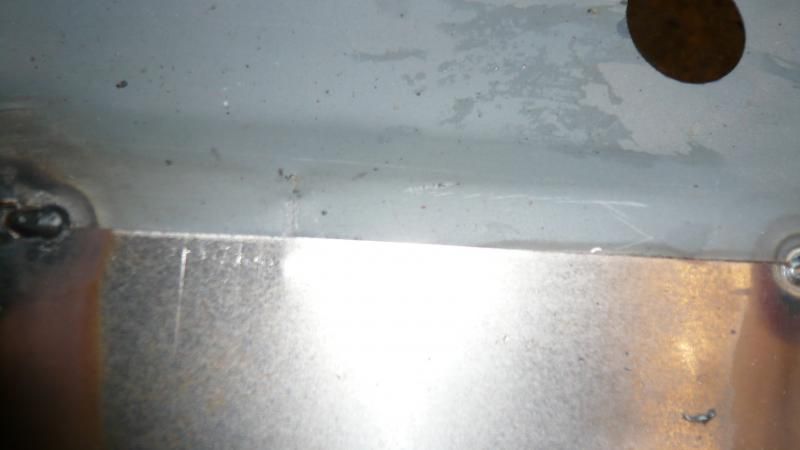
 

P1050951_zpsa55736ec.jpg


so i opened it up with a 1mm cutting disc before continuing to seam weld that too.


So once fully seam welded i ended up with this
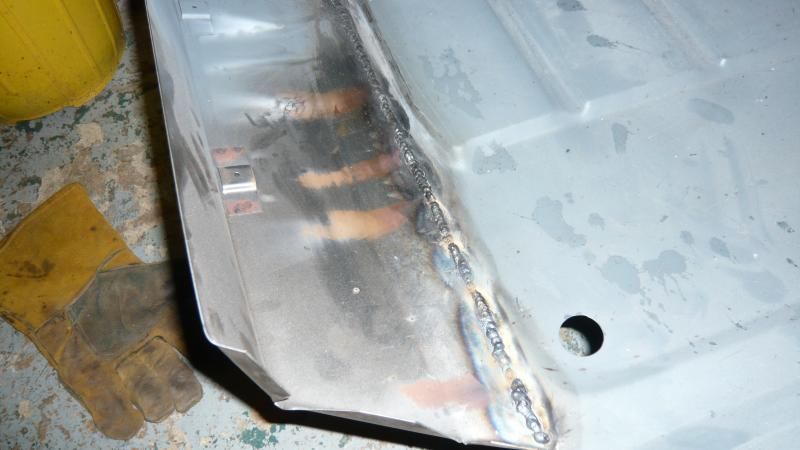
 

P1050954_zpsbb62af24.jpg


P1050950_zps3780dc20.jpg


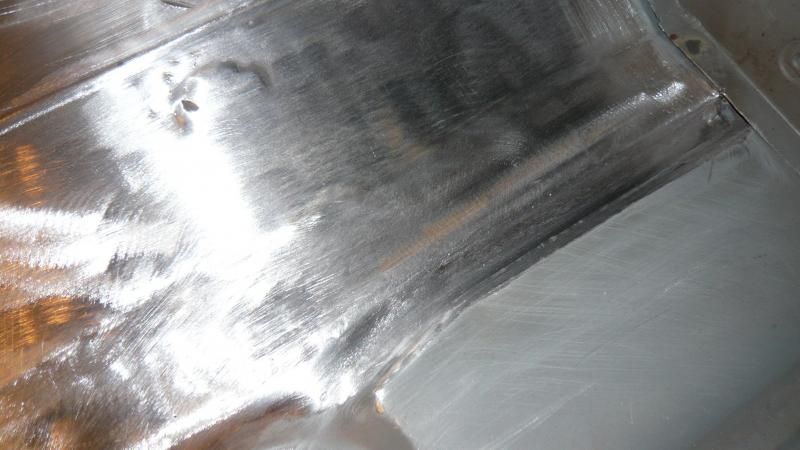
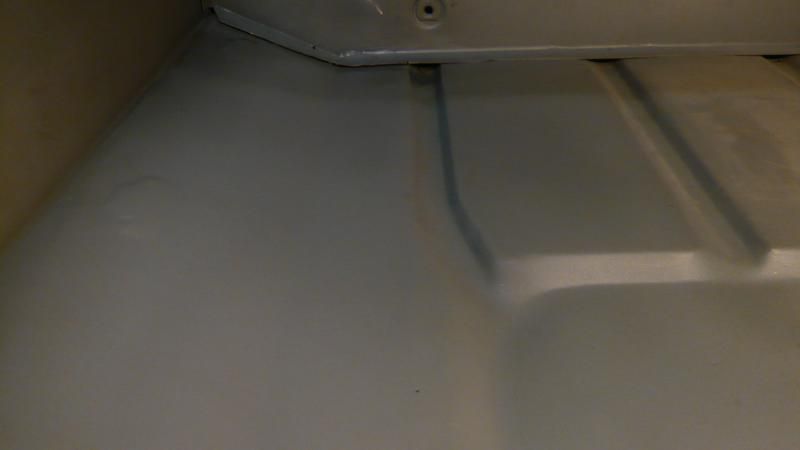
So next i need to grind and shape the welds. My no1 aim on this project is to have seamless invisible repairs where i can so this next part was crucial.


I started off taking the top off with an ordinary grinding disc to get the rough shape before going down to a thin 2mm cutting disc. This allows me to grind the actual weld more accurately without thinning the surrounding steel. It is far easier to control too.


So after 20 mins i had this
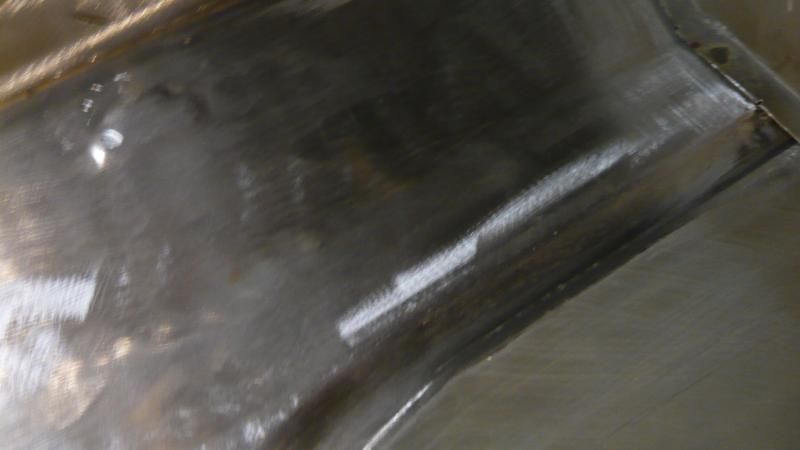
 

P1050960_zps34642dd6.jpg


P1050959_zps4dd4da5e.jpg


it still needs some final tweaking but i need a much smaller grinder so i will get some small stones for the multi tool so i can get in where the grinding stone can't


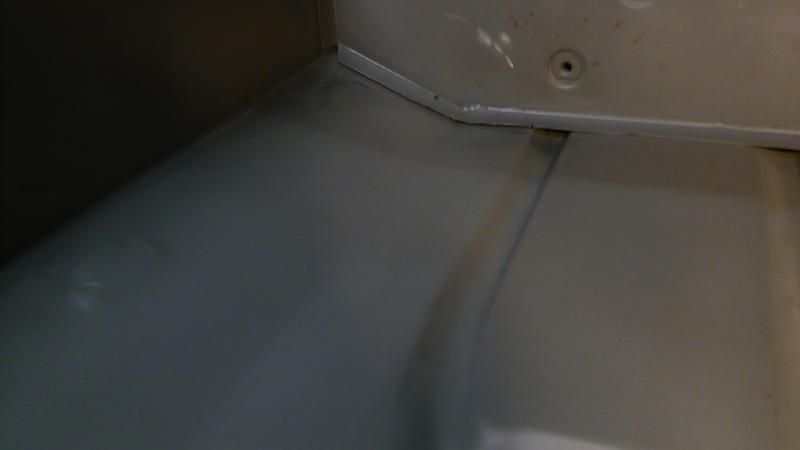
so a splash of zinc later and we have this
 

P1050961_zps8a189dea.jpg


P1050962_zps227cc5af.jpg


So that's good enough for now. You may notice that i removed the carpet retainers as these are for later cars and mine doesn't need them. They were each held on with four 4mm spot welds a piece.


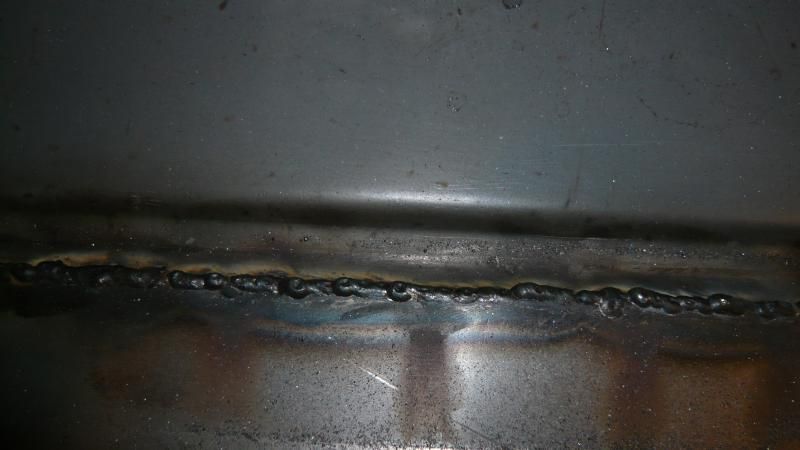
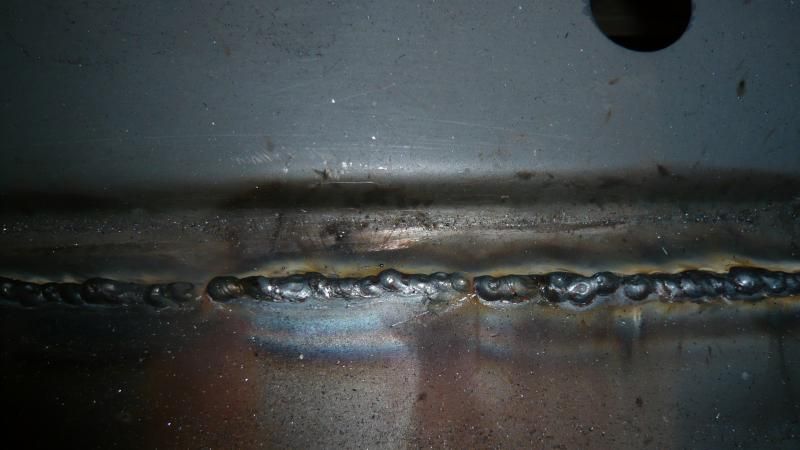
Next i started to seam weld the rear half of the sill to floor join.


Not much to show here other than this
 

P1050966_zpsbe063639.jpg


P1050965_zpsd9a5466b.jpg


they will be shaped like the others tomorrow.


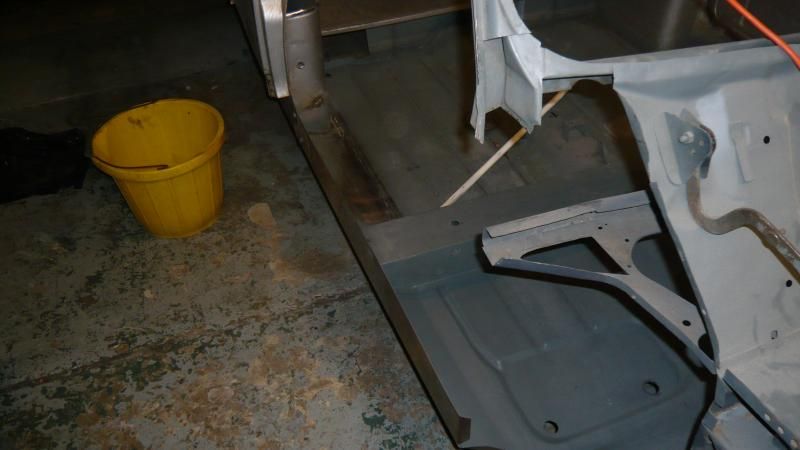
So here is where i am at the end of play today
 

P1050968_zps4d26af08.jpg


i hoped to get much more done but have been to busy to get much time out there.


Thanks for looking


Ben


#418 Jared Mk3

Jared Mk3

    Has a small thing but it does make a difference

  • Members
  • PipPipPipPipPipPipPipPip
  • 1,974 posts
  • Location: Kokstad, South Africa
  • Local Club: MOCKZN

Posted 14 November 2014 - 07:07 PM

Great work. Really neat as well.


#419 Ben_O

Ben_O

    Mill Road Garage

  • Paint Doctor
  • PipPipPipPipPipPipPipPipPipPip
  • 9,793 posts
  • Location: Isle of Wight

Posted 14 November 2014 - 07:13 PM

Great work. Really neat as well.

Cheers!

That's the name of the game


Ben


#420 rally515

rally515

    Up Into Fourth

  • Members
  • PipPipPipPipPipPipPipPipPip
  • 3,848 posts
  • Location: ask!

Posted 14 November 2014 - 07:15 PM

Beautiful grinding down of the Welds Ben!, super impressive! :thumbsup:


5 user(s) are reading this topic

0 members, 5 guests, 0 anonymous users