Mini 25 Full Rebuild
#391

Posted 11 November 2014 - 11:03 PM
#392

Posted 11 November 2014 - 11:47 PM
You did but i couldn't get it in the car so it's at mums
#393

Posted 11 November 2014 - 11:48 PM
You did but i couldn't get it in the car so it's at mums
Boo hiss boo.
#394

Posted 11 November 2014 - 11:49 PM
I know. I really could do with it, or at least a proper bulb for the light i made up. Energy saving bulbs are so dim it's a joke
#395

Posted 12 November 2014 - 10:09 AM
Looking good Ben some fantastic fabrication.
#396

Posted 12 November 2014 - 12:11 PM
Keep it up.
#397

Posted 12 November 2014 - 08:18 PM
Hit a bit of a milestone today so i am a very happy chappy.
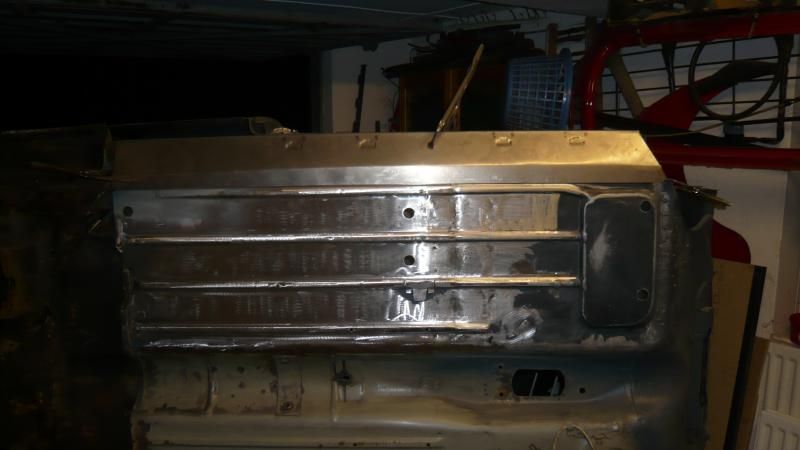
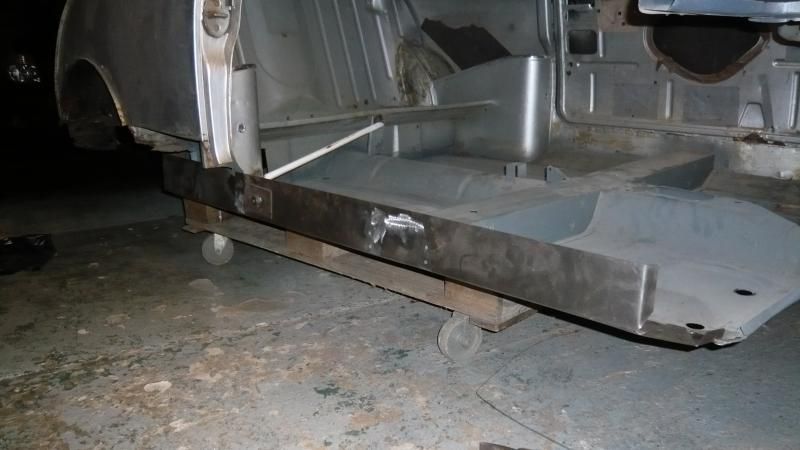
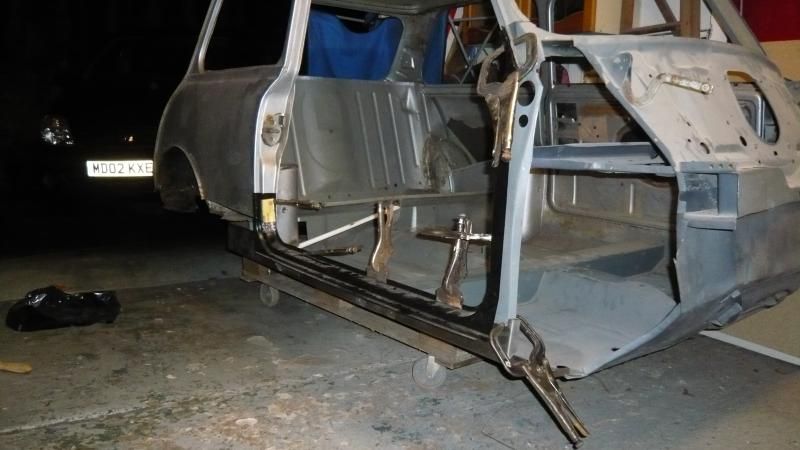
Anyway i popped the shell back on it's side again. I'm getting rather good at doing it alone now!!
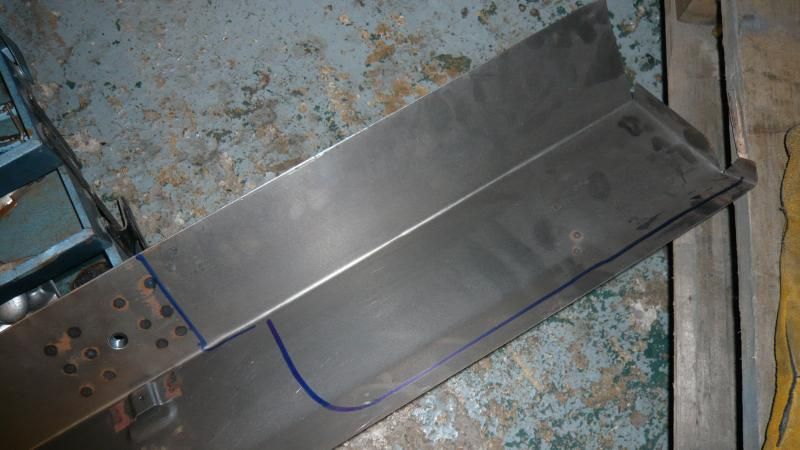
so i chucked the inner sill back on so i could mark my cut line and get rid of the unwanted bits of floor.
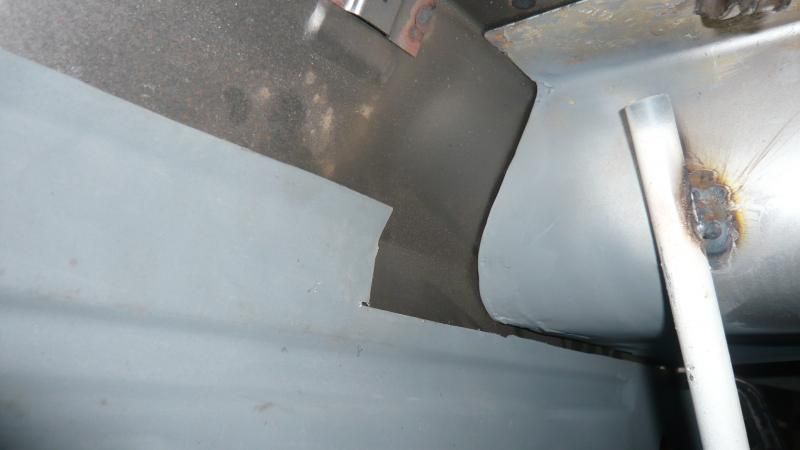
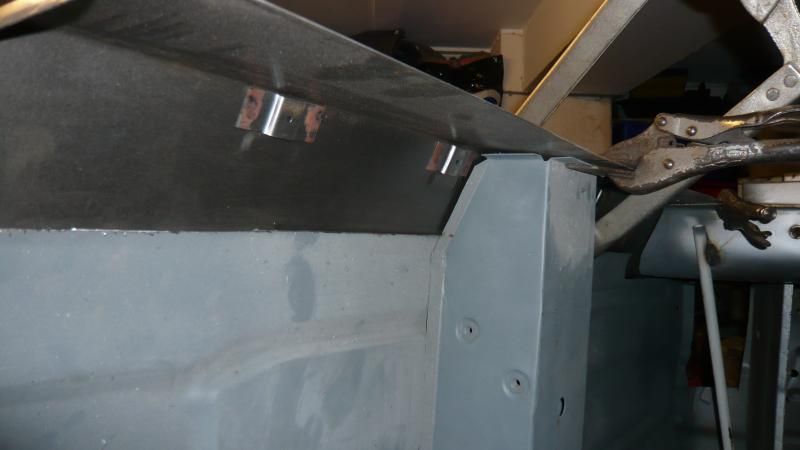
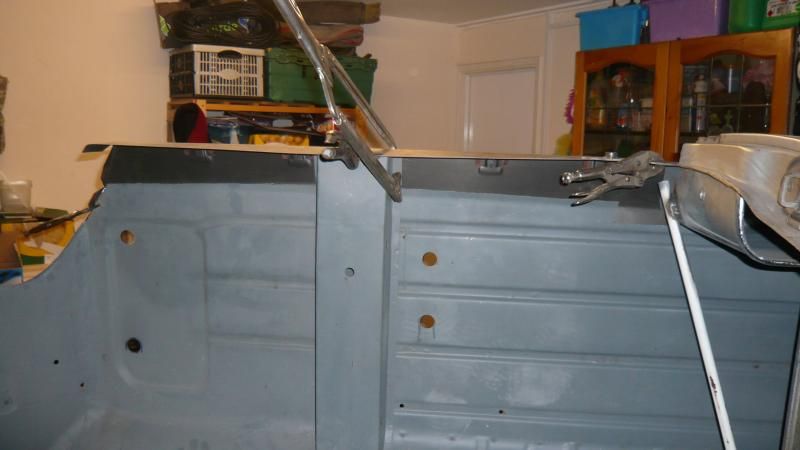
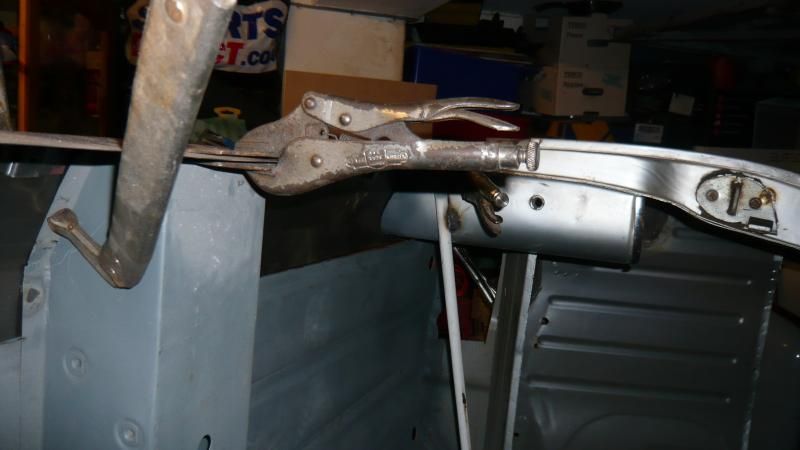
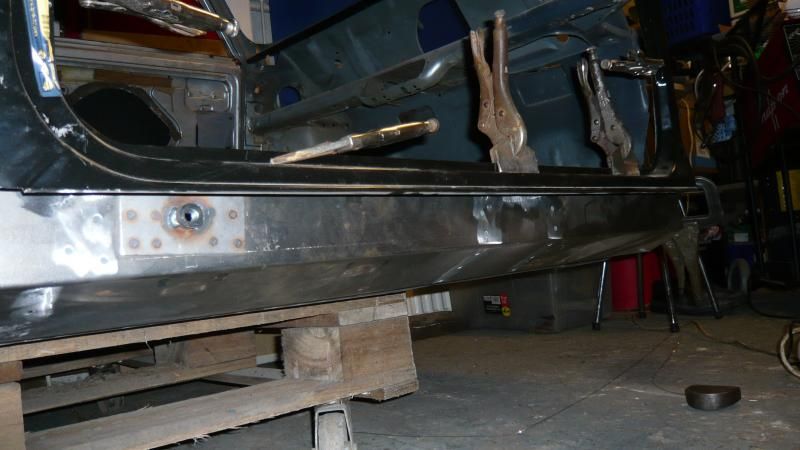
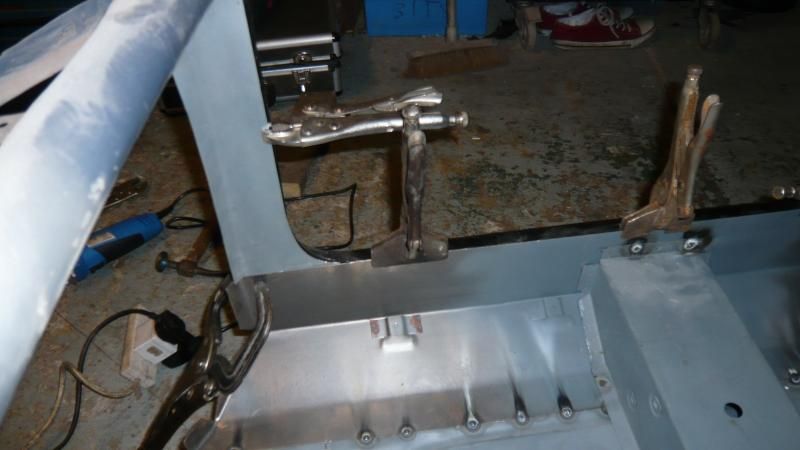
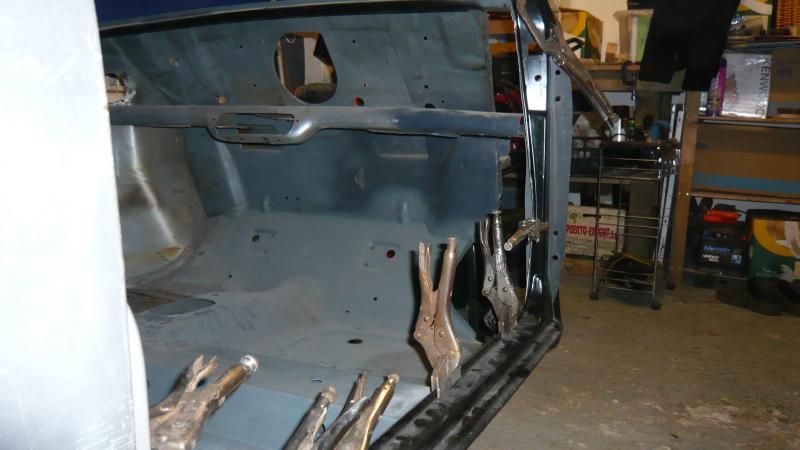
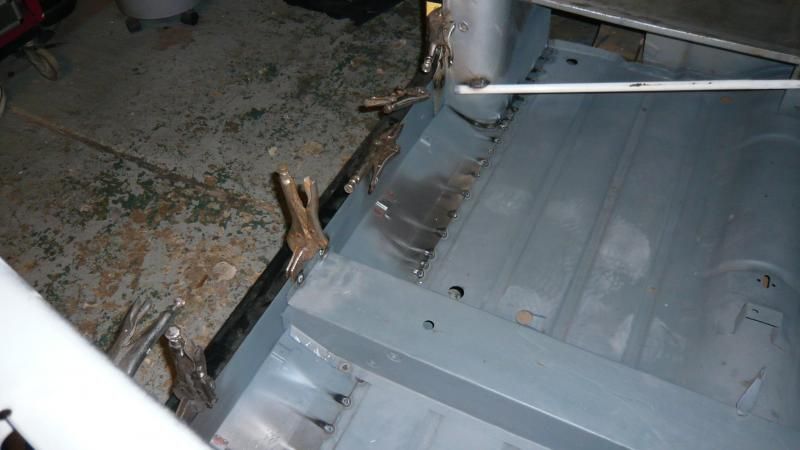
I first removed the front edge of the inner sill that came with the front floor pan to ease fitting and once all clamped in place and i was happy with the fit i marked the cut line with a pencil.
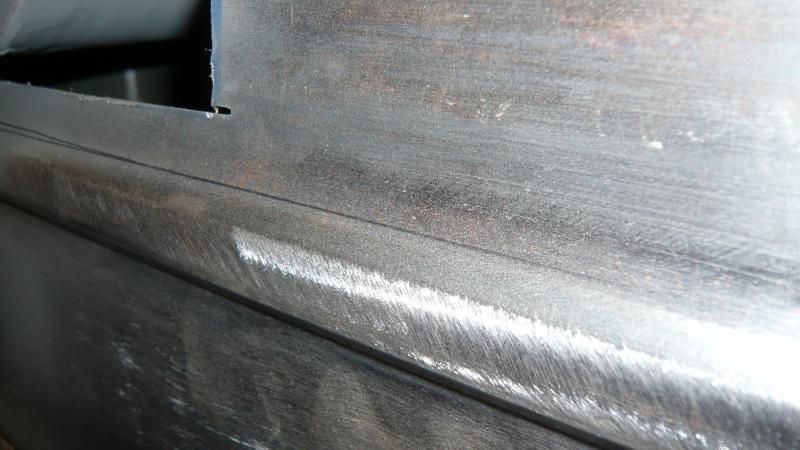
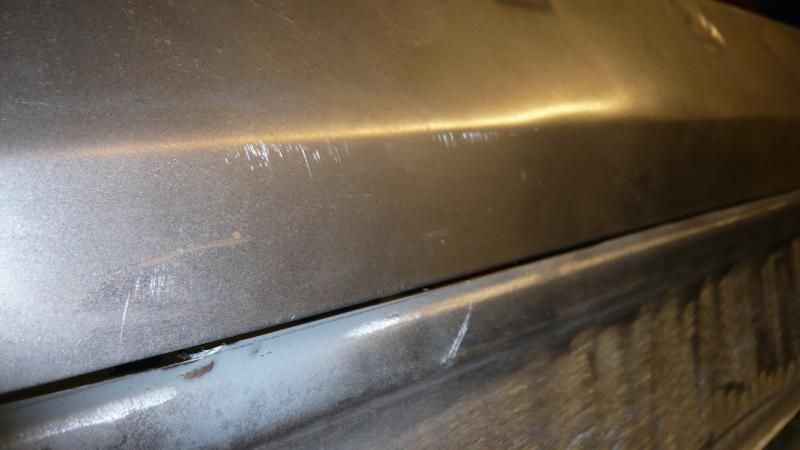
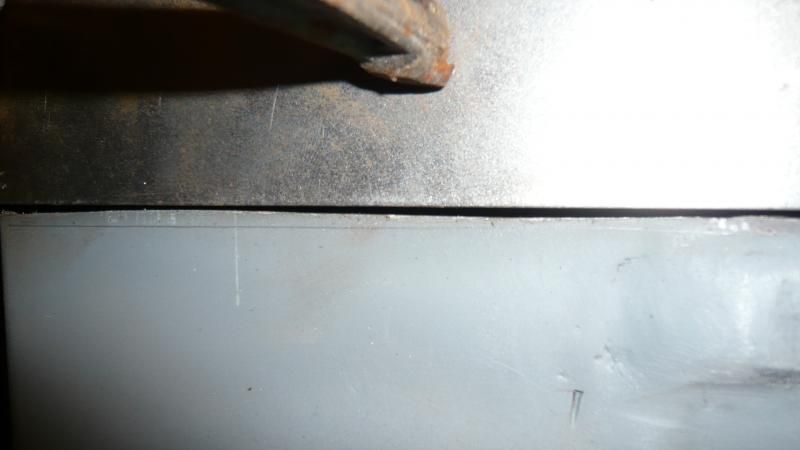
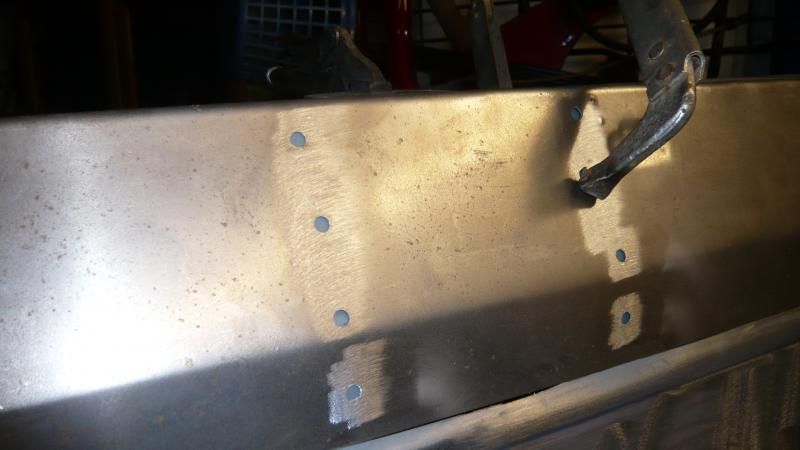
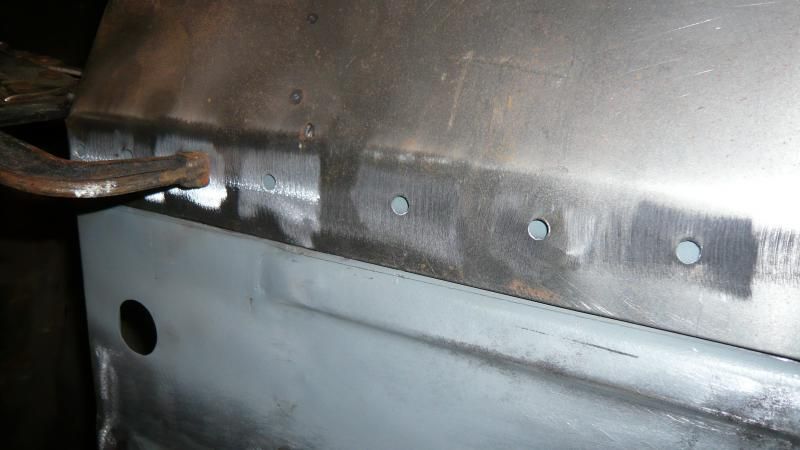
These pictures show the fit.
And this the pencil line
I took it all back off again and cut the unwanted floor using a 1mm cutting disc in the grinder. The 1mm discs are brilliant and do a really nice job with minimal effort.
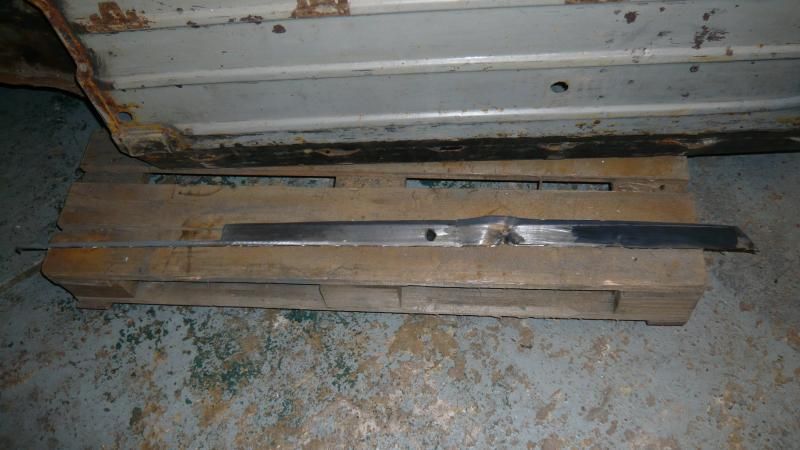
Anyway here it is cut off
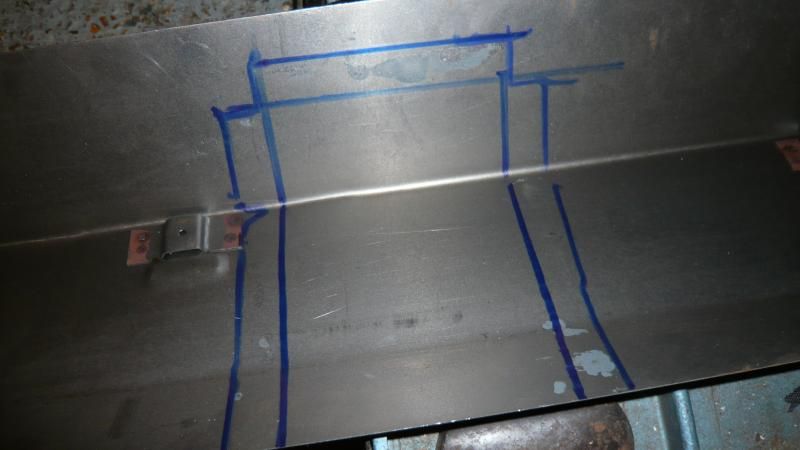
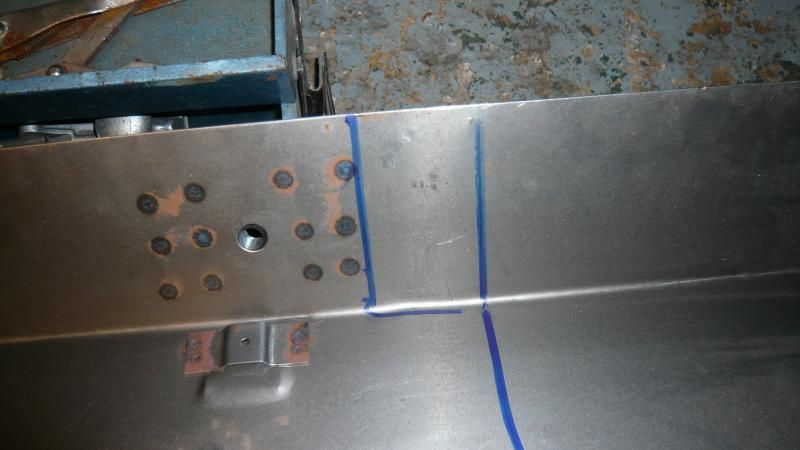
So back on with the sill making sure i clamped it up perfectly because this stage was crucial so that i can mark where the crossmember and companion bin goes in order for me to drill the 6mm holes for plug welding later on
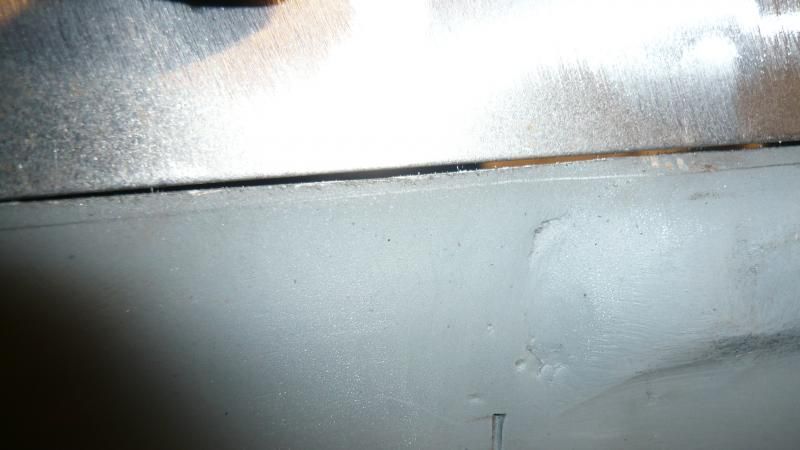
Pretty pleased with the nice small even gap which i can seam weld along later on.
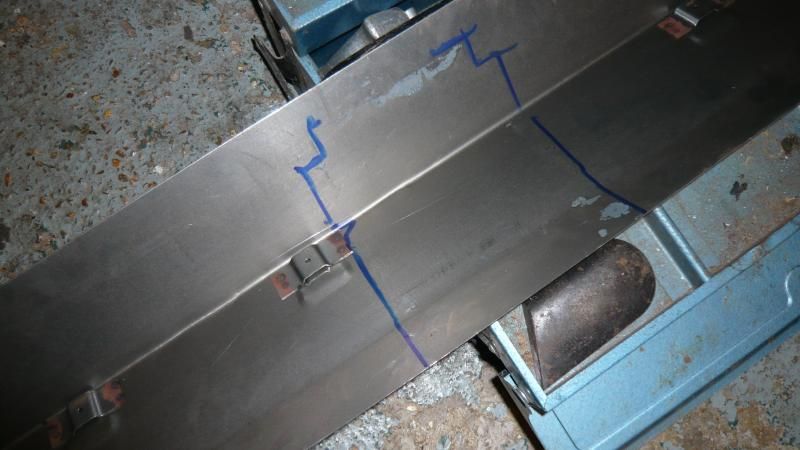
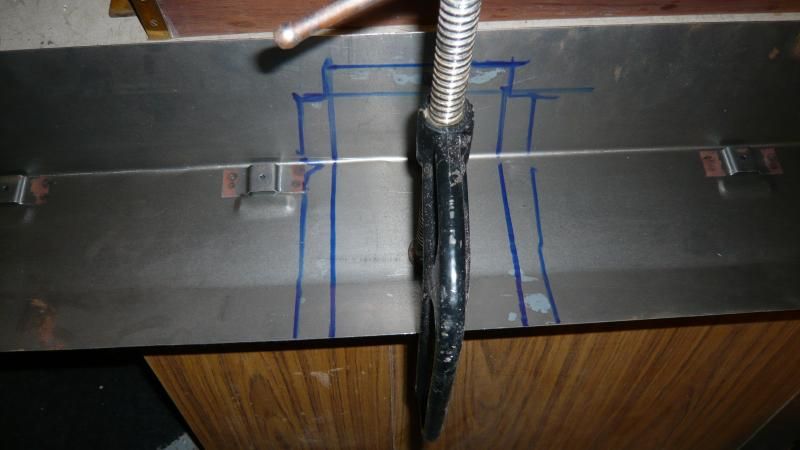
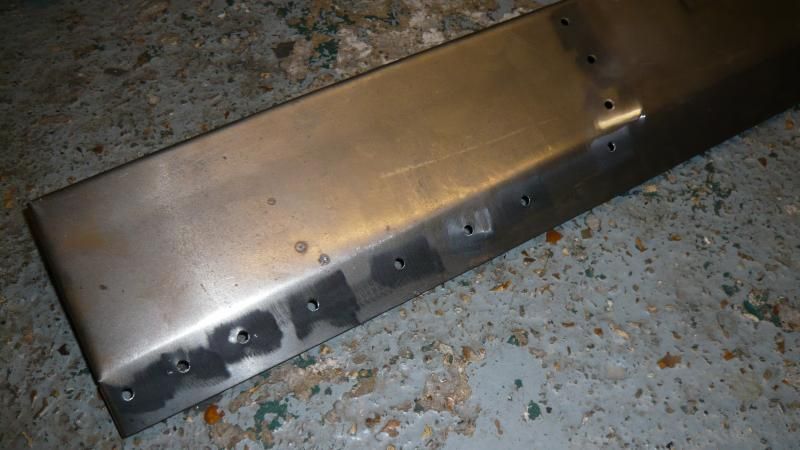
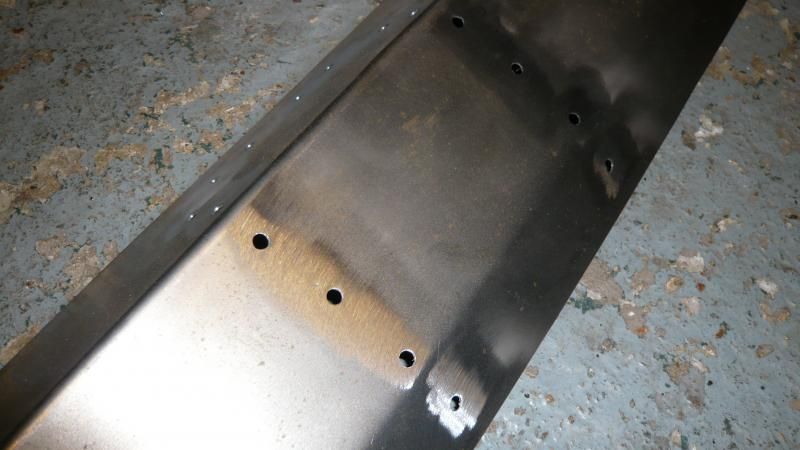
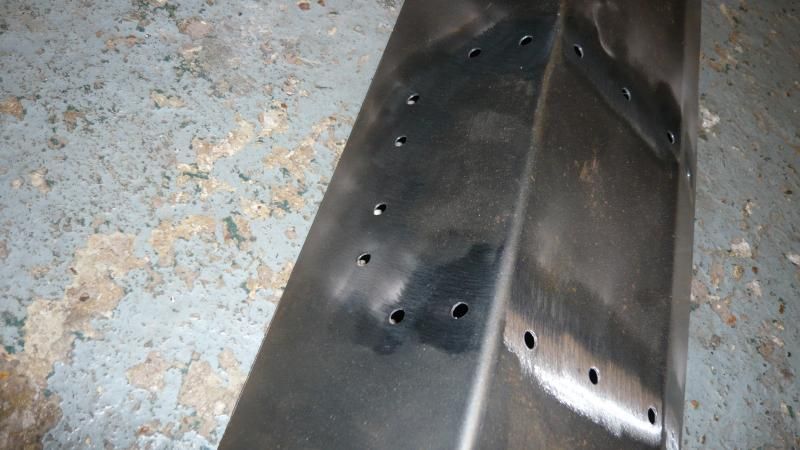
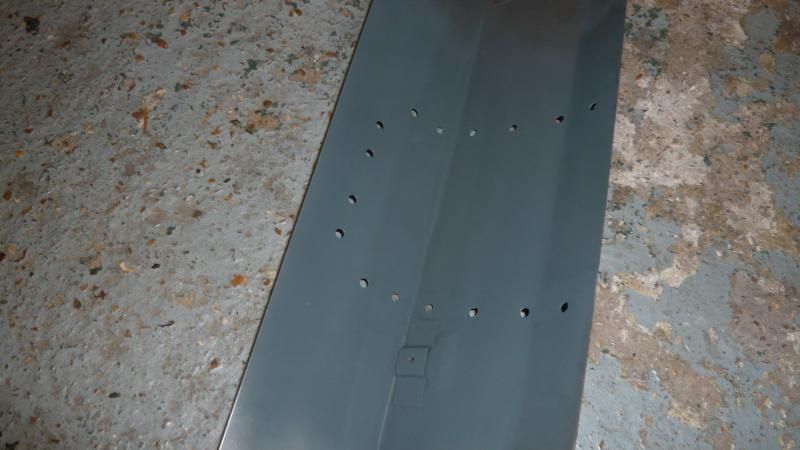
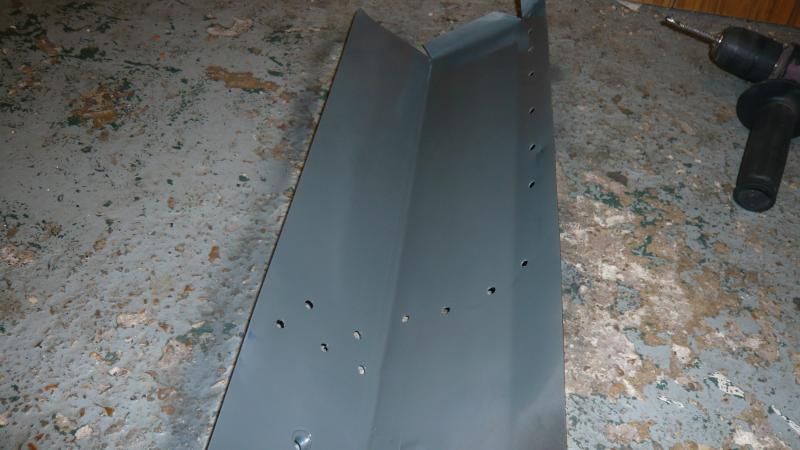
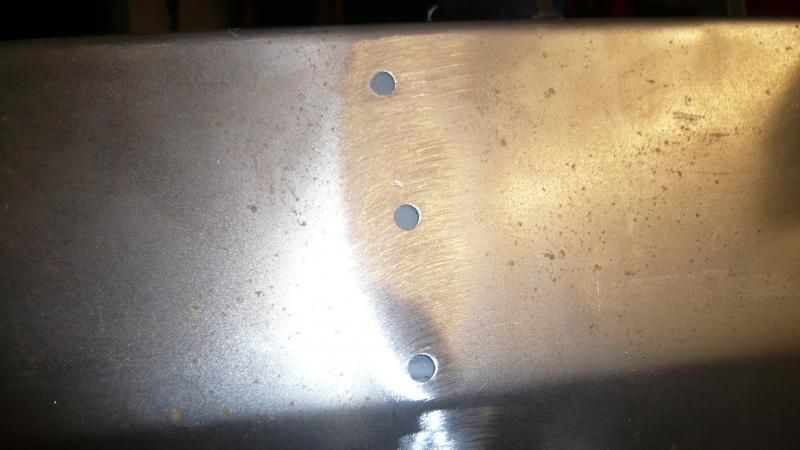
So with the areas marked in blue marker, i clamped the inner sill to my low workbench which is far easier than working high up and drilled the holes for plug welding. I just copied where the old spot welds were so all should be well with regards to strength.
so marked up...
Clamped to the bench
And drilled
Sprayed on some zinc rich primer and had a cuppa while it dried.
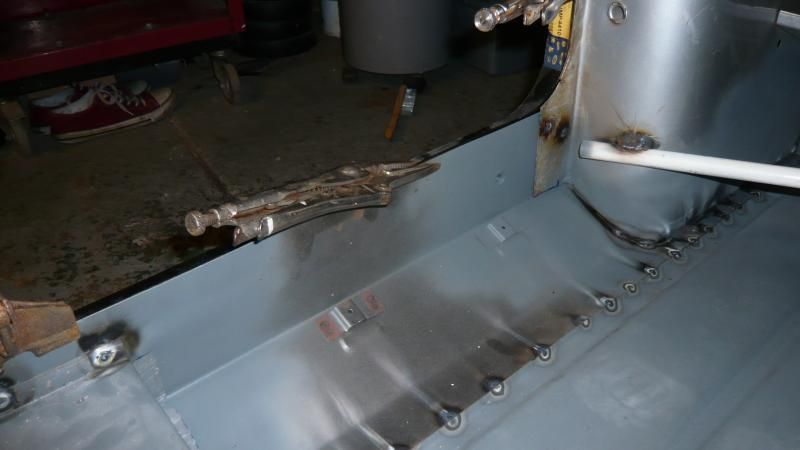
And then popped the inner sill back on the car carefully checking for good alignment.
and as you can see, the drill holes lined up great with the flange behind
So with a happy grin on my face i started to tack weld the inner sill to the floor, and then this happened...
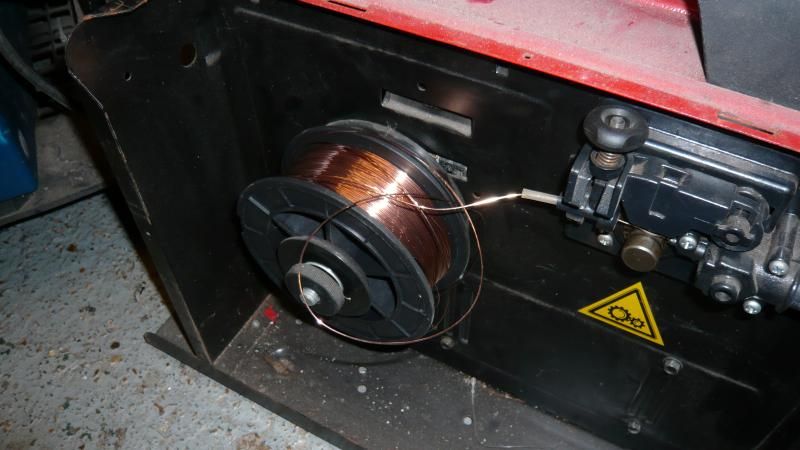
Not too bad but i accidentally let go of the end of the wire and it all sprung off everywhere. I managed to save it but lost quite a bit of wire. oops
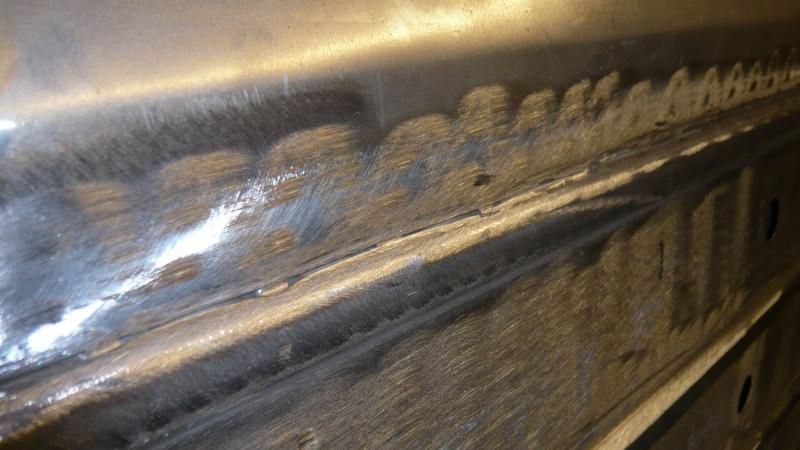
Anyway after it was tacked all along, i ground down the tacks. Not really necessary but i like to do it as i find it easier to run the seam welds when it comes to finishing off later.
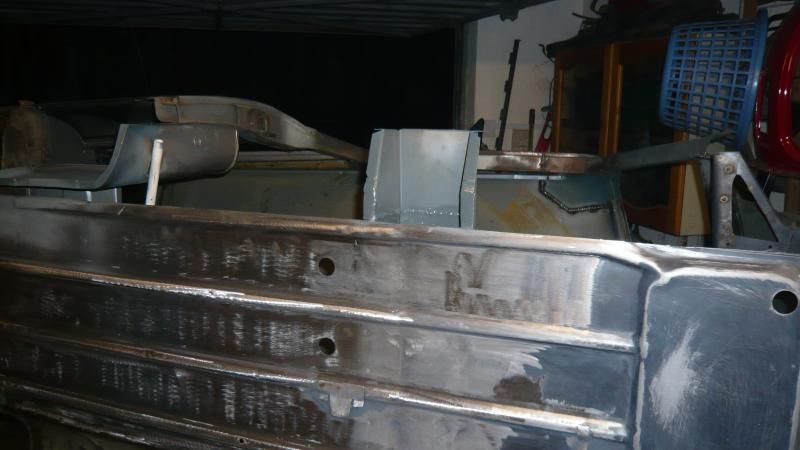
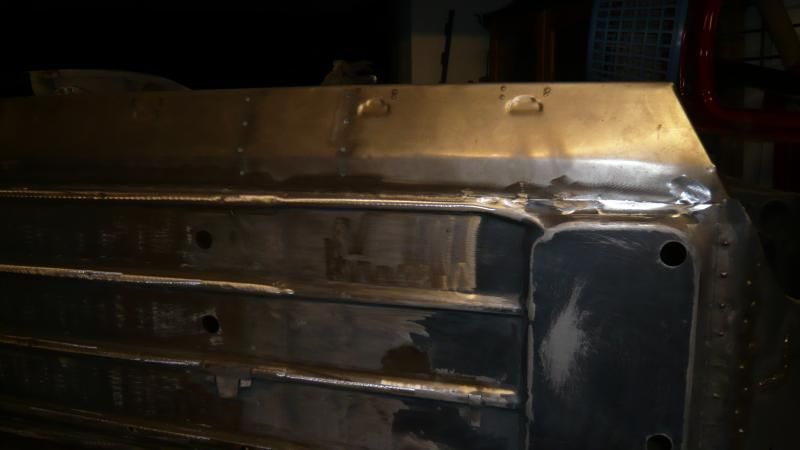
So after a couple of mig plugs to the crossmember and companion bin, back on it's belly it went so i could have a look see
Yeah man!!
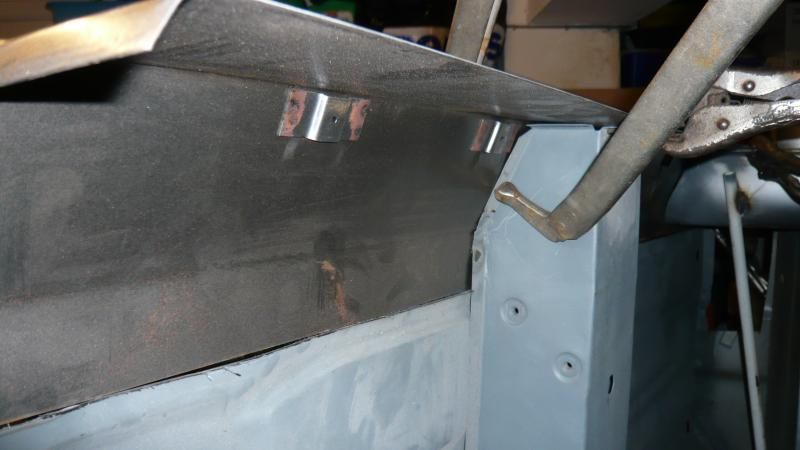
Before i fully weld the inner sill in, i want to clamp on the door step panel to see if it all lines up lovely so i did just that.
Everything lines up a treat and the height between the top and bottom of the door aperture measure up lovely. mm perfect so that should make fitting the door a treat.....
.....he says..
That's it for today but i want to get back out tomorrow and get the rest of the inner sill welded on before cutting another lump out of the quarter panel to get the step panel fitted. Once that is on, i can get a door hung!
Ben
#398

Posted 12 November 2014 - 08:23 PM
Did you get any paint into the cross member whilst it was open?
#399

Posted 12 November 2014 - 08:27 PM
loads and loads of zinc primer!
I put on a couple of coats allowing them to dry thoroughly and then i sprayed it on really heavy allowing it to run all over the place into every orifice.
I had sprayed up the inside of the crossmember before i fitted the front floor but i wanted to put more on while i could.
It will be plastered with wax once the car is painted so will be fine.
#400

Posted 12 November 2014 - 08:28 PM
Superb.
It's all coming together nicely.
#401

Posted 12 November 2014 - 08:30 PM
Superb.
It's all coming together nicely.
It really is!
I can't wait to get a working opening door on it. When i got the project, it didn't even have a door!
or anywhere to bolt one too....
![]()
#402

Posted 12 November 2014 - 08:42 PM
Some great progress there Ben. Looking good ![]()
Pete
#403

Posted 12 November 2014 - 09:25 PM
Very neat and tidy Ben, an expert at work!
#404

Posted 12 November 2014 - 09:33 PM
Very neat and tidy Ben, an expert at work!
Cheers!
#405

Posted 12 November 2014 - 09:35 PM
Superb.
It's all coming together nicely.
It really is!
I can't wait to get a working opening door on it. When i got the project, it didn't even have a door!
or anywhere to bolt one too....
Is it MOT'd yet?
Do you have a door?
9 user(s) are reading this topic
0 members, 9 guests, 0 anonymous users


