Mini 25 Full Rebuild
#376

Posted 03 November 2014 - 05:52 PM
#377

Posted 03 November 2014 - 06:15 PM
Cheers Tom,
I know lots of people get rid of them by welding patches in the holes but i want to keep it totally original.
Ben
#378

Posted 04 November 2014 - 06:45 PM
So today i hope that postman pat will bring a grinder to me but nope so i have had to continue on the Manual way which doesn't sound like a big deal but my tin snips are old, rusty and blunt which makes cutting steel interesting.
So to start with, i decided to have a go at scouring off all the rust from the underside of the o/s floor pan.
Well i soon got bored of that so i turned my attention to the companion bin.
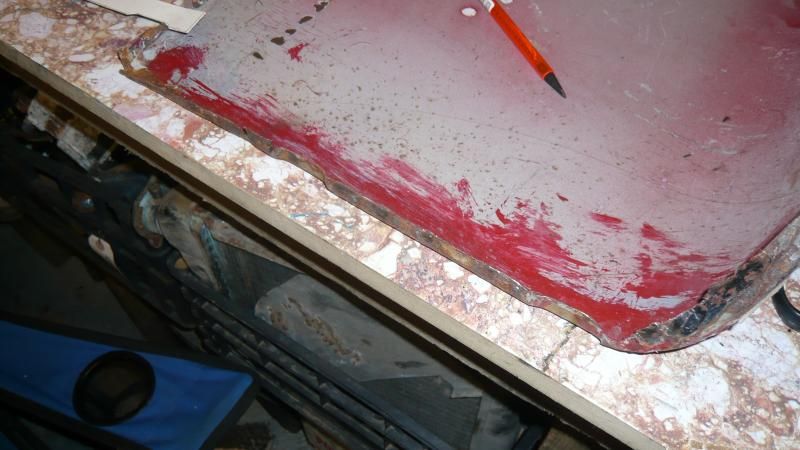
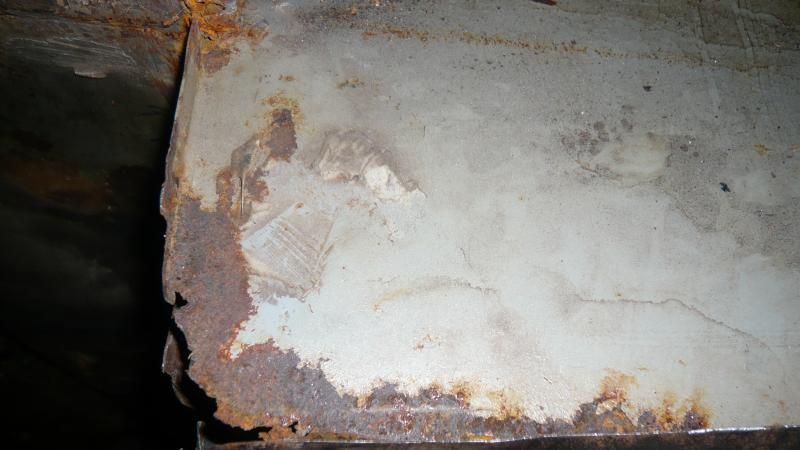
I do have a used one which i salvaged from a donor shell but after having a quick squint, it needed a fair bit of work so i decided to repair the one that's already on the car.
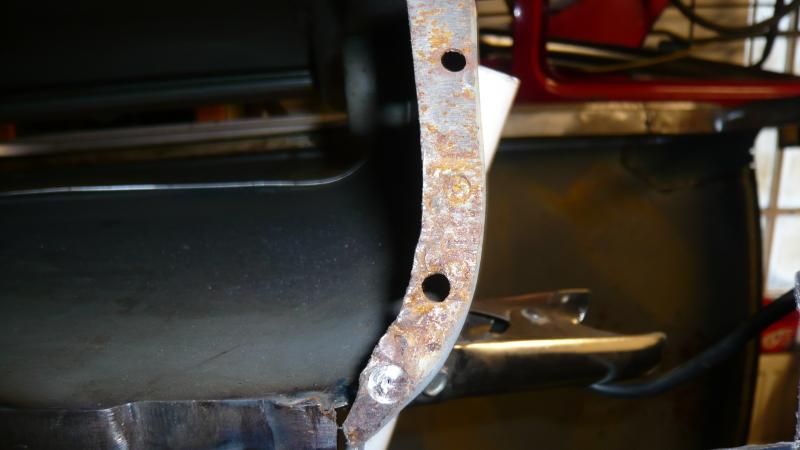
This is the salvaged one i hoped to use.
And this is the one in the car,
So i clearly need to make up a repair section for the bottom as both are rusty. But not all was lost with the donor companion bin as this was much easier to get a template from it on the bench rather than struggle with the one on the car.
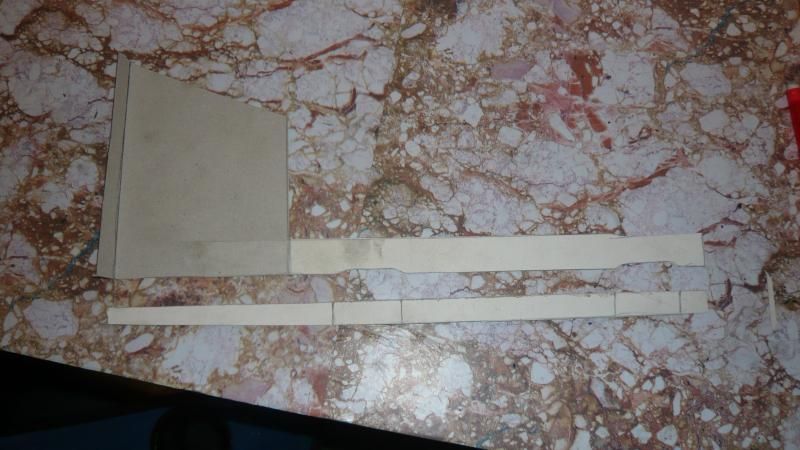
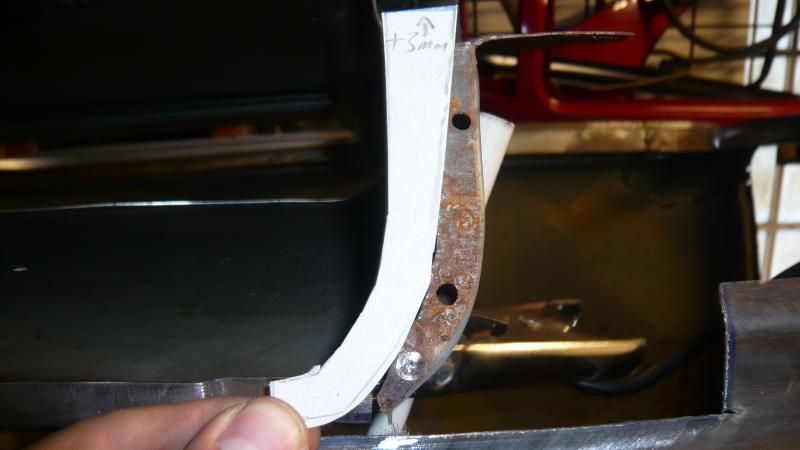
So first i had to make a card template
I had to make it in 2 parts as there are drain channels formed into the flange to allow water out for some odd reason but it's original so it's staying.
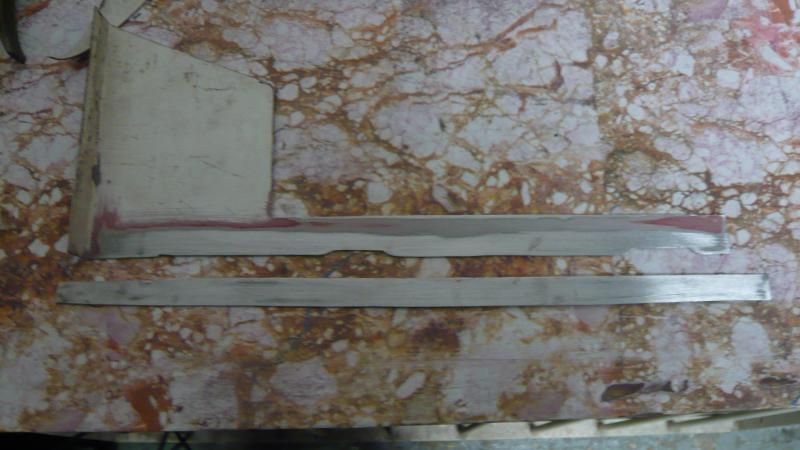
So transferred onto steel
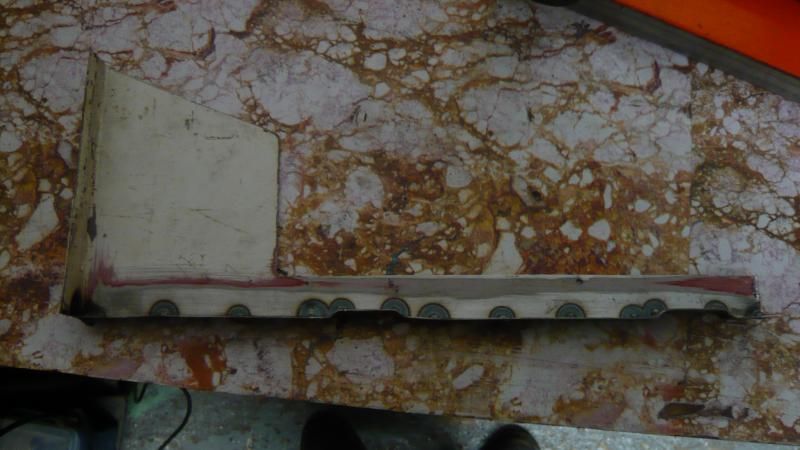
The plan is to weld the flange to the body of the patch to create a flange to weld the floor to and retain the drain channels
So that's what i did
Tack it on the edge and form it round with the panel hammer, tack again and repeat to get this
Once tacked, i got this.
Tomorrow, i shall fully weld the two together and grind it all into shape.
It all seems to fit ok so once the edge of the floor is cut out of the way, i can get this welded onto the car!
More tomorrow.....
Ben
#379

Posted 04 November 2014 - 06:57 PM
#380

Posted 04 November 2014 - 07:00 PM
Looking great ben crack on !
I fully intend to now, nothing to stop me and i really want it done!
#381

Posted 05 November 2014 - 11:08 PM
No progress today as the grinder didn't turn up. i did have a potter though and noticed that where i have drilled the spotwelds through the back of the floor to the bottom of the companion bin, it has allowed the whole B post to move about at will.
Glad i noticed this now because i still have the drill marks and drill holes to line it back up and clamp it with a pair of mole grips.
before i cut more of the floor away for the inner sill and fit my companion bin repair piece, i shall put a brace in from the companion bin to the tunnel or something to hold it firmly in place.
This could have gone very wrong because if i hadn't have noticed and just welded it up, the bottom front edge of the quarter panel would have stuck out from the door and it would have looked terrible.
Phew!
#382

Posted 05 November 2014 - 11:58 PM
Once you start cutting away, the shell can get a bit flimsy. Glad you noticed it now and with the alignment marks from the drilling, it will be easy to sort.
Just goes to show, sometimes it's a good idea to have a look around and weigh things up.
Pete
#383

Posted 06 November 2014 - 12:06 AM
Once you start cutting away, the shell can get a bit flimsy. Glad you noticed it now and with the alignment marks from the drilling, it will be easy to sort.
Just goes to show, sometimes it's a good idea to have a look around and weigh things up.
Pete
I have to go out to the garage to smoke as no smoking indoors so i often take a cuppa or a beer out there and just wander round it poking around and working stuff out. I'm glad i do because there have been a few bits now that i have noticed since starting that were wrong and have now been put right.
Cheers
Ben
Edited by Ben_O, 06 November 2014 - 12:06 AM.
#384

Posted 06 November 2014 - 06:39 PM
did a bit more today.
Most of the time was spent finishing welding the two pieces of the companion bin repair together and grinding and shaping that.
It all came out ok but no pictures i'm afraid.
after noticing that the whole b post and companion bin moves of it's own free will since drilling the floor to companion bine spot welds, i clamped it back together using the drill holes to line it back up
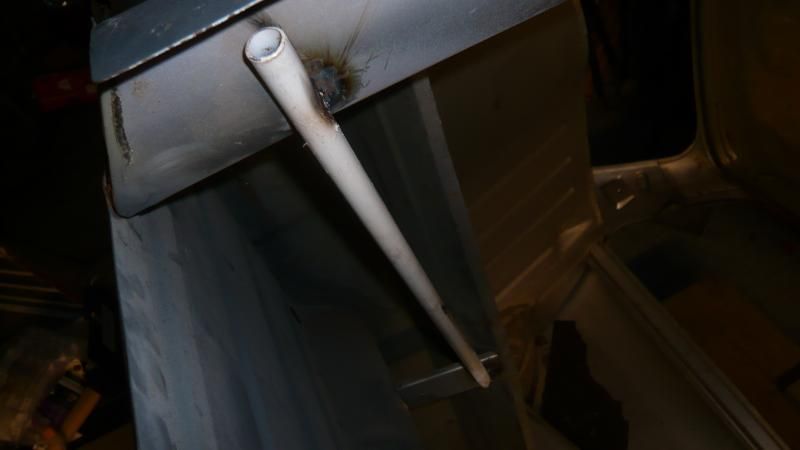
Then i found a sturdy pole to weld in to hold everything in place.
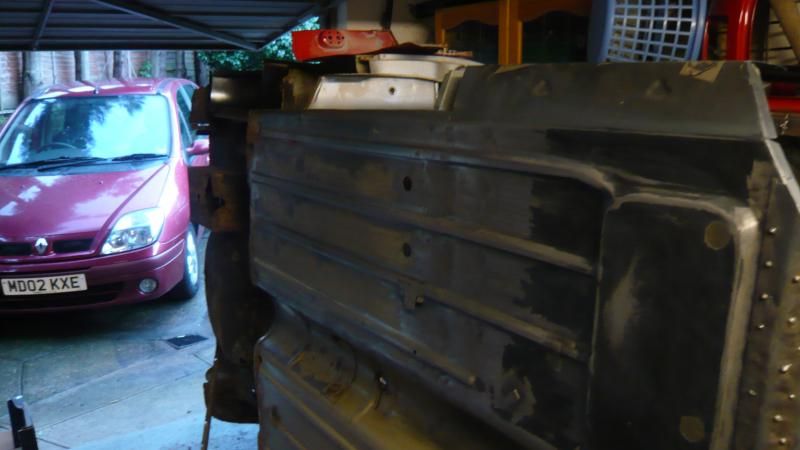
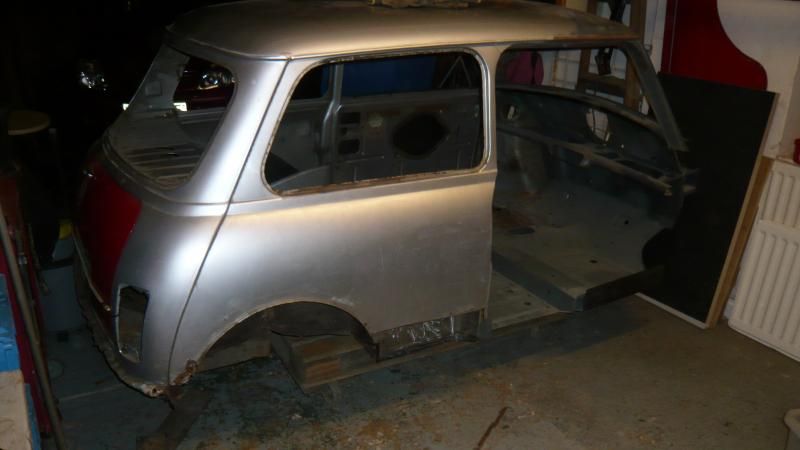
It's rock solid now. So i went on to cut away the piece or floor from under the companion bin. Bare in mid the car is on it's side for all of the photos.
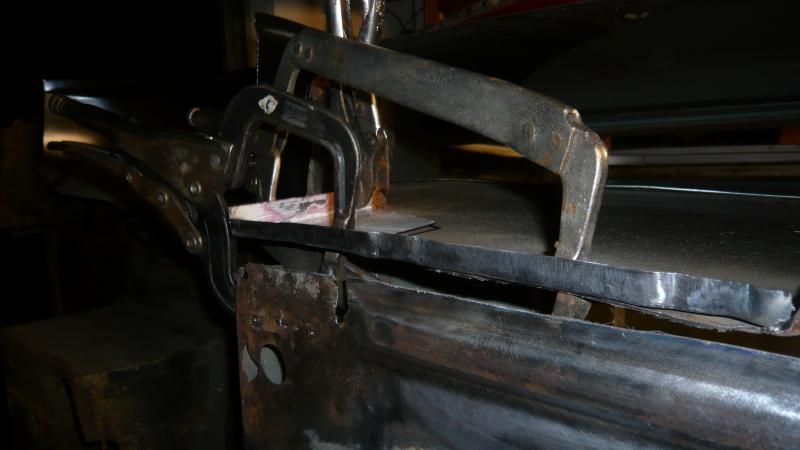
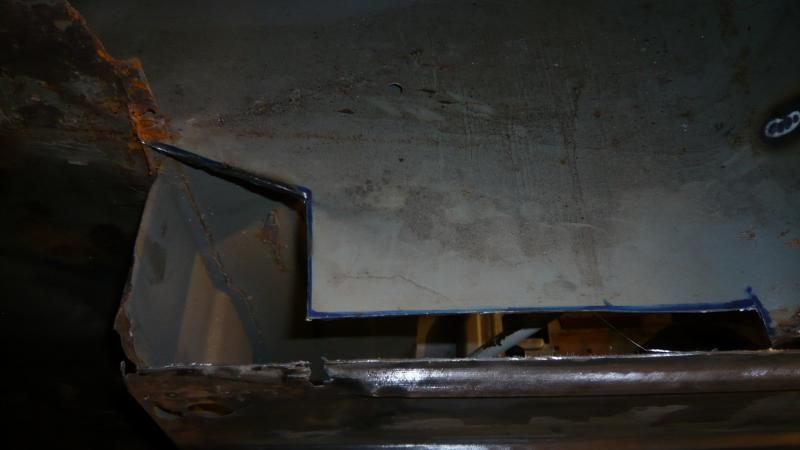
The i laid on my repair piece clamping it up so i can mark the cut.
And then cut it out
before putting the repair piece in.
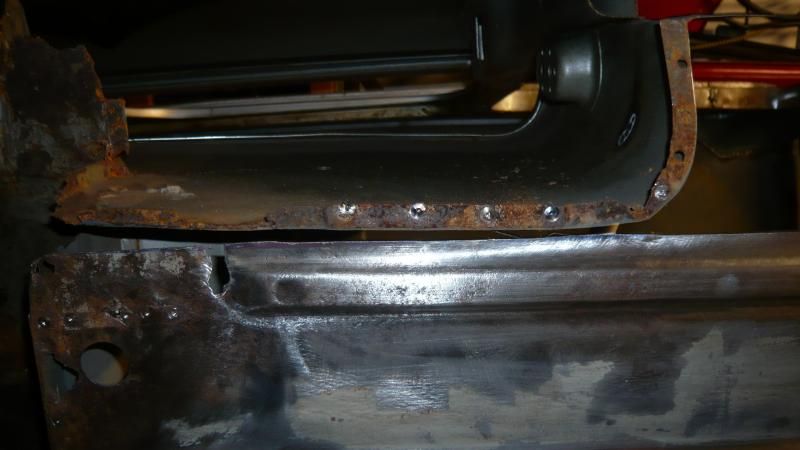
A couple of tacks went in and then i tried my floor repair in to make sure the flange meets the floor flush.
Which it does
I started to weld it up but none of my 3 welding shields seem to want to work so my eyes were starting to hurt. i got as far as this really, did a bit of grinding and packed up
Still waiting for flap discs so can't finish linishing the welds til then!
more tomorrow
Ben
#385

Posted 06 November 2014 - 07:26 PM
Been waiting to see some progress on this car. Great work as always.
#386

Posted 06 November 2014 - 07:33 PM
Thanks Jared.
Once all these silly little repairs are done here and there, i can start fitting some of my new panels, Then there should be some fairly quick progress.
Once the inner sill goes in, then the door step and a frame can go in along with the a panel stiffner, hinge panel and then i can get a door hung for the first time since the start of the project! Then inner wing etc.
I'm just thankful that the N/S of the car is solid and requires only minor work otherwise i would never get it done!
#387

Posted 08 November 2014 - 05:40 PM
Right, Today i managed a few hours and really wanted to finish the companion bin repair.
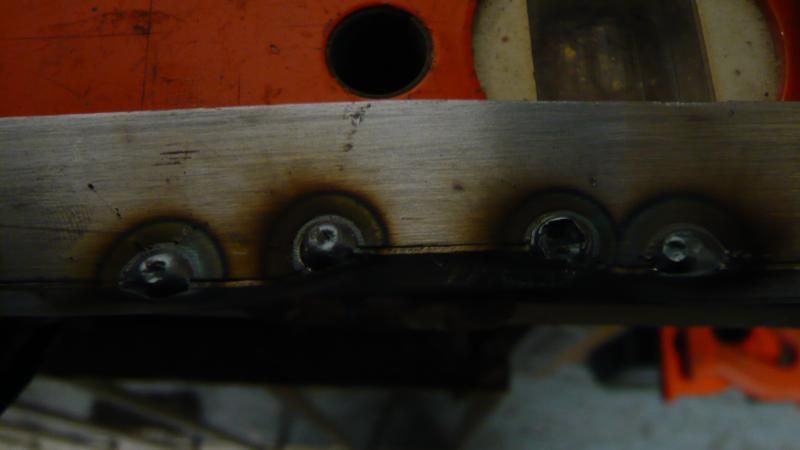
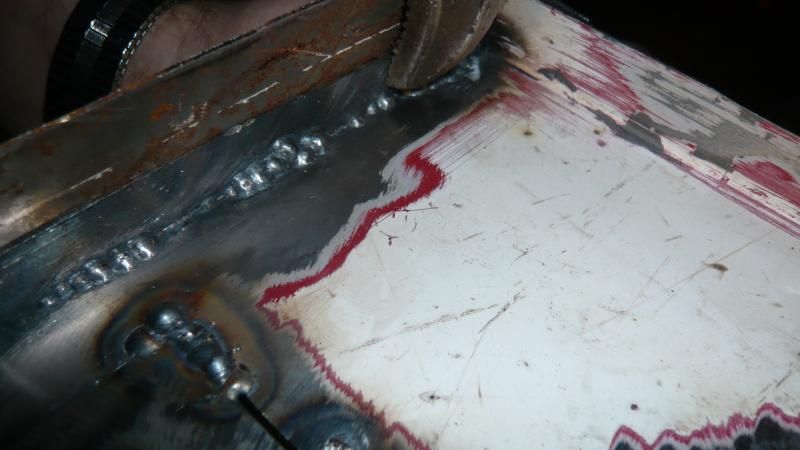
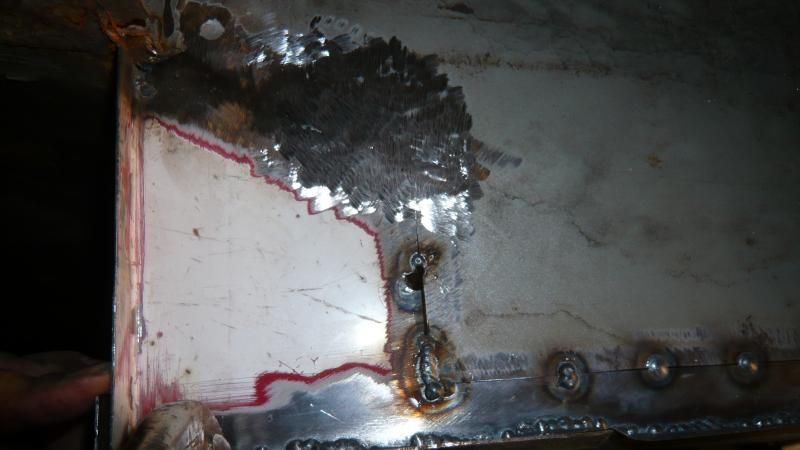
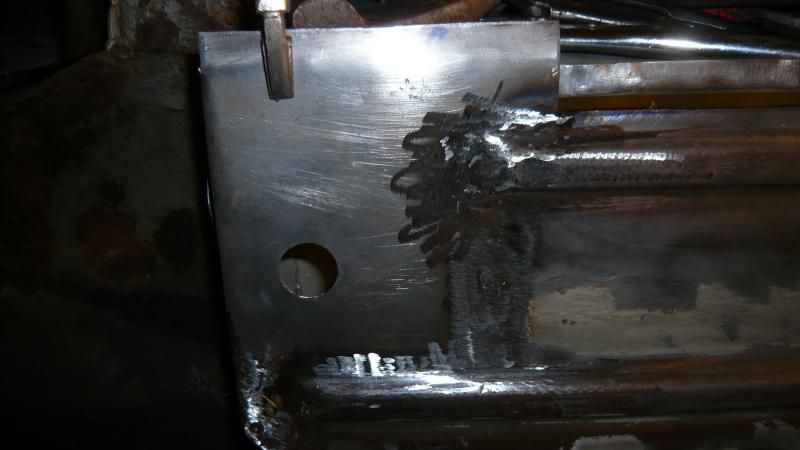
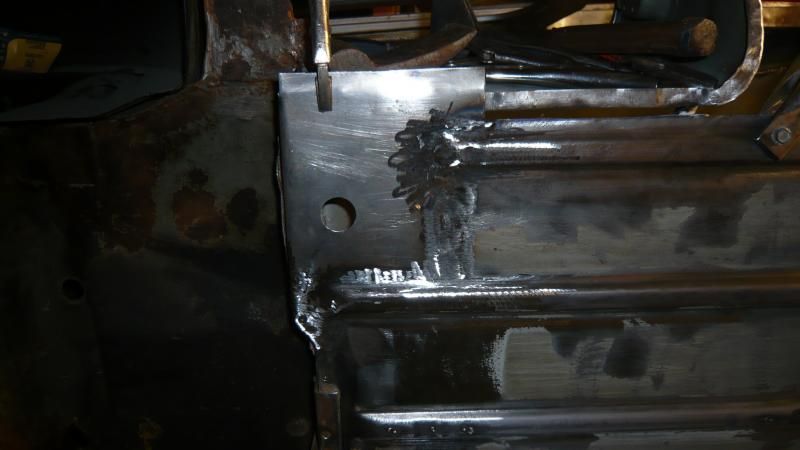
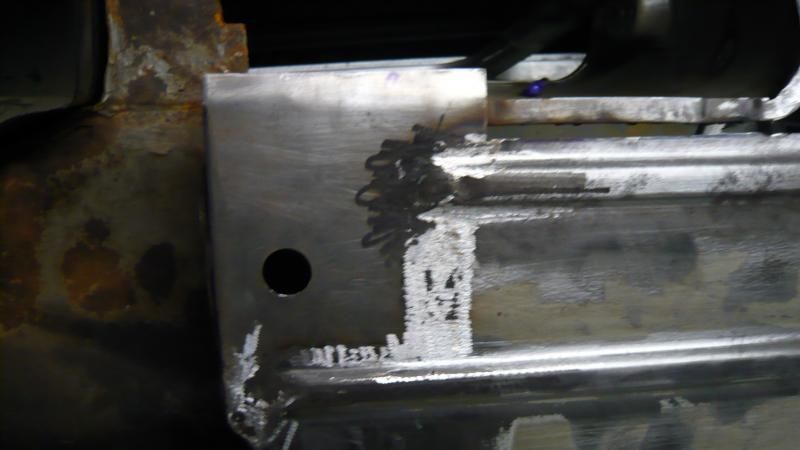
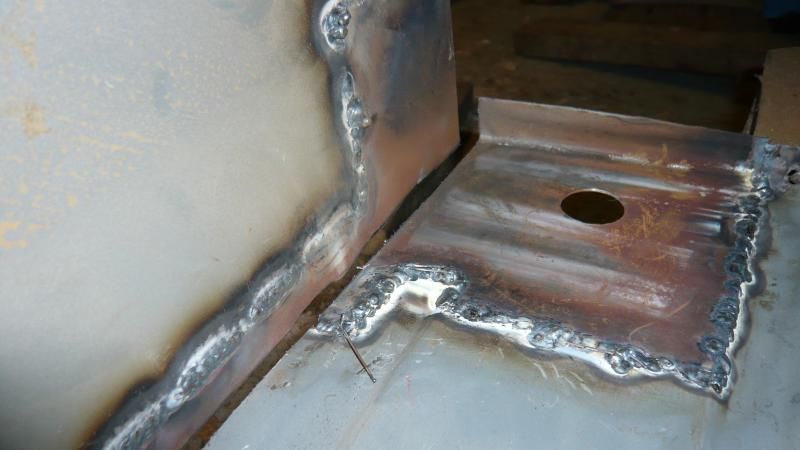
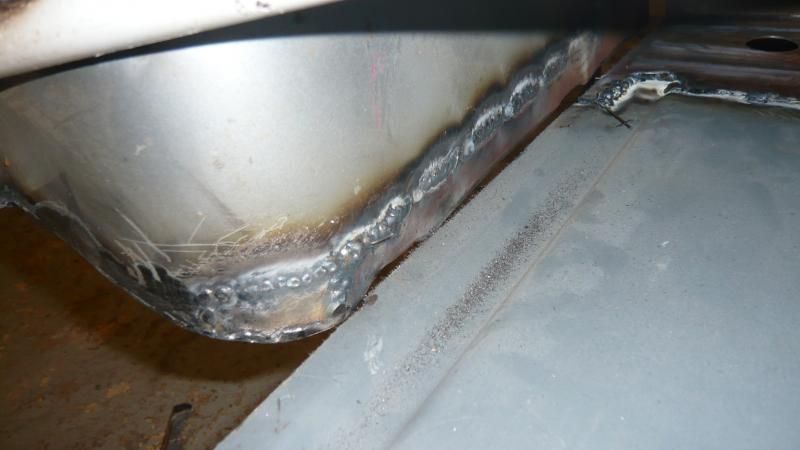
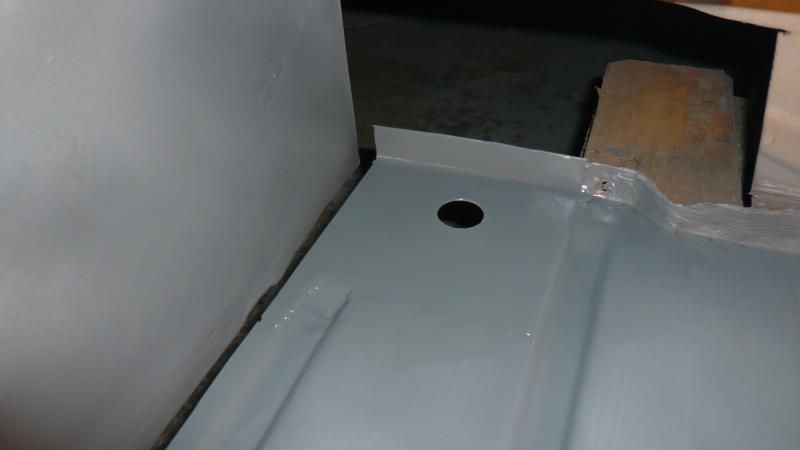
I started by finishing the welding on the bottom of the companion bin. (pics viewed from inside companion bin)
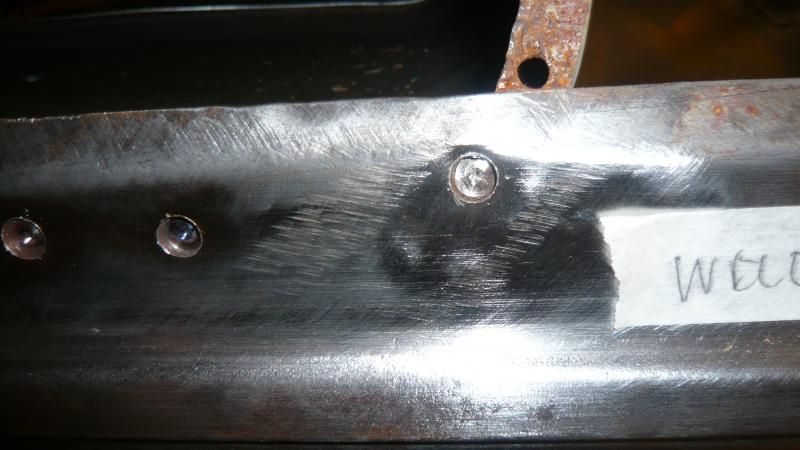
then of course ground them down, I have left them ever so slightly proud as they will need grinding from the other side as it will be seen there and i don't want to loose strength.
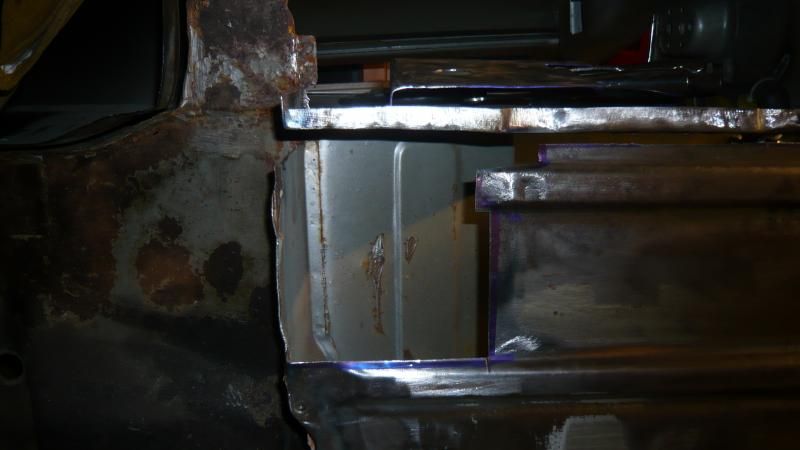
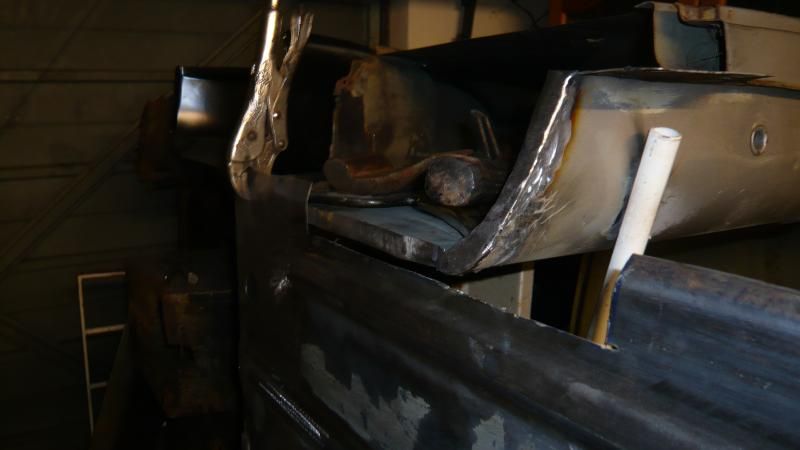
You may also notice that i have cut the flange off where the bottom of the companion bin wraps round as it was rusty there too.
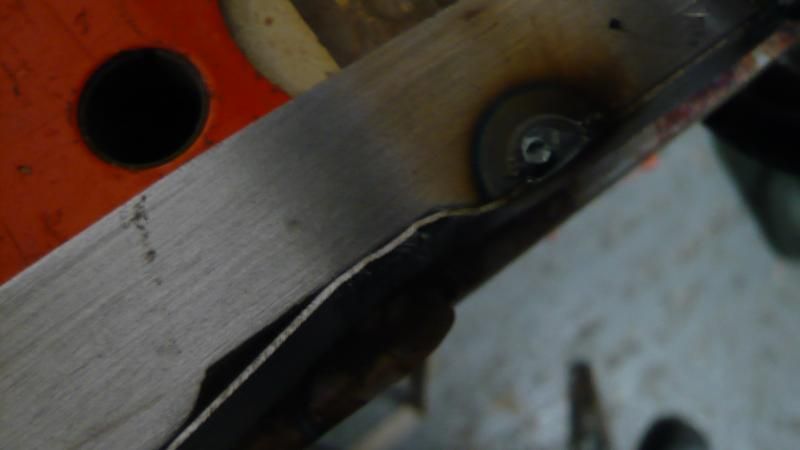
Like this -
so off it came and this was made
don't want no rust on my mini.
So welded this repair piece in which i don't seem to have any pics of but don't despair as it can be seen in one of the following photos.
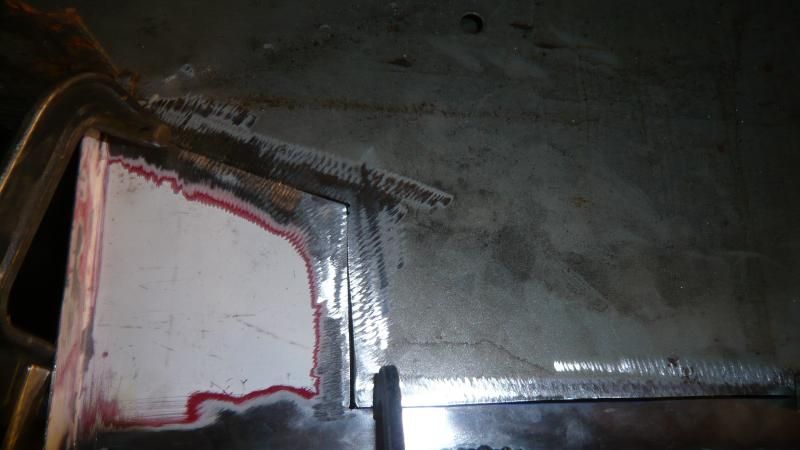
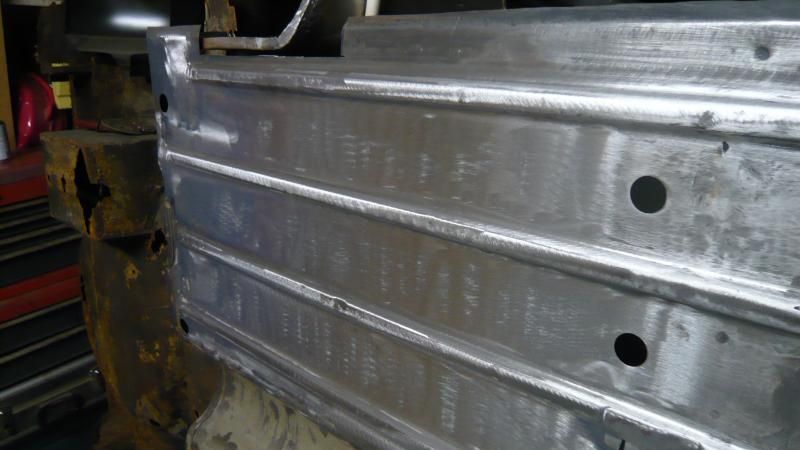
Next, that awful holey lump of rear floor needed to go so i marked it using the repair piece and chopped it out
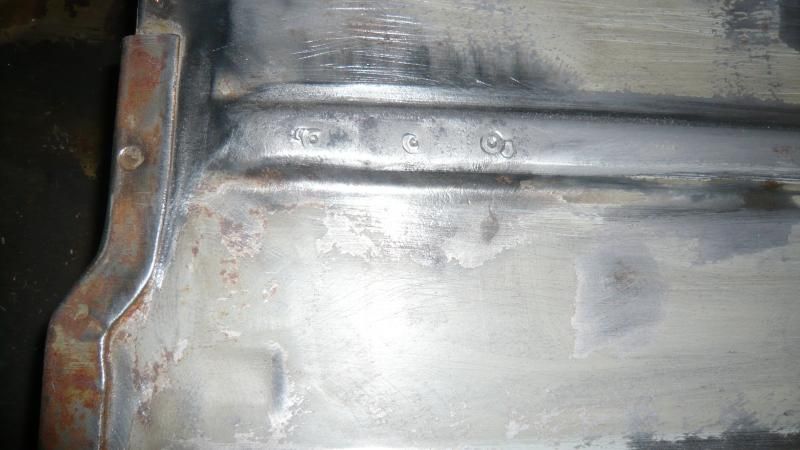
Bit of trimming later and it was fitting nicely so i welded it up and got so carried away that i didn't take any more pics until i had finished grinding it all up.
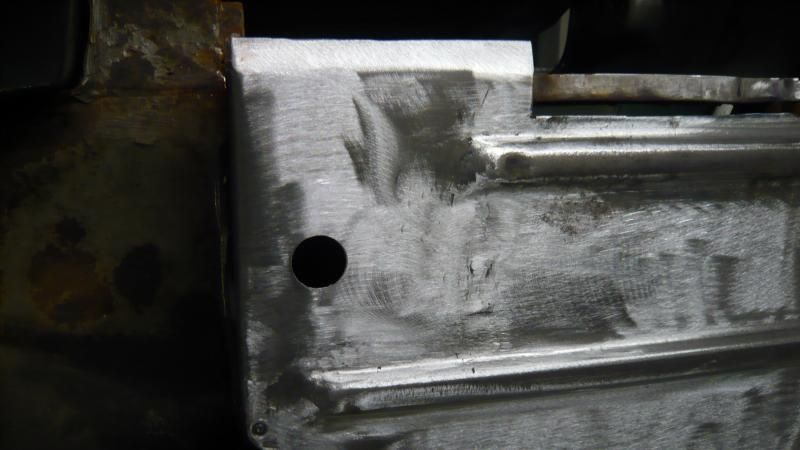
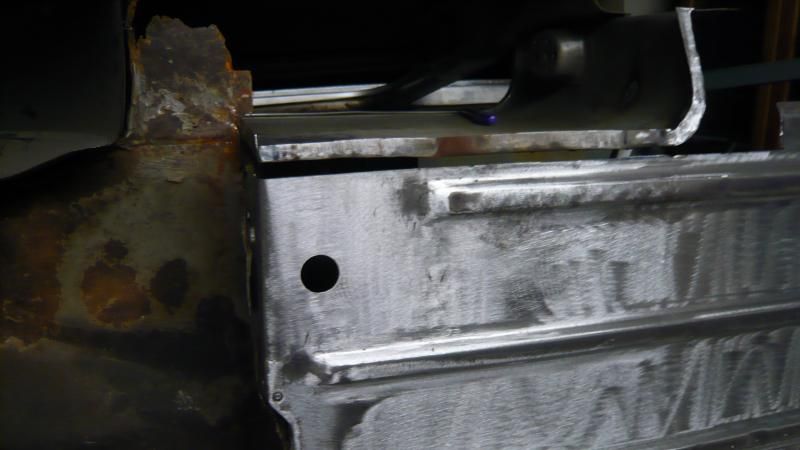
So a few photos of that which came out lovely, i just need to finish it with a flap disc at some point...
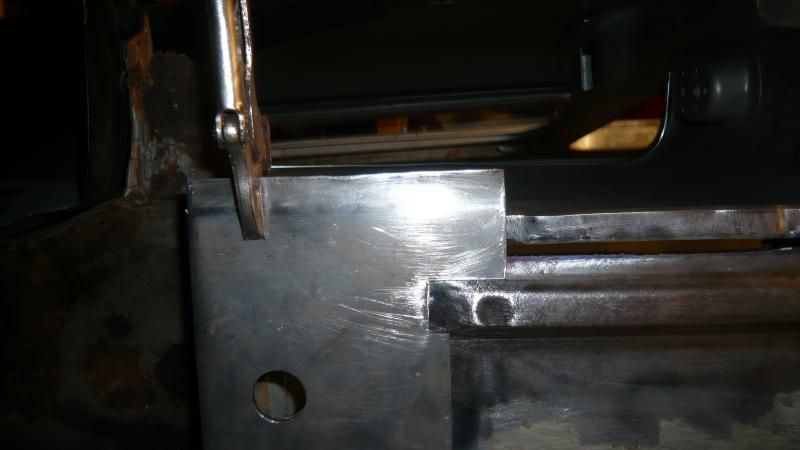
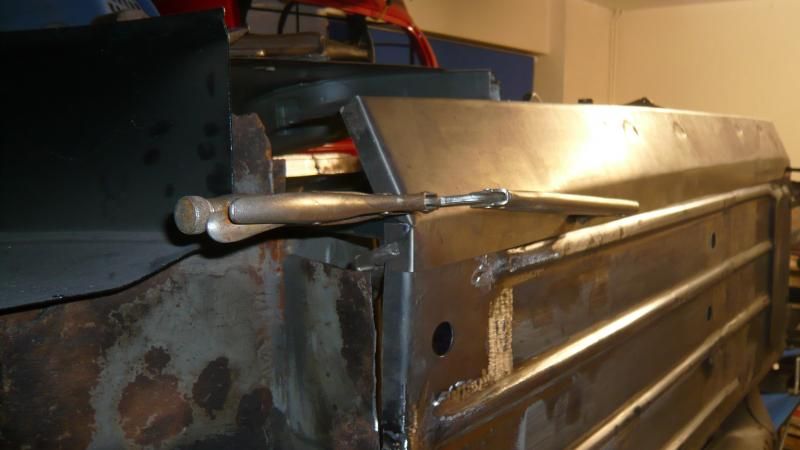
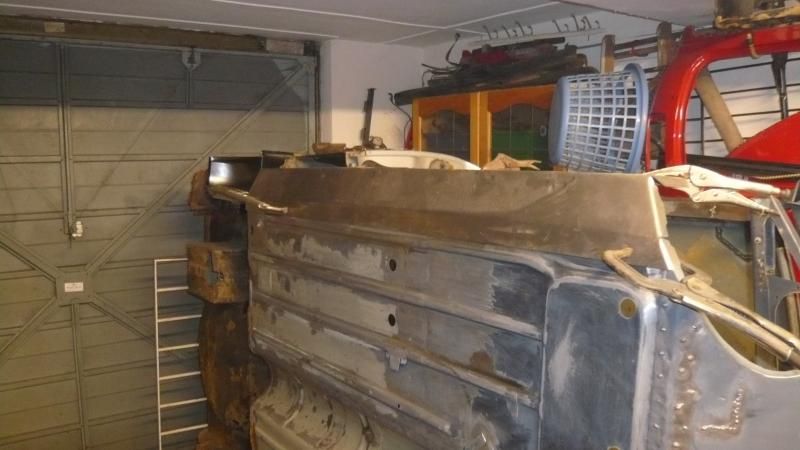
And then just for kicks i clamped on the inner sill
That's next.....
Ben
#388

Posted 09 November 2014 - 08:34 AM
#389

Posted 09 November 2014 - 08:48 AM
Cheers Carl ![]()
#390

Posted 11 November 2014 - 10:48 PM
Did a little bit this evening. Am on my second grinder in a week as the other one broke but anyway...
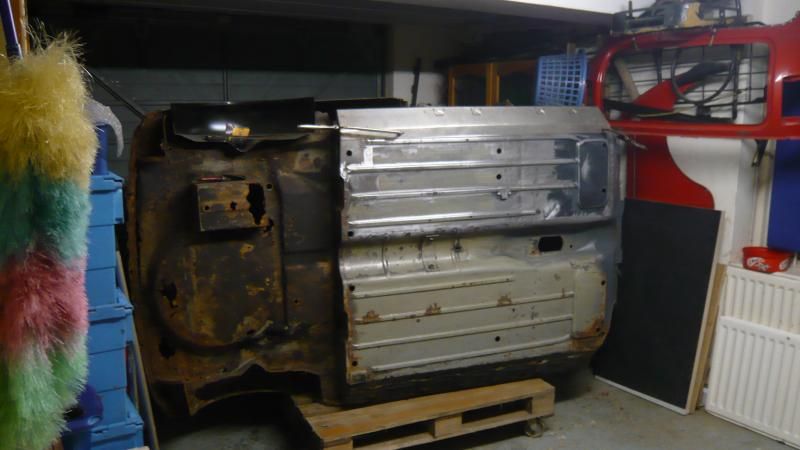
as i was working in the evening, light becomes an issue as i only have the one florescent tube at the back of the garage so i turned the shell round to make things a bit better.
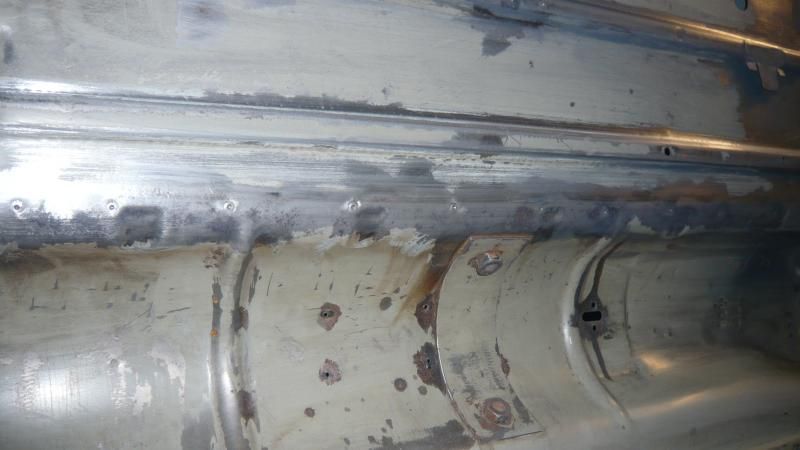
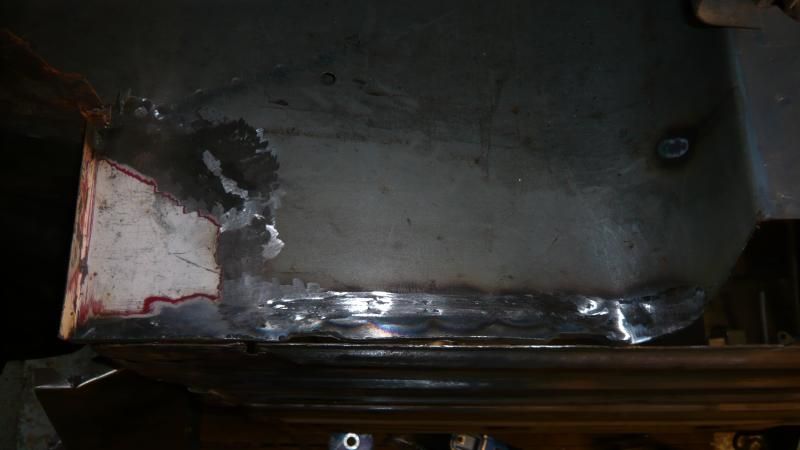
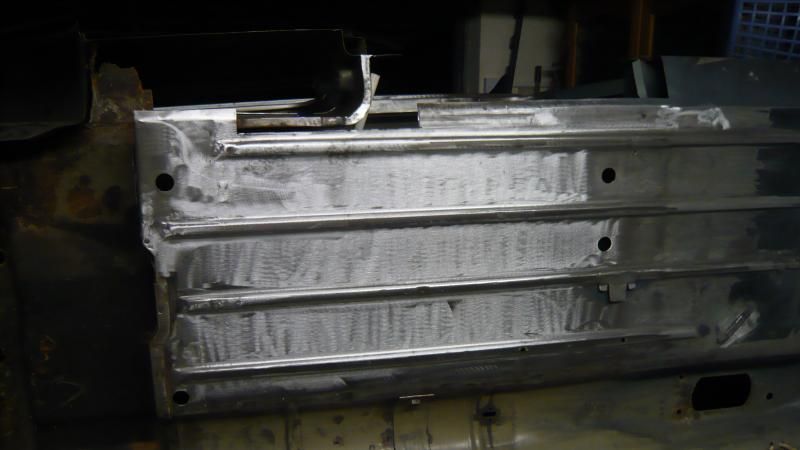
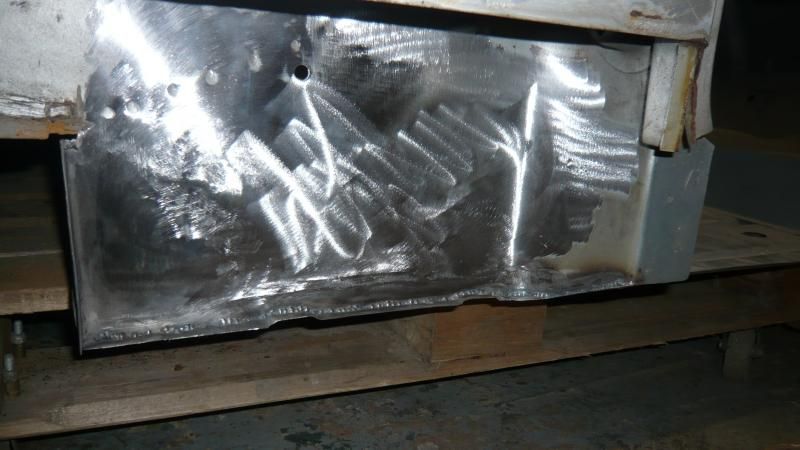
Took a flap disc to the rest of the floor and my repair to finish that all off and bare metal it all ready for primer.
Before
after
Then i trimmed the repair down as the new inner sill will be going in soon,
So the floor is all ground up to bare metal
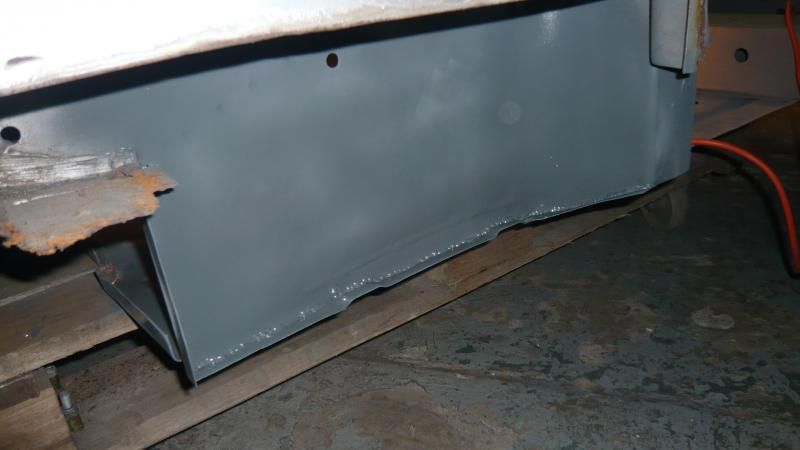
Then i decided to put it back on its belly to tidy up the welds on the inside
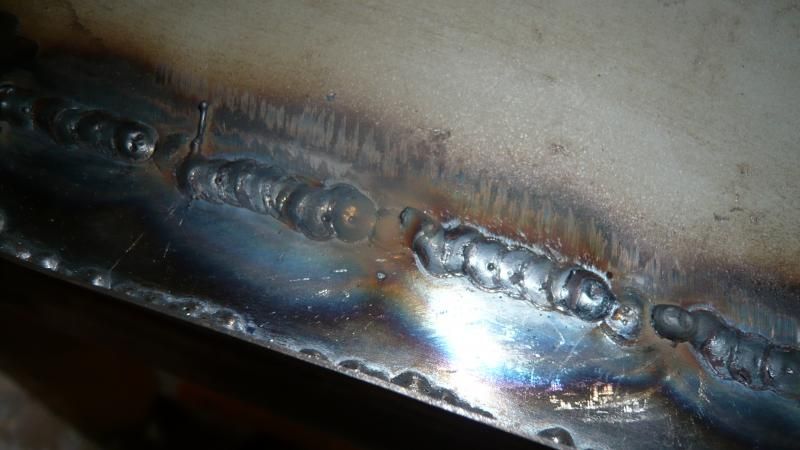
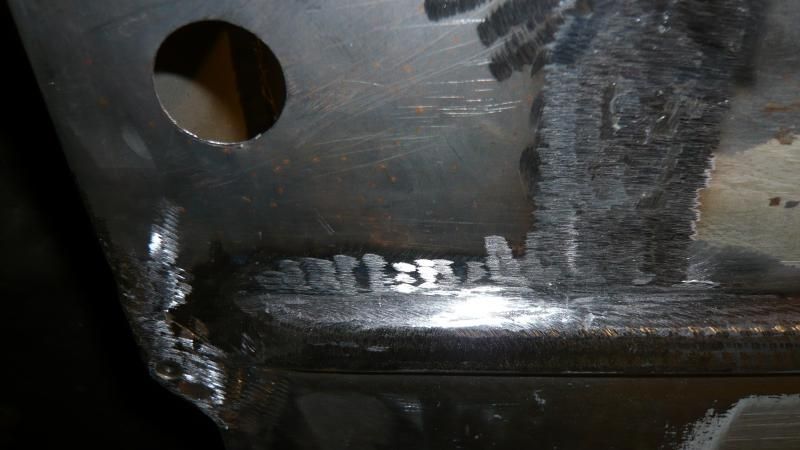
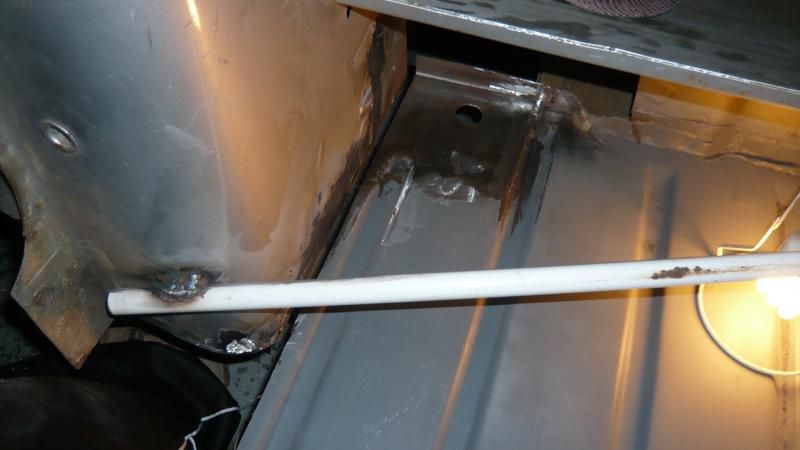
Here is the penetration of the welds that i need to tidy up as its in a visible place
But light became an issue again so i stopped and had a dig through some boxes.
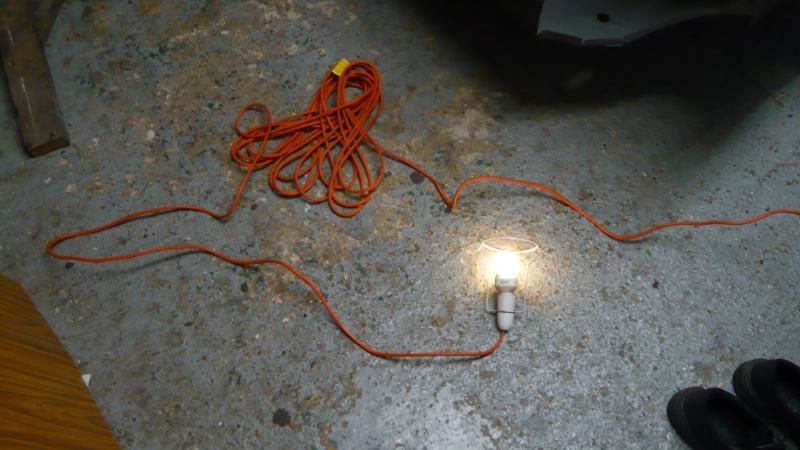
5 mins later i came up with this made from an old lamp and a flymo lead
Hardly invention of the year but it helped a great deal.
So onto tidying up those welds
Not finished but my brace bar is in the way so i can't get the grinder in there safely so i will have to go back to them once i have the inner sill fitted.
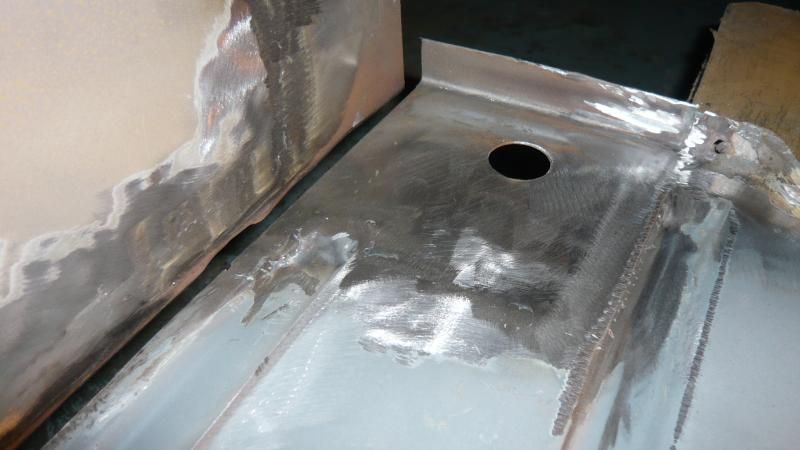
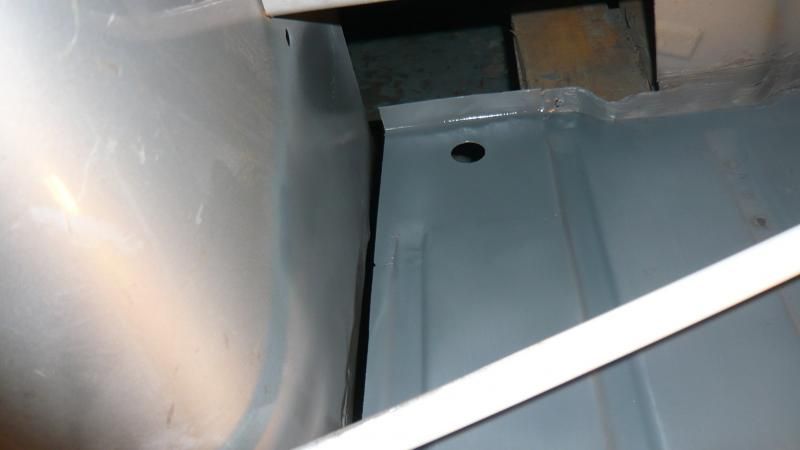
so cleaned up and put on some Zinc primer to protect it for now
Inside of the companion bin cleaned up
and primed
Hopefully the inner sill will go in tomorrow!
More to come
Ben
4 user(s) are reading this topic
0 members, 4 guests, 0 anonymous users


