Jump to content


Photo
* * - - - 3 votes

Mini 25 Full Rebuild


  • Please log in to reply
1498 replies to this topic

#196 Ben_O

Ben_O

    Mill Road Garage

  • Paint Doctor
  • PipPipPipPipPipPipPipPipPipPip
  • 9,785 posts
  • Location: Isle of Wight

Posted 02 May 2014 - 01:56 AM

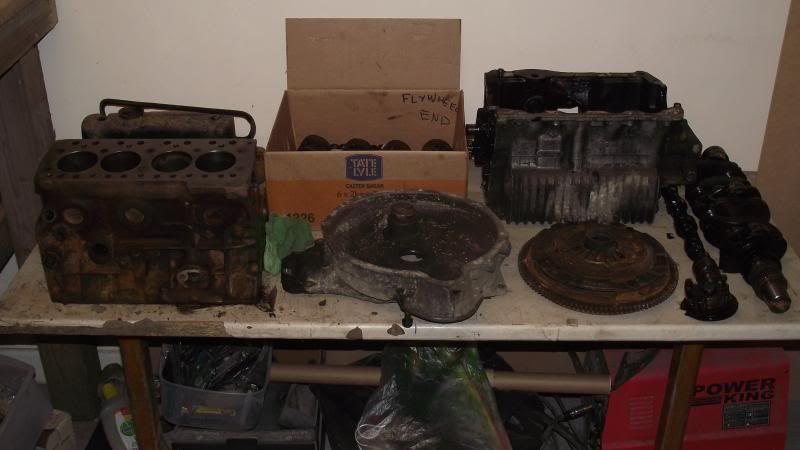
Got a few more snaps but better than the ones last night.


I have tried to get the important bits in as i don't really know what to look for. I might as well get ray charles to check it over for me.


DSCF0465_zps47e15638.jpg


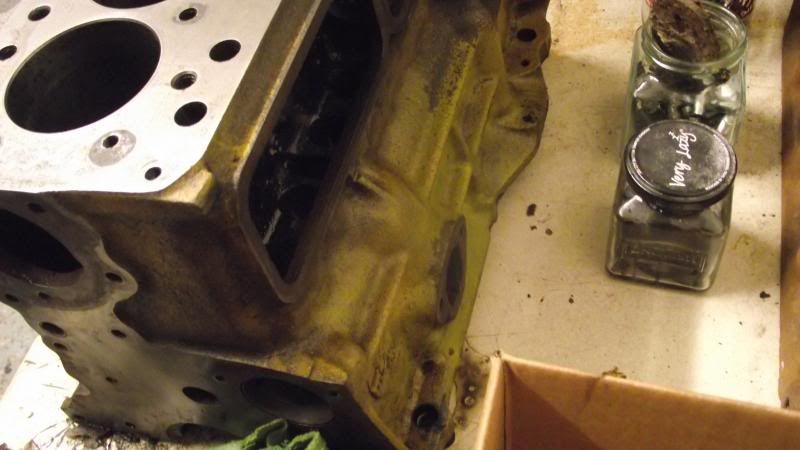
Managed to find the original yellow under all of the crud. I was surprised as the front of the engine is just rust!


DSCF0473_zpsba7d3926.jpg


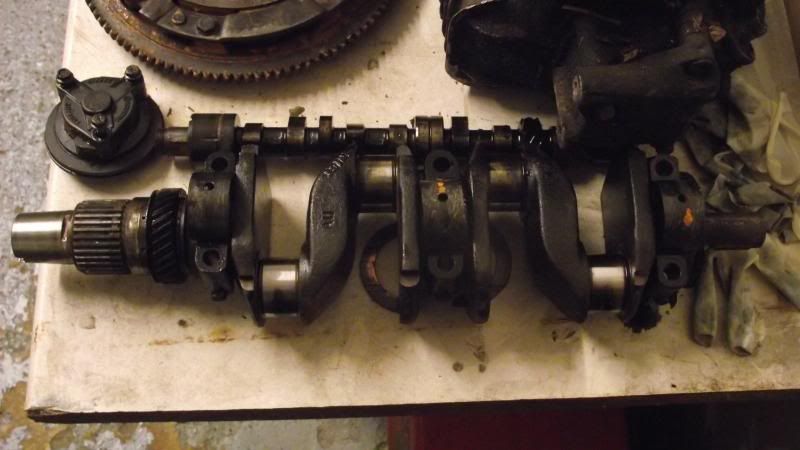
The crankshaft. Looks to me like its just fine?


DSCF0469_zps5eeea8df.jpg


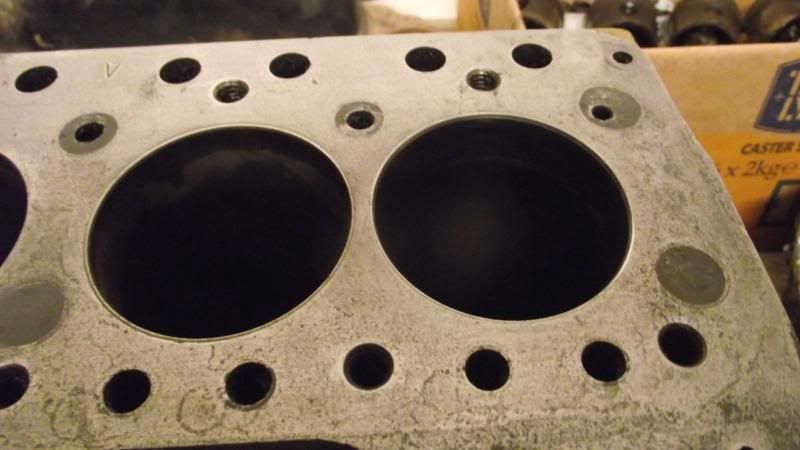
I have tried to photograph the bores but its so hard to get a clear shot but they feel smooth and clean inside with no ridges or lips anywhere.


DSCF0457_zps0d0bac68.jpg


DSCF0464_zps0b6ec543.jpg


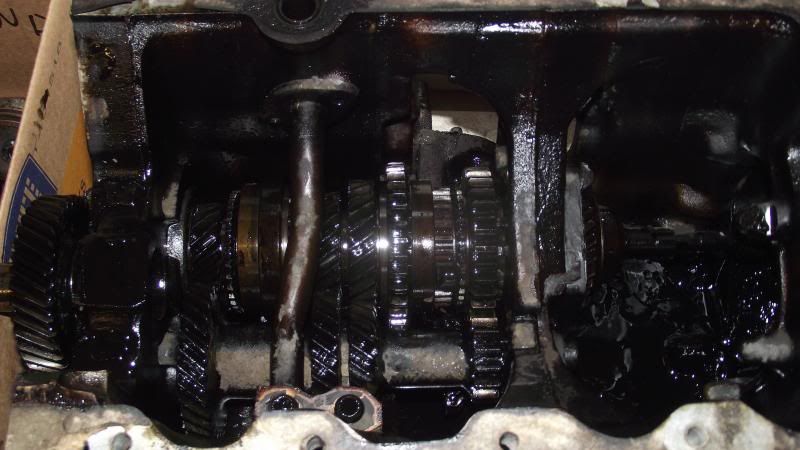
and one of the gearbox. I am going to need to know what to check for here too. All i can tell is that it looks good and everything moves smoothly. Thats about the extent of my knowledge on gearboxes.

Still i want to learn this so i am determined to do it myself.


 DSCF0466_zps5d802c8e.jpg


Cheers


Ben


#197 Carlos W

Carlos W

    Mine is purple, but I have been told that's normal

  • TMF+ Member
  • PipPipPipPipPipPipPipPipPipPipPip
  • 10,114 posts
  • Location: Sittingbourne, Kent

Posted 02 May 2014 - 08:00 AM

A couple of threads for you 


http://www.theminifo...earbox-rebuild/


http://www.theminifo...-just-building/


http://www.theminifo...much-bore-wear/


http://www.theminifo...7082-bore-wear/


#198 Ben_O

Ben_O

    Mill Road Garage

  • Paint Doctor
  • PipPipPipPipPipPipPipPipPipPip
  • 9,785 posts
  • Location: Isle of Wight

Posted 02 May 2014 - 12:31 PM

Cheers Carlos.


Ben


#199 Marco1972

Marco1972

    One Carb Or Two?

  • Members
  • PipPipPipPipPipPipPip
  • 822 posts
  • Location: Birmingham

Posted 02 May 2014 - 03:07 PM


Just read through all your thread Ben

Great fabrication skills and attention to detail , it's going to be a top class car when it's finished
Great to hear your going to keep it stock I'm a great fan of keeping minis original ( couldn't convince my lad tho ! :-) )

Keep up the great work

Mark

#200 Ben_O

Ben_O

    Mill Road Garage

  • Paint Doctor
  • PipPipPipPipPipPipPipPipPipPip
  • 9,785 posts
  • Location: Isle of Wight

Posted 02 May 2014 - 03:23 PM

Cheers Mark.


Its coming on slowly.


Can't wait to get back to some fabrication and bodywork again!


Ben


#201 Ben_O

Ben_O

    Mill Road Garage

  • Paint Doctor
  • PipPipPipPipPipPipPipPipPipPip
  • 9,785 posts
  • Location: Isle of Wight

Posted 06 May 2014 - 08:53 PM

Right! I am really fed up with this going nowhere so I have spent the afternoon in the garage unearthing the shell and emptying all the **** out of it.

I dusted it off and wiped it over and then started to have a look at where I can carry on.


There is some welding that needs finishing on a repair I started before the flood so I'm going to start there.


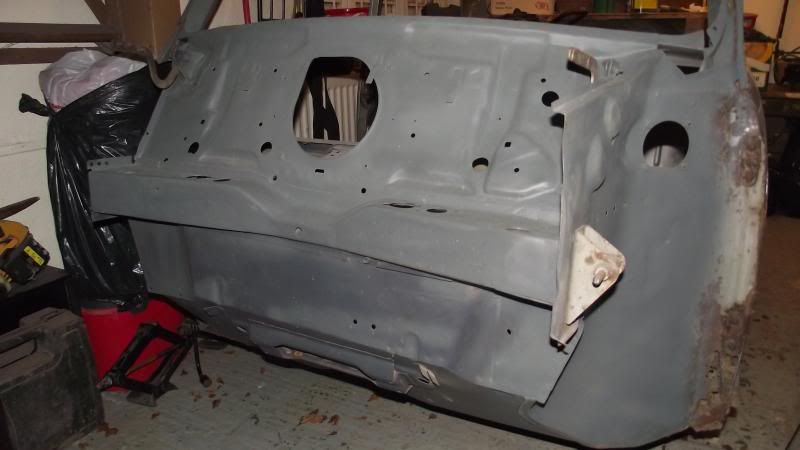
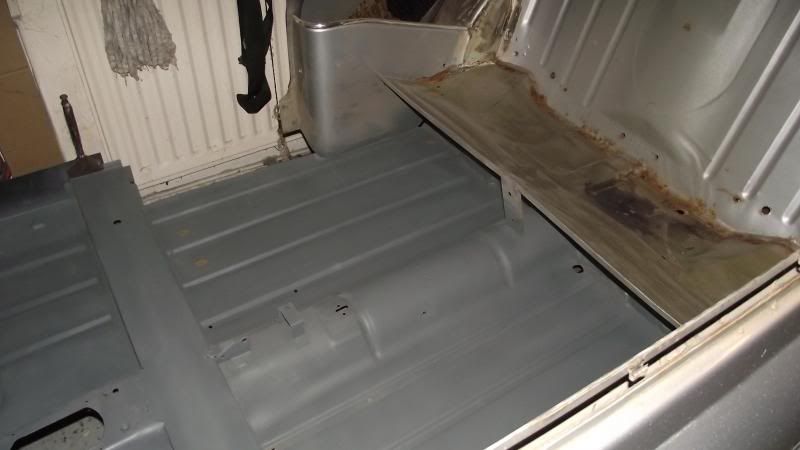
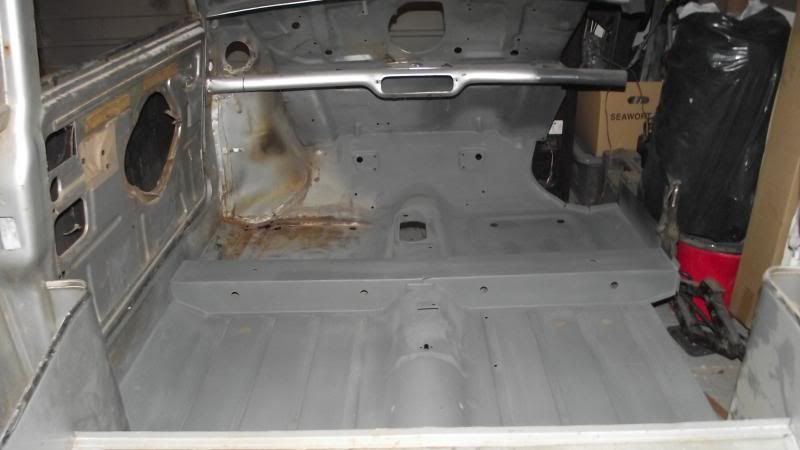
The zinc primer has done a marvellous job keeping the floors good. The shell ahs spent time outside in all weathers and the primer looks as good as the day I put it on. No traces of anything coming through, even in the areas that I was concerned water had gotten into. I must have done a good enough job of drying it out.


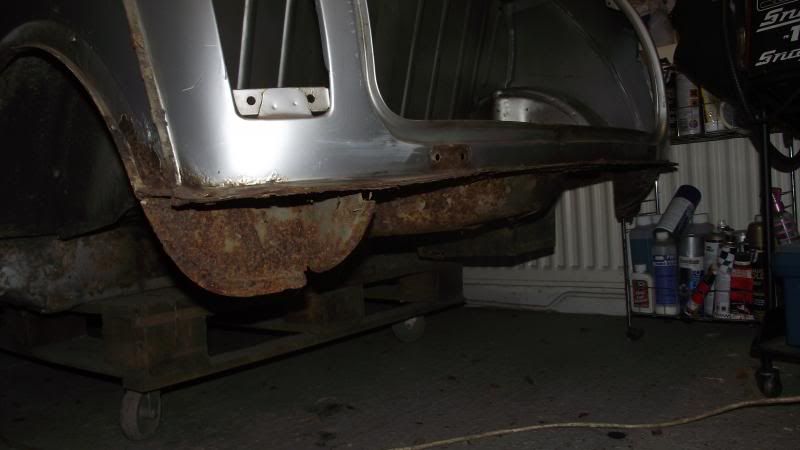
I also decided to 'pull' the rear valance off. Some Burk had fitted it at some point and thought that a few tacks would suffice. well suffice to say, it wasn't!! It came off with one sharp tug and a slight wiggle!
 

DSCF0483_zps266543b5.jpg

Bulkhead still looks fine, still some finishing off to do but the rust is still well and truly at bay.
 

DSCF0479_zpse7b60403.jpg

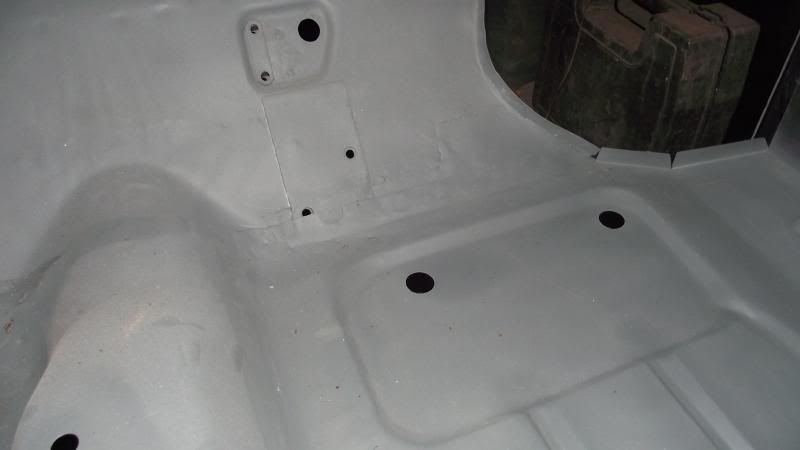
Floors are still all good. Just need to get that front passenger floor replaced when I get round that side. 
 

DSCF0480_zpsb0d93fa7.jpg


DSCF0487_zpsa8bad107.jpg

This is the area I was worried about but all seams fine. I shall probably open that seam where the floor goes over the toe board and check though. Got some remedial work to do there anyway, notice that the cut out for the lower subframe mount is in the wrong place.
 

DSCF0488_zps81c1199b.jpg

valence off and very crusty beneath but will be replacing the entire boot floor and closing panels etc.
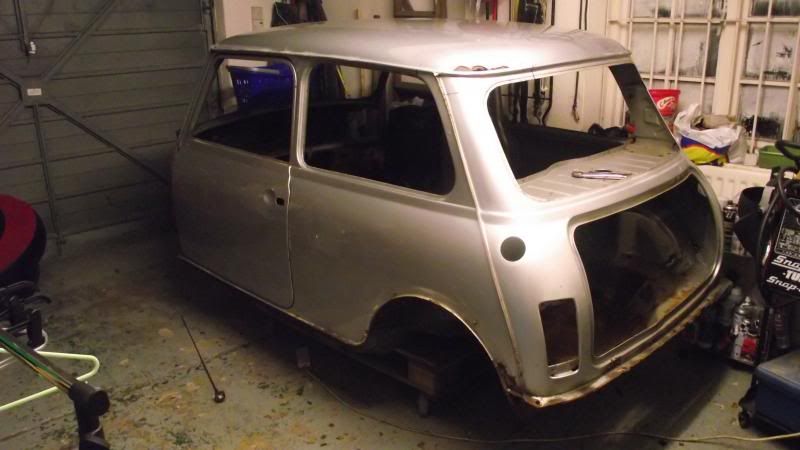
 

DSCF0477_zpse78c6683.jpg

Just an overall shot after the 'dust off'
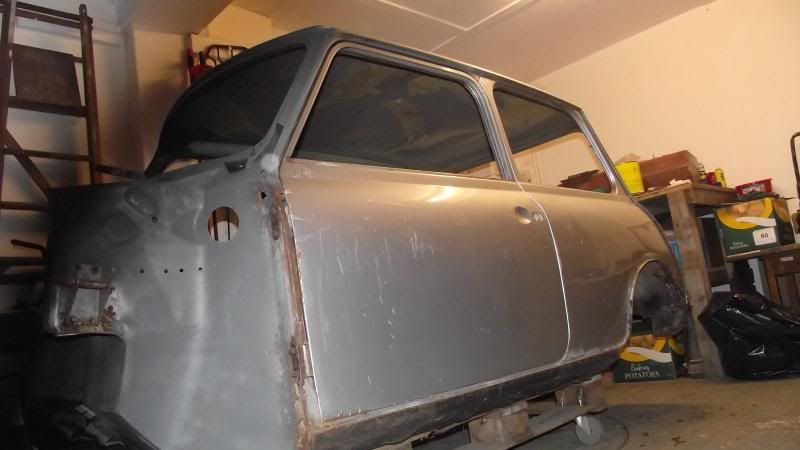
DSCF0490_zps43ff50dc.jpg


Took this and thought it was pretty cool
DSCF0491_zps8daf817f.jpg


I will hopefully get to work tomorrow.


Thanks for looking


Ben


#202 Carlos W

Carlos W

    Mine is purple, but I have been told that's normal

  • TMF+ Member
  • PipPipPipPipPipPipPipPipPipPipPip
  • 10,114 posts
  • Location: Sittingbourne, Kent

Posted 06 May 2014 - 08:58 PM

Not looking too bad at all Ben.


What's planned for tomorrow?


#203 Ben_O

Ben_O

    Mill Road Garage

  • Paint Doctor
  • PipPipPipPipPipPipPipPipPipPip
  • 9,785 posts
  • Location: Isle of Wight

Posted 06 May 2014 - 09:02 PM

Blimy! that was a fast reply!


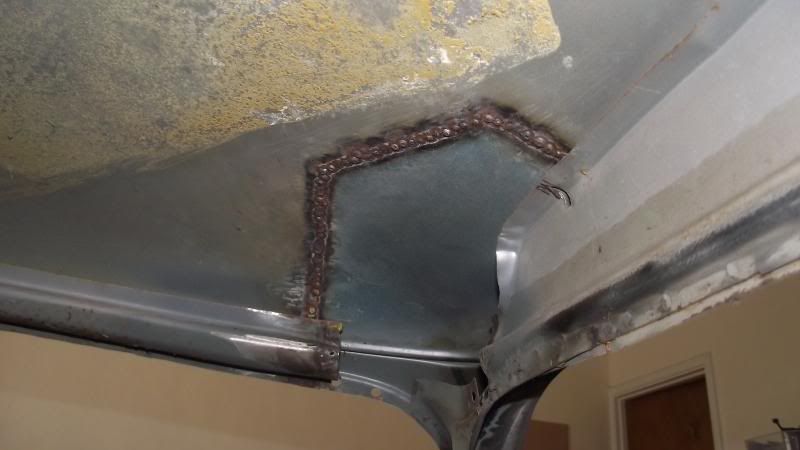
Tomorrow, I will try and get out there  and finish the welding on my roof corner repair. I noticed when cleaning it down that I hadn't welded the join in the frame above the door! Also need to re-fit the frame work inside the roof (cant rail, corner brace and inner windscreen frame)

Then I will sort that bit of floor where the cut out needs moving.

There is also some finishing to do on the bulkhead.


I can get it welded up but still haven't replaced my grinder yet so grinding up can wait. Better make sure my welds are neat for the update photo's then! no hiding with a flap disc!!


Cheers


Ben


#204 Steve8274

Steve8274

    Super Mini Mad

  • Members
  • PipPipPipPipPipPip
  • 580 posts
  • Location: Wigan (north west)

Posted 06 May 2014 - 09:05 PM

Have you used just normal zinc primer or used other stuff too?
Is it painted or from a spray can? Looks good

#205 Ben_O

Ben_O

    Mill Road Garage

  • Paint Doctor
  • PipPipPipPipPipPipPipPipPipPip
  • 9,785 posts
  • Location: Isle of Wight

Posted 06 May 2014 - 09:07 PM

Hi!

Just a marine zinc primer straight on top of bare metal. Sprayed from an aerosol can. I think it's called SAS or something.


Cheers

Ben


#206 Marco1972

Marco1972

    One Carb Or Two?

  • Members
  • PipPipPipPipPipPipPip
  • 822 posts
  • Location: Birmingham

Posted 06 May 2014 - 09:25 PM

Keep the momentum going mate

That rear valance looks as crusty as mine :-) .

#207 Ben_O

Ben_O

    Mill Road Garage

  • Paint Doctor
  • PipPipPipPipPipPipPipPipPipPip
  • 9,785 posts
  • Location: Isle of Wight

Posted 06 May 2014 - 09:38 PM

That's the plan.

There is so much crust on the shell and I know that I can fix it quickly and nicely but funds for replacement panels slow me down at the moment.


I am planning on using some used panels for the rear end that I am going to unpick from another shell and recondition. That should help the 'budget' a bit.


I can't see the problem with doing it this way and I plan to fully document the process in case anybody is interested in doing the same as I think it will work well.


The most time consuming part is unpicking the panels from the 'donor' shell as all of the flanges will need to be kept fully intact and all of the paint will need stripping back to bare metal and any rusty parts can then be cut out and new metal nicely but welded in place and cleaned up for invisible seams.


It will be time consuming doing it that way but time I have, money I do not!


Ben


#208 Marco1972

Marco1972

    One Carb Or Two?

  • Members
  • PipPipPipPipPipPipPip
  • 822 posts
  • Location: Birmingham

Posted 07 May 2014 - 07:50 AM

Lol

Minis are like buckets with holes in them but it's not water they loose it's pounds !!!

Me and jay often look through the huge pile of receipts that we have it makes you cringe when you see how much you spend on these bloody things
I keep telling myself it will all be worth it in the end :-)

That's what I tell the other half anyway lol

#209 Ben_O

Ben_O

    Mill Road Garage

  • Paint Doctor
  • PipPipPipPipPipPipPipPipPipPip
  • 9,785 posts
  • Location: Isle of Wight

Posted 07 May 2014 - 07:32 PM

So today's plan was to finish the welding on the roof corner repair and fit the bracing inside the roof.

like so...

DSCF0500_zps3783aaa1.jpg


and

DSCF0498_zps6c16d5b2.jpg


However, i was about to start cleaning it up and my Girfriend said 'is that gutter supposed to be that shape?'

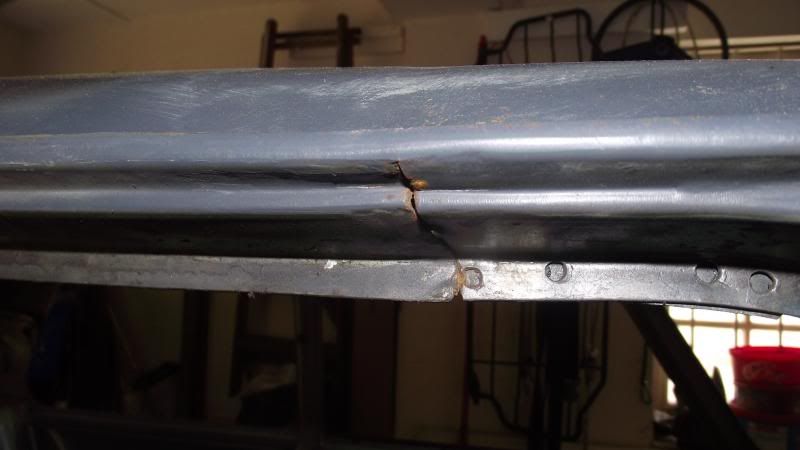
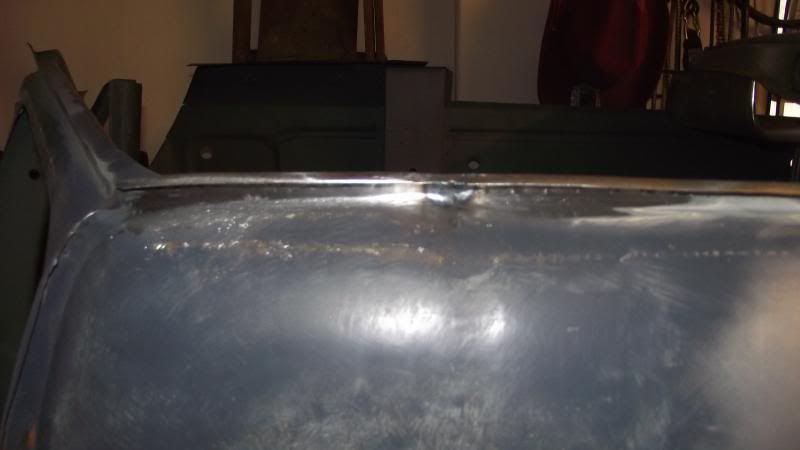
Oh crap! i must have been drunk or something when i fitted it as the gutter line was all mishapen so i set about sorting that instead.


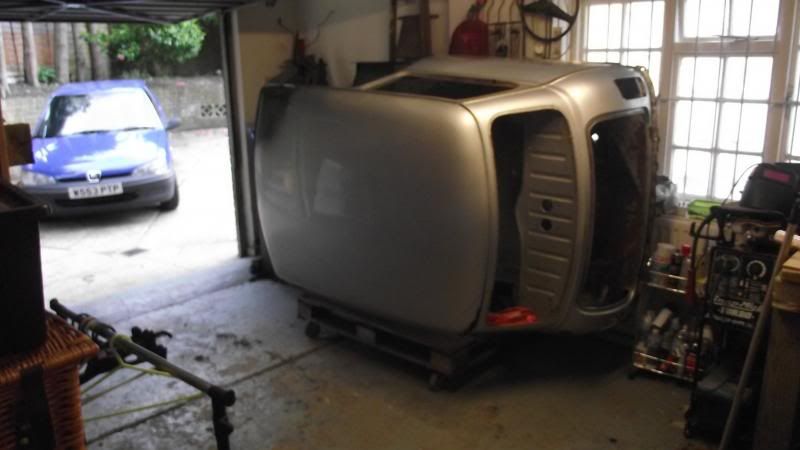
I started working the metal to get it the correct shape which involved some careful unpicking and trimming up but just couldn't get it right from the angle i was working at. It was as if i needed to sit on the roof to get the angle right and see how far i needed to work it so i did this......


DSCF0501_zpsea66e7ac.jpg


And the a few minutes of careful re-working i had this


DSCF0506_zps5cfe6170.jpg


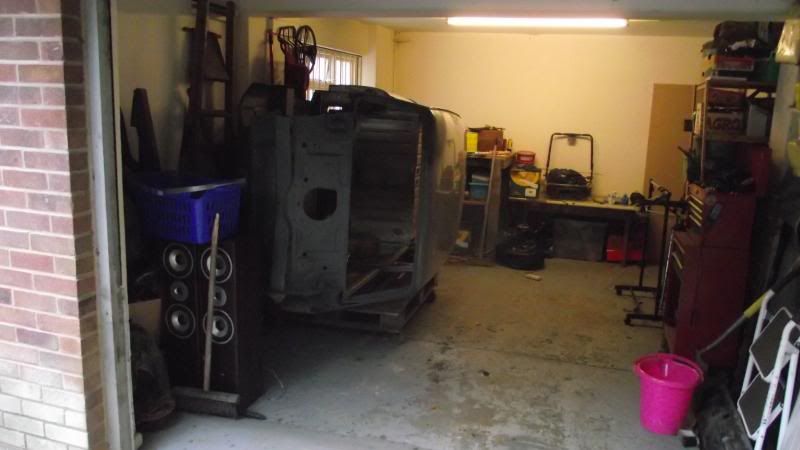
So more tomorrow.


This is how i left it today.


DSCF0503_zpsaa047edb.jpg


Thanks for looking


Ben


#210 Carlos W

Carlos W

    Mine is purple, but I have been told that's normal

  • TMF+ Member
  • PipPipPipPipPipPipPipPipPipPipPip
  • 10,114 posts
  • Location: Sittingbourne, Kent

Posted 07 May 2014 - 07:34 PM

You need it on a spit mate


1 user(s) are reading this topic

0 members, 1 guests, 0 anonymous users