Jump to content


Photo
* * - - - 3 votes

Mini 25 Full Rebuild


  • Please log in to reply
1498 replies to this topic

#151 Ben_O

Ben_O

    Mill Road Garage

  • Paint Doctor
  • PipPipPipPipPipPipPipPipPipPip
  • 9,785 posts
  • Location: Isle of Wight

Posted 07 March 2014 - 07:54 PM

Ben;


Just had a quick scan through your build project, what a fantastic job you are doing. I am a great fan of making what you can and you are following that exact same train of thought.


Nice job on the Wiper Motor, after you striped the casing what did you prime it with i.e. what paint and did you use cans or spray gear?

Thanks mate. I want the car to look like brand new when it is finished but i would much sooner use genuine used parts that i can refurbish than use brand new parts which will either be non-genuine or substantially different in appearance to what would have been fitted originally as most new parts you pick up are meant for much later cars and although will fir mine, won't look 'right' in my opinion.


as for the wiper motor, It was stripped, thoroughly degreased and then washed in thinners until it couldn't be any cleaner and then i primed using a high build zinc primer from a spray can which will resist future corrosion and fill in some small pit marks that are in the metal.

I am aware that a majority of the motor casing would not have been painted originally and if money was no object, then i would spend more having the parts re coated to original specification but i have to be careful where i spend money so i can afford the stuff that really counts i.e paint job for the shell etc.


I plan to paint the cylindrical motor housing in a tough chip resistant matt black and the main body will be silver. Simple, smart and fairly original looking.


Thanks for your interest.


Ben


#152 Ben_O

Ben_O

    Mill Road Garage

  • Paint Doctor
  • PipPipPipPipPipPipPipPipPipPip
  • 9,785 posts
  • Location: Isle of Wight

Posted 08 March 2014 - 07:00 PM

Well another small update.


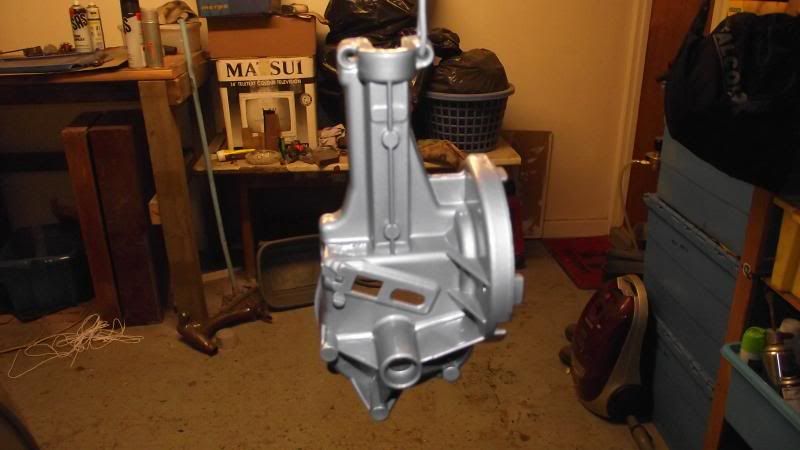
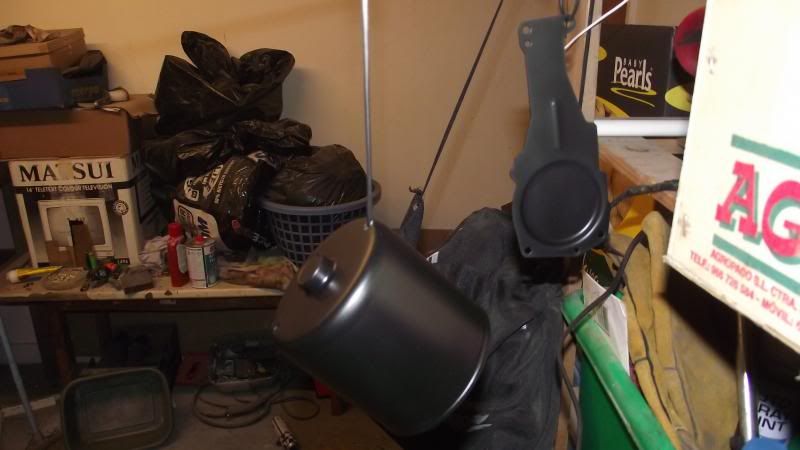
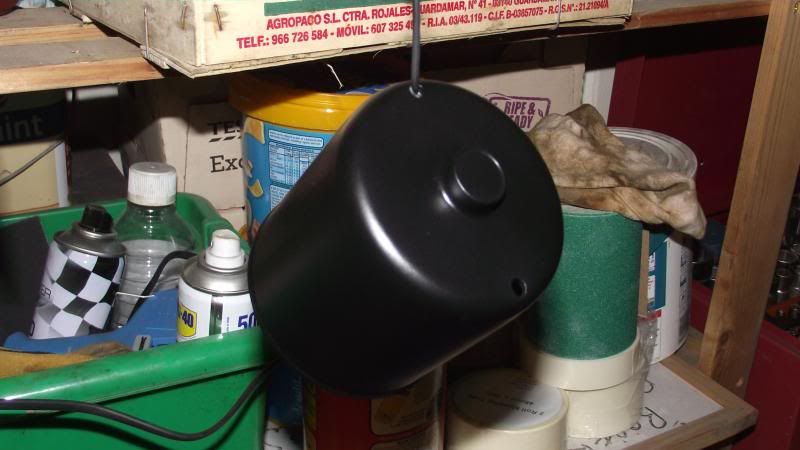
I flatted down the primer on the housing components and then painted them up.

The main motor housing and the cover for the mechanism housing i have done in matt black and the mechanism housing i have done silver.


It looks ok but i will decide once it is dry and if need be then i will flat back and paint again.

Might seem a bit anal for a part that will be covered up anyway but i want the parts to be as good as they can. If the shell and paintwork come out as will as i hope, i don't want to be bolting back on parts that look untidy.

Anyway, some pictures.


DSCF0420_zps4388b6b4.jpg


DSCF0421_zps0b1b6446.jpg


DSCF0424_zps96c75596.jpg


Now i will have to let them dry out and harden up for a week or two then reassemble!


Cheers

Ben


#153 rooney123

rooney123

    Mini Mad

  • Noobies
  • PipPipPipPip
  • 114 posts
  • Location: lancaster

Posted 15 March 2014 - 08:04 PM

finally got read your project love the metal work keep up the good work pal ................. :thumbsup:


#154 Ben_O

Ben_O

    Mill Road Garage

  • Paint Doctor
  • PipPipPipPipPipPipPipPipPipPip
  • 9,785 posts
  • Location: Isle of Wight

Posted 16 March 2014 - 10:34 AM

finally got read your project love the metal work keep up the good work pal ................. :thumbsup:

Cheers Andy!.

Just picked up my new Mig welder so work will continue when i get back next week!

I'm really looking forward to it... its been so long!


Cheers


Ben


#155 rooney123

rooney123

    Mini Mad

  • Noobies
  • PipPipPipPip
  • 114 posts
  • Location: lancaster

Posted 16 March 2014 - 10:38 AM

any time ben :proud:


#156 Ben_O

Ben_O

    Mill Road Garage

  • Paint Doctor
  • PipPipPipPipPipPipPipPipPipPip
  • 9,785 posts
  • Location: Isle of Wight

Posted 29 March 2014 - 11:07 PM

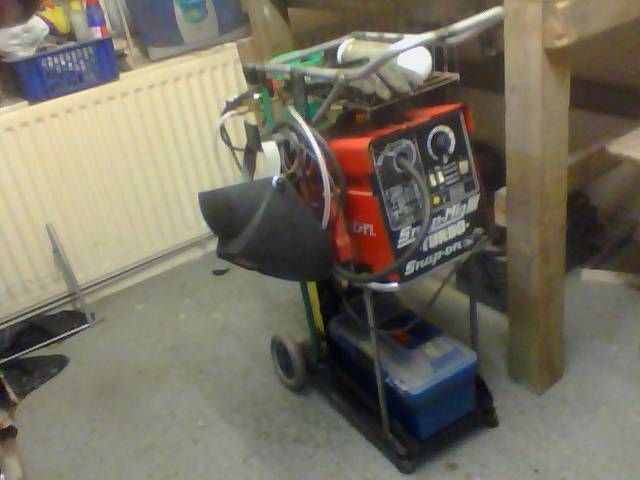
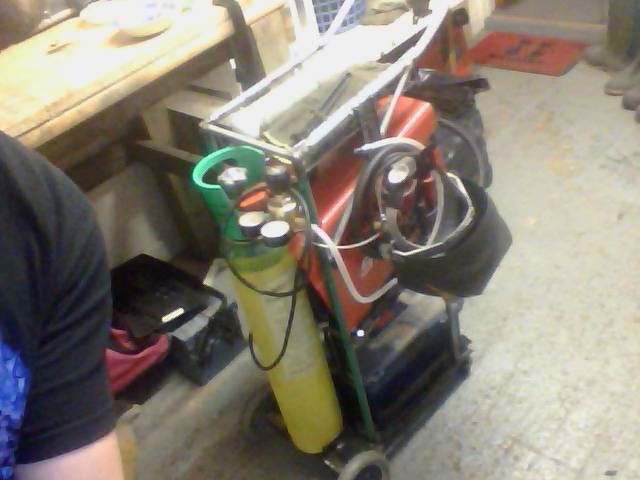
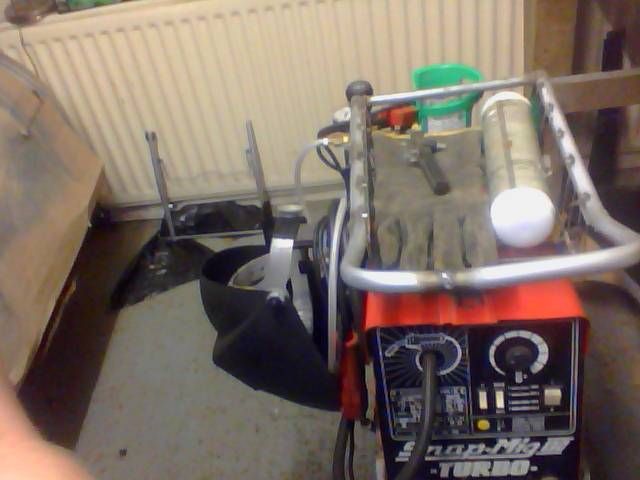
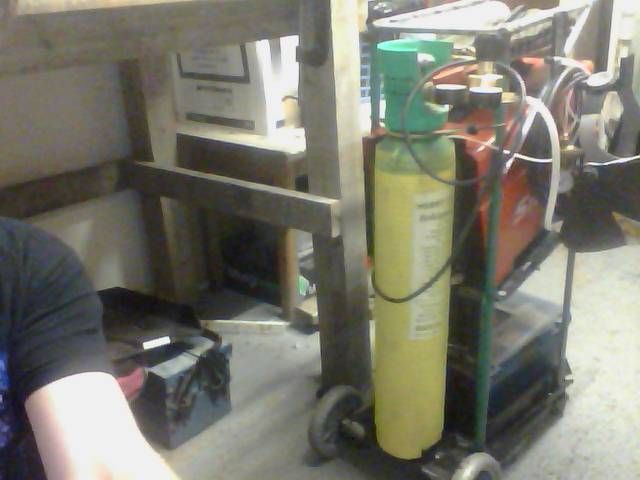
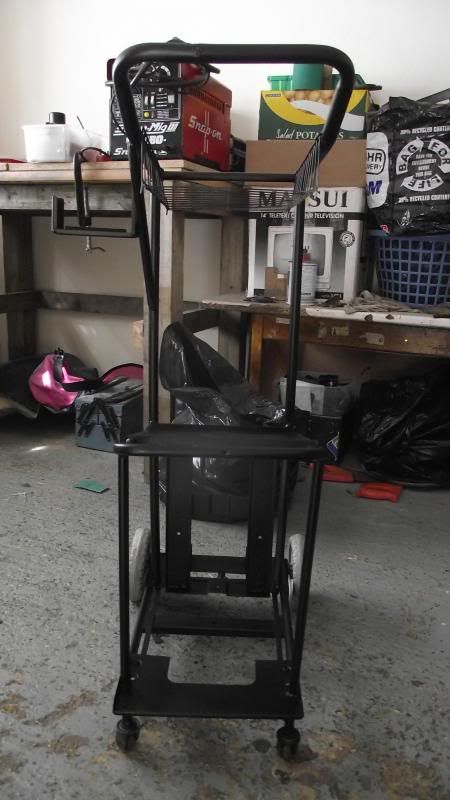
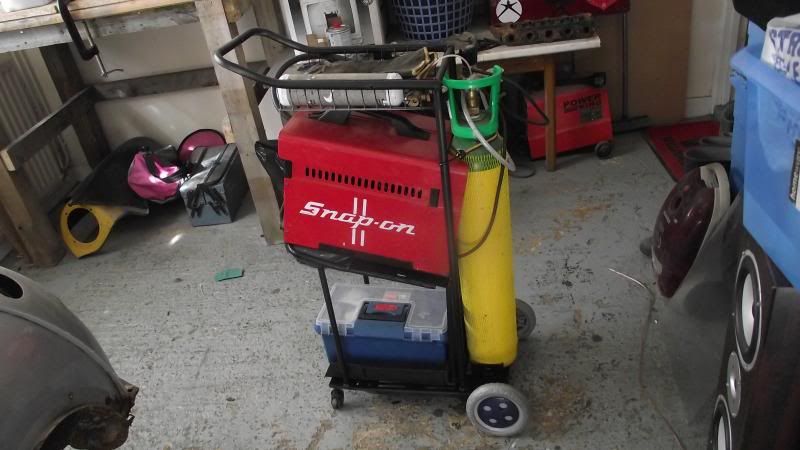
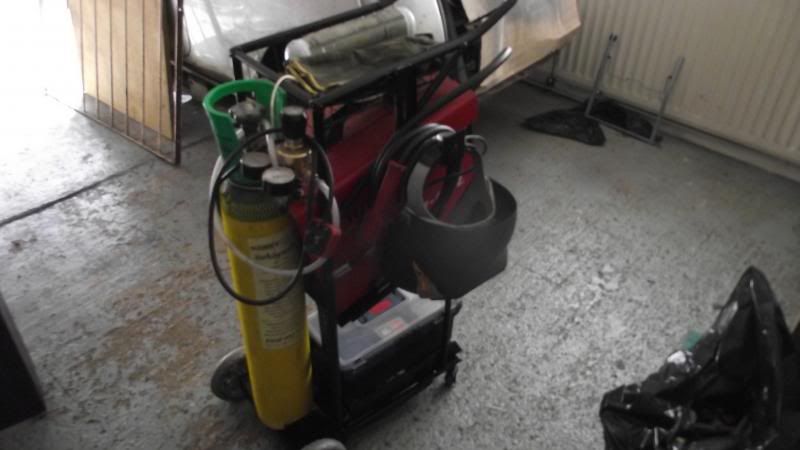
Nothing done on the Mini for a few weeks now but i have been busy building a trolley for my new Mig.


Its made out of old TV wall brackets, washing line props and bits of old pram!


Photos to follow


Ben


#157 Ben_O

Ben_O

    Mill Road Garage

  • Paint Doctor
  • PipPipPipPipPipPipPipPipPipPip
  • 9,785 posts
  • Location: Isle of Wight

Posted 29 March 2014 - 11:13 PM

have taken a couple of pics but only with webcam on laptop but you get the idea!


troley_zps34744950.jpg


trolley_zpsfb75edea.jpg


trolley3_zpsc52c48d9.jpg


trolley4_zps939c604d.jpg


#158 rooney123

rooney123

    Mini Mad

  • Noobies
  • PipPipPipPip
  • 114 posts
  • Location: lancaster

Posted 30 March 2014 - 06:27 PM

bet  your glad to have your mig now   :proud:


#159 Ben_O

Ben_O

    Mill Road Garage

  • Paint Doctor
  • PipPipPipPipPipPipPipPipPipPip
  • 9,785 posts
  • Location: Isle of Wight

Posted 31 March 2014 - 04:52 PM

Thanks Andy, i'm pleased to finally have one again!


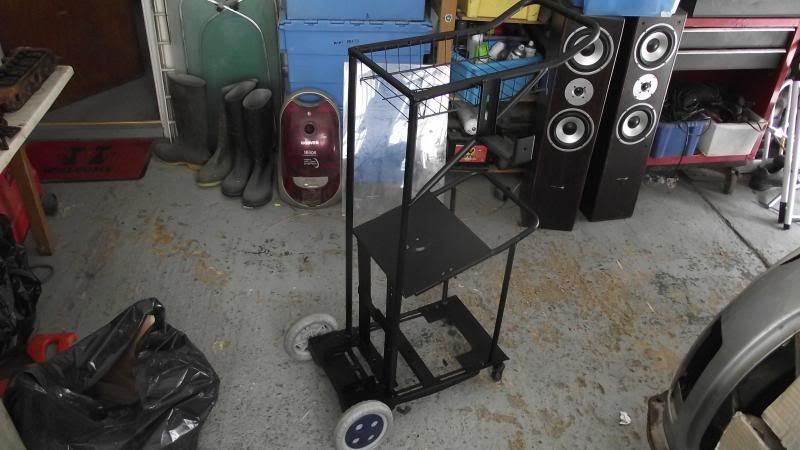
Painted the trolley today so thats all done now.


DSCF0442_zpscb568504.jpg


DSCF0445_zps74e77ee4.jpg


DSCF0448_zpsb9af34f0.jpg


DSCF0452_zps42771c33.jpg


Turned out ok i think.


Ben


#160 Carlos W

Carlos W

    Mine is purple, but I have been told that's normal

  • TMF+ Member
  • PipPipPipPipPipPipPipPipPipPipPip
  • 10,114 posts
  • Location: Sittingbourne, Kent

Posted 31 March 2014 - 04:56 PM

That looks superb and is definitely going to save you more time than it took to build


#161 Ben_O

Ben_O

    Mill Road Garage

  • Paint Doctor
  • PipPipPipPipPipPipPipPipPipPip
  • 9,785 posts
  • Location: Isle of Wight

Posted 31 March 2014 - 05:04 PM

Cheers Carlos.

I wasn't looking forward to keep lugging that heavy lump around plus i kept knocking the gas bottle over! I also kept putting my gauntlets and shield down and forgetting where i put them! This way, it's all together and on wheels and was a good use of basically old scrap.


Ben


#162 Ben_O

Ben_O

    Mill Road Garage

  • Paint Doctor
  • PipPipPipPipPipPipPipPipPipPip
  • 9,785 posts
  • Location: Isle of Wight

Posted 31 March 2014 - 05:21 PM

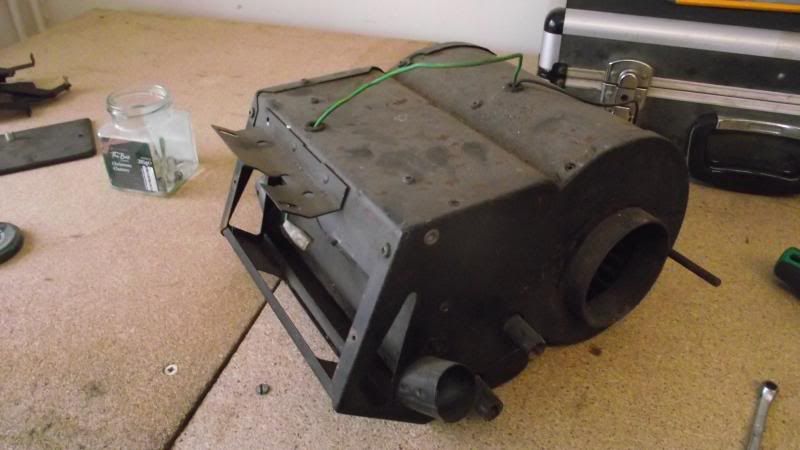
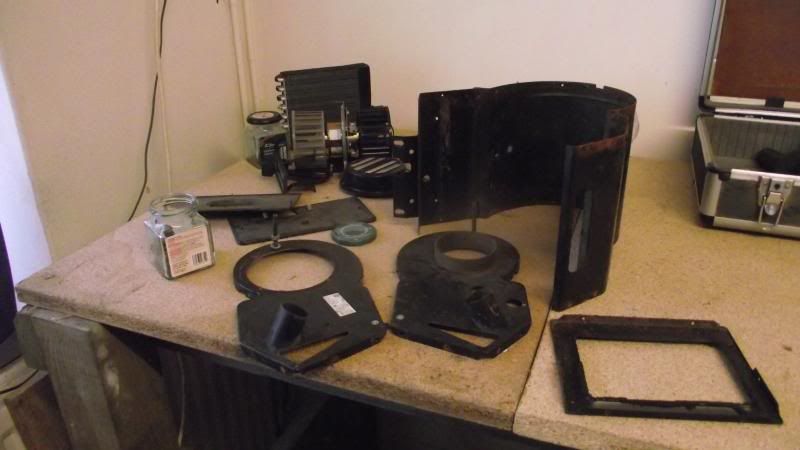
Just stripped down the heater which i got a few weeks ago.

Looks pretty good so will be rubbed down and painted then just re-assembled.

I will also pressure test the matrix to check for leaks.


DSCF0454_zpsbc0854af.jpg


DSCF0456_zps9fc5569e.jpg


More later.


Ben


#163 LosLandenos

LosLandenos

    Stage One Kit Fitted

  • Noobies
  • PipPipPip
  • 75 posts
  • Location: Gothenburg

Posted 01 April 2014 - 10:09 PM

impressive work!!


#164 Ben_O

Ben_O

    Mill Road Garage

  • Paint Doctor
  • PipPipPipPipPipPipPipPipPipPip
  • 9,785 posts
  • Location: Isle of Wight

Posted 01 April 2014 - 10:24 PM

impressive work!!

cheers!


Ben


#165 JonnyAlpha

JonnyAlpha

    Up Into Fourth

  • Members
  • PipPipPipPipPipPipPipPipPip
  • 2,748 posts
  • Location: North Devon
  • Local Club: Exmoor Minis

Posted 07 April 2014 - 12:13 PM

Ben; you commented on my restoration so I thought it would be be right and proper to check yours out, couldn't miss the link!! You have really taken this Mini to the cleaners, what a fantastic job you have done and I love the attention to detail AKA stripping down individual parts etc.


I particularly like your DIY Welding Trolley mmmmmmmm that's given me an idea!! I recently made my first tool, a small bender that doubles up nicely as an anvil / welding bench. The plan for it comes from the Retrorides site, which has a fantastic panel making thread. There's a pic of my bender in my project, the rear cones are sitting on it :-)


Keep up the good work..... 


3 user(s) are reading this topic

0 members, 3 guests, 0 anonymous users