#106

Posted 14 July 2015 - 09:14 PM
#107

Posted 15 July 2015 - 12:00 PM
Looks great
#108

Posted 16 July 2015 - 02:31 PM
Had a bit of a disaster last night. My plan was to service the brakes while fitting my new wheels. It turned out the front adjusters have been mauled with mole grips at some point and completely rounded so I couldnt remove the drums. I tried to knock on a socket, no luck, heat, no luck, weld a nut on, sheared every time. In 3 hours I had succeeded in removing nothing but a wheel and the steering control arm...
Even live advice from Shifty failed me...
So I have today sourced some new backplates and drums and im going to cut the damn drums off with a grinder!
Thankfully its a different story at the rear and the adjusters are fine.
Edited by Tommyboy12, 16 July 2015 - 02:32 PM.
#109

Posted 17 July 2015 - 04:02 PM
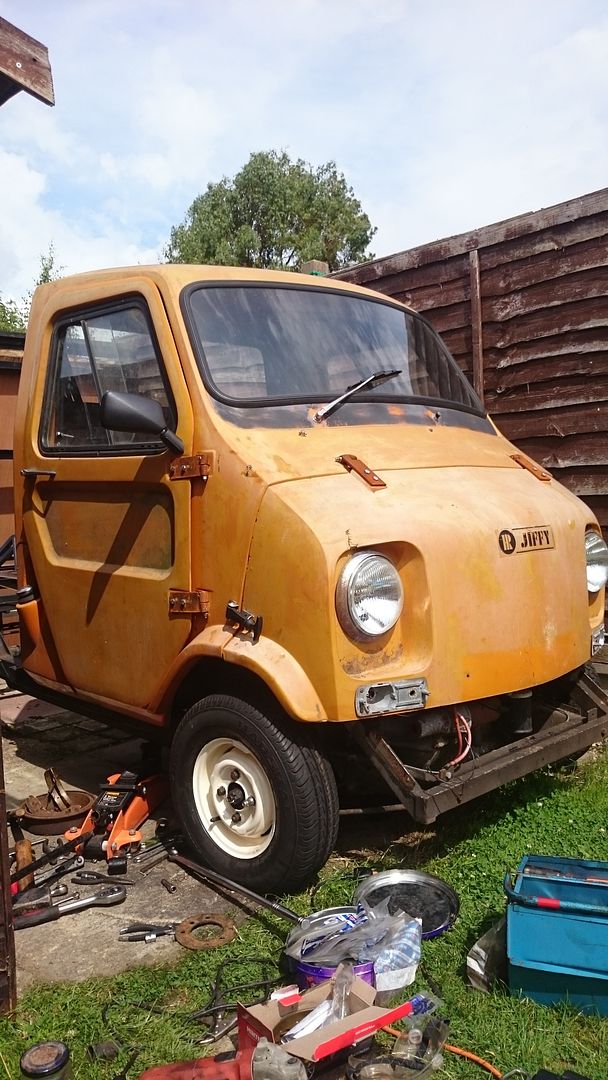
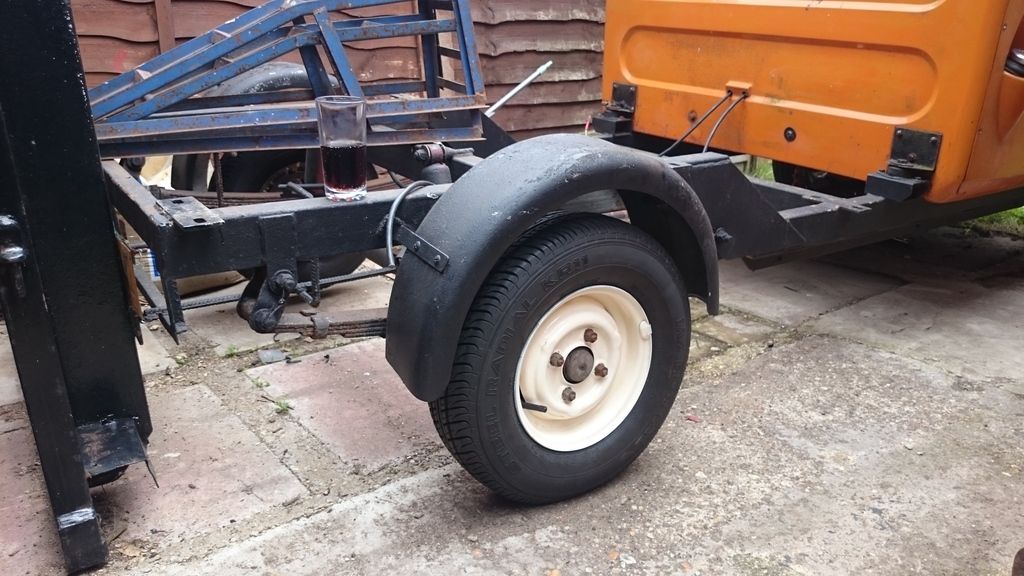
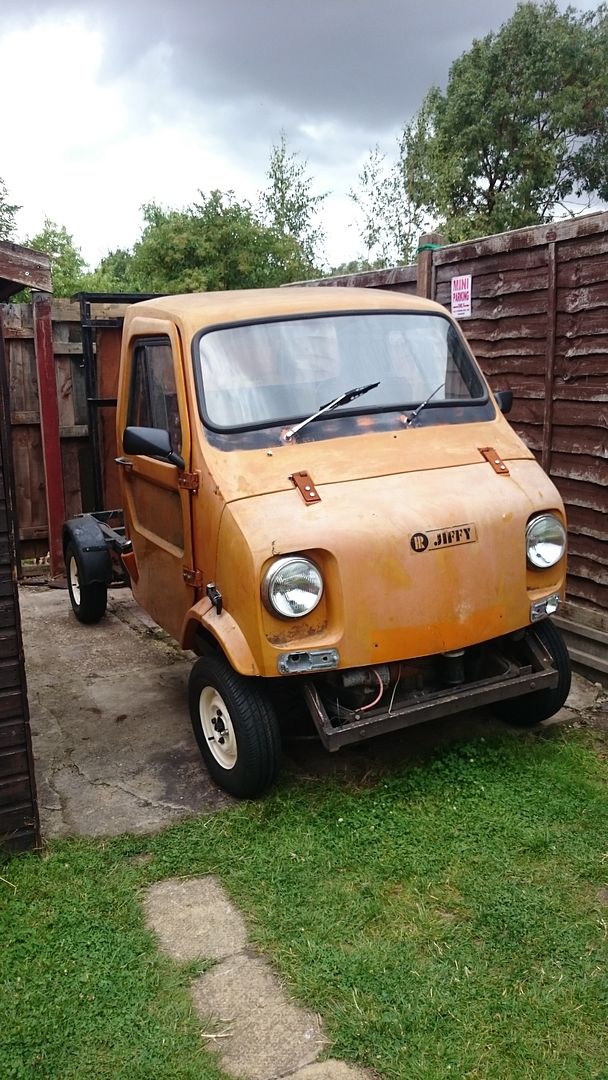
So after the nightmare the other night with the brake adjuster I got hold of a a pair of used (but free moving) backplates as well as some decent used drums. Today I had the day off work so set about sorting the front brakes.
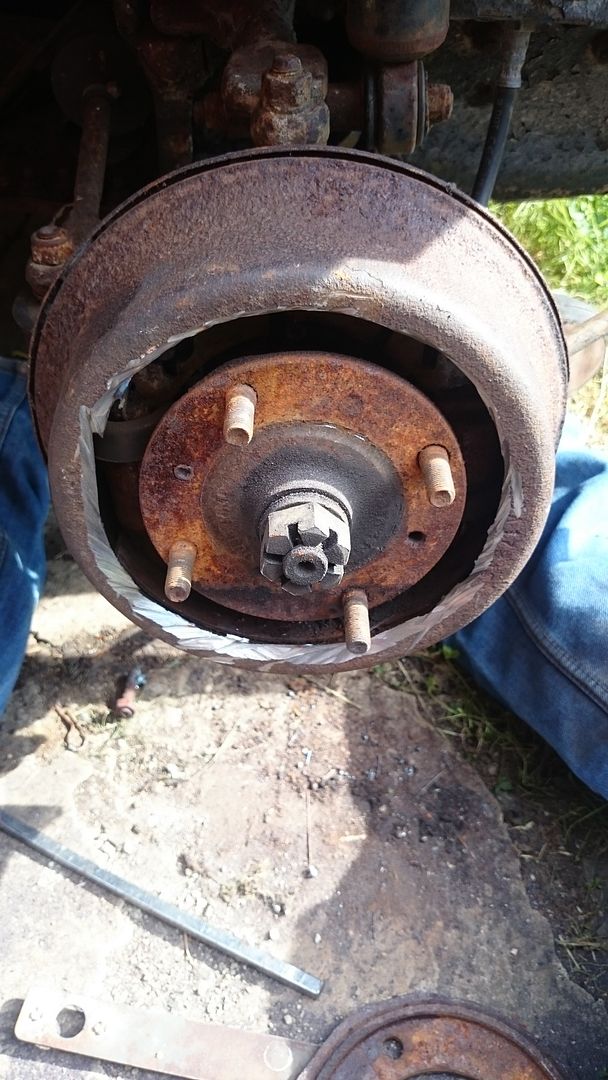
Cut off the drum first, surprising how little effort this takes. You might notice ive loosened the castle nut already.
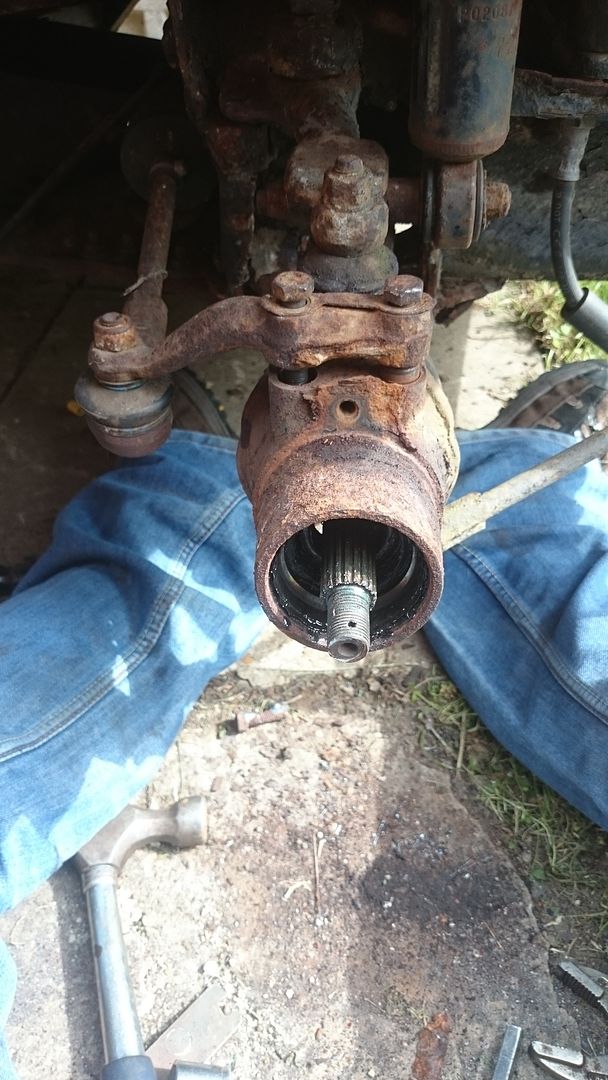
Hub and backplate off. I find it quite amazing that all the braking force basically goes through 3 tiny little bolts holding the backplate to the hub.
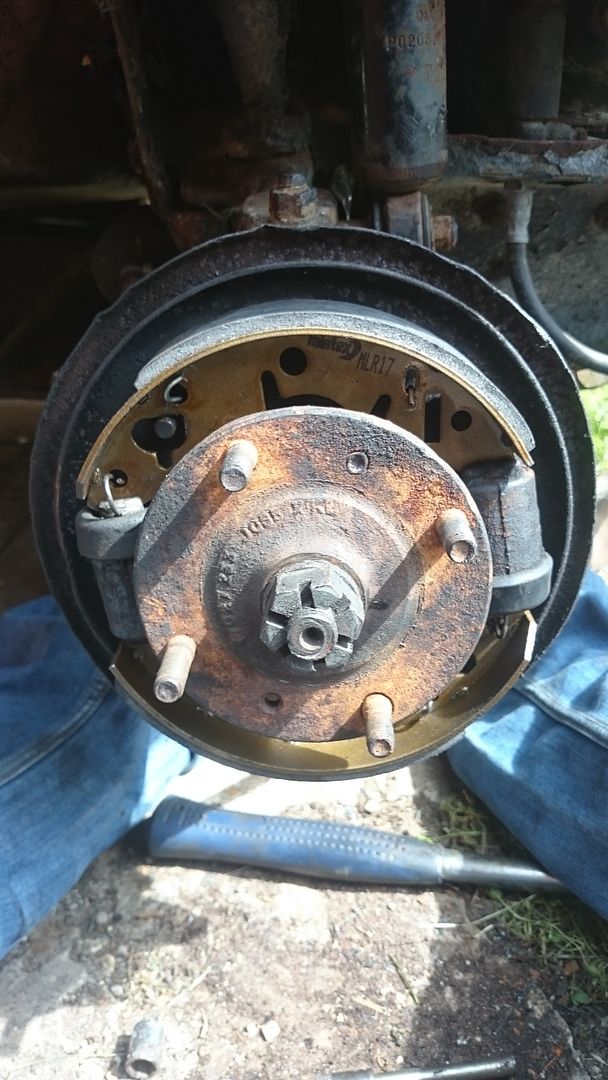
Replacement backplate, new springs and shoes, and hub back on.
I then put the wheel on and proceeded to shear a stud.... Luckily I have a lot of spares from when I changed to longer studs on my Mini. Ive had to use a chrome wheel nut for now. Looks pretty good I think!
Back wheels too
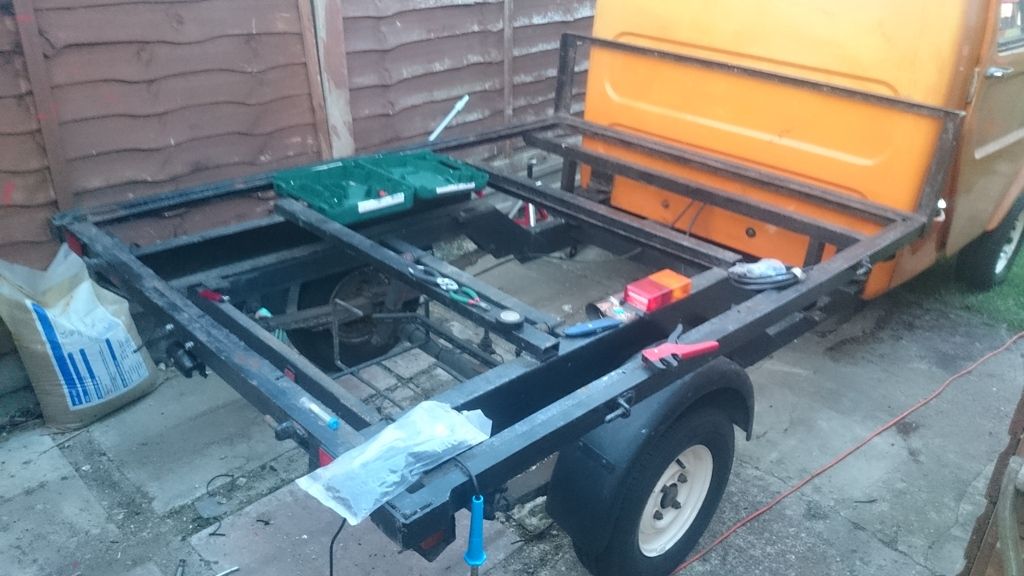
Its still jacked up in the last picture as I also fitted the fuel line and I still need to fit the battery feed and fuel sender wiring. For some reason the battery cable that came with it when I bought it is too short. It must have been changed once taken off the road as there is no way it reaches the battery compartment (under the passenger seat).
#110

Posted 18 July 2015 - 05:15 PM
More work today and no doubt more work this evening.
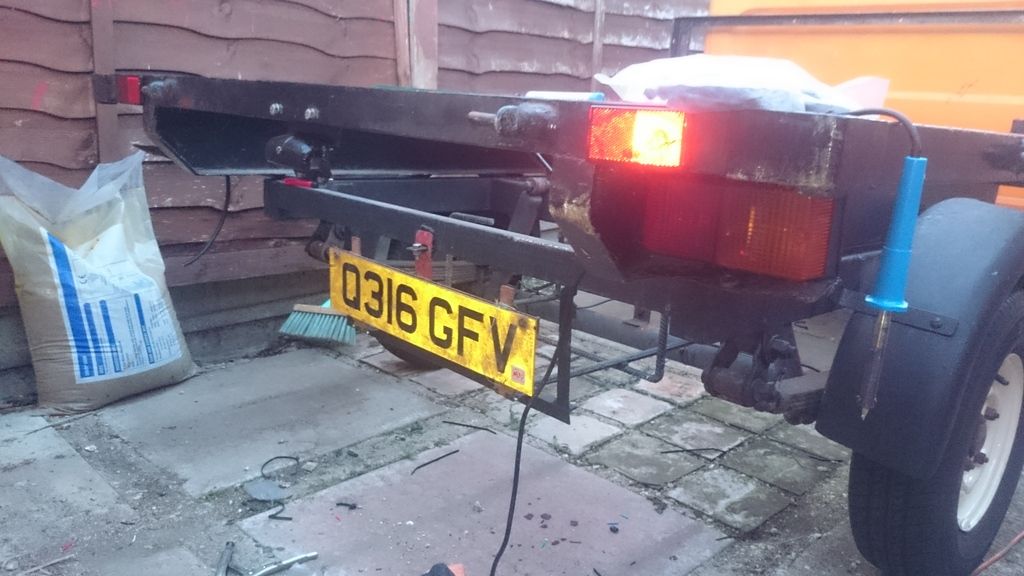
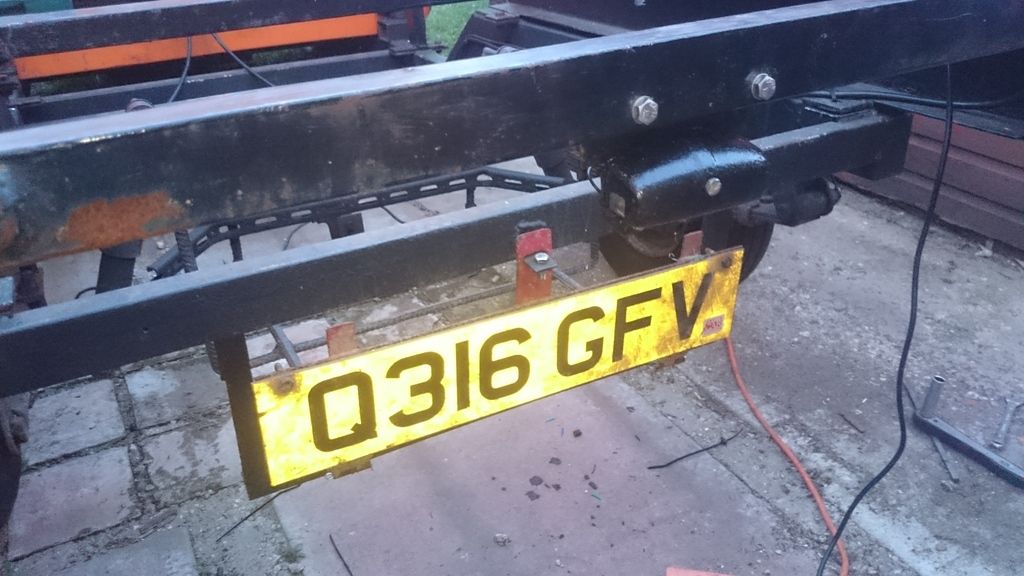
I fitted the flatbed and the rear lights including the wiring, number plate, fog light and other bits and pieces to the rear.
The number plate light is totally pointless. It is way too far from the numberplate but this seems to be the original mounting point judging by existing holes (it wasnt mounted when I bought the truck).
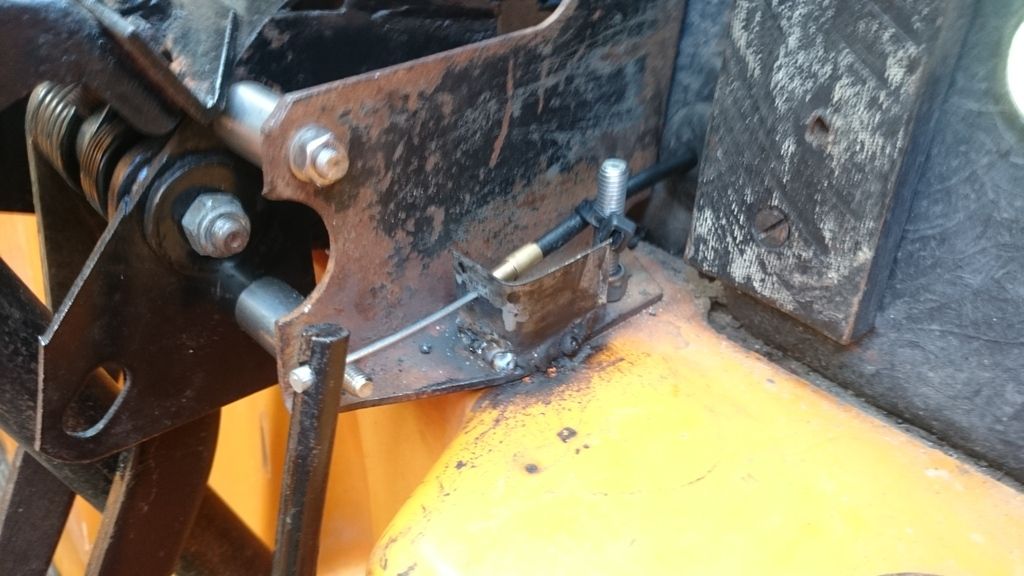
I also whipped up a throttle cable mount for the cab as it seemed to be missing from the pile of bits. Its a bit crude and I didnt really make an effort to make it look pretty (I also burnt the fibreglass but this car isnt about looks!) but its functional and matches what ive seen of other Jiffy's.
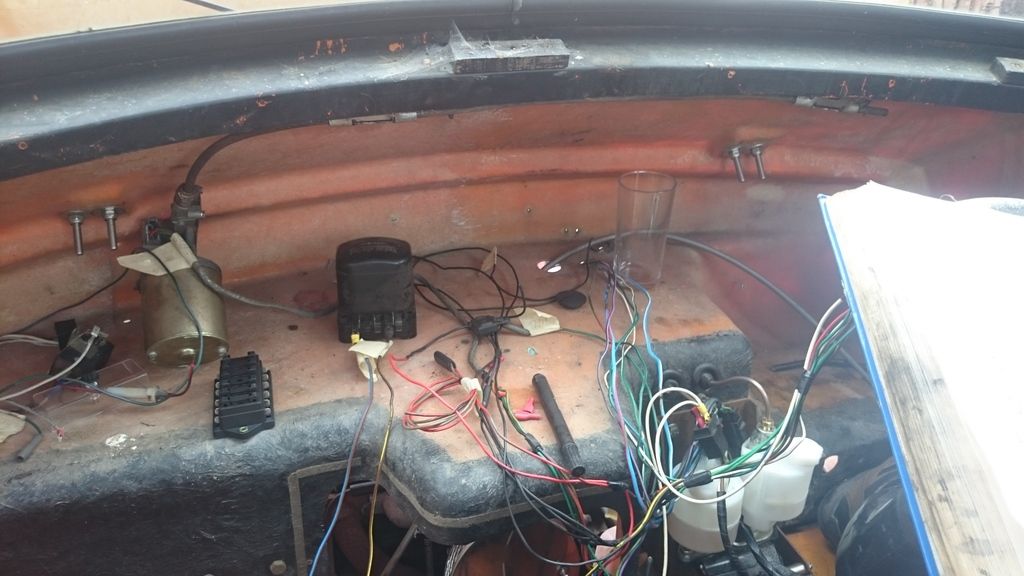
Made a start on the wiring too. I only got half a loom so I have a large section from another car's loom to patch in the missing sections. Its a bit daunting but taking my time means its slowly getting done.
More to follow!
#111

Posted 18 July 2015 - 05:48 PM
I think I'd be inclined to drill the bracket out to sit on the brass end, less risk of it sticking open.
#112

Posted 20 July 2015 - 08:11 AM
Probably not a bad idea. It hadnt struck me that it might get stuck as I have a fairly hefty return spring. Ill measure it up and drill it out.
#113

Posted 21 July 2015 - 11:38 AM
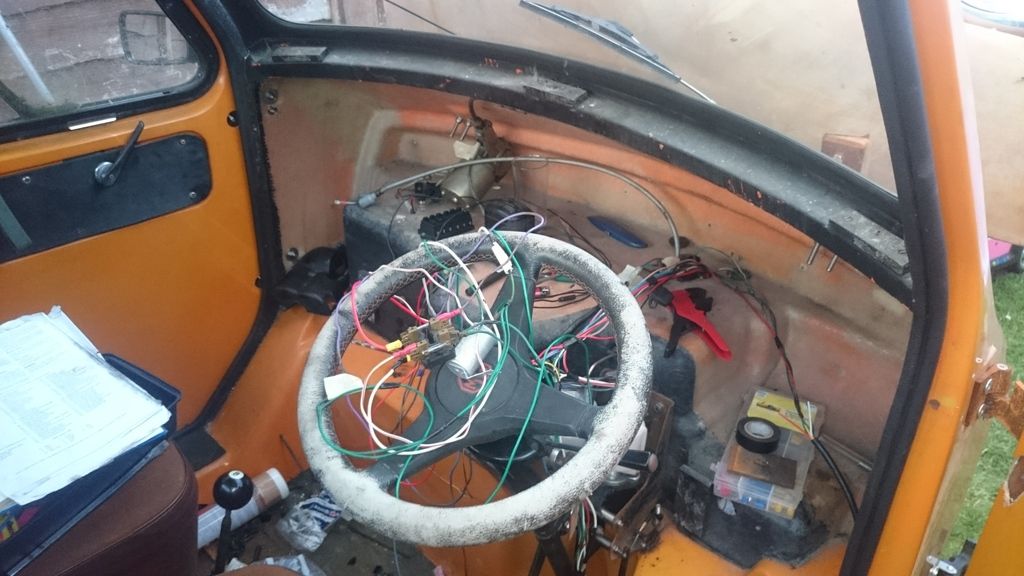
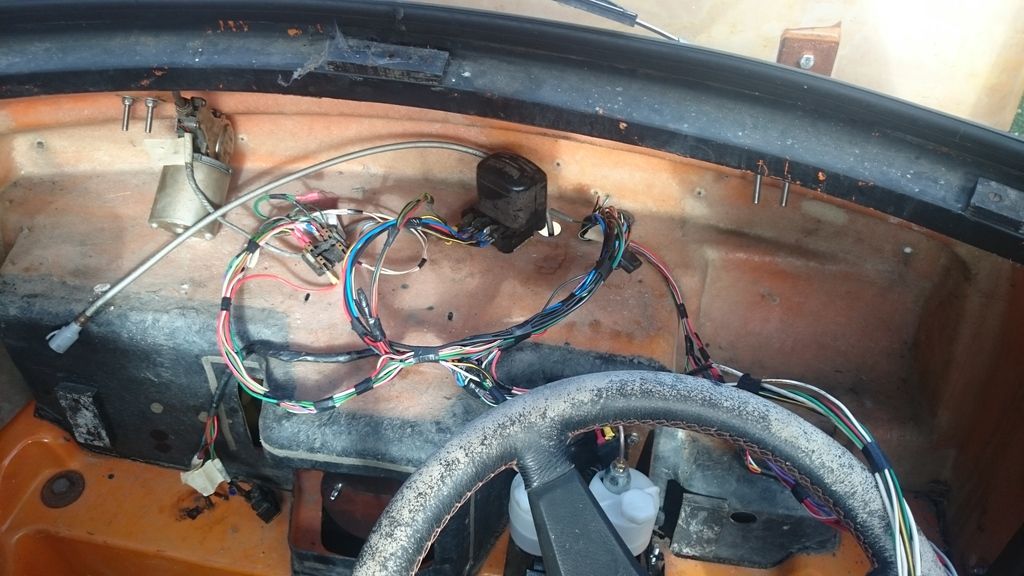
Pretty big wiring update.
More wiring has been completed. It was going quite well right up until the point that my soldering iron decided that that was enough and it no longer needed to be a soldering iron, and wanted to take up a life as a display model. It has since been unceremoniously binned for being hopeless.
Some additional wires added here. I really didnt have a lot of the loom left so a lot of new wires were needed. I had a good amount of the right colours but ive had to deviate on a few in order to maintain current ratings. Being forward thinking (sometimes) and for future reference ive photocopied the wiring diagram and changed the colours on that so that it matches.
Bundled up and all finished in the cab. You cant see it in this picture but the speedo plug is hanging over the steering wheel and the plugs for the ignition and the stalk are tucked between the master cylinders you can see in the picture. You can see where the plugs sit in my previous post.
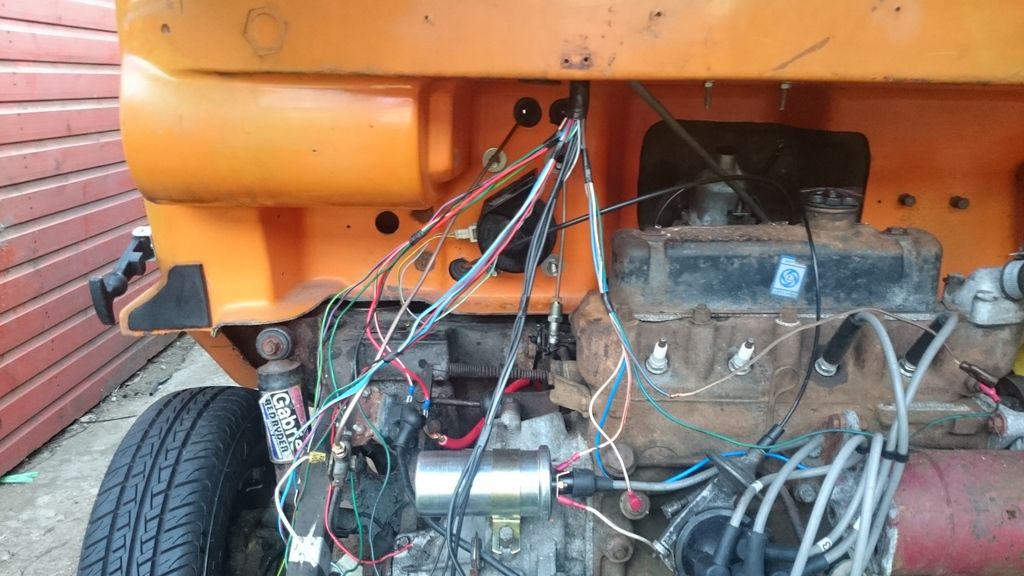
Ive hooked up the rear lighting as well. Im using 7 core trailer wire to run to the back of the truck for simplicities sake. It means the colour scheme of the wires changes in the cab but ive made a note of that too. This was the point that the soldering iron packed up so I was left with this in the engine bay:
Ive bundled up the different sections ready to solder any additional lengths in. I also fitted the new battery cable which is apparently good for 300 amps. This meant I had power and an earth to the battery and I also managed to complete enough wiring that I was able to turn the key and fire her up again so im very happy with the progress! I also tested the rear lights (as best I could) so I know that the fog light works, the rear indicators work, as do the hazards. I need to wire in the remaining lights and earths to test the rest. I bought a new soldering iron yesterday so will have the chance to do more tonight!
#114

Posted 21 July 2015 - 11:42 AM
Tasks left to complete are:
- Acquire indicator bulb holders
- Finish wiring
- Fit the dash and internal engine cover
- Fit a new bumpstop
- Change the clutch slave which is seized
- Bleed the brakes and clutch
- Get an MOT and take it to MITP!
Edited by Tommyboy12, 21 July 2015 - 11:42 AM.
#115

Posted 24 July 2015 - 11:26 AM
Tasks left to complete are:
- Acquire indicator bulb holders
- Finish wiring
- Fit the dash and
internal engine coverFit a new bumpstopChange the clutch slave which is seized- Unfreeze the clutch!
Bleed the brakes and clutch- Get an MOT and take it to MITP!
The list grows shorter! The biggest job left at the moment really is trying to unfreeze the clutch plate. It turns out that not only was the slave a dud but the arm was seized and the clutch plate has siezed to the flywheel which means the pedal stays stuck down currently. Ive freed off the arm and greased it up so now I just need to shock the plate free.
#116

Posted 29 July 2015 - 09:25 AM
- Finish wiring
- Fit the dash
- Replace water pump
- Get an MOT and take it to MITP!
Nearly there now. Ive acquired indicator holders which I need to modify to fit the Clubman lenses. Ive sorted the clutch, which was partially seized but the majority of the problem is down to wear in the arm and ball. Ive 'modified' the arm with a big hammer so the slack has been taken out. I need a longer stop bold to compensate but other than that its now operational, really it will need a new arm in the future though.
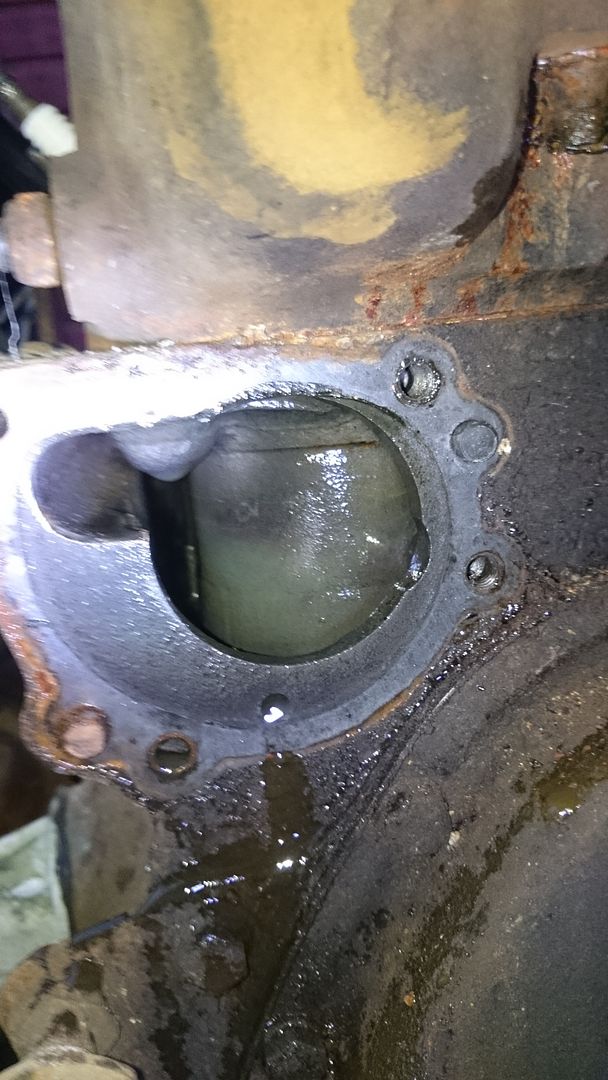
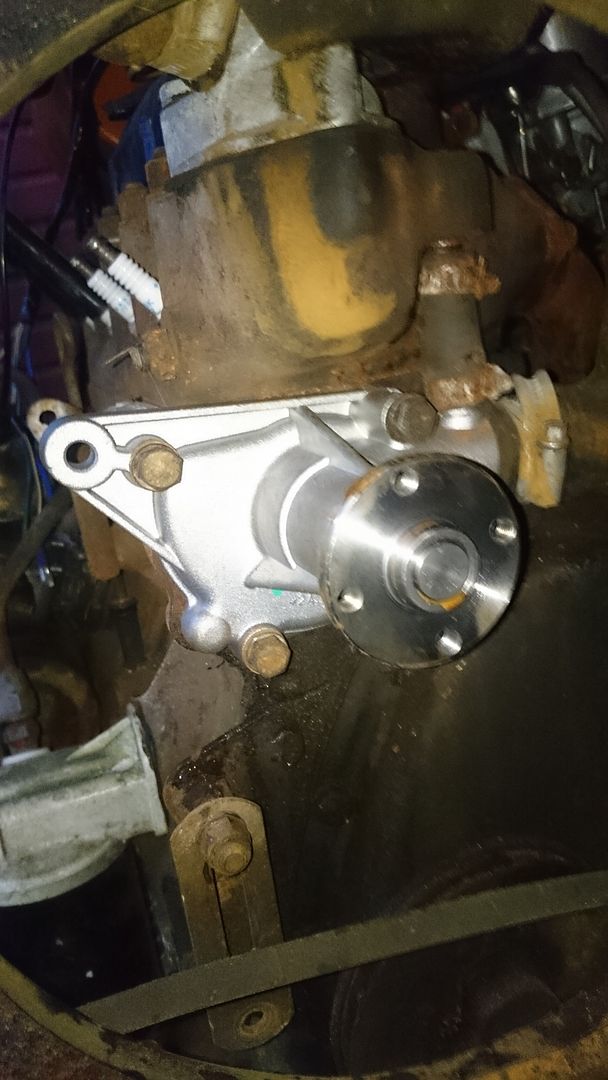
The water pump was seeping from the bearing ever since I first got it fired up. It was spitting flecks of scalding water everywhere. I was holding off from doing it but the flecks have turned into a torrent of water being thrown everywhere by the pulley so I have changed the pump now. It gave me the chance to flush out the radiator and examine the water jacket for corrosion. Of which there wasnt any! Ive never seen such a clean water jacket!
Nice shiney new pump!
#117

Posted 29 July 2015 - 10:33 AM
#118

Posted 29 July 2015 - 11:52 AM
Me too! I will be very disappointed if I dont make it! The list is short so providing there is no surprises on the MoT I should easily be on for it!
#119

Posted 29 July 2015 - 11:59 AM
#120

Posted 29 July 2015 - 12:37 PM
I like chops. Lamb are my favourite.
Also tagged with one or more of these keywords: kit-car
Projects →
Mini Variants →
Biota Kit Car - A 1974 Mk2Started by IvorBiota , 01 Jan 2017 |
|
|
||
Projects →
Mini Variants →
Project FalconStarted by Curley , 07 Aug 2014 |
|
|
||
Projects →
Mini Variants →
Any Gtm Lovers HereStarted by medicalgradenitrous , 10 Mar 2014 |
|

|
1 user(s) are reading this topic
0 members, 1 guests, 0 anonymous users


