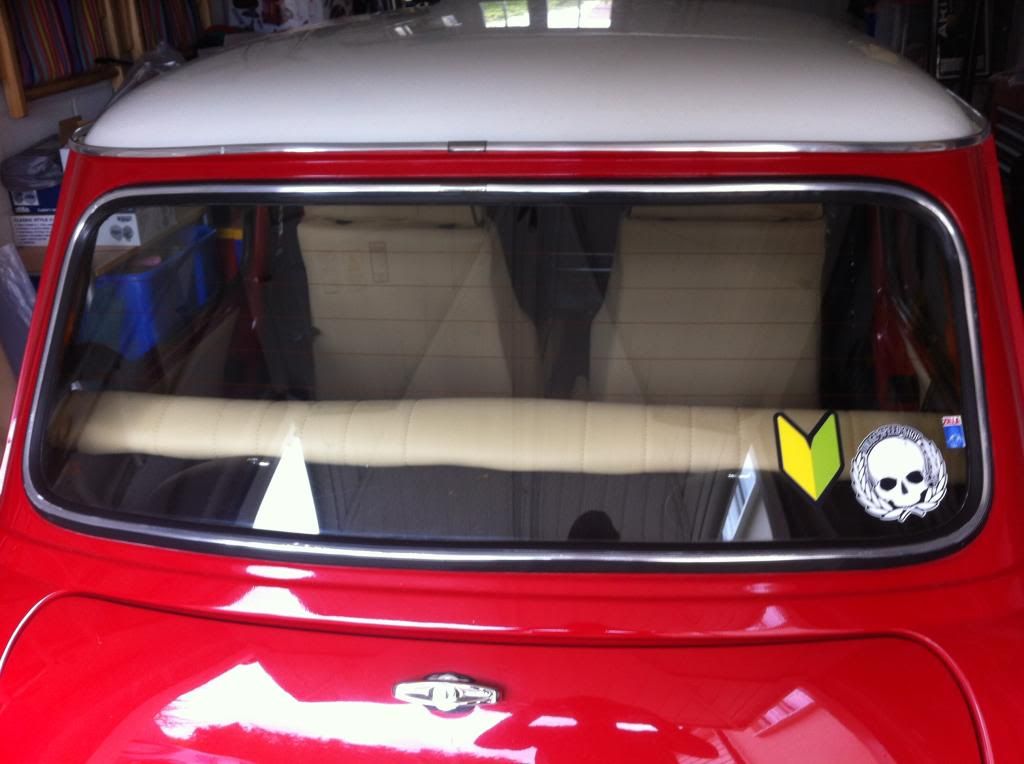
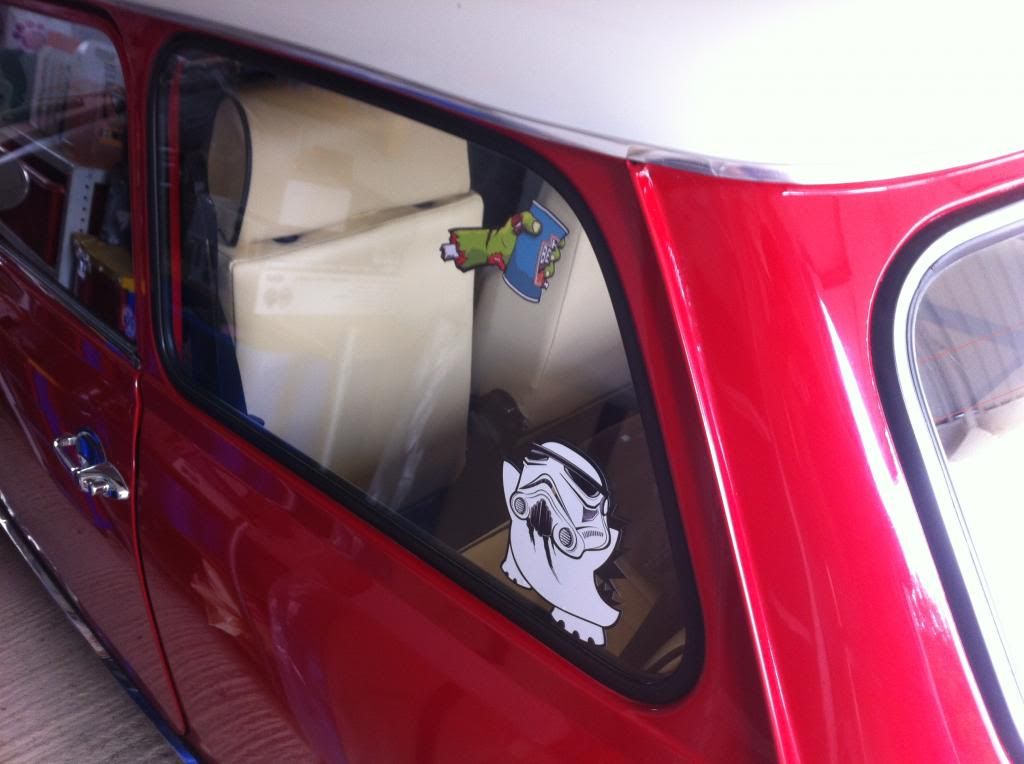
Right so I had a rare day off today so I decided to get on with something I have wanted to do for a while...my dashboard! Its a part of the interior I have been wanting to update for while:
I started by taking the dash out and taking off as much as I could. As you can see from the pictures the person who fitted this dash decided to do it in the most difficult way possible, cutting a sticking everything.
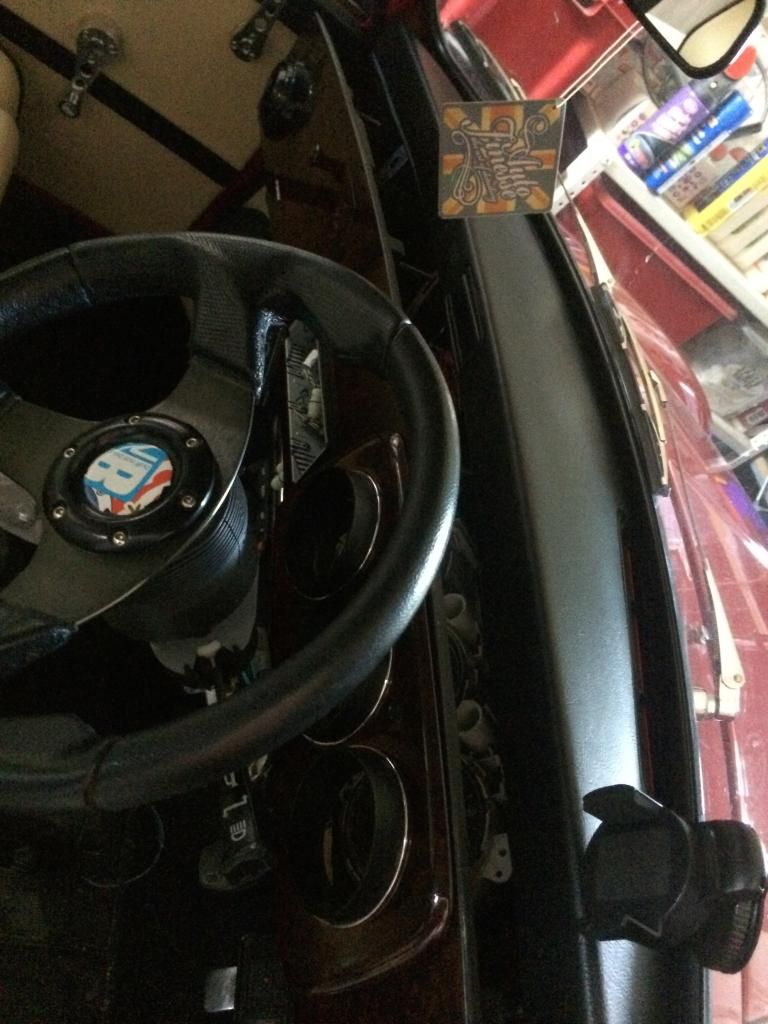
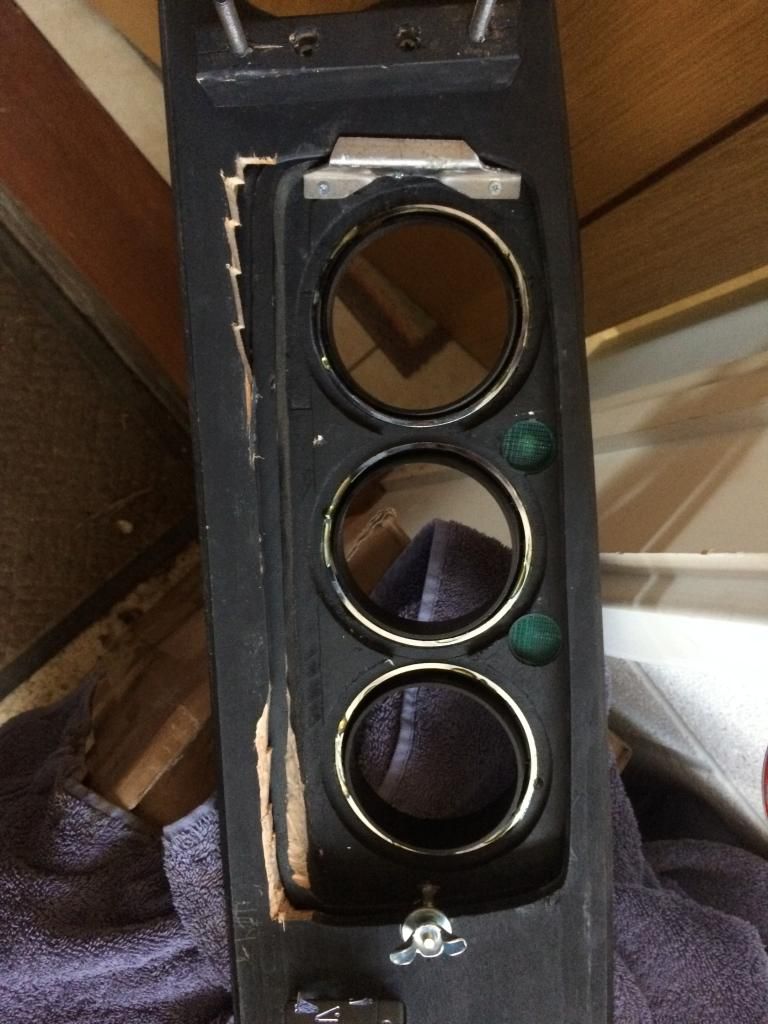
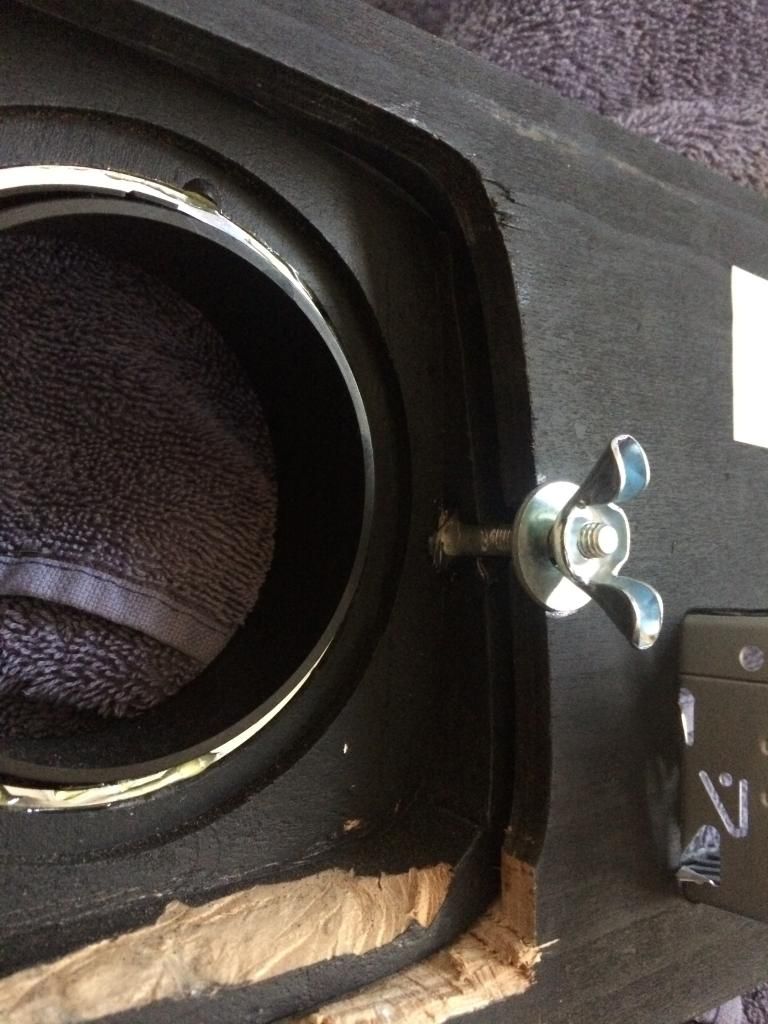
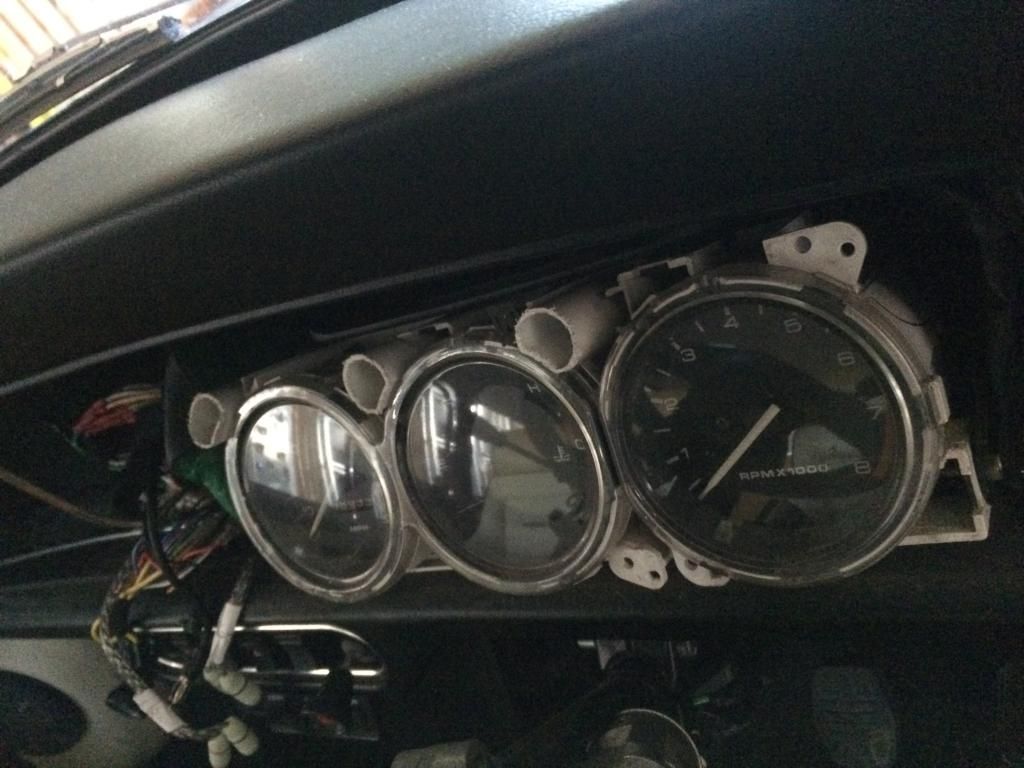
Once it was all pulled apart (well as much as I could) I made templates on some 3mm foam, I did the same for everything on the dash:
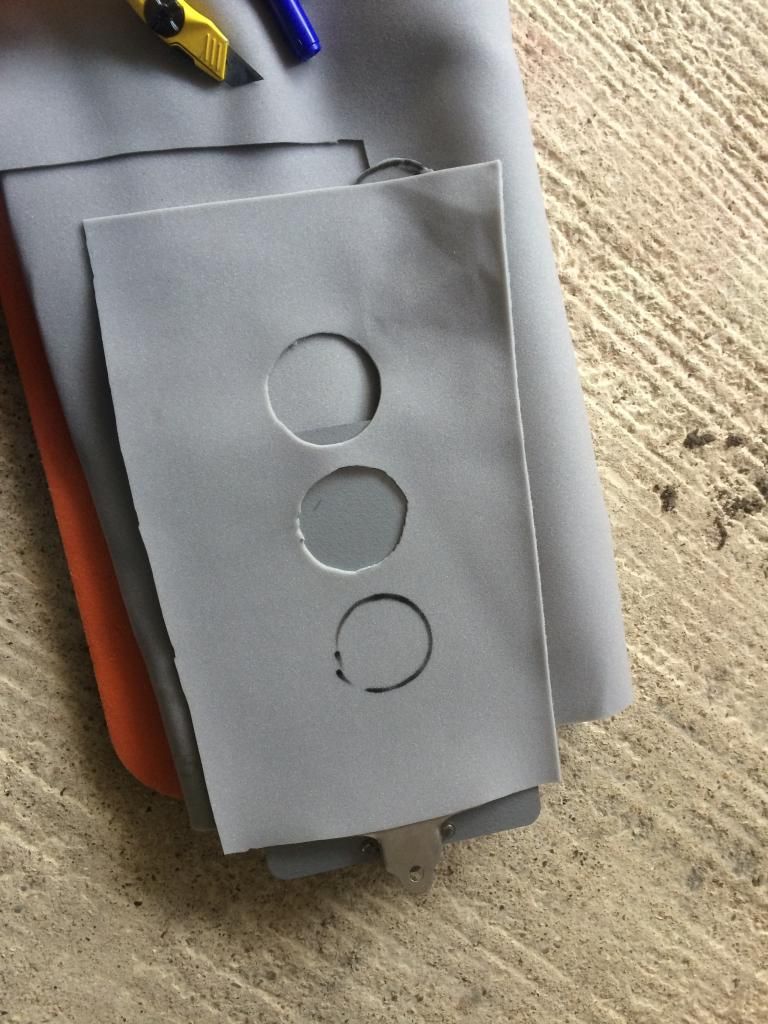
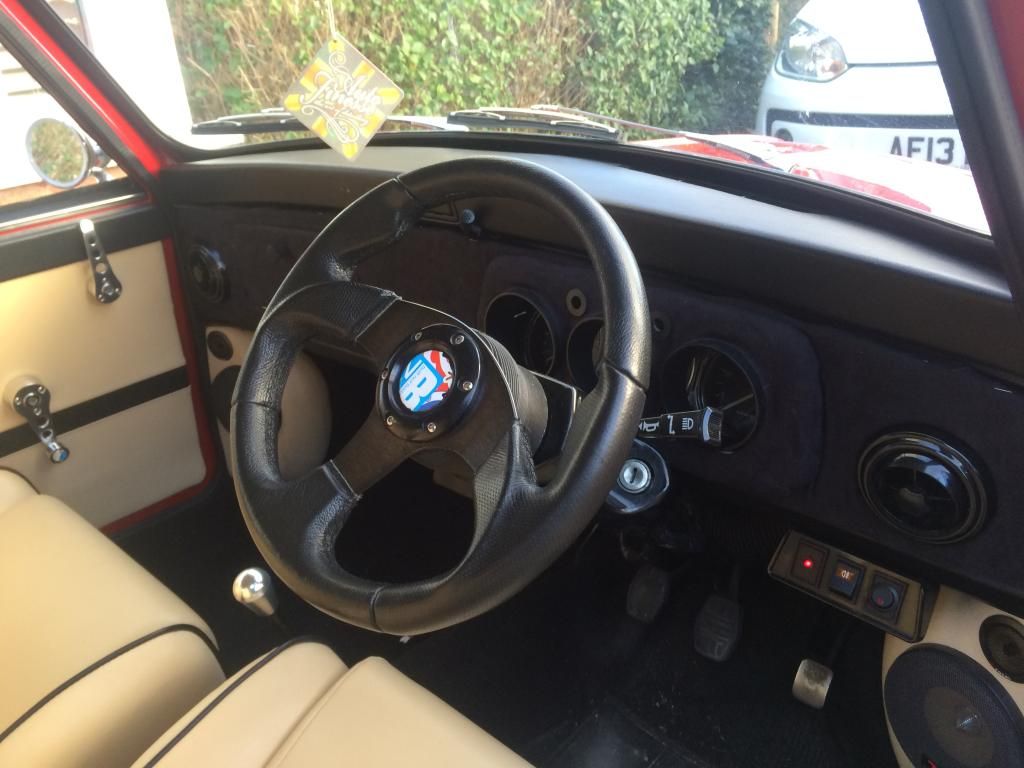
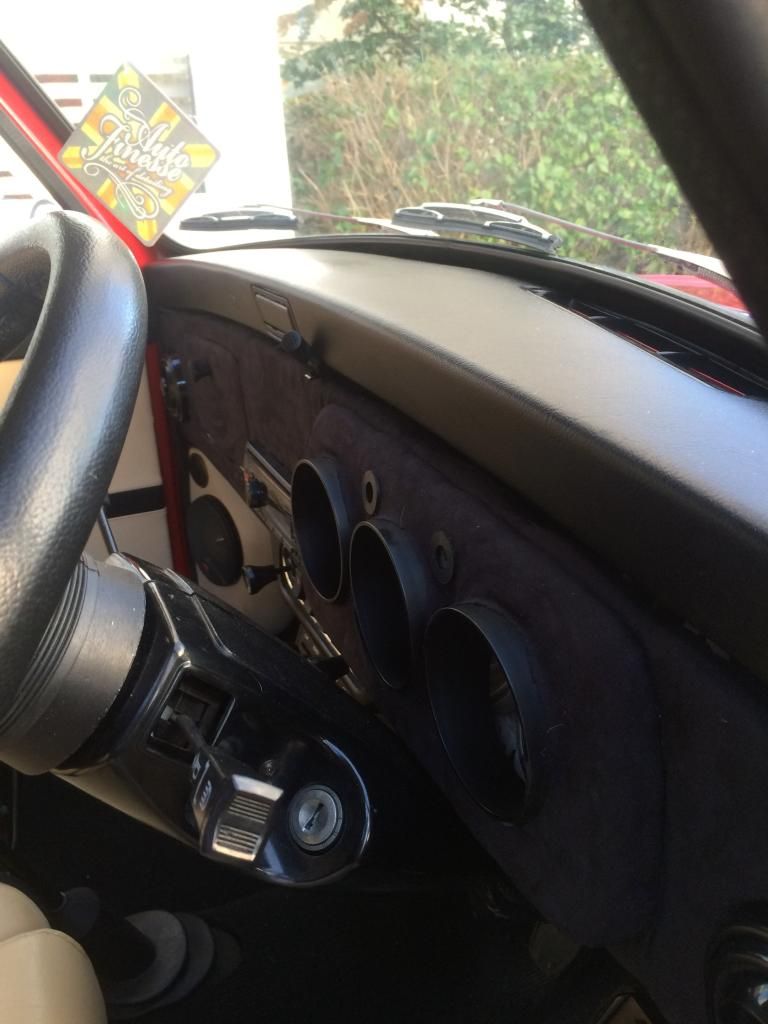
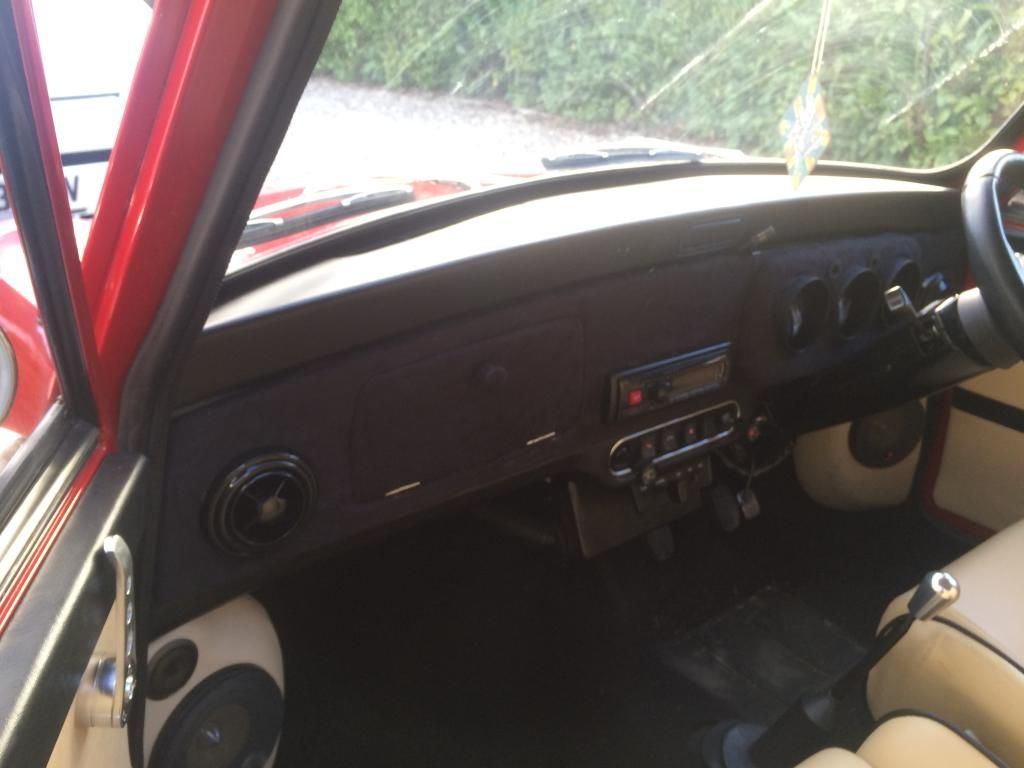
Once I had done this I did the same with the suede material, sticking it with spray adhesive then stapling it onto the back of the parts. If you look on the clock section the two rings around the indicators are actually rubber washers which I stuck on to clean it up and make it look a bit neater as it was hard to cut the fabric there.
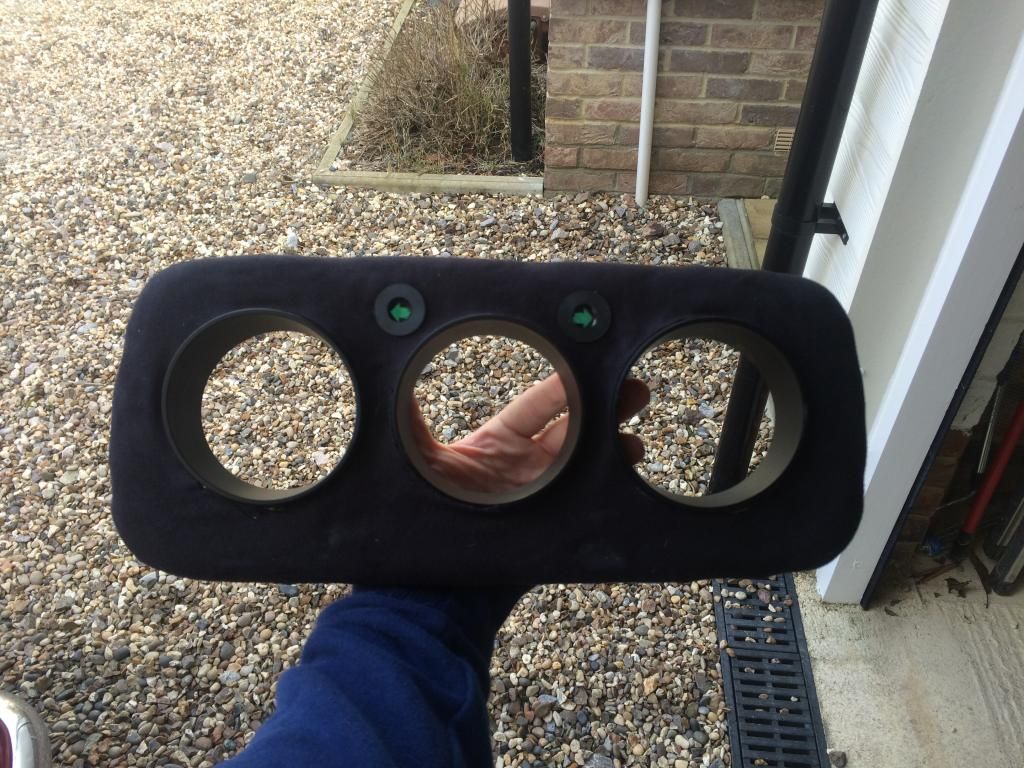
I did the same for the whole of the dash and I am very happy with the results. I have never done anything like this before so I'm proud with the results for my first ever attempt at a DIY interior. This weekend I will be changing the top and bottom dash rails to cream leather to tie the whole interior in and finish it off
And one last note! Don't worry about more stance, camber parts should be on their way in the next few days and tubbing will be happening in the near future so watch this space for more stance and more lows 
Edited by doormatt, 04 March 2015 - 11:59 PM.


