This is looking pretty cool. love the look of the car. That players classic looked pretty good might have to go next year..
So worth going to, the variety of cars there is insane

Posted 24 June 2016 - 02:54 PM
This is looking pretty cool. love the look of the car. That players classic looked pretty good might have to go next year..
Posted 25 June 2016 - 11:40 AM
Looks amazing, proper nice ![]()
Posted 12 August 2016 - 12:40 AM
Right now ladies and gentlemen, about time for a big update and to reveal what I have been working on for over a year.
Before I start I have to stress how many problems I have had trying to get this kit together. Had a lot of problems with the company that supplied the kit which I'm not going to go into but long story short, the kit didn't work and I've had to build my own kit using a box of parts.
Also I should say that I have never looked at how an air ride kit is built, nor have I ever done any wiring before in my life. Therefore this has been a completely new experience for me and I've had to learn wiring and air ride in the space of 2 days! As you can probably tell by now from my forum thread I'm not a mechanically minded person and I've never been taught anything so this was a bloody tough task and its not a clean install by any means but it will be redone at some point now I have some experience, so please don't judge some of the wiring and let me know if there are some glaring problems.
And now for what I've been building up to, yes I am putting my mini on bags (air ride). Finally I can start to live up to the name of this topic!
To start off I mocked up where I wanted the tank and compressor. The tank sat at the front of the boot to give space for the air line coming up from the compressor and to show off my amp still. The compressor sits in the spare wheel well and helps to prop up the boot floor;
I was never given any instructions with my kit so I had to 'improvise' and used these which were for a dual compressor setup on a chevy s10 pickup...only slightly different to a single compressor system on a mini;
I lined up all the solenoids in order for front and rear so I knew what I was wiring up and then I cracked on;
My next step was to put the compressor in place and fixed down so I could start fixing in all the other components and start to wire it all up;
Once this was done I threaded an airline through to the front dashboard where I was going to put the solenoids for the front. I tried as best as I could to hide the airline under the carpet and rear seat as I don't really want bright red lines as an eyesore throughout the interior;
I then setup the solenoids in the dash where they are going to live until I can afford a digital management system;
My next job was to install a fuse box for the relay (for the tank and compressor) and for the live wires running power to the switches for the solenoids;
Once this was place and the relay setup I was able to run wires from the front solenoids to the switch box;
I ran the wires through the bottom of the dash and under the carpets again to hide them;
Here you can see my glamorous assistant soldering some wires together from a butchered land rover dash loom as I seriously underestimated how much wire I would need for this;
Once the front was in place I was able to get the rear solenoids set up, there are 2 per bag (1 for air in and 1 for air out, basic really), as you can see they fit snugly next to the compressor in the boot;
Once I had these setup and wired through, in the same hole the airline runs through the boot was starting to look something like this (yes I could kinda understand what i was looking at). As I said it wasn't pretty but it was working so far. I had the compressor all wired up to the relay, the live wires running to the switches, the wires running from the solenoids to the switches, and the air lines for the 2 air ports in the tank. Lots of wiring in a very small space!;
Next, my clever idea for the switch box, here you can see a boring and crusty old ash tray and a hole in the floor which was a nice rectangular shape ( I'm sure you can see where this is going). As I had 2 solenoids at the front and 2 at the back I needed somewhere in the middle to wire them both to. Therefore the ash tray worked perfectly. Chris made some templates and then bent up a box to fit over the top. He then marked up and drilled out the holes for the switches. While he did some more soldering I did my fair share of filing to get the holes to the right shape for the switches. Once it was all looking good I gave it a good coat of black paint so it would hide away and match the black carpet. I wired up all the switches, tucking the wires under the carpet to hide them as best as I could. I wasn't too happy with how this went so this will definitely be redone when I have the time! Wiring these up was a pain in the backside and seemed to take forever. As you could expect from someone who has never wired before I had a few problems and ended up rewiring one of the solenoids but 1 out of 8 is pretty good going in my books;
This was all done and I put the interior back in and did my best to make sure everything was hidden. Didn't turn out perfect but it will do for now until I can redo the whole system;
Holes were cut in the floor of my boot build for all of the various wires running to the tank and the tank was put back in place. Many people run copper hardline in their boot builds but I was only given plastic lines. I was actually lucky with that because the lines were red (matching the car) and the were nice and flexible (unlike copper hardline) making my first time setting up and air ride system slightly easier;
Everything was set up but I had one big problem. After wiring up the relay to the ignition (as suggested) the compressor wouldn't stay on. I tried wiring it to other wires on the ignition and ended up stopping my mini from starting at all. However I managed to fix that and wired the relay to my switch for my LEDs. This means I can turn on my compressor whenever I want, however I will need to get a new switch for the LEDs at some point. This picture is when the LEDs were working and the compressor wasn't;
I was happy with how the boot build turned out and with how the whole system turned out for not only my first attempt at air ride but my first attempt at wiring. After some fault finding and testing the system seemed to work and air would blow out of each T join which will run to each bag. I plugged in a rear bag and tried the system. The bag inflated and deflated so I see it as a success!
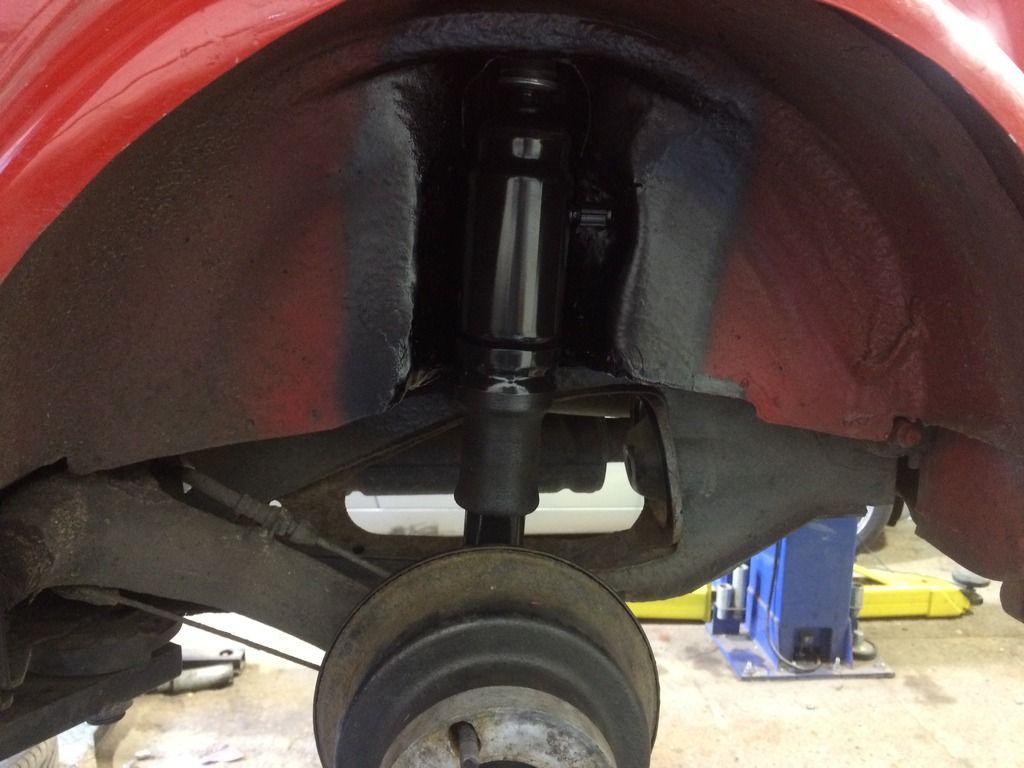
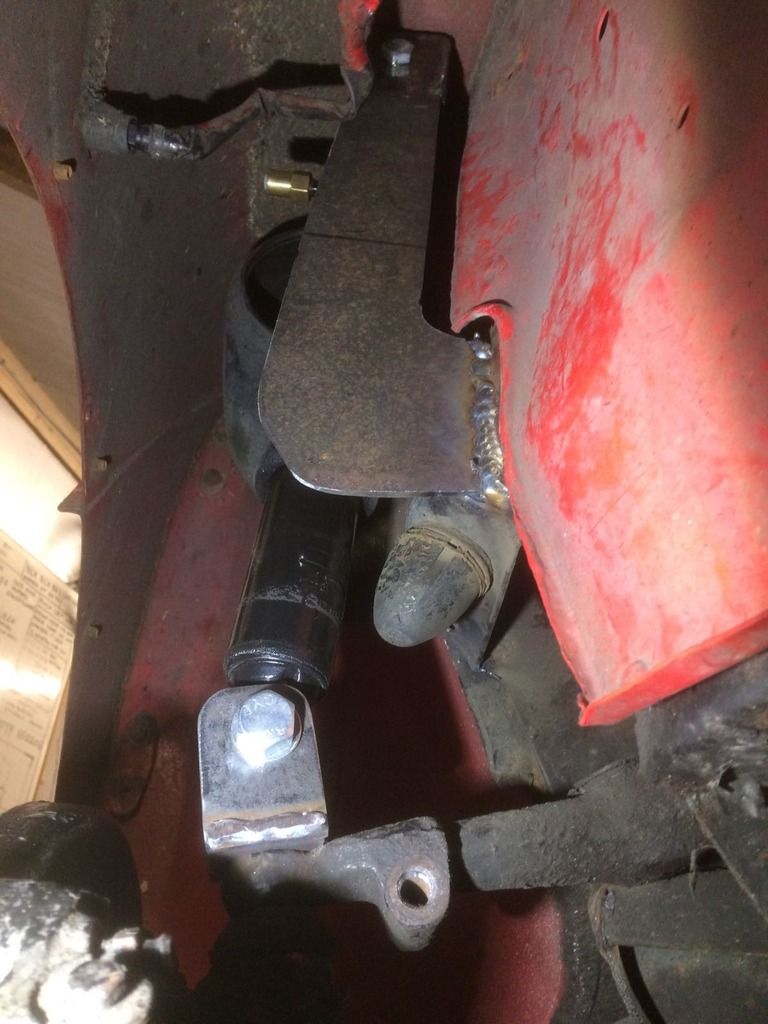
The mini is now off getting the rear air shocks fitted and brackets made for the front shocks to be fitted. Although I would've liked have done this myself it was way, waaaay out of my comfort zone and my (limited) abilities.
Next update should hopefully be with all the bags fitted and wired up and testing out the system on the car!
Posted 12 August 2016 - 01:25 AM
Posted 12 August 2016 - 01:29 AM
But what if Chris is not blonde but ginger ?!?!WHY DOES MY HAIR LOOK SO DAMN GINGER IN THAT PIC!!??
On another note, this is going to be sexy as hell.
Edited by doormatt, 15 January 2017 - 11:16 AM.
Posted 12 August 2016 - 04:08 PM
Posted 15 January 2017 - 11:10 AM


Posted 15 January 2017 - 12:49 PM
I wish I could've raised mine up like that yesterday when trying to fit the back box.
It wasn't that high even on ramps
Posted 15 January 2017 - 01:40 PM
I wish I could've raised mine up like that yesterday when trying to fit the back box.
It wasn't that high even on ramps
Posted 15 January 2017 - 05:05 PM
Posted 15 January 2017 - 09:21 PM
Posted 15 January 2017 - 10:02 PM
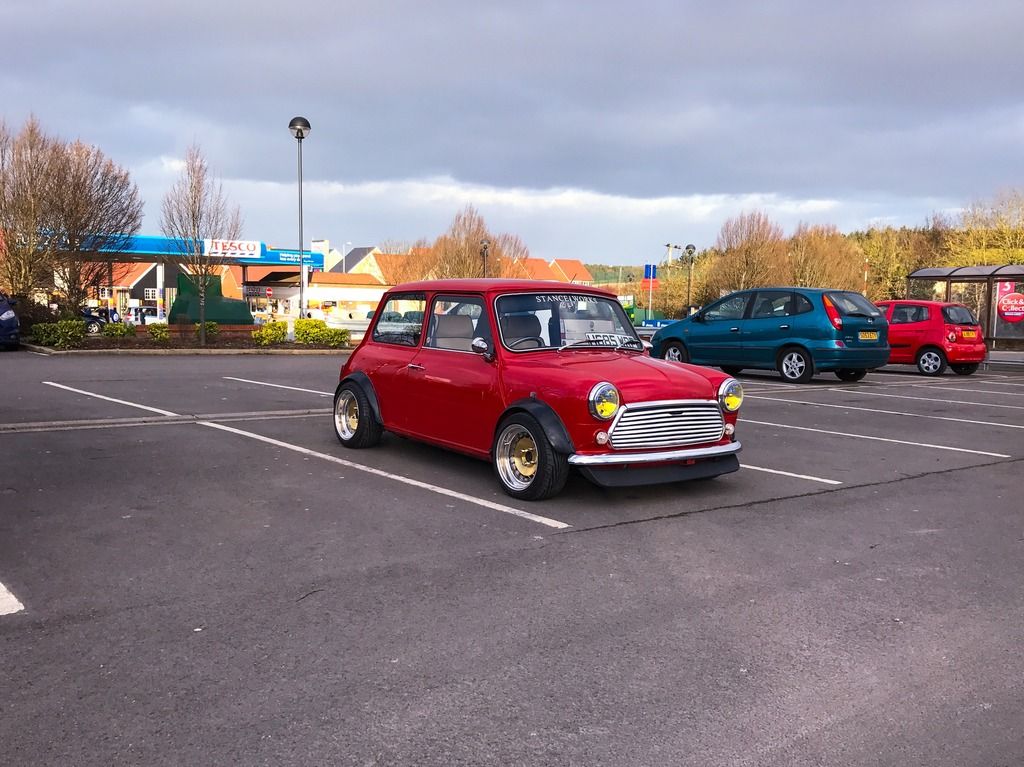
Your arches seem to have shrunk...
What happened with the Mexicos?
Posted 15 January 2017 - 10:36 PM
Your arches seem to have shrunk...
What happened with the Mexicos?
Gone for smaller arches to get better fitment, was over arching with the Mexicos so they had to go
Posted 16 January 2017 - 12:09 AM
0 members, 1 guests, 0 anonymous users