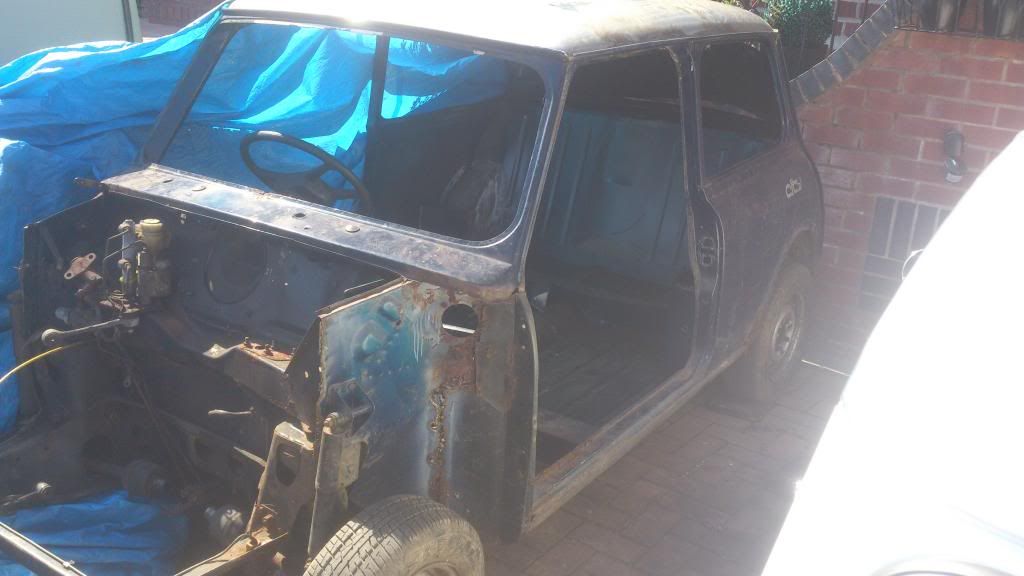
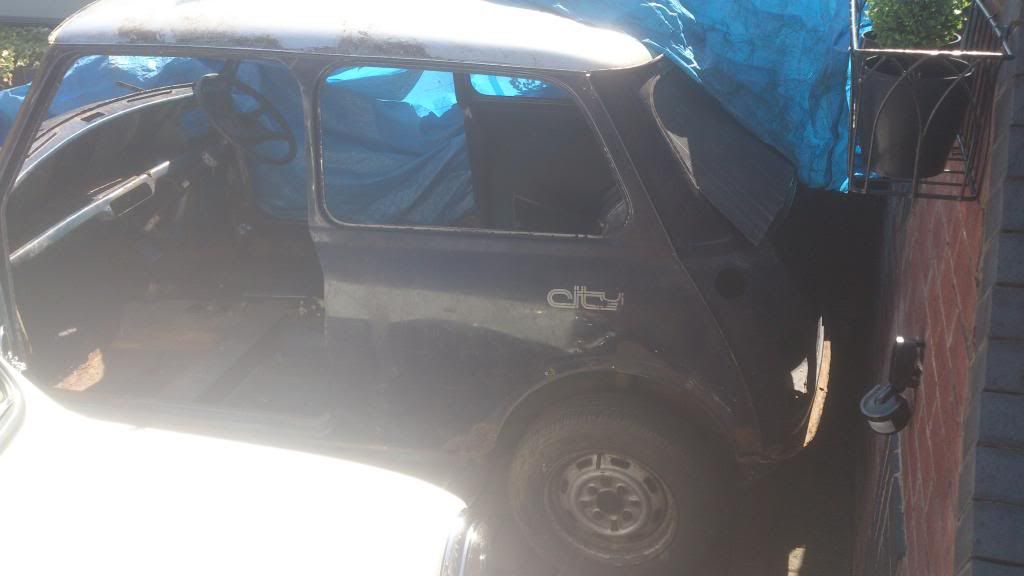
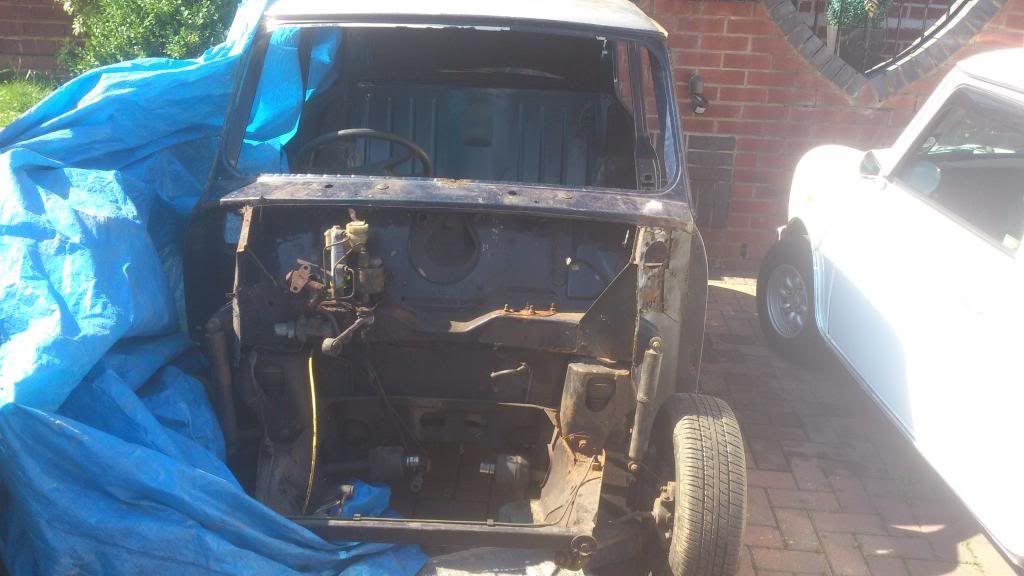
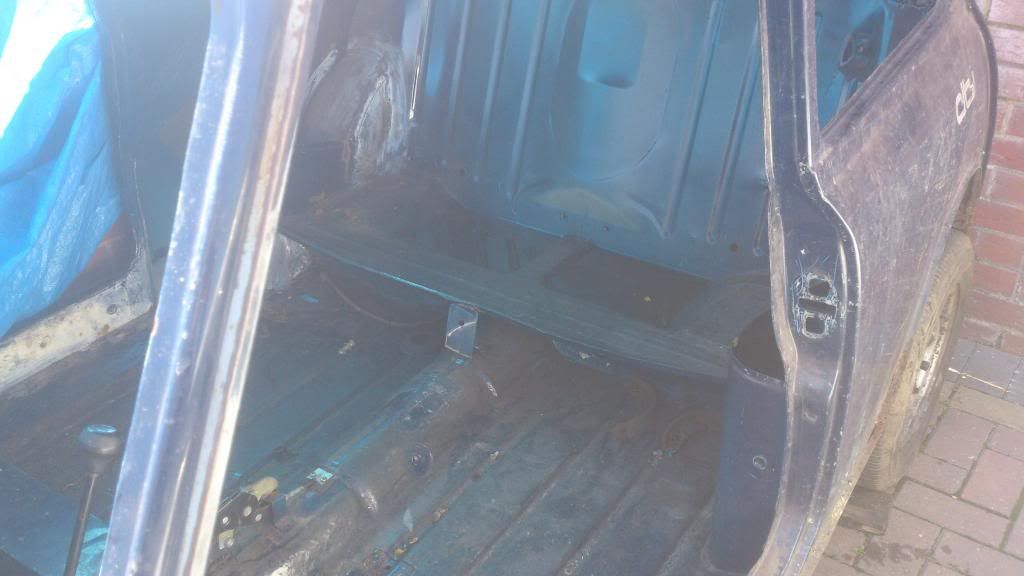
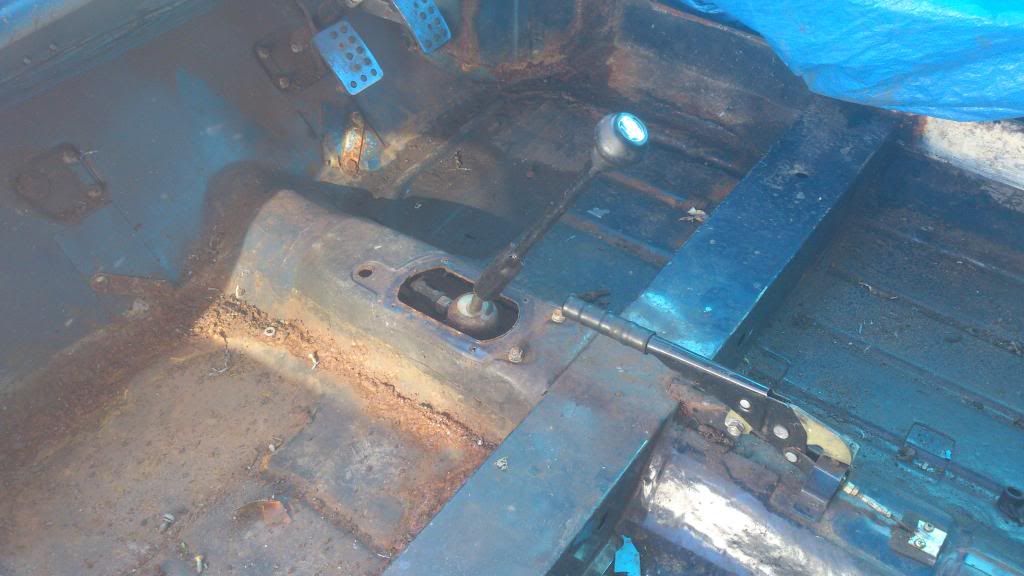
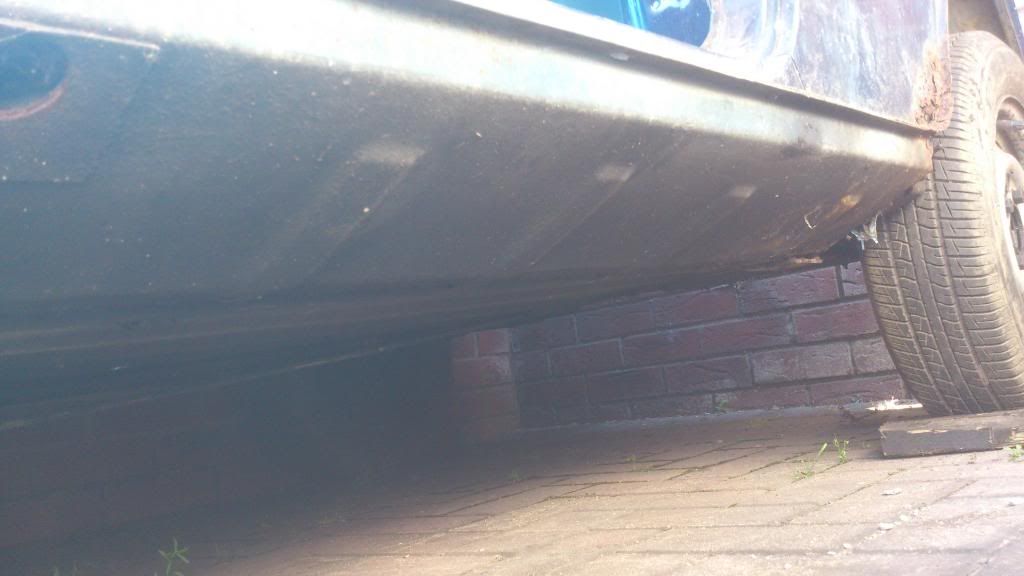
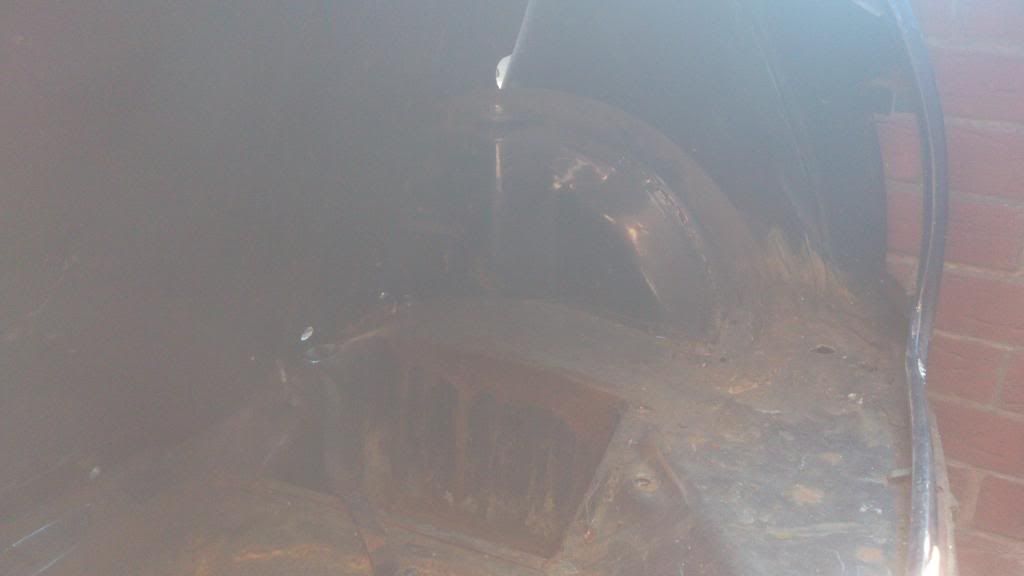
Also if you look at the above picks I posted the body along the tops of the doors/ rear windows below the roof gutter is a lot deeper on the mk1 and the doors on the mk3 are taller.
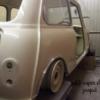
Austin Mini Mk1 Super Deluxe Restoration
#121

Posted 19 July 2013 - 10:02 PM
#122

Posted 19 July 2013 - 10:25 PM
There are quite a few differences from mk1 to mk3 tom, the main one's being the doors and A-B posts.
To convert a new body (i.e mk3) to mk1 spec you'll need to basically chop the lower Apost and all the B-post out and replace with mk1 spec panels, the A-post isnt an issue though as all the panels needed are available new, The B-post however is a panel you can't buy new and therefore isnt a MUST you keep the old ones to weld into the new shell so as the mk1 doors will fit.
The front and rear bulkheads are different yes, The front is of less complex shape with less things like fuse boxer on it and the bonnet hinges are mounted in a different location as to mk3> minis (Have a look at all the differences on the mk1 shell to your recent resto project and you'll see theres quite a few things haha)
A alteration which can be easily overseen is the roof inner structure frame (Again, go and have a look) ts a constant rounded shape as apposed to the straight frame in the mk3> minis which only runs as two ribs with a interior light in one.
There are a few more things but nothing you need to worry about as they can be altered at a later stage when the door apetures are completed
Cheers
Cliff
cheers cliff will get my head around this tomoz and come to a decision on what i am doing if you was going to repair this shell would you start at a new rear drivers quarter and then a new door post and a panel with then welding in the door step? where would you start?
#123

Posted 19 July 2013 - 10:27 PM
Also if you look at the above picks I posted the body along the tops of the doors/ rear windows below the roof gutter is a lot deeper on the mk1 and the doors on the mk3 are taller.
by the way your mini is nice and i can see the differences now. and thanks for your help i will have a good look art it tomoz and make a decision on what to do with it. i wish i had the welding skills as to most of you lot on here it looks easy ![]()
#124

Posted 19 July 2013 - 10:49 PM
cheers cliff will get my head around this tomoz and come to a decision on what i am doing if you was going to repair this shell would you start at a new rear drivers quarter and then a new door post and a panel with then welding in the door step? where would you start?
Yeah is getting a little late.
If i was going to repair this shell id start by buying a new floof complete with toeboard outer sill spotwelded on ect.. the whole shabang to be honest haha, although in reality this is like any other projest which is a project on a "budget", so best plan of action would be tto finsd a accident written off mini shell and cut out the floor with lenty of metal to trim at a later stage once you,ve worked out what needed and whats not (we can help with that).
That how i would start, then id move back to the mk1 shell and get to work with my measurment and bracing, you may or may not have access to a "push-pull tooling set" but if you can it'd help you a ton on getting the shape back in the shell, nothings impossible to do Tom remember that, if you ask you can do this with little issues, this is very similar to my project which im now selling haha, so im sort of speaking from experience haha
I'd be happy o help you with this tom but seeing as i live too far away it'l have to be from behind my keyboard lol
Cliff
#125

Posted 19 July 2013 - 10:55 PM
lol im up bolton area in 2 weeks and stoping the night i will have to pop around and anoy you some more lmao. cheers tom.
#126

Posted 19 July 2013 - 11:02 PM
lol im up bolton area in 2 weeks and stoping the night i will have to pop around and anoy you some more lmao. cheers tom.
Ahh yeah sorry forgot to say hat yes i am in the bolton area, not exactly bolton (thank god) but near enough ;)
I would offer my residents to save you a few bob on b&b's but to be honest id be up talking about minis or worse......working on the mini!! haha
#127

Posted 19 July 2013 - 11:07 PM
the chap who we doing the job for is paying for the b&b so all i need is beer money haha cheers anyway talk soon tom.
#128

Posted 30 July 2013 - 09:24 PM
http://www.theminifo...-great-project/
https://www.facebook...51611030408196/
I ain't looked too close but it might help
Tra
Edited by tractor, 30 July 2013 - 09:45 PM.
#129

Posted 31 July 2013 - 07:47 PM
cheers mate i did see it earlier but i would want to restore that one instead of using the shell so i clicked of it before i thought about it to much lol looks like a cracking project for the money tho. cheers anyway tom
#130

Posted 01 August 2013 - 03:20 PM
hi got some pictures of the donor shell i will be using the floor panel out of it everything else will not be needed my plan is to cut the shell of the floor panel leaving boot floor and rear seat and bulkhead on so basically its a rolling floor panel i will then restore the mk1 mini shell with new panels and etc ones thats done i will drop the mk1 shell on top of this floor then spot weld in place ones thats been done i will strip it to a bare shell get it dipped and then do any welding that needs doing even if its the size of penny it will be cut out and new put in. ones thats done a mk1 tunnel will be fitted with floor start switch and gear linkage cut out in the right place and mk1 sills fitted. thats the plan anyway hopefully i dont come to any big issues here is some pictures of the donor shell
#131

Posted 01 August 2013 - 03:26 PM
Bargin Tom ![]() ,
,
Looks like you need some new floor pans weldingin bud, also you might want to take the seat crossmember out so as you can clean it up of inevitable rust under there.
If im not mistaken they look to be oversills Tom, best bet is to ri them off as soon as and do whats needed then take out the 5.1/2" angle grinder ![]()
#132

Posted 01 August 2013 - 03:37 PM
cheers mate they are oversills correct. where it joins across to the floor panel it has not been welded or seam sealer there is just a massive gap there with a few tacks. im no expert on welding and i dont want to sound like i am stabing someones back but there has been a new floor panel fitted on the passenger side with a new door post and the welding on that has blowed massive holes and the weld is all over the shop. very messy indeed so thats going to have to be redone before any chopping goes on. cheers tom
#133

Posted 01 August 2013 - 03:43 PM
Just aswell then that you don't need the door post haha ![]() , so how good of a welder are you tom ? might want to get a little practice before digging in, will save you alot of grinding re-welding and more grinding until its decent enough
, so how good of a welder are you tom ? might want to get a little practice before digging in, will save you alot of grinding re-welding and more grinding until its decent enough
Right i'd better get off my rear and do something haha
Cya
Cliff
#134

Posted 01 August 2013 - 03:46 PM
im allright but you will soon see ile show you a few pieces as my welds look good but not strong? so i think my settings need doing but i havent got a clue whats what ile get some pictures tomoz and let me no what you think.
#135

Posted 01 August 2013 - 08:17 PM
just practiced some welding up the garage as i was bored in the house i got a couple of sheets of metal and practiced i tryed it with out grinding it and it just splattered everywhere i then grinded it back and i could ear the difference straight away proper crackling noise what is a good sign? here is some pictures anyway let me no what you think and what i could improve on. i did this with out a mask i do have one but it doesn't strap to your head and is old and i found it easier with two hands even tho the end does get hot ![]()
blowed a hole and a few other times
and the tip from when i brought it i think i need a new one? ![]()
2 user(s) are reading this topic
0 members, 2 guests, 0 anonymous users


