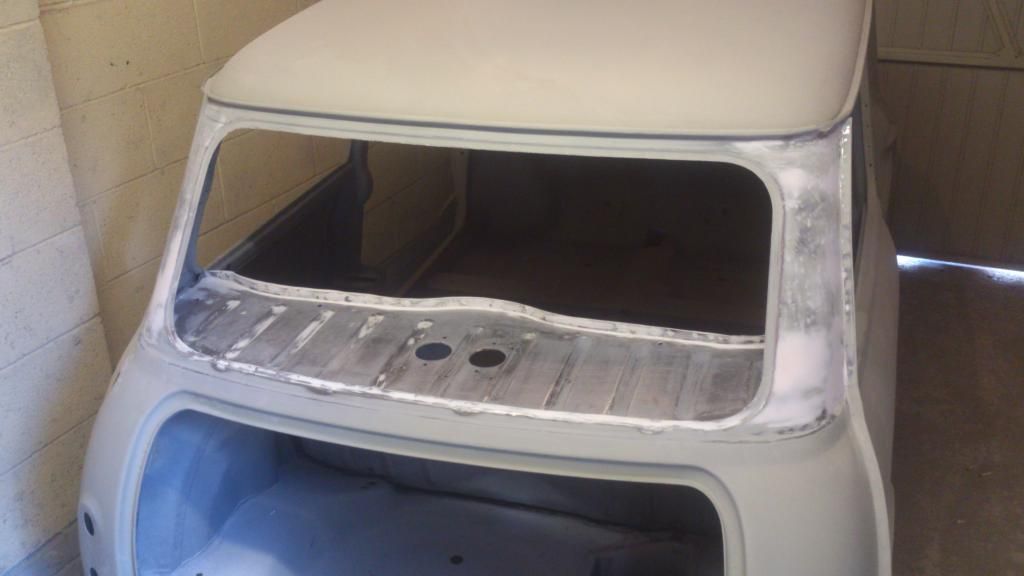
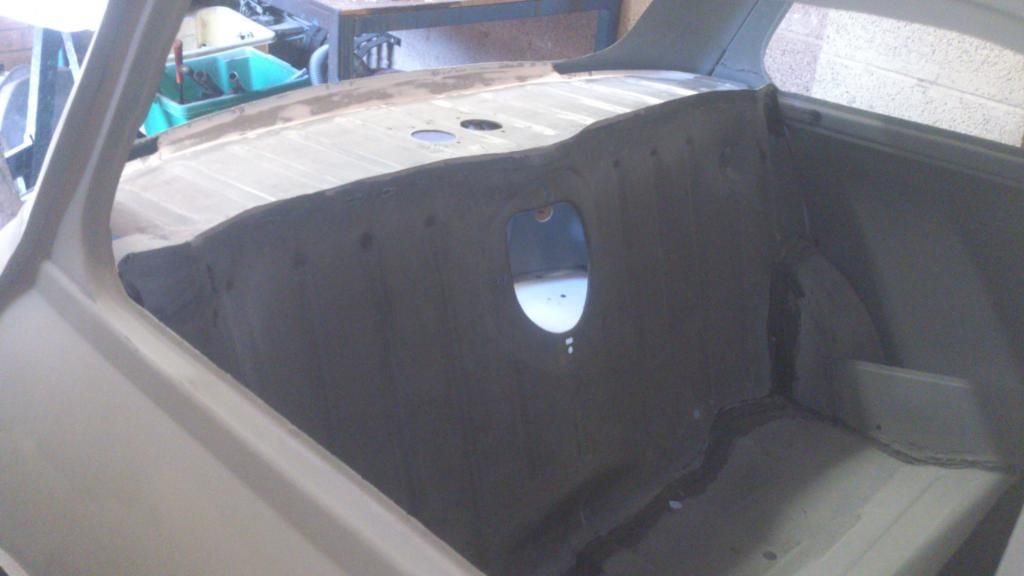
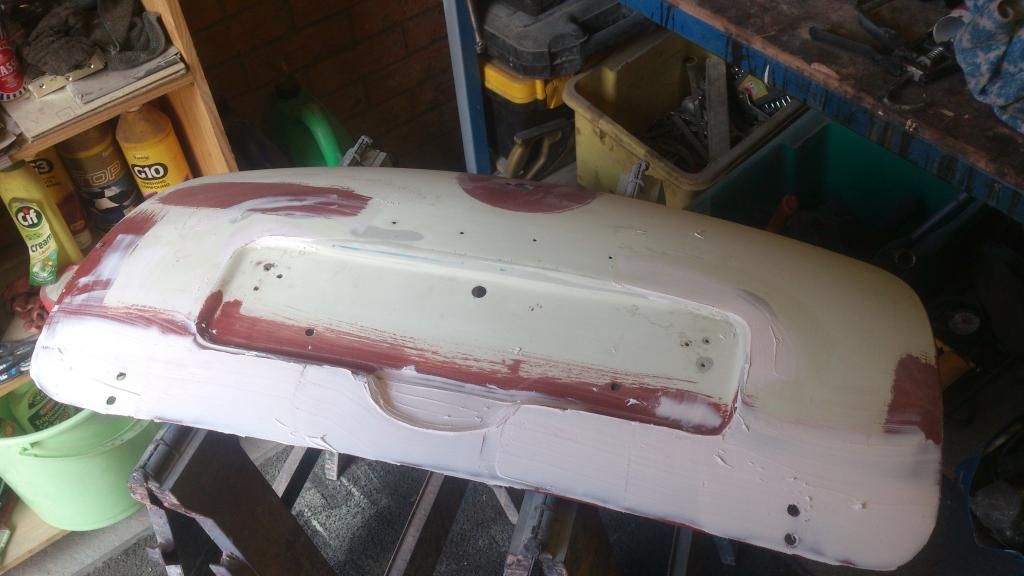
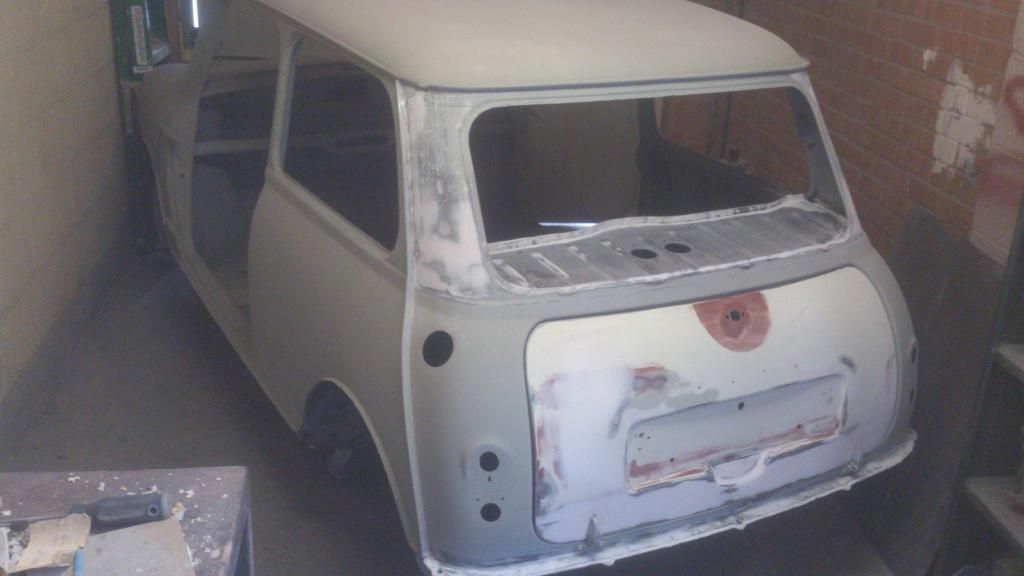
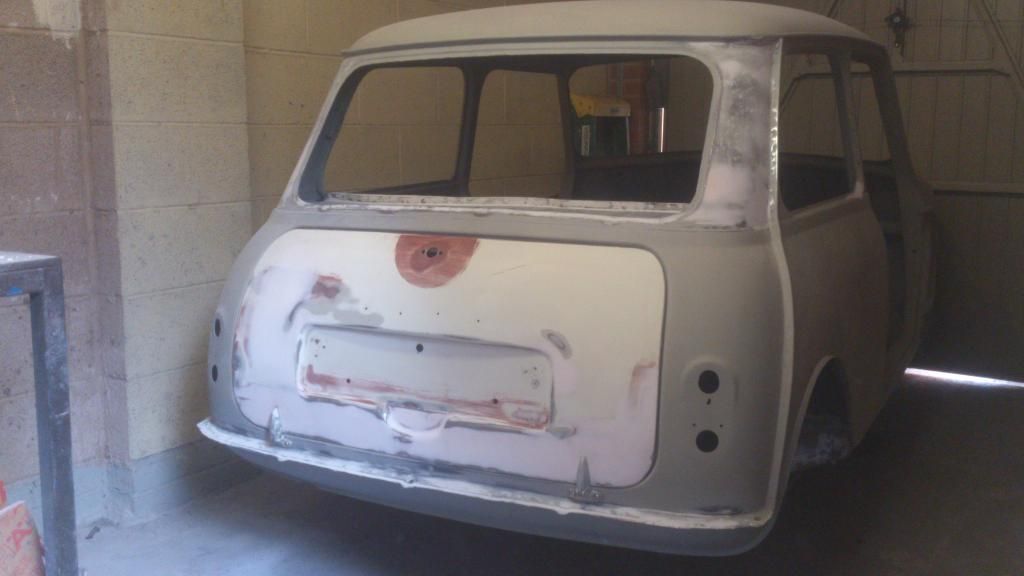
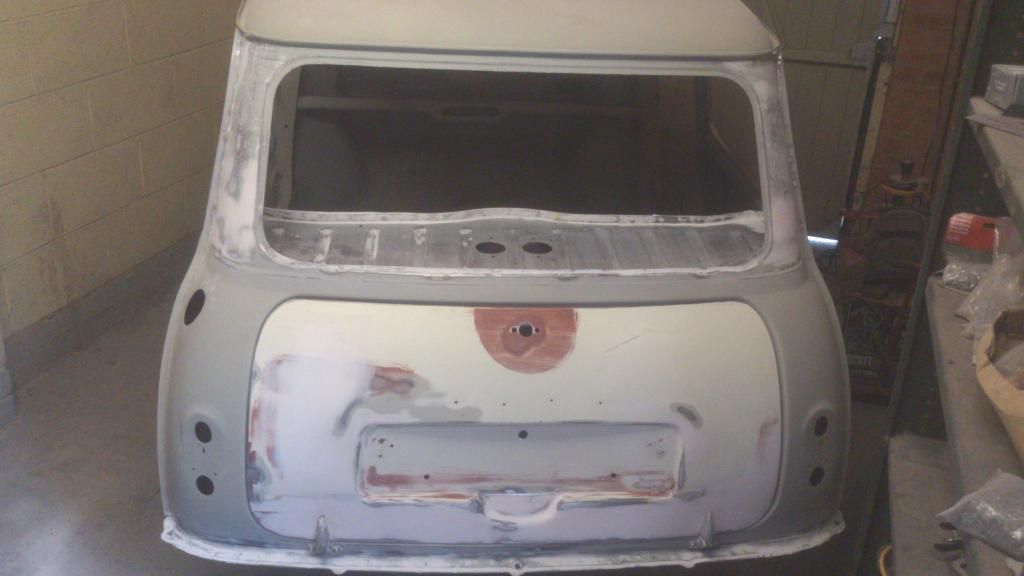
thanks daz and trac im going for it got to learn somewhere... the last photos of my mini was done with a compressor and spray gun i mixed it my self its etch primer i used. i am going to finish of the welding do my fillering and etc and i am going to get it all in etch primer. not sure if you no all this but do i have to key every coat thats dryed for the next coat to go over the top? what grade sand paper do you use to key it up? if anything can you tell me the best stage by stage what to do to get it ready for top coat? thanks tom
Austin Mini Mk1 Super Deluxe Restoration
#796

Posted 13 July 2014 - 09:25 AM
#797

Posted 13 July 2014 - 09:51 AM
All coats must be keyed before over coating if they are left longer than a few hours, a grey pad is all that's needed in most cases.
I would apply 1 or 2 coats of epoxy over the whole car,
Then mist a guide coat on and block sand to highlight problem areas using p320 paper dry on a large block I use abranet
Then fill and repair any areas required apply another coat of epoxy over the repaired areas and sand with use of a guide coat again.
Once you are happy entire car is done apply another guide coat and sand with p500 abranet dry using an interface pad on either da or hand sanding block.
You should then be ready to apply top coat of choice, epoxy is much better then cellulose high build as it doesn't sink and as it doesn't absorb moisture is ideal for home use and only requires a good filter mask.
Top coat is up to you, I have used cellulose before and this time wanted to use 2k direct gloss, it cost a bit to set up an airfed with correct filtration but I think it was worth it,
Edited by Daz1968, 13 July 2014 - 09:52 AM.
#798

Posted 13 July 2014 - 11:26 AM
thanks daz ile do just that. ![]()
#799

Posted 13 July 2014 - 01:42 PM
#800

Posted 14 July 2014 - 05:33 PM
hi just to let you all no my rear parcel shelf has just come back from my mate and i will be getting it welded in with the rear bulkhead this week almost done with the welding now can not wait lol cheers tom
#801

Posted 14 July 2014 - 05:34 PM
Another point is when filling pinholes and minor blemishes use upol gold as it a 2k glazing paste and is much better than cellulose stopper as once again it doesn't sink.
thanks daz ![]()
#802

Posted 14 July 2014 - 07:48 PM
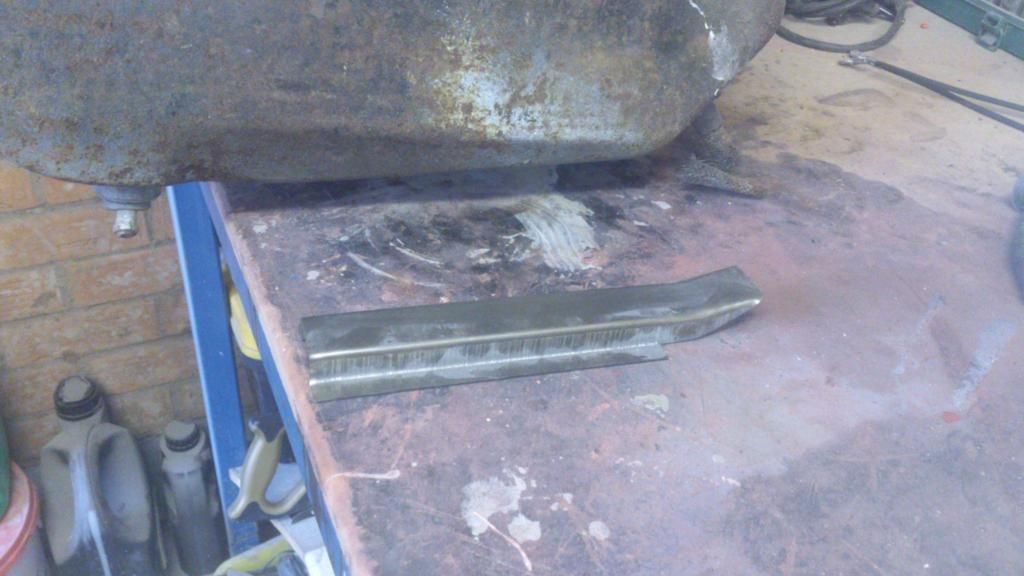
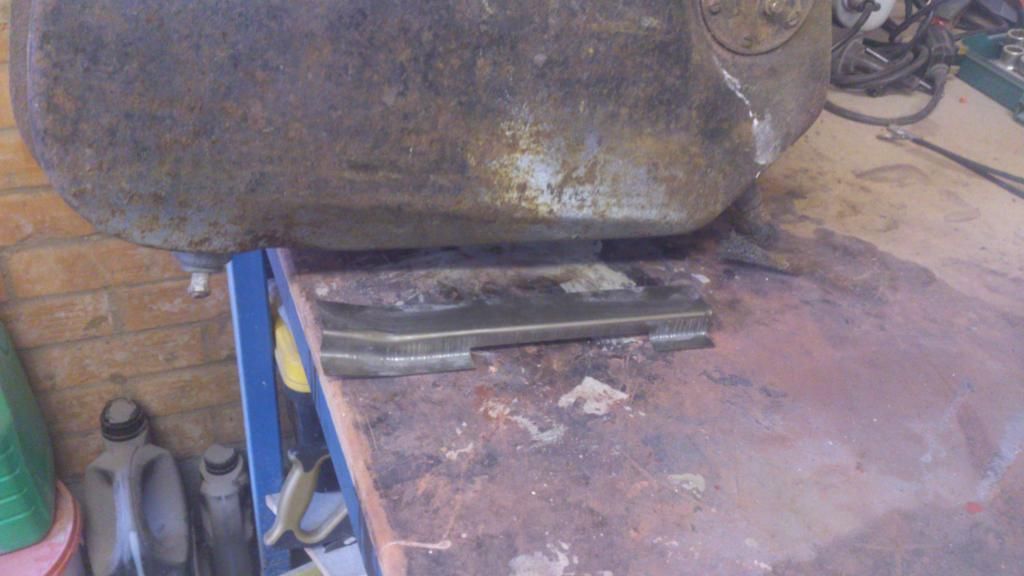
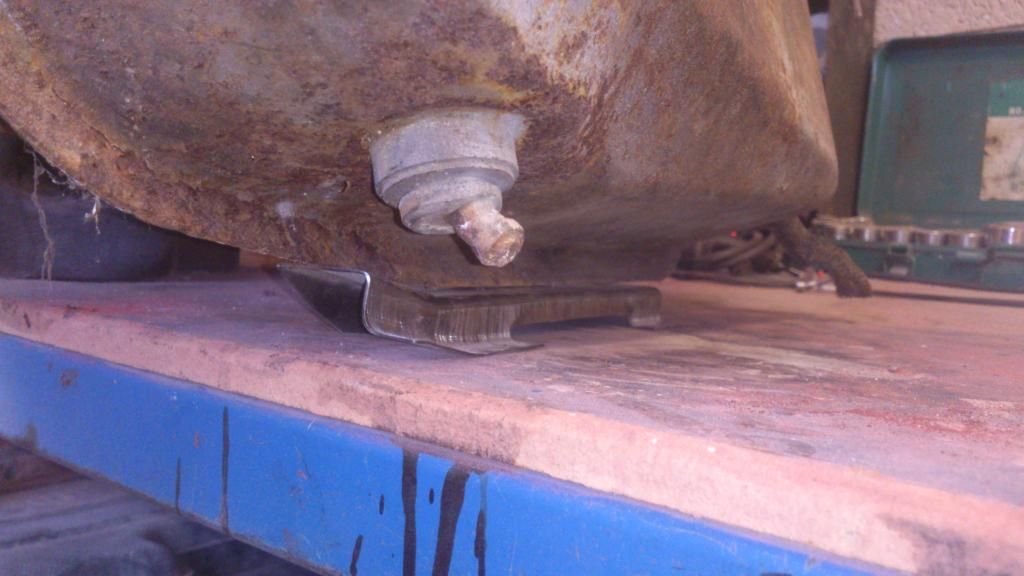
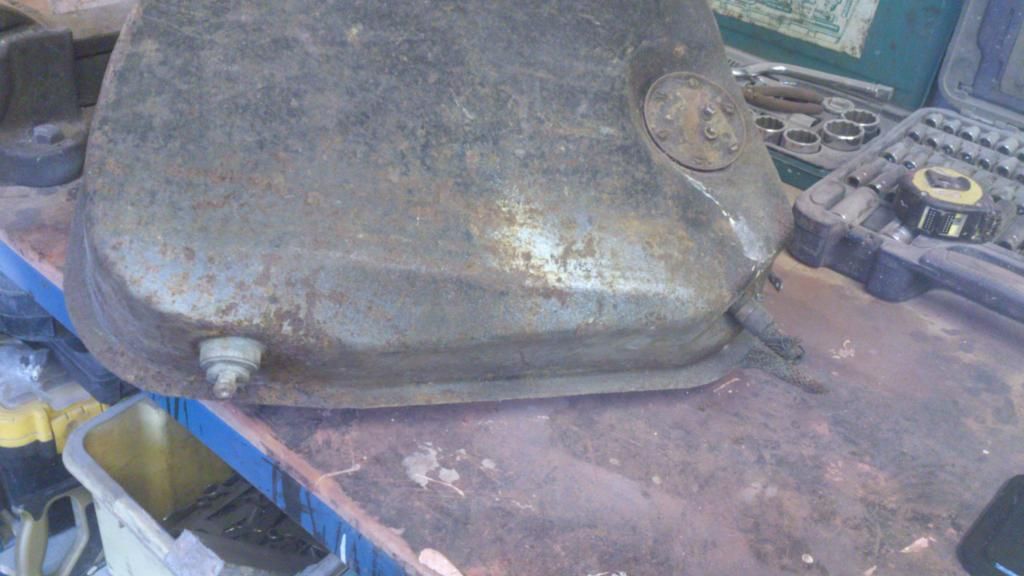
hi can anyone help me on how the tank stand fits and where it lies on the bottom of the tank? i have just had a go and there is a pipe sticking down and the pipe is sitting on the boot floor i suppose there is suppose to be a hole for this pipe to pop threw the floor? here is some pictures so you can tell me what way it goes around thank you tom
#803

Posted 14 July 2014 - 08:02 PM
Can be seen on this pic before I painted the inside of boot
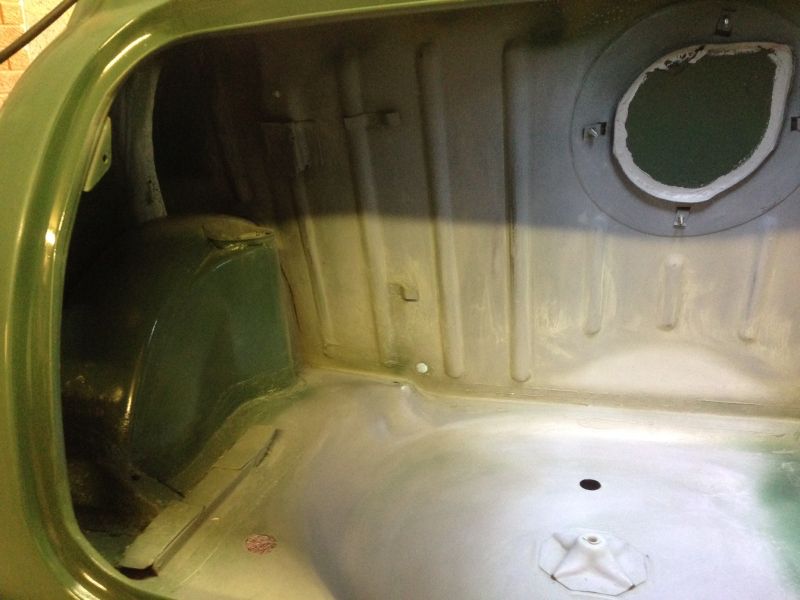
I also found a link to the epoxy high build I have used on my bonnet
http://www.refinishs...LEpoxyPrimerKit
It's more expensive than 2k high build but as you don't need an etch primer and also don't need an airfed mask it not to bad.
Not tried any other brands but this one applies thick and sands very easy dry. Just need to find a cheaper supply in larger tins.
#804

Posted 14 July 2014 - 08:09 PM
thats excellent mate so once i have the hole sut out it will sit alot better. i dont suppose you no what side the tank stand is on as there is a seamed lip around the tank does it sit behind the seam so you can not see the stand or does it sit in front so you can see the stand when its fitted in place? cheers mate
Edited by ToM 2012, 14 July 2014 - 08:10 PM.
#805

Posted 22 July 2014 - 08:28 PM
hi all just welded in the rear bulkhead and parcel shelf just need to clean the welds up and seam seal and etching prime to finish it off hoping to get this done tomorrow. i need to order some little panels from m machine but i am not sure if mk1 mini have rear arch stiffners that sit from the back of the bulkhead bottom corners to the rear arch? my mini has them and my other mini that i chopped up have them but these are later models can any one tell me if mk1 minis had them? i cant see them on dazes picture above. also does anyone have a picture of the metal mount that the fuel strap bolts two? so ino what one i am ordering or i could make it? thanks tom
#806

Posted 22 July 2014 - 09:06 PM
#807

Posted 22 July 2014 - 09:57 PM
wow you have come on along way since I last looked in......keep up the great work.........I wish I still had My mk1....... ![]()
#808

Posted 22 July 2014 - 11:40 PM
I've just read through all 54 pages tonight..... what an epic, epic build! Looking great!
#809

Posted 28 July 2014 - 05:49 PM
hi rear bulkhead and parcel shelf finished and bootlid has been repaired i have fillered the rear panel parcel shelf and bootlid tonight and will be making my way around to the front. hoping to get all the fillering out the way this week and then weekend i should have my last few panels from m machine to fit. hoping to get it upside down in the next 2 weeks to start painting the underside and sealing it up. i do need some new doors if anyone noes where to get some good second hand ones from i cant find any at all on ebay.. thanks for looking.
#810

Posted 28 July 2014 - 05:51 PM
thanks daz
thanks mk1 leg
thanks pnl629g
Edited by ToM 2012, 28 July 2014 - 05:51 PM.
1 user(s) are reading this topic
0 members, 1 guests, 0 anonymous users


