the thing thats doing my head in the most is my power keep knocking of have to keep going back in the house turn it back on do 5 spots then it goes of again lol ile remember this part of the build lol.
Austin Mini Mk1 Super Deluxe Restoration
#586

Posted 14 May 2014 - 09:17 PM
#587

Posted 14 May 2014 - 11:40 PM
The power keeps tripping out because your place isnt wired up for something as heavy duty as the spot welder Tom, not too sure on your wiring but we go from the cooker plug if i remember correctly because its alot more (voltage?) to cope with the extra load.
Looking sexxy, wish i had that floor!! ![]()
#588

Posted 15 May 2014 - 06:47 AM
ile give that a try pal. might do the trick hopefully get the other side spotted tonight and then get on the mig welder friday night. cheers tom
Edited by ToM 2012, 15 May 2014 - 06:47 AM.
#589

Posted 16 May 2014 - 08:46 PM
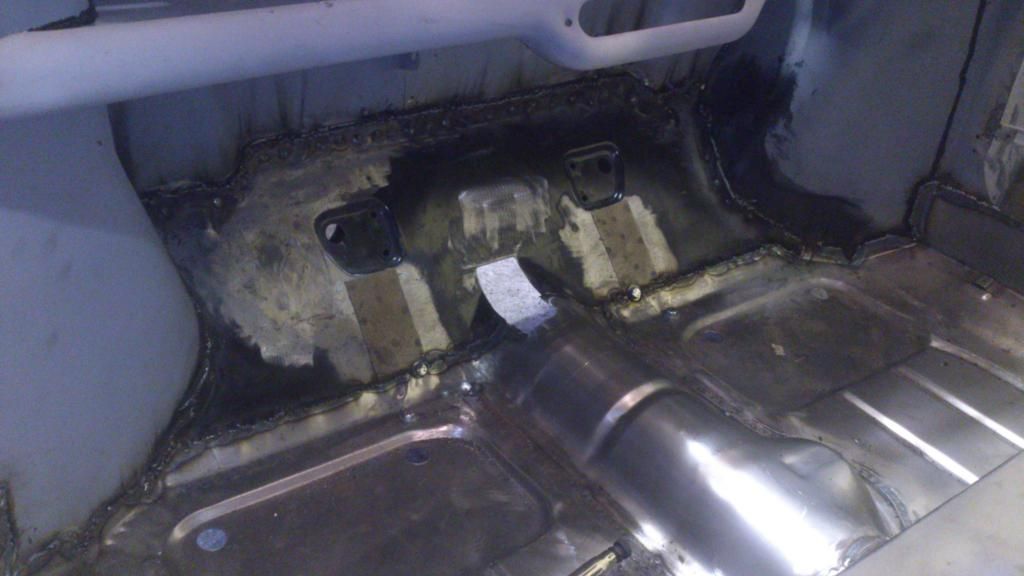
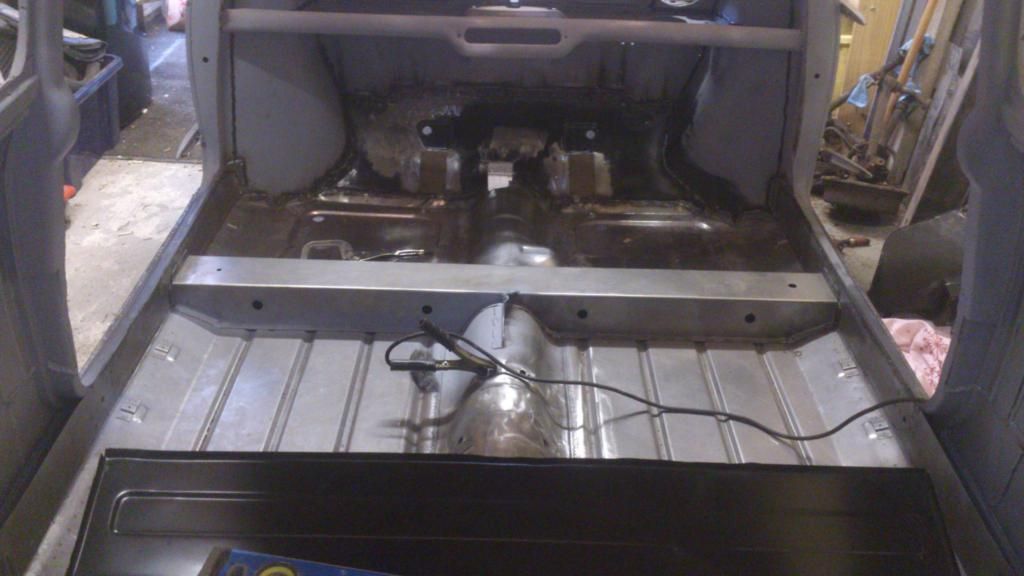
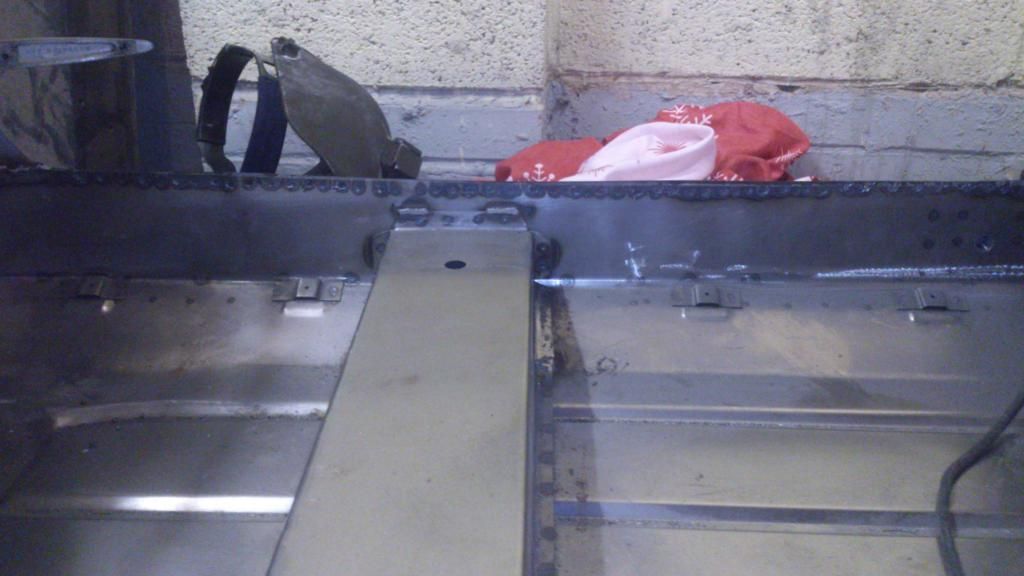
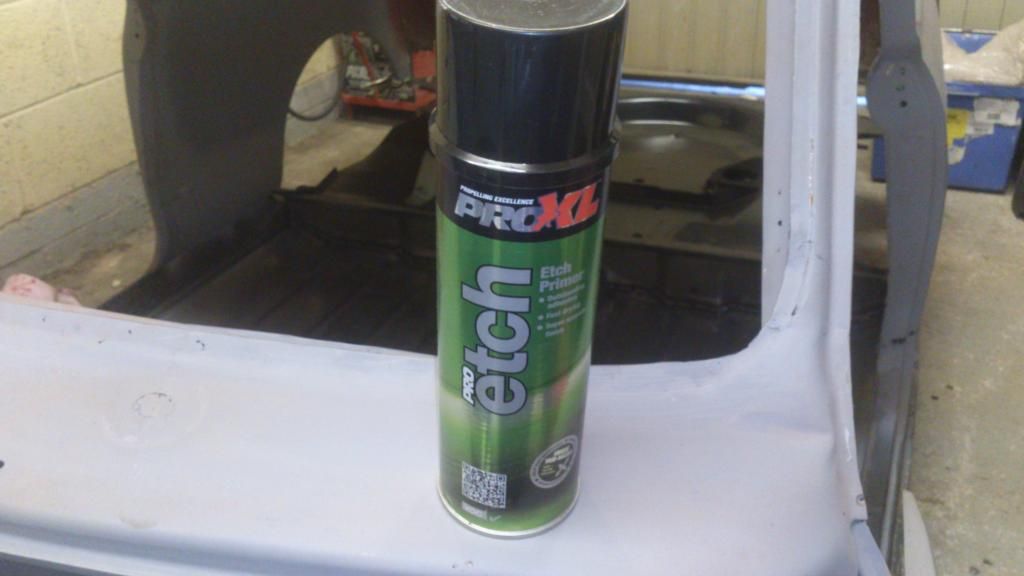
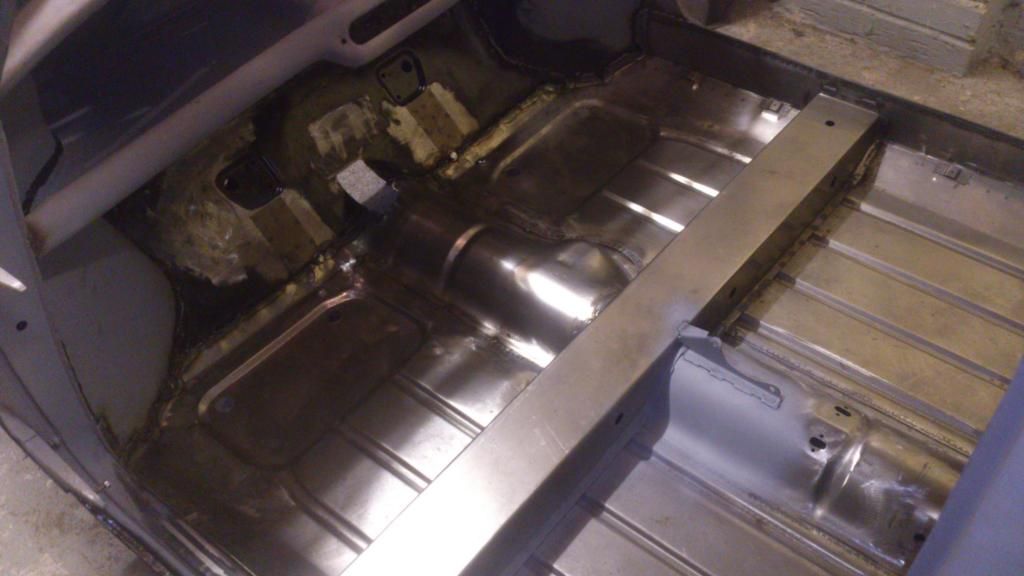
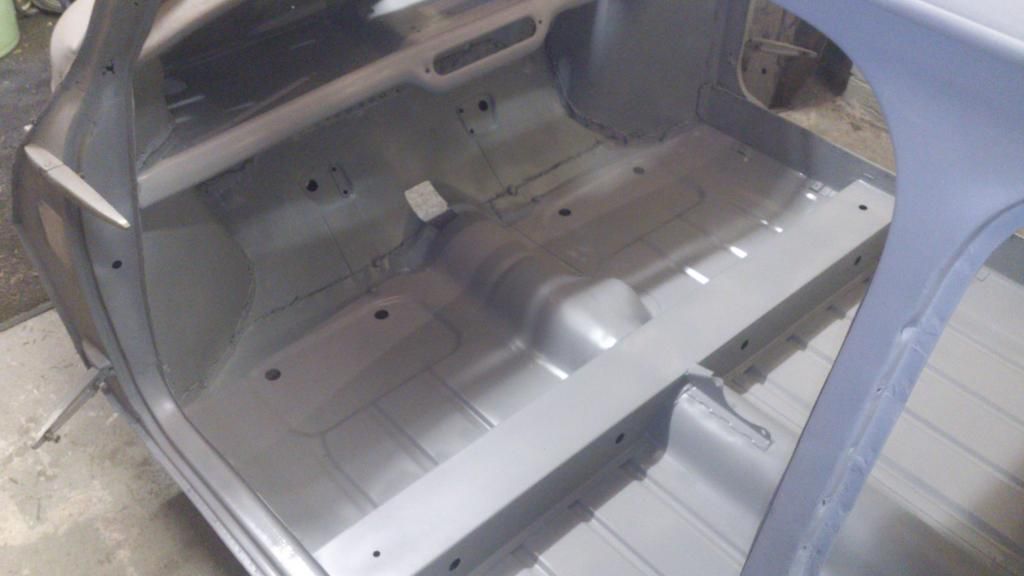
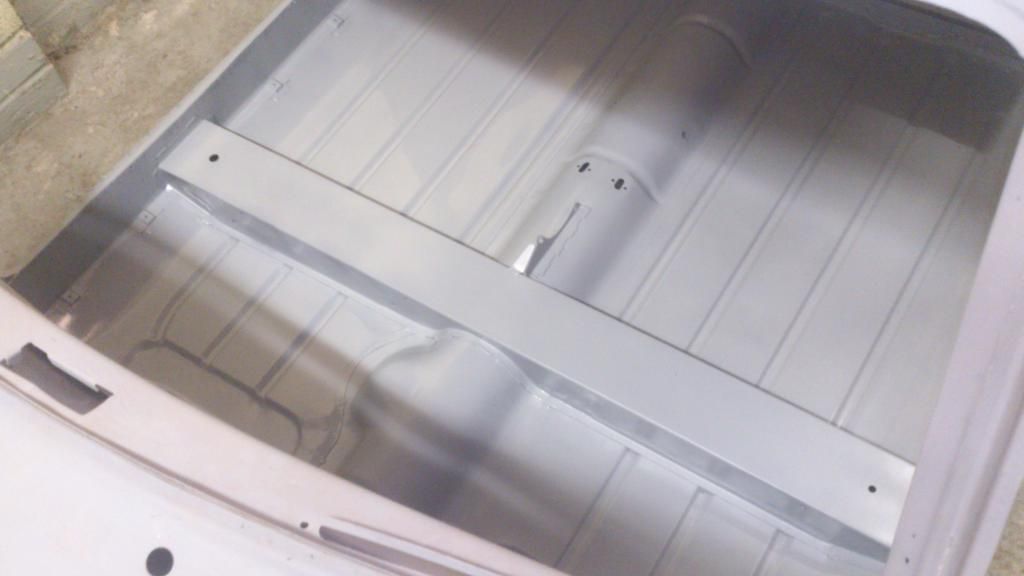
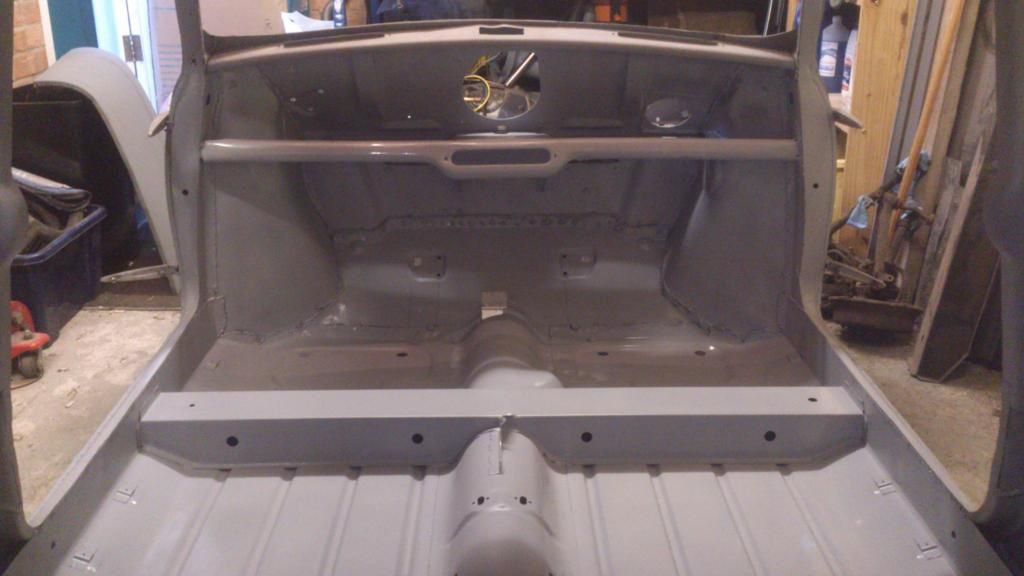
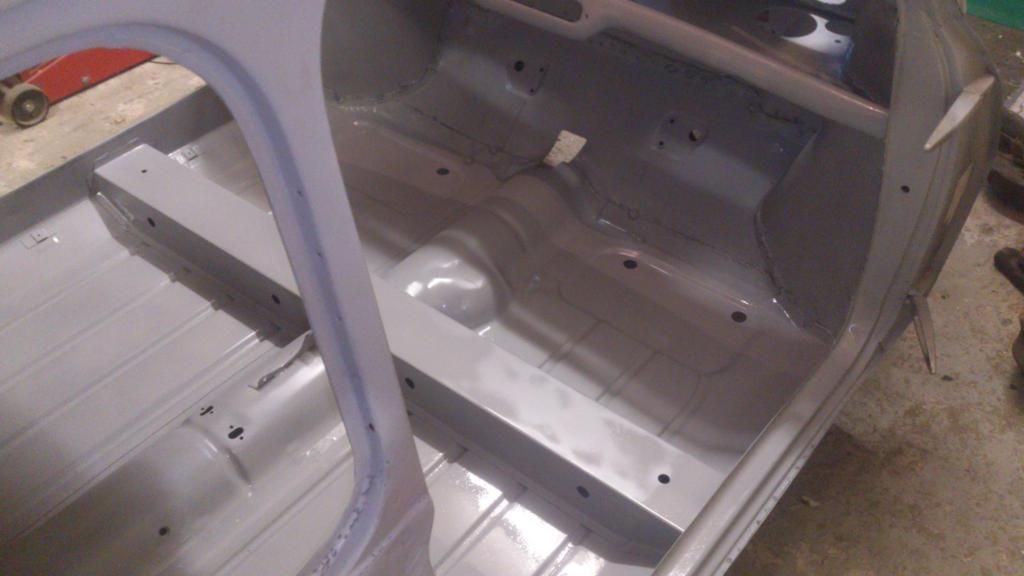
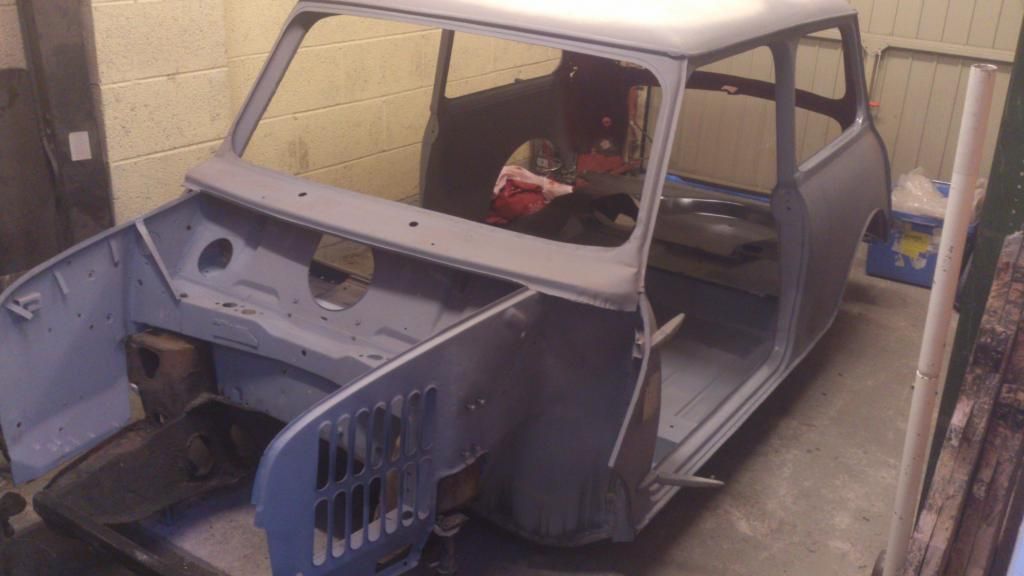
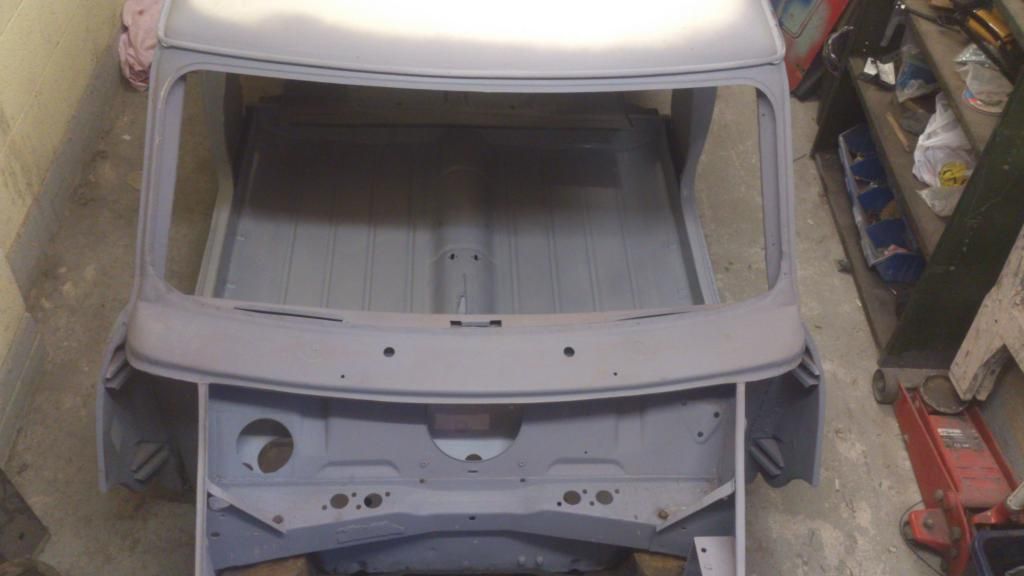
hi all well chuffed tonight with my progress started at half 4 welding the toe board in place and cleaned the floor and etch primered it all over pritty much all there now. the mk1 back panel and companion boxes are coming thursday so while i await for those panels i am going to fit my new top dash rail go around checking everywhere for any little patches seam seal all the joins and etch primer the joins. give it a good clean up before i start the back half. thanks for looking comments welcome ![]()
Edited by ToM 2012, 16 May 2014 - 08:48 PM.
#590

Posted 16 May 2014 - 08:50 PM
#591

Posted 16 May 2014 - 08:52 PM
Superb work TOm, makes a difference the panels being already in bare metal doesn't it ;)
Curious.....does M-machine spray inside the crossmember before wleding it all up ? if not you'd better get soemthing in there otherwise it'll rust away in no time!
#592

Posted 16 May 2014 - 08:57 PM
thanks rocket. cliff thanks as always yeh i did notice the cross member part i tryed squirting it threw the holes the same goes for inside the sill area i can get in there to. got to be some sort of way tho thanks tom
#593

Posted 16 May 2014 - 09:06 PM
thanks rocket. cliff thanks as always yeh i did notice the cross member part i tryed squirting it threw the holes the same goes for inside the sill area i can get in there to. got to be some sort of way tho thanks tom
Yeah you can squirt paint in through the various holes in the crossmember to get alot if not all coverage if you think it out and take good care and time to spray the whole inner surface.
Maybe some sort of multi directional nozzle to attach to a spray gun ? and after that a bloody ton and Dintorol stuff to protect fully.
Either that or drill the spot welds out and do it that way by removing it, although i don't think you would want to do that hah
#594

Posted 16 May 2014 - 09:08 PM
Fair play tom!
Looks excellent.
That floor looks familiar.........
Ben
#595

Posted 16 May 2014 - 09:09 PM
As for the welder Cooker socket is good advice as its probably got a 40 (amp not voltage) breaker rather than 32 or less for radial socket circuits, what rating is the one you are tripping? Also the more they trip the worse it gets on some as they are tripped by thermal current, long term it might be weak now too.
#596

Posted 16 May 2014 - 09:09 PM
lol no way mate that cross member is stopping in now haha ide rather design a flexable end to go on to a spray gun cheers tom
#597

Posted 16 May 2014 - 09:13 PM
thanks ben ![]()
cityepete thanks mate i tryed the cooker plug and it still trips i got the misses to stand by the fuse box in the end and kept shouting to turn it back on i dont no what the neighbors was thinking lol cheers tom
#598

Posted 16 May 2014 - 09:22 PM
#599

Posted 16 May 2014 - 09:30 PM
my mates a sparkey and he fitted some higher switch to stop it blowing so quick but it still didnt work after 5 spots it blows. he said only thing to do now is to put a higher amp switch and thicker wire to take the voltage into a plug in the garage i thought forget it ile just get the misses to stand there flicking it back on lol. cheers tom
#600

Posted 16 May 2014 - 09:34 PM
1 user(s) are reading this topic
0 members, 1 guests, 0 anonymous users


