Jump to content


Photo
- - - - -

Austin Mini Mk1 Super Deluxe Restoration


  • Please log in to reply
1604 replies to this topic

#331 rally515

rally515

    Up Into Fourth

  • Members
  • PipPipPipPipPipPipPipPipPip
  • 3,848 posts
  • Location: ask!

Posted 10 October 2013 - 08:18 PM

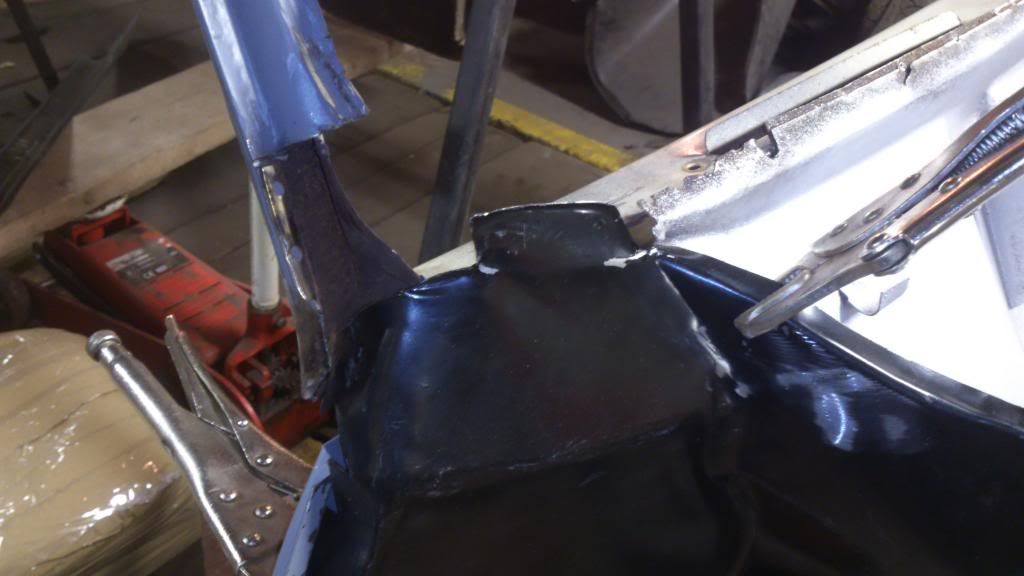
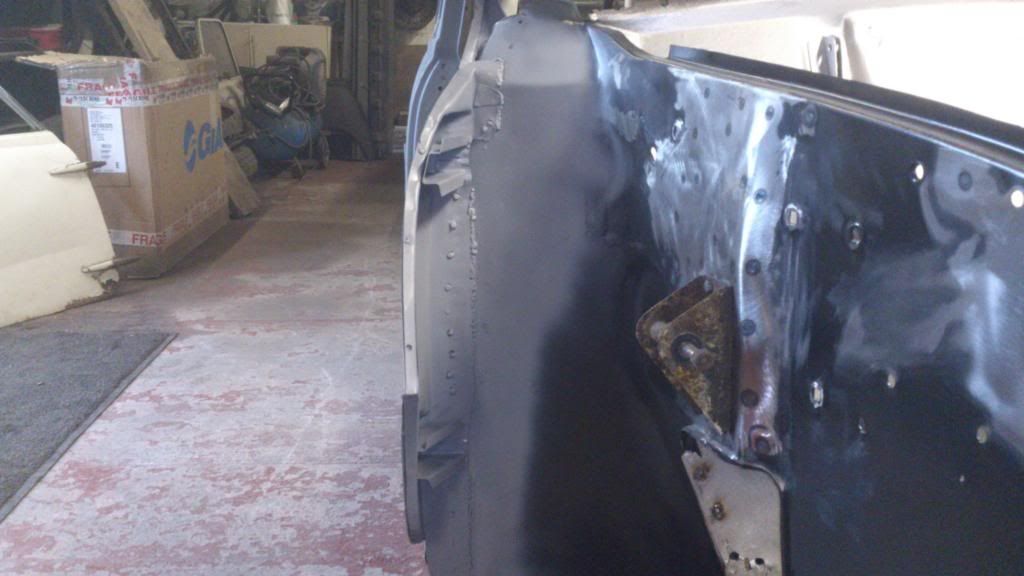
 1)  also what can i do with the excess metal that is at the top of the inner wing where the window bends at the bottom cut it off?


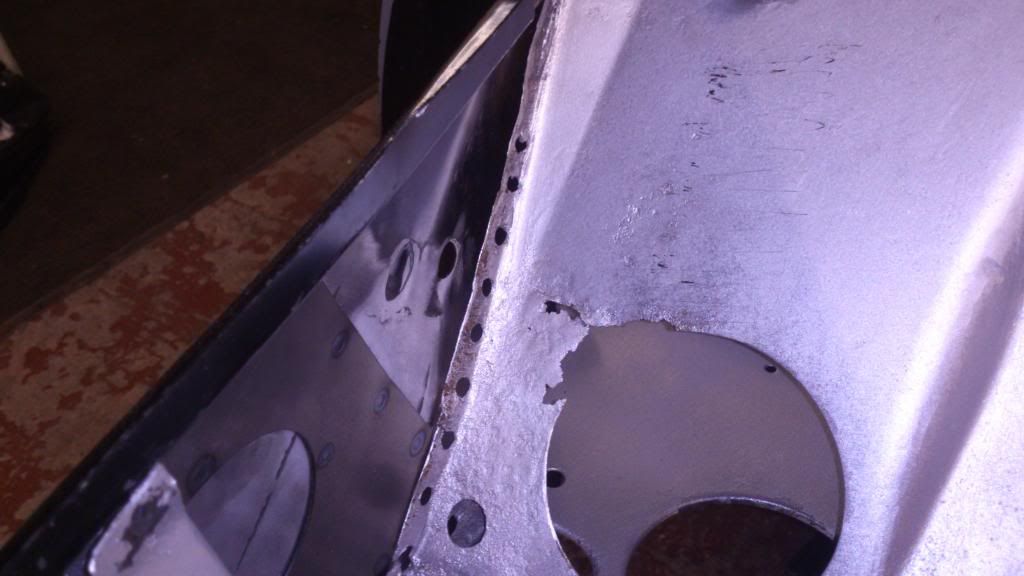
 2) and there is a gap from the inner wing and the bulkhead tap it in with a hammer? pictures are on last page. cheers pal  :D

DSC_1654_zpsef706e29.jpg


1) looks like its actualy missing a piece there tom for the flanges to meet and spot weld together with the dash rail to flitch top.


2)  Do you mean the inner wing lower section doen't line up with the toeboard ? if so no don't hammer it together, first you need to find out Why its not lining up properly, a few tips to think and look at is firstly is the panel just warped ? if so then press your finger against it and if it goes into the correctly place lightly then its fine just push it in, clamp it and plug weld the seams, if it doesn't move easyly into place against the toaboard then look around the panels for area/surfaces that are catching


#332 myredmini

myredmini

    My Mummy Says It's OK

  • Members
  • PipPipPipPipPipPipPipPipPip
  • 3,211 posts
  • Name: Dan
  • Location: Teesside
  • Local Club: BOG MOG

Posted 10 October 2013 - 08:24 PM

Never expected this since I last looked at this thread. Well done! Quality work.

#333 ToM 2012

ToM 2012

    Up Into Fourth

  • Members
  • PipPipPipPipPipPipPipPipPip
  • 4,066 posts
  • Location: halesowen

Posted 10 October 2013 - 08:27 PM

what should i do cut it square and then weld a peice in and shape it to the window? and its the end of the bulkhead where it joins up to the side of the new panel inside the engine bay part on the left its about quarter of a inch gap in the middle. could i just tap the new panel inwards towards the bulkhead? thanks tom 


#334 rally515

rally515

    Up Into Fourth

  • Members
  • PipPipPipPipPipPipPipPipPip
  • 3,848 posts
  • Location: ask!

Posted 10 October 2013 - 08:29 PM

what should i do cut it square and then weld a peice in and shape it to the window? and its the end of the bulkhead where it joins up to the side of the new panel inside the engine bay part on the left its about quarter of a inch gap in the middle. could i just tap the new panel inwards towards the bulkhead? thanks tom 


I'l jut do an edit of your picture and upload it in a few minutes T


#335 ToM 2012

ToM 2012

    Up Into Fourth

  • Members
  • PipPipPipPipPipPipPipPipPip
  • 4,066 posts
  • Location: halesowen

Posted 10 October 2013 - 08:34 PM

got a piccy here


#336 ToM 2012

ToM 2012

    Up Into Fourth

  • Members
  • PipPipPipPipPipPipPipPipPip
  • 4,066 posts
  • Location: halesowen

Posted 10 October 2013 - 08:34 PM

DSC_1653_zpscb5832e3.jpg


#337 ToM 2012

ToM 2012

    Up Into Fourth

  • Members
  • PipPipPipPipPipPipPipPipPip
  • 4,066 posts
  • Location: halesowen

Posted 10 October 2013 - 08:35 PM

Never expected this since I last looked at this thread. Well done! Quality work.

thanks i never thought i would be attempting it one minute im scratching my head next i am welding new panels in  :lol:  cheers tom 


#338 rally515

rally515

    Up Into Fourth

  • Members
  • PipPipPipPipPipPipPipPipPip
  • 3,848 posts
  • Location: ask!

Posted 10 October 2013 - 08:45 PM

Just out of shot tom but looks like its just that top lip of the inner wing stopping it from touching, could be wrong as i can't see on that photo but maybe you'll know having seen the full thing ? it should be touching really, you need to do some repairs on that bulkhead there tom, will be eayer with the inner wing off ;)


And i was refering to a different photo sorry haha, i'l still upload it and show you what needs sorting.....


#339 rally515

rally515

    Up Into Fourth

  • Members
  • PipPipPipPipPipPipPipPipPip
  • 3,848 posts
  • Location: ask!

Posted 10 October 2013 - 08:49 PM

DSC_1654_zps2a2dabee.jpg


The blue line shows you roughly were the curve should be and the red mist you can see covers the flitch top and the green suggests were it should go upto but seems its been butchered or just cut away for some reason :s


The other parts are showing you were the  mulit panel layers are that spot weld together, this area should carry on round as one long piece all around th window frame yet its missing on this, along with the top dash rail lip as far as i can see.


Edited by rally515, 10 October 2013 - 08:49 PM.


#340 ToM 2012

ToM 2012

    Up Into Fourth

  • Members
  • PipPipPipPipPipPipPipPipPip
  • 4,066 posts
  • Location: halesowen

Posted 10 October 2013 - 08:50 PM

yes new piece will be going in once i have got the join closer and i will put a new strip down with half of circle and tack all that in hopefully get on this tomorrow and get the inner panel tacked in with the inner a panel. 


#341 ToM 2012

ToM 2012

    Up Into Fourth

  • Members
  • PipPipPipPipPipPipPipPipPip
  • 4,066 posts
  • Location: halesowen

Posted 10 October 2013 - 08:53 PM

cheers mate thats great ile make a piece there tomoz and weld it all in it was all rotted away the old piece and just cut it out while the grinder was on lol thanks. 


#342 Ben_O

Ben_O

    Mill Road Garage

  • Paint Doctor
  • PipPipPipPipPipPipPipPipPipPip
  • 9,785 posts
  • Location: Isle of Wight

Posted 11 October 2013 - 09:13 PM

Blimy Tom, another huge update. I really must get my finger out and get cracking on mine!!


Good luck.


Ben


#343 ToM 2012

ToM 2012

    Up Into Fourth

  • Members
  • PipPipPipPipPipPipPipPipPip
  • 4,066 posts
  • Location: halesowen

Posted 11 October 2013 - 09:42 PM

thanks ben 


#344 ToM 2012

ToM 2012

    Up Into Fourth

  • Members
  • PipPipPipPipPipPipPipPipPip
  • 4,066 posts
  • Location: halesowen

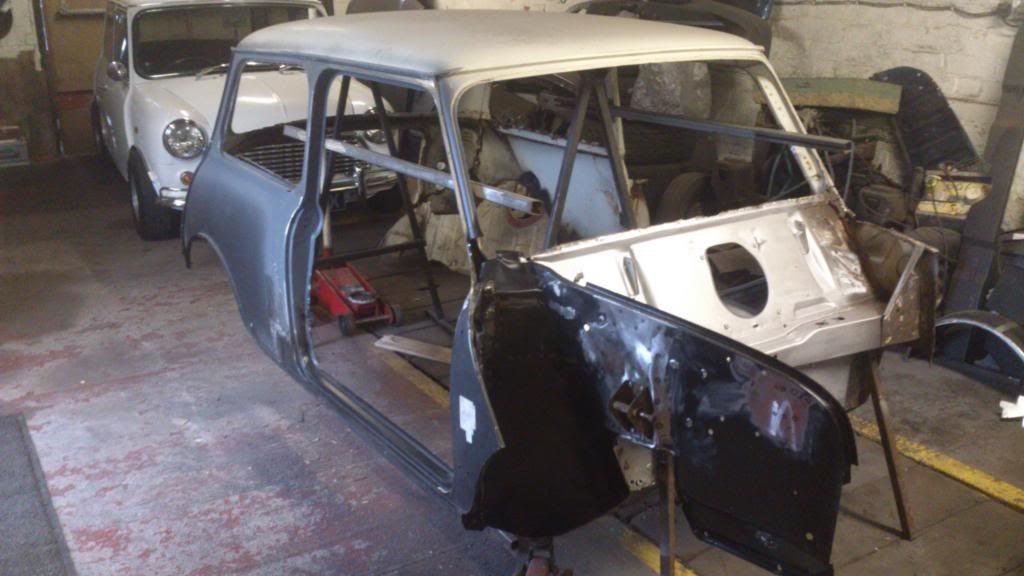
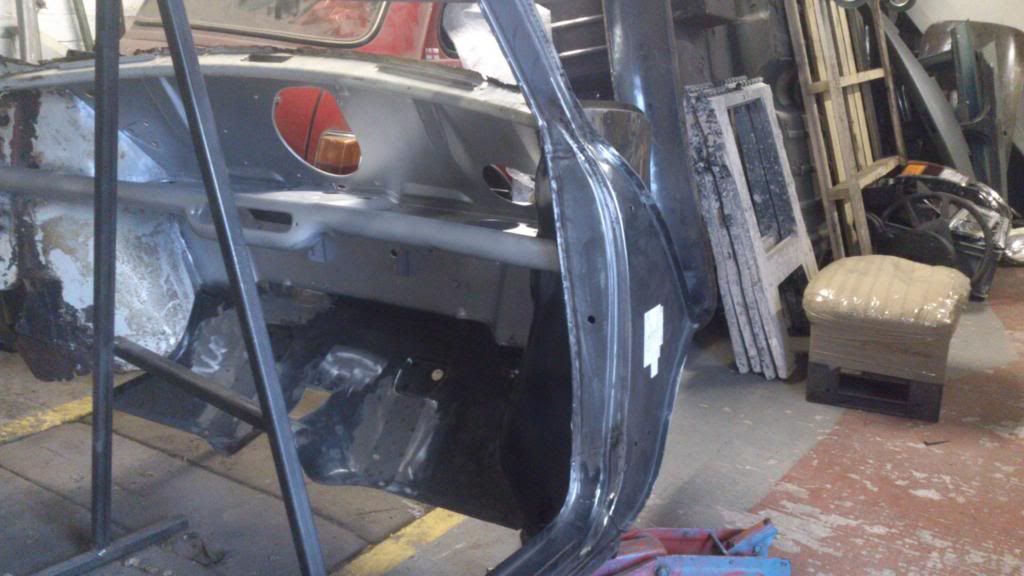
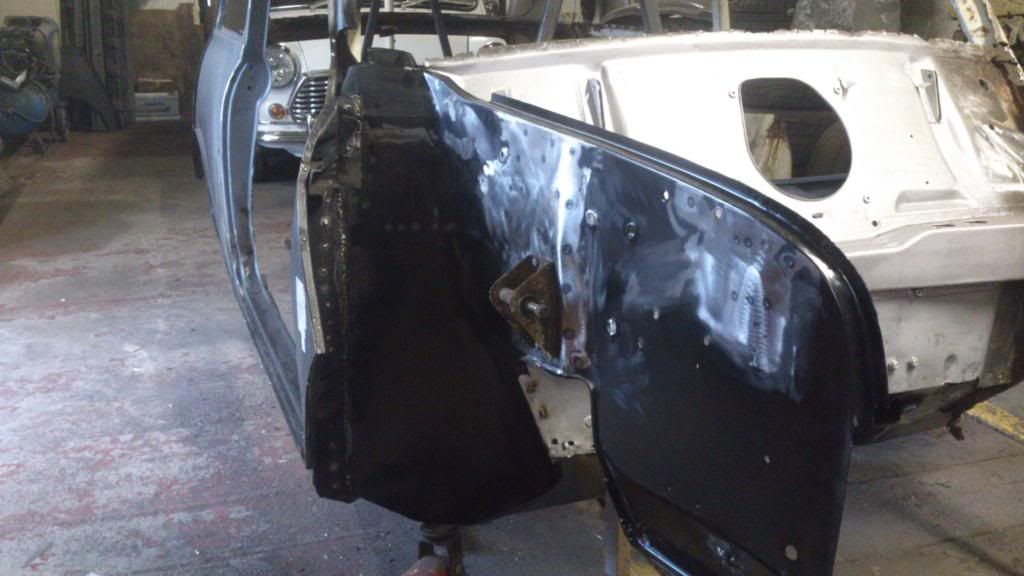
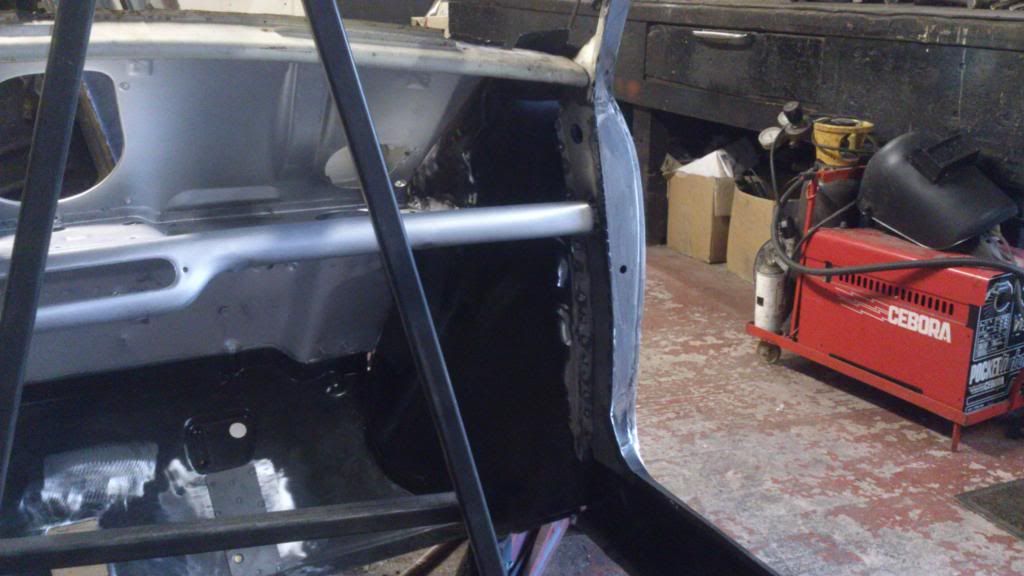
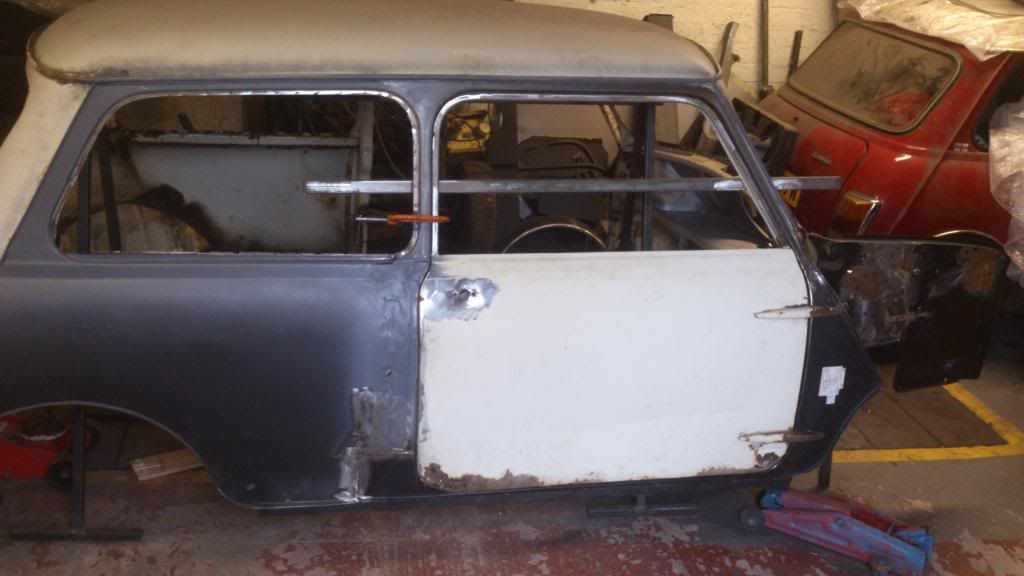
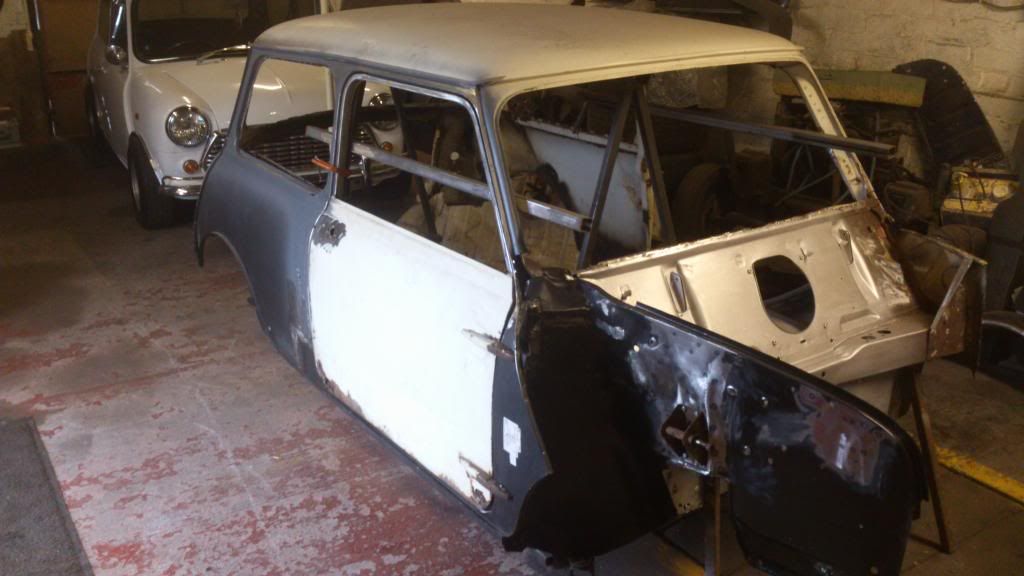
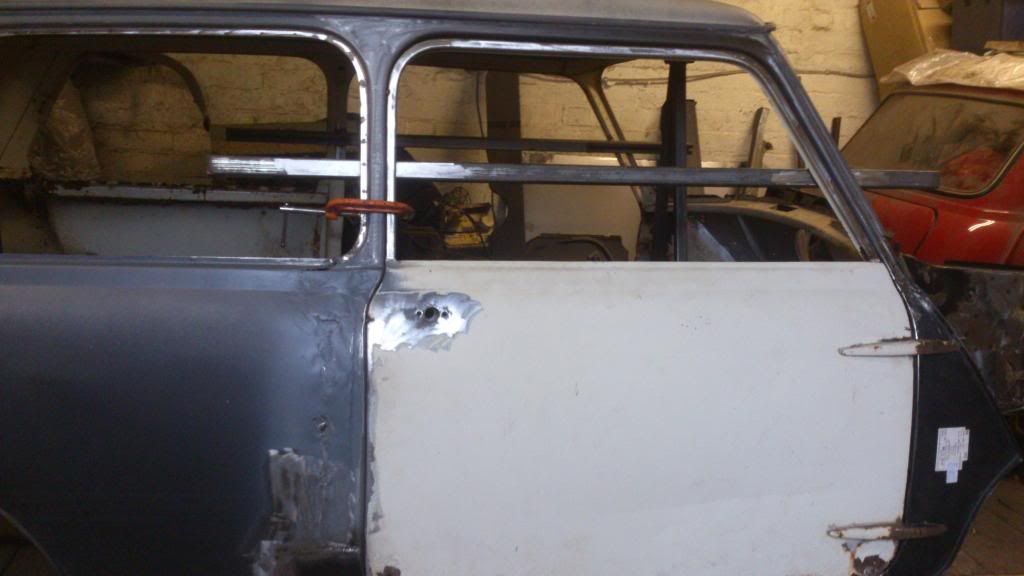
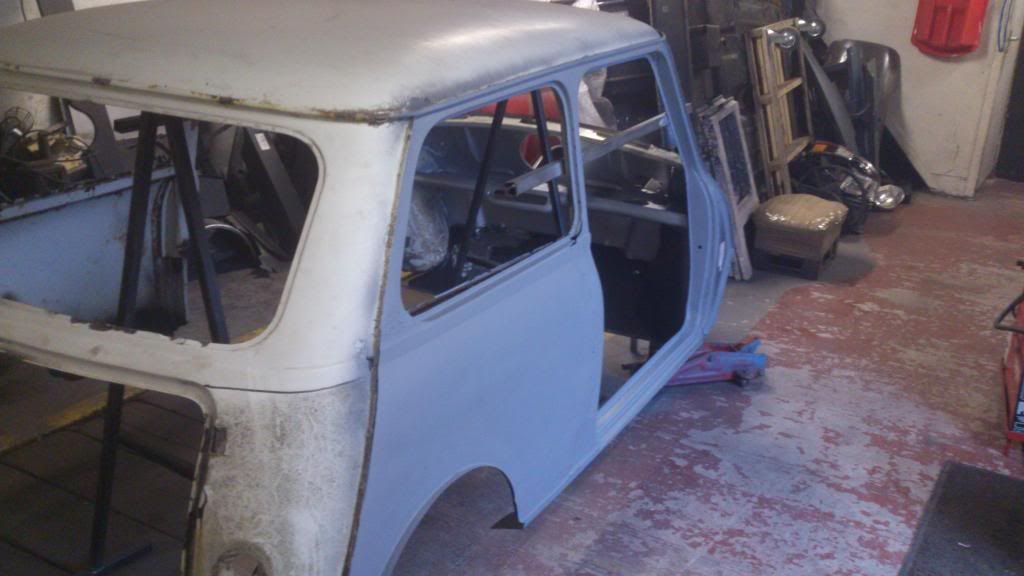
Posted 12 October 2013 - 04:56 PM

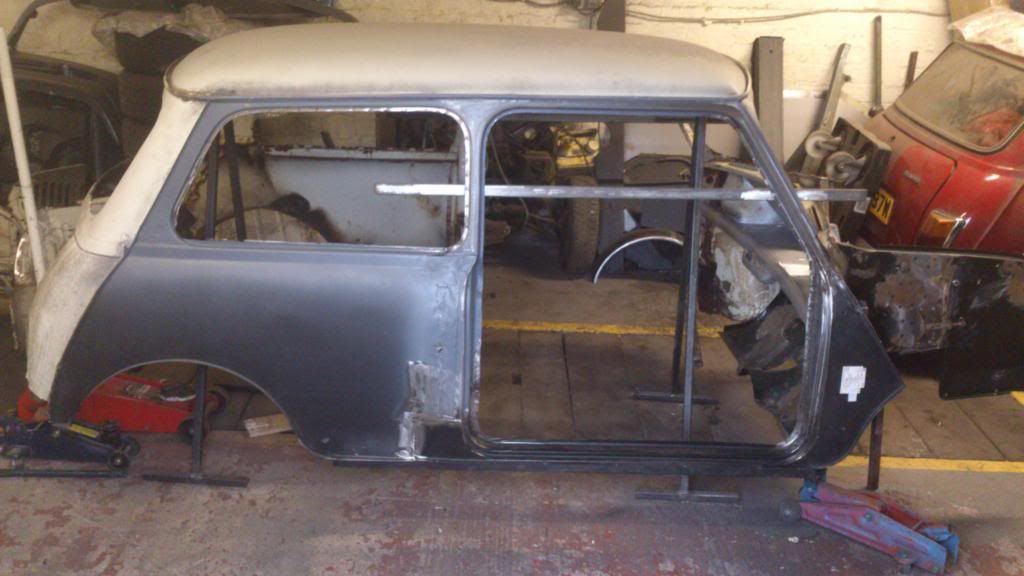
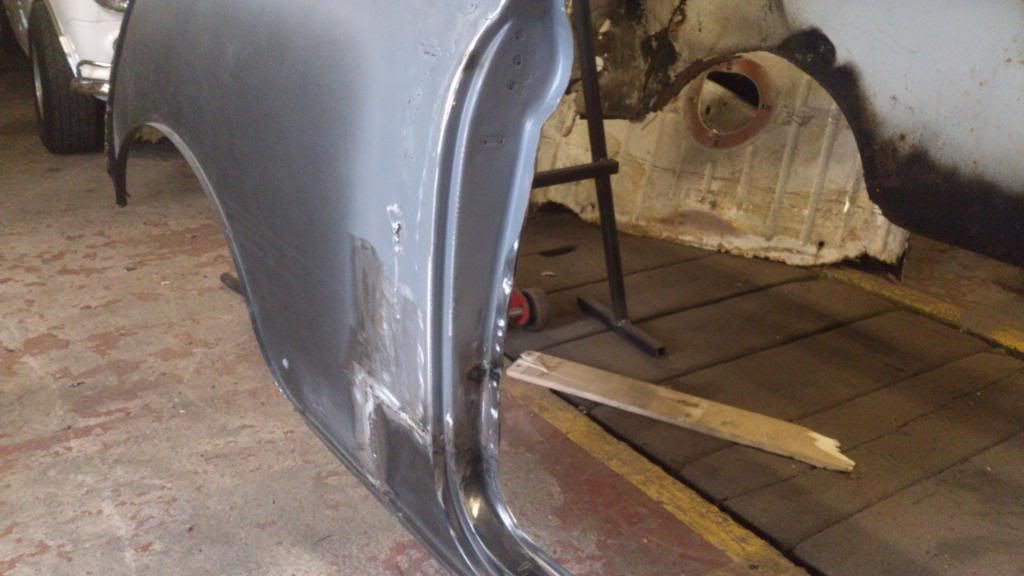
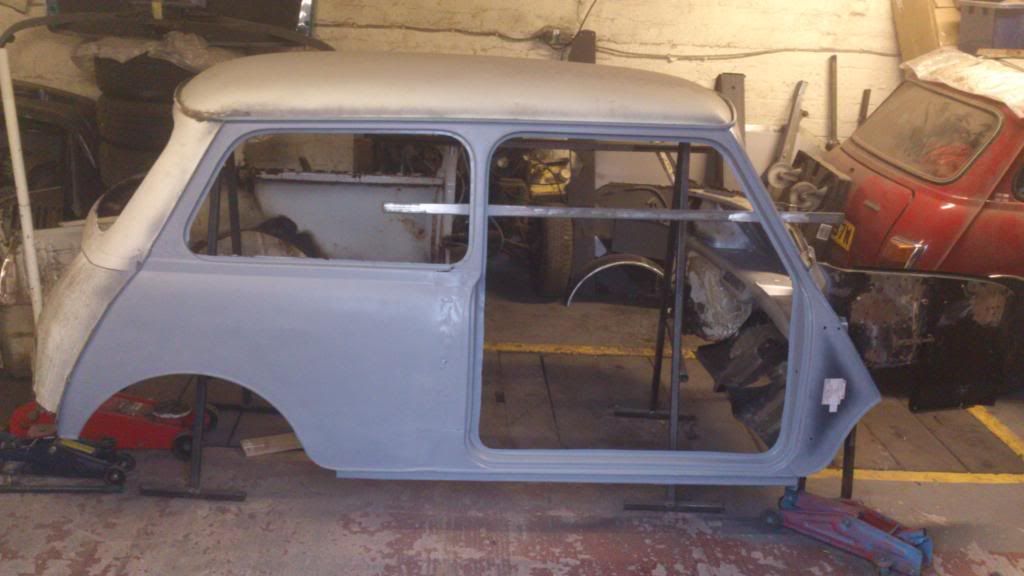
hi all had a good go at it today and i am happy with the result to say i havent got new hinges and doorskin as yet i thought i might aswell push this job forward and use my old ones for test fitting i can not see there being a problem anyway and if there is i will sort it out i am fetching the panels and parts tomoz at the mini show and will get on the door skin monday so today i have welded everything up and put my door step in place abit of a nightmare keep putting the door on and of and re cutting but i got there in the end lol here is some piccys let me no what you think thanks tom 


DSC_1683_zps9eeb9669.jpg


DSC_1684_zpsf69b94c1.jpg


DSC_1688_zpsdc2989ea.jpg


DSC_1685_zpsc6a575b2.jpg


DSC_1686_zps7106513b.jpg


DSC_1689_zpsf70a6185.jpg


DSC_1691_zpsb3214449.jpg


DSC_1692_zps6c0aac13.jpg


DSC_1690_zps653bd868.jpg


DSC_1697_zps34ca10f8.jpg


DSC_1694_zpsf475016c.jpg


DSC_1696_zps4a380162.jpg


#345 Minilegs

Minilegs

    Mini Mad

  • Members
  • PipPipPipPip
  • 242 posts
  • Location: Norfolk

Posted 12 October 2013 - 05:03 PM

That mate, is some legendary progress!!!!! You have been a very busy boy ain't ya!

How easy was the line up of the a panel and flinch in the end? It's looks fantastic!


2 user(s) are reading this topic

0 members, 1 guests, 0 anonymous users


    Bing (1)