thanks alex i tryed welding on the bottom but its to rooten and couldnt get a good weld but it seems to be ok for now as it is and once i get some panels welded in it should start to stiffen up. i just hope it doesnt start twisting and looked crabbed once it on the road. thanks tom

Austin Mini Mk1 Super Deluxe Restoration
#241

Posted 05 October 2013 - 06:16 PM
#242

Posted 05 October 2013 - 06:20 PM
sort of get what you mean but how hard can it be? ![]() barrel full of red bull and le be flying
barrel full of red bull and le be flying ![]() cheers tom
cheers tom
#243

Posted 05 October 2013 - 06:25 PM
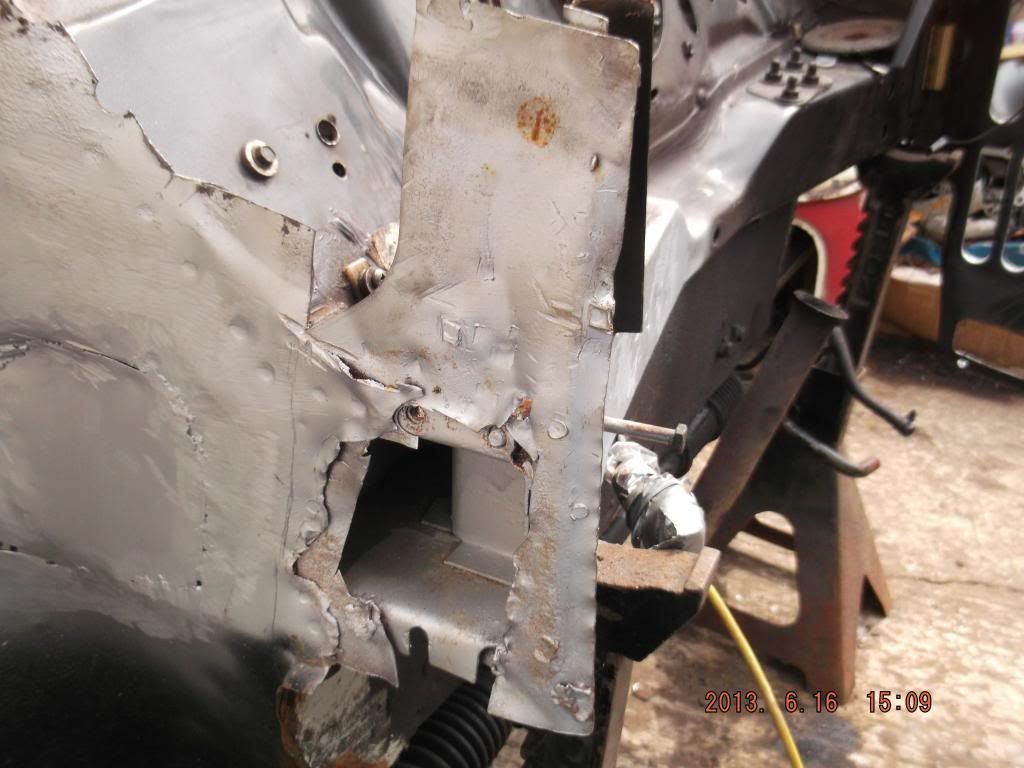
also just a quick question when i cut away my inner flinch panel today around the bulkhead tunnel there was this other piece of metal that went around the tunnel? hard to explain as i dont no the name lol maybe you no what i am on a bout tho. i am just wondering if my new piece has it fitted? thanks tom
#244

Posted 05 October 2013 - 06:36 PM
No idea what you mean tom, are we talking about the toeboard are or flitch, im confused haha ?
If you're talking about panels around the front of the tunnel theres not much more than a toeboard which comes down to meet a floor pan and tunnel ![]()
Have a look in my mk2 thread and see if theres a picture you can point me to that explains what and were you mean ![]()
#245

Posted 05 October 2013 - 06:38 PM
Sorry i think its finaly clicked in my head ![]() , you're talking about the strenthening panel that sandwiches between the innerwing/flitch and the bulkhead crossmemer (you called it a tunnel haha)
, you're talking about the strenthening panel that sandwiches between the innerwing/flitch and the bulkhead crossmemer (you called it a tunnel haha)
I made my own of these and is very simple, your new flitch wont come with this T
Edited by rally515, 05 October 2013 - 06:44 PM.
#246

Posted 05 October 2013 - 06:58 PM
thats the one my mate lucky you are on here i wouldnt get anywhere haha how did you go about making it? be easier to buy them?
#247

Posted 05 October 2013 - 07:06 PM
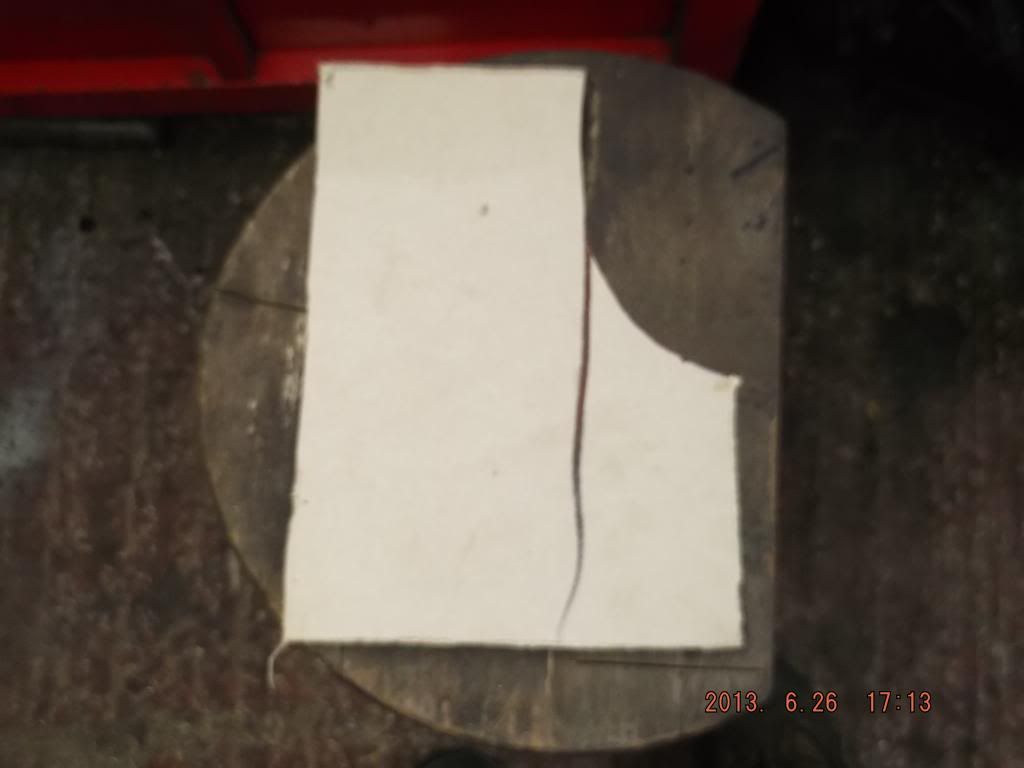
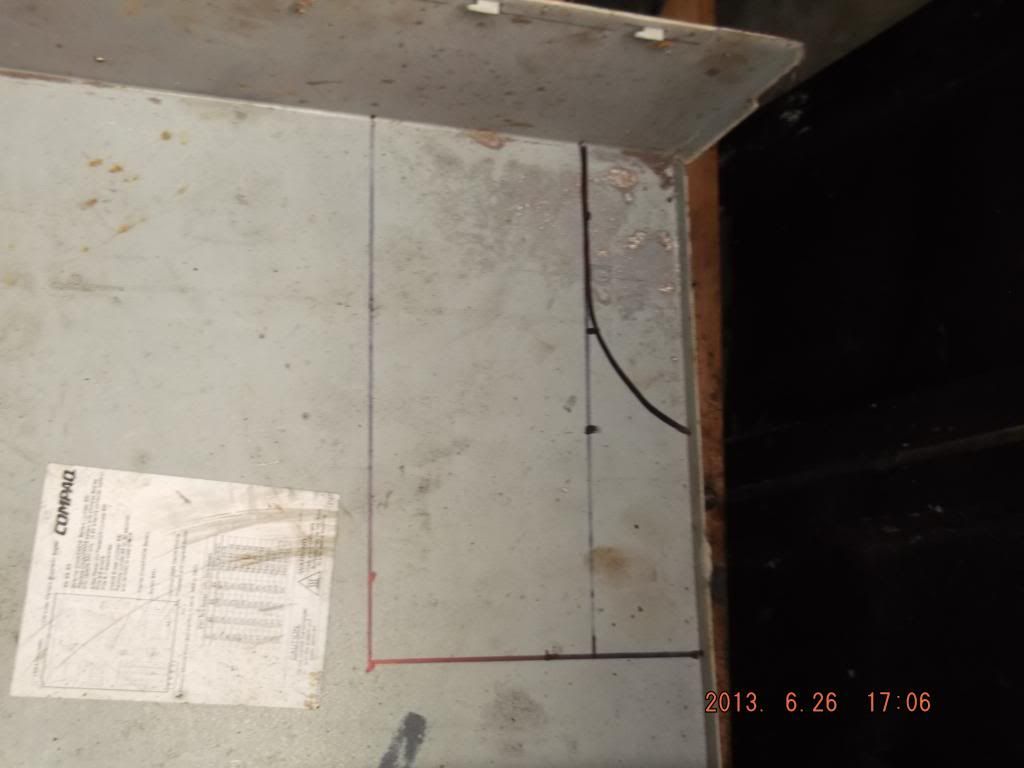
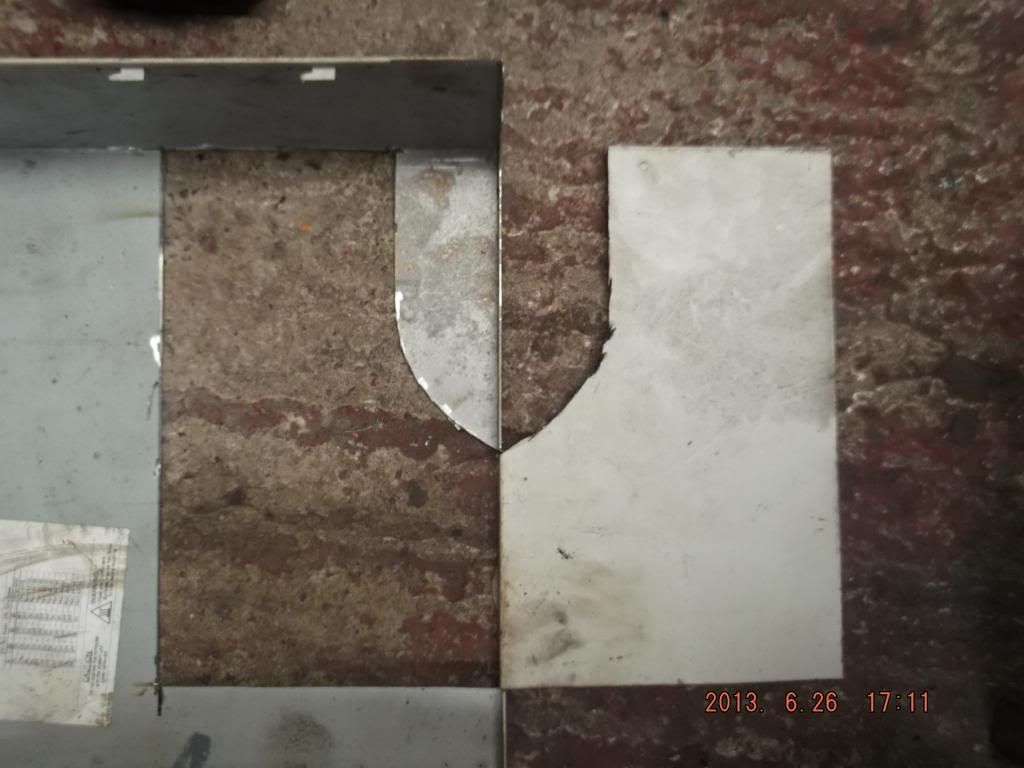
I just used some cardboard as my template around the old rusted panel and then traced around my cardboard cut-out template onto a piece of steel and cut that out, jobs a gooden :) , no point paying for something you can make in a couple minutes , plus delivery costs soon rack up T
Fabricated a shocker sandwich panel that the original had rotted and kinda got a bit mangled ![]() :
:
Yes that steel was an old computer case ![]()
![]()
#248

Posted 05 October 2013 - 07:07 PM
thats the one my mate lucky you are on here i wouldnt get anywhere haha how did you go about making it? be easier to buy them?
If have the old one trace around it on card or if you know roughly what size and shape it is then draw it onto some card, once you get it exact on the card then you can tranfer it to sheet metal and cut it out.
Edited by alex-95, 05 October 2013 - 07:08 PM.
#249

Posted 05 October 2013 - 07:14 PM
thanks guys the old one is all mangled up so i dont think i will be getting a copy from it. ile have a look on ebay and m machine to see how much they are. cheers
#250

Posted 05 October 2013 - 07:16 PM
Depending how mangled could you not flatten it back out with some grips and hammer?
#251

Posted 05 October 2013 - 07:23 PM
probz can do alex ile take a look at it tomoz
#252

Posted 05 October 2013 - 07:25 PM
Doesn't have to be a carbon copy Tom, just get the rough dimensions and replicate the curve as best you can, nothing is effected by the shape ![]()
#253

Posted 05 October 2013 - 07:27 PM
maybe im being to fussy i want it bang on lol
Edited by ToM 2012, 05 October 2013 - 07:27 PM.
#254

Posted 05 October 2013 - 07:30 PM
Nothing wrong with that i guess, give Tupers a message as he's had to make some for the crayford rag top project there doing so migh be able to help with scurate templates or even fab you some up, i think the original mk1's are a different shape and fold over to make double thickness than these mk3 on ones
Hold on i'l find a picture hah
EDIT: here you are:


Edited by rally515, 05 October 2013 - 07:35 PM.
#255

Posted 05 October 2013 - 07:42 PM
thanks cliff they look different to mine as they have round holes in them? ile message tuppers and ask him thanks mate
3 user(s) are reading this topic
0 members, 1 guests, 0 anonymous users
-
Bing (2)


