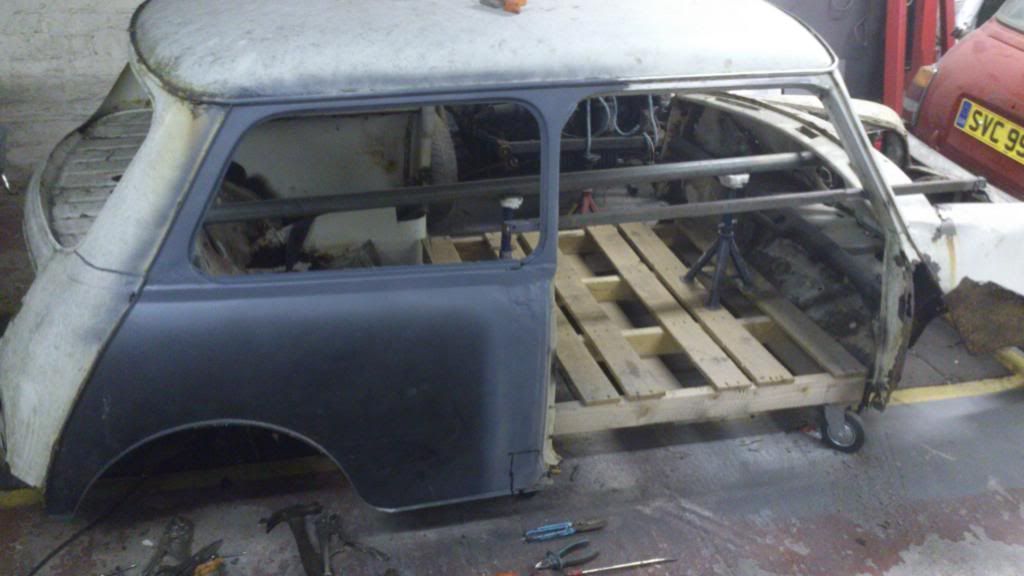
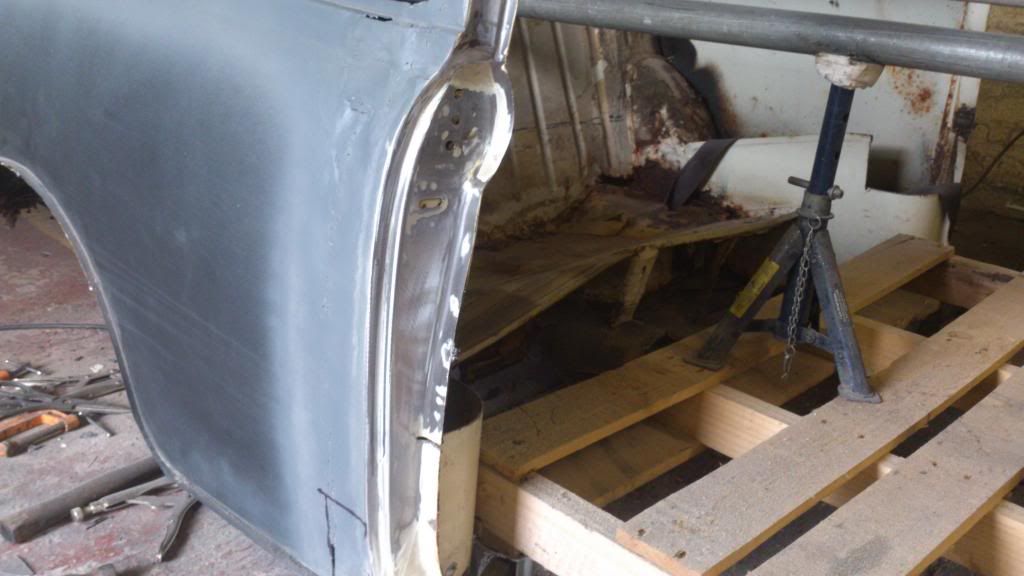
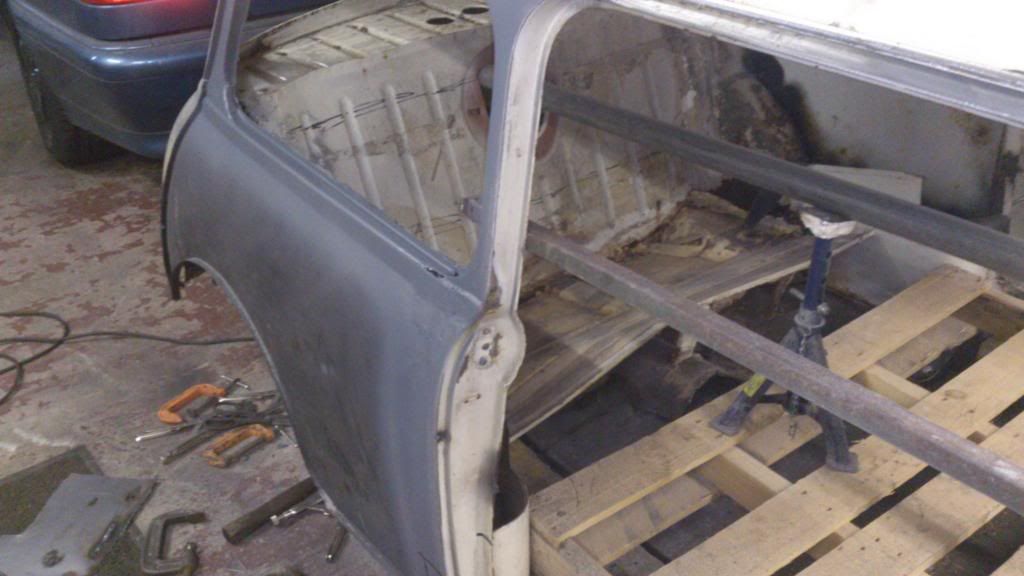
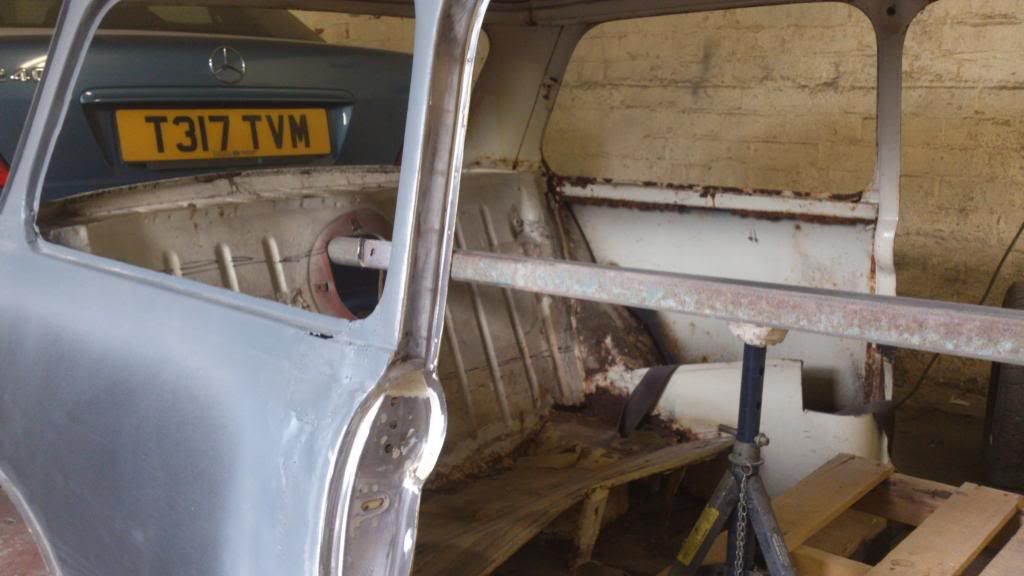
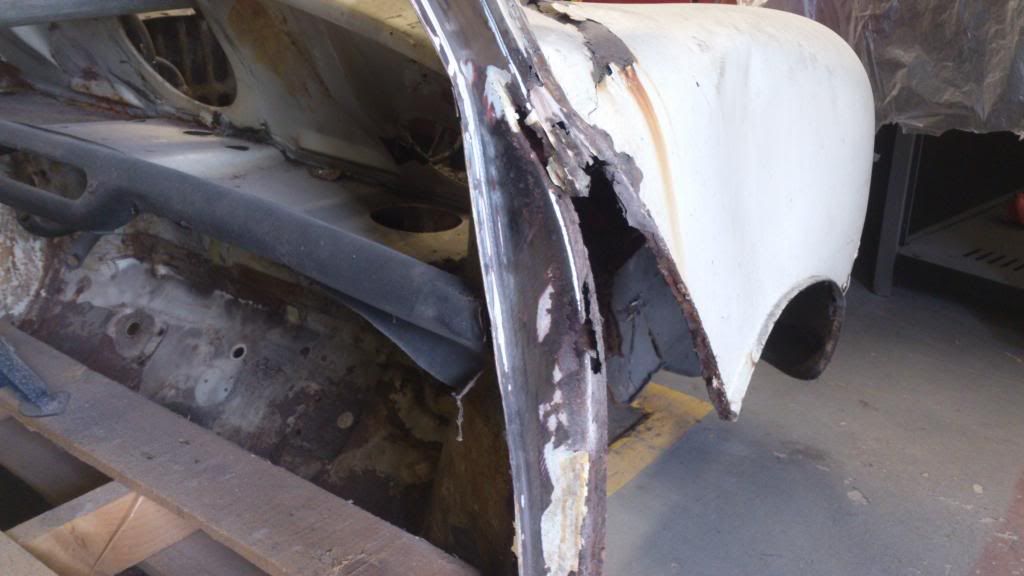
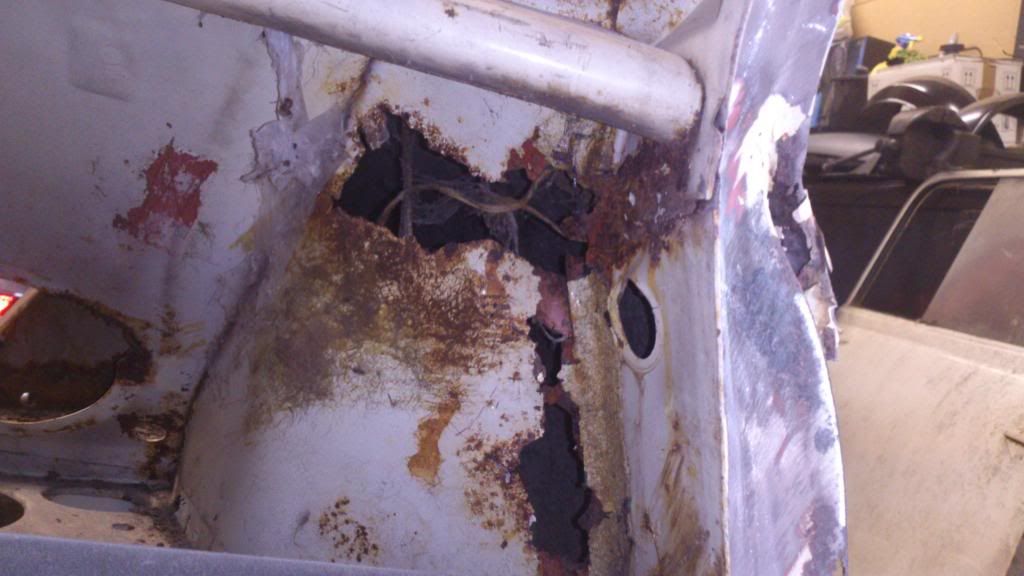
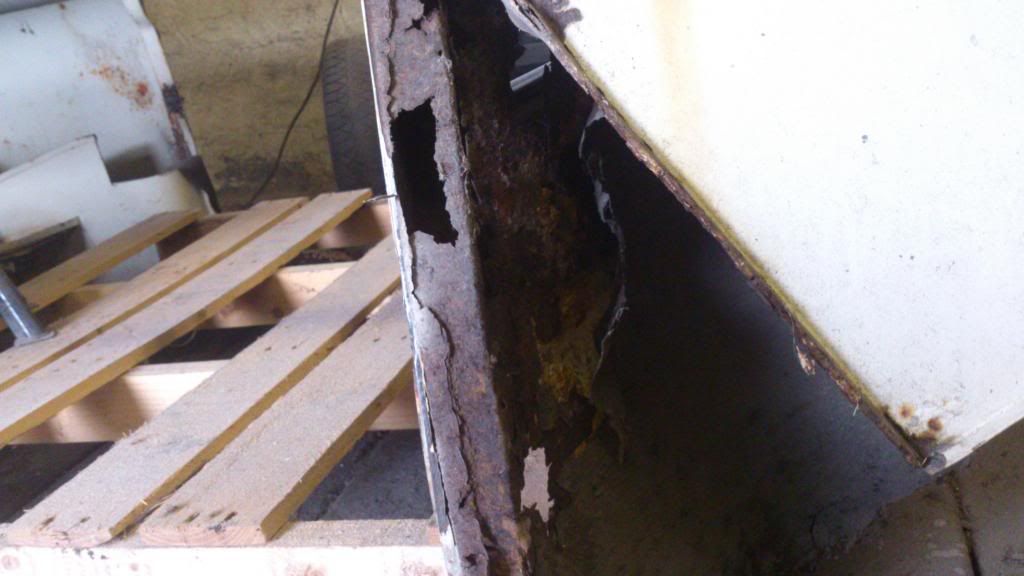
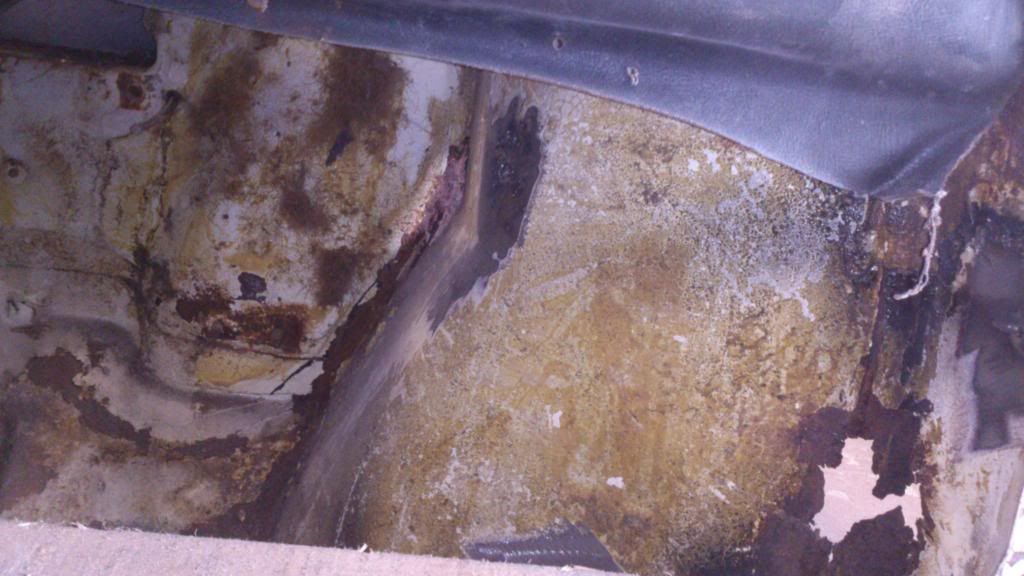
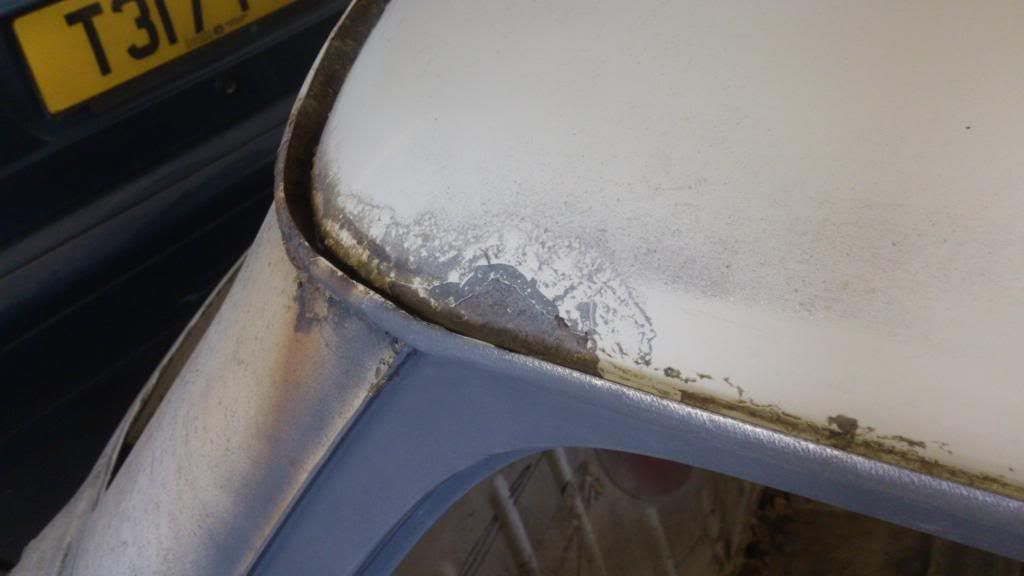
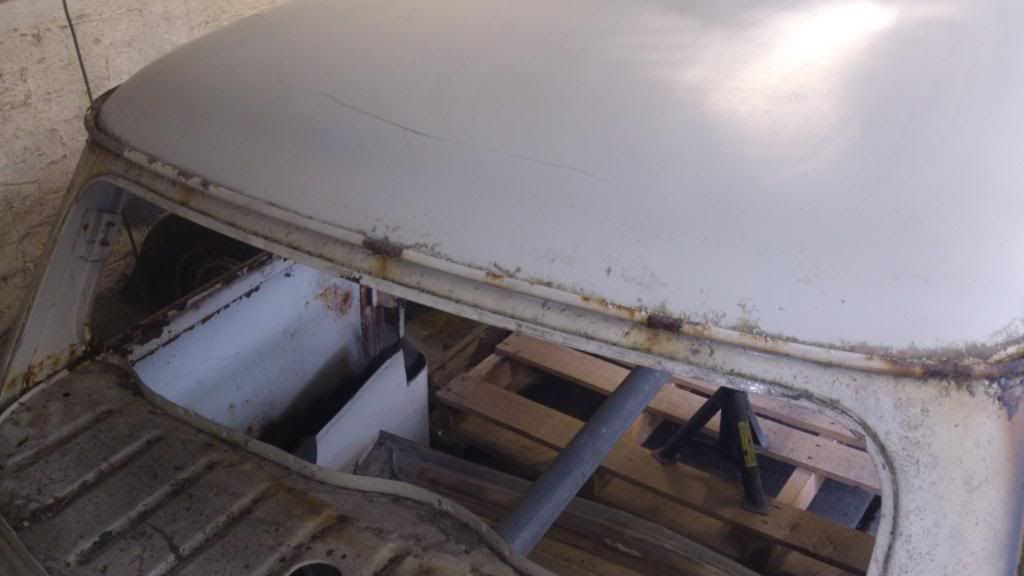
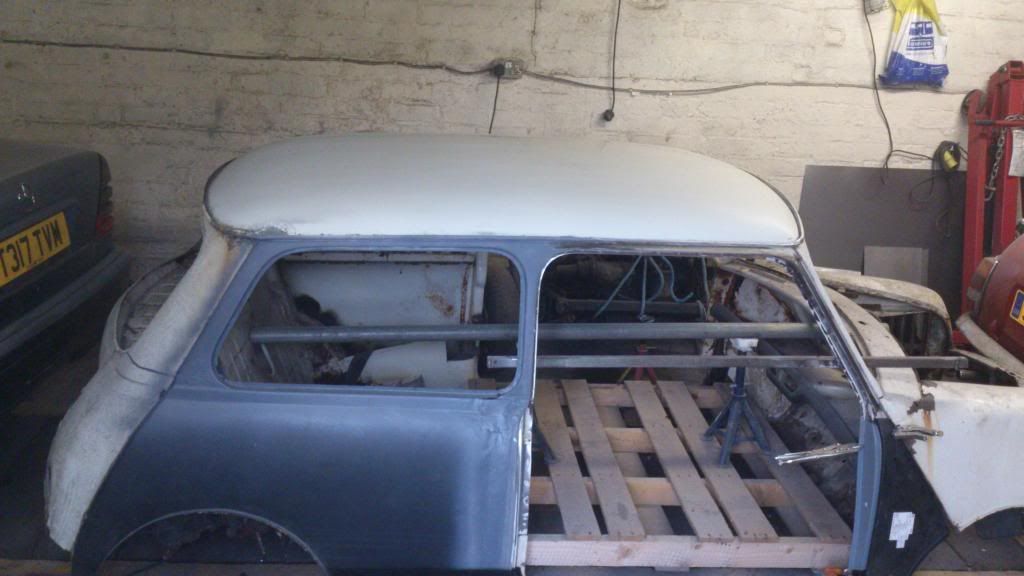
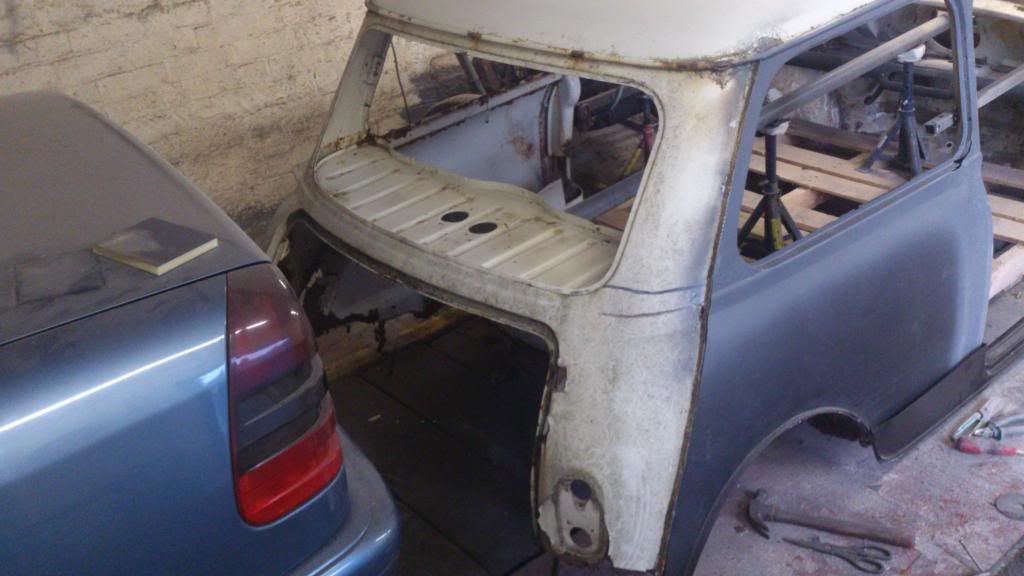
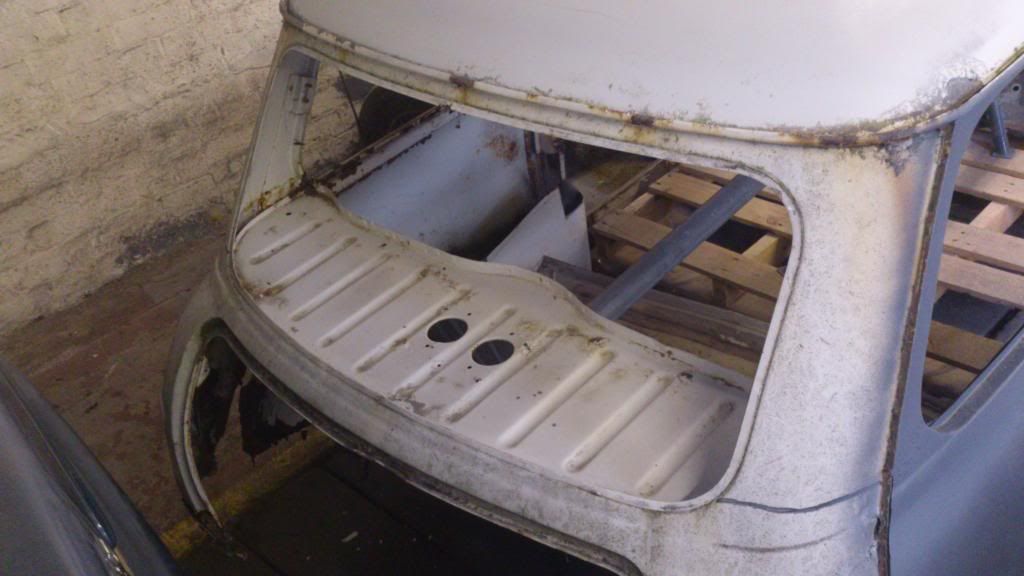
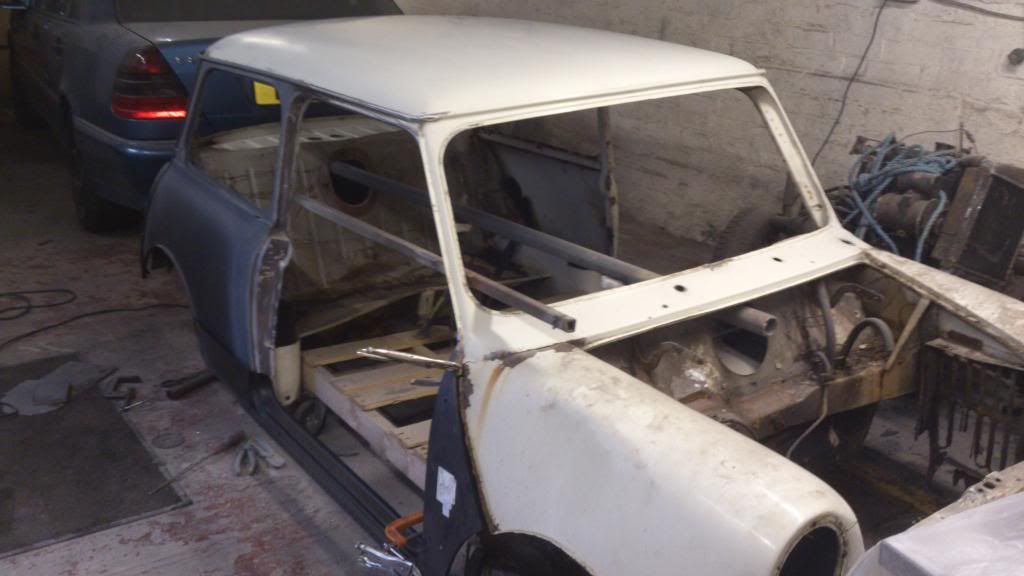
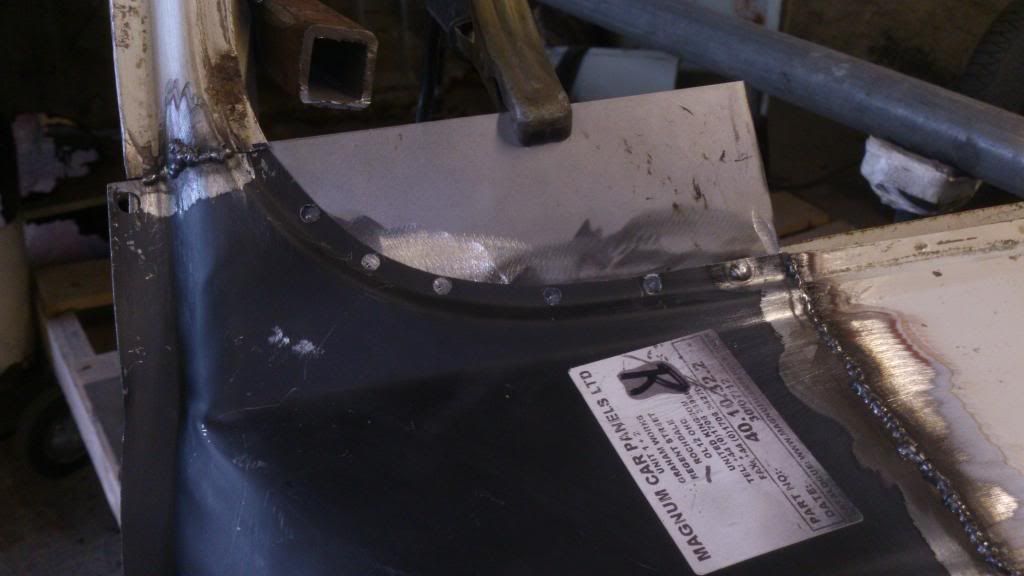
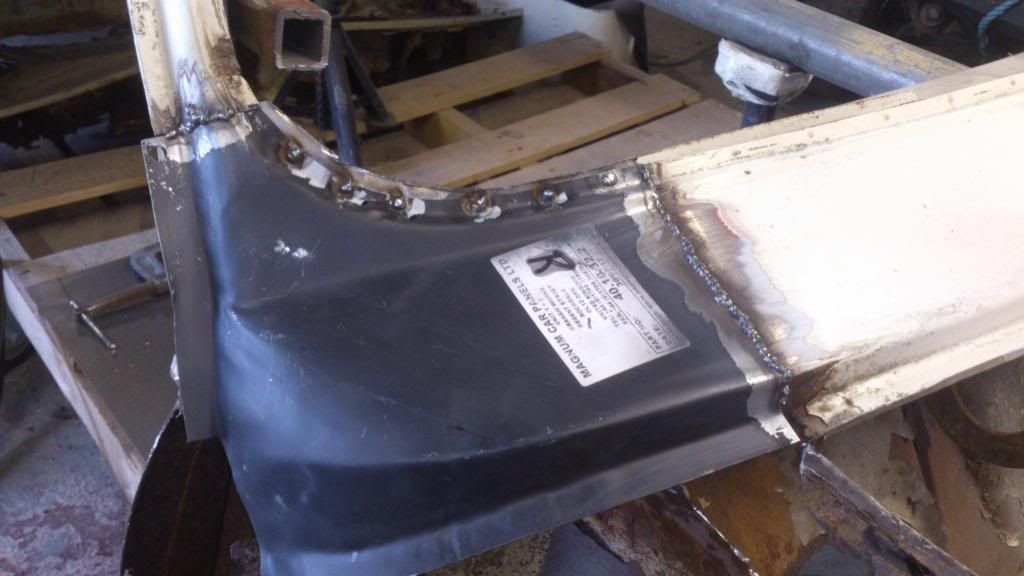
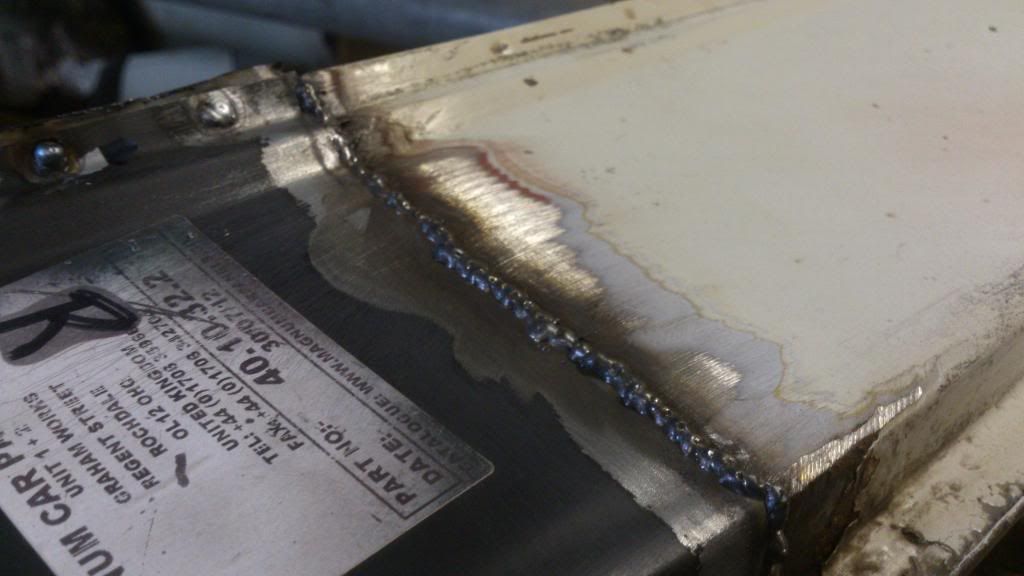
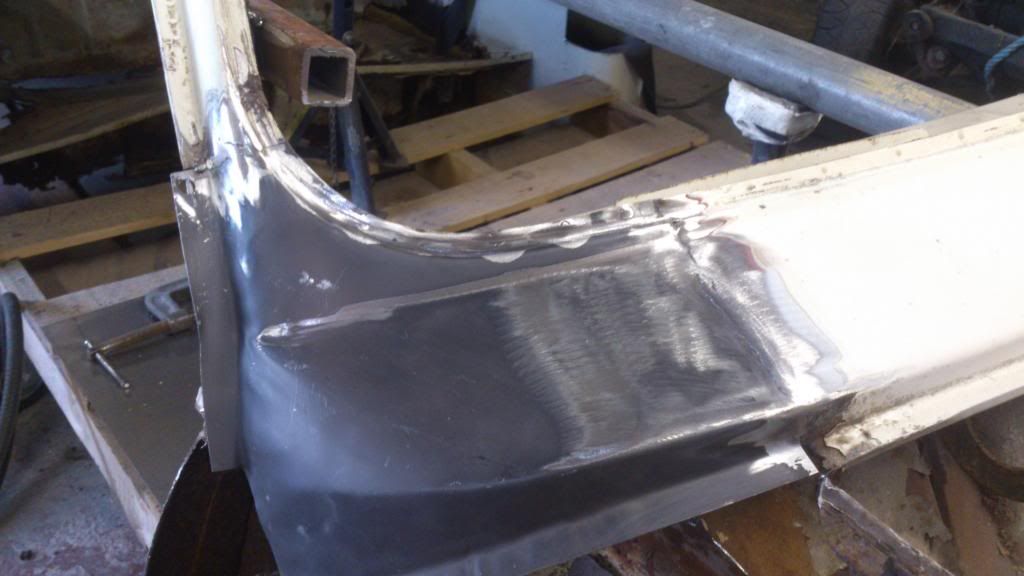
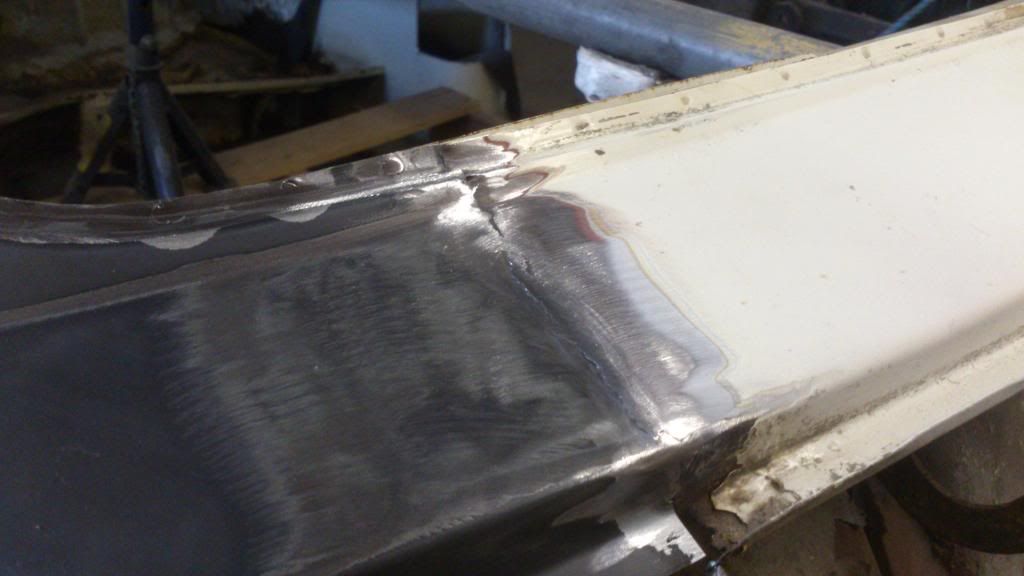
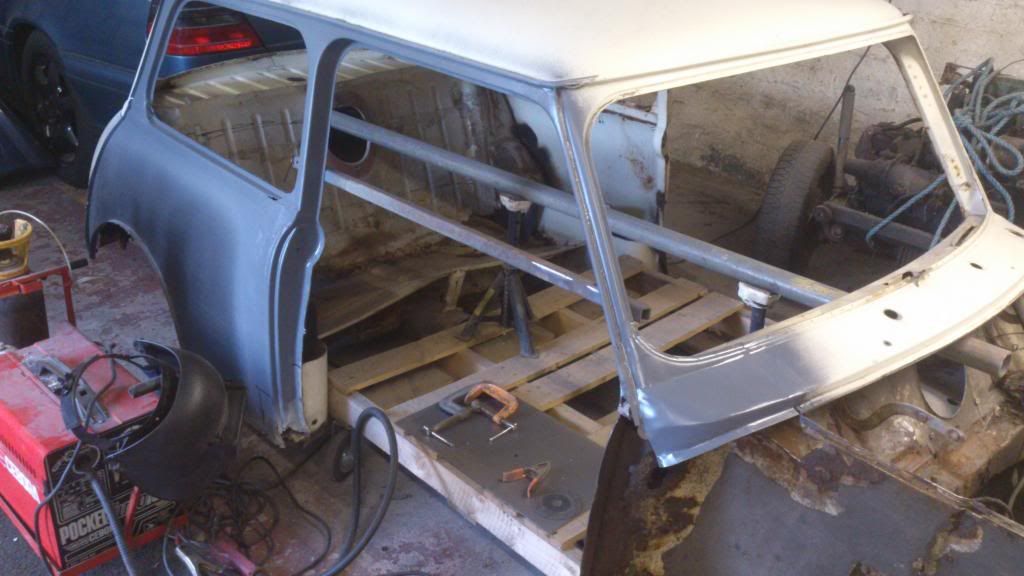
lol what do you think for my first time where i have welded i have grinded back and a light skim of filler over the top will be ok wont it?
Austin Mini Mk1 Super Deluxe Restoration
#166

Posted 03 August 2013 - 05:14 PM
#167

Posted 03 August 2013 - 05:21 PM
Did you clean up that rusty inner support tom ? the bit that holds the top of the door card ?
Lokks like a neat bit of quick work done here to, now get doing the rest now your on a roll! haha
Cheers
Cliff
#168

Posted 03 August 2013 - 05:29 PM
hi mate i didnt no as i am going to cut it out and put the one out of the mk4 in as this one is rotten i was going to do that aswell but i thought if i chop that out the shell might twist and move out of line so i am going to do the door post and a panel next and then put the door step in and then ile change the inner support is that a good way of doing it?
Edited by ToM 2012, 03 August 2013 - 05:30 PM.
#169

Posted 03 August 2013 - 05:52 PM
hi mate i didnt no as i am going to cut it out and put the one out of the mk4 in as this one is rotten i was going to do that aswell but i thought if i chop that out the shell might twist and move out of line so i am going to do the door post and a panel next and then put the door step in and then ile change the inner support is that a good way of doing it?
Sounds a perfect method of doing the work Tom, ahh yeah forgot you were using the other shell bits haha, just double check though that these are 100% the same shape,lengtha and the card track is the same before you go chopping.
Did you spot weld the support and quarter repait together or not ? along were the rear quarter rubber seal sits..
yeah tackling one side at once is the best way to go about it, have you ordered some M-machine bits yet Mr T ?
#170

Posted 03 August 2013 - 06:03 PM
do you mean the inner support and top of the rear quarter? i will spot weld that when i put the new support in hopefully i can lend one or hire a spot welder. i have emailed m machine last week on a list price but i havent heard anything so i will be going to old skool minis 30 mins drive from me and they seem to have most panels in stock thats where i got the rear quarters from today. i will just get the panels as i need them from now ready for the next part. my bloody neck and face is red rore and itchy its like i have been sunburnt i brought a mask and still get burnt on the hand and hair to. one hot piece landed in my ear lobe was trying to blow it out. haha
#171

Posted 03 August 2013 - 06:08 PM
do you mean the inner support and top of the rear quarter? i will spot weld that when i put the new support in hopefully i can lend one or hire a spot welder. i have emailed m machine last week on a list price but i havent heard anything so i will be going to old skool minis 30 mins drive from me and they seem to have most panels in stock thats where i got the rear quarters from today. i will just get the panels as i need them from now ready for the next part. my bloody neck and face is red rore and itchy its like i have been sunburnt i brought a mask and still get burnt on the hand and hair to. one hot piece landed in my ear lobe was trying to blow it out. haha
Yeah as i said M-machine is best over the phone Tom, you can order and pay over the phone to the lady, i ordered a few bits on the 1st and goit them next day for 10 pound delivered aha althoguh which evers best for you T
Yeah one of the joys of welding haha,
#172

Posted 03 August 2013 - 06:10 PM
lol bit by bit ile get there i didnt think i would manage welding as it is quit tricky but im sure i will get better as i go along.
#173

Posted 08 August 2013 - 08:10 PM
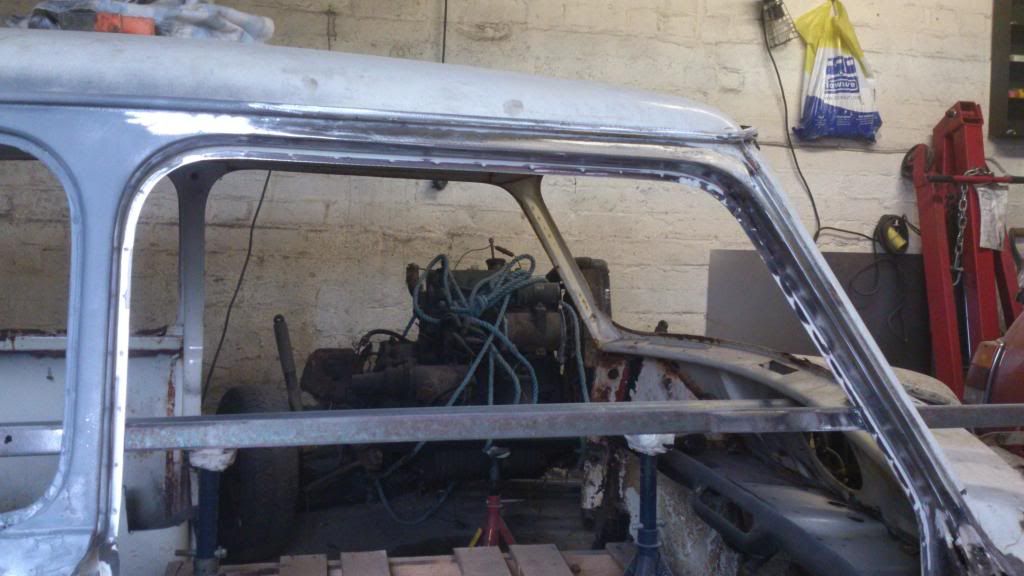
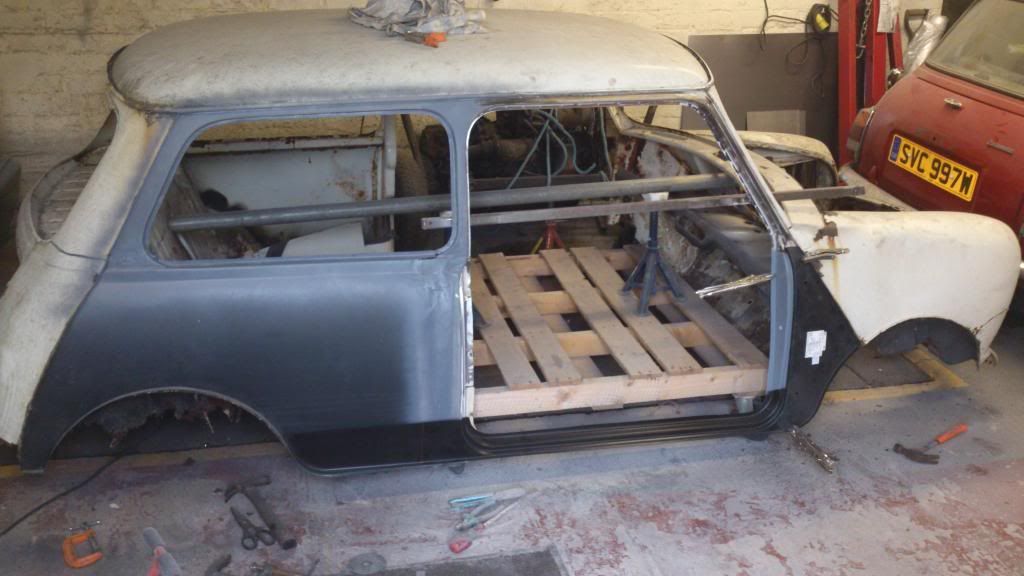
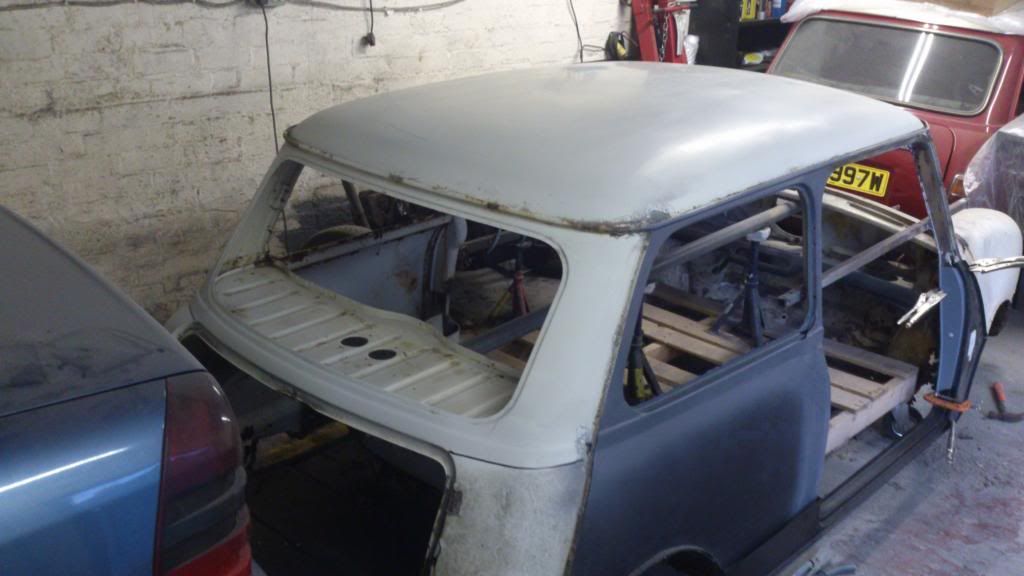
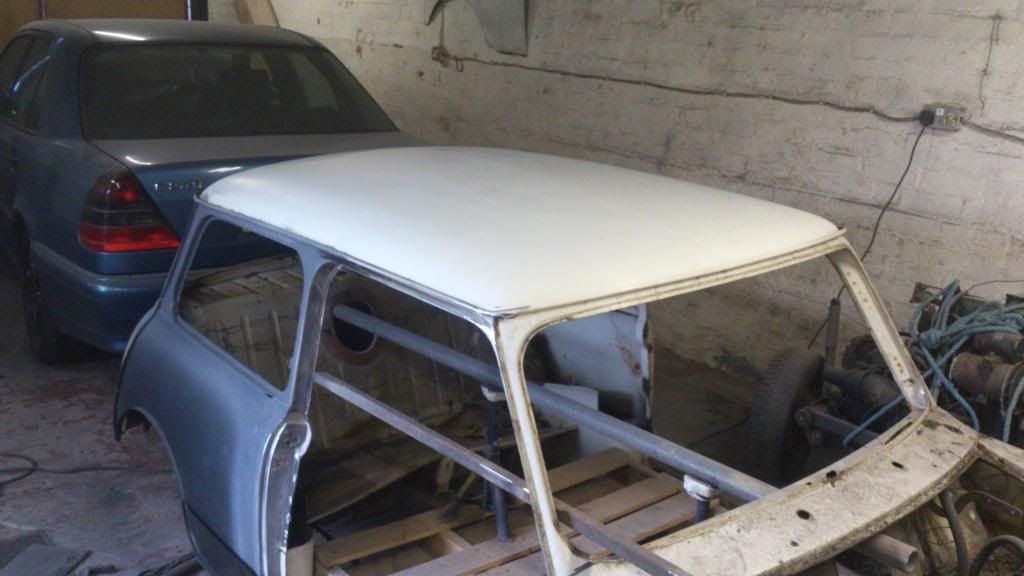
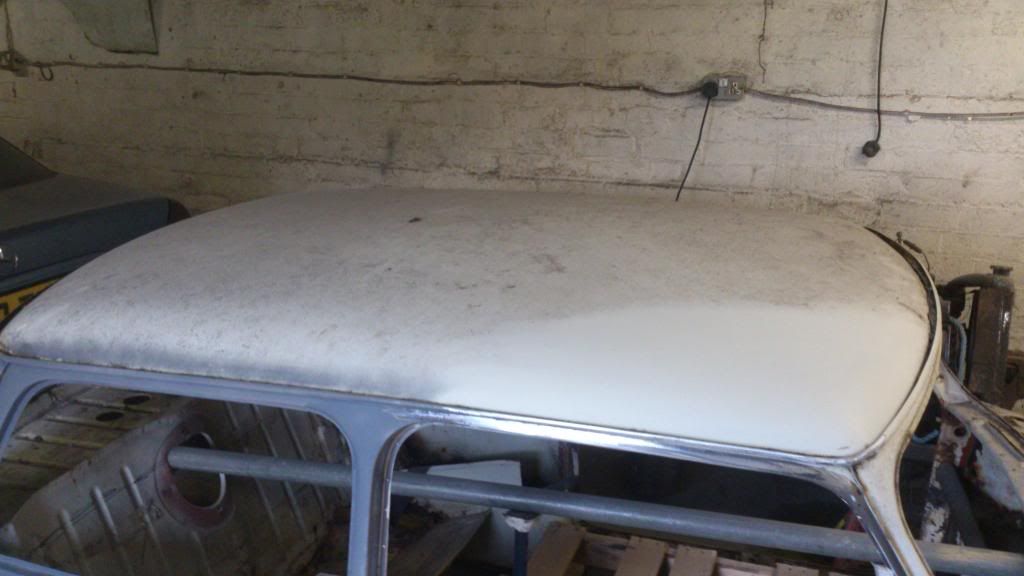
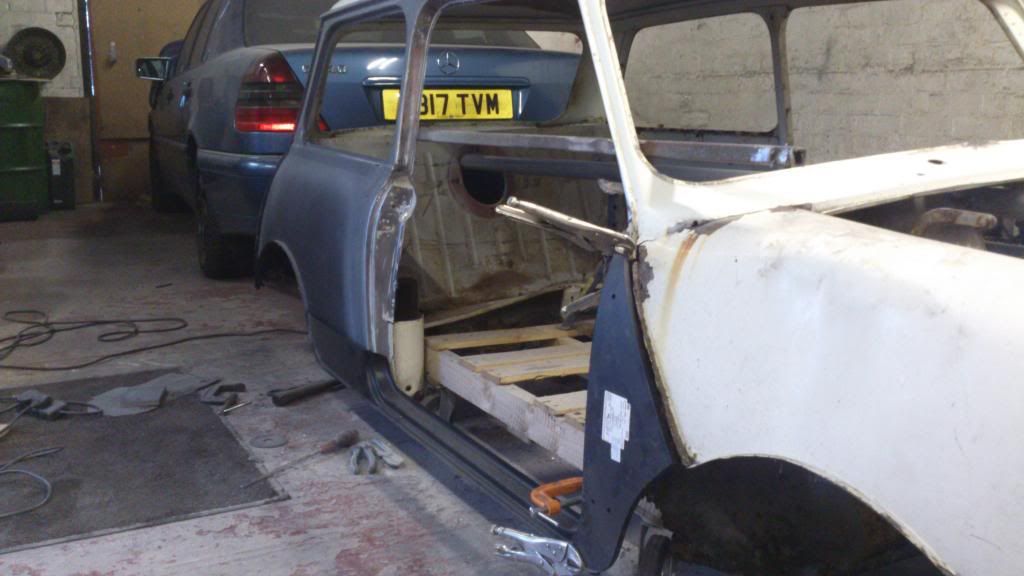
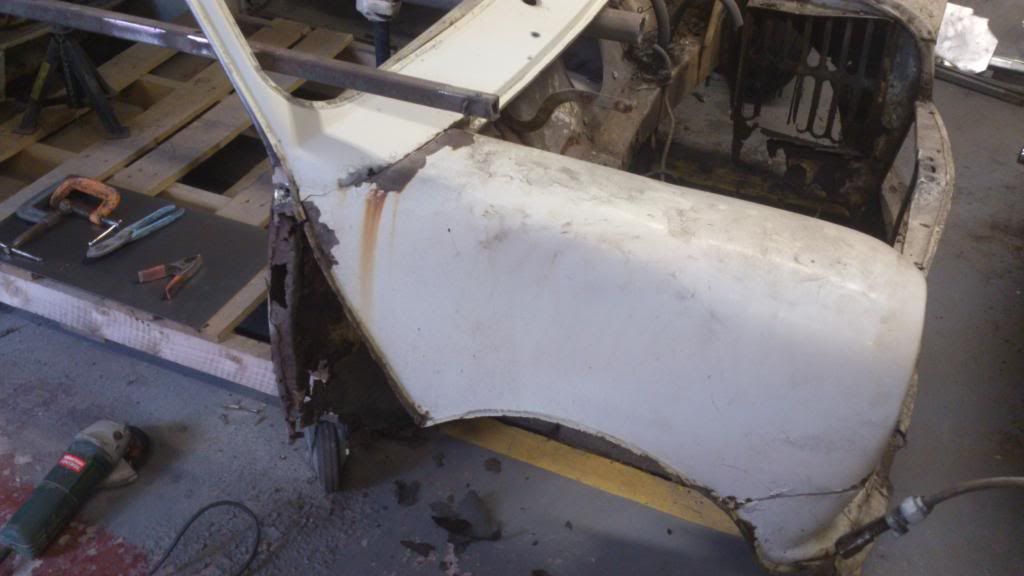
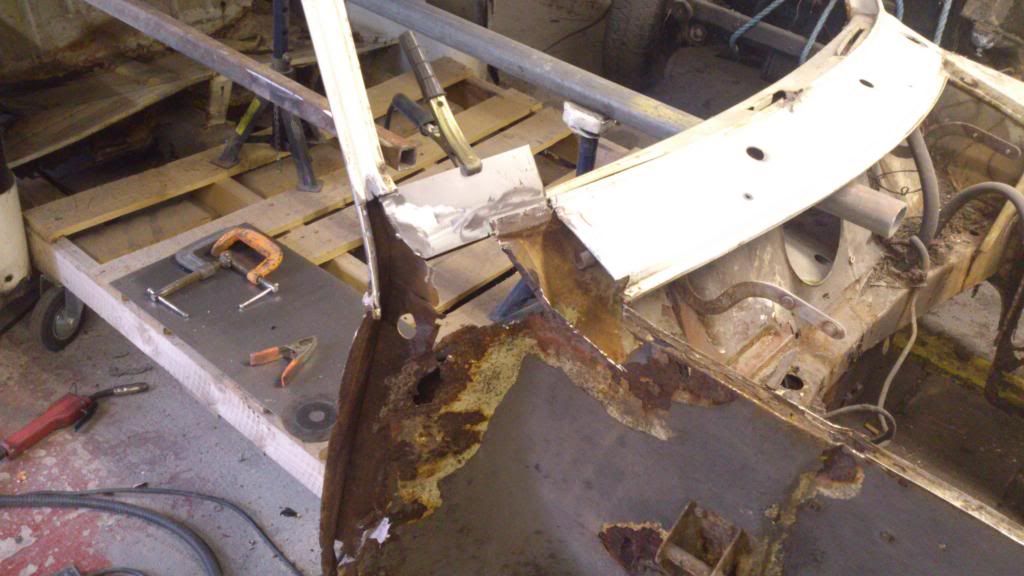
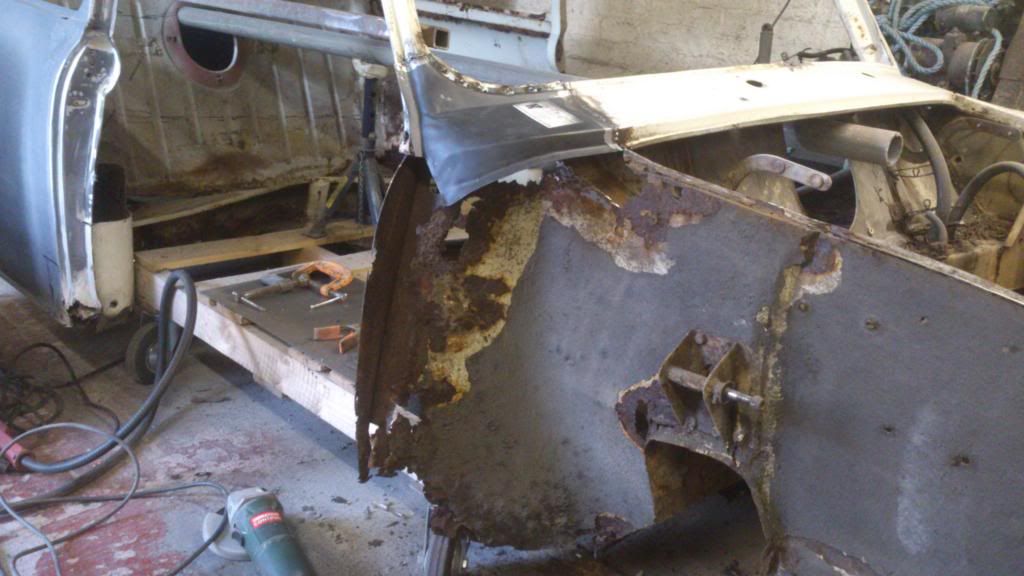
done abit tonight grinded back around the door frame to see where good metal is and its not bad at all apart from the bottom bits but they will be getting choped of for the new panels to go in. also i have sanded the roof rear panel rear parcel shelf and around the front window and to be honest now i have sanded it back its not looking bad at all just a few patches on the roof gutter and corners and rear parcel shelf rotten around the edges so might have to weld some bits of metal in and reshape but will come to that once i get some structural floor in it. here is some pictures for you all enjoy
got the panels clamped in place i need inner a panel and the panel i can not think of right now picture and question coming up.
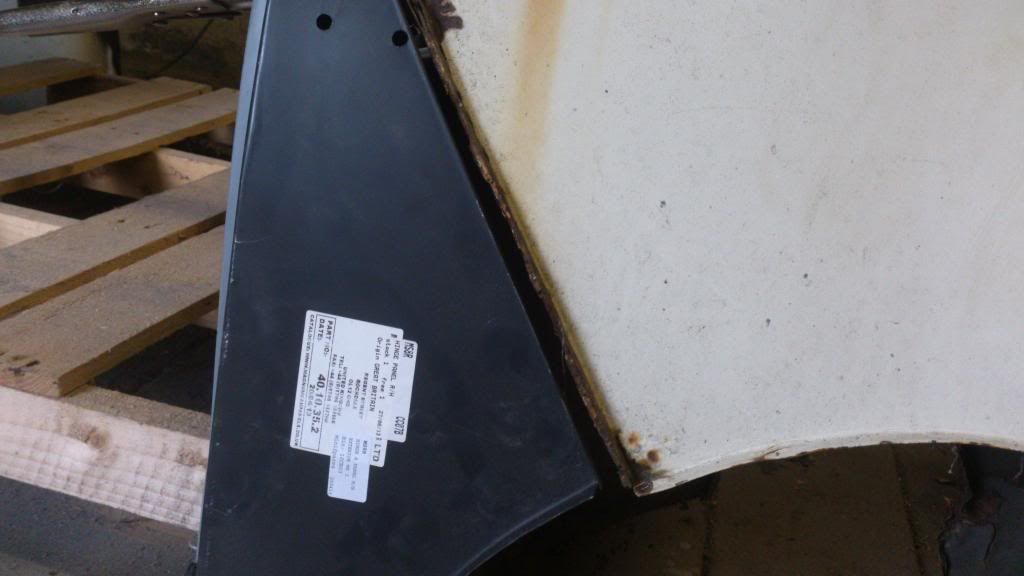
there is also a gap down where is joins to the wing and the a panel is higher at the bottom but it might be because the panel is old?
i need the lower section rear panel from where i have black marker pen line
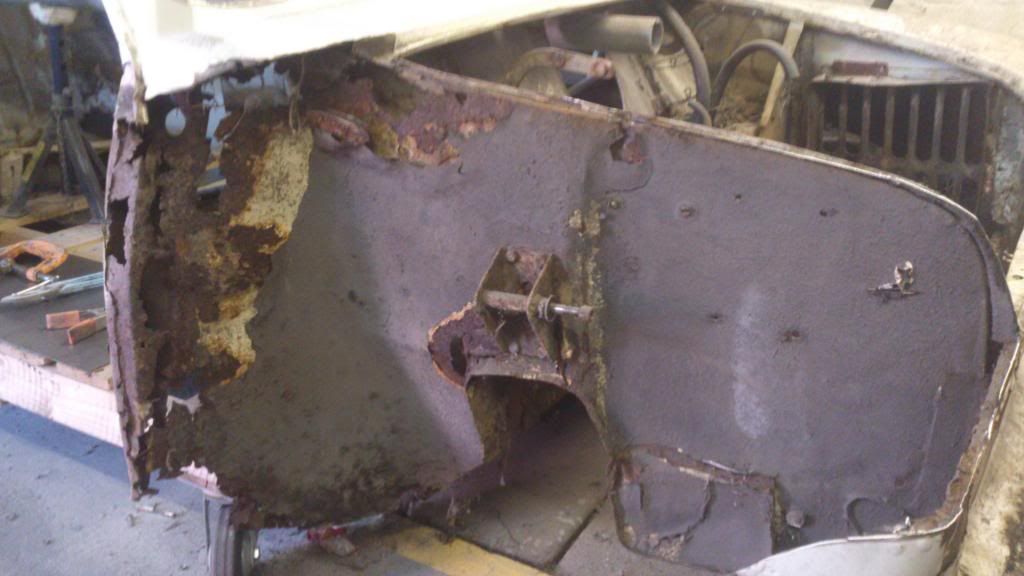
and i need this panel i dont no the name for with the flinch panel attached to it.
comments welcom hope you enjoy all the pictures thanks
#174

Posted 08 August 2013 - 08:15 PM
That panel will be all part of the A post. By the looks of it you will need the whole thing.
The A panel gap can be down to the pattern panel you are using unless the car has sprung partially. There have been a few builds where the OP has had to add a metal strip in to take up the gap.
#175

Posted 08 August 2013 - 08:17 PM
Looks like some good progress being made here Tom ![]()
The panel you are talking about is a flitch repair panel although have you looked at the condition of the innerwings as whole pieces ? if there buggered up front aswell it'd be worth replacing the whole innerwing Tom ...
Keep on with it ;)
Cheers
Cliff
#176

Posted 08 August 2013 - 08:24 PM
Look's good, Have you got a welding mask yet? How come you've got the door step with the lower 1/4 repair attached?
#177

Posted 08 August 2013 - 08:34 PM
sonnik - thanks i will see if i can find it i do have one for a mk4 mini shell but it has the holes for the air vents plus it doesnt have the flinch panels attached to it so i might asswell get the proper ones. i should fit this panel first before doing the a panel and door step? cheers
mr c - thanks mate yep they are gone and rotten even where the shock mounts to around that area is rotted threw i think a whole piece in one is the best option to me plus its of my mind and nice and solid. cheers
alex - thanks mate i have the same one still i havent got around to buying the better one as yet but my eyes are back to normal and i have done abit of welding since and made sure this time lol and i brought the door step panel first and didnt realize i was going to be doing the whole rear quarter so ile just chop it of to where i need it and maybe use that panel for another mini. cheers tom
#178

Posted 19 August 2013 - 07:24 PM
done a bit this afternoon
taken drivers wing off
put a new piece on the inside of the window frame
welded the scuttle end in as the piece in the middle is actually not rusty on top or underneath only a little piece in the middle of the frame needs cutting out and new in so might aswell try and keep some original panels if i can save them.
not sure if i should of done this last but i cant see it stopping me from doing anything else.
tacked in place
cleaned up with the grinder
touch of primer just to protect it.
i feel like i am getting used to the welding now and dont miss the join and i can hear and see it more when i get a good weld some times the wire sticks to the end i have to tap it and cut it and start again but i think i could do with a new end tip on it now.
only have one question what panel would you go for next? thanks tom
#179

Posted 19 August 2013 - 07:36 PM
Looking good tom, you'l feel better saving old panels too, only your back account does like salvage repairs too ![]()
![]()
I'd start repairing those flitches as a next plan of attack Tom, take of the shocker mounts and do the repairs behind those, a lot of people on there threads i,ve seen them just patch a piece in but its actualy a double skinned area, if you have a look on Project Checkmate you'll see what i mean as i did this repair on that with pictures, it really needs that double skin to help absorb the impact alot better without as much strain, also look out for cracks just infront of the shocker mount (pictures in my thread again)
Cliff
#180

Posted 19 August 2013 - 07:40 PM
cheers cliff thats the next stage for tomoz night then. i just hope those bloody bolts come out.
1 user(s) are reading this topic
0 members, 1 guests, 0 anonymous users


